It seems like nowadays all our posts are about the rooms being completed. We are zeroing in on the completion of the dining room, but (as usual) the finishing touches are taking us a while. In the meantime, I thought it would be good to put together a post showing the work we did on the trim. We actually did this work a year and a half ago, but didn’t get around to writing about it because we got sidetracked by the kitchen renovation. Since the dining room is nearing completion, now seems like a good time to go back and cover this step in our renovation story.
[Edit from Amy: Our blog silence usually leads people to believe that the house is finished. The answer is a solid, “No.” We still have a long way to go. There are several rooms we haven’t even talked about.]
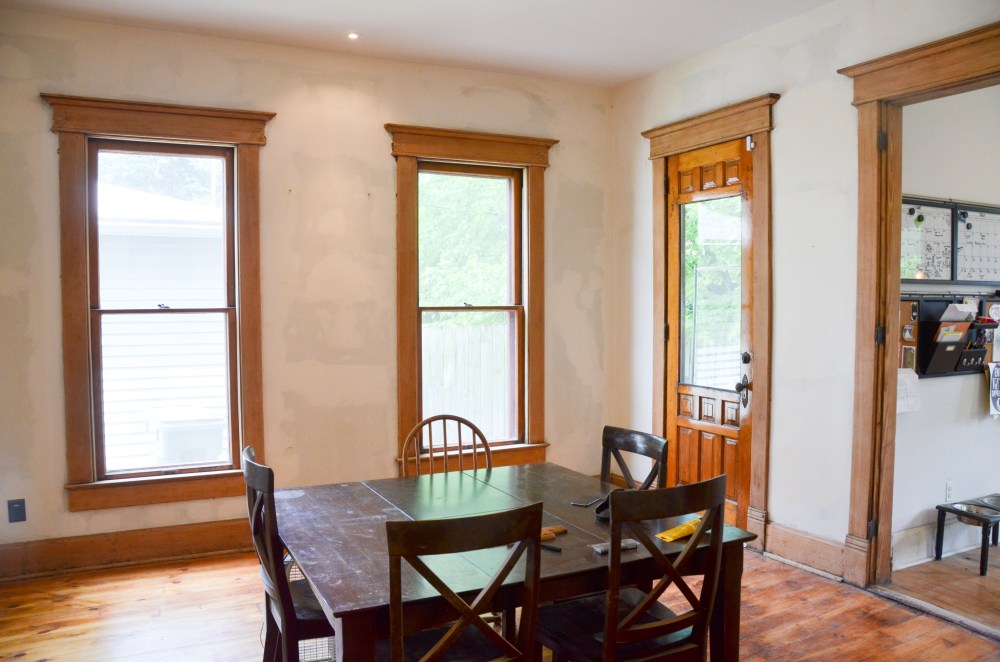
As we have mentioned many times, we are fortunate that the vast majority of the woodwork in our house was left unpainted.
[Edit from Amy: This is thanks to fact that the house was empty for over a decade and that the last live-in owner was a hoarder and lived in the house during the years that painting old woodwork became popular. We heard that there was so much stuff in the house that you couldn’t even get through to see how many rooms there were. I guess if you live like that you aren’t keen on repainting the walls or the woodwork. Fortunately for us, that has created somewhat of a time capsule effect.]
Most of the trim in our house is quarter sawn oak. It was never painted, but it did still have damage. Especially the windows – from staples, duct tape, and other devices used to cover them with plastic. The house had absolutely NO insulation when we bought it and the windows were in bad need of reglazing. The house must have been absolutely freezing in the winter, so the previous owner had plastic up everywhere.

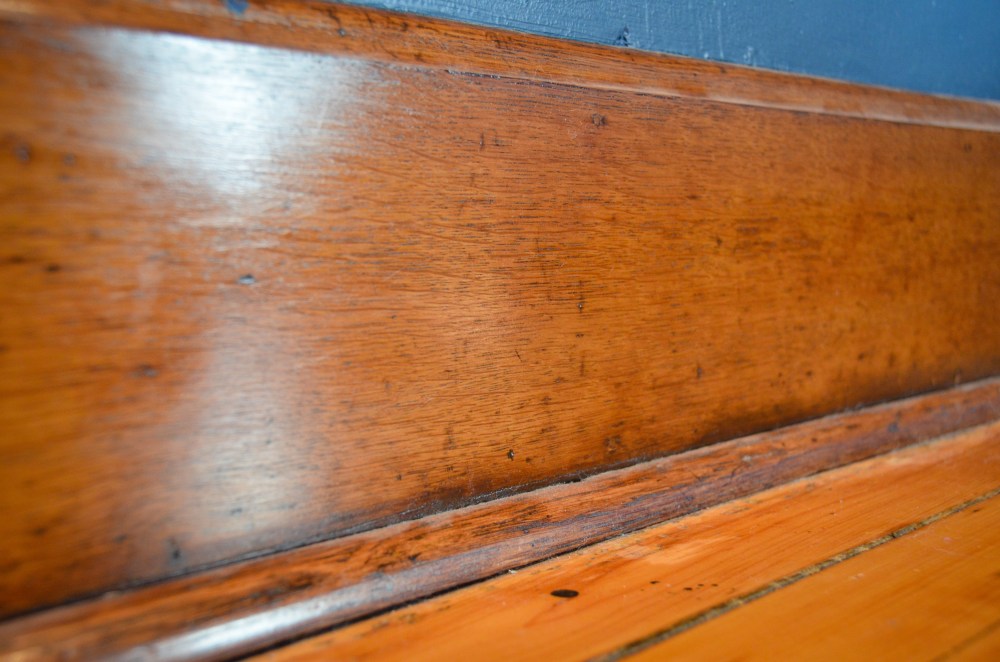
Even if the trim didn’t have staples, the finish had become cloudy, scratched, and just generally dull.

The baseboards were especially rough with many more scratches and markings.

And ALL of the trim downstairs had paint on it from sloppy wall painting.


Originally we thought we might be able to get away with just using a very strong cleaner to get rid of the paint and years of grime, but nothing really worked. After seeking advice from several people and doing more research, I decided that we should just go ahead and remove the existing shellac, sand the trim, then stain and finish it. Keep in mind this is the first time we have done this, so we are far from being experts on the subject. But if there is one thing I have learned from our renovation experience it is that there is no set way to do something. Everyone seems to have their own opinion and we just need to learn and figure out what works best for our own particular situation.
We began by using are respective favorite scraping tools to quickly remove the shellac. This was actually the most rewarding part because we got to see instant improvement. That’s not to say it wasn’t exhausting and tedious, because it certainly was. Amy has a particular dislike of scraping sounds, so she always had to drown out the sound by listening to music.

After the shellac was mostly removed (it didn’t need to be perfect), we started the sanding process. We did 60 grit, then 120, then 220. I think we skipped the 80… but I can’t be certain, it’s been a while. Once again, this job wasn’t difficult, just very tedious and a little tiring on the arms. Honestly, it is more of a mental challenge than anything else.

(I must have run out of dust masks at some point)
We taped off the doorways, covered the air return, and opened the windows to try to keep the dust to a minimum, but it still always seemed to find its way out to the rest of the house.

Our goal wasn’t to make the woodwork look like new, so we didn’t mind all the small imperfections that were still noticeable. It already looked so much better with all the grime and paint removed – even before we had stained and finished it.

It was at this point that we realized we weren’t going to get a contractor to work on the outside of the house that summer, so we decided it would be smart to spend our time on the kitchen. This meant hitting pause on dining room projects. It remained in this unfinished state for a long time, although we did manage to get it all cleaned up before our Thanksgiving dinner that year. With the sanded trim and white-primed walls, it had a certain look that wasn’t so bad. Construction-chic, right?

After a lot of experimenting (and a bunch of research) I found a stain color that would closely match what we had before. I also experimented with how long to let the stain sit before wiping it off and how many coats of stain to use. So many variables!

I used shellac to finish. The nice thing about shellac is that it isn’t as runny as polyurethane, so it worked well for our vertical surfaces. It still requires a vigilant eye for the occasional blob or streak.

We feel good about the final result. The wood is so much warmer (and obviously a lot cleaner) now.


Way back when we were sanding the floors, I removed all the quarter round and took the time to bundle and label them according to their respective rooms.

I wasn’t sure how well these would clean up, but after removing the nails and sanding them… they looked great!
My favorite parts are the window casings and sills. I already spent so much time on the wood of the window sashes, but it all looks so much better now that the rest of the window trim woodwork is finished.

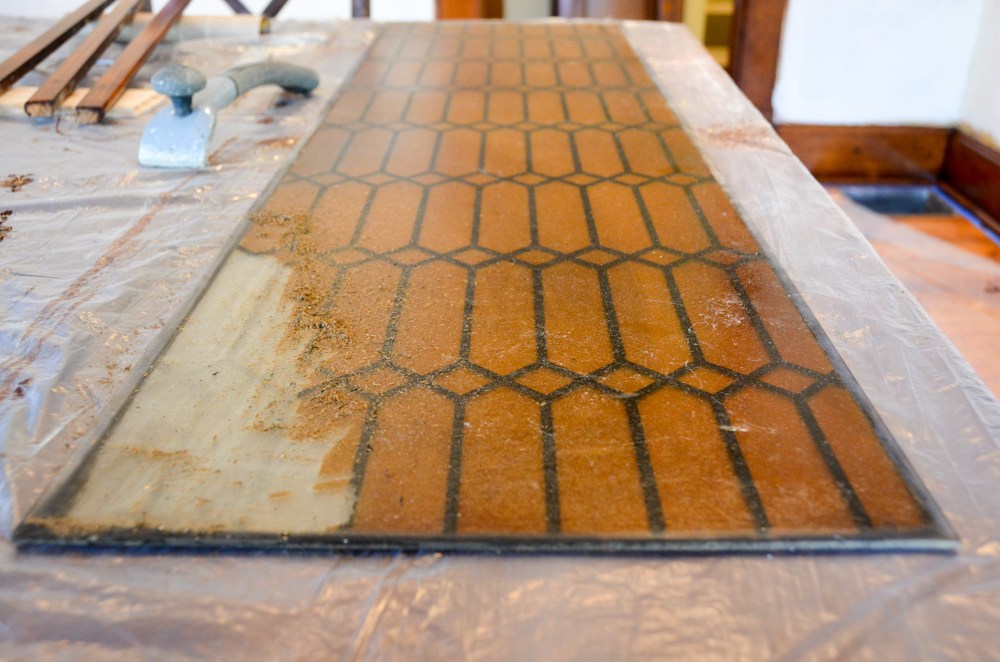
The doors on the built-in had a faux leaded glass sticker. I tried to remove it using a chemical, but it didn’t work. This meant I had to use a scraper and razor blade. Unfortunately, this left very small scratches on the glass (which I didn’t notice until it was too late… I’m still mad about it), but you won’t notice it unless your face is right on the glass and you are looking for scratches. We are happy to have the original glass on the built in.
Since the built-in is the largest surface area of wood in the room, the fact that it is now cleaned up and refinished makes a big difference in the overall feel of the room.
[Edit from Amy: One of my favorite things about our house is that is still retains all of it’s original hardware. It’s interesting that the original pull handle hardware on the built in is actually in style at the moment.]


After finishing the trim we were finally ready to paint. After painting the downstairs bathroom a dark purple we wanted to continue with another deep hue. As always, the color decision was difficult and slowed us down for months, but we did manage to have the room all ready to go for yet another Thanksgiving.
Our next post will be the big reveal of the completed dining room, but here is sneak peak of what it looked like after painting.

Another year later, we finally have a new table, chairs, side board, lighting, artwork, and other design elements to finish off the space. That reveal is coming soon!

I can’t wait for the reveal. I’ve been reading your blog, and your work is amazing! I like the bold colors you picked for the bathroom and dining room. Are you working room by room?
LikeLike
Thank you! Yes, we are working room by room now. Although, the bathroom, kitchen, and dining room have all been progressing off and on for over a year.
LikeLike
That really came out great! The blue complements the warm wood tones so well. I think part of the problem people are tempted to paint over natural wood is that it takes more thought choosing paint colors that really work well, whereas any wall color works with white trim.
I like how you refreshed it, but without trying to hide the century of use and character. On top of that, as you may already have noticed, stained wood is much more forgiving than painted trim of the everyday nicks and dings that trim inevitably accumulates. Even the occasional accidental gouge is easily disguised with a dab of stain (and maybe even shellac, if you really bother).
We dealt with sloppy wall paint on the woodwork in our last house, but it wasn’t quite as bad as yours. How people doing the painting can accept sloppiness that bad baffles me.
Lastly, I really love the grain on the tops of the window sills. There’s nothing quite as interesting as quartersawn oak.
LikeLike
Thanks for the comments, Seth! You are right, choosing colors when you have wood trim definitely takes more thought. We are very happy with the final result!
LikeLike
This is gorgeous! I’m not usually a fan of dark wall color, but this blue looks amazing with the trim. I can’t wait to see the final reveal.
LikeLiked by 1 person
please call me gary 6136613981
LikeLike