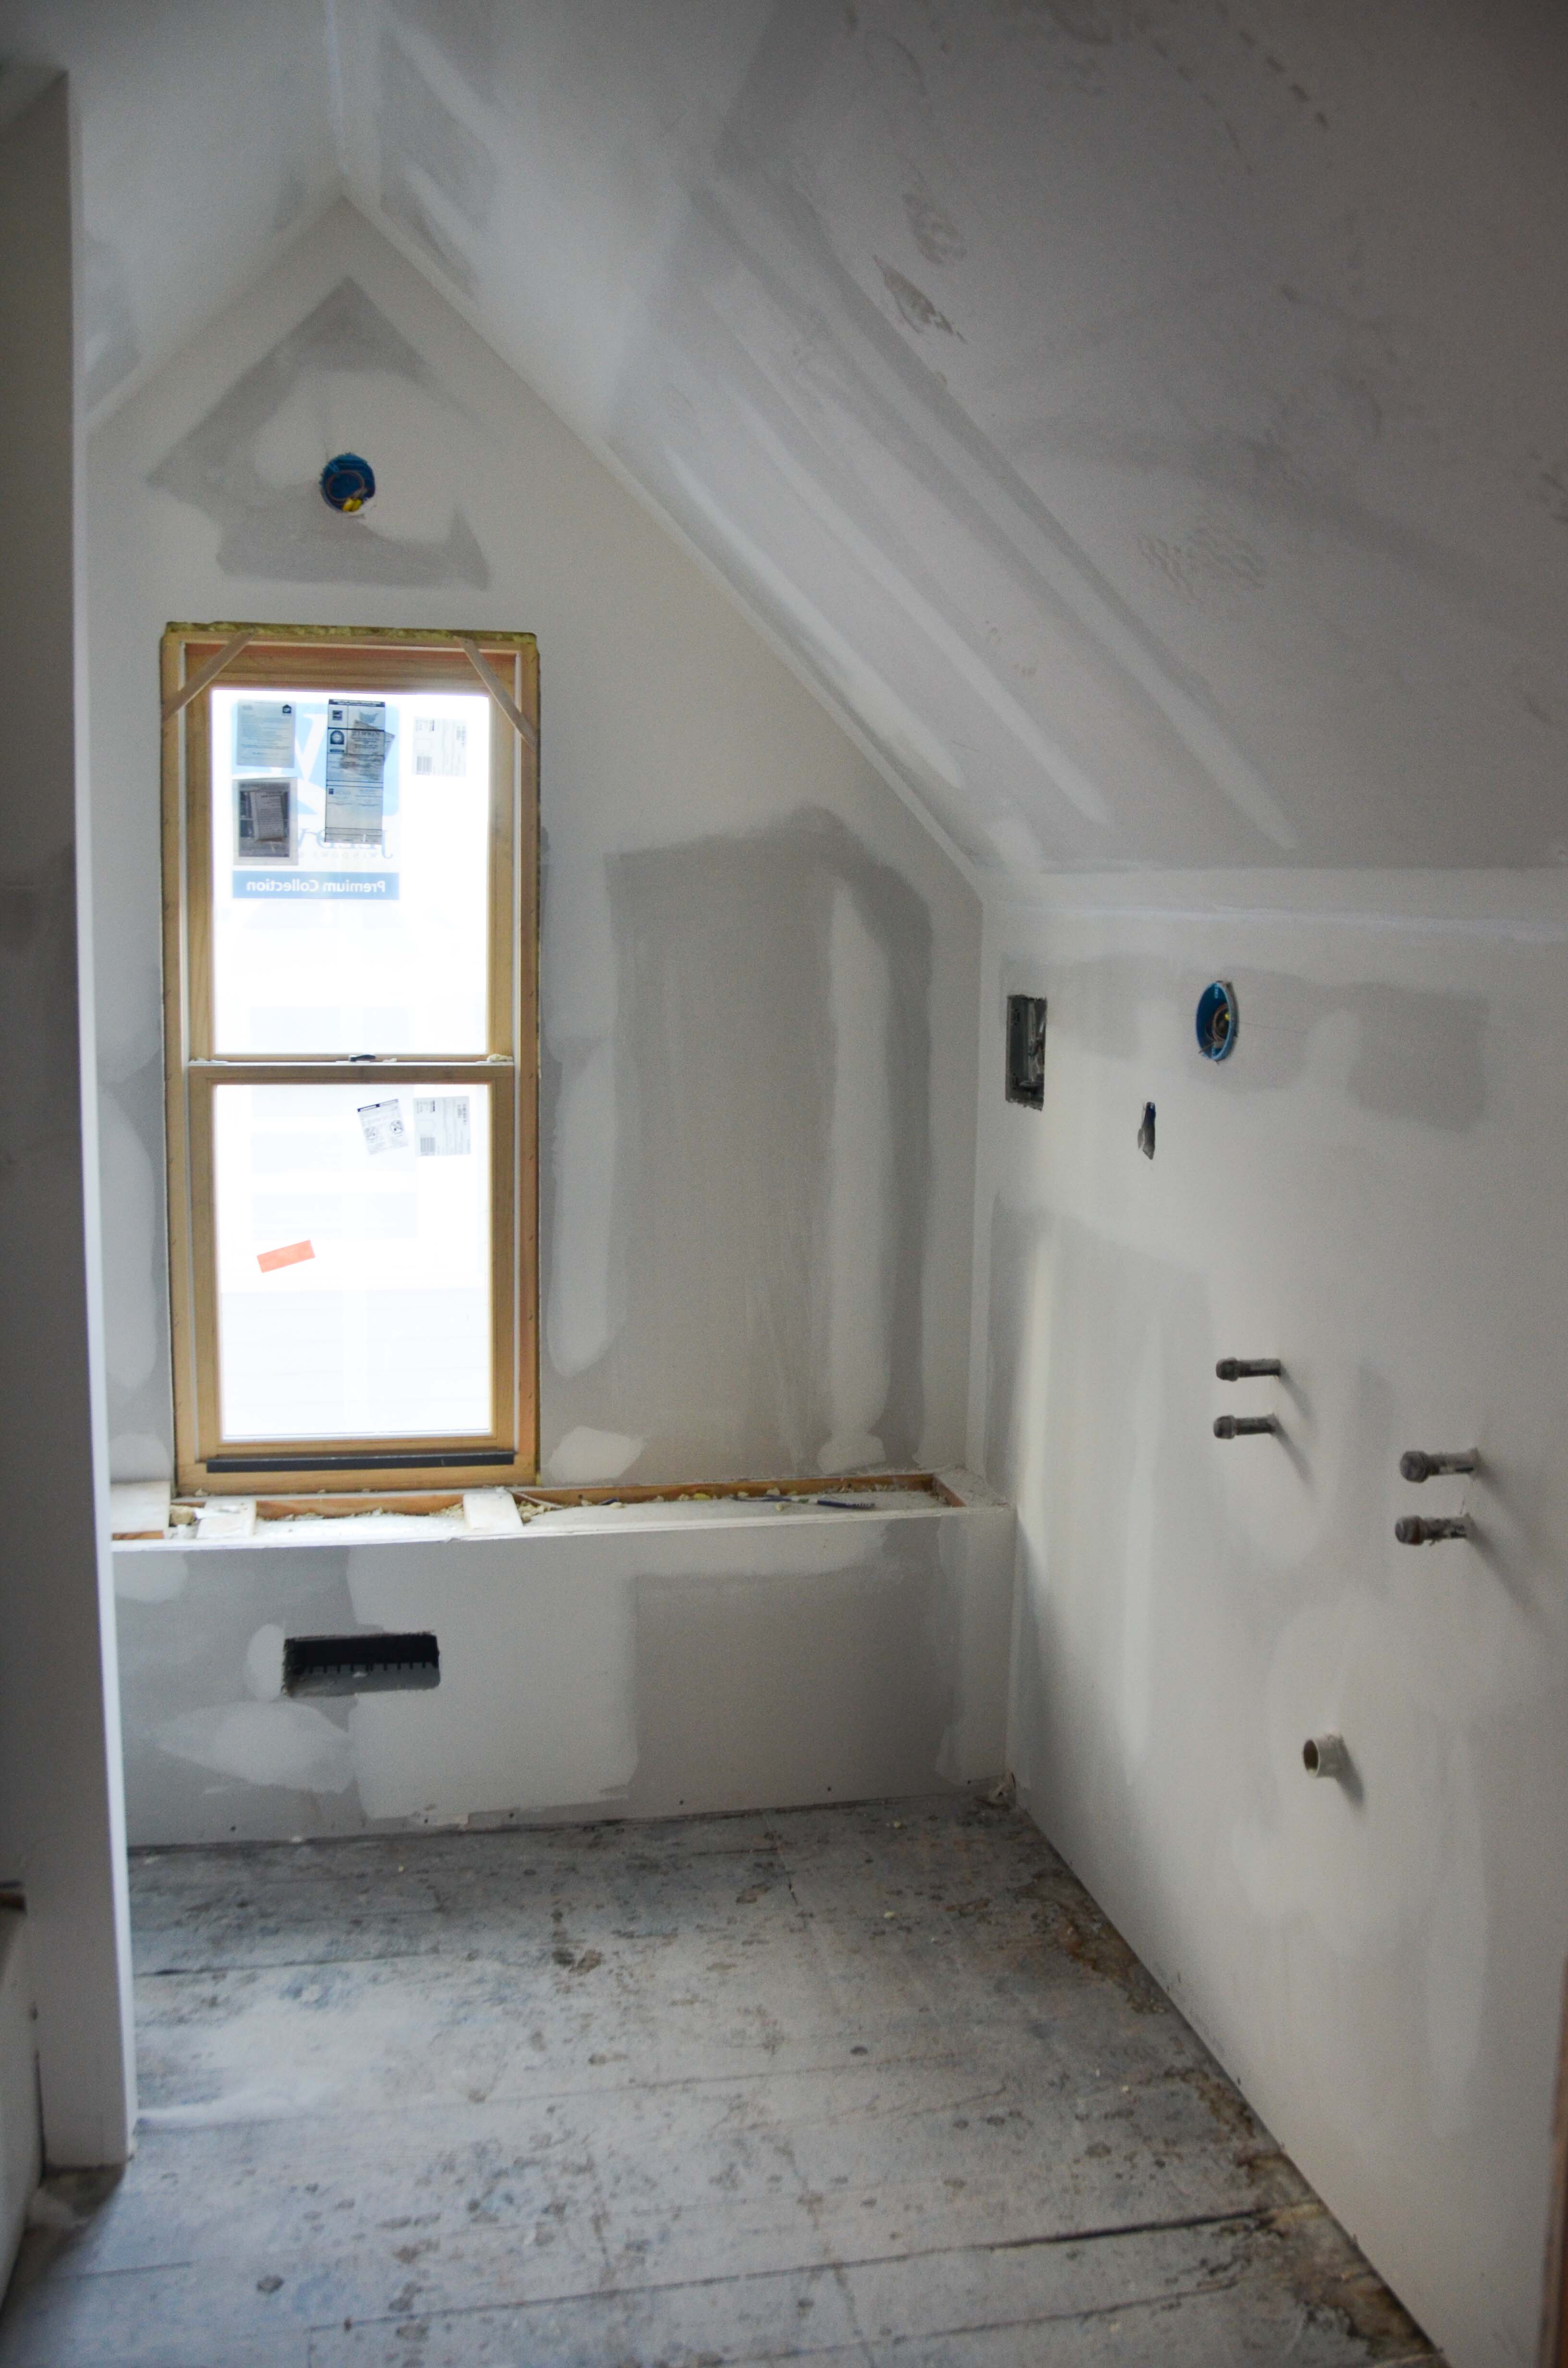
For more than 100 years the 2nd floor of our house was mostly a very large attic. The master bedroom was the only finished room upstairs and it was accessed by a narrow, steep staircase. The odd spaces and angled ceilings made it a little tricky, but we were able to devise a floor plan that included the addition of 2 more bedrooms and 1 bathroom on the 2nd floor. The bathroom would be located in the south-facing gable. Here is our very first view of the space that eventually became our upstairs bathroom…

One of the hardest parts of laying out the plan for the 2nd floor was figuring out how to fit in a full bathroom while also leaving enough room for a new staircase. We had to demolish a wall of the master bedroom and move it about 18″, but it was well worth the trouble to create just enough space for this bathroom. Any concerns we had quickly disappeared once the framing went up.

We chose to locate the upstairs HVAC equipment in a dead space behind a knee wall in the master bedroom. This decision did require some creative problem solving and we decided our best option was to run the duct work over the new stairs and through the bathroom.

The other side of the bathroom includes the vents for the fan and dryer. It also provides a space to continue the HVAC duct around the corner and into Lucy’s room.

We replaced the tiny attic window with a new, full-sized window. The picture below is the view from Aiden’s doorway. You’ll notice that we decided to use a pocket door.

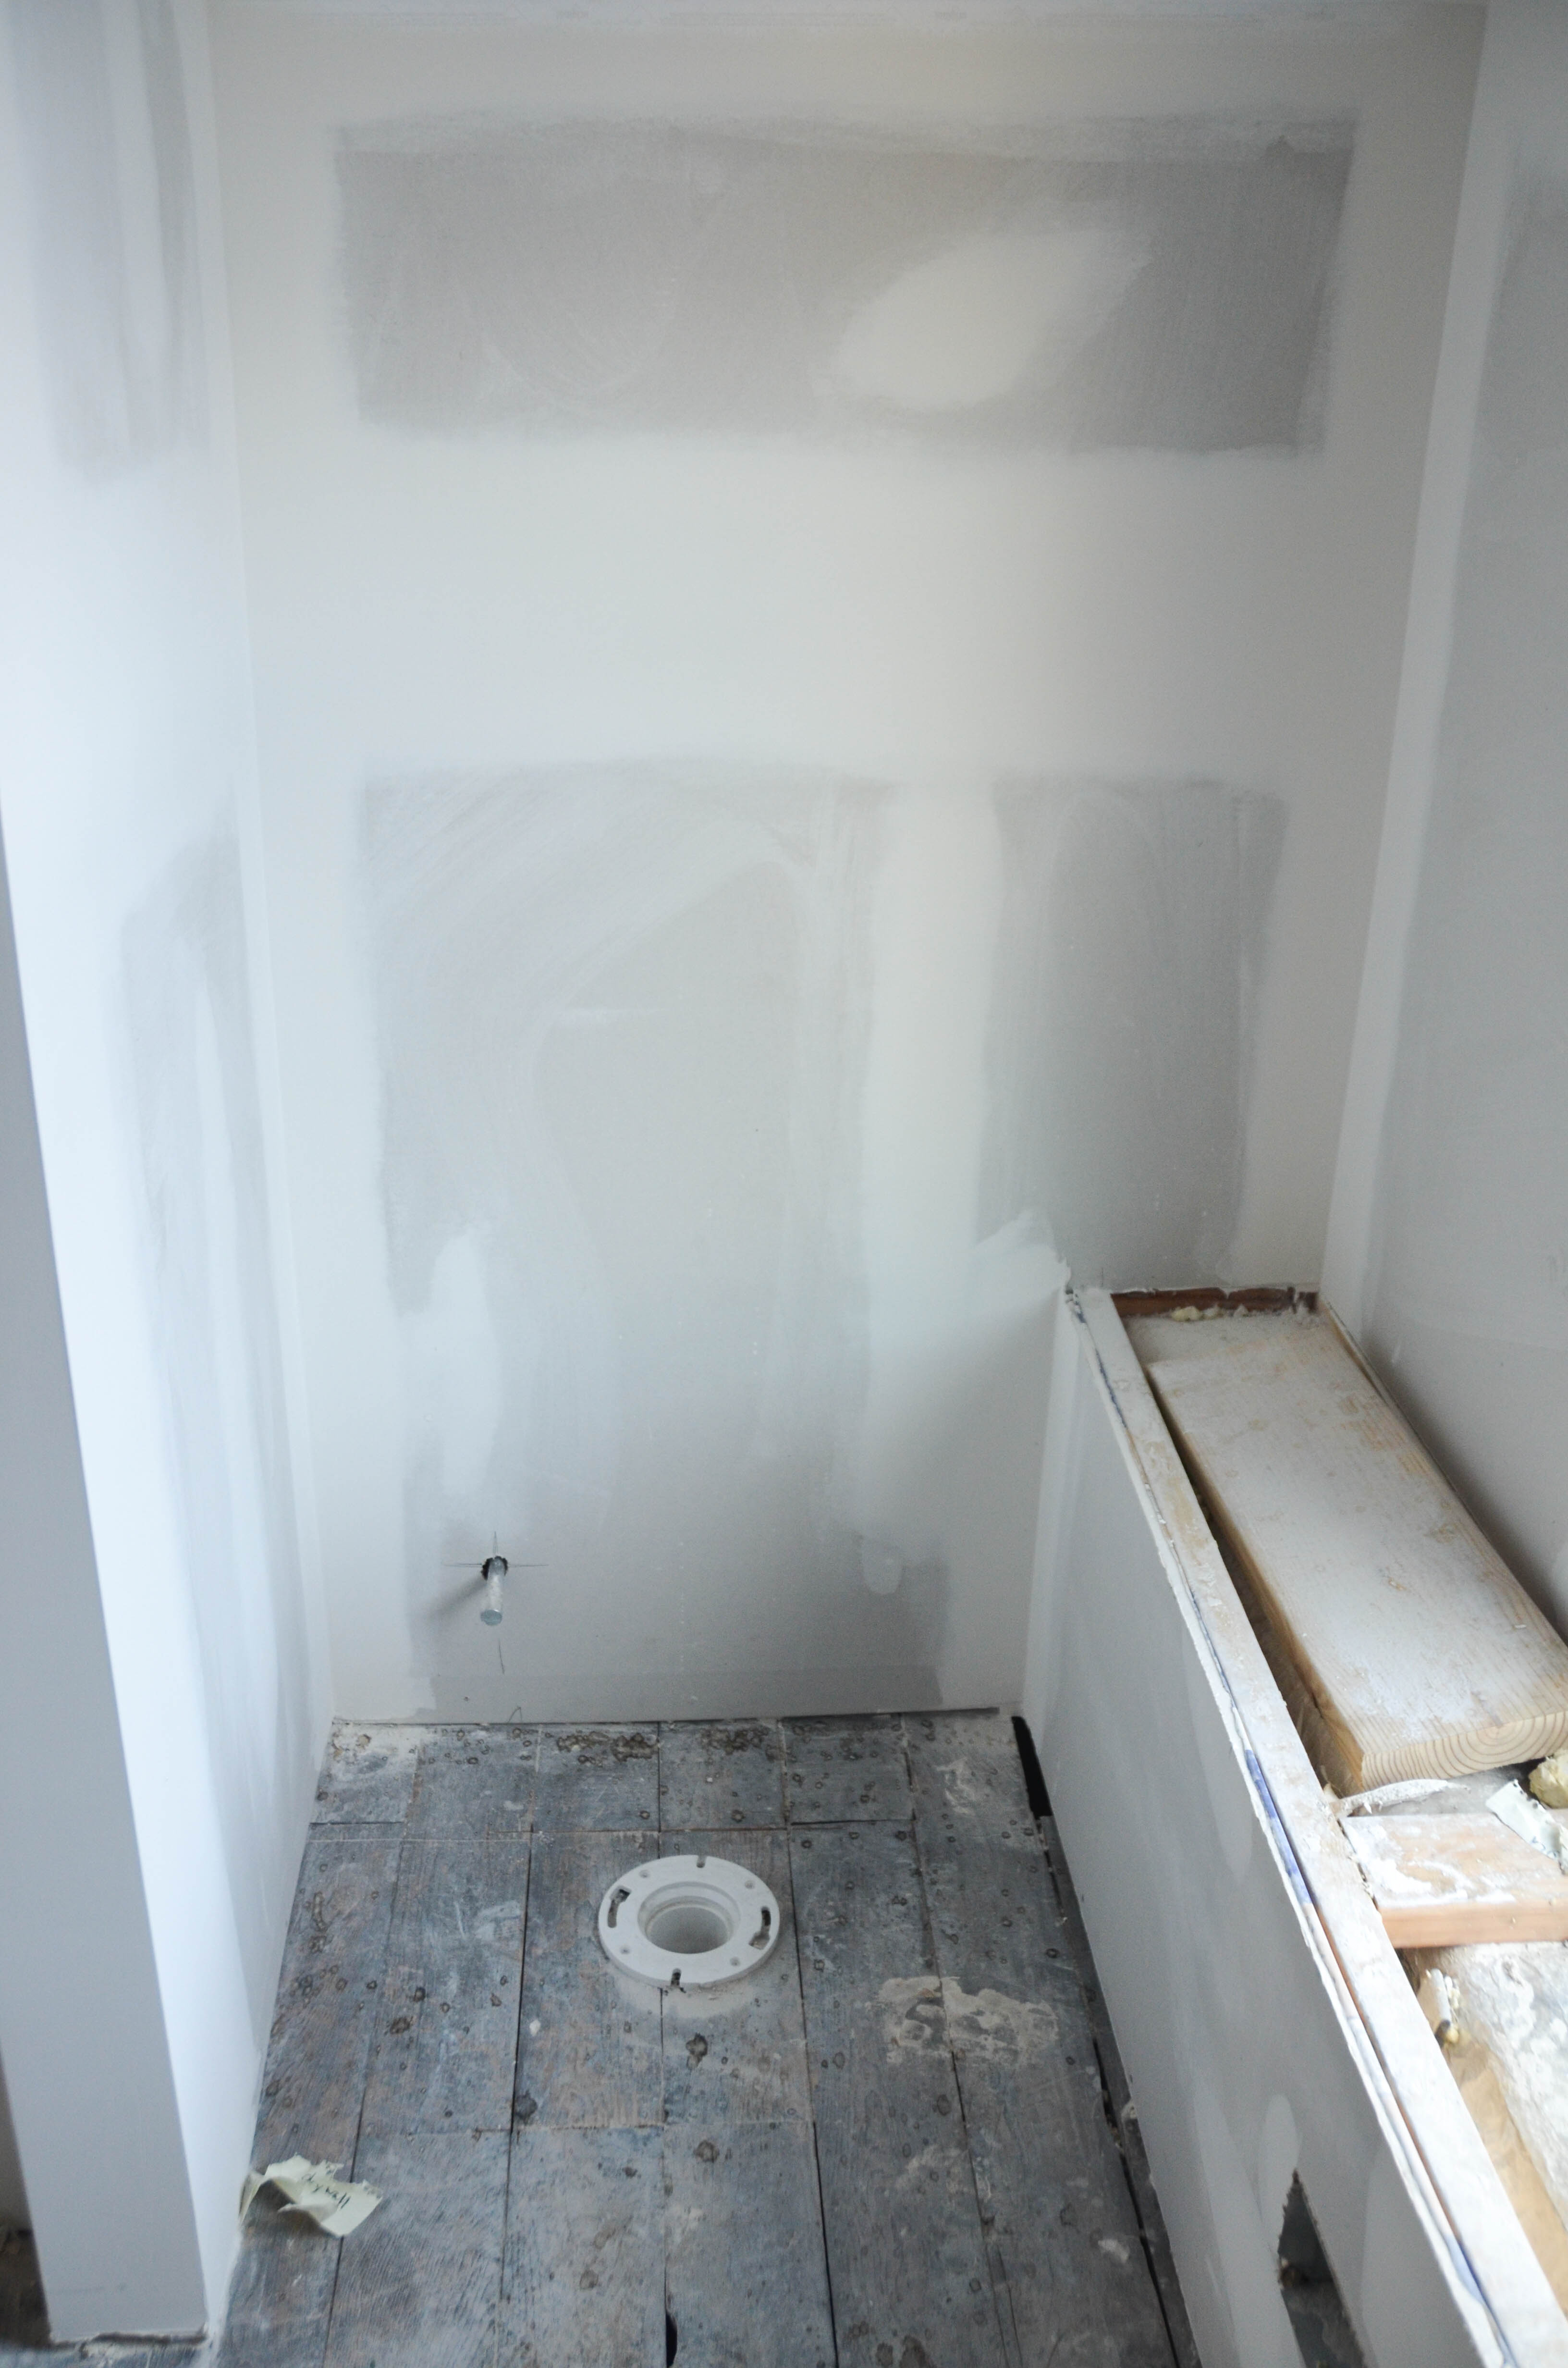
After the HVAC was complete and the window was installed we were able to get back in and add more framing. The wall that separates the shower from the toilet was added (on the left in this pic) and we framed the bench that would hide the duct work (on the right).

Another view of the final framing…

Next came the electrical work and insulation. For lighting, we included two sconces on either side of the sink, one sconce above the window, and one recessed light in the shower. The insulation on the roof is a closed-cell spray foam. The exterior walls were covered with a skim-coat of closed-cell foam on the walls and then a layer of fiberglass.

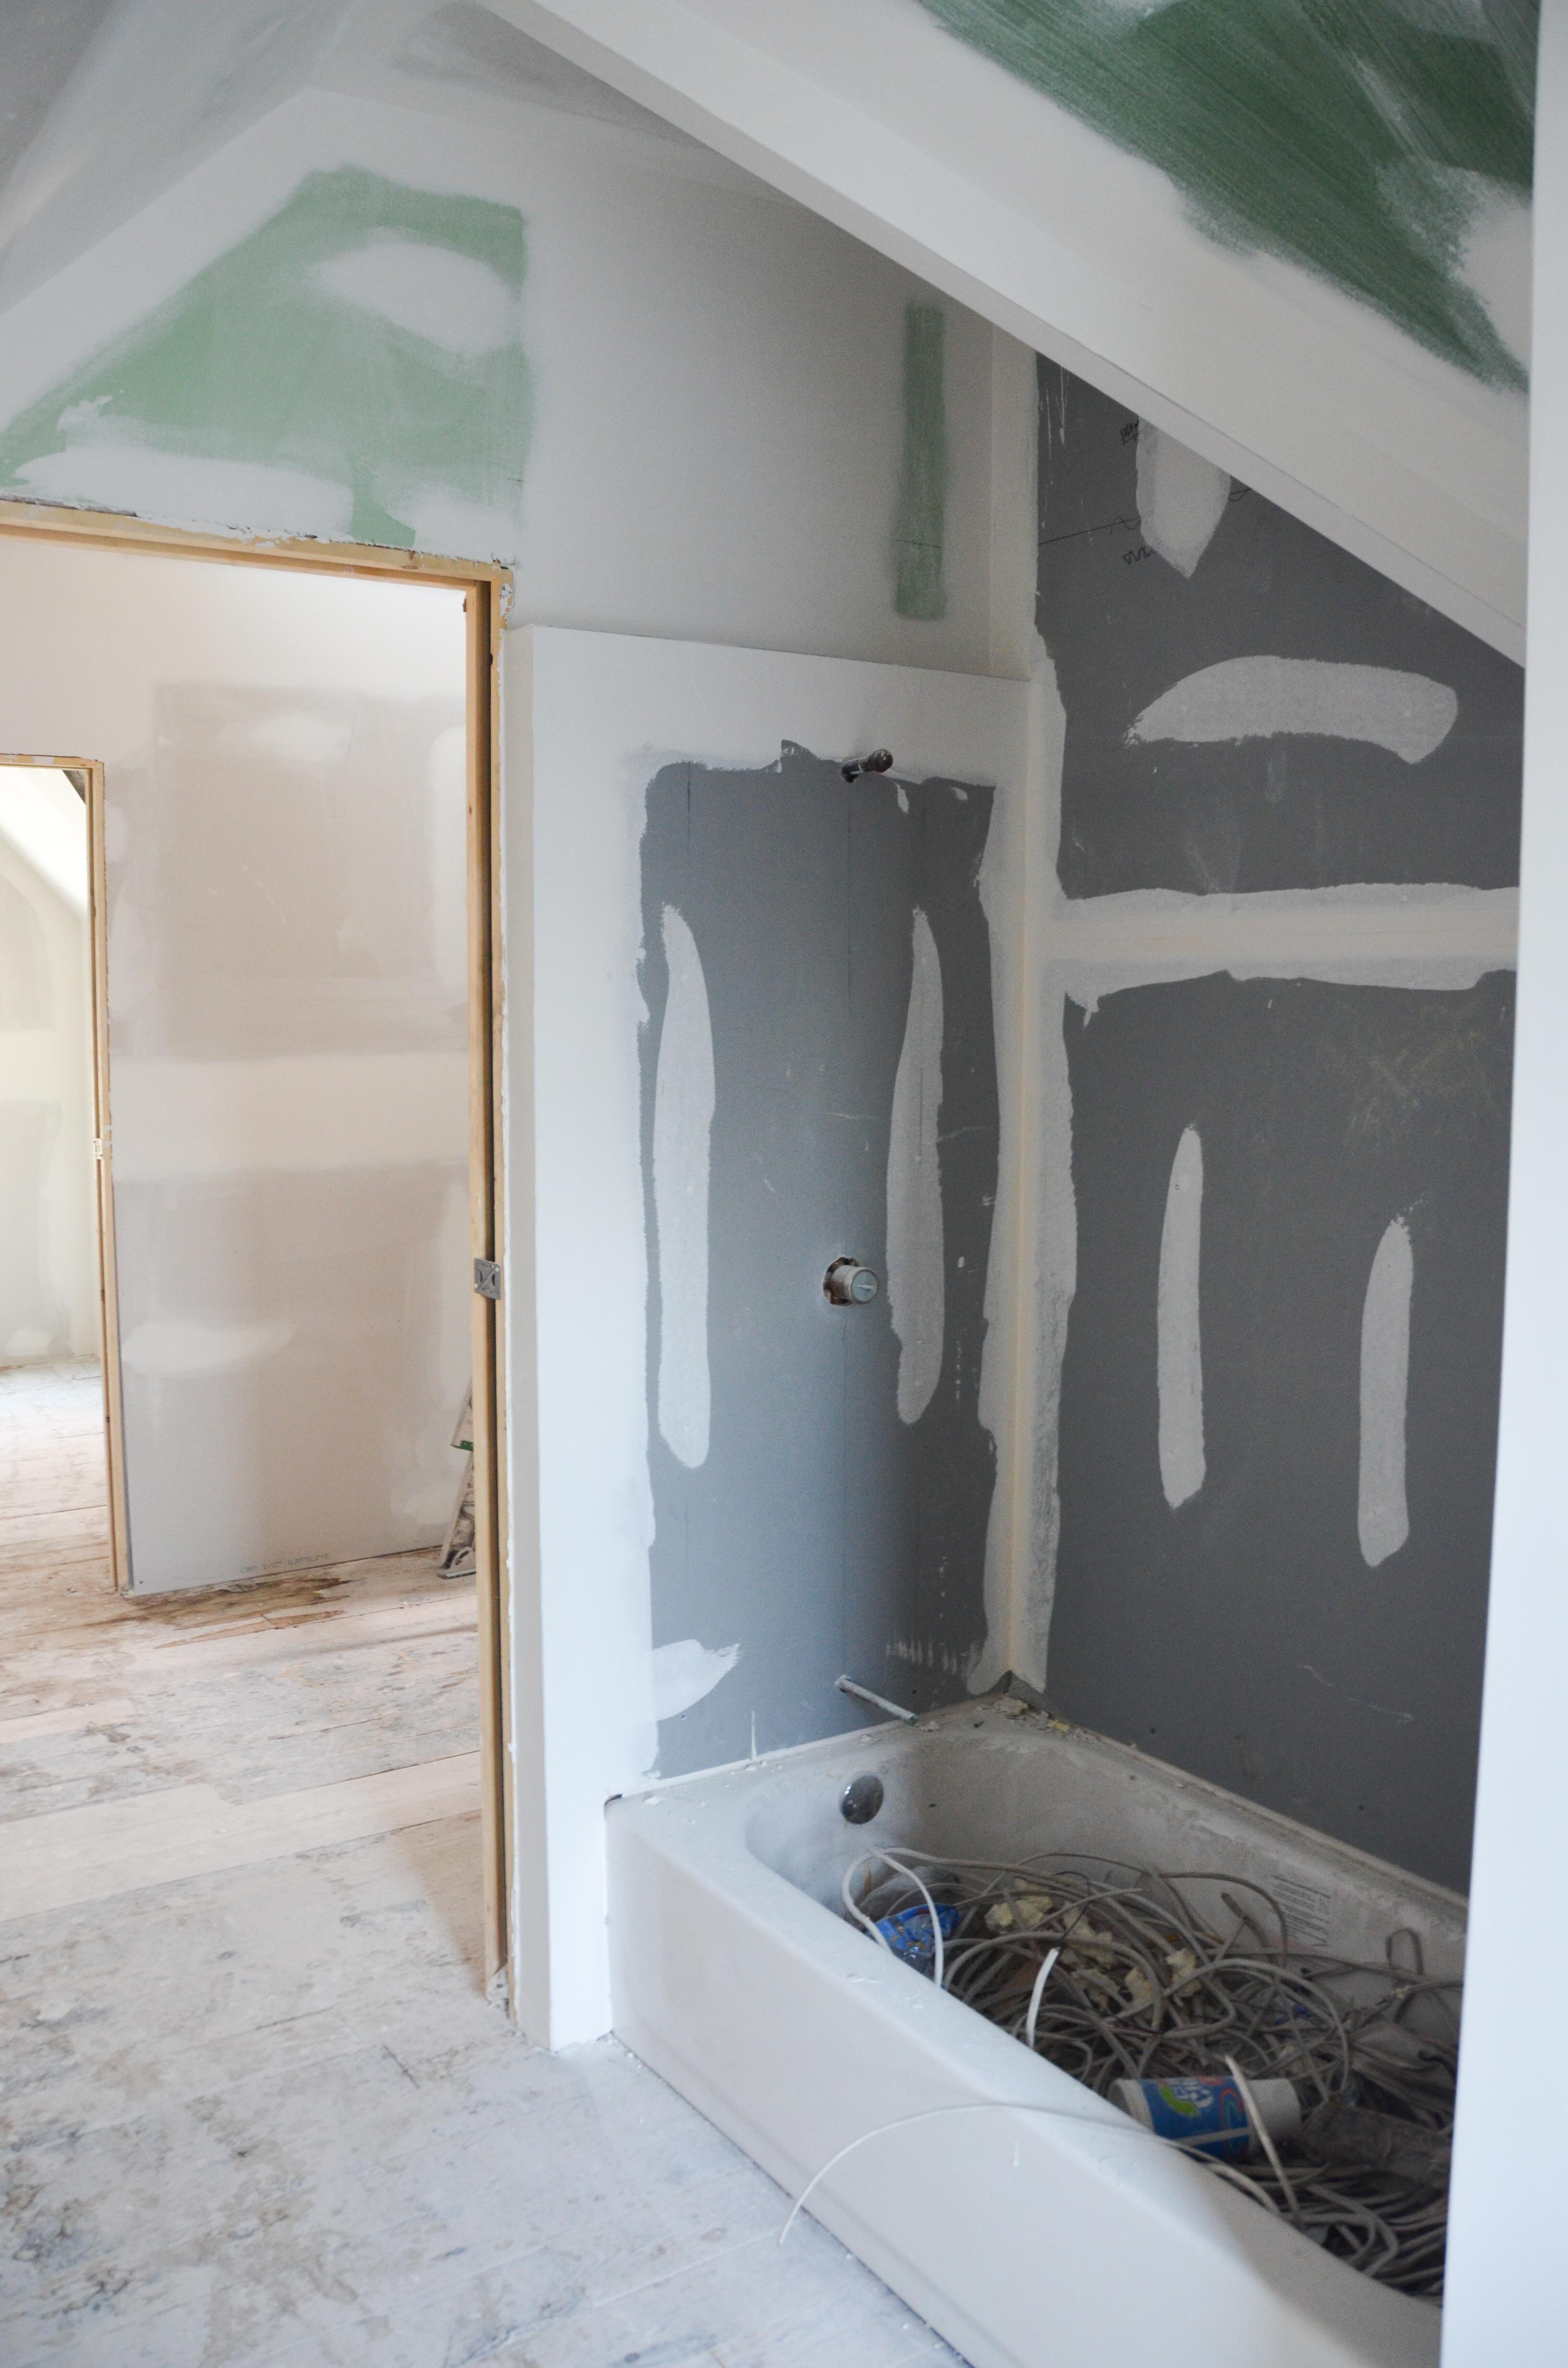
We were finally ready for the biggest transformation of all…. drywall!

It was now time to begin the finish work. We decided on hex tile for the floor, subway tile for the shower, and beadboard on the walls. One of our big splurges was this awesome Kohler sink.

The bathroom remained in this state for about a year after we moved in. Eventually I got around to finishing the carpentry work. I added the trim for the window, created a chair rail to cap the beadboard, added the bench top that covers the HVAC duct, and milled my own baseboards to match the ones found in the rest of the house…
After another long lull, we decided to make a few adjustments to the location of the sconces and also replace the builder-grade vent fan that I should I have taken out immediately after the HVAC people installed it.

We transformed an old transom window into a mirror and finally added new sconces.

In the past few weeks we have been wrapping up the final details, including a sconce above the window, a lock on the sliding door, a transition piece in the doorway, new artwork, and a little touch-up paint. We are finally ready to reveal the completed project!

I finally got around to adding the additional trim on the door frame so that the pocket door seals off the doorway completely when it is shut. As an added bonus, it really dresses up the door frame!

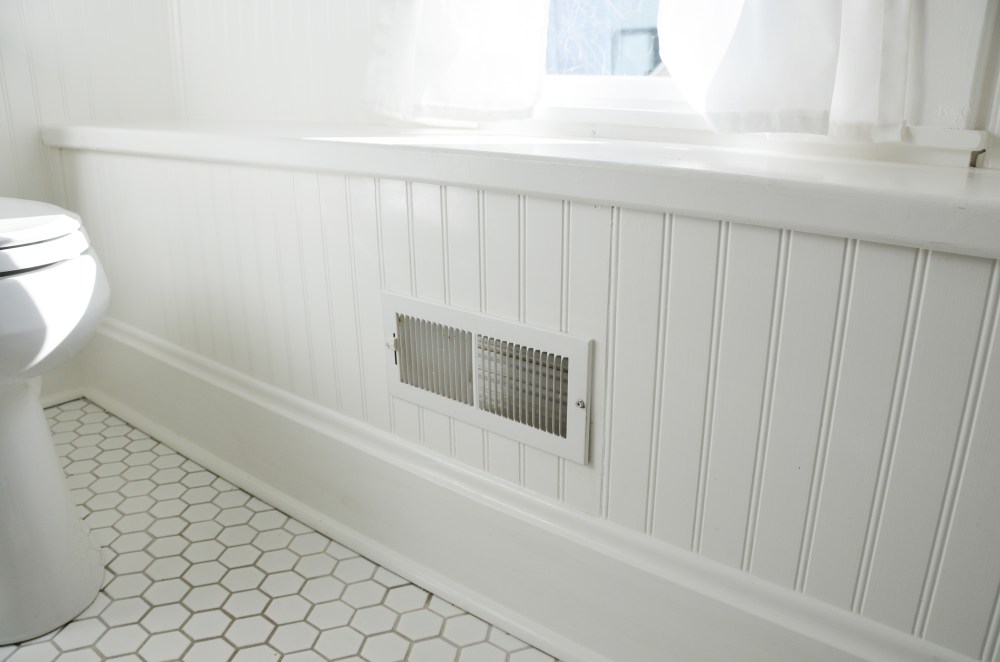
We are big fans of having the toilet tucked away in a little nook. We had that in our old house and are glad we could make that work here.

Here is a more entertaining photo of the toilet, featuring a gift that our son won at a white elephant gift exchange. It’s actually pretty convenient if you wake up in the middle of the night and have to use the bathroom. It has a motion sensor on it… so no need to turn on the lights! Oh, and it changes colors. Amy calls it a “disco toilet!”

The south-facing window lets in a ton of light all day and we chose bright colors, so the bathroom always has a light and airy feel.

The sconce above the window was one of the more difficult decisions for the bathroom. This style of lighting ended up working well with the school house lights. Similar enough to fit in, but different enough to avoid repetition. The “bench” that came as a result of the HVAC turned out to be functional and also aesthetically interesting.

The angles of the shower ceiling proved to be a challenge to tile, but we love the added drama and interest it creates. The ledge above the shower head and the nook in the wall have been so useful!

We were initially concerned that the shower would feel crowded because of the angled ceiling, but that has not been the case at all. Also, we would have never thought to put a recessed light in the shower, but that is a suggestion that we are glad we implemented.

The original faucets had a shower-like head, which caused an unwanted spray if we turned it up too much. We ended up replacing them with a more typical look and also installing aerators.

It took us a long time to get all the details right. The lighting was particularly difficult to figure out and there was a deceptive amount of carpentry work involved in all of the trim. One of the benefits of starting from nothing was that there were almost zero constraints. We got to put everything exactly where we wanted it, which was a fun creative process that ended with a product that we can truly call our own.


We are approaching the three year mark of when we started looking for a new house. It seems impossible to grasp the amount of work and thought that has gone into every aspect of this renovation. It REALLY hits home when you look at Lucy sitting in our very FIRST purchase for the house…

and then look at her two and half years later when the bathroom is finally complete!

By now our kids are so used to living in constant renovation projects that nothing seems to startle or surprise them.
