Step 3 – Cleaning the sash
The scary part is done. If you made it this far with the glass in one piece, congratulations! If your sash is in good shape you can skip this step. My sashes all needed to be scraped, sanded, and inspected for repairs. Before applying the paint stripper I tried to get as much of the paint off as possible. The scraper I used looked something like this:
 To remove the rest of the paint I found a safe product that is non-toxic for me and the environment. It must be good for the environment because it’s green, right?

I applied it with a brush and came back 12 hours later to scrape it off.
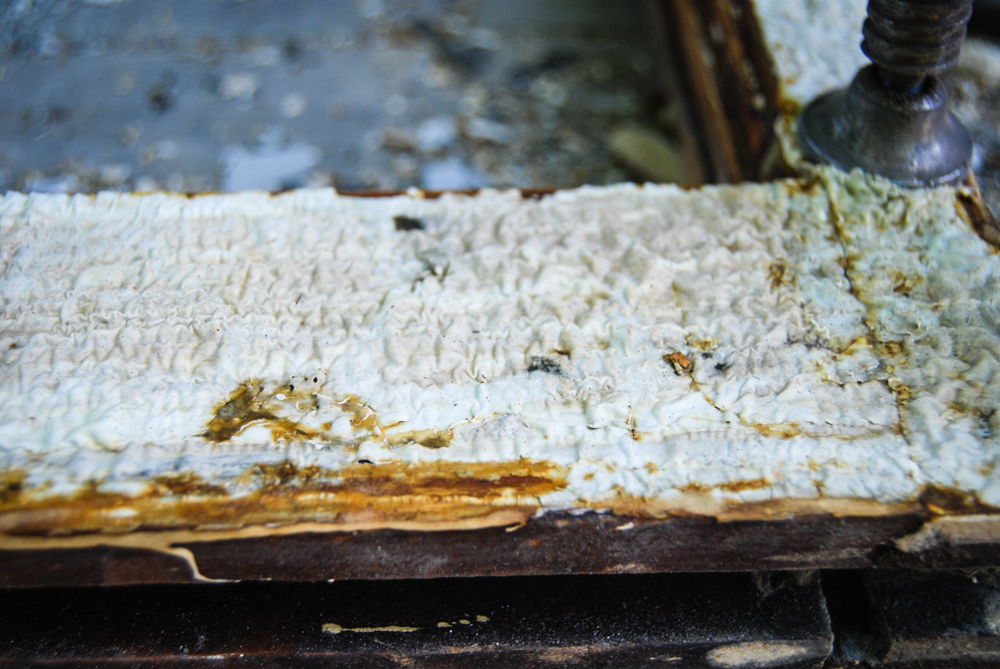
It wasn’t perfect, but it did well enough to make the removal relatively painless.
After scraping it I sanded it with 60 grit, then 150, and (for the unpainted windows) 220. Don’t forget the interior section.

If you are going to paint the entire window, this is the time to do the priming because glazing putty should not be applied directly to the wood. The wood will suck all the moisture from the putty and cause it to dry up and crumble. Use an oil based primer. I have also read about people using linseed oil for windows that have an unpainted interior side.

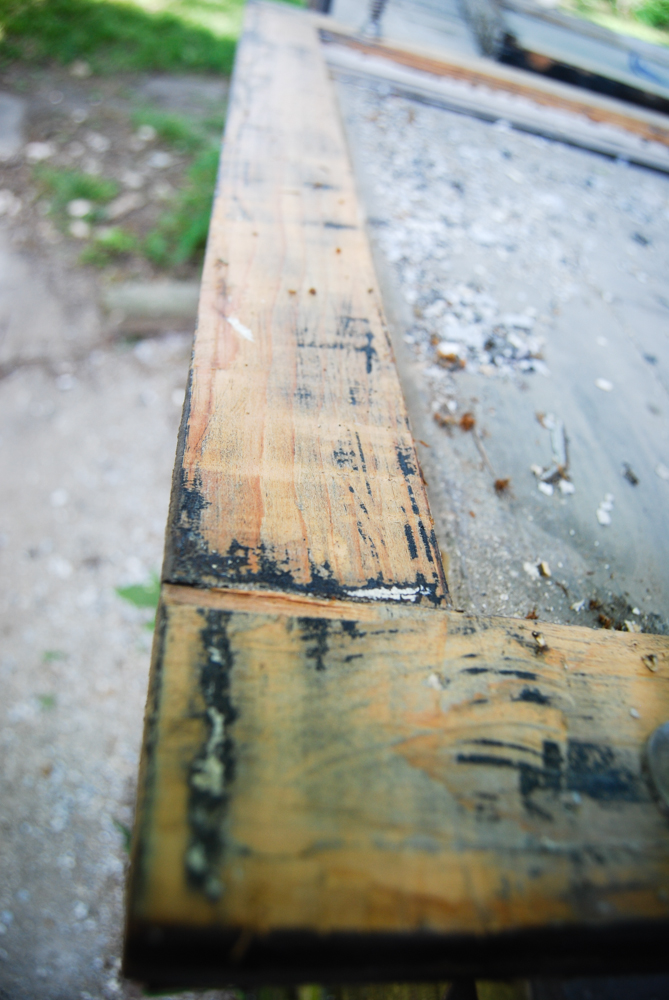
This is also the time to inspect the sash for damage, loose joints, or rotted wood. The most likely place for damage is on the lower horizontal pieces of each sash (the rails). It is exposed to sitting water much more than the rest of the sash. You can tell the wood has rot if it is dark, soft, and easily falls apart. If this is case, you can try to fix it yourself using an epoxy (although I have heard conflicting opinions on the success of this) or have someone replace just that piece. It will depend on damage to the lower section of the vertical pieces. In my project I had two sashes on the south side of the house that were just too far gone to repair.
After you have primed both sides of the sash, you are ready to begin the glazing process!
