Step 6 – How to install new sash cord and re-install window sashes
The next step is to re-rope the sash weights. Not all of my sash cords were broken, but now seemed like a good time to just replace them all. I found a company online that sells authentic sash cord – Smith Restoraton. You should have seen the looks I got when I asked the Home Depot or Lowe’s staff if they had sash cord for double hung window weights. They inevitably would just lead me to the nylon rope section. Not going to work.
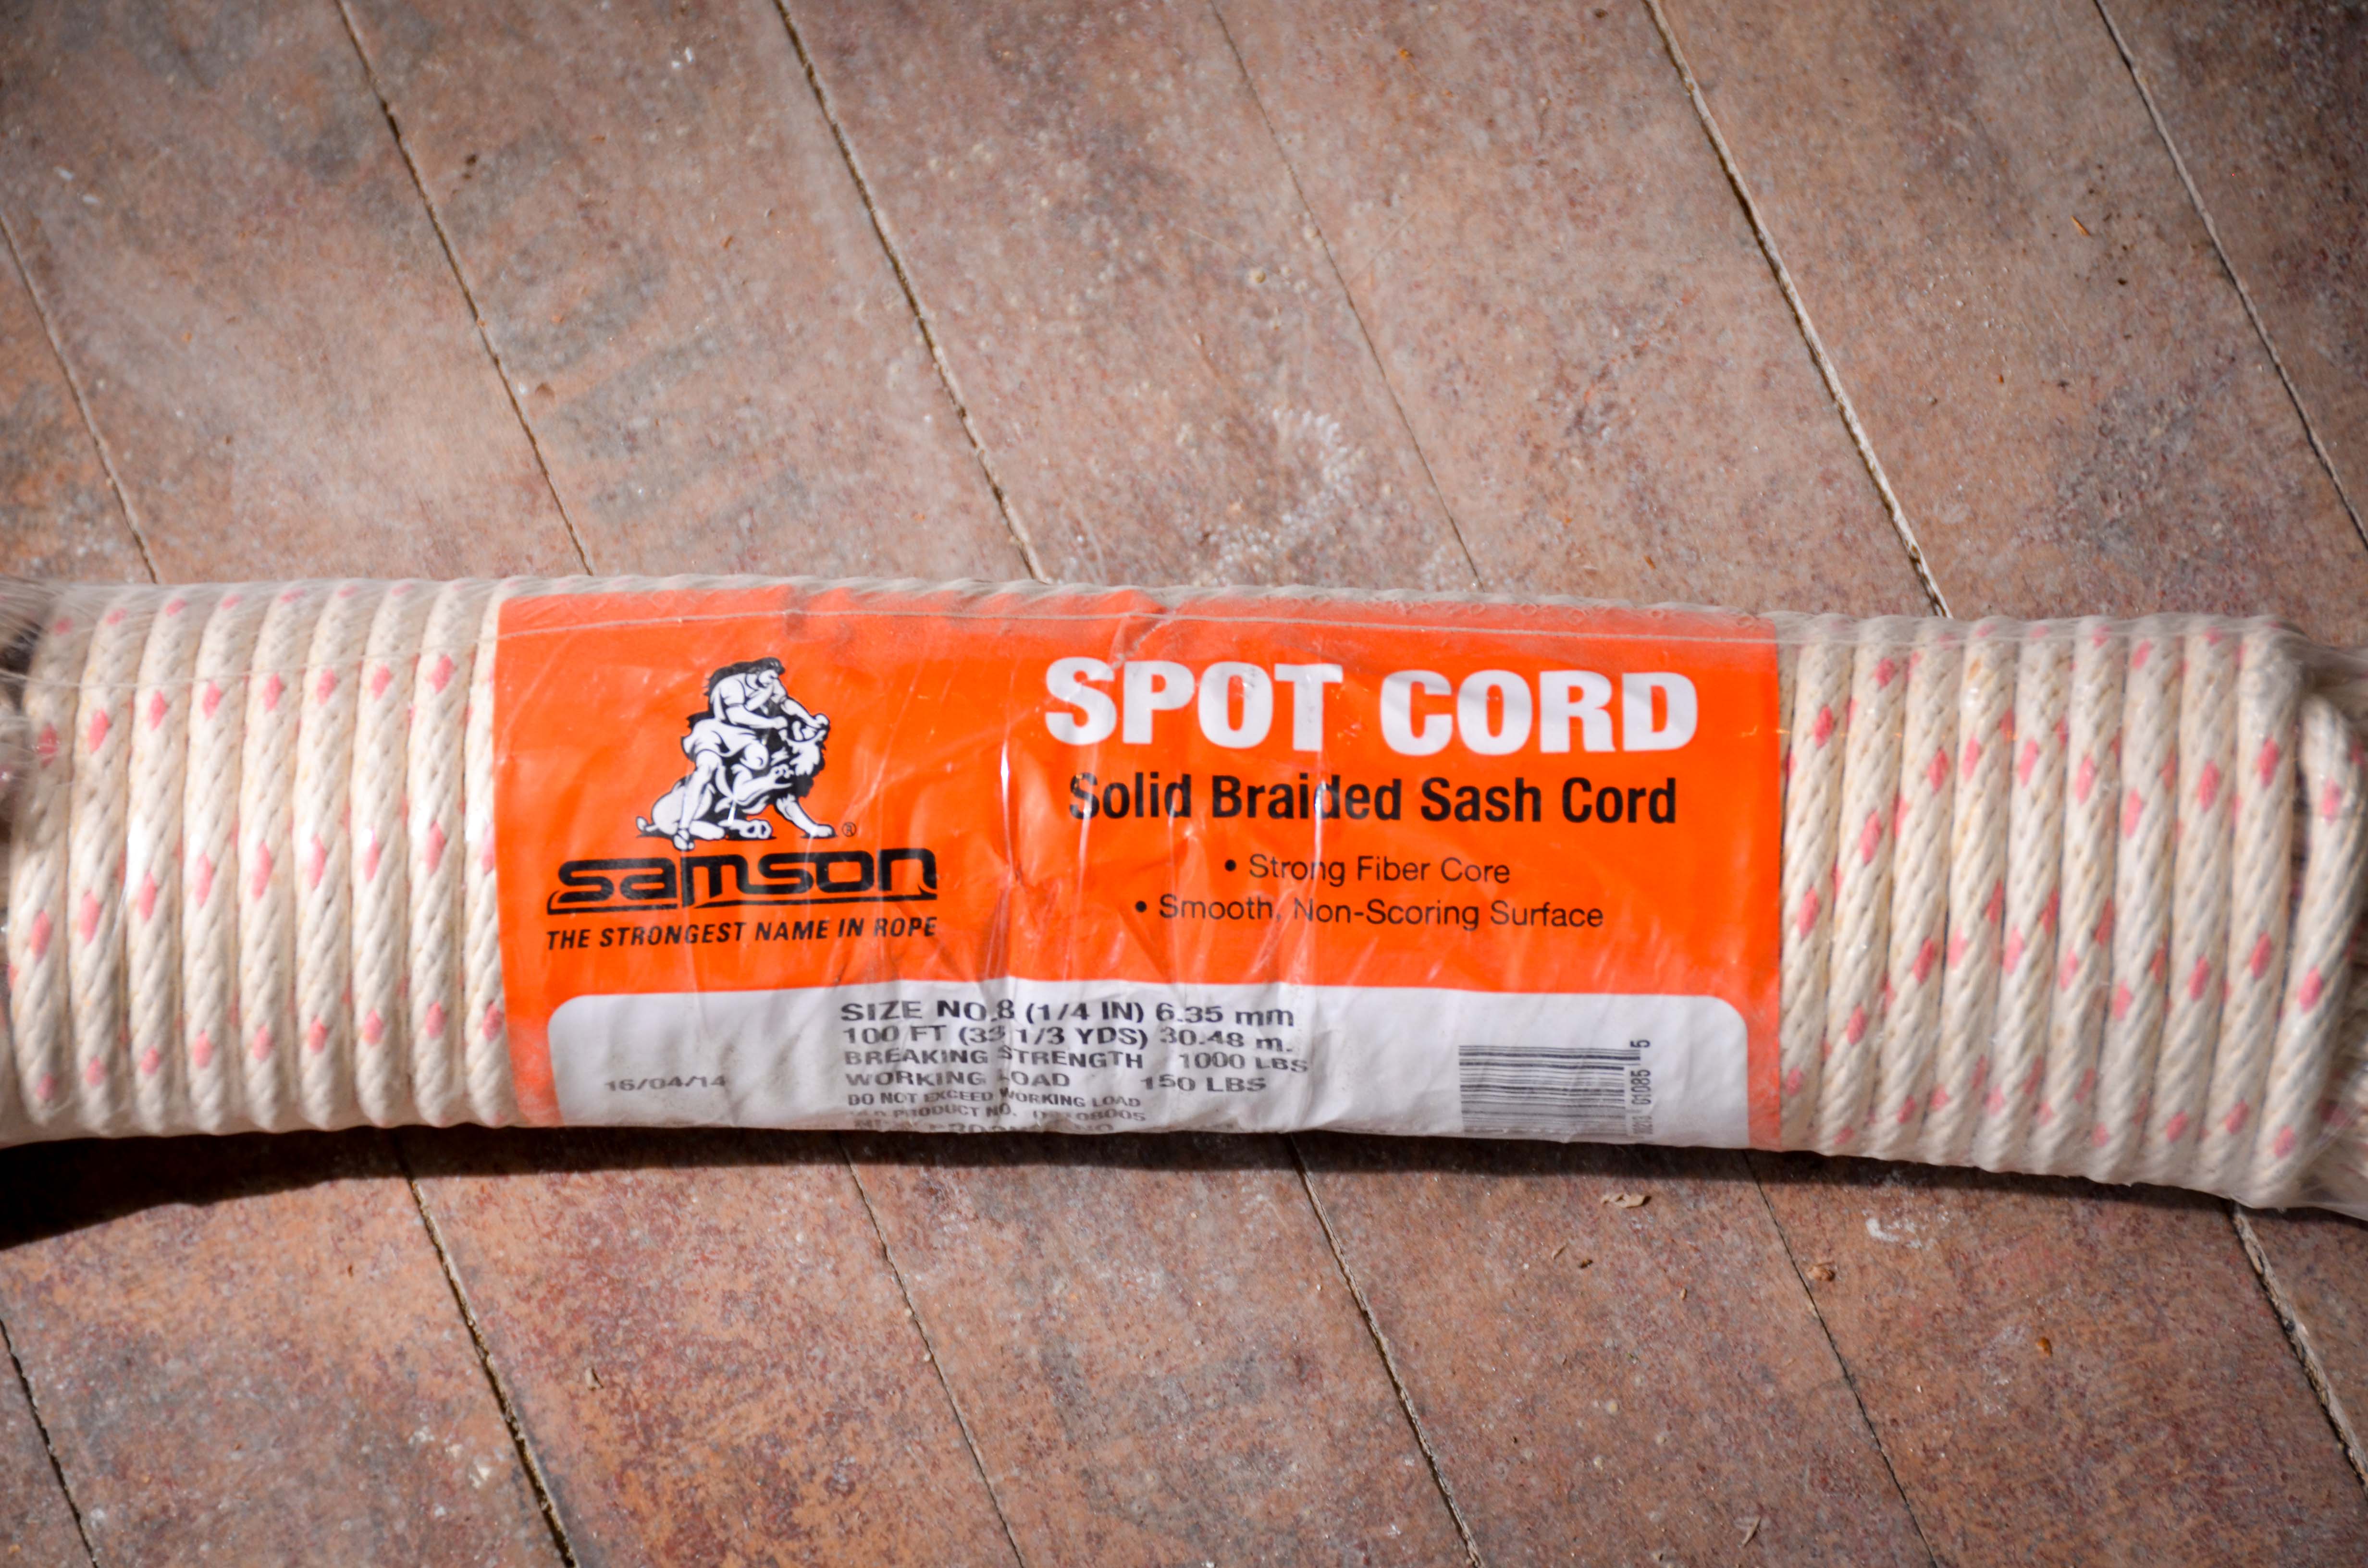
You can tell that this is the same type of rope that was originally used…

The first step (before making ANY cuts) is to fish the rope through the pulley with a small weight. I taped a drill bit to the tip of the rope. Once the rope is low enough to grab through the weight pocket you pull it through and attach the sash weight.
Some weights are a little different. Mine have a small hole in the top to fish the rope through. Once it is through just tie a simple knot and shove it back in the weight pocket.

Next you will need to figure out how long to cut the rope. The only tricky part of re-roping the weights is getting the correct length of rope. It needs to be long enough to allow the sash to go all the way up and down, but it can’t be so long that the weight hits the bottom of the frame before the window gets all the way up. Once I developed a system for figuring this out, it was pretty quick.
On the side of the sash you will see track for the rope and a hole at the end. Measure from the top of that hole to the top of the sash. Remember that distance, then measure down from the top of the window frame that same distance and make a mark. Once you have marked that distance, grab the rope that is hanging out from the pulley and pull down so that the weight lifts up a couple inches. Find the mark you made on the frame that represents the top of the hole on the side of the sash. Transfer that mark to the rope. Now you can make the first cut. Give yourself plenty of room to tie a knot by allowing about 8 inches from the line you drew on the cord. Then tie a simple and try to keep that mark in the center of the mark. The knot needs to be small, so I used pliers to pull it really tight. Once you have tied the knots for both sides of the upper or lower sash, you can now insert the sash cord into the sides of the sash.

You might need to screw in the knot to the sash. I found that my old windows were tight enough that I didn’t need to do this.
To reinstall the window reverse the procedure you used to take out the sash. Put in the top sash first by sliding one end behind the parting stop and then pushing it up to the top of the frame. Then insert the parting stop that was removed. Insert the lower sash by sliding one end behind the trim piece. Then replace the trim piece that was removed. That’s it. You’re done!
I have found that restoring old windows is a very doable DIY project. It takes time and patience, but you will get better and faster as you go. Have fun!

I have googled lots of articles trying to figure out how to measure rope for my ancient, weighted windows. Your’s is the first specific step by step I found. A million times, Thank You.
One fully restored inside and out -four more to go.
LikeLike
Awesome! I’m glad it helped you out!
Good luck with the rest of your project!
LikeLike
Thank you so much for this, I moved into a 1920’s bungalow and really want to rescue these windows. Thank you so much for taking the time to write all this.
LikeLike