Step 2 – Removing the glazing and glass
This is the most dangerous and nerve wracking part of the process. I have broken several windows in this stage and it is heart breaking every time. I read about a few different methods to do this. Some people use a heat gun. It seems like that works for some people as long as you are careful to shield the glass from the heat. Most of my windows had glazing putty that was in such bad shape that it wasn’t too difficult to remove, so I stayed away from the heat gun.
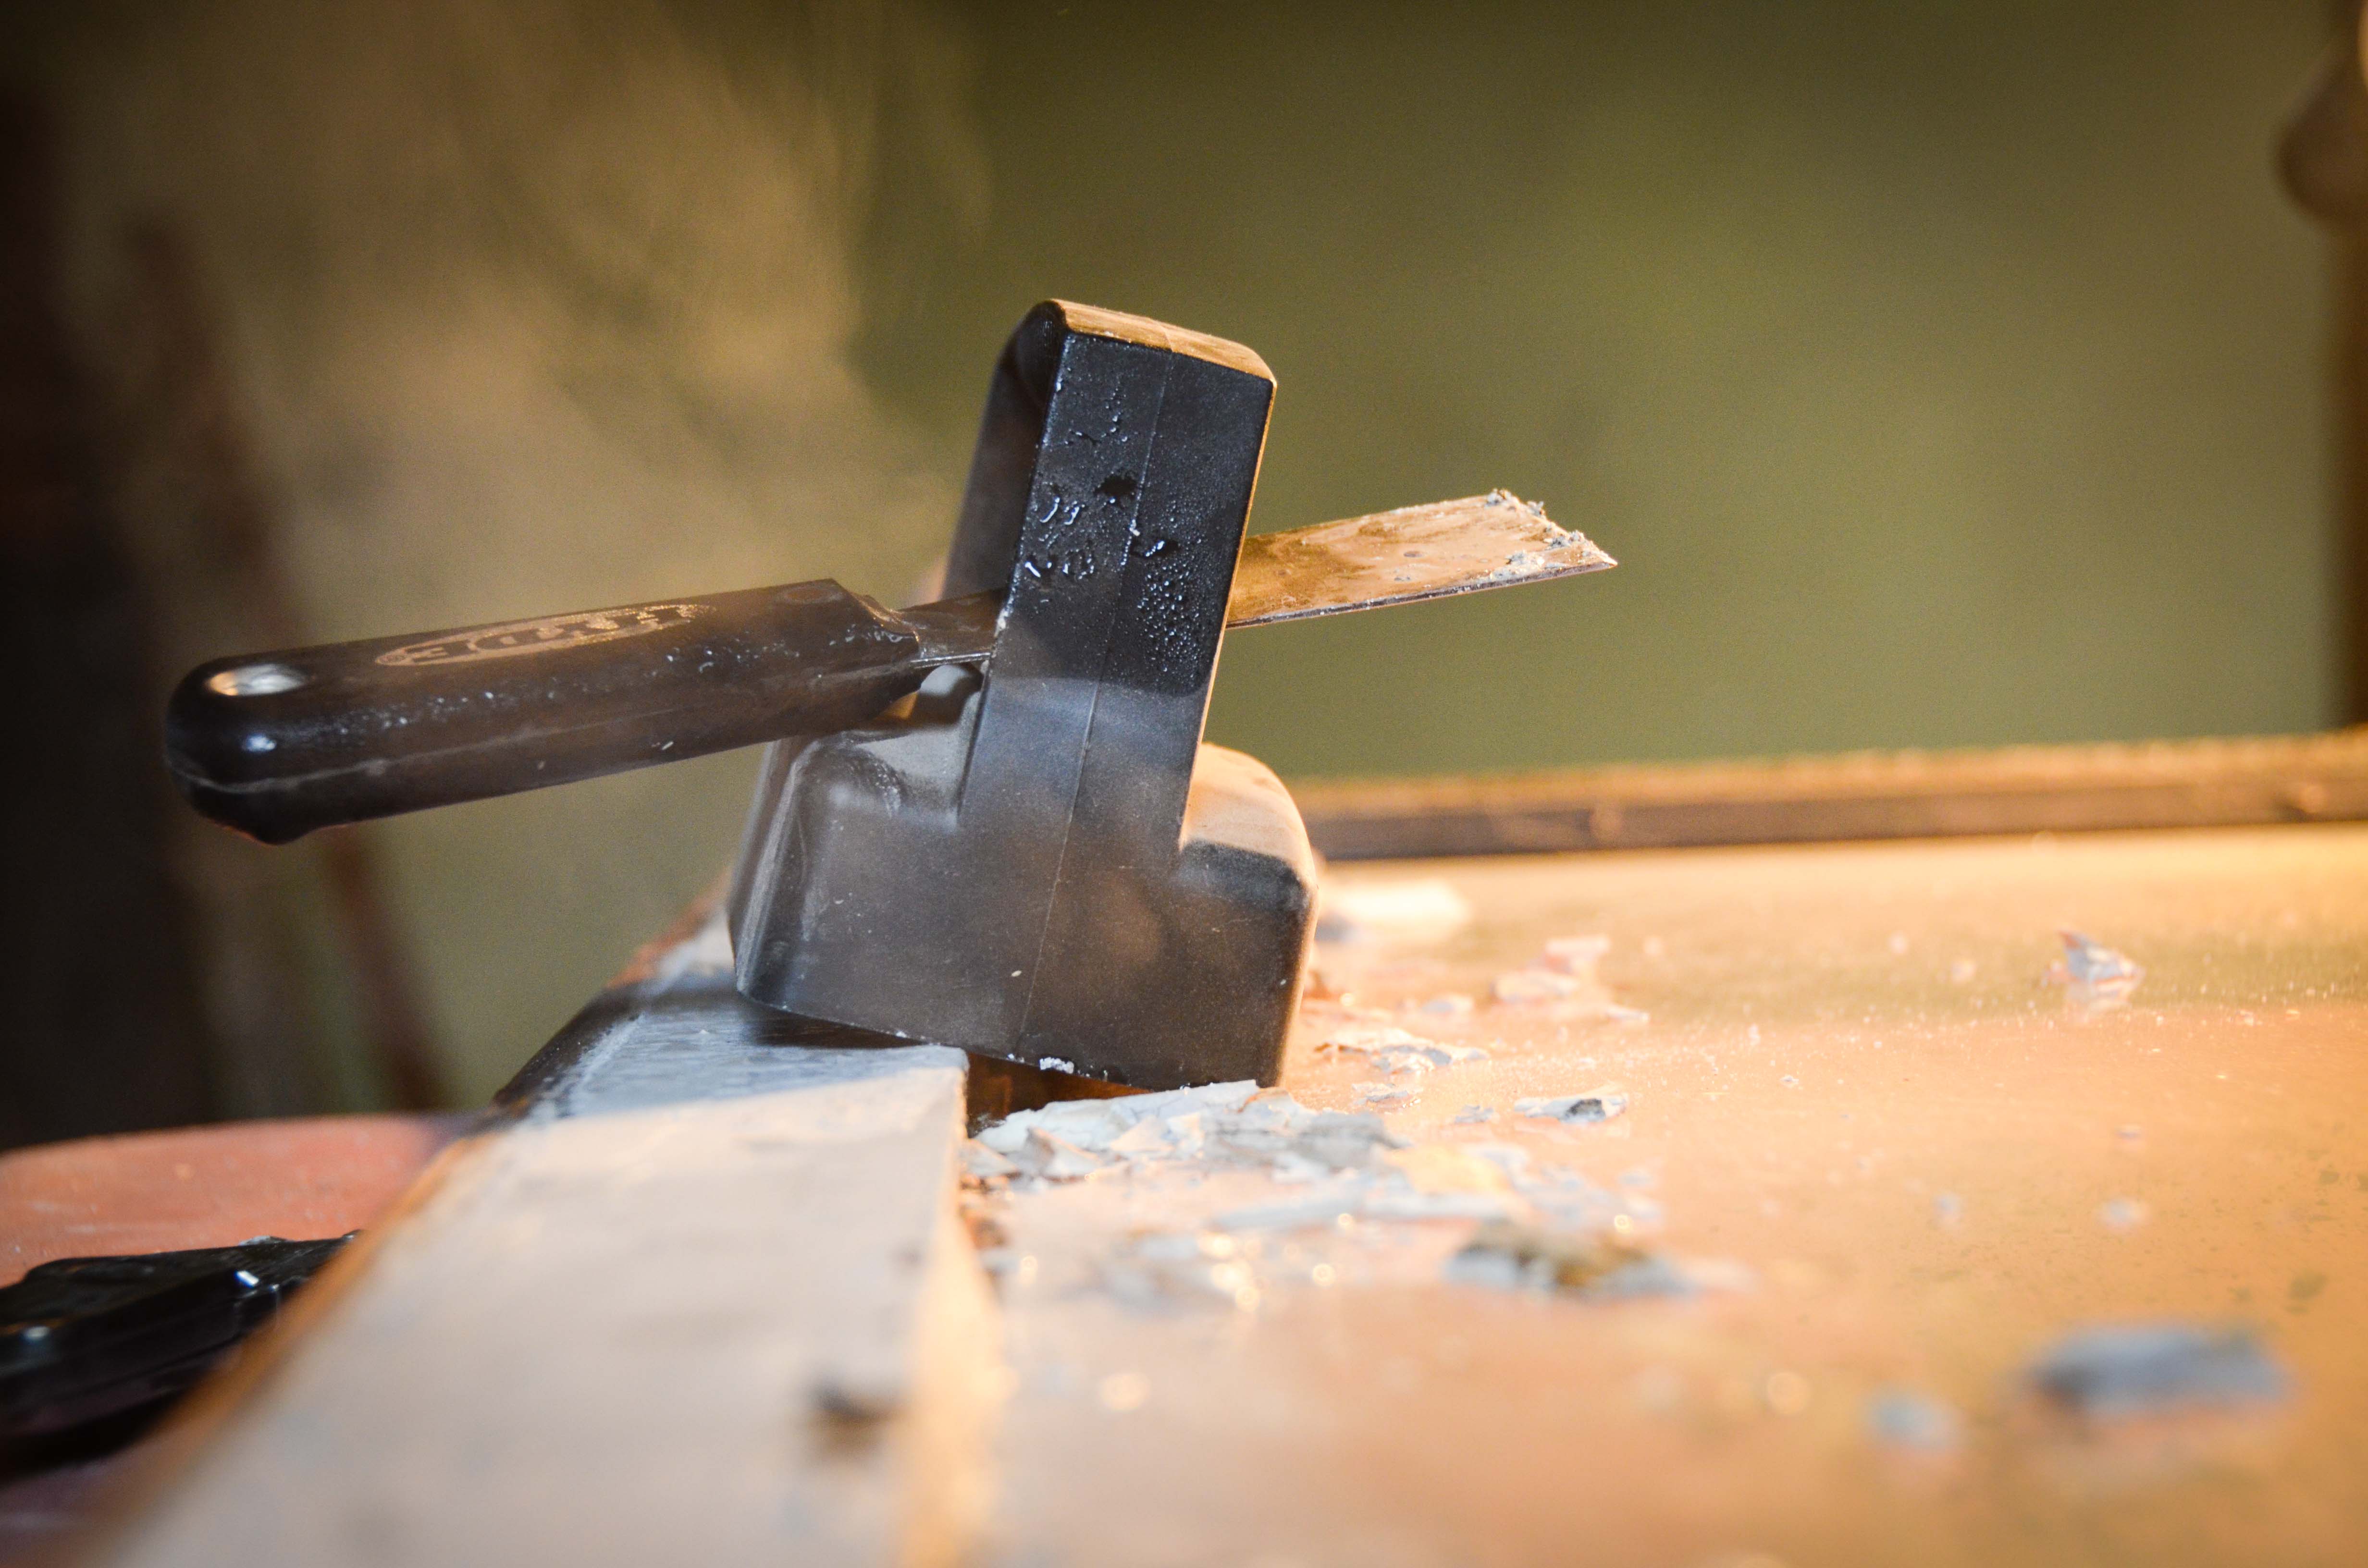
Most people use the blade end of a glazing tool:
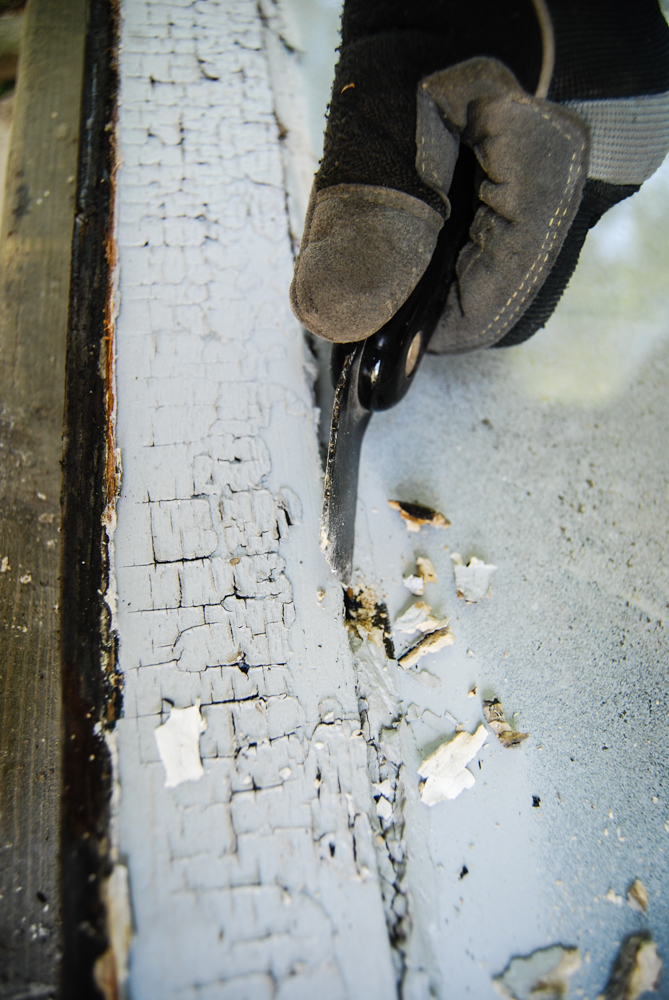
 I eventually just started using a small putty knife and it worked just as well. You will discover different techniques that work for you. Sometimes I would need to use a corner of the blade and come in from the top, but usually I would come in from the side and just carefully pry the old putty off the wood. The important thing is to avoid putting any pressure on the glass. All the scraping and pressure should be on the sash. The best advice I can give you is to take your time! If you start getting frustrated, just walk away. Impatience and frustration are bound to lead to cracked glass.

Another method I started trying later in my project was to just use a utility knife. I would wedge the blade in between the putty and the sash and then pop out the putty. This seemed to work a little better and also avoided any contact with the glass. I could also turn the blade horizontally and cut at any leftover material sticking to the sash.

I did eventually start using a steamer to heat up the putty if I encountered a really stubborn area. A wallpaper steamer works great for this. This worked pretty well and the steamers aren’t very expensive. I just set it on the area and let heat up for a minute. Usually the putty would turn just soft enough for me to get in there and pry it off with a little less resistance.
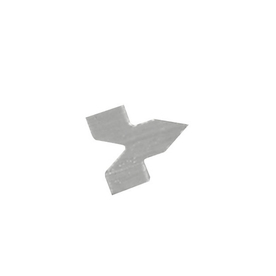
As you are removing the putty you will discover small metal triangles (or something similar). These are glazing points and they hold the window in place. The old ones are simple triangles or diamonds. The new ones look like this:
Once again, be careful when you remove these. Only apply pressure sideways to dislodge the glazing points and be careful not to get the corner of the blade stuck under the glass when applying pressure. Sometimes it is beneficial to push the glazing point one way, then approach it from the other side and rock it back the other way.
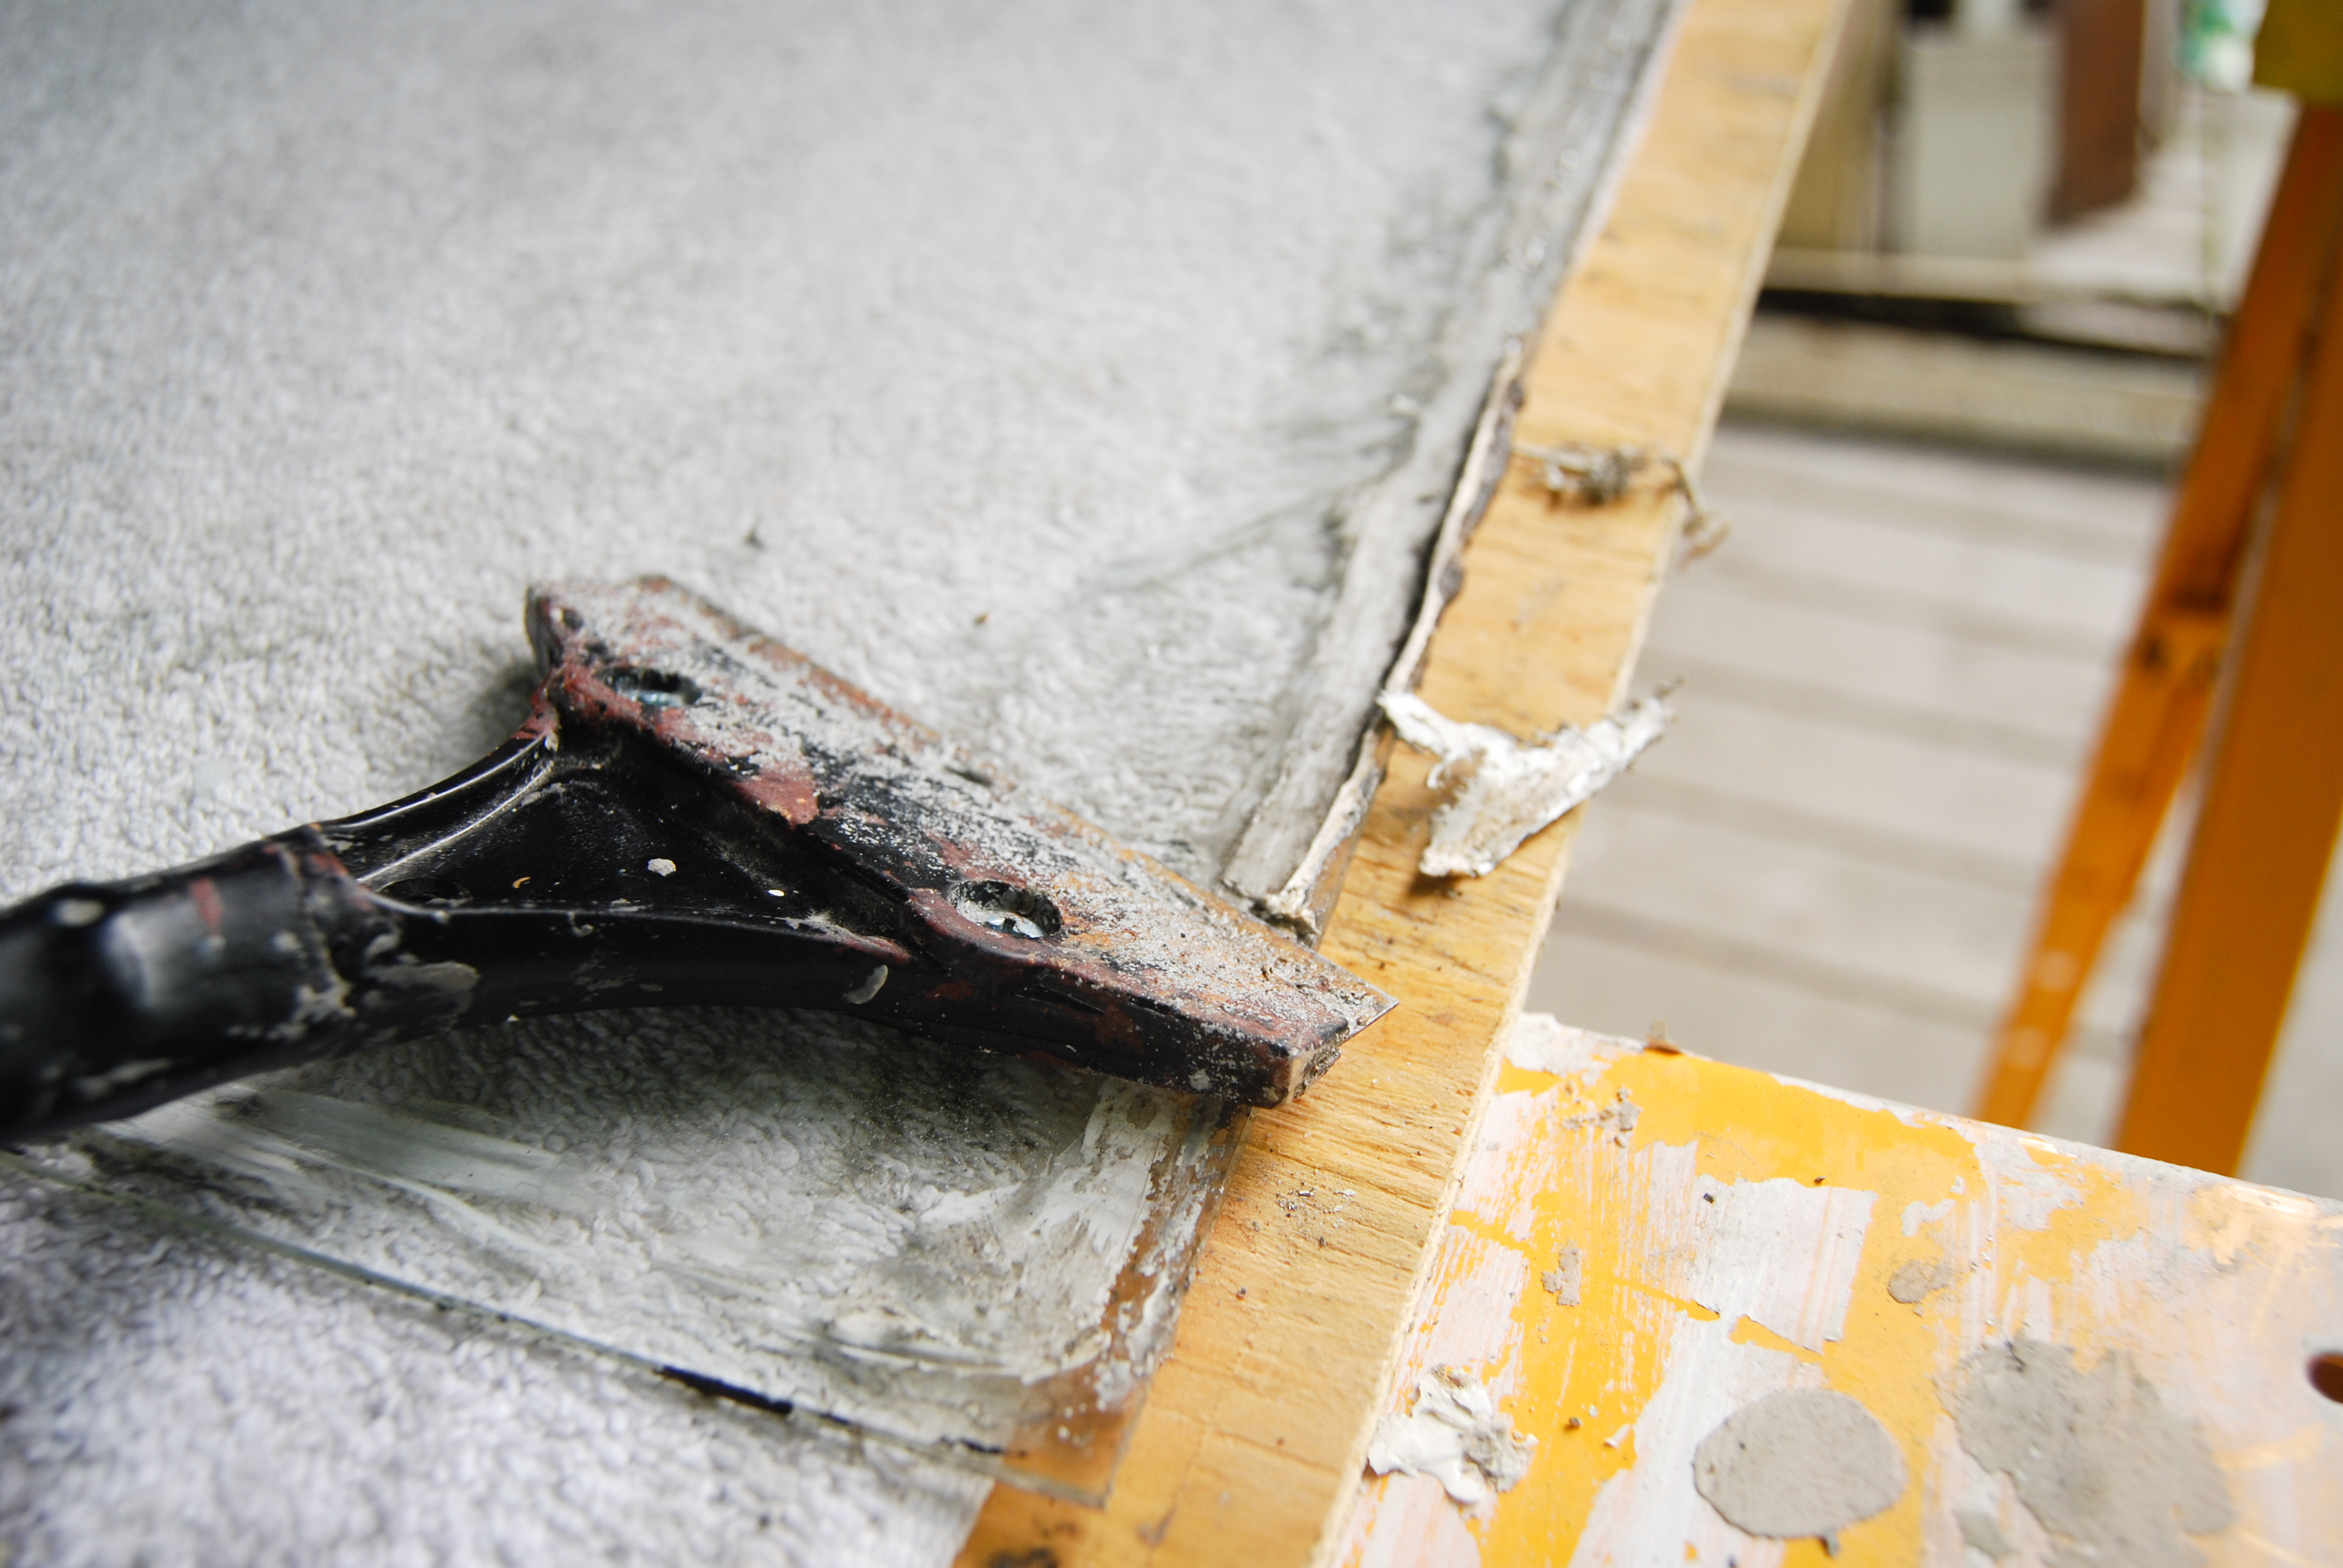
Towards the end of my project I started using a paint scraper on the edges of the sash to remove anything that might catch on the glass.

Once you are completely, positively, 100% sure that there are no obstructions holding in the glass, carefully remove the glass from the sash. I do this by gently pushing up from underneath the glass. Sometimes I check all the way around the sash to make sure that each side is free from the sash. Watch out for any glazing points you might have overlooked, bits of hard putty, or a sliver of wood that might catch the glass and crack it as you remove it.
The window glass will need to be clean before you can reglaze them. My windows all had paint on them. To clean the glass I put it on a towel and then just used water and a scraper.
On the really tough sections I used a razor blade. Once again, be careful – don’t push too hard.

Once you are done with the glass, set it aside. Now you are ready to clean up that sash.
