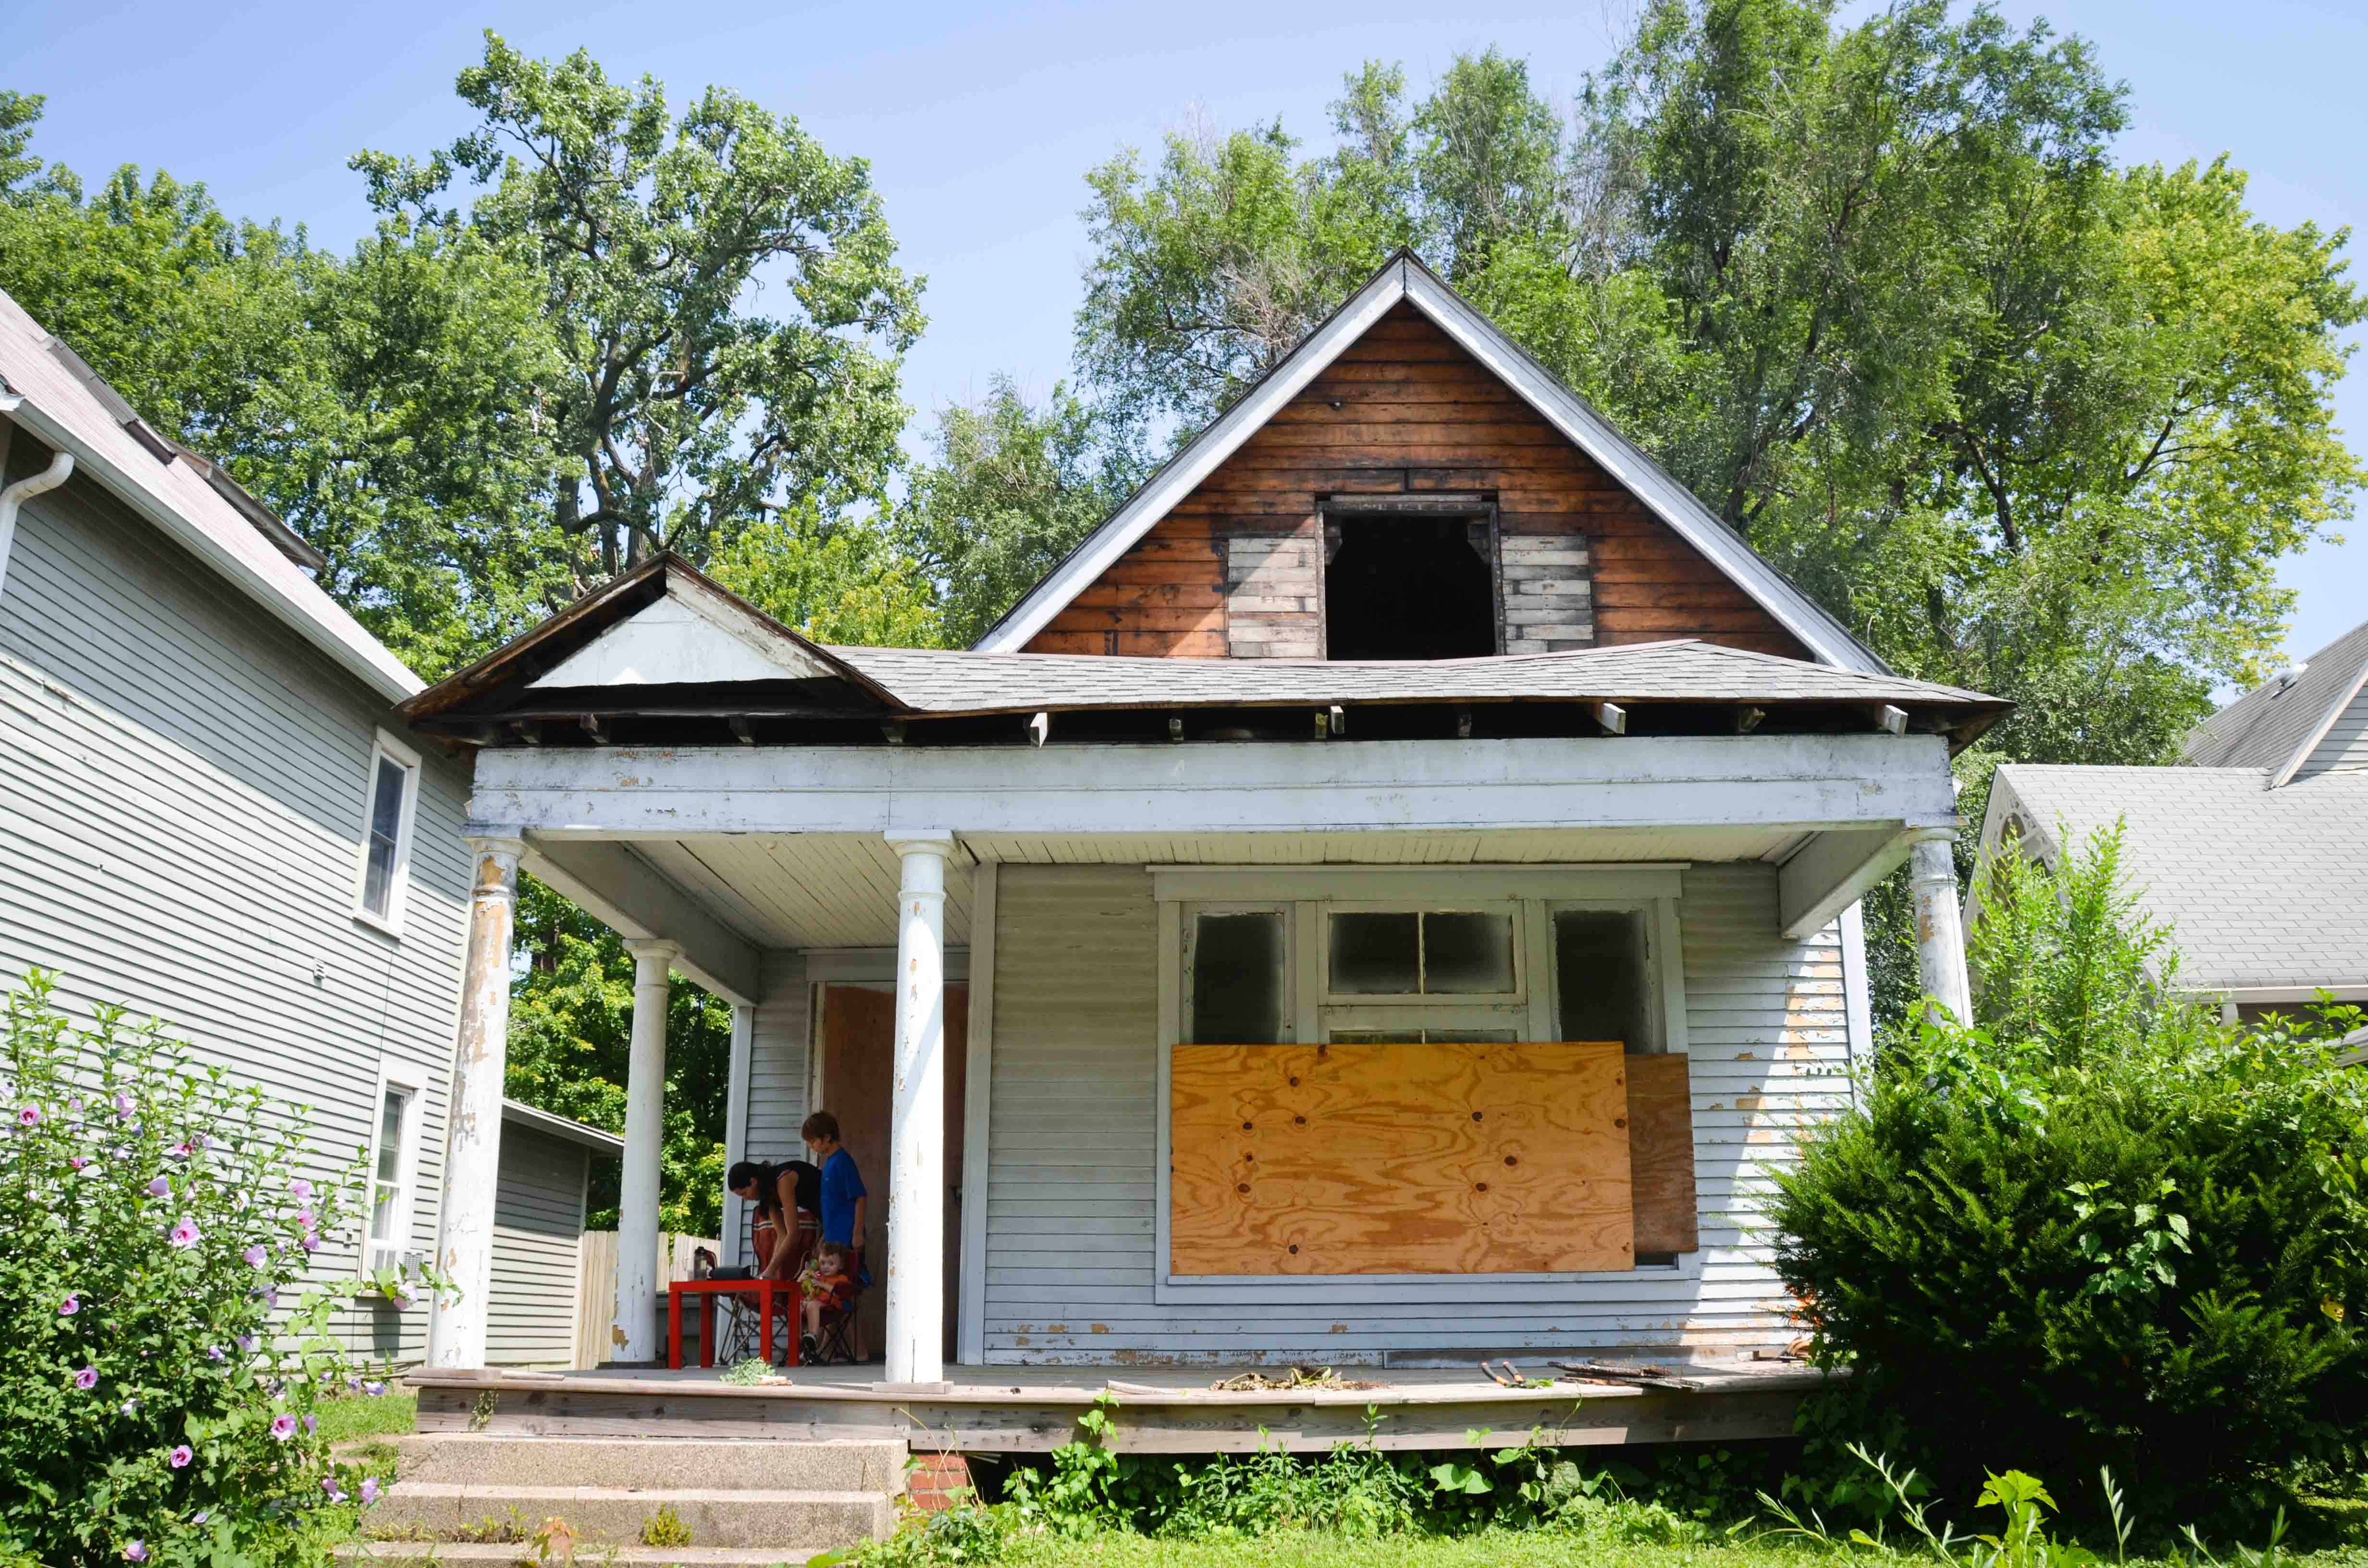
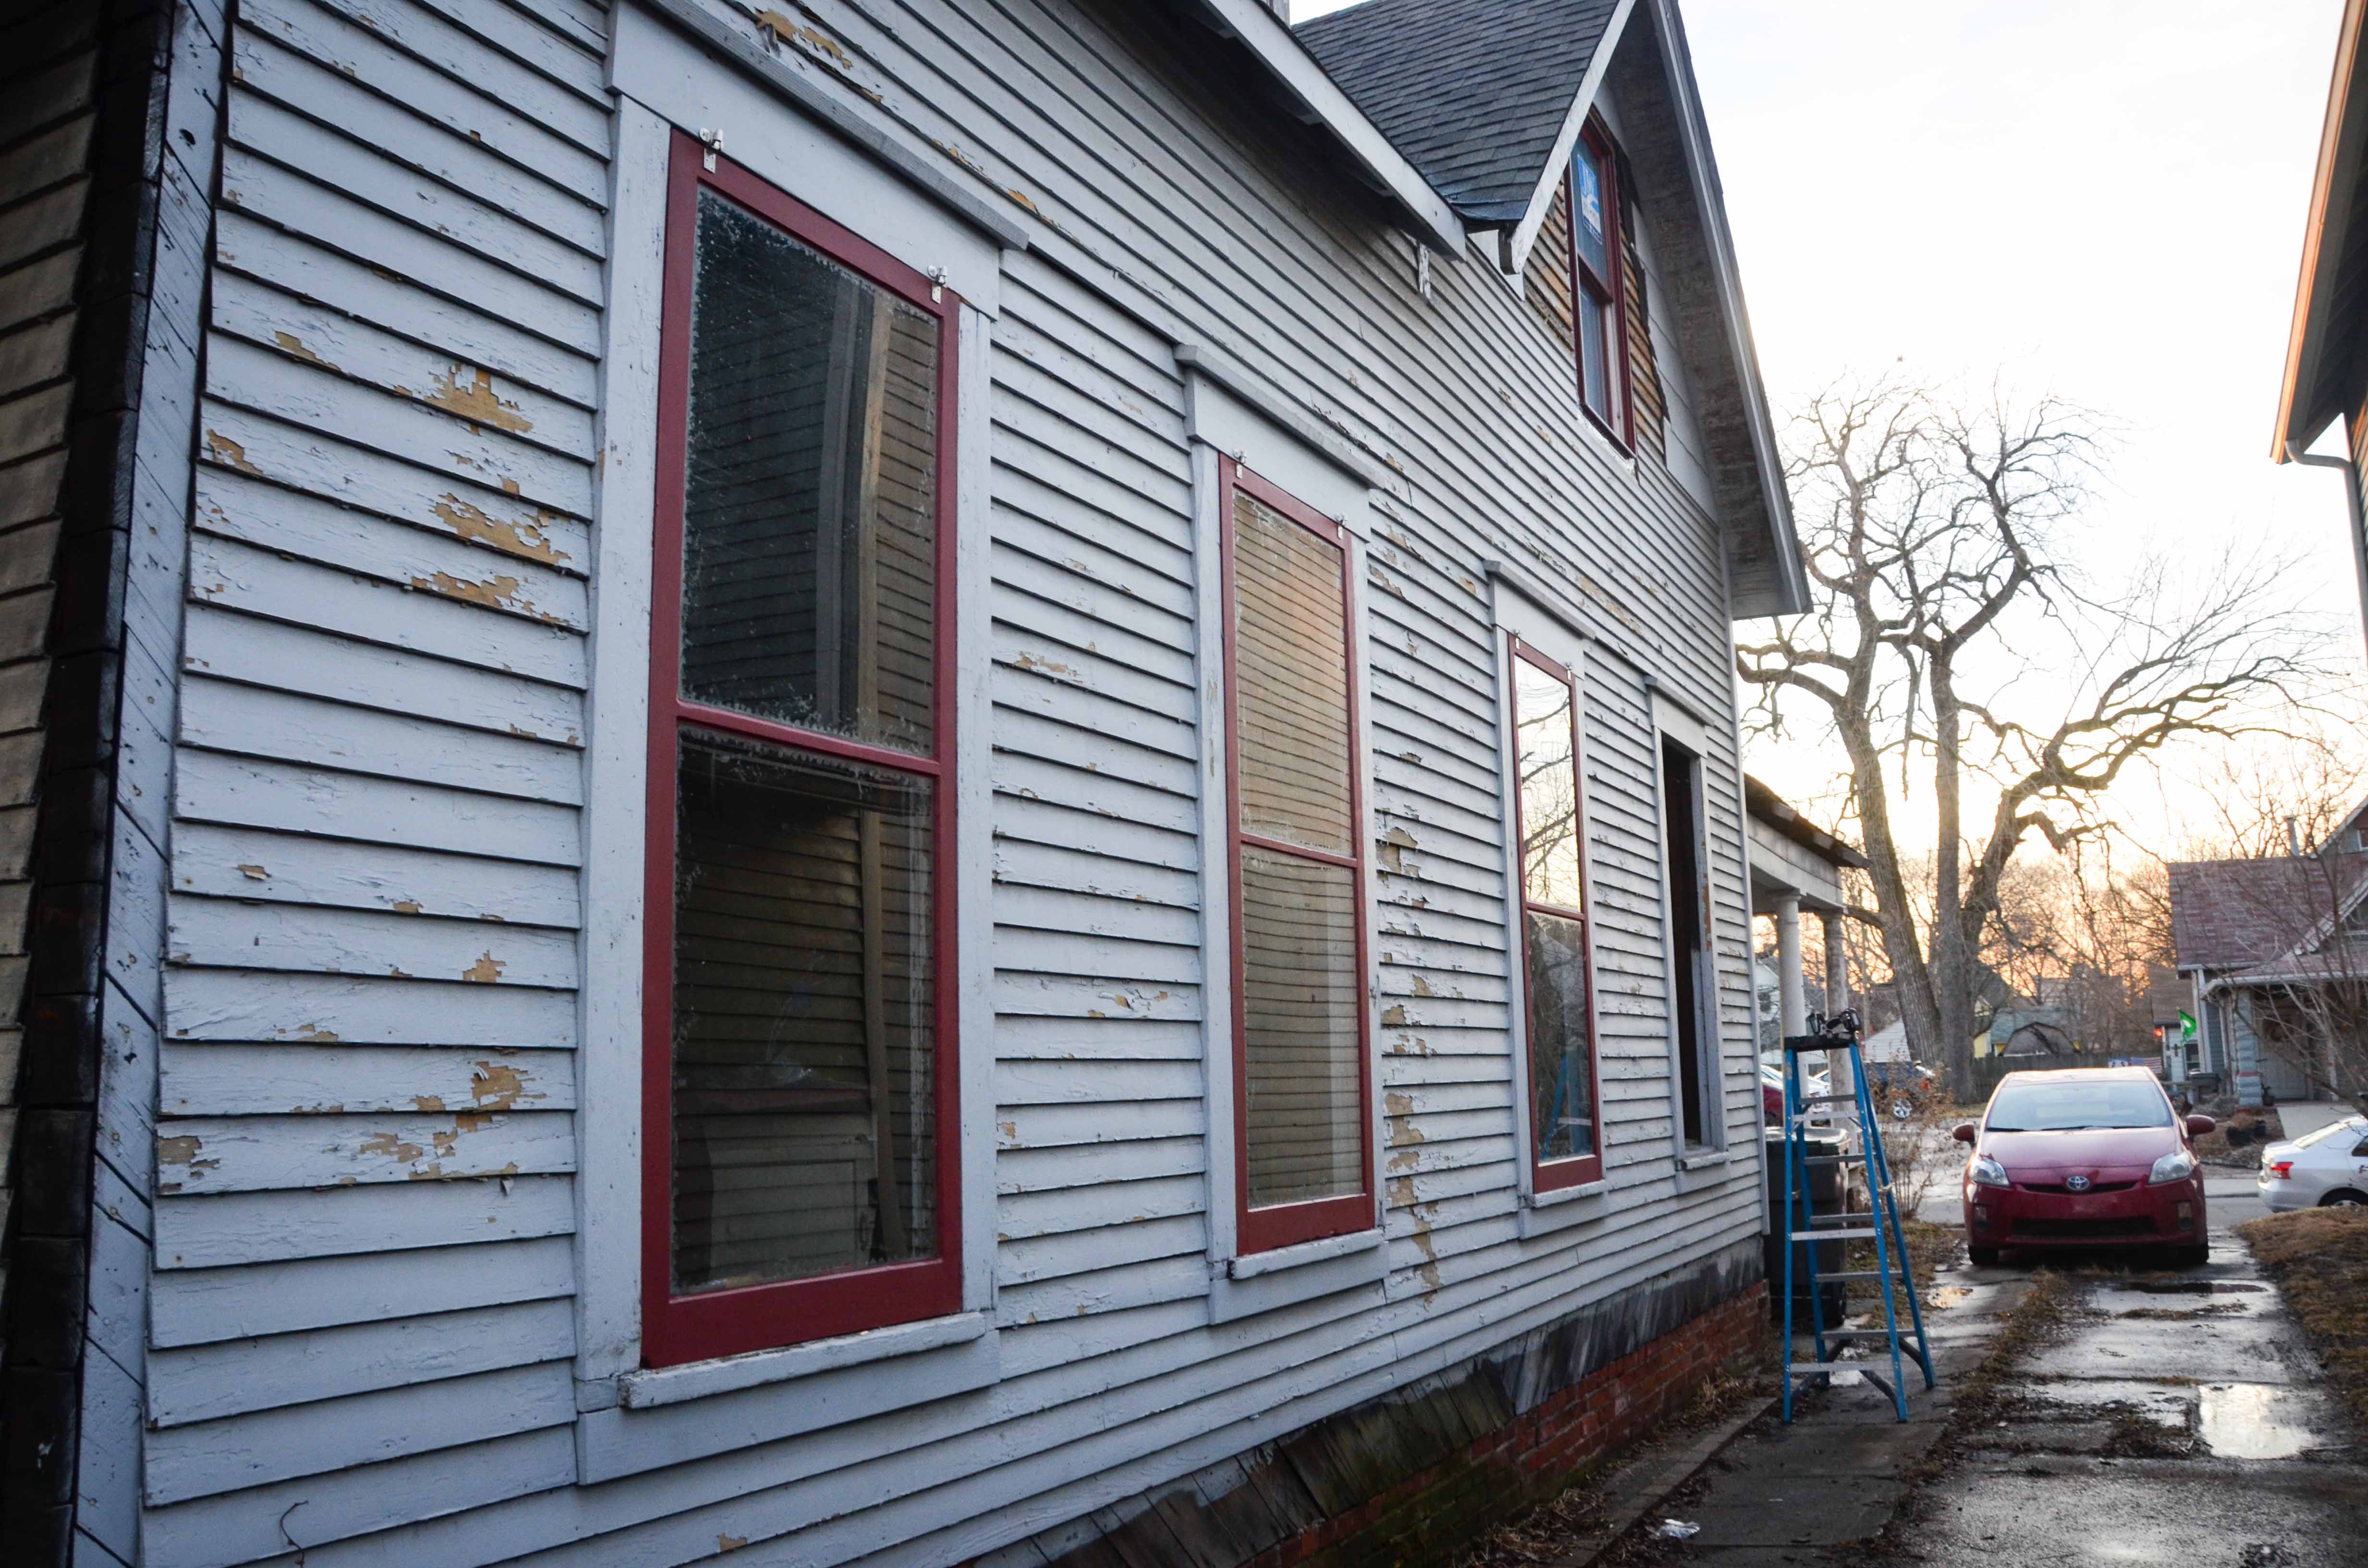
This is what the house looked like when we bought it.


After purchasing the house one of the very first things to be done was to clean up the land around it. The backyard was completely overgrown with tree-size weeds and tangled brush. There were shards of broken glass and broken pieces of wood all over the place. The driveway and walkway was nearly overgrown with grass. We literally had to unearth the concrete.

Amy slowly worked to uncover the driveway. The dirt completely covered these bricks in the image above. She was excited to find the border. The front walkway also had a brick border that was a few inches below dirt.
Here is what the backyard looked like before we worked on it. This picture really doesn’t do it any justice.


We eventually went back and removed that brush covered the tower of bricks and concrete blocks in the middle of the backyard…brick by brick.

We don’t have a good “before” picture of the alley behind the garage but originally you could not even see the back of our garage.
After the initial cosmetic landscaping work, most of our time was spent on the interior of the house. Eventually we got around to removing that big ugly vent on the front of the house.

Then we worked to remove the siding on on the gables. Sadly, there was not any original siding on the front gable, but, it was gratifying to see such a s visible change in the appearance of our house for our efforts.

The photo below shows the evidence of three windows that were once on this part of the house. We put in an application to the historical society and were approved to keep the three-window arrangement, but enlarge them to meet code requirements for a bedroom.
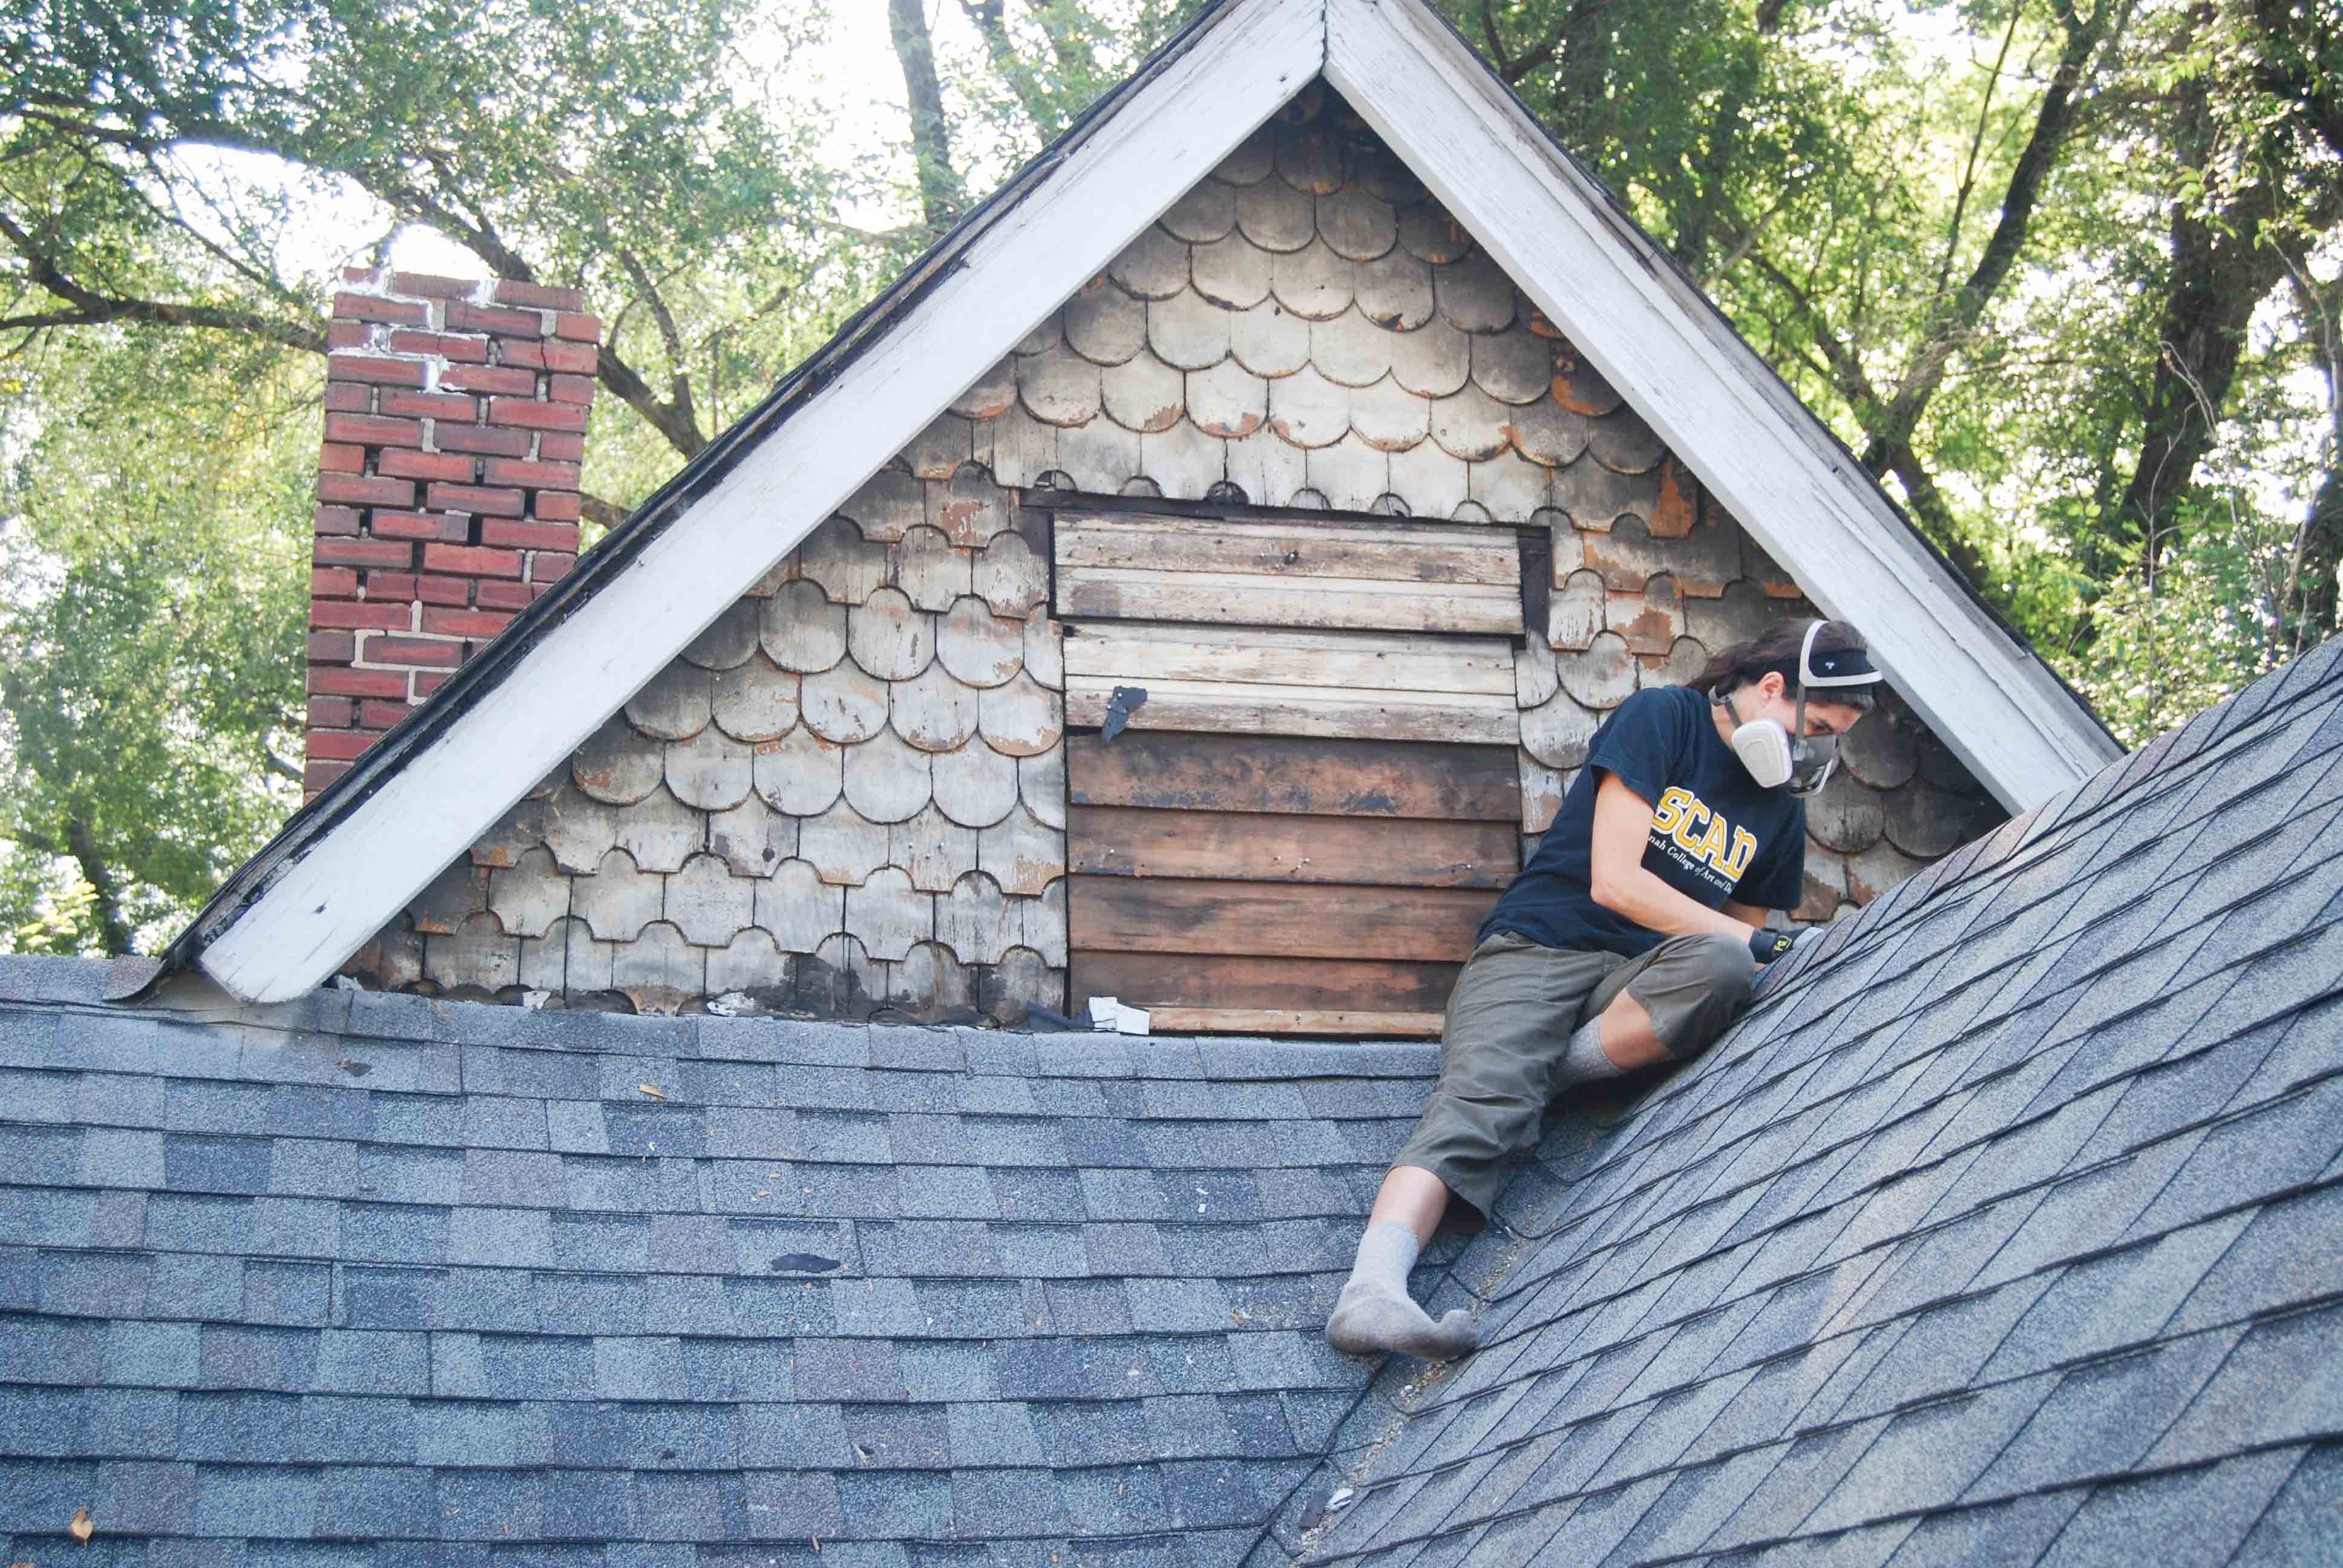
Moving onto another siding covered area of the house. We figured we would find the same absence of original siding here but…..

…we were excited to find the original decorative siding. Yay! Note to self, wear woolly socks for traveling on a slippery roof. Do roof work at sunrise when the surface is still cool rather than scorch your butt cheeks off at lunchtime.

I sure am glad we didn’t slip off the roof. It was precarious and steep. Not only did we find original siding but we also found evidence that there used to be a window in this gable. We plan on installing a new window in that location.
We also cleared the way for new windows on the north and south side of the house by removing some of the non-original siding. The north gable will be a bedroom and south gable will be a bathroom.

Below you can see the original small attic window that will be replaced with a much larger window to meet egress requirements for Aiden’s future bedroom.

Meanwhile……we got the water turned on!

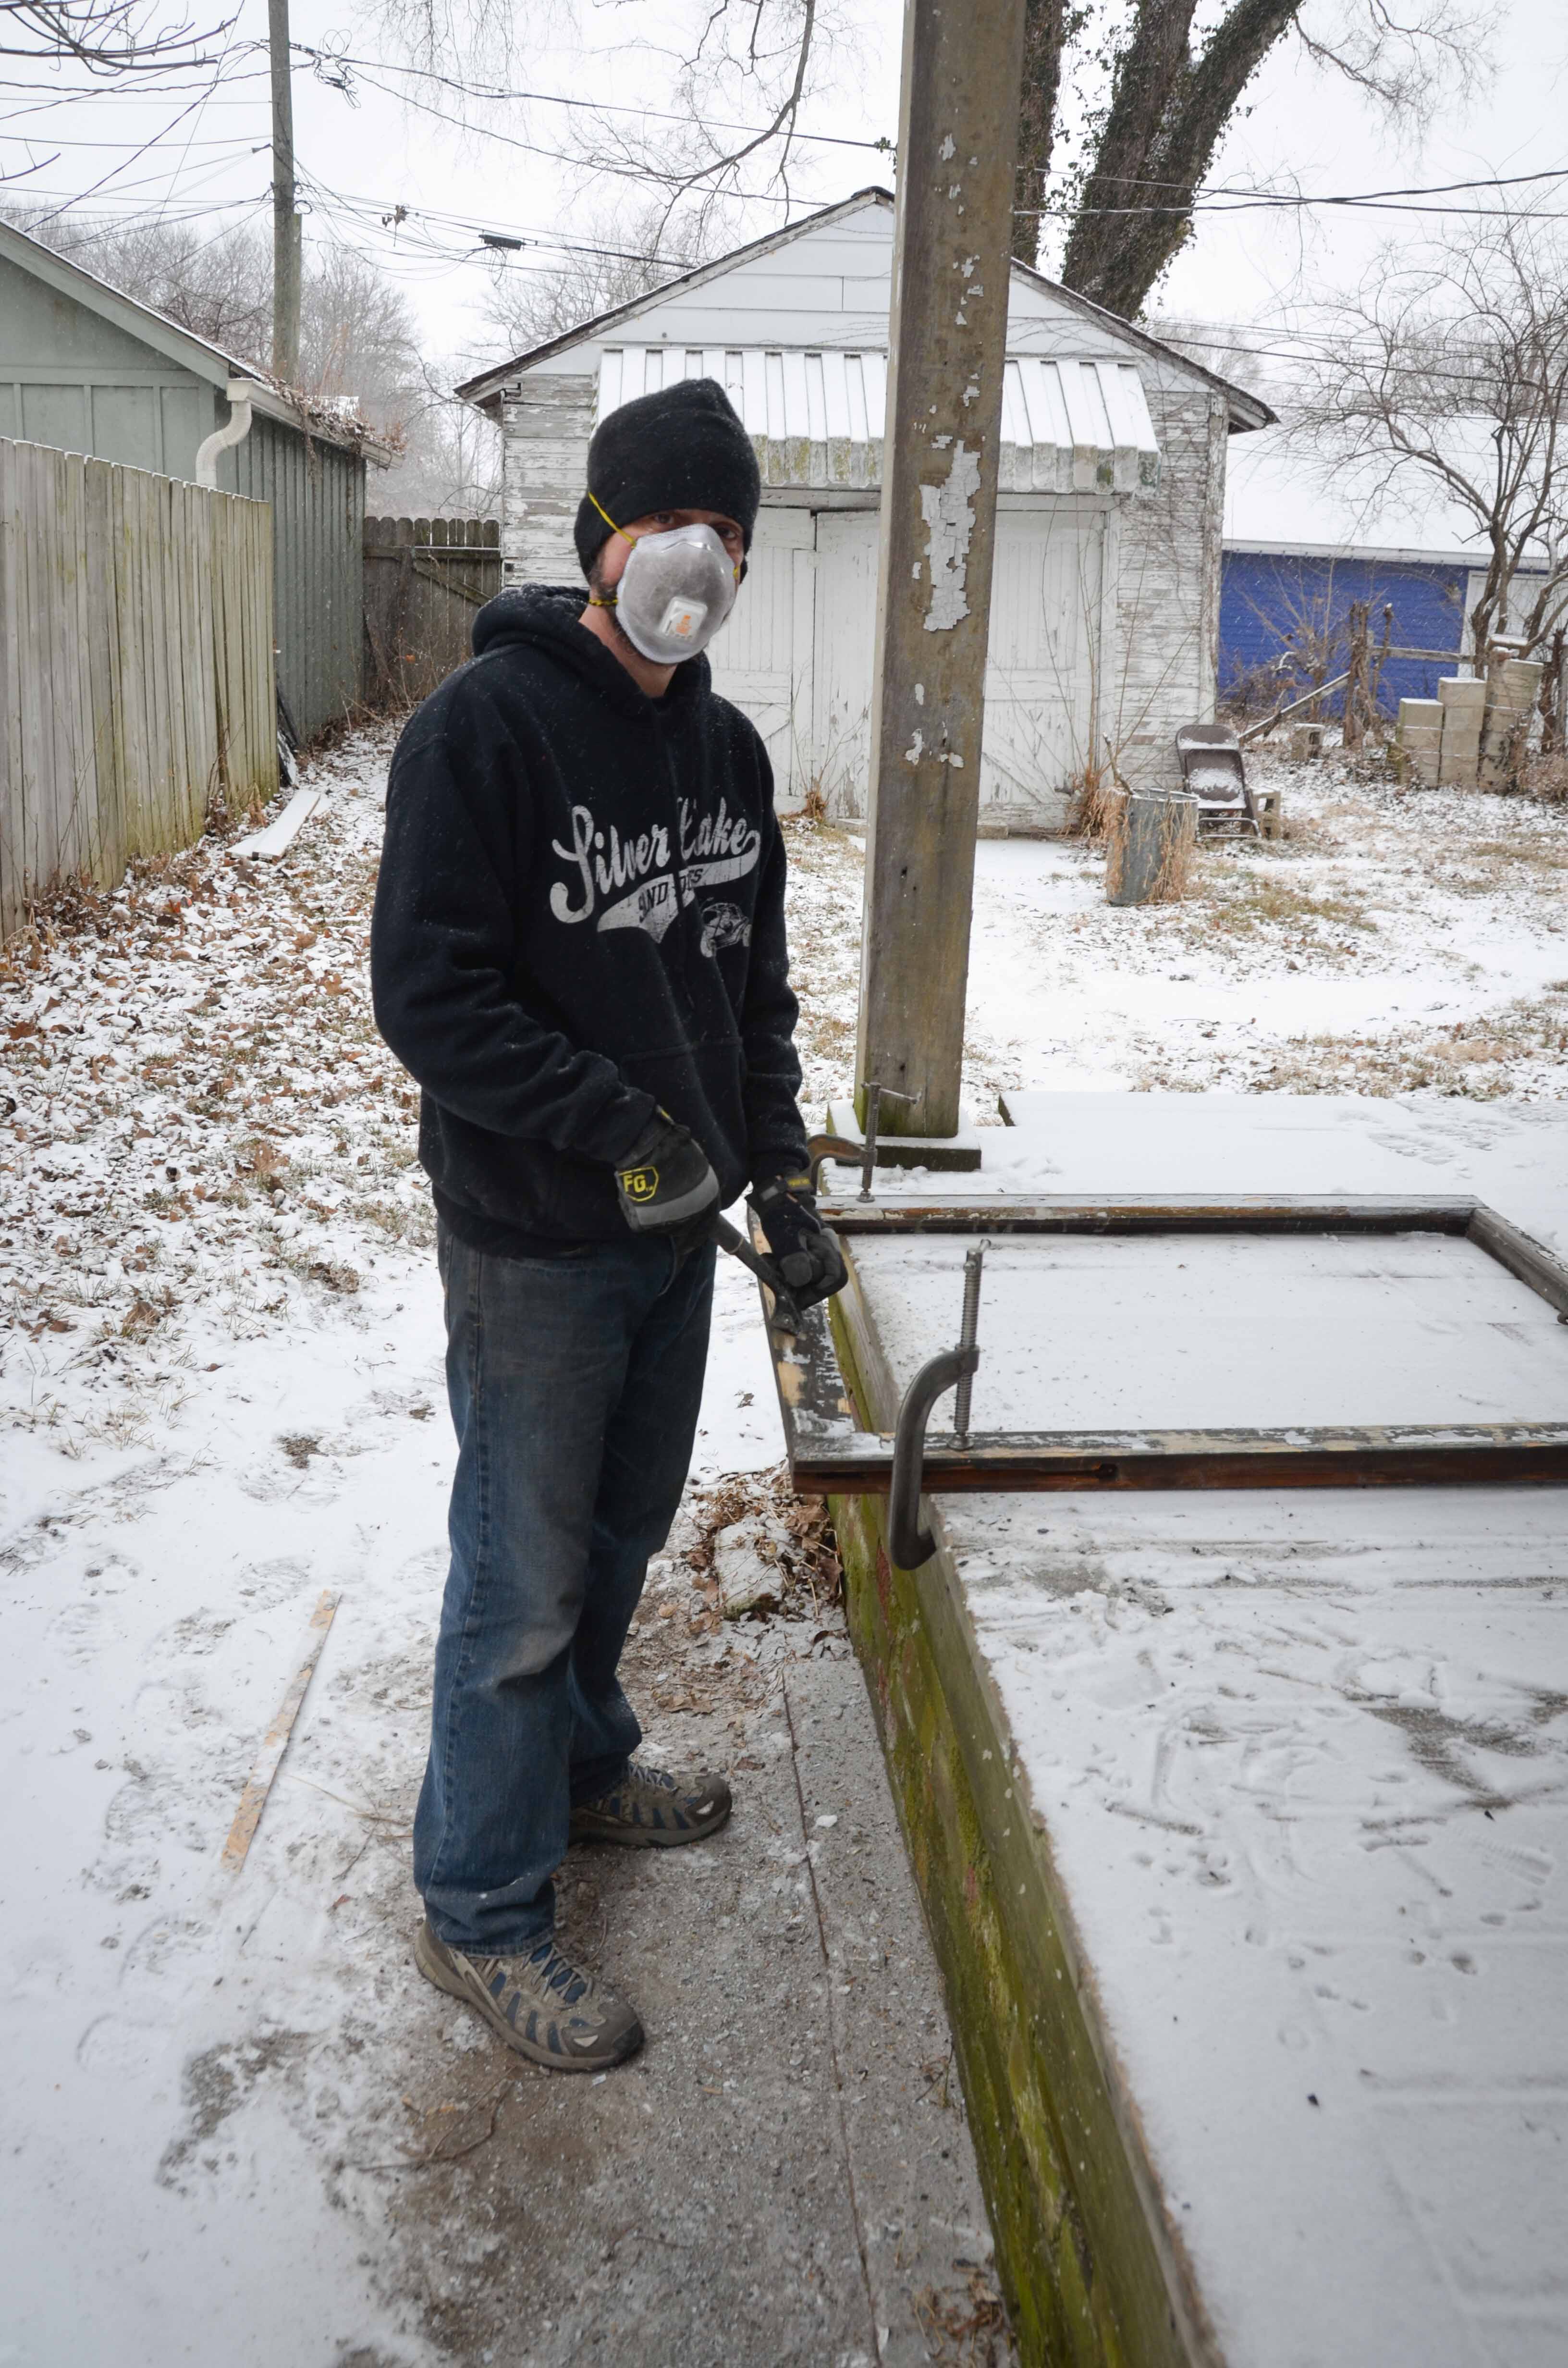
One of the biggest jobs of our entire house project has been restoring all of the old windows. This job has been going on in the background from the beginning and will probably continue after we move in. Joe has been gradually removing all the window sashes and going through the rehab process.
After removing them he chipped off the crumbling glazing and scraped the old paint…

Next, scraping, sanding and priming…

Then reglazing…

He started with the kitchen and then moved on to any sashes that had cracked window panes. A few of the sashes were too rotted to use, so we had them replaced with replica wood windows and then attempted to match the look of the old wood.

Meanwhile, we used the original storm windows we found in the garage and put them up to cover the openings we created in the house when removing the windows.
Once the main windows are restored and installed we will take off the storms and work to restore them as well. Here you can see an old storm window with new hardware covering a “hole” where we took out a window for restoration.

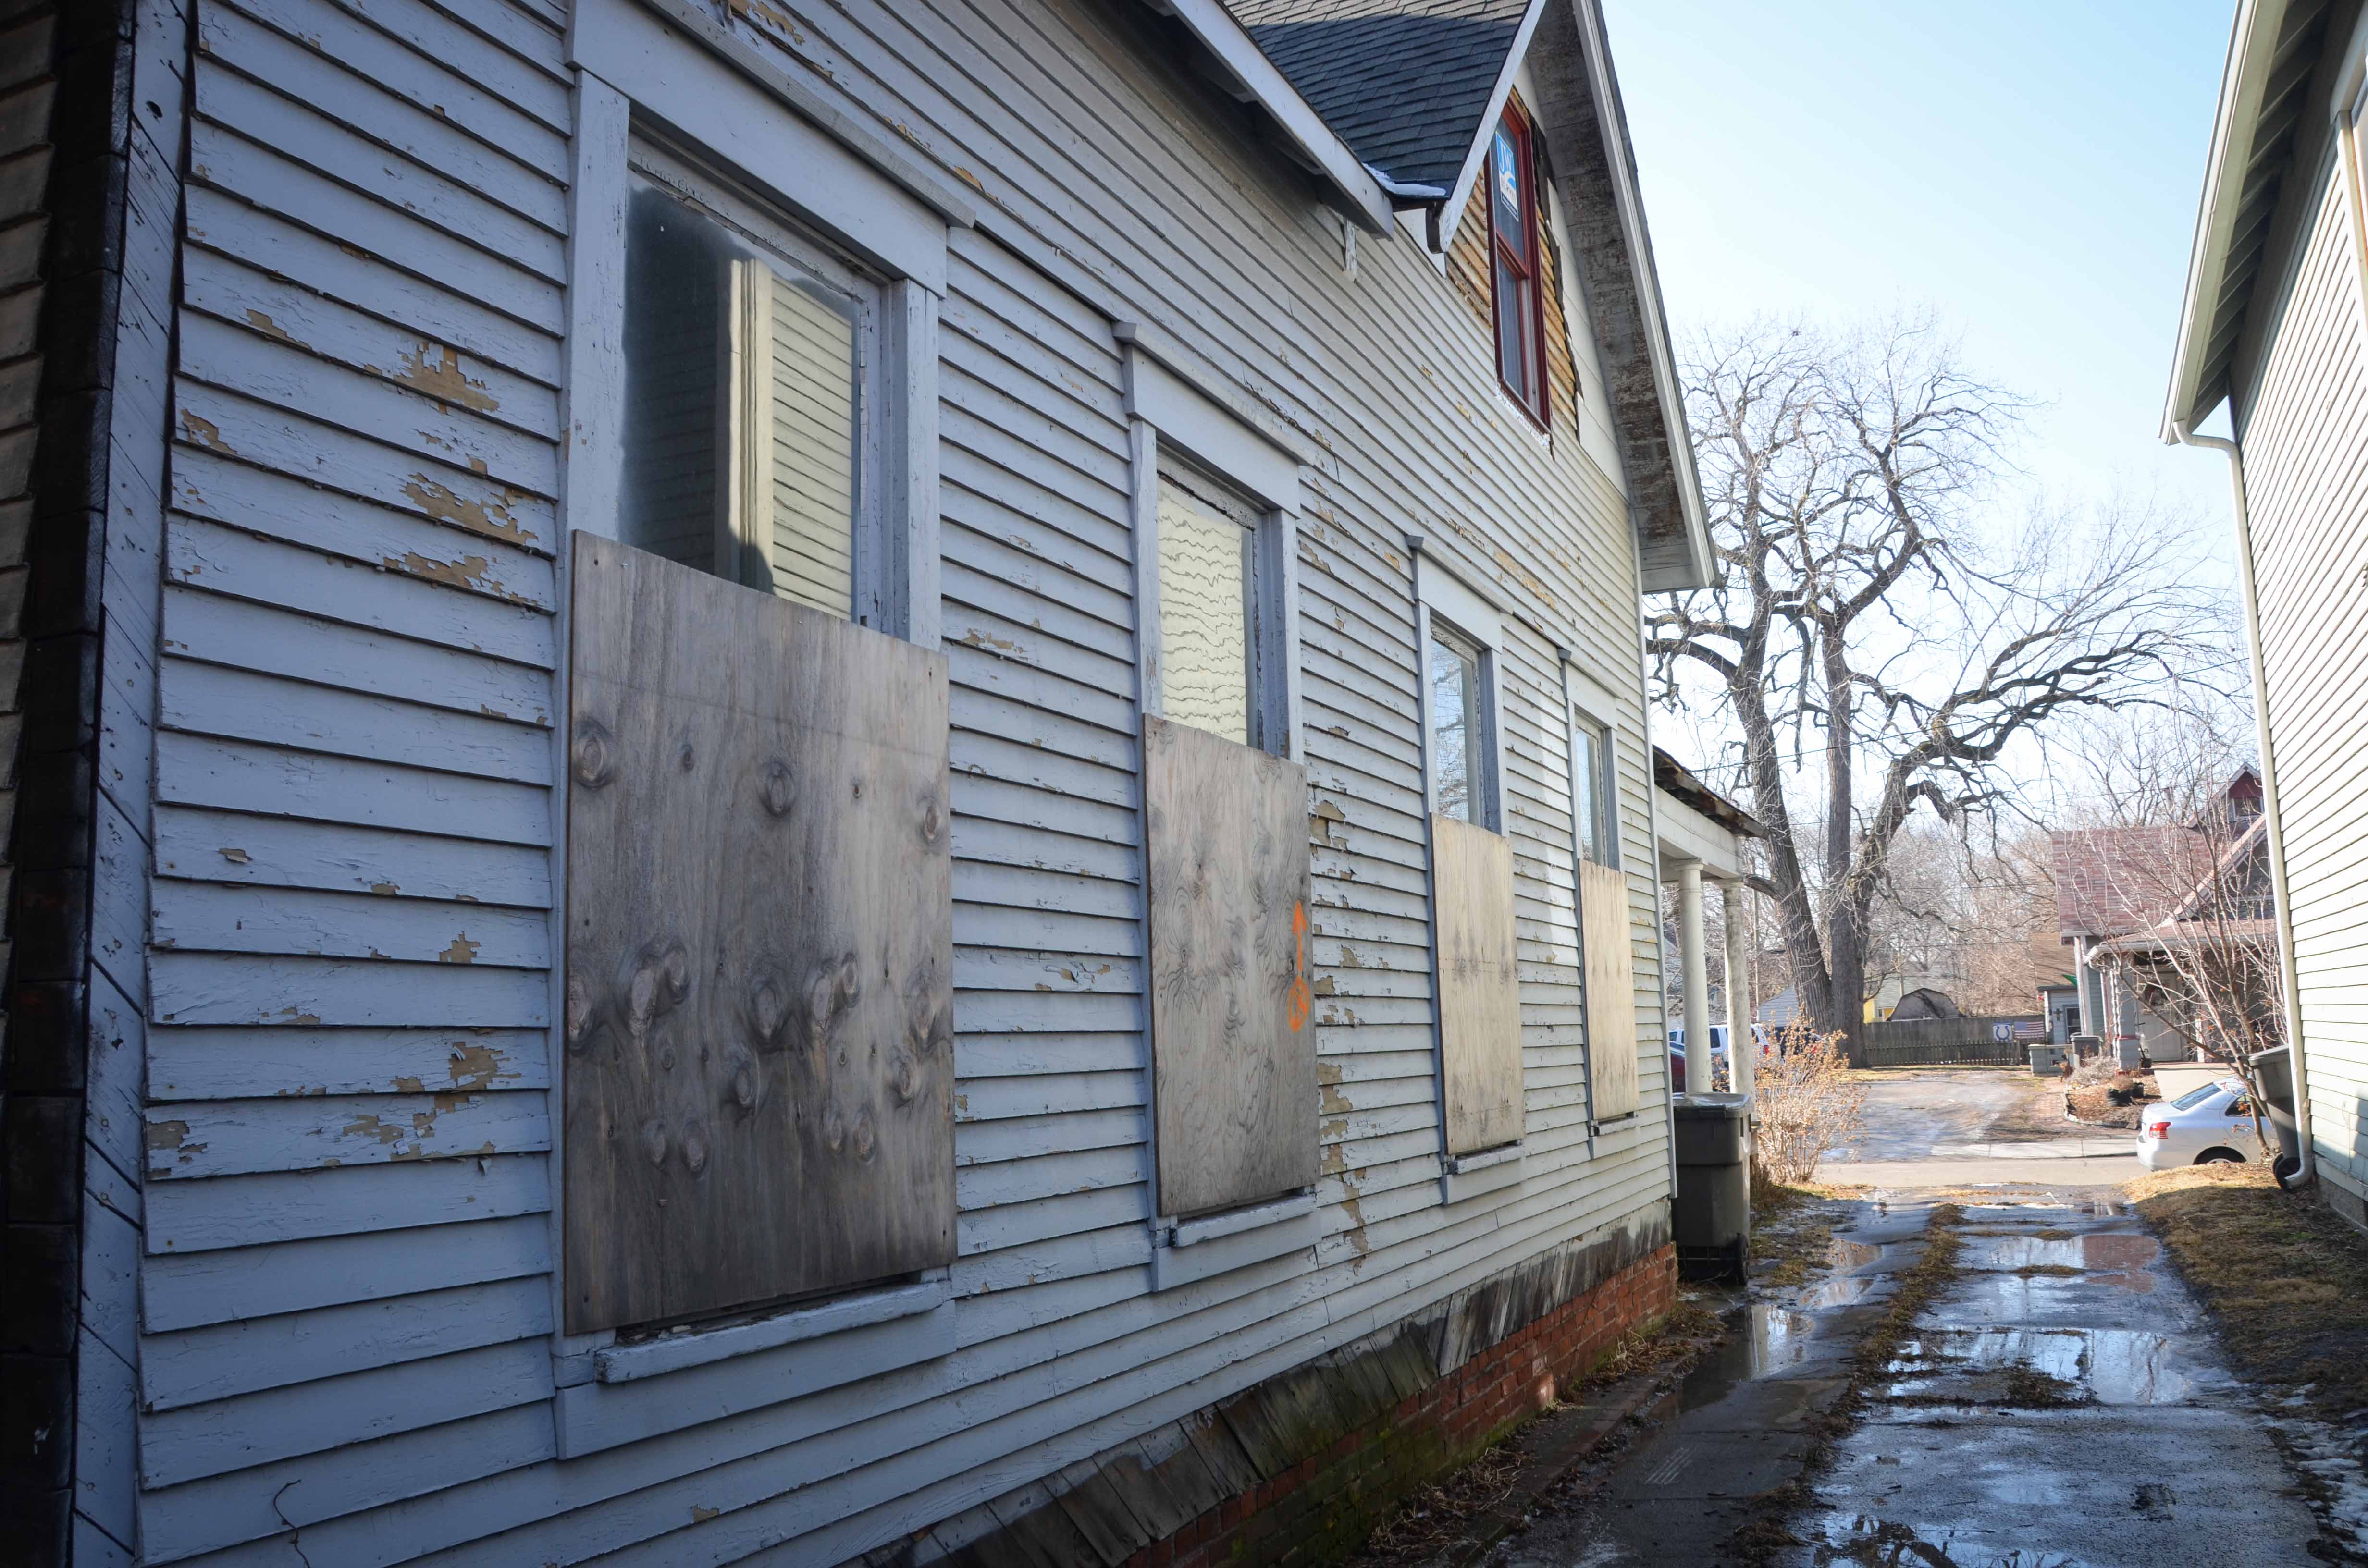
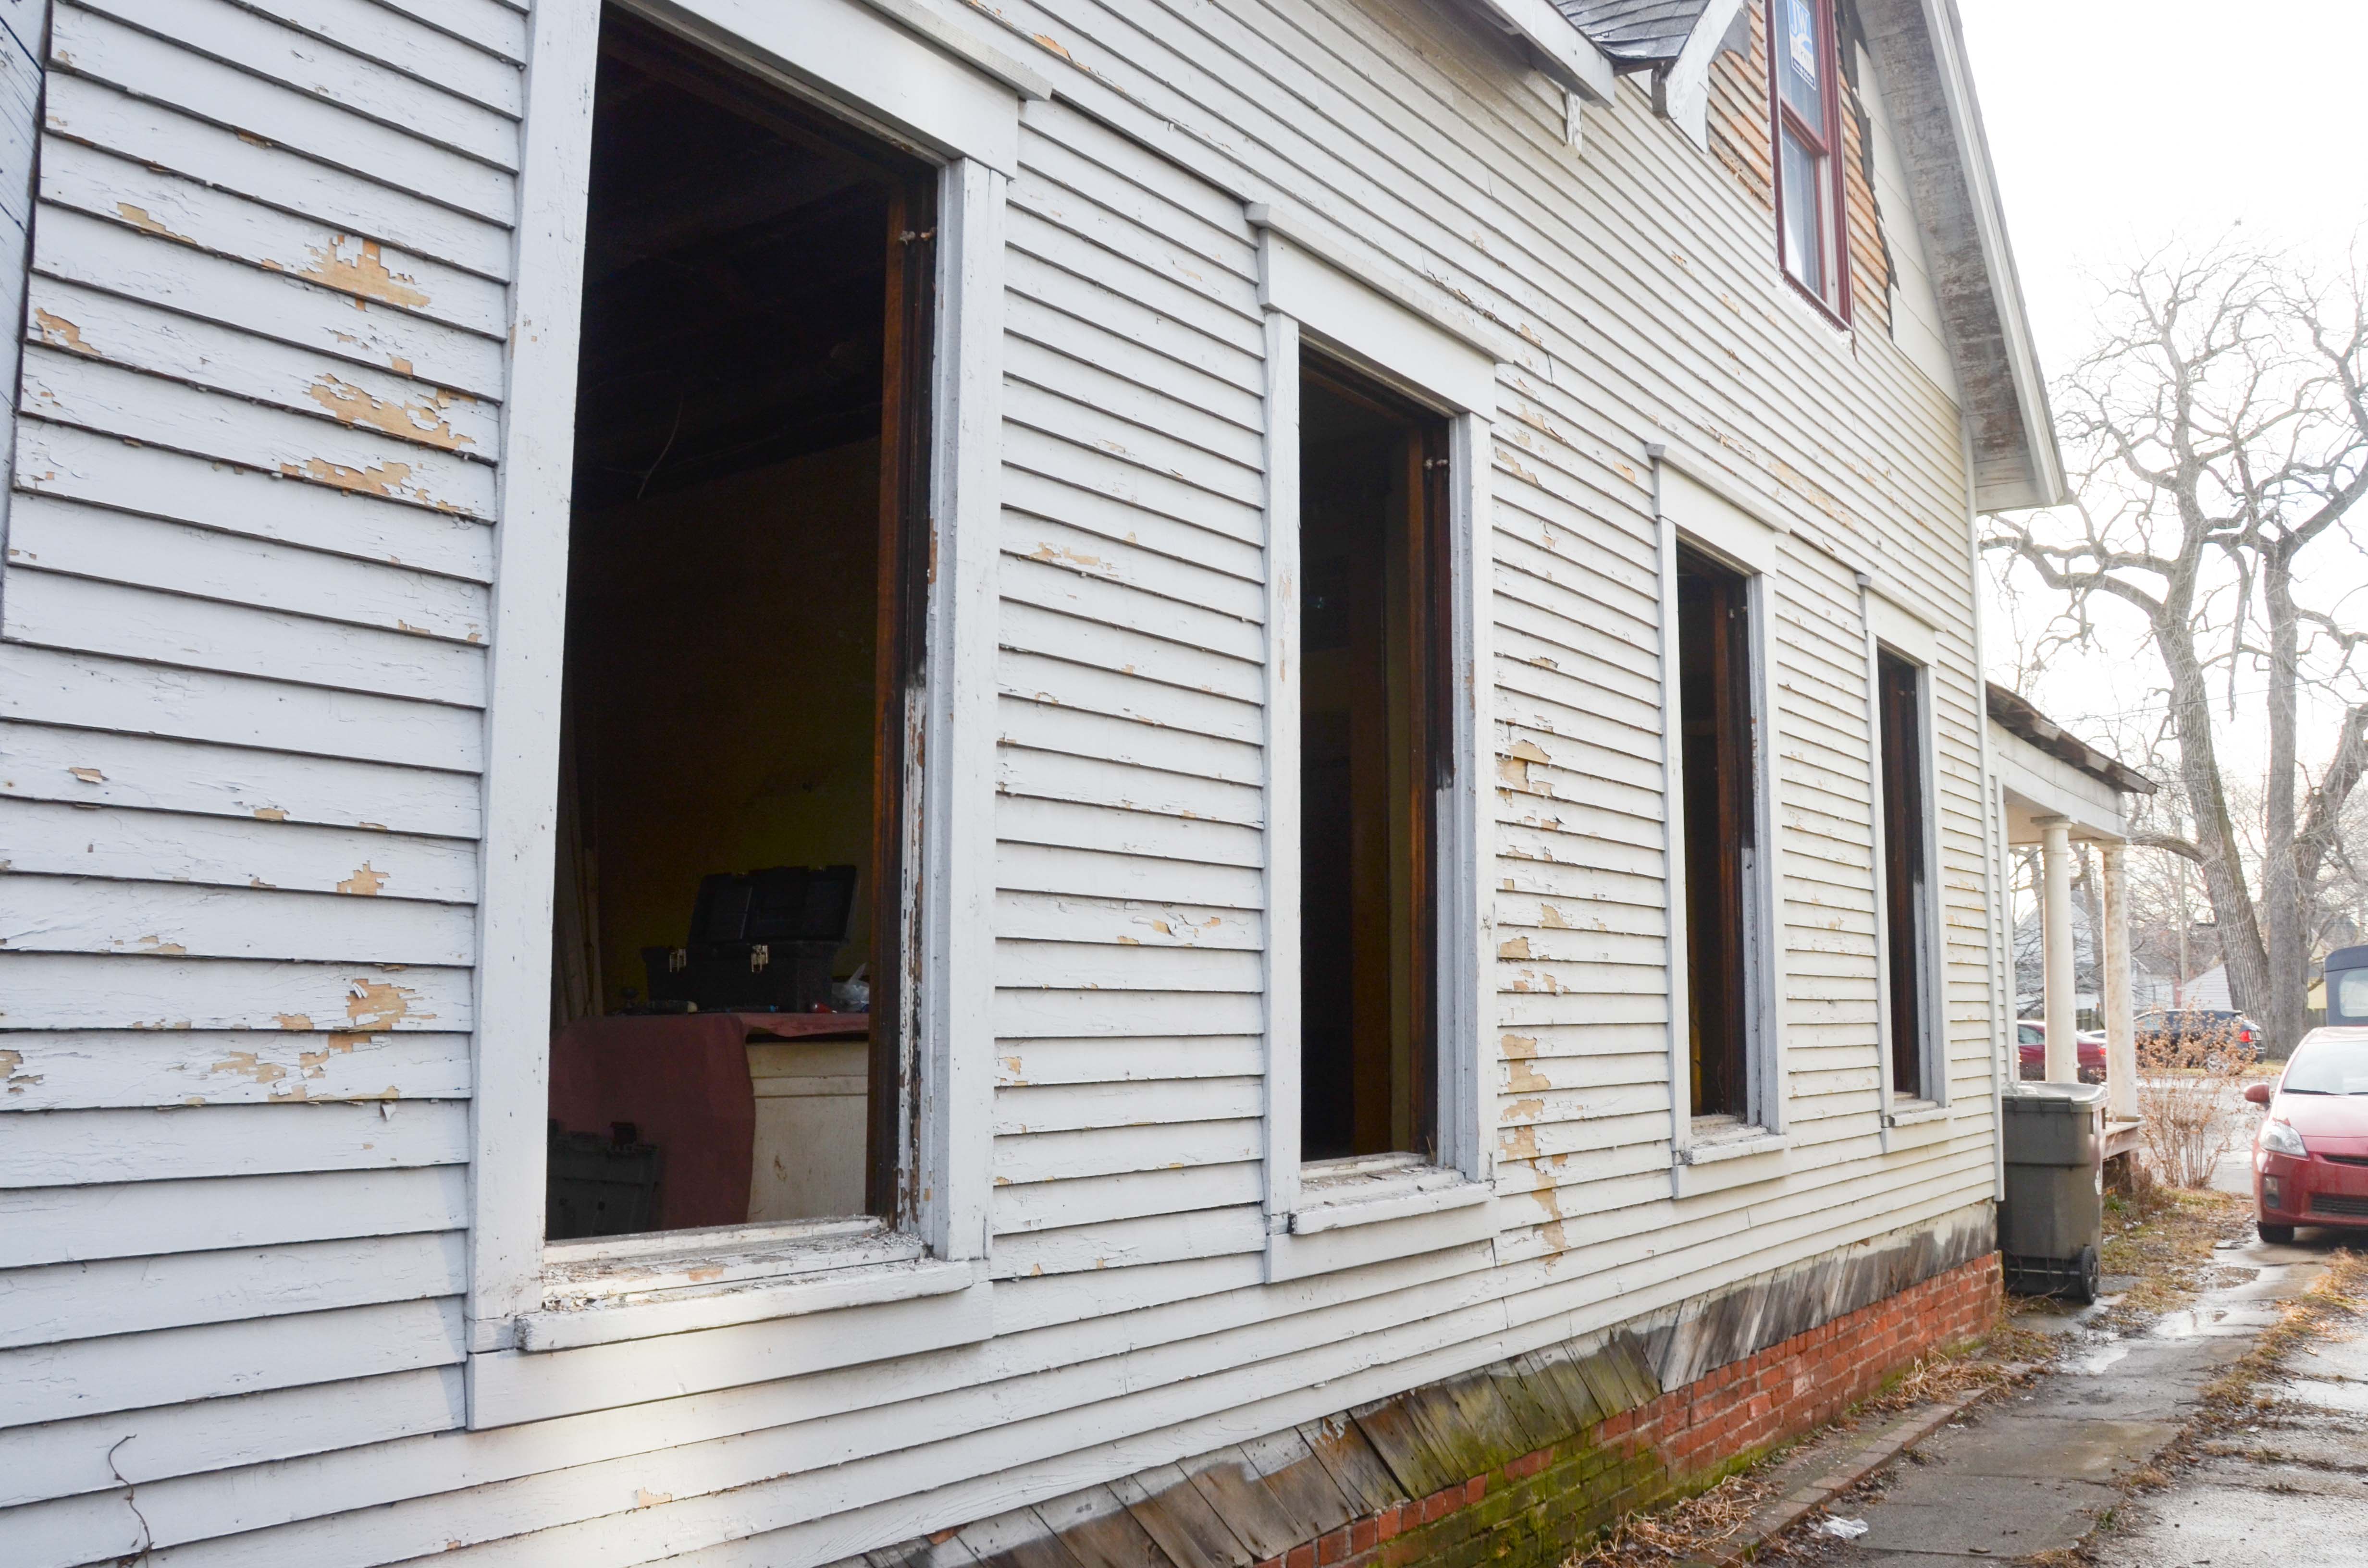
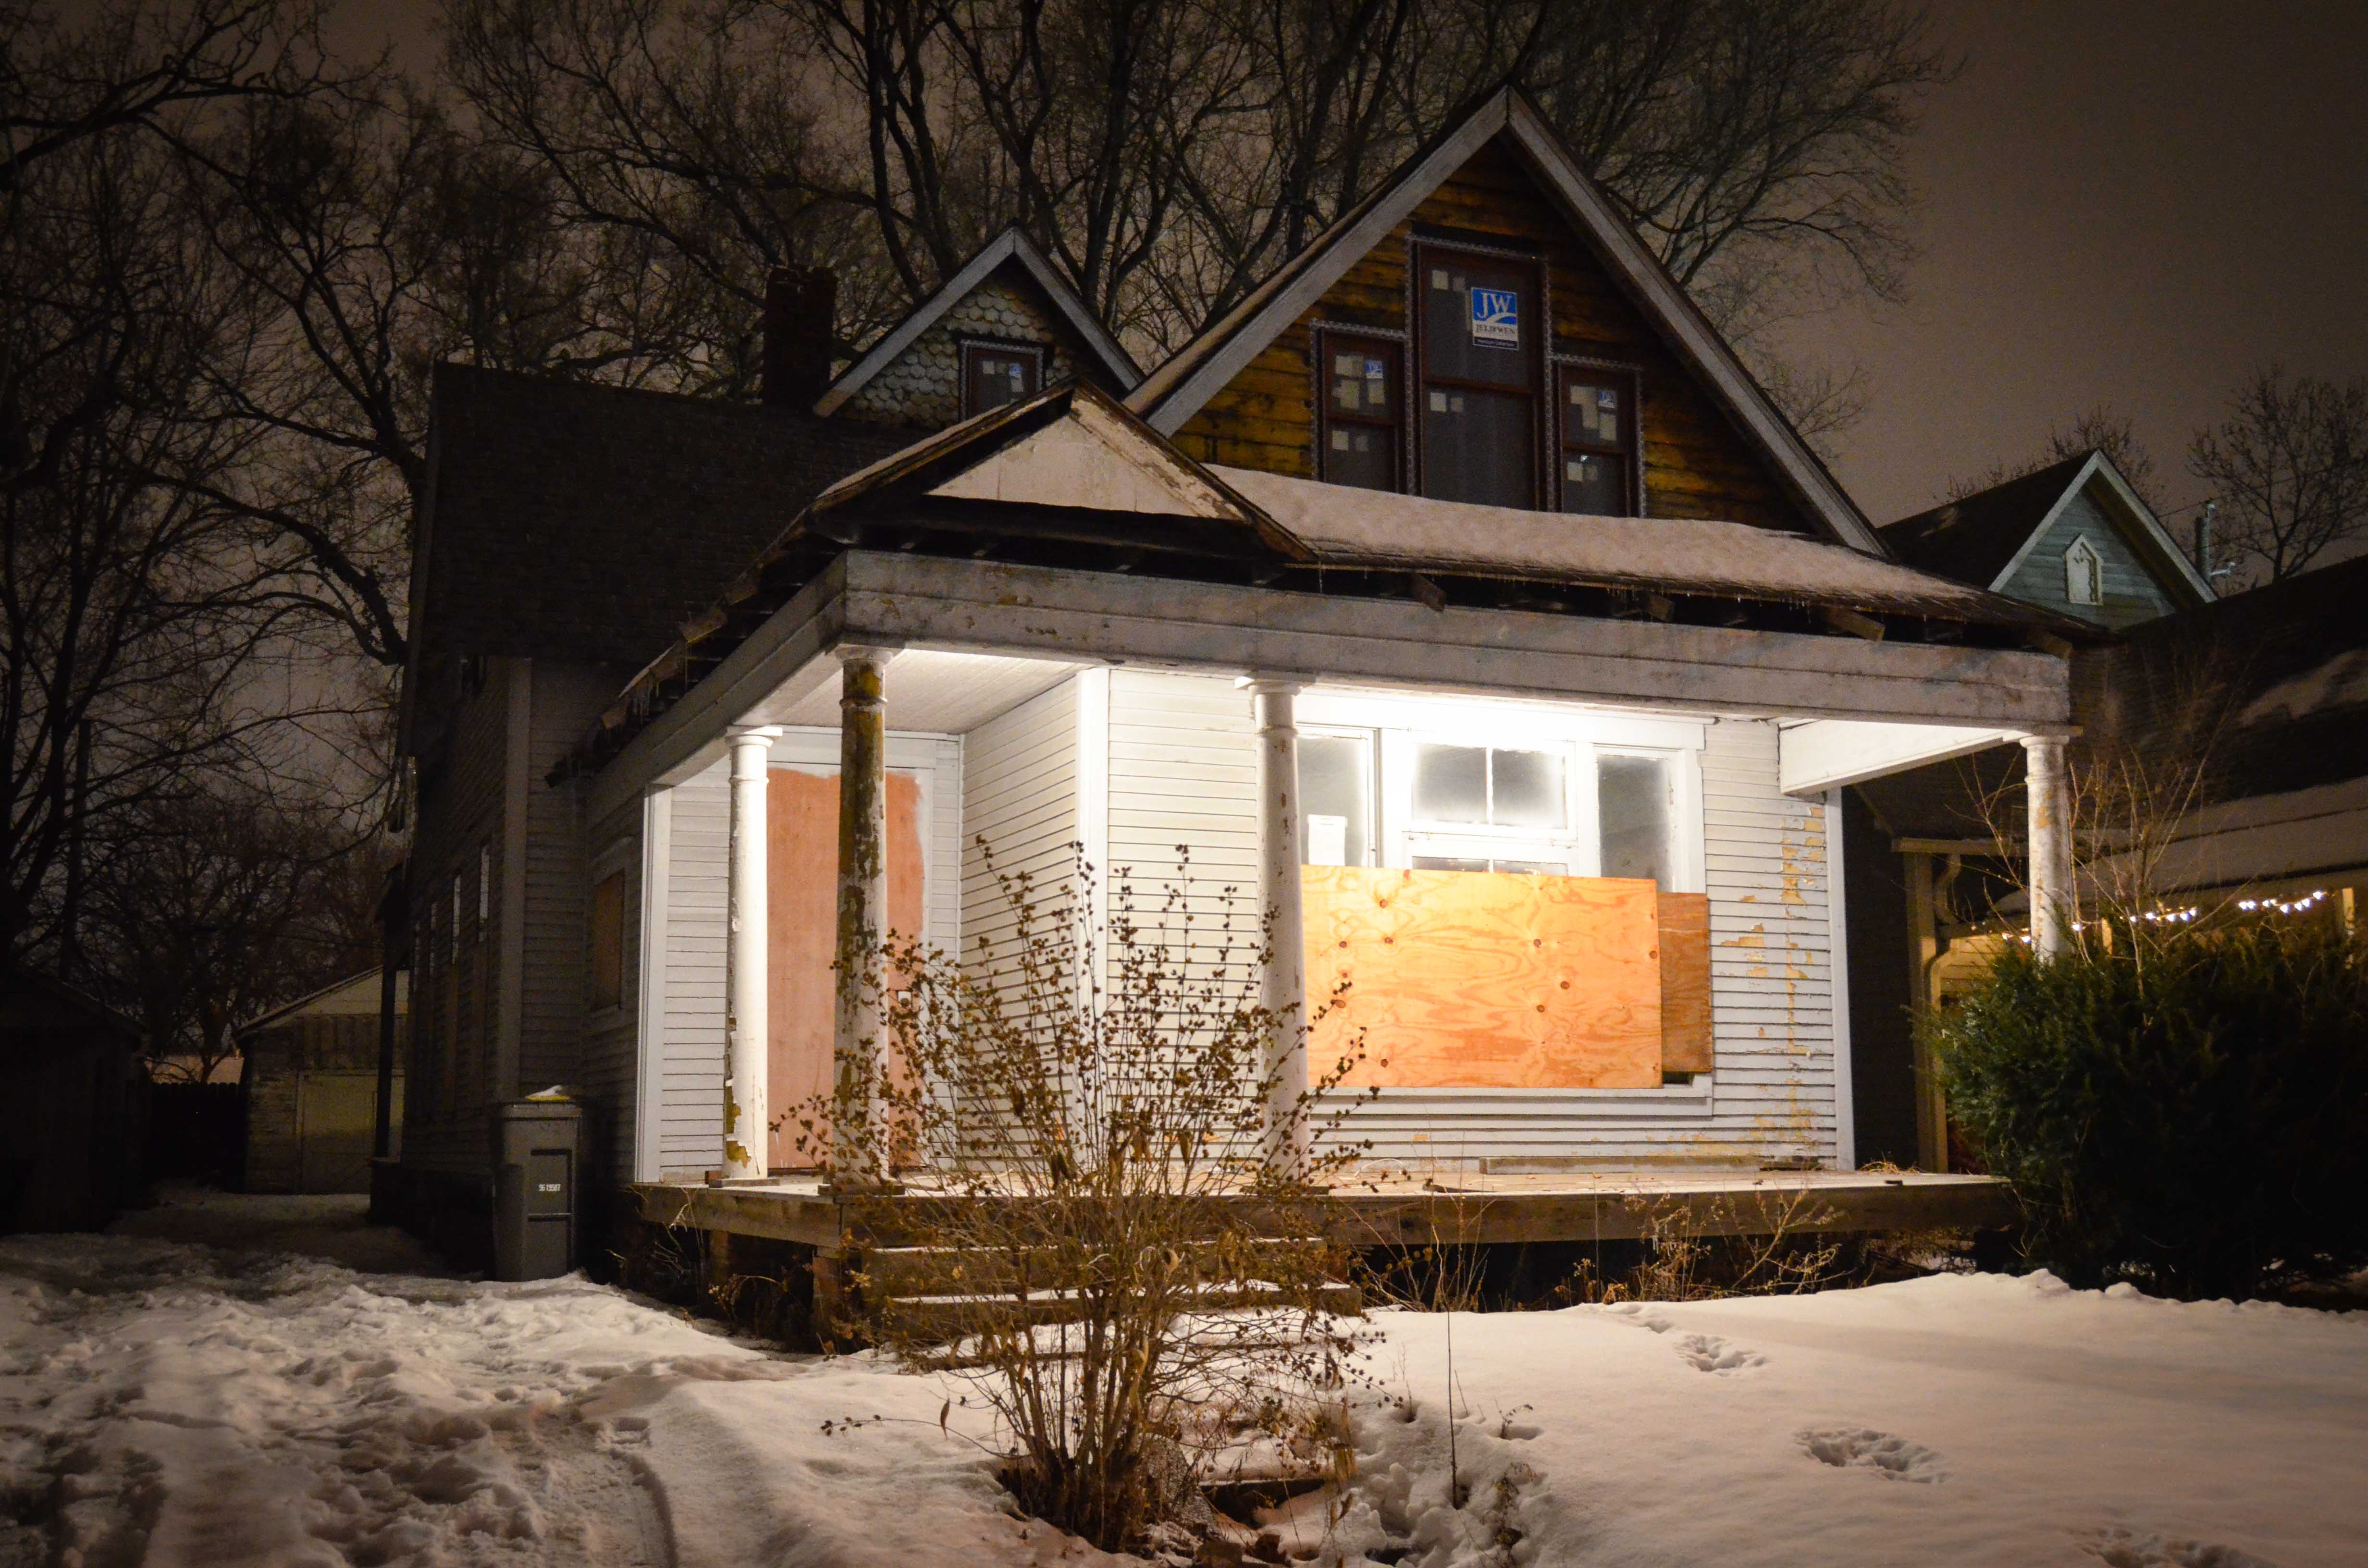
At this point we halted any major exterior projects to button up for winter. With cold weather approaching, we boarded up existing holes and access points on the exterior and counted the days before our window shipment finally arrived.

Getting our new windows installed was a highly anticipated event!

In the image below you can see the change that these new windows brought to the appearance of the house. No more big holes or plastic flapping in the wind.

Window restoration continued through the winter. Here’s a big batch of windows that are awaiting the next step in Joe’s rehab process. These windows have two coats of primer and FOUR coats of red paint. (Red paint never covers very well)

A few unseasonably warm late-winter weather allowed us to make more progress on our exterior window endeavors. On this day we took the boards off of the north set of windows and removed all 8 of the window sashes.

In preparation for this moment we had already restored four of the old storm windows.

Despite the lingering winter, Joe got to work on the next batch of windows…
Amy’s biggest winter project was been wiring the house. Eventually that interior project spilled outside and materialized as outlets and porch lights. Here’s a cable ready to be wired to an exterior waterproof outlet.

Electrical work also brought exterior motion detecting security lights.

Joe also spent some chilly days doing exterior wiring. Thanks, honey.

All the hard work and cold hands were rewarded with exterior lighting!

While finishing the loft space inside we decided to add one more new window to the second floor. On another mild day we climbed out onto the roof and removed some more siding to make way for this last window addition. We had to laugh at how hodge-podge our house looked in it’s awkward teenage phase of the renovation.

Winter is finally beginning to subside and warmer days are on the way. Window restoration continues, as always.
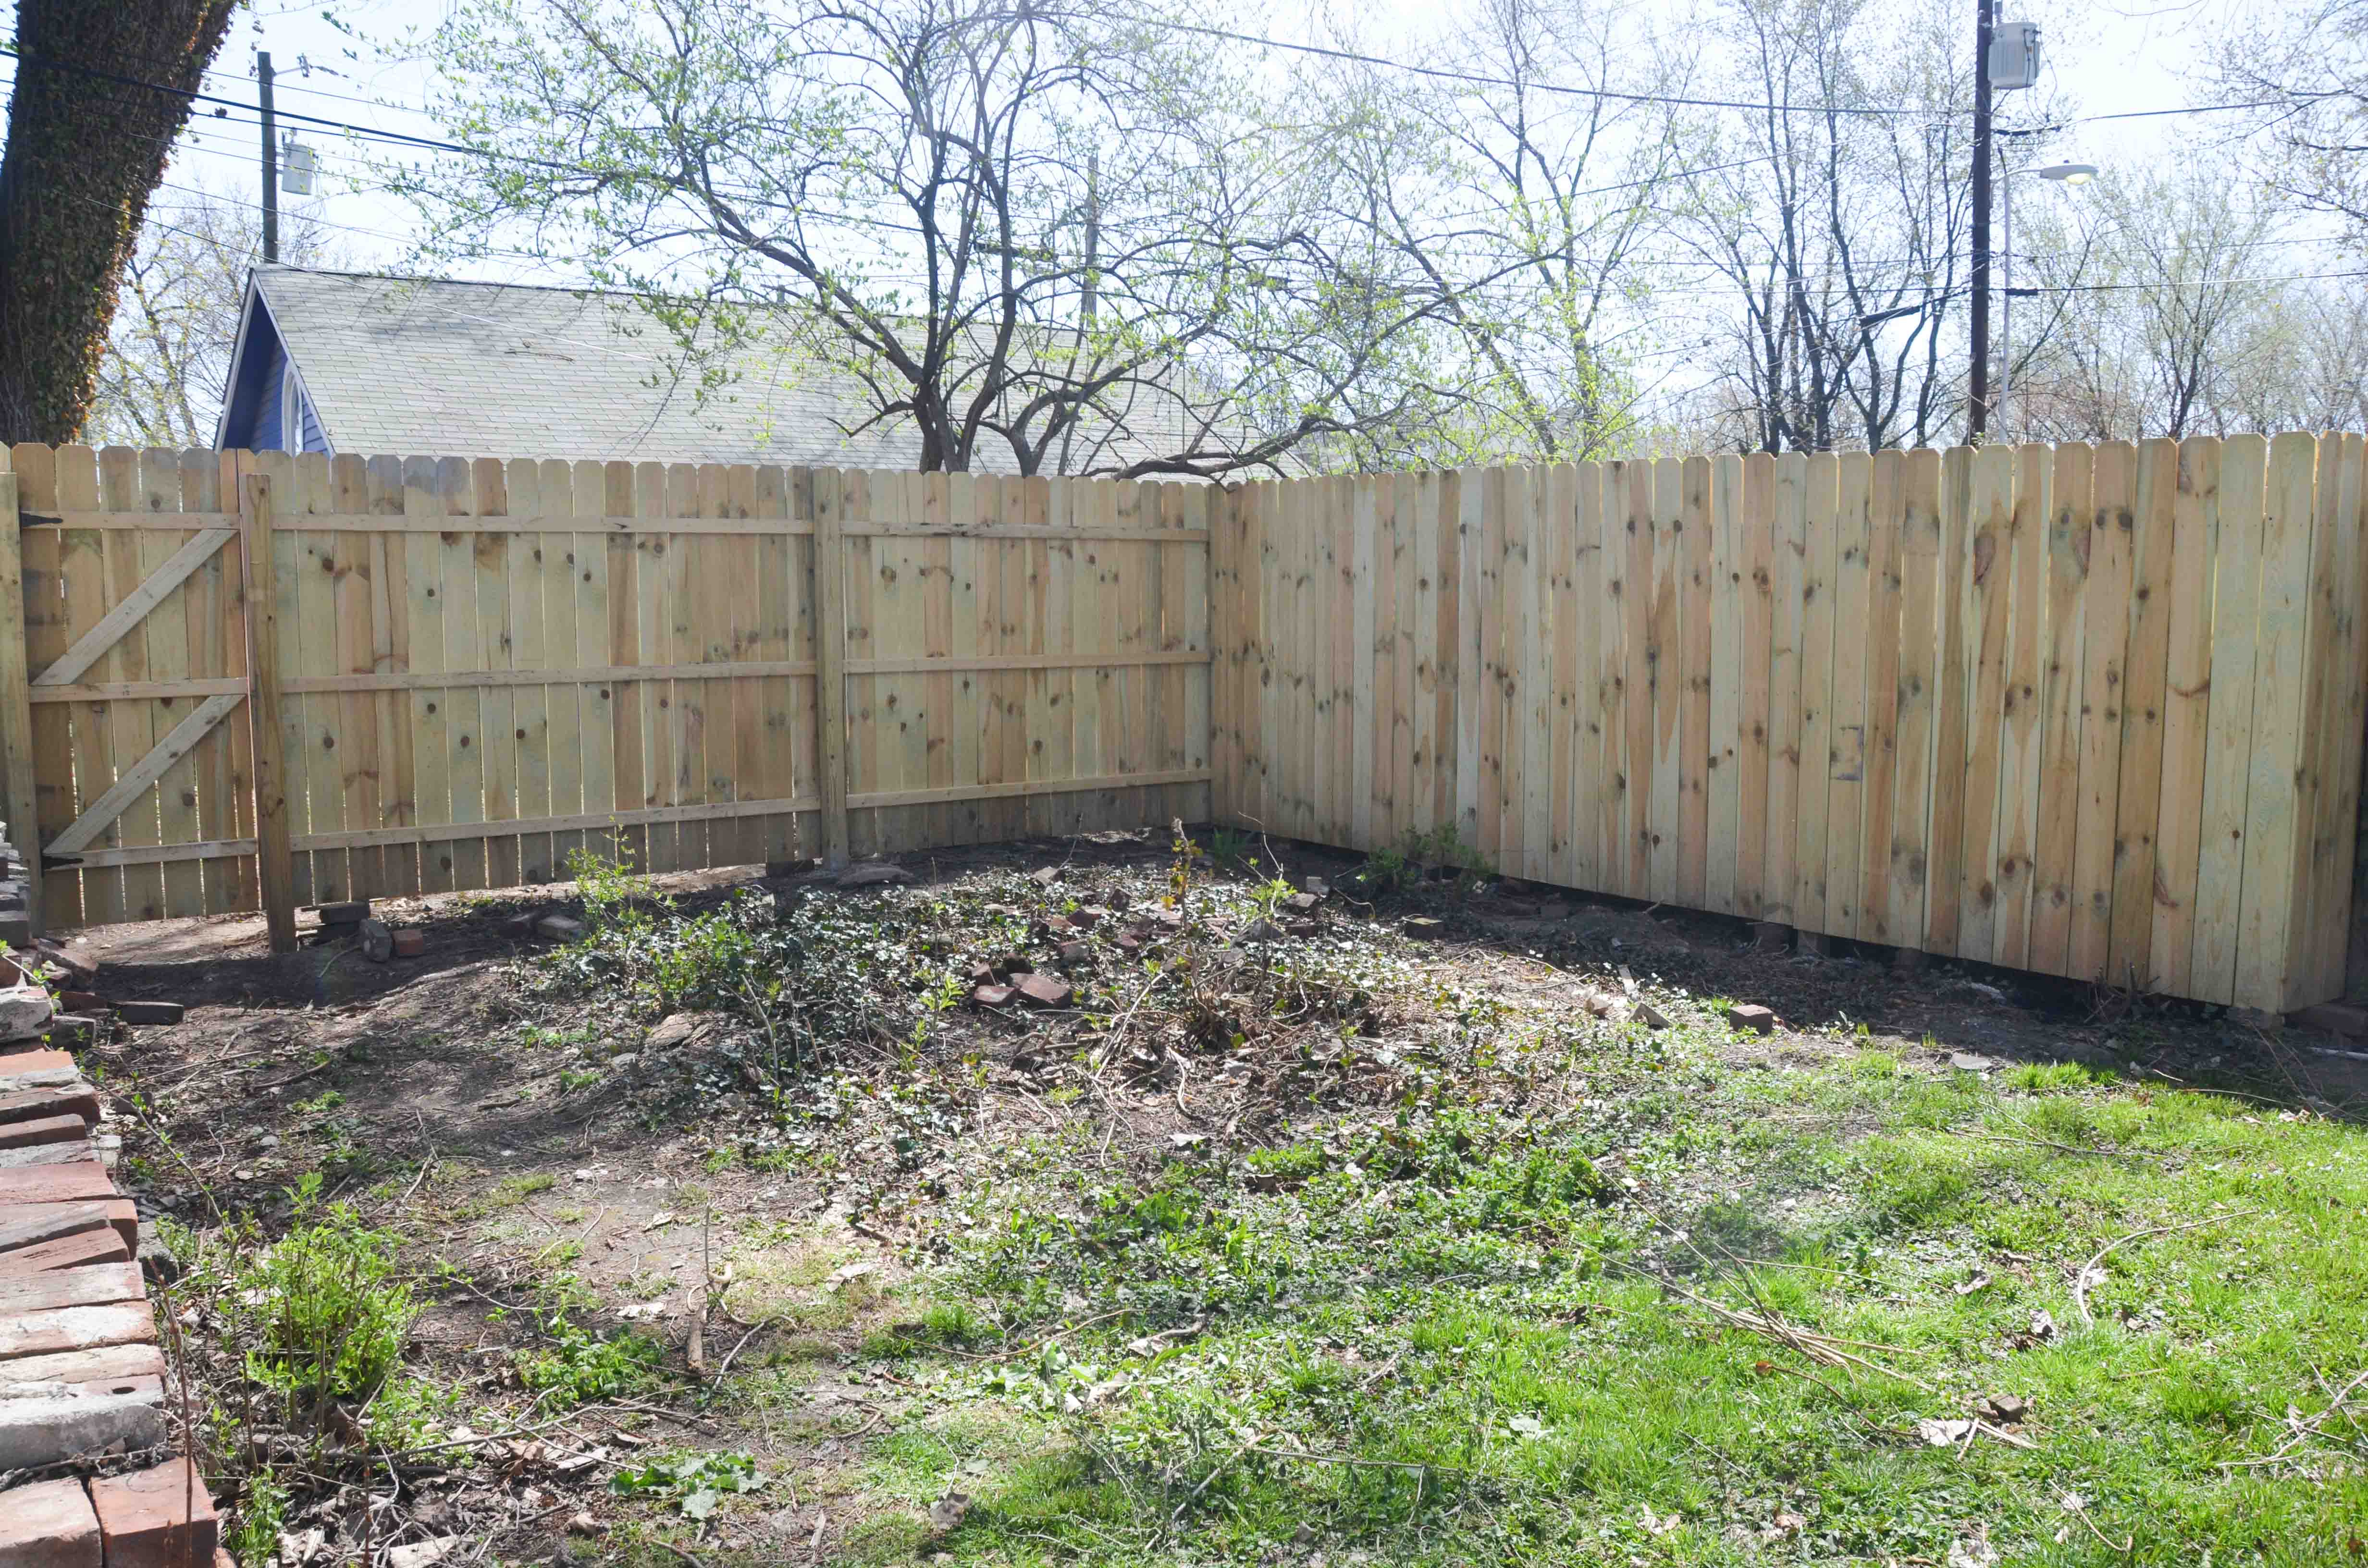
Around the 1-year anniversary of our first attempt to tame the backyard, we tried again to put a bigger dent into the landscaping and cleanliness. Our big project was removing the old chain link fence at the back of the property.
 This was a huge tangled mess of trees, fenceposts, metal, cinder blocks, and brick. We were able to eventually dig and saw our way through this disaster and install a new privacy fence.

Next up… more work on the windows and maybe a little landscaping in the front yard.

I don’t mean to be presumptive, but did you test anything for lead paint before starting this project? Sanding or scraping lead paint is one of the worst things you can do. I would have your children checked to see what their lead blood levels are.
LikeLike
There is something so beautiful, heart-warming and truly emotional about renovating a home that had been neglected and forgotten for so long. I hope your family has many wonderful years there and makes lifetime lasting memories.
LikeLiked by 1 person
I love everything that you have done! We have an old cottage on a lake in Michigan. I’m in the middle of restoring the old clawfoot tub & bathroom sink. People think I’m nuts but the place is so amazing to me. Plan is to sell my condo in Grand Rapids & commute from our cottage 50 mins away. Would live to get the root cellar in use again.
LikeLike
Thank you! Don’t listen to those other people 🙂
LikeLike