The master bedroom is the first of the “old” rooms that we have completely finished. By “old” I mean that it existed before in it’s semi-current form and is being used for it’s original purpose. All the other rooms that are completely finished are spaces that we created from the unfinished attic – the upstairs bathroom, two kids’ rooms, the loft above the master bedroom, and the upstairs commons area.
The master bedroom was originally the only room on the 2nd floor when we bought the house and it was the only entry point from the first floor…

…via a very steep, very narrow and dark staircase!

At the bottom of those stairs were the bathroom (on the left), which got absorbed by the expansion of the kitchen, and a tiny “bedroom” (on the right), which we turned into a bathroom. Originally, in order to get to this master bedroom you had to go through a bedroom or a bathroom. Not ideal.
I will skip all the nitty-gritty details involving the decision-making process of relocating the stairs, but I’m sure you can imagine that having the single point of entry for the second floor IN the master bedroom would not work well for a family of four.
The master bedroom had a door that opened into what was then an attic and is now the common area between the kids’ rooms and bathroom. The fan you can see through the door is in the space that is now Lucy’s room. [Edit from Amy: Hello again cookie monster blue. I do not miss you.]

As crazy as it seems, we needed to move one wall about 18″ to make room for the new staircase and still provide enough space for a bathroom. [Edit from Amy: A great example of how important it is to measure twice, cut once.]


It was a tight fit, but we got it to work. [Edit from Amy: And sadly the brick in our room you see here was not in good enough condition to leave exposed.]

[Edit from Amy: In the picture above our bedroom is on the right. This is the view from downstairs after we cut the hole for the new stairs.]
Other than moving the wall, you would think there wouldn’t be much to do to finish this space. You would be wrong.
We had to create a floor over the old stairs and create a new wall above it.

[Edit from Amy: And you forgot that we had to rip up that plaid linoleum flooring.]
There was a TON of plaster repair.

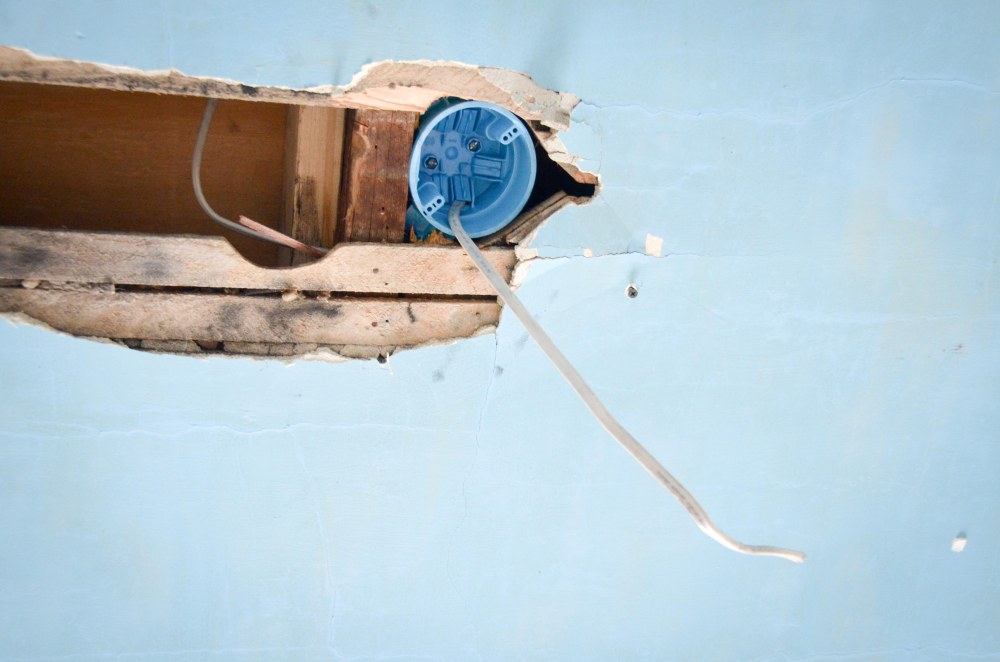
Installing all new electrical without destroying too much of the walls and ceiling was a challenge.
Additional cosmetic work included a LOT of work on the trim, doors, and windows.


The space finally began to feel like a potential bedroom once we sanded and finished the floors.


The walls were primed and we had just enough time to re-install the door before moving in. [Edit from Amy: My parents and their two friends surprised us by priming the walls before we moved in so we wouldn’t have to look at these blue walls!]
It stayed in this condition for about two years.

Upon completion of the kids’ rooms, upstairs bathroom, loft area, and commons area, all that was left to do upstairs was to finish our bedroom. We moved everything out of the room, reinstalled all the original baseboards, added quarter-round, and finished rehabbing the doors and windows. This involved more scraping, sanding, and a ton of caulk and wood putty. [Edit from Amy: And we slumber partied in Lucy’s room during all of this… which was fun.]

All that was left was to paint. We decided to do all white, because of the odd ceiling angles. Painting everything white seems like it would make the paint-choosing much easier, but no. True to Joe and Amy form, after painting the entire room one shade of white (two coats), we decided that particular shade of white was too cold… which meant picking a slightly different shade of white and starting over. We didn’t take pictures of all the work on the trim or the painting. It’s boring – and we were over it at this point.
But NOW, we are ready for the big reveal!
This is the view as you walk into the bedroom…


We have had this old fireplace mantel for a long time…

…but we finally got around to cleaning it up and repainting it. [Edit from Amy: I was kinda sad to see the spots and roughness go.]

Across from the bed is a dormer that we think was added to the house in the 1930s.

The lack of closet space, a challenge in all old houses, was solved with a pair of wardrobe closets on either side of the bed. The access to the upstairs HVAC unit is actually behind the closet on the left. [Edit from Amy: And there is a fancy hole cut in the back of my closet so you can get in there, like in Narnia.]


Here is a picture of the master bedroom that we took with a phone on the very first walk through of the house.

And now…

One more. This one shows the original stairs. [Edit from Amy: In this picture the angle of that railing really gives you an idea of how steep the stairs were.]

And the final product.


