The renovation of the space that is now our downstairs bathroom is the most confusing project to try to explain, even when giving tours in person. The project involved moving a staircase, removing two old closets (sadly), constructing a couple of new walls, a doorway, and a hallway. I won’t try to explain it in detail (because you probably still wouldn’t be able to envision it), but I will at least start with a little of the backstory.
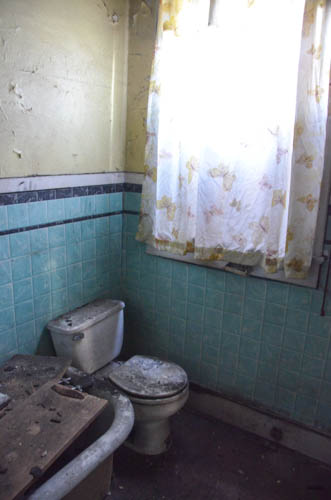
Here was the condition of the old bathroom when we bought the house:


As a point of reference, our kitchen sink is now placed underneath the window in the picture below and the wall behind the toilet is gone. [Edit from Amy: The floor in this bathroom had obvious water damage and rot. When we removed the toilet a section of the floor came up with it. I imagine had we restored the existing location and toilet someone would have rode that commode all the way to the basement!]
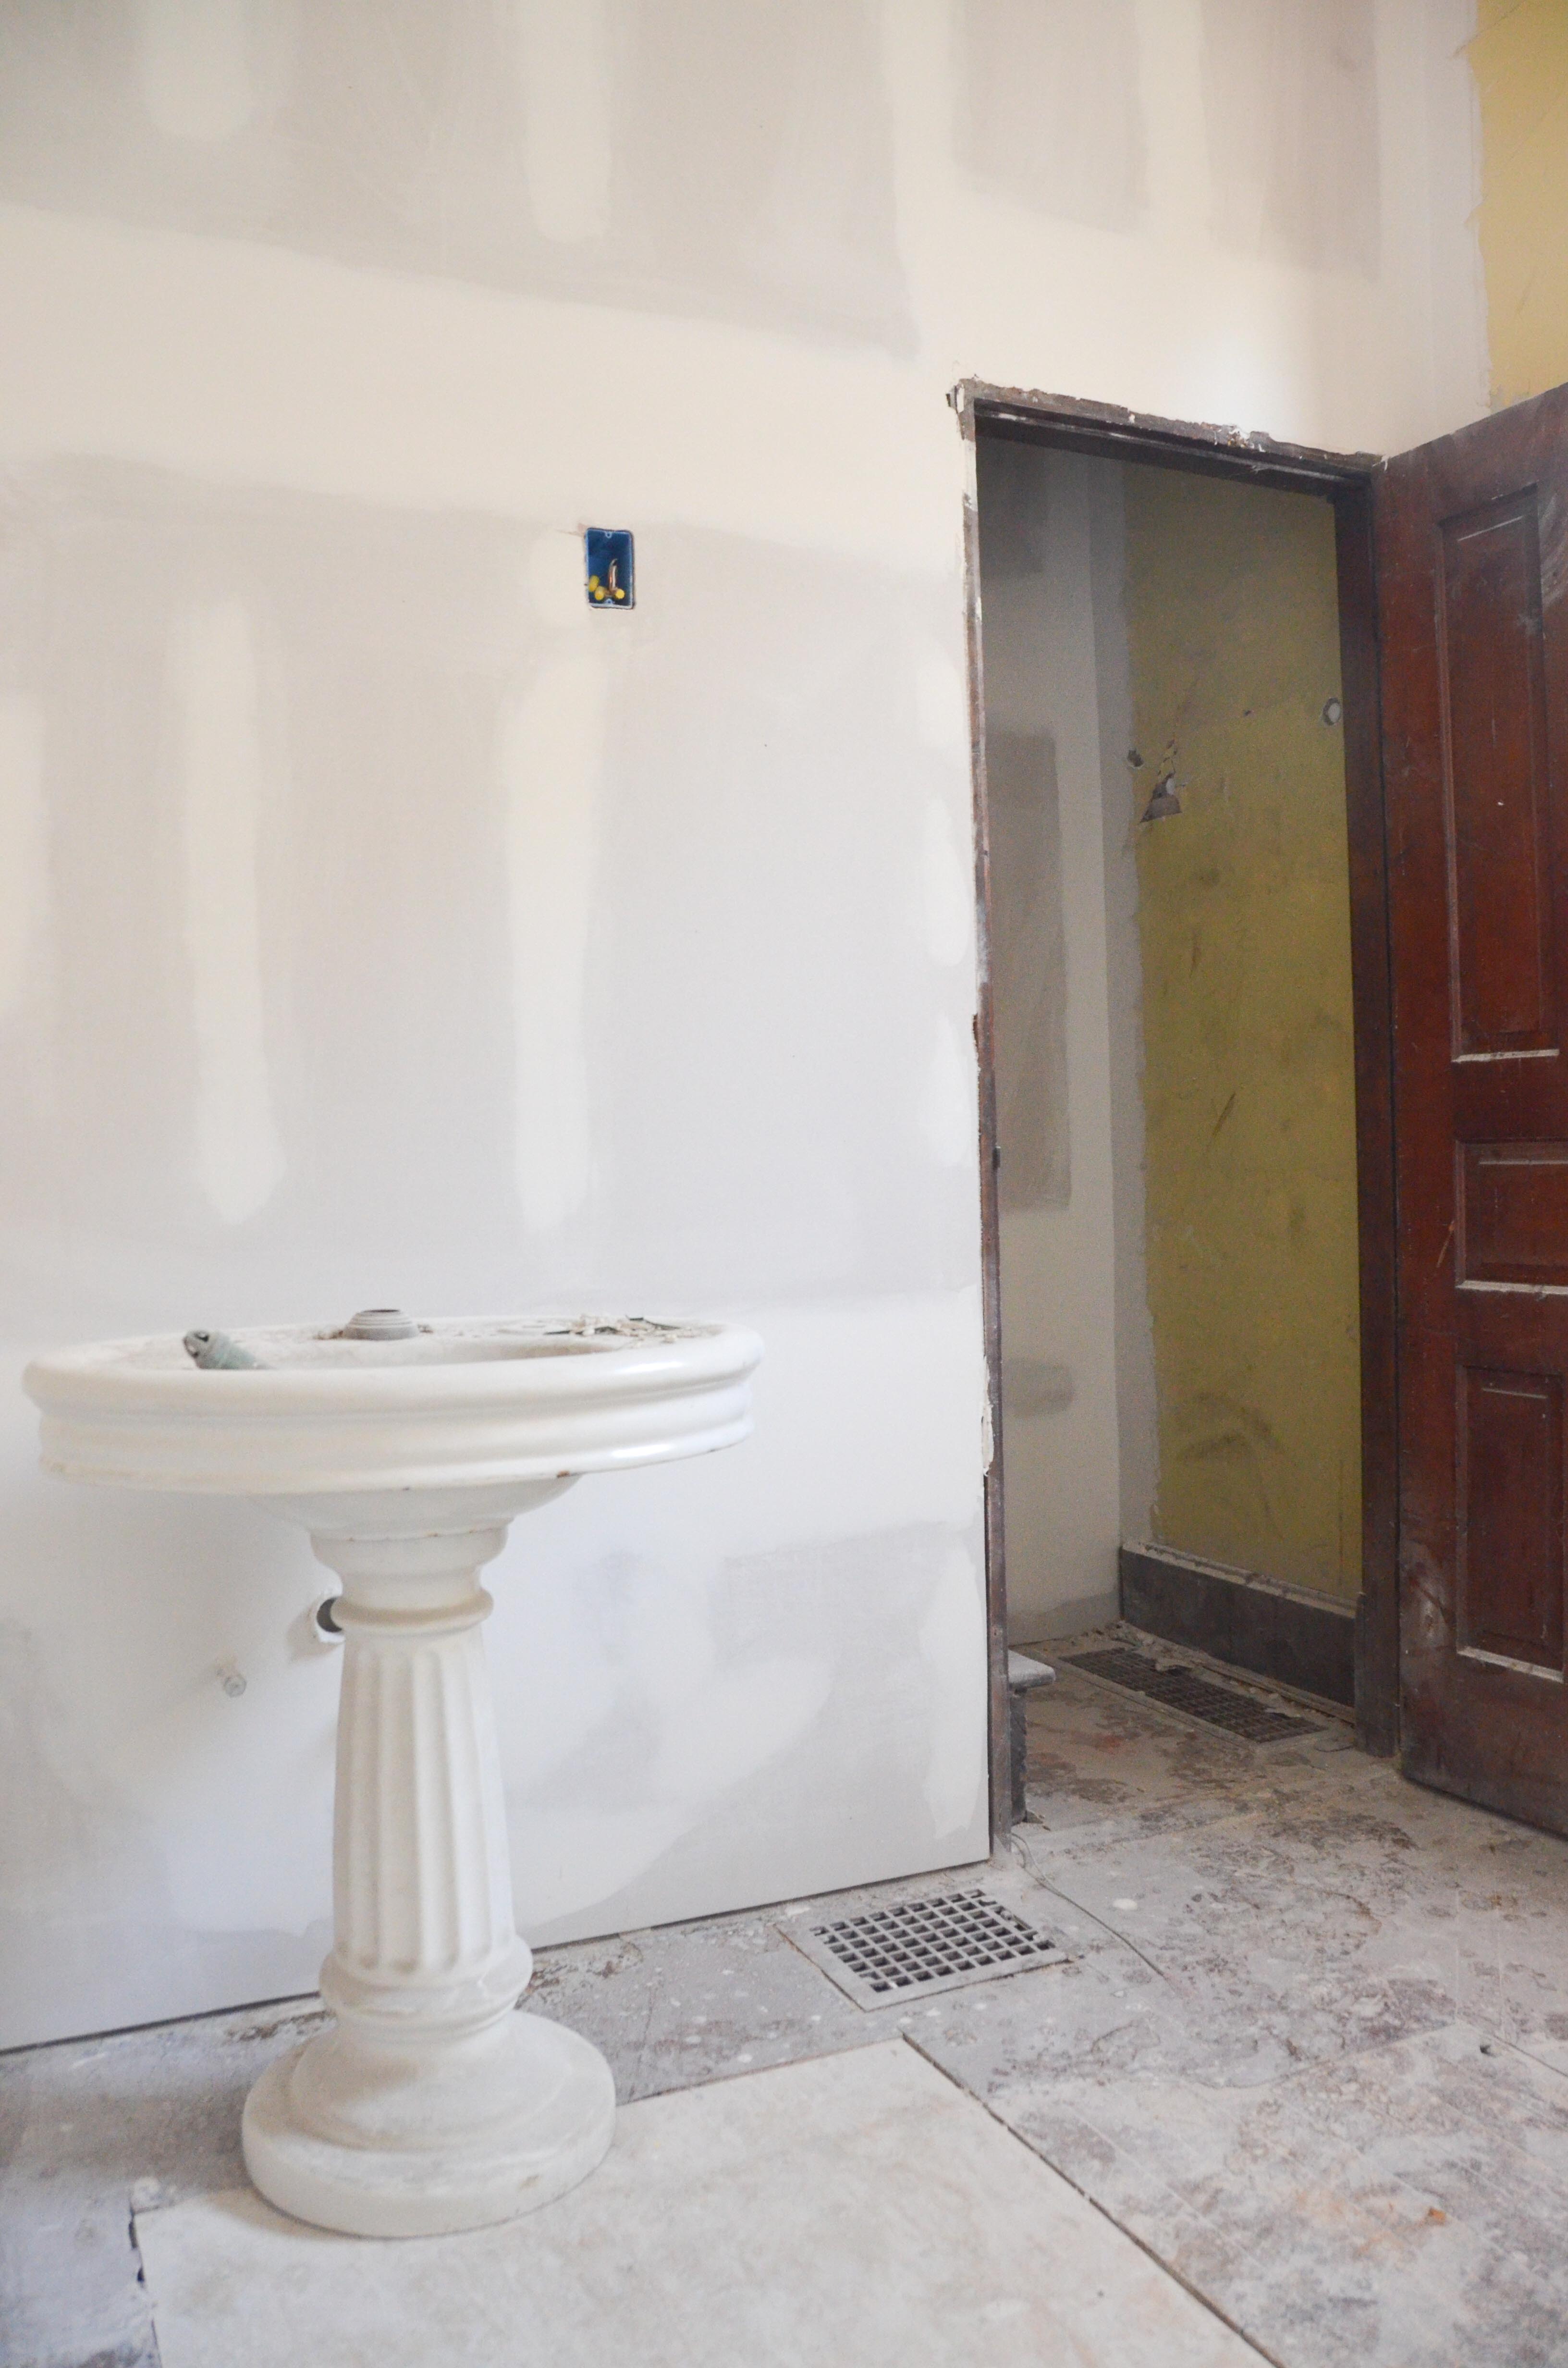
The original bathroom was located in what is now a portion of the kitchen. In the picture below the bathroom is through the door in the middle. The door on the left is a pantry and the door on the right goes to the basement (and is now a hallway to the new bathroom, staircase, and playroom).

You can see the bathroom more clearly in new kitchen space minus the walls. The new bathroom is on the other side of that open door in the corner. That door no longer exists.

Here is the room that eventually became the bathroom.

This room was originally a very, very small “bedroom”. I put that in quotes because it wasn’t even a closed off room. The staircase to the 2nd floor would be moved to the location currently taken by this pair of closets.

We hated demolishing these closets, but the entire layout of the bathroom, staircase, and everything on the 2nd floor depended on it. Of course, we kept and repurposed most of the trim and doors. One set of lower and upper doors were used for the new entrance to the basement and we repurposed the little upper doors for our under-the-stairs book nook.


In the picture below you can see the framing for the newly-located bathroom. The lines on the wall to the right show where the old closets used to be (That is where our stairs are now). You can also see the new entrance to the kitchen through our newly-created hallway (on the left). Basically, the bathroom is a smaller room we created in a larger one. The remainder of the larger room became a new hallway to the kitchen.

Eventually (seemed like FOREVER) we had drywall and we got our first idea of what the bathroom space would feel like.
We were able to create a linen closet in the bathroom by walling off the old entrance to the kitchen. You can also see in the picture below that we did not remove the bottom few steps. This is a nice feature of this closet – the steps allow us to increase more vertical storage space.

Before we moved in, the floor was tiled, Amy primed all the drywall, and we installed the sink and toilet. Having a working toilet in the house was really novel and strange at first. We worked for a year in the house without any running water.

Once we moved into the house we needed storage space, so we quickly cleaned up the closet (which was the old staircase) and added shelving. It’s nothing fancy, but it provides a ton of storage space for linens and cleaning supplies!
When we removed all the plaster and lath from the old kitchen, pantry, and bathroom, we did take care to salvage all the trim and the original built-in medicine cabinet. We were able to use all of that in the new bathroom space to help create the illusion that this was the original bathroom. The next step was to sort through all the trim that had been removed during the demolition (Wow! That seems like a lifetime ago!) and begin the task of cleaning it up, refinishing, and installing. Apparently I didn’t take any pictures of that project, but it was the first of the original trim that I sanded and refinished.
While I was doing this, Amy rehabbed the clawfoot tub.

Even after Amy refurbished the tub, it took us forever to install the hardware and get it operational. Each spring the tub seemed to become a fancy indoor home for baby chicks.


Another weekend was spent rehabbing the original medicine cabinet.

It was finally time to paint! Which of course caused yet another long delay, because we could not decide on an appropriate color (surprise, surprise). We were not trying to recreate an authentic victorian bathroom, but we did want it to have a general antique-y feel. We also wanted a bold color and one that would complement the color of the woodwork. We found a dark purple that happened to be the 2017 Benjamin Moore color of the year… and it was perfect. Honestly, I think it is the ONLY time we have ever been happy with a color right away!
The next delay – light fixtures. Lucky for us we know a couple of lighting gurus who, among many other things, restore antique fixtures. Fellow band director Amy and her husband Doug are home rehabbers that truly do incredible work! We are total amateurs compared to them. If you are not already familiar with their blog, VivaciousVictorian, you need to check it out! They live nearby in historic Franklin, Indiana and have been so helpful to us when we have come to them with questions regarding a wide variety of topics. Their current house is amazing and was even featured on the COVER of This Old House!

We were extremely happy to finally be able to install these beauties in the bathroom. These restored pieces really finish off the room perfectly.


After finalizing the lighting, it still took us forever to find artwork and finish all the little details, but I think we are finally ready to call the bathroom COMPLETE!
So here we go, the big reveal of the downstairs bathroom!
This is the view as you enter…

As I mentioned before, this is the most historic-looking room in our house. So it was more of a challenge to decorate and design. The original medicine cabinet and clawfoot tub set the tone for the room and we just tried to go from there.

We did add new hardware to the clawfoot tub.


Actually, as we were doing the photo shoot for this post we made several last minute decisions and added the shelf (which I made out of old trim), hung more artwork, reconfigured the towel situation, and added more plants.

We found the sink at a salvage shop early in our renovation process, but we added the hardware (which is obviously new).


We still aren’t sure about the curtains. We ALWAYS struggle with curtains! We are playing with the idea of doing something more fancy that would cover the whole window. We also might still add a small area rug in the middle of the floor. As you probably already know, it takes us a while to make these decisions.

One amazing thing about our house was that it somehow survived more than a hundred years without any changes. All the original hardware, windows, woodwork, and more were left intact and UNPAINTED (although a little neglected and abused). In fact, we even have a full set of skeleton keys we found in an old closet that are original to all the doors in the house.

It is a relief to finally be able to have another room completely done! Here is one more look back at the VERY first view of this space.
And now…
This space turned out to be more of a challenge. The modern cottage look of the upstairs spaces came naturally to us, but the historic feel of this room meant having to go a little out of our comfort zone. In the end, we love the vibe that has been created as well as the warmth and coziness of the space. Even though this room didn’t originally exist as a bathroom, it somehow feels as though it has always been here.


Well done! Beautiful space.
LikeLiked by 1 person
Your medicine cabinet has egg and dart motif on the bottom of it. The round part is the egg and little darts or arrows are between them. Your original bathroom looks like my bathroom when we lived at 1350 West Ray Street(west of White River). I went to school #47 Thomas Alva Edison for 2 years. Our walls had the gray tile look. 1952-56. Interstate 70 bought us out and we moved to Ben Davis.
LikeLike
Wow, it looks fantastic! I’m not really a purple person, but that wall color looks amazing with the trim. I love it!
LikeLike
Gorgeous results and really interesting to read about the process. 🙂
LikeLike