The kitchen is DONE! Since the kitchen renovation is the biggest single room project we have completed, we are going to split the big reveal into two parts. In this part of the reveal we will take a whirlwind history tour to show the progress from day one! If you are interested in going back to read old blog posts about the projects described here, we have provided convenient links throughout this post. Enjoy!
This view as we walked in the back door was our VERY first look inside the house.

I’m not sure many people would recognize this as a kitchen. It had a sink. That was about the only clue. The kitchen is located at the back of the house with an entrance off the back porch. It was originally about 12’x13′ and included 2 windows and 5 doors, making it impossible to find enough wall space to function as a modern kitchen. The picture below shows the old sink, the door to the basement (on the left) and the doorway to the dining room and rest of the house.

We would have been okay with a small kitchen, but this one would have had no cabinets, no countertops, and just enough room for a freestanding oven and refrigerator.
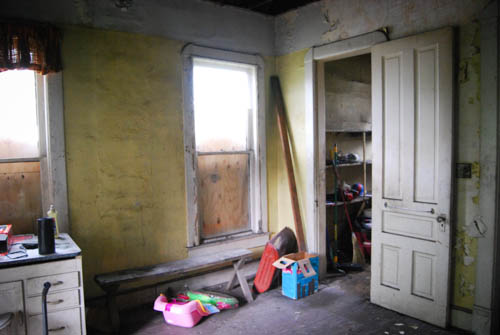
There were two additional rooms inside what we now call the kitchen. One was a pantry…

and one was a bathroom.
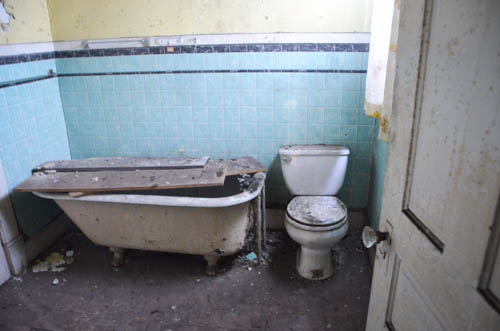
After pondering many possible layouts, we eventually decided we would need to get rid of the pantry and relocate the bathroom somewhere else so that we could have a reasonably-sized kitchen. The demo of these two small rooms was our very first project inside the house and we were excited to get going!
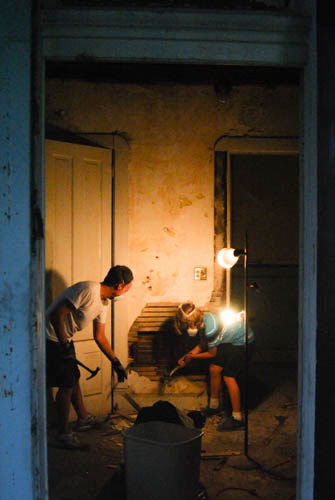
First we removed the trim, plaster, and lath on the two walls that were going to be removed.

Then we removed the remaining studs for those walls. This gave us a good feel for the size of the new kitchen space.

The plaster in the bathroom and pantry were in rough shape, so we removed it before it came crumbing down.

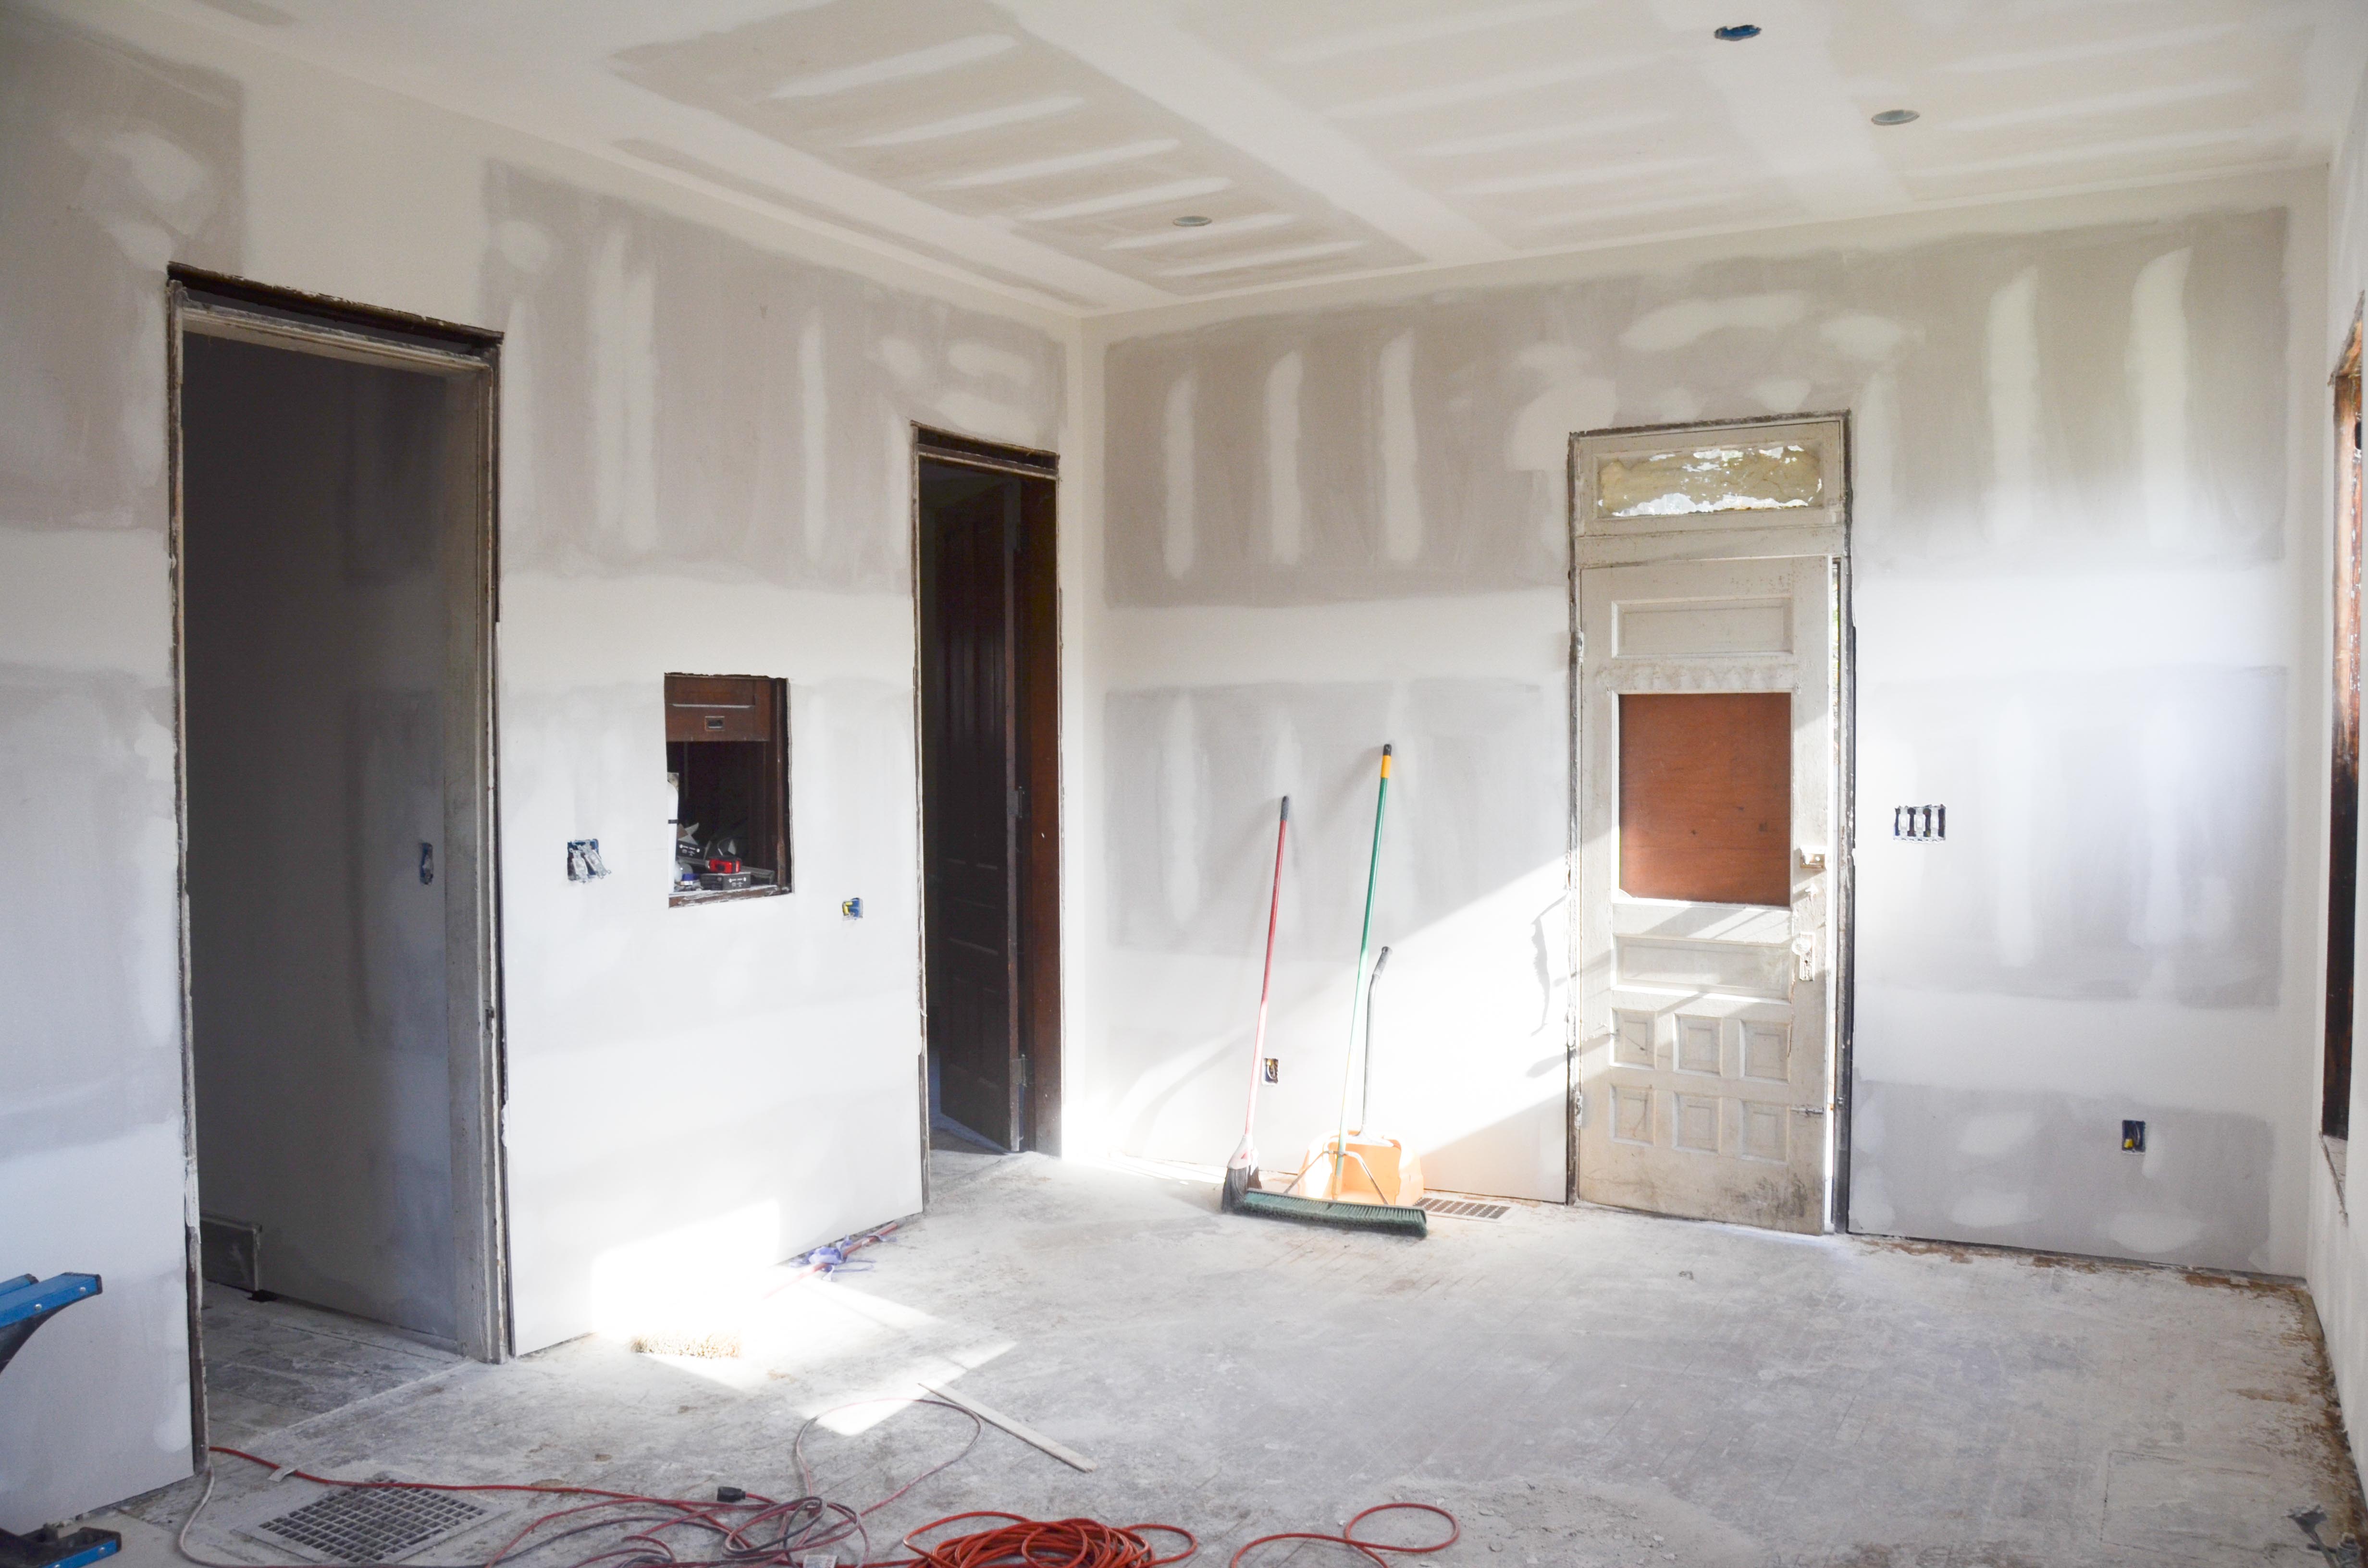
Then, after more thought, we just went ahead and removed ALL the kitchen plaster and lath. All the future electrical work, cabinets, and shelving that would have been very difficult to install if we had to work with the existing condition of the walls.
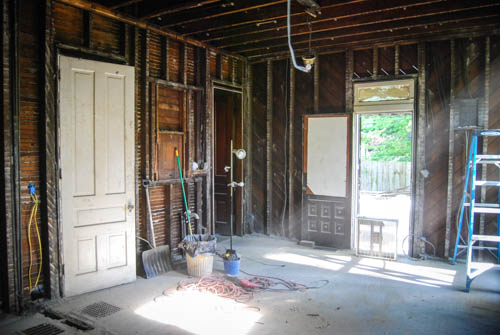

We did have to make a couple additional changes. The small door (in the picture below) led to the old stair case that we eventually removed. This meant that we could remove the door frame and fill in that portion of the wall, allowing us to use that corner space in our cabinet layout.

We cut a hole in the wall opposite of that big door (in the picture above) to create a space for a new door to the basement (that staircase would later be removed).

BUT, once we saw what it looked and felt like with a new hallway directly into the kitchen we decided we wanted to keep this area open. Of course this one decision also meant raising that floor (notice it is a step down) to the same level as the kitchen, building new stairs to the basement, removing the portion of the old staircase to the 2nd floor (which would have been exposed instead of hidden behind a wall) and a whole bunch of other jobs. BUT, it was one of the best changes we made to our original design… and it happened completely by accident.
The walls from the original footprint of the old pantry and bathroom left us with some holes in the floor.
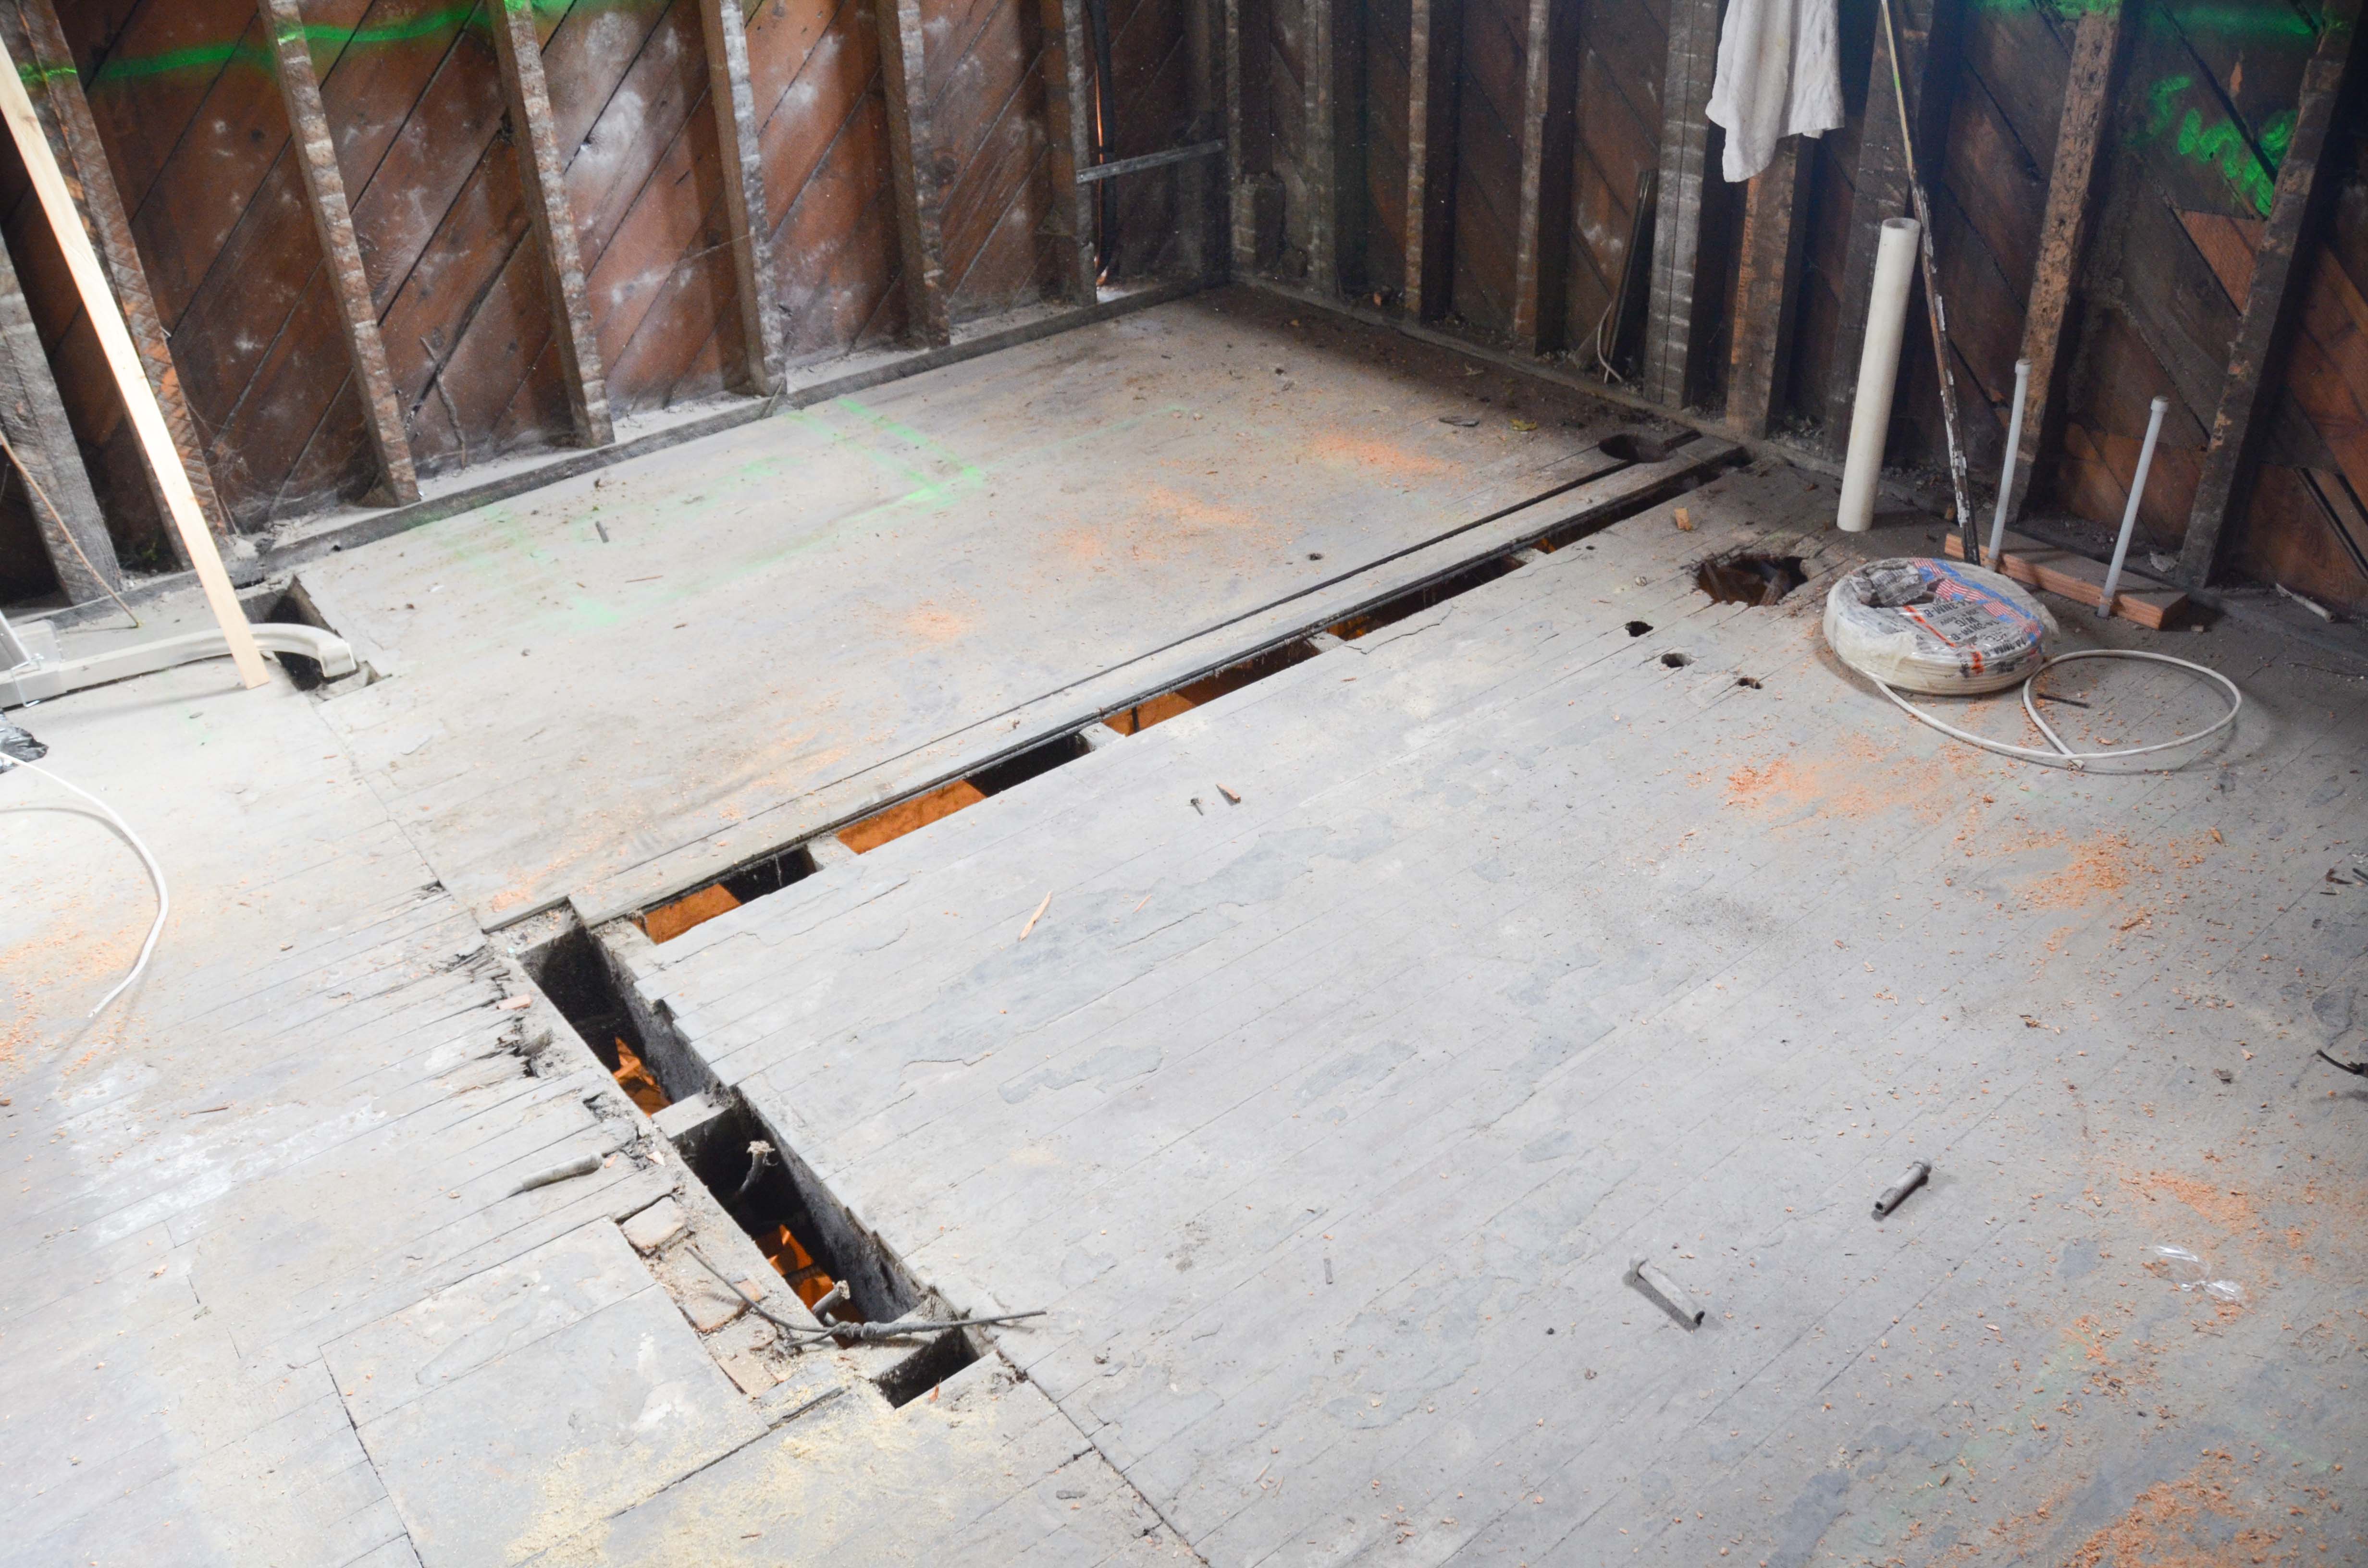 Our solution was to pull up flooring from other areas of the kitchen that we knew would eventually be covered by lower cabinets and use that flooring to fill in the holes.

It’s not perfect. It is still obvious that there used to be a different floor plan, but we like that the floor retains clues to the history of the house.

Another big part of the kitchen renovation (actually, EVERY room of the house) was the removal and complete renovation of all the original windows – including removing every sash, removing the old glazing, scraping paint, sanding, re-glazing, priming, and then repainting. The kitchen involved 8 window sashes, 4 additional large storm windows, and 16 panes of glass.


We also refurbished the back door, which is located in the kitchen.


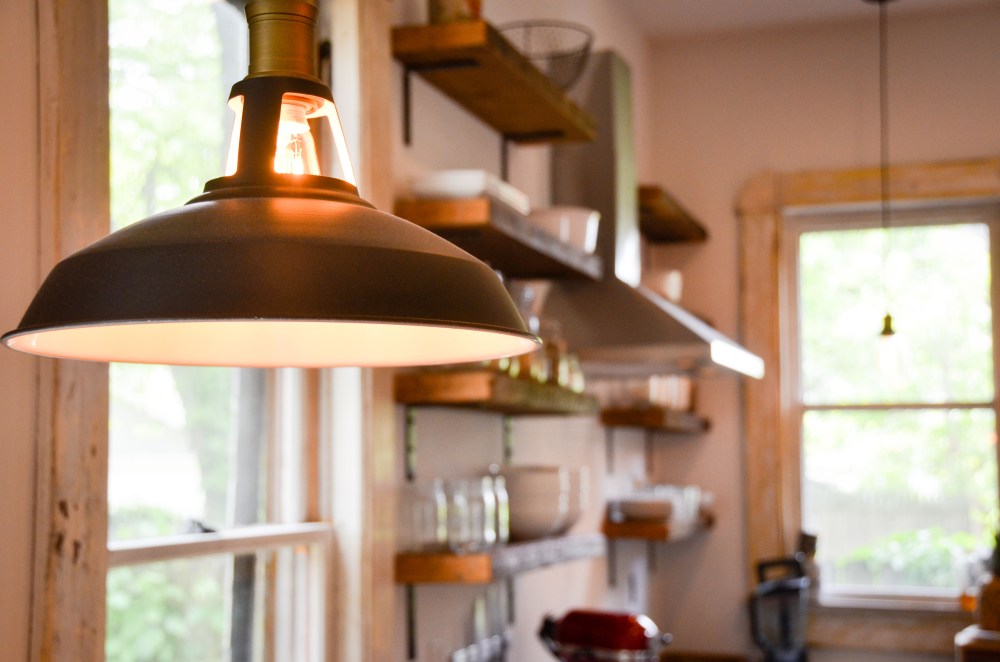
The electrical work for the kitchen took Amy a long time to complete. Besides the numerous outlets and power for appliances, we also included 6 recessed lights, 4 pendant lights, and under-cabinet lighting (which we eventually removed because we didn’t need it).


Before drywall could be installed, we needed to cut and install furring strips that would bring the wall depth back to where it was with the original lath. If we didn’t do this there would have been a substantial gap between the original window/door trim and the new drywall.

The previously uninsulated walls were now insulated with a skim coat of closed-cell spray foam. Fiberglass insulation was then added on top of that. The roof deck was sprayed with open-cell foam.


Finally, the big event we had been waiting for… drywall!
Once the drywall was complete we could finally re-install the kitchen windows. These were the very first windows to be re-installed and the only windows that had the original casing removed. Before re-installing the newly refurbished window I also installed new spring bronze weather stripping…

and new sash cord for the weights.

With the windows and trim re-installed the kitchen was finally beginning to feel…. real!


We had to remove linoleum flooring in the old bathroom and pantry as well as around the entire perimeter of the room. In the 20’s and 30’s people installed these kinds of floor treatments with mastic tar, which requires a lot of work to remove without damaging the floor itself. This needed to be done before any work to restore the original floors could begin. It was a painstakingly slow process that involved working inch by inch.
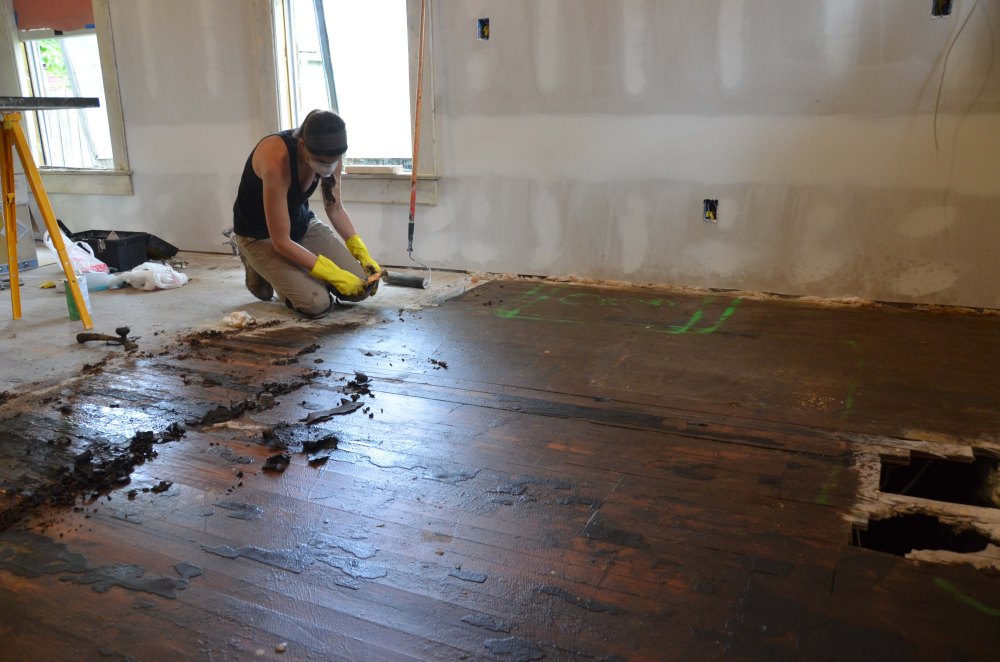
The walls were then primed and the floors were sanded.

and refinished…

The kitchen floor is definitely still a little rough. It contains a hodge-podge of wood, patches, and markings from the old oven, linoleum staples, and a century worth of abuse, but you can’t say it lacks character!
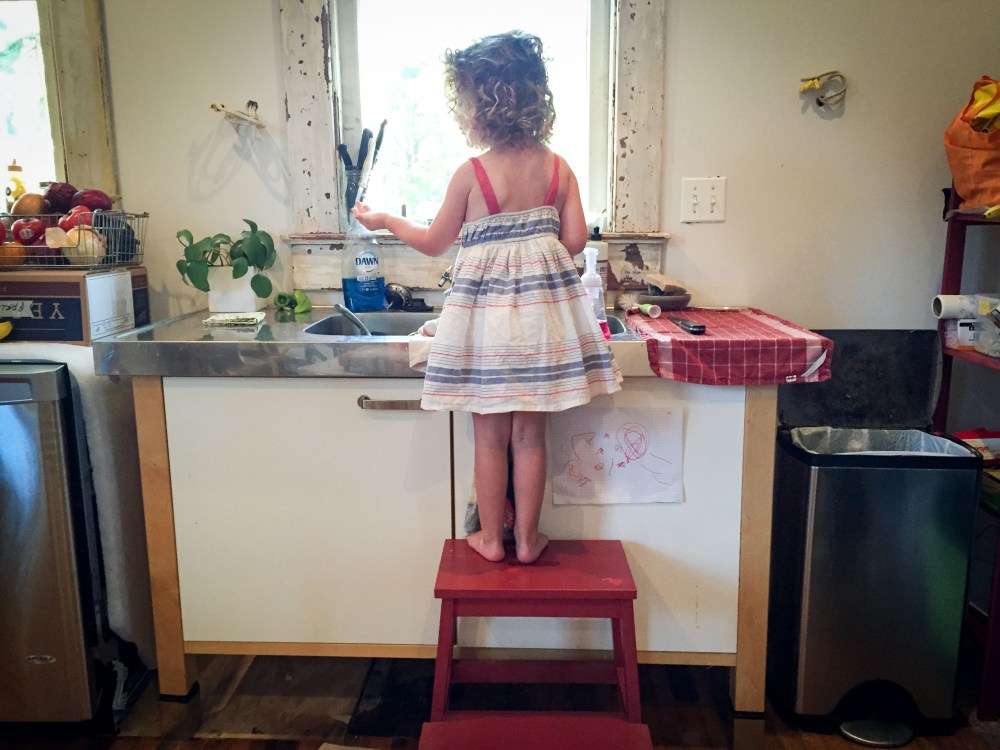
We moved in shortly after finishing the floors (a little less than three years ago) and tolerated a kitchen without countertops and cabinets for nearly two of years. It really wasn’t that bad. The open shelving had it’s perks and we used a small card table as an island to help with the lack of surface area.


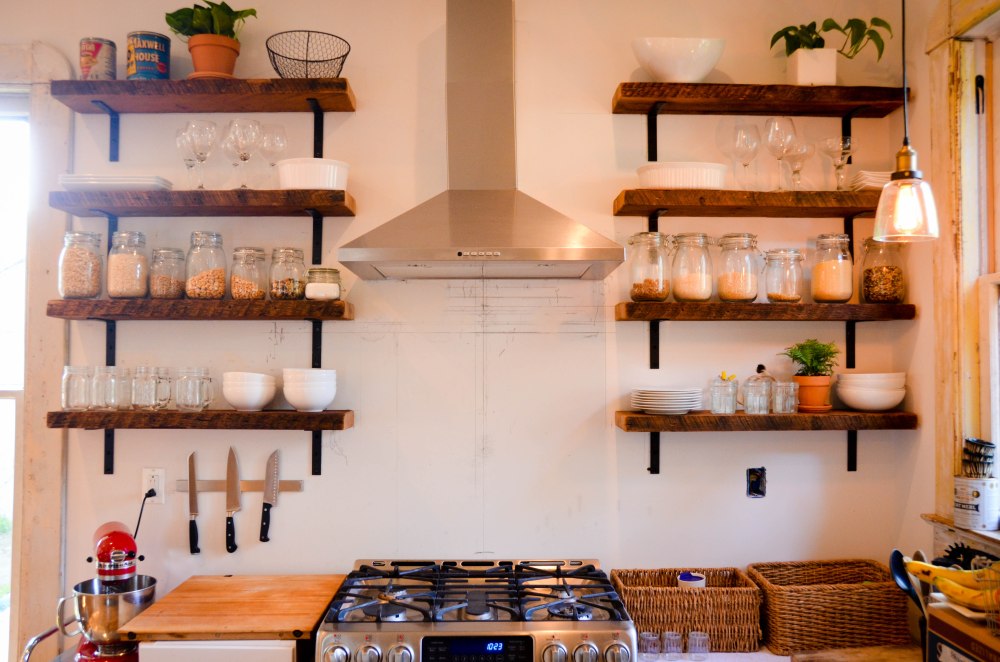
 Eight months later, as we prepared to have our house included on the neighborhood home tour, we added a vent hood, pendant lighting, and shelving that we constructed from our own floor joists that we removed when locating the new staircase.
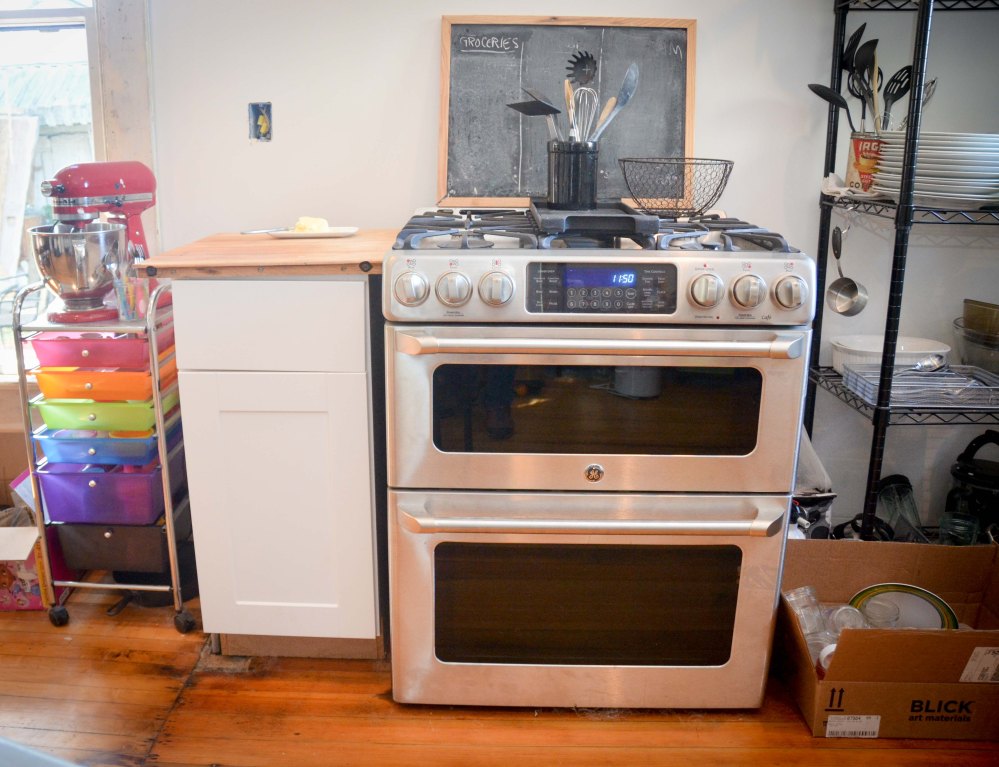
A little more than one year later, we were finally ready to do the FUN stuff, beginning with installing our cabinets!


As you can see, it was a HUGE step forward.

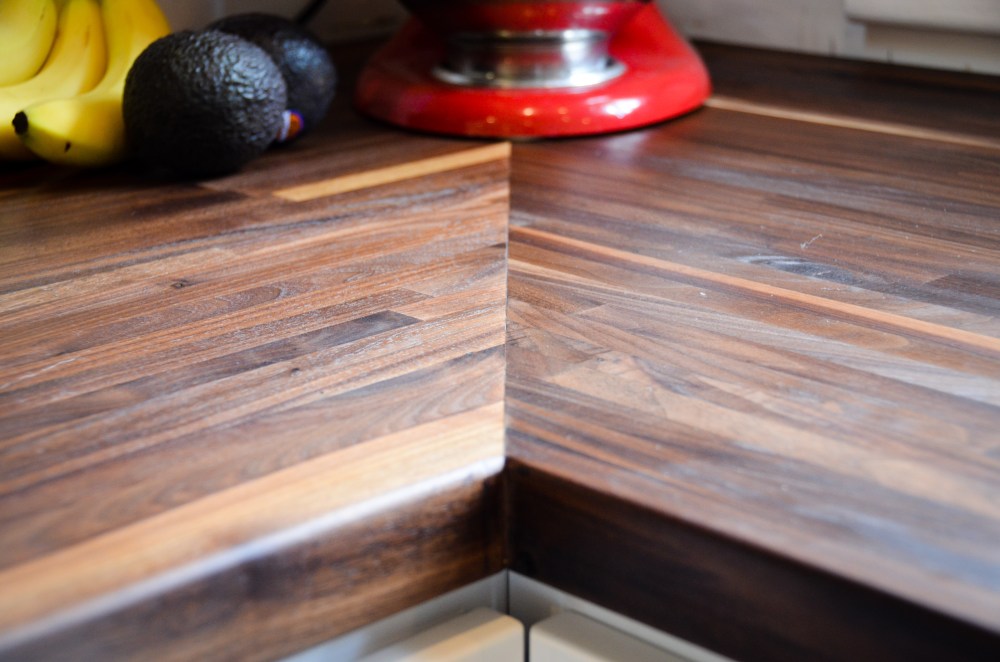
The next big item was the cutting and installation of the butcher block countertops.

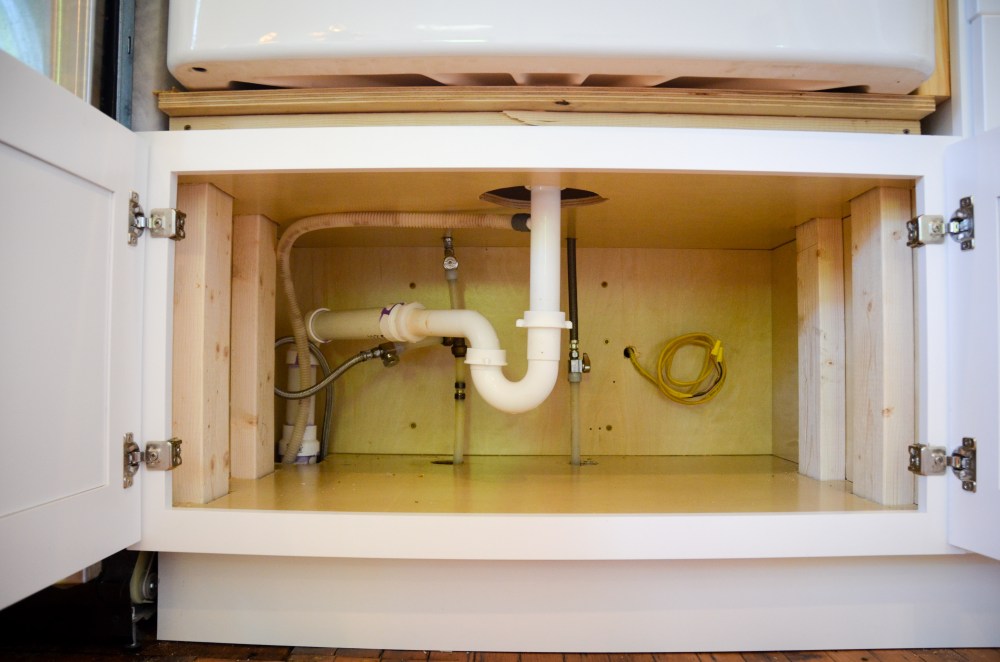
This also involved new plumbing and building a frame to support the weight of our new farmhouse sink.

Last on the “big item” list was the tile. We decided to do subway tile up to the ceiling!


The kitchen has been “done” for almost a year, but it has taken us a while to complete the many remaining details and aesthetic touches. Four years ago we were doing this…
Now we can finally call the kitchen FINISHED! Stay tuned for Part 2 – the big reveal!

One Comment Add yours