It is now the middle of the summer and we still don’t have a contractor lined up to take care of the work on the exterior of the house. This is exactly what happened when we first started this renovation project several years ago… which is why we just decided to do most of it ourselves. Looking back, abandoning the search for a general contractor was the best decision we made. It has allowed us to take our time making well thought out decisions about each space in the house. And I can’t even imagine how much more money the renovation would have cost – IF we could have even found someone to do the painstaking restoration work required for this house.
After getting back from our two week vacation at the beginning of the summer we got restless for a project. We still have to find a few more pieces of artwork and furniture before we officially call the kitchen, bathroom, and dining room “finished”, so we made the rounds again at many salvage shops, furniture stores, and the world wide web. We were able to zero in on some ideas, but still couldn’t find just the right pieces. Perhaps we are too picky?!?
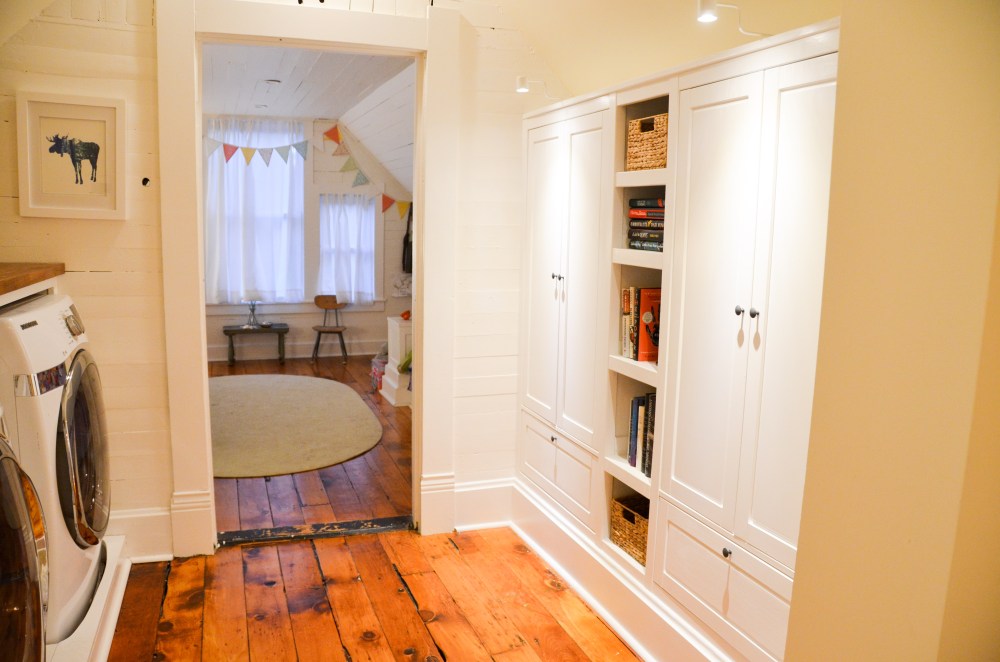
In order to keep some forward motion on the house, we decided to do more research on a closet solution for the kids in the area across from the washer and dryer.

We have never been sure about the function of this space. Originally we thought it might make a good little study/homework nook, a library, or even just a small play area. For the past couple years it has mostly served as a dumping ground for laundry baskets and dirty clothes, but recently we began to think more about using this space as an area to build a wardrobe closet for the kids. Currently they have dressers, but do not have a place to actually hang anything.
We have been kicking around some ideas for the past couple months. Here is one sketch that shows our starting point.

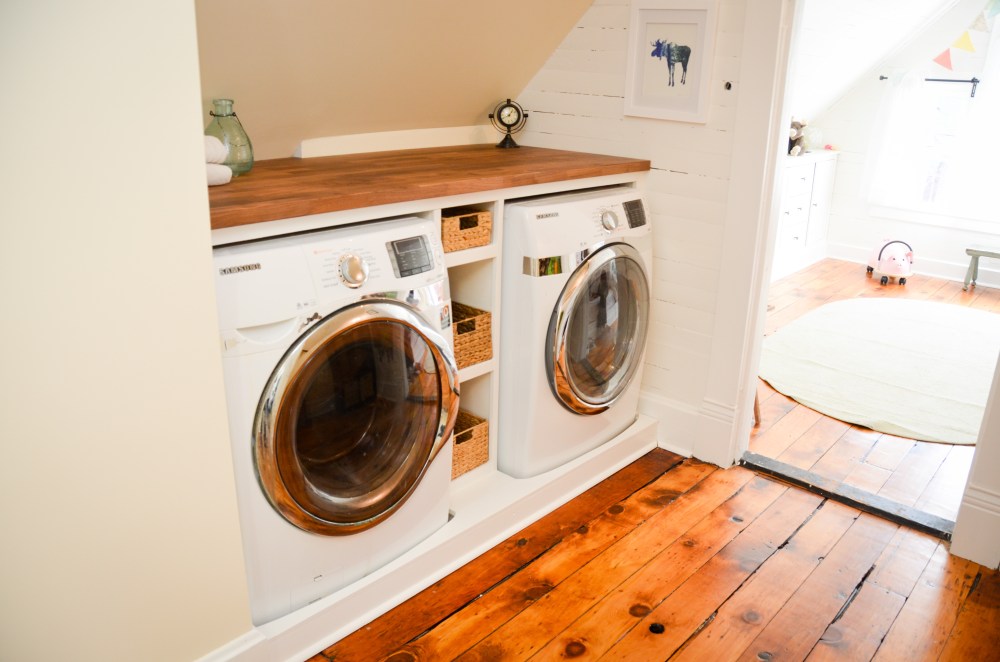
In that plan, we were going to mimick the countertop from the laundry side and just put a bar beneath it to hang clothes. It would also have shelves behind it for shoe storage. In the end we nixed the idea because we didn’t think it would look professional enough. We really wanted something with doors and drawers… something that looked legit.
A couple weeks ago I was triple checking the internet for child-sized wardrobe closets that I could hack/augment to fit into the space. Miraculously I found a new IKEA wardrobe that perfectly matched the Hemnes furniture we previously hacked for the kids’ dressers. It also met the important requirement that it be made of wood so that we could easily cut, add to, sand and paint to match the rest of the built-in furniture and trim.

It is so new that our local IKEA had the wardrobe in stock, but hadn’t even put it together yet for display. We went ahead and bought two of them even though we didn’t get the opportunity to touch and feel it.
The first step was to assemble the furniture and take some measurements to begin plans for augmentation and addition. By the way, I highly recommend this SUNDVIK wardrobe. It is sturdy, made with wood, and has a natural look to it.

We wanted the wardrobes to sit about a foot from the back wall. This would give us enough space to put shelves behind them. In order to do this we needed to transfer the angle of the ceiling to the wardrobes and make the necessary cuts. We also removed the back of and tops of each wardrobe. Once that was done we slid them into place and began the tricky process of keeping the furniture tight to the wall while also compensating for a very unlevel floor. We also needed to make sure that the distance between the furniture stayed consistent, the tops were the same, and that they were perfectly in line with each other

Next we figured out all the shelving dimensions and locations, then made all the necessary cuts and primed everything. We also added additional trim pieces to make the added shelves blend right in to the original furniture. The goal was to make it very difficult to tell what was built by IKEA and what was built by us. In the picture below you can see the new top, the shelves in between the wardrobes, and a glimpse of the additional shelving behind the unit.

After more adjustments, caulking, sanding and painting we were finally ready to add lighting, doors, and drawers.


To complete the built-in look we covered the wardrobe legs with new trim to match the old trim.

We were initially a little worried that adding these wardrobes would make this space seem small, but it actually brightens it up a little, makes it feel less like a cave, and gave us a great way to add a little more light to an otherwise dark space. The wardrobes are small enough that Lucy can reach her clothes…

but also plenty big enough for a teenager.

Here is an OLD picture of what this space looked like when we began the renovation.

Then initial framing and electrical rough in…

And now…

Doing these built-in projects has unexpectedly been one of the most enjoyable parts of our renovation experience. If you are interested in IKEA hacks or building your own built-ins here is a quick review of all the built-ins we have done so far (with links to the respective blog posts).
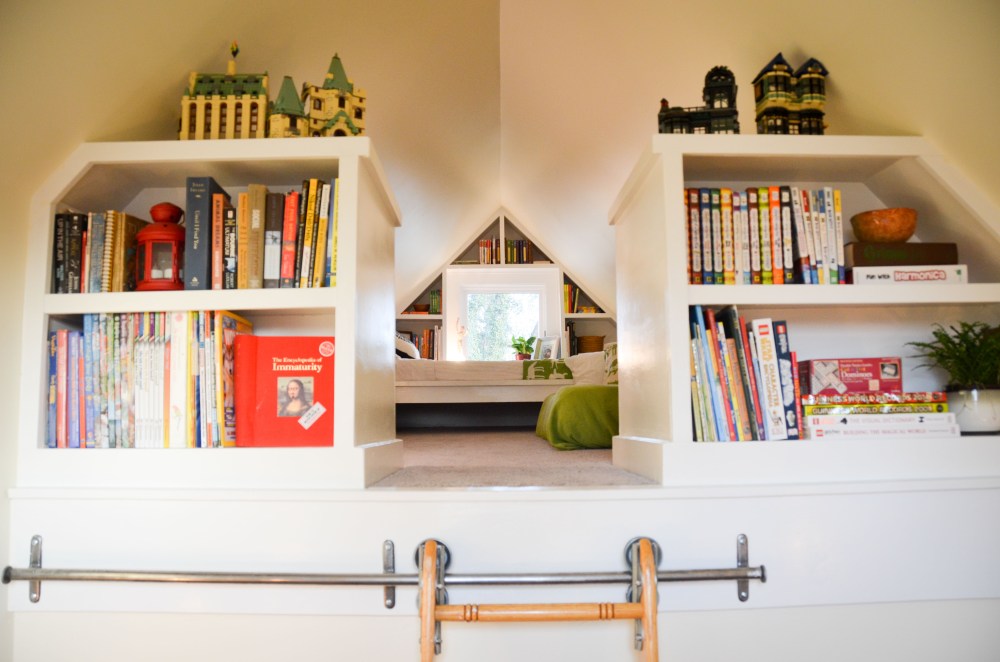
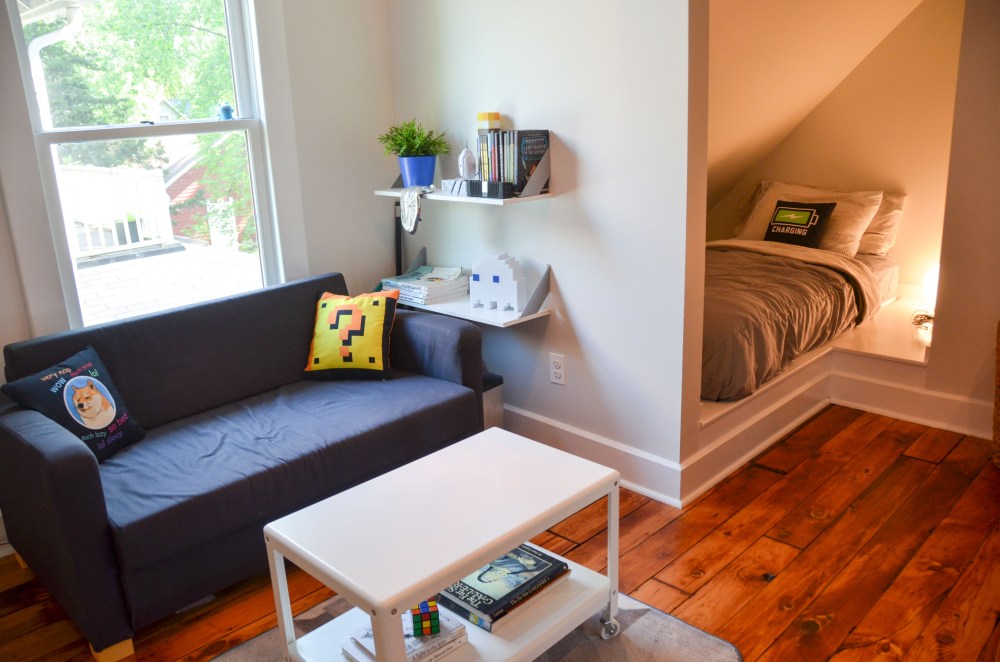
Loft bookshelves and bed
Renovation of the loft space begins!
Book shelves and a ladder for the loft
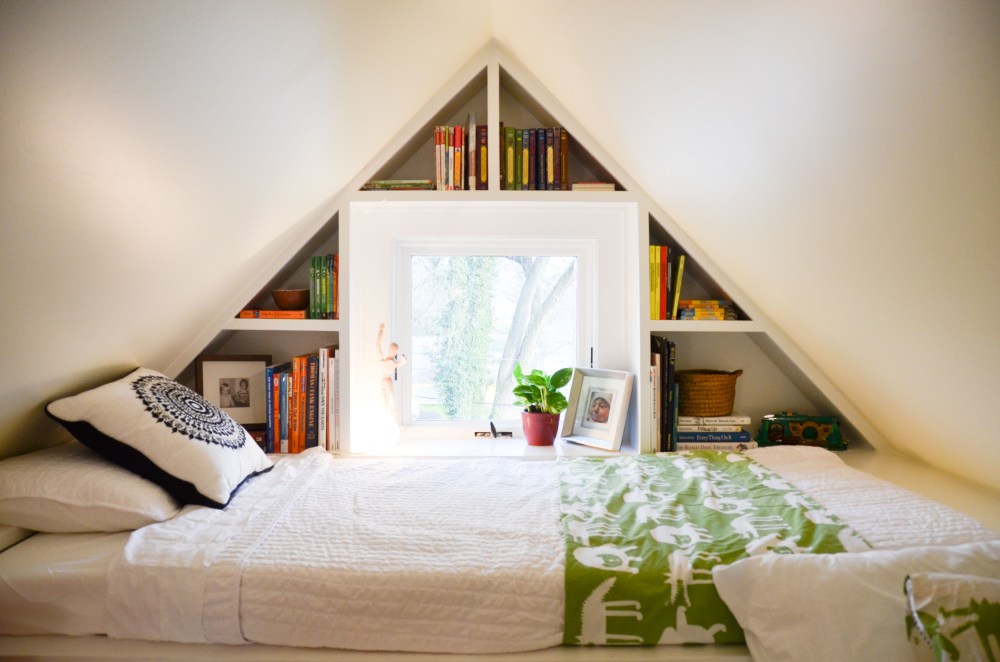
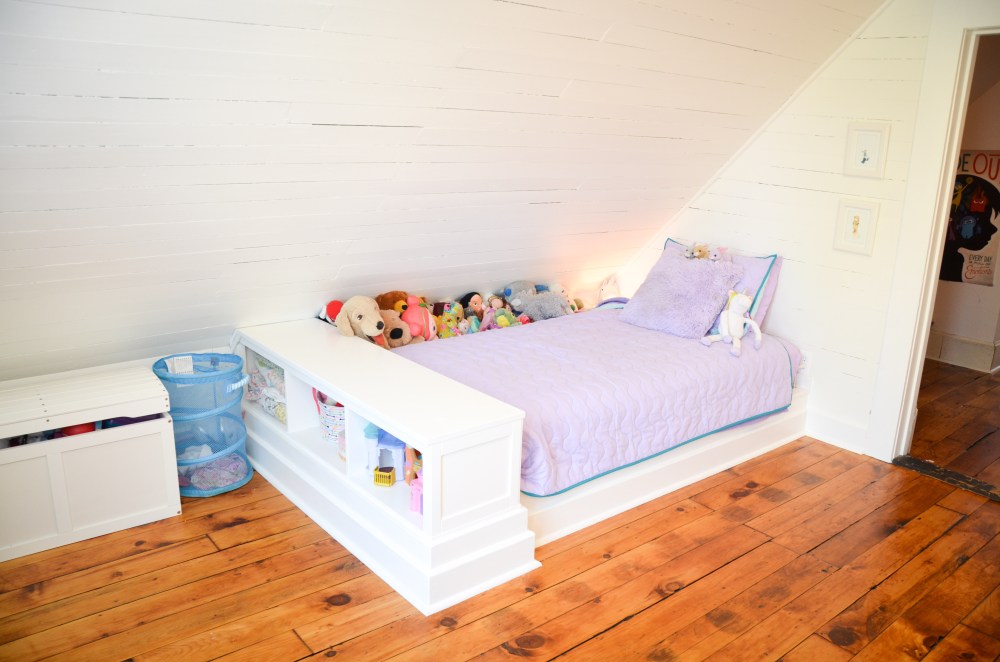
Lucy’s bed and Dressers
Lucy’s built-in bed and window trim

Aiden’s dressers and Bed

As soon as we get the last bits of furniture and artwork taken care of we will unveil three more completed rooms!

Wow, that is perfect!
LikeLike
Joe, I think You and Amy have a real further in design and rehabbing older homes. What you have done with this house is truly amazing.
Great work. Best John.
LikeLike
Thanks, John! That means a lot coming from you.
LikeLike
You’re so good at creating built-ins!! I love-love it, it looks so good and incorporated to the space! Just like all of the others (i showed them to my bf, i’ll surely show him this new one!)
LikeLike