Most people consider the kitchen to be the most important room in the house. In the planning process, we agonized, seriously AGONIZED, over how to arrange our kitchen. If there was ever a time in the renovation when our marriage was put to the test, it was definitely the kitchen layout that caused the most tension. Right honey? Good times.
[Edit from Amy: Oh yes, good times. Let’s do it again for old times sake.]
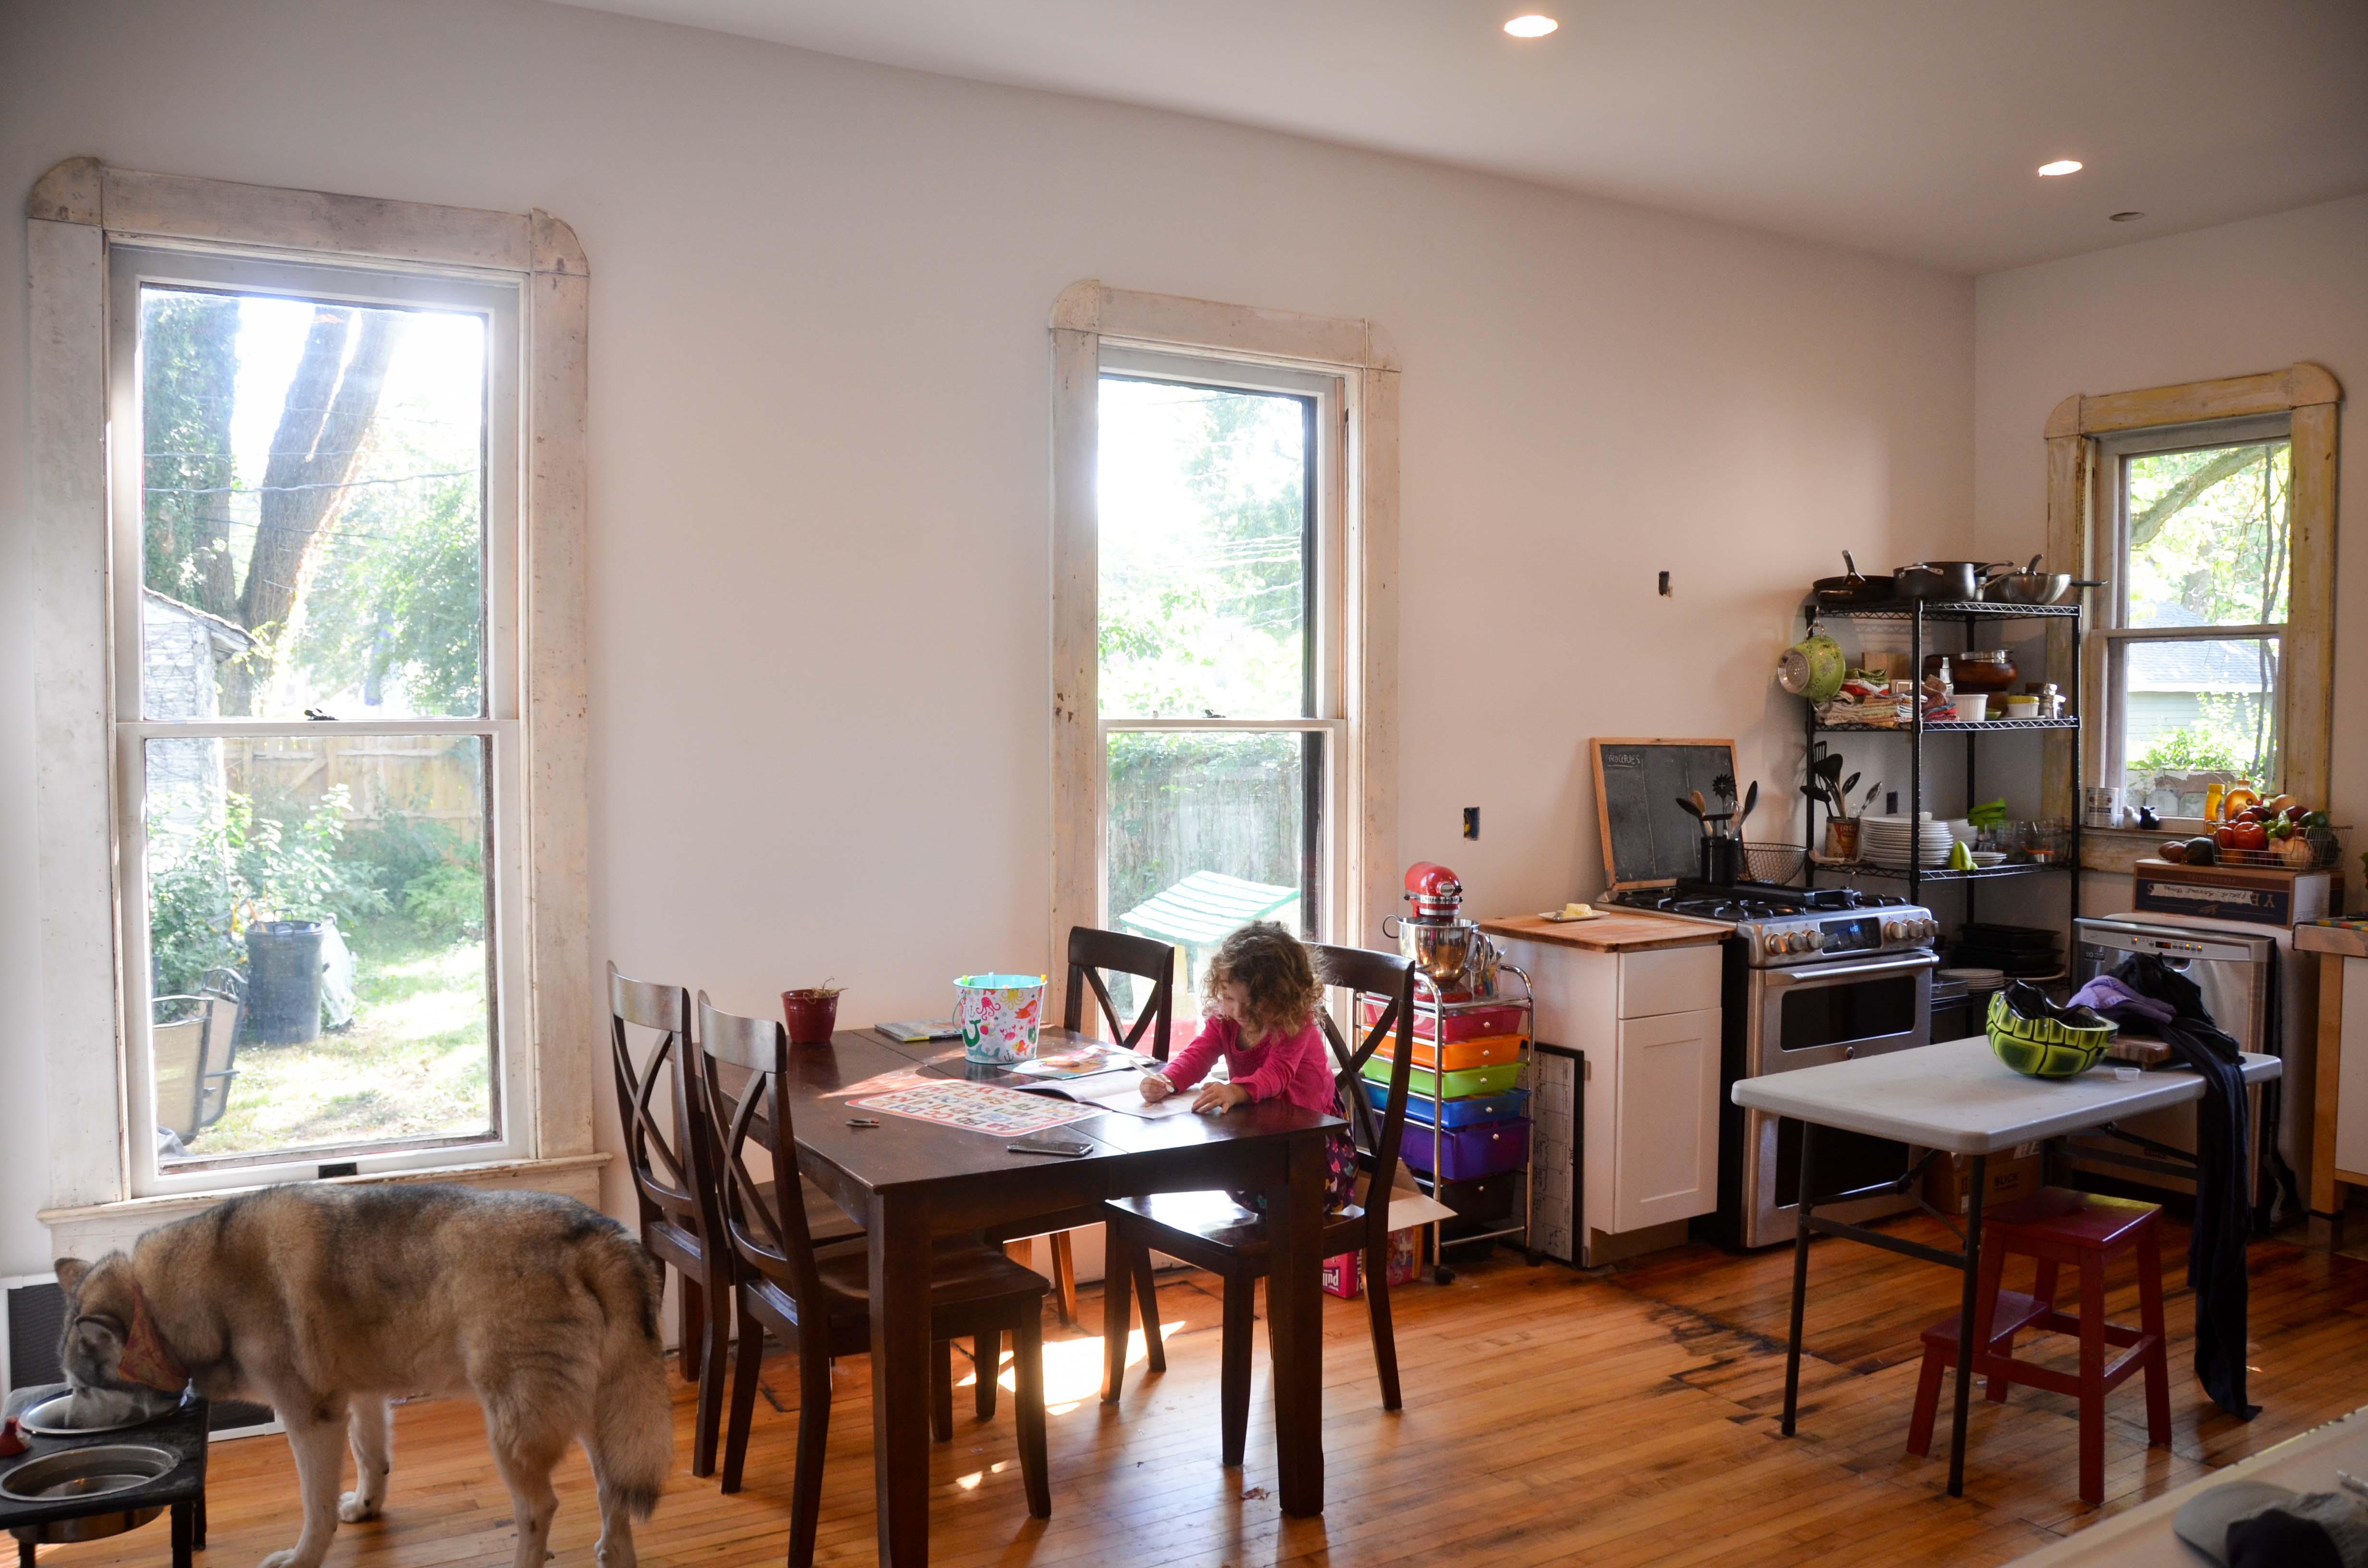
As a result of the high stakes involved in planning a kitchen, the potential high costs, and the lingering layout uncertainty, we decided to begin as simply as possible. We just got a few pieces of temporary furniture that allowed the kitchen to function and then assumed we would just settle in for a few years until we felt up to this monumental task. We have survived with minimal food prep space by utilizing a small portable table and have enjoyed the easy access to pantry items, pots, pans, and plates.
[Edit from Amy: This so called “unfitted” kitchen model has really grown on me. I understand why commercial kitchens have open shelving and movable stations un-affixed to the wall. It’s efficient and flexible. I appreciate the novelty of our makeshift set up and will be sad when we have real cabinets and no garage shelving. Our current kitchen has been simple, earthy and unpretentious.]
Well, that all changed when we agreed to be on the Cottage Home Neighborhood home tour. We decided there were at least a few upgrades we could tackle without breaking the bank or ending our marriage.
[Edit from Amy: foolhardy.]
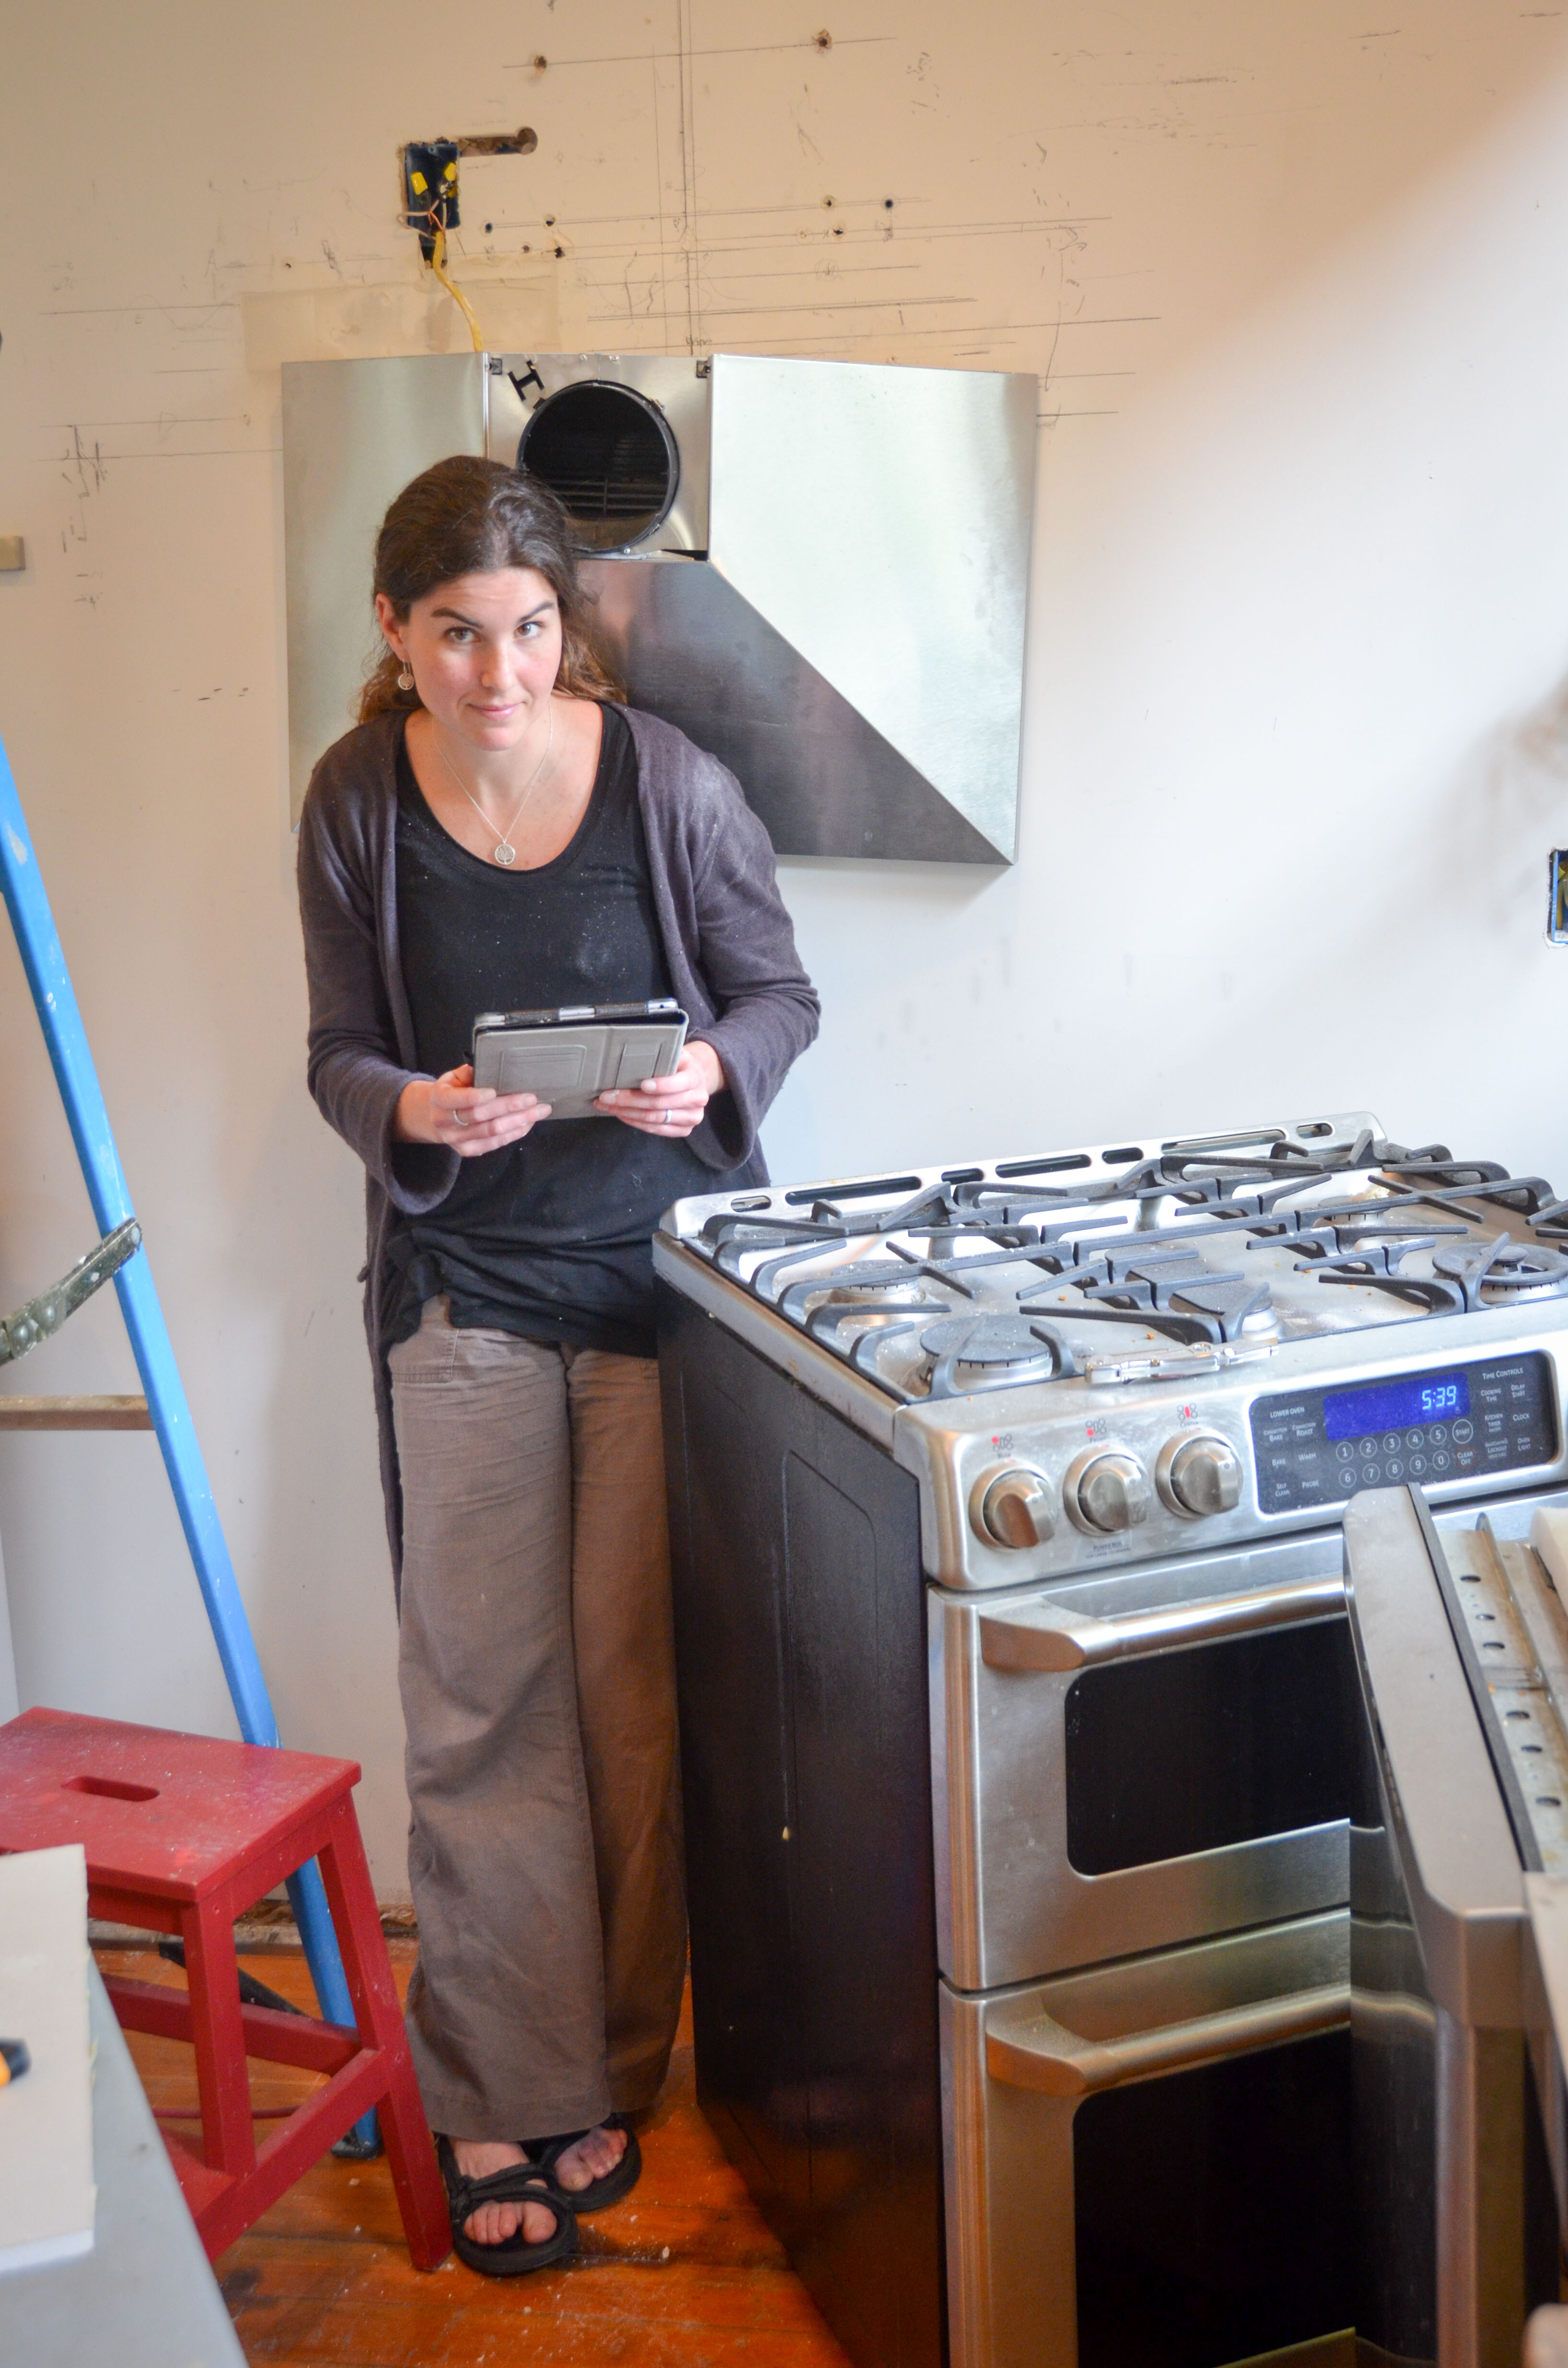
Many, many months ago we ordered a fancy vent hood to go with our fancy gas oven. The home tour was the perfect motivator to get that sucker out and get it on the wall. How hard could it be? Right away we noticed that the electrical was not in the right place based on where we thought we would locate the oven. [Edit from Amy: because as mentioned before, plans do change.] We also discovered that our original placement of the vent hood wasn’t going to work because it put the vent hole right in line with a wall stud. I’ll skip all the details (because it is just one big angry blur anyway), but let me just say that locating the exact placement of this vent hood was completely and totally exasperating. If a picture says a thousand words, then I can shorten this blog post quite a bit by just posting this picture.
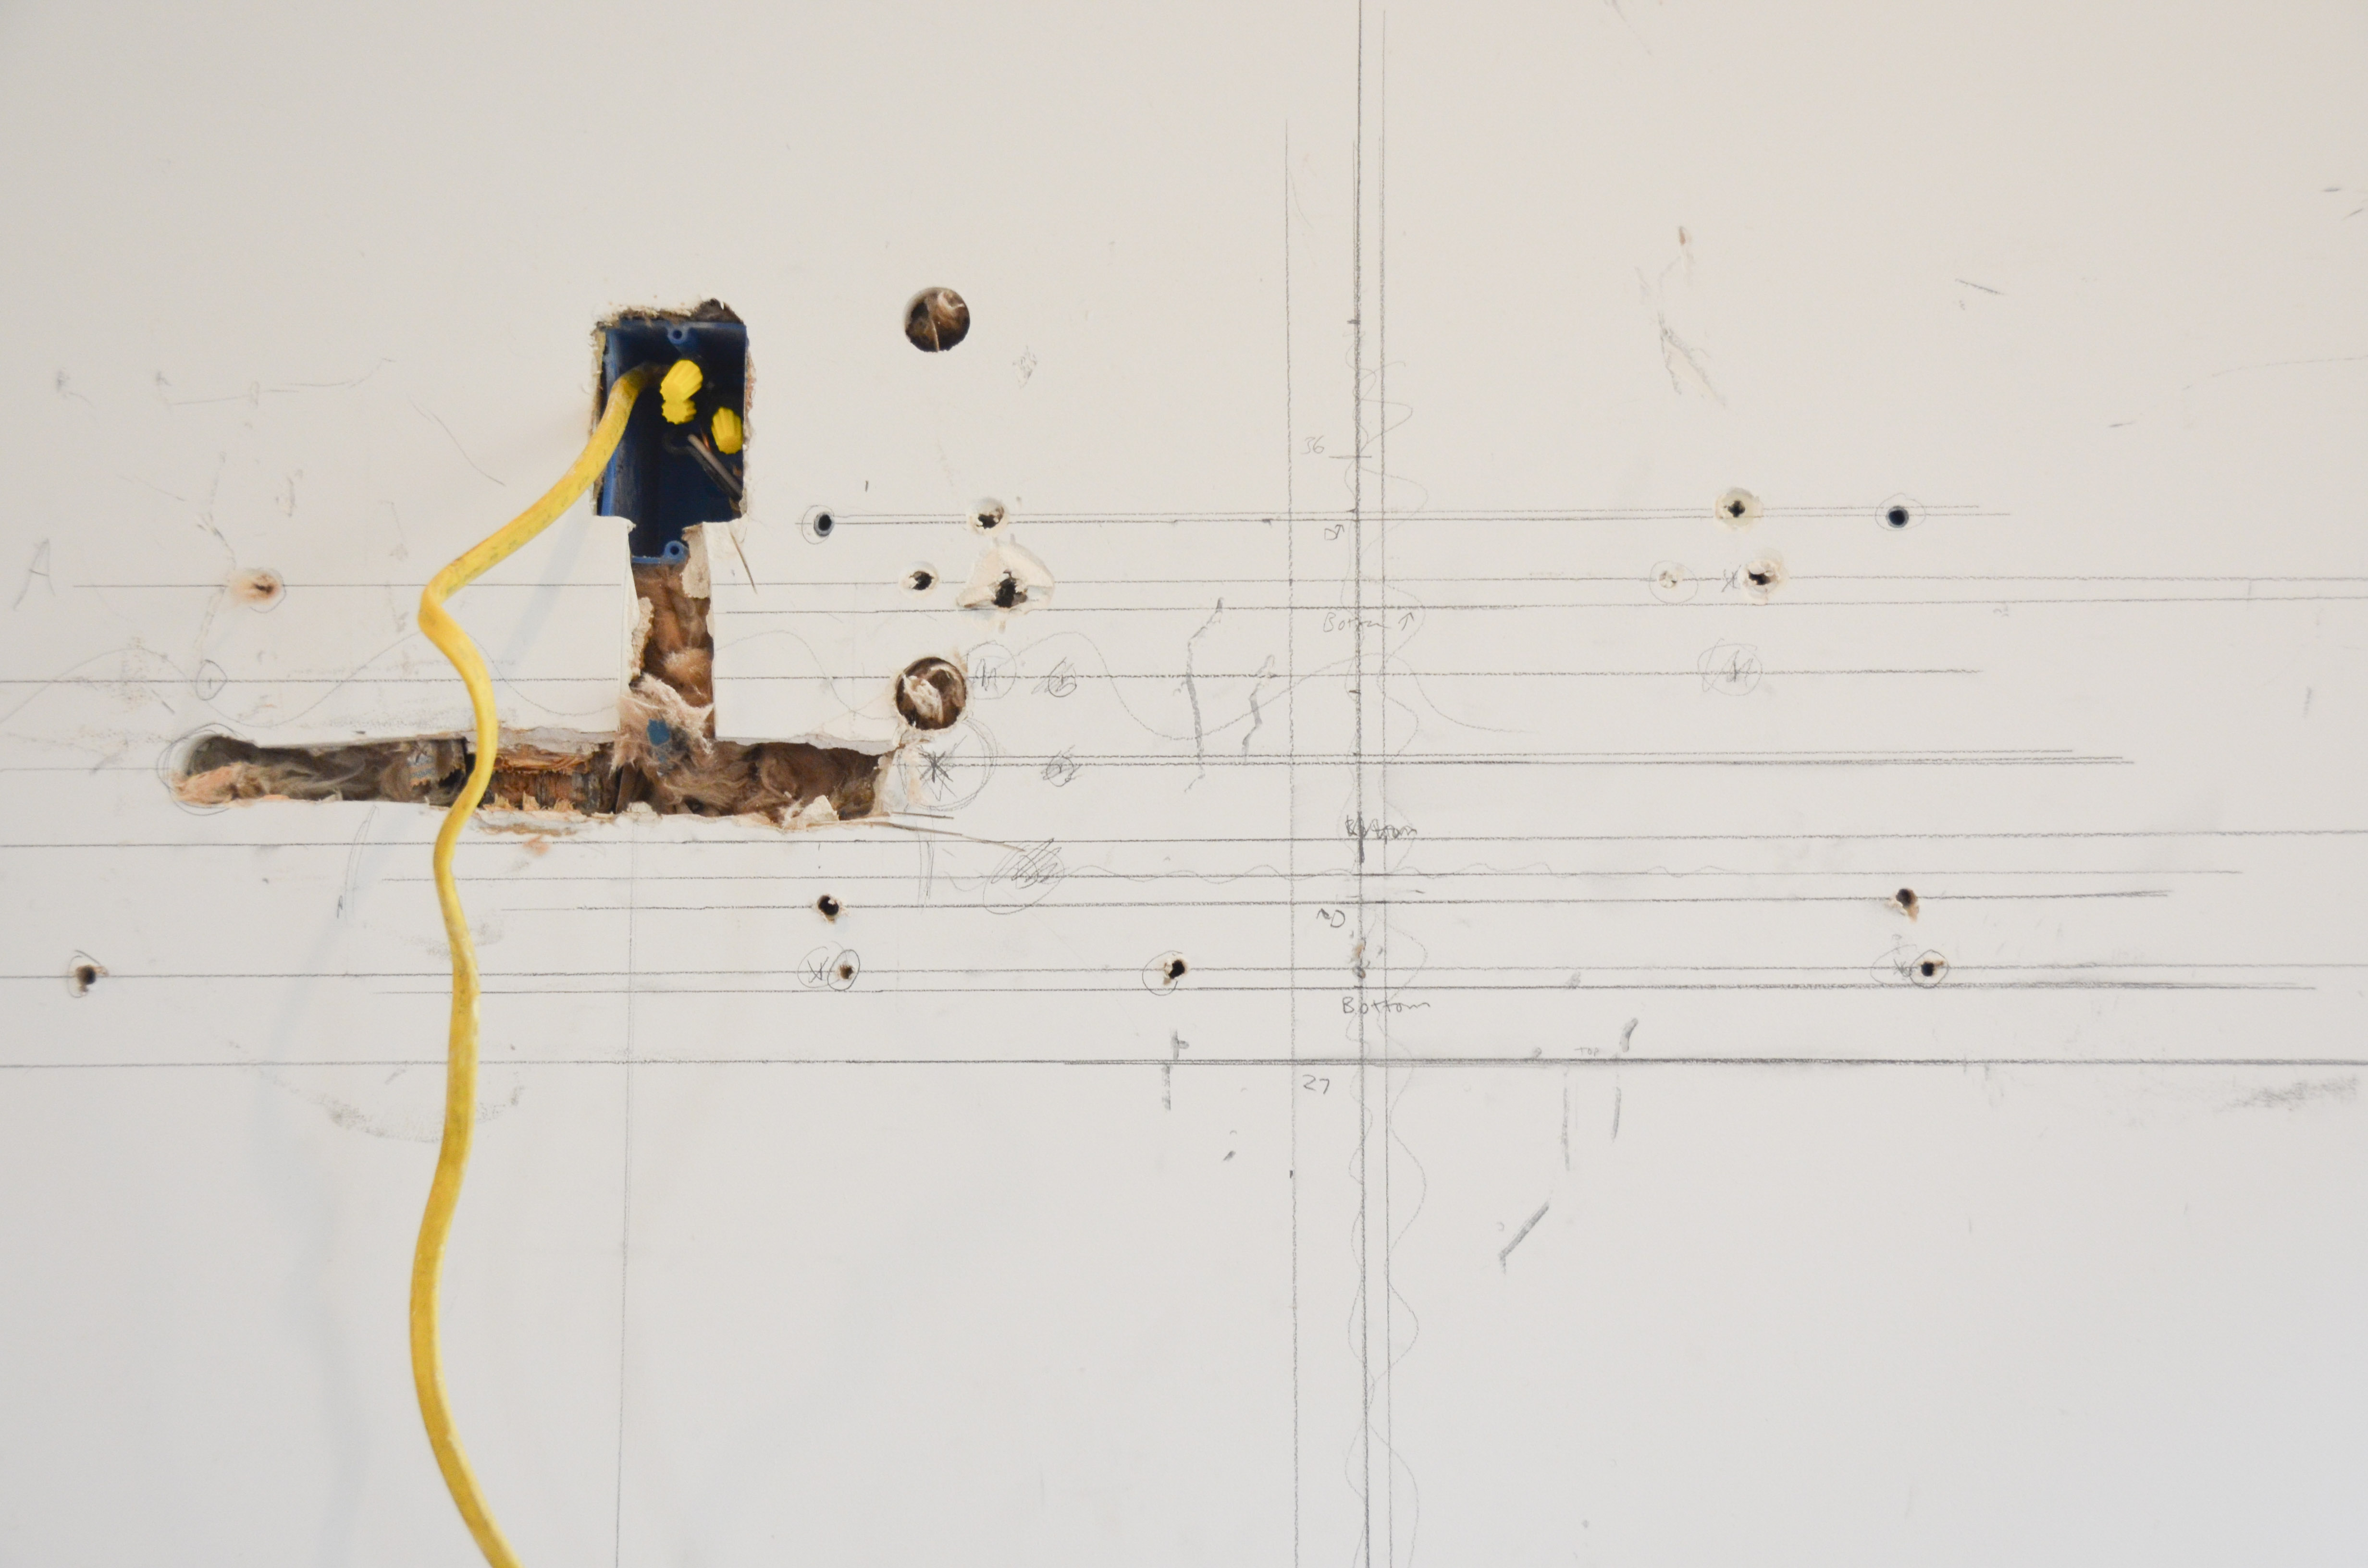
That picture should only show about 4 lines and 4 holes!!! It’s embarrassing to admit we struggled this much with such a seemingly simple project, but we try to keep it real here on this blog. Don’t forget, we are just a couple of teachers rehabbing our first house.
Eventually I did find just the right location for the vent hood. After triple checking everything, I proceeded to drill the necessary 6″ hole through the exterior wall. I’ve cut through from the inside to the outside of the house several times, but every time it just strikes me as wrong, like, “should I really be cutting a hole in my house?”
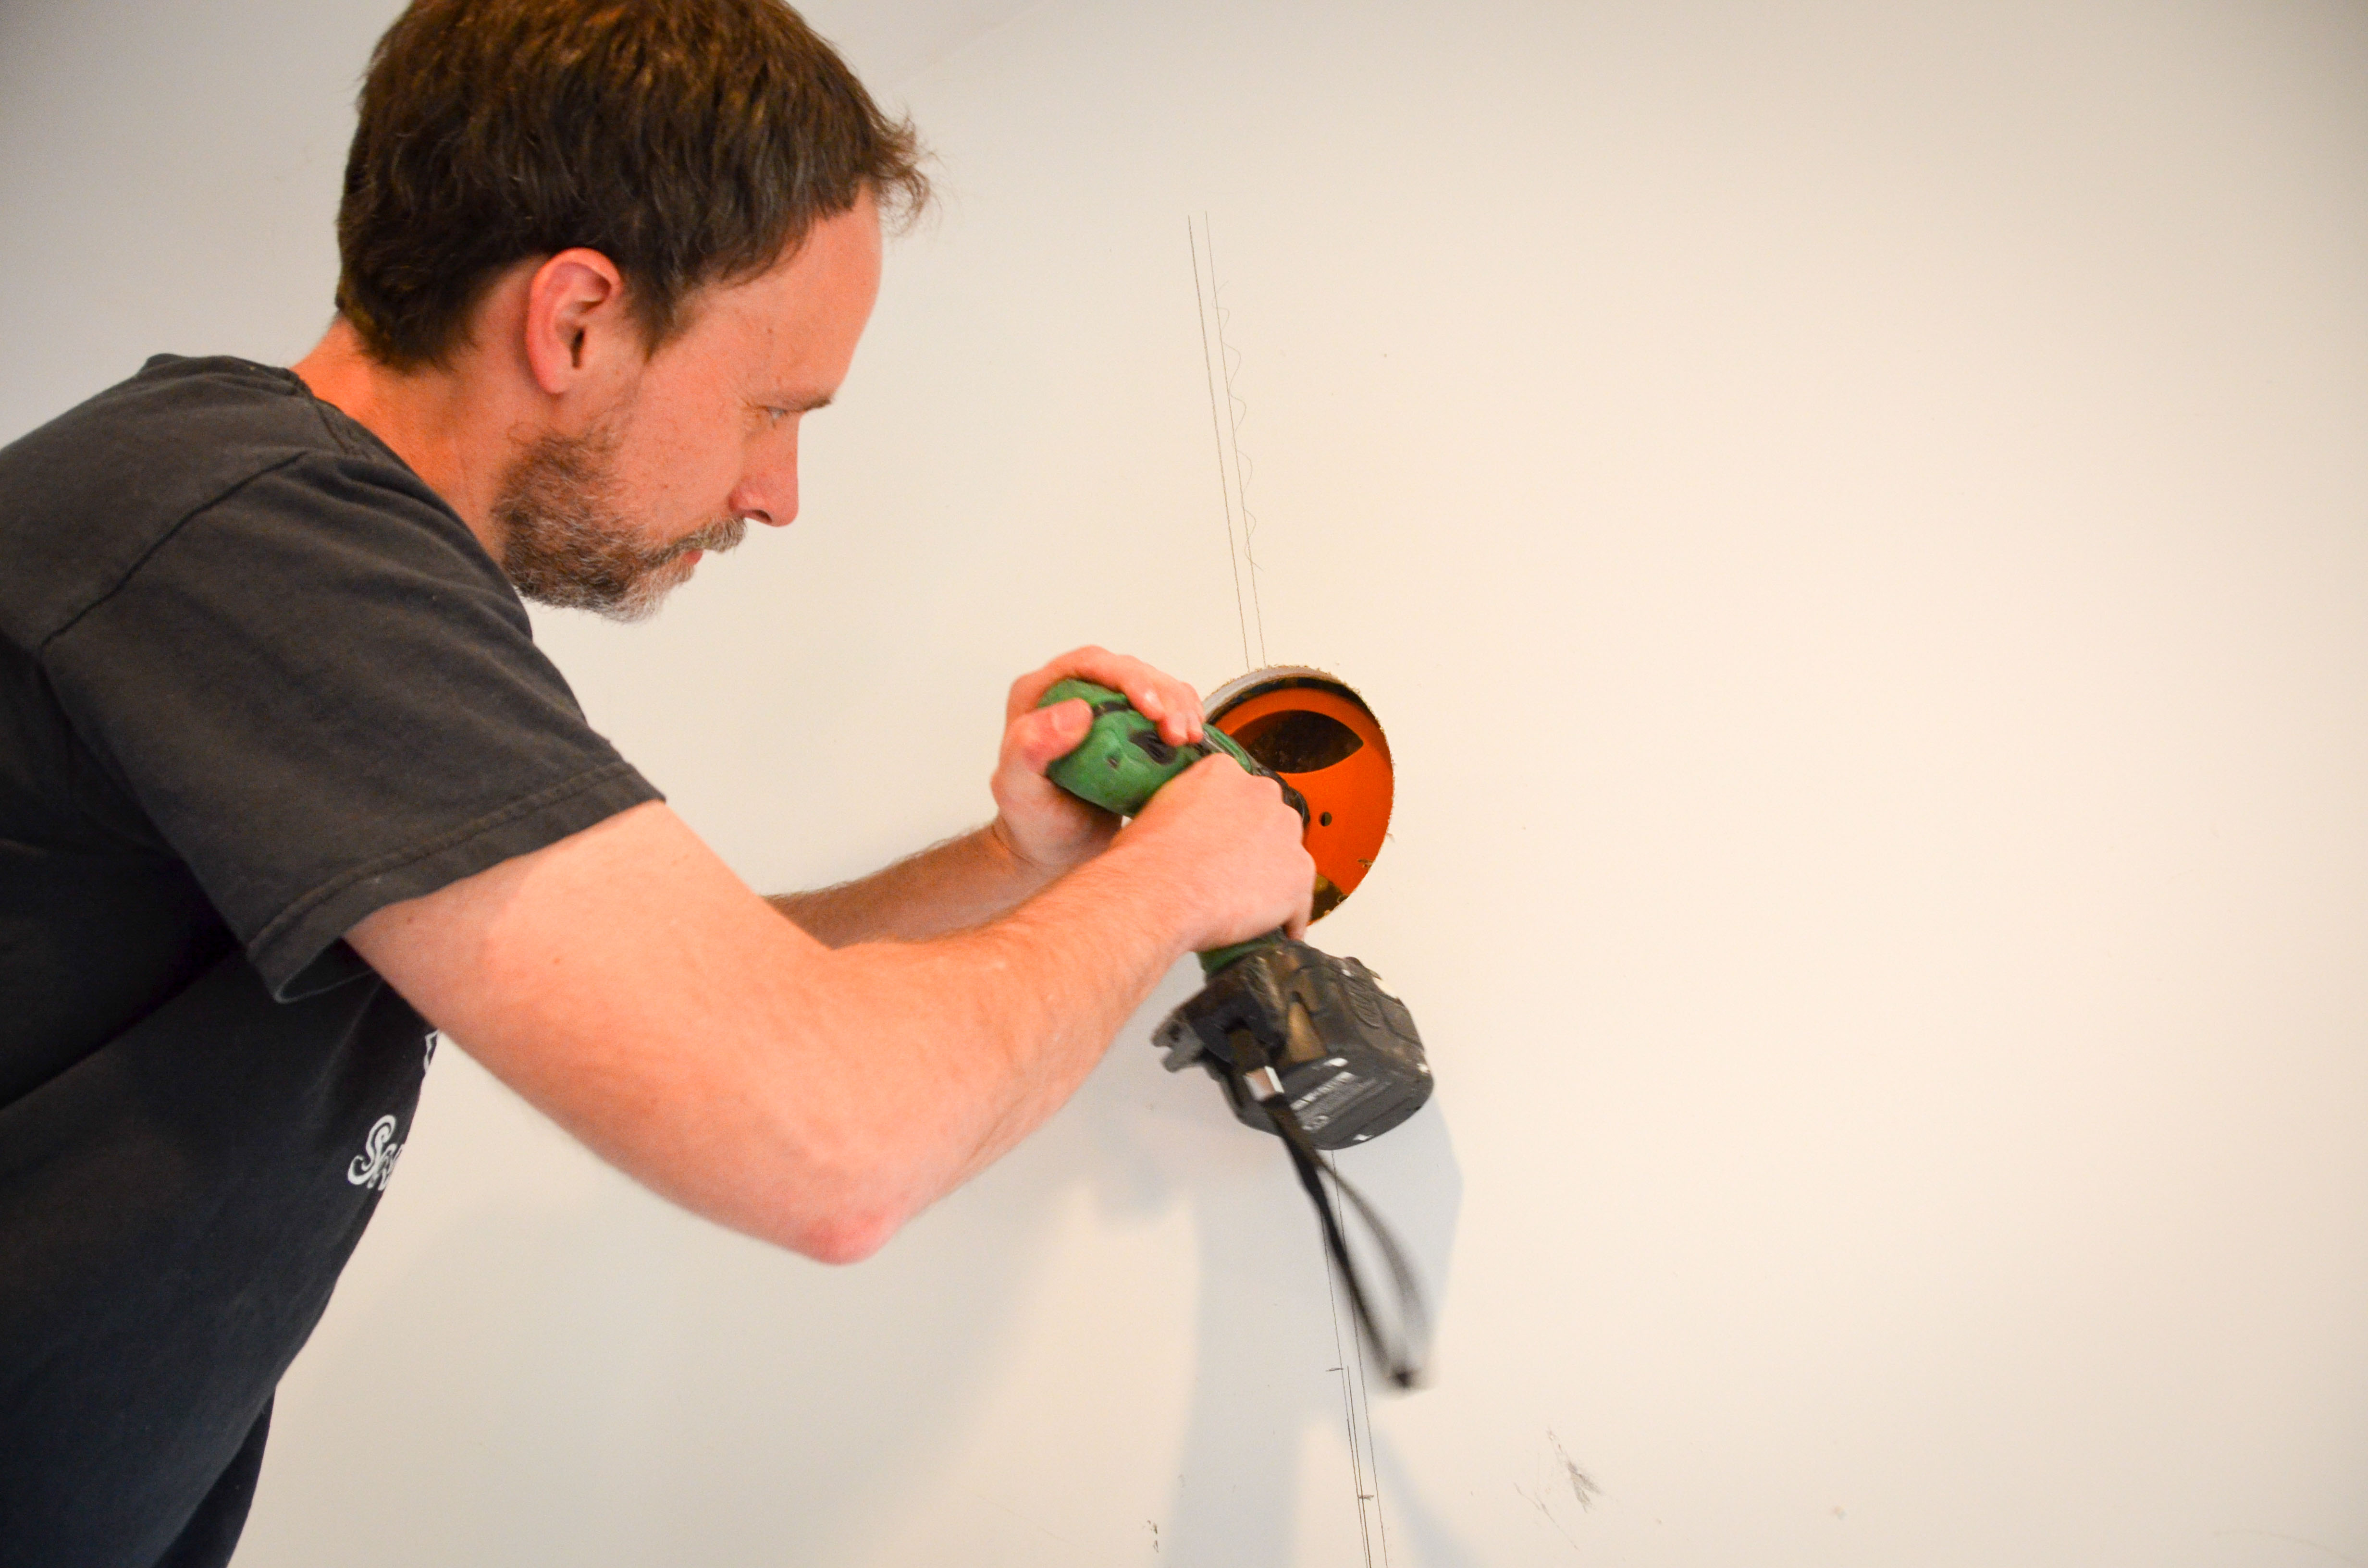

Everything went well and soon it looked like we were in the clear.
This is where round 2 of the vent hood debacle began. Once I had the vent hood located, it was safe to go ahead and wire it. Again, a long story, but let’s just say that ended up being way more complicated then it should have been. Then, to make matters even worse, when I went to put the vent hood back up those stupid anchors just started spinning and would not hold the vent hood tight to the wall anymore. If I pulled out the anchors they were going to leave a huge hole that would then require an even bigger anchor, which I didn’t have. But I had no choice. I needed to run to the hardware store and for reasons that make no sense right now, Amy didn’t want to disconnect the electrical again. Amy decided she would just rather hold the vent hood on her back (still wired) while I ran to the local hardware store. She’s funny like that.
I got a couple blocks away and then realized the local store was already closed (it was Sunday). I hurried back and then scrounged everywhere through my supplies to find something that would work. In the end we had to disconnect it and start over. At this point, we were getting hungry and angry, so we reheated some leftovers and then I drove to the big hardware store out in the suburbs. Determined to get this done that night, I removed all the old anchors, put in the new ones, re-wired the hood, got everything situated, and it worked. Finally.
We have survived scraping mastic tar off the floors [Edit from Amy: *eyes rolling*], sanding and finishing 2000 sq. ft. of hardwood floors [Edit from Amy: Ugghh.], repairing an astonishing amount of plaster [Edit from Amy: Sleep deprivation], and a blur of many other particularly unpleasant rehab projects, BUT installing this stupid vent hood just about put us over the edge. Seriously. My use of the English language has not fully captured our struggle. It brought us to our knees.
[Edit from Amy: No joke, after all the crazy stuff we have done in the past two years I went to work on Monday and reported that I had been emotionally conquered by a vent hood.]
Now that the hood was finally up and running, no time to relish, it was time to start thinking about the open shelving we had planned on that wall. A long time ago (seems like another lifetime), we removed floor joists from the upstairs floor to make way for the new staircase.

Open shelving is pretty trendy right now and people pay good money for wood that looks like it just came out of a 100 year old house. So it made complete sense for us to re-purpose these joists and use them as shelves in the kitchen. We had just enough of these scrap 2x8s to make eight 36″ shelves. It didn’t take too much work to clean them up. I just pulled the remaining nails, sanded them a little, and then sealed them.
Here is what it looked like before (notice you can still see the marks from the old lath).

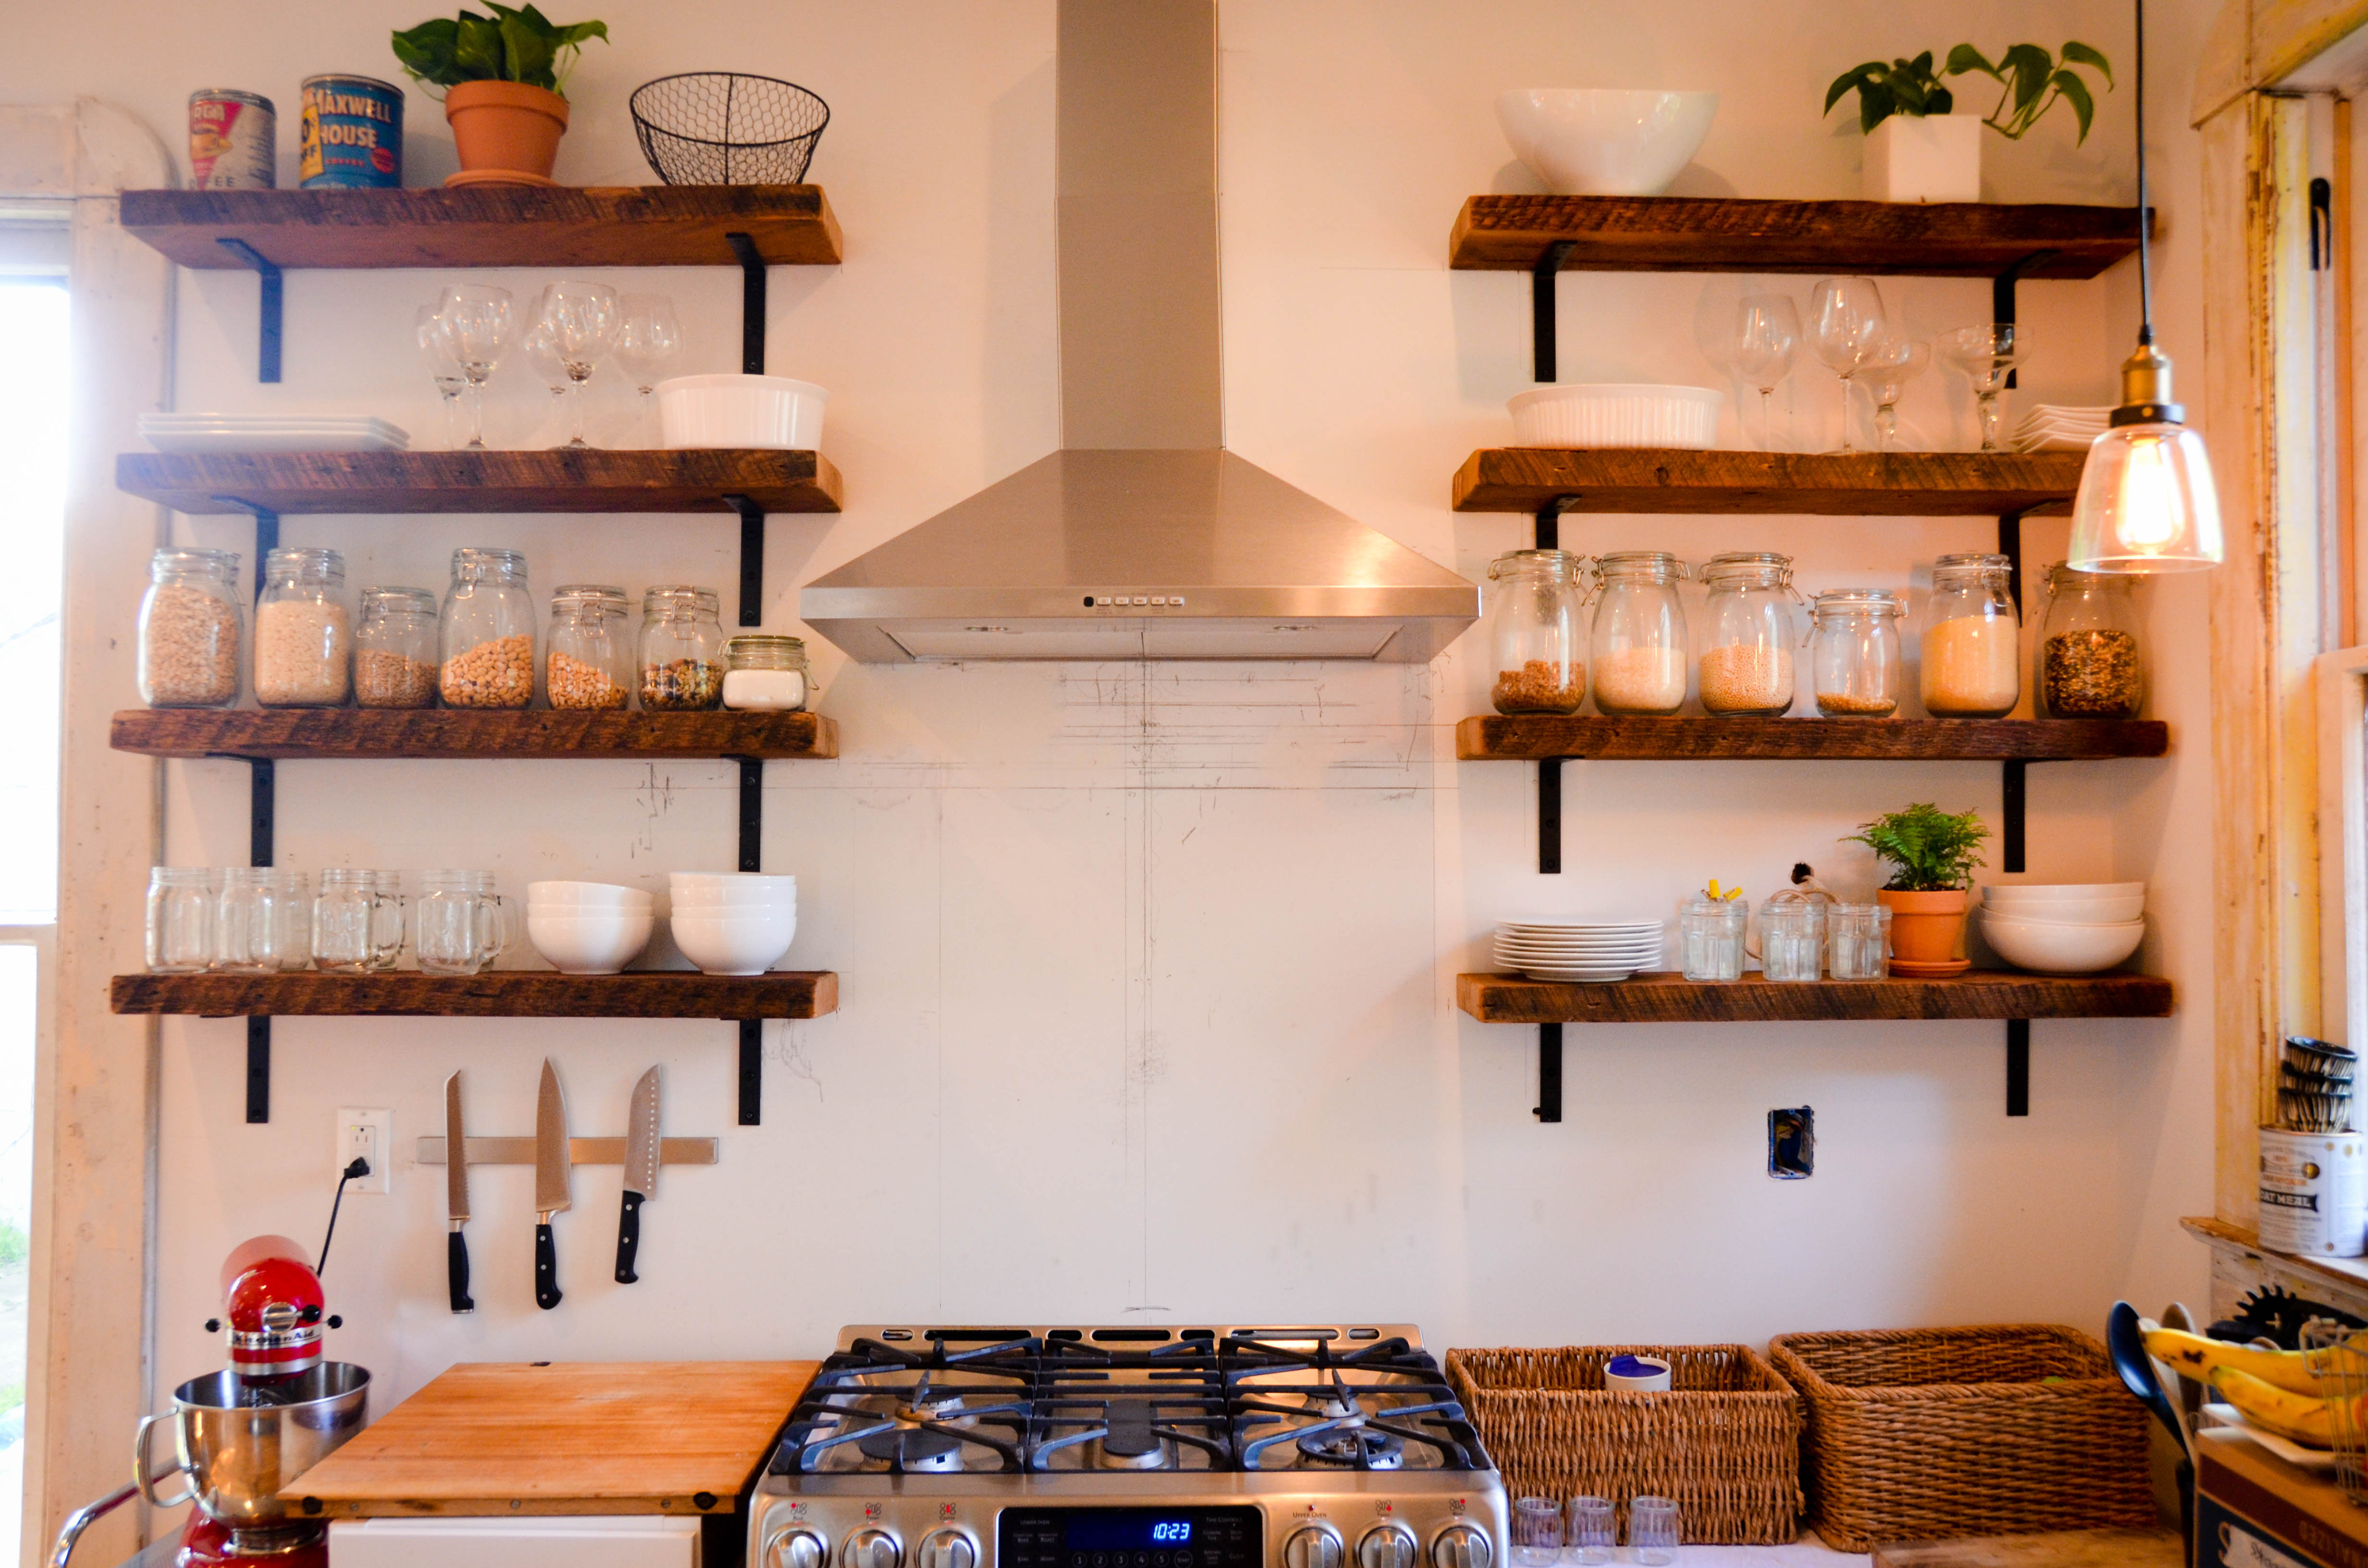
and after:

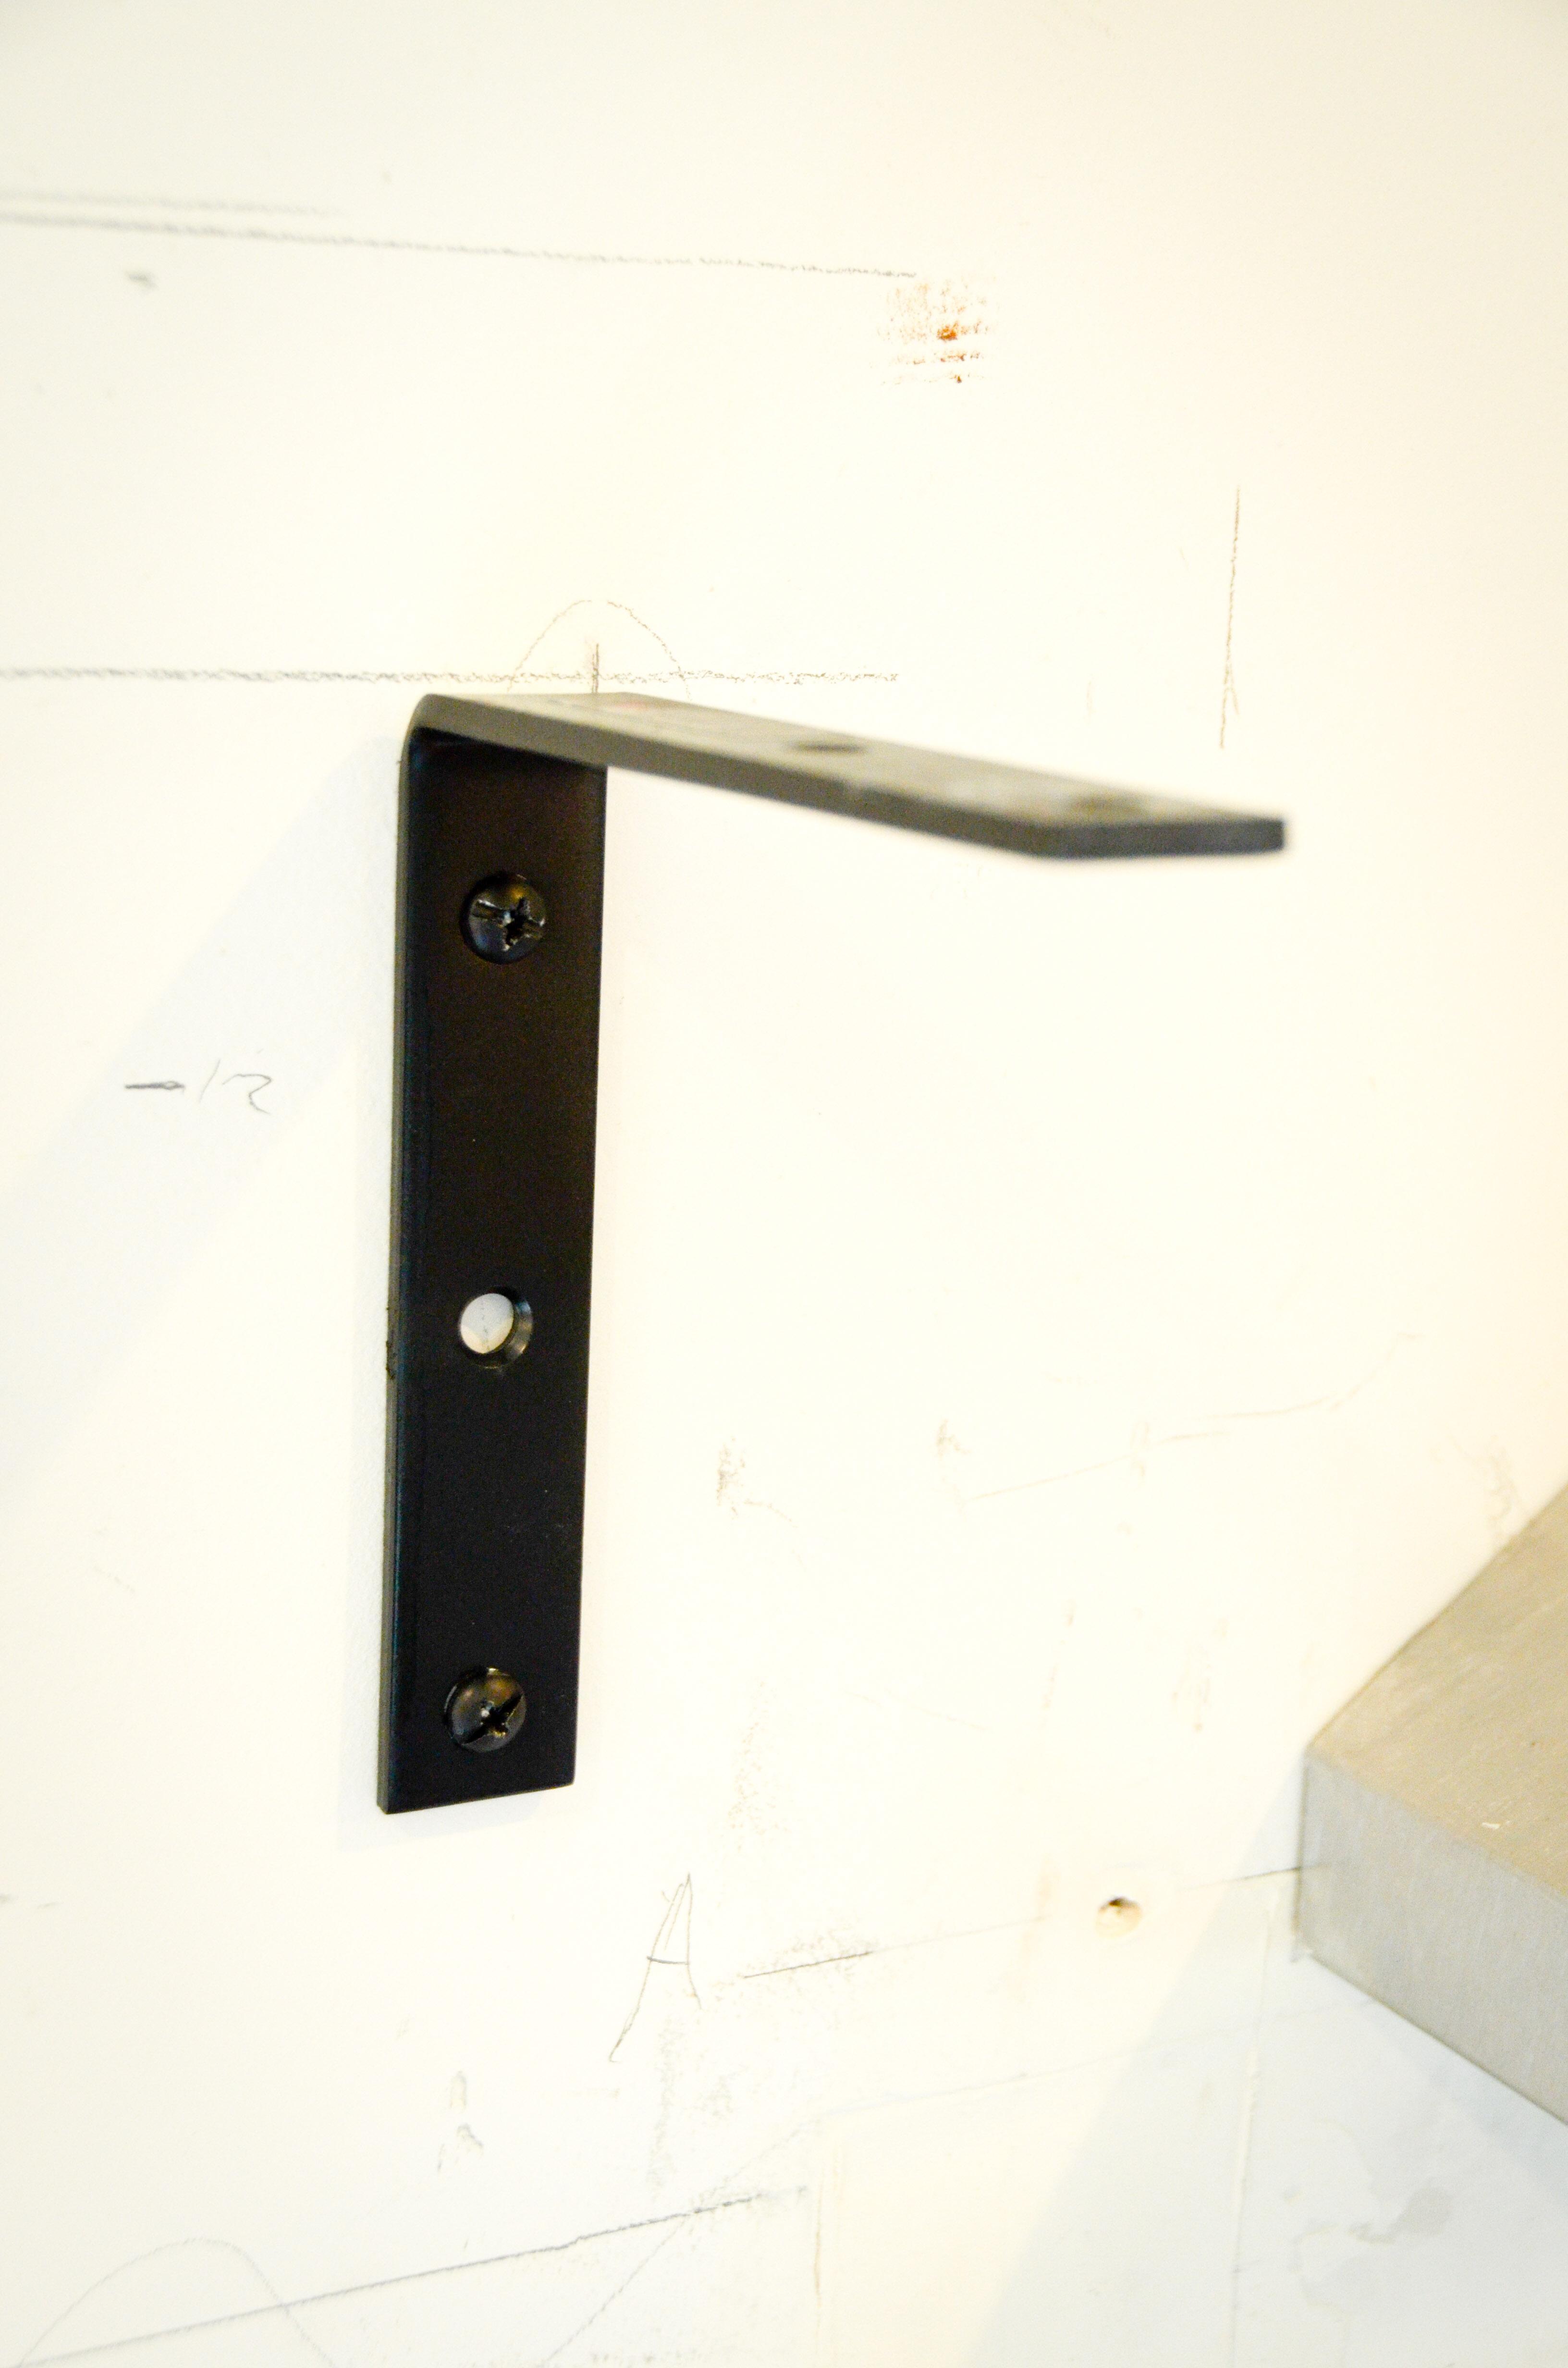
Originally, I wanted to have floating shelves, but we were concerned about weight and the complications involved in making that work in such a short time. In the end I decided to use steel brackets that we spray painted black. These were actually the cheapest option, but also happened to be best aesthetic option.
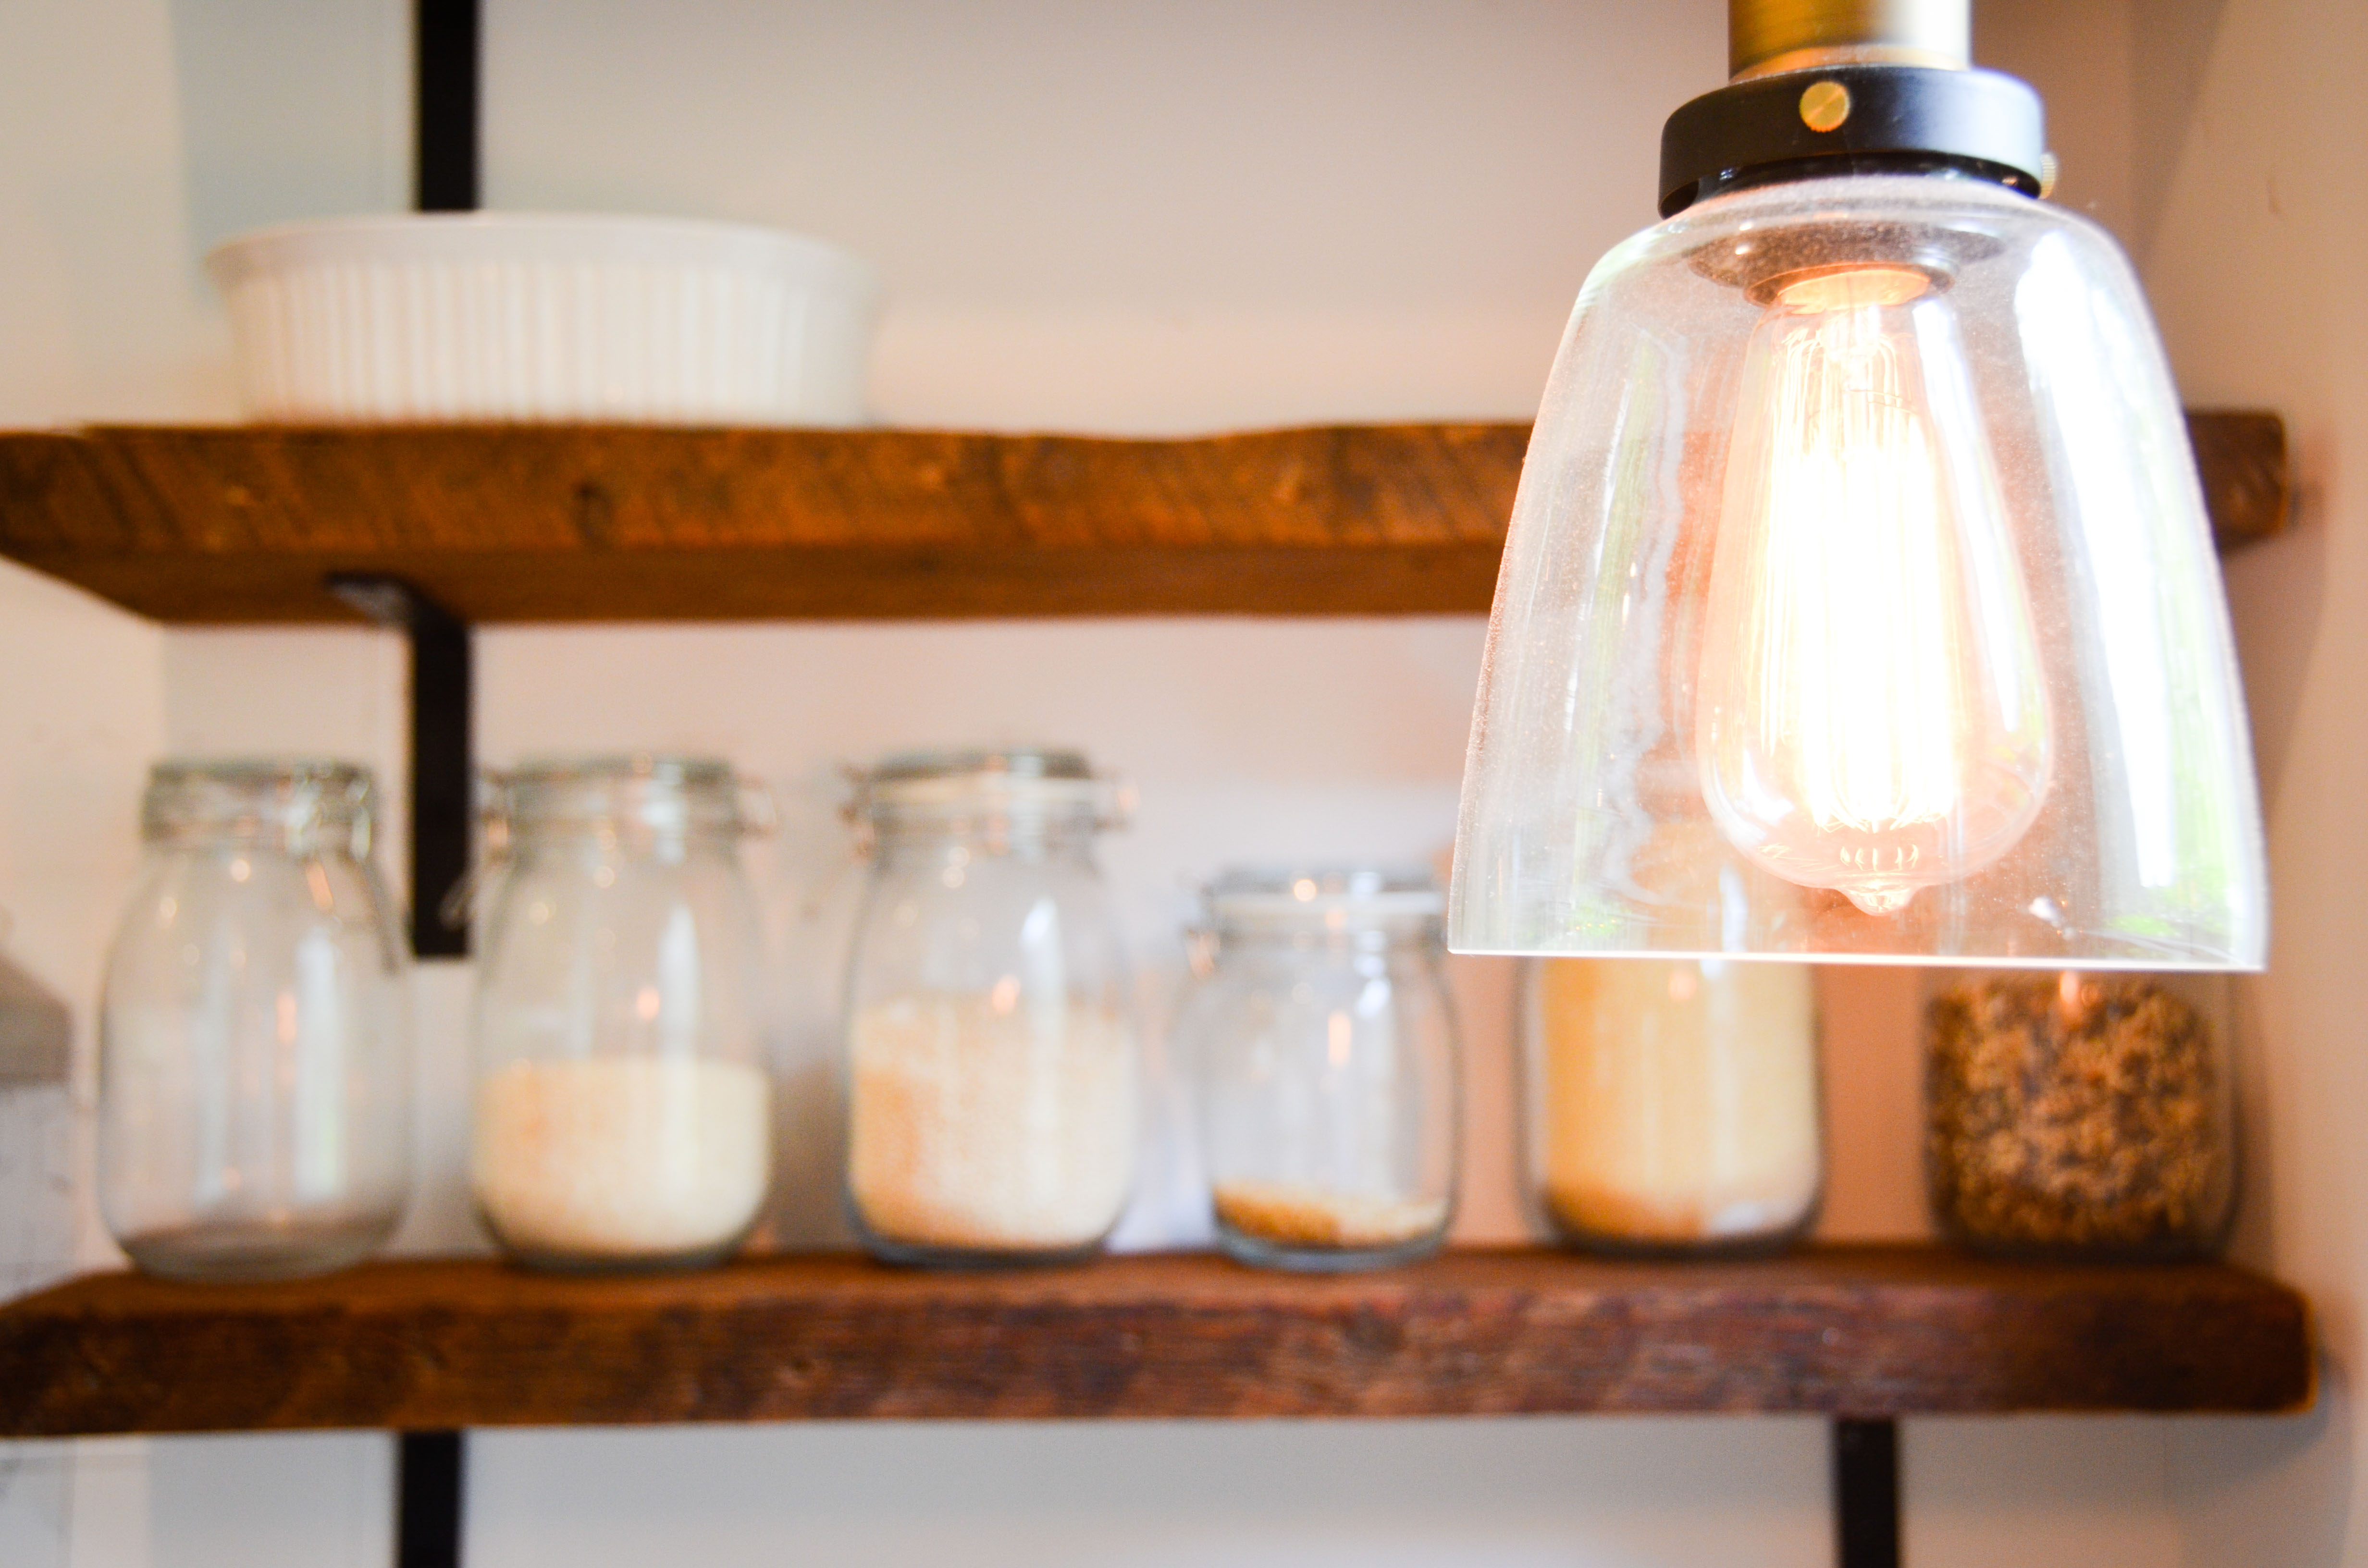
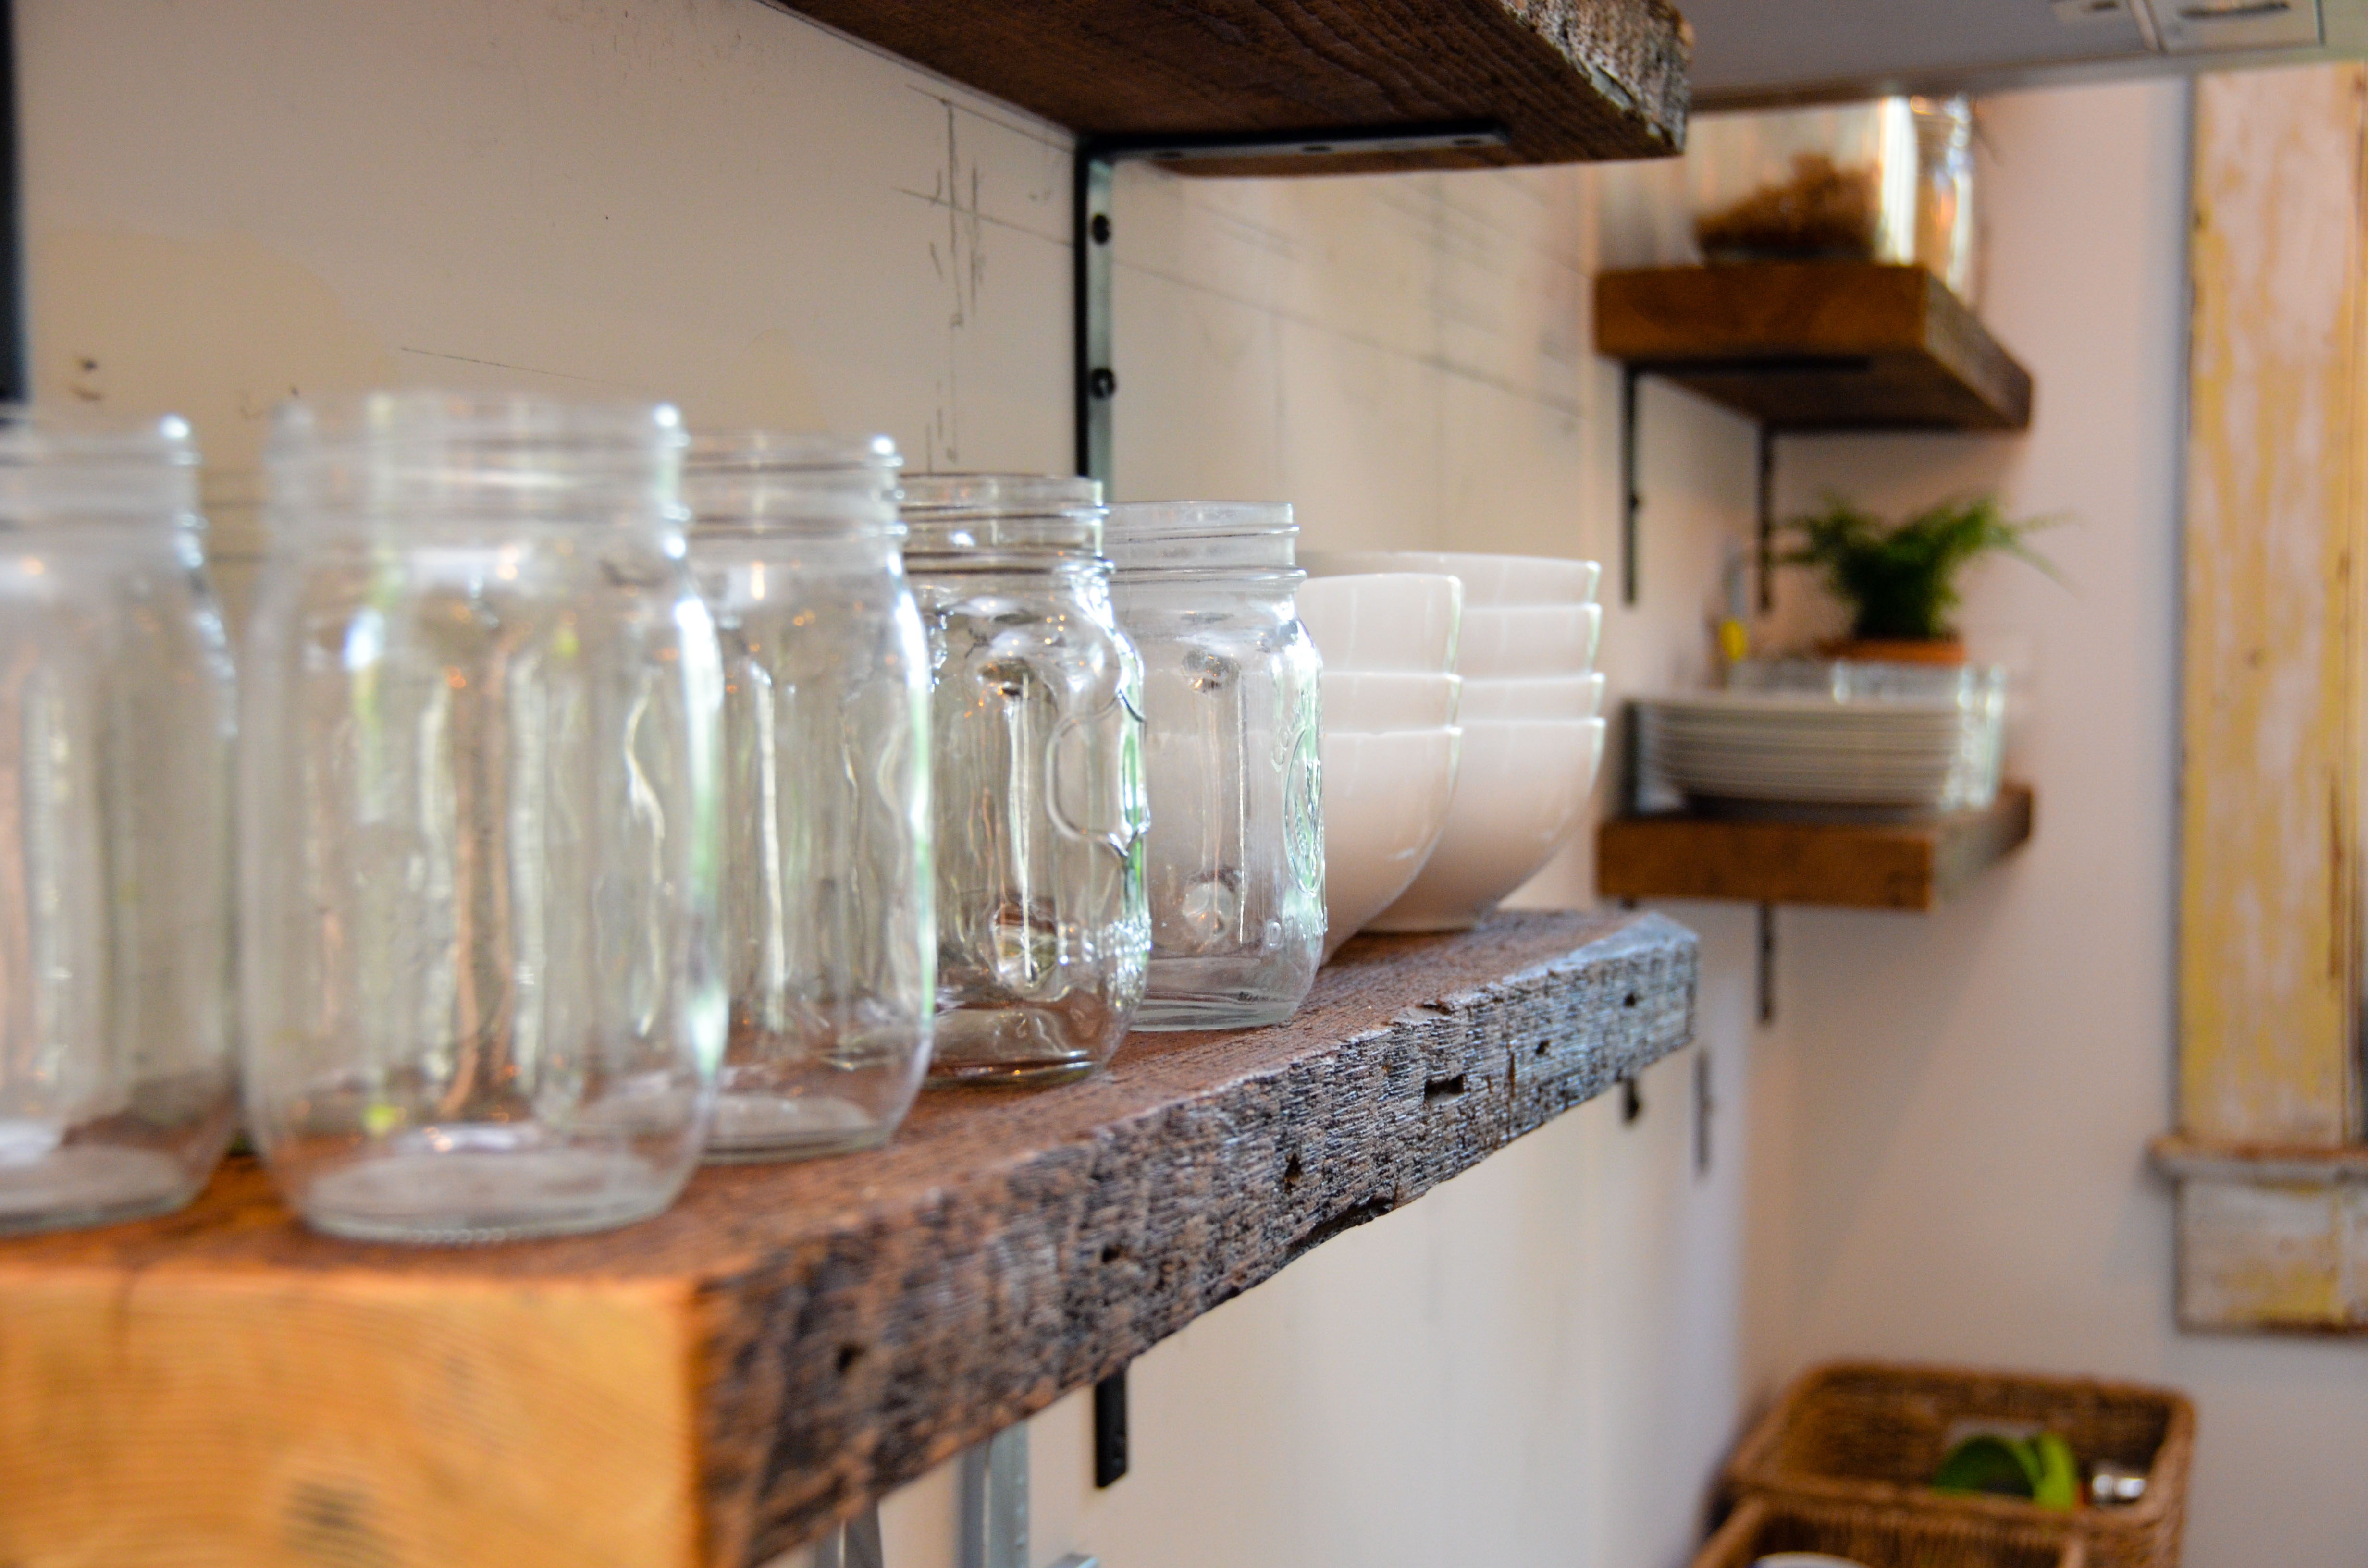
The shelves went up without any drama or marital stress and we love how they turned out. In fact, I kind of like the steel brackets, so we might just keep that instead of switching to something fancier or figuring out the floating option. We also FINALLY made some decision about lighting for the kitchen and upstairs common area. The kitchen is obviously a more industrial and rough-around-the-edges type of room, so these Edison bulbs work great as accent lighting. We have one pendant in front of each window, with one of those being centered over the kitchen sink.
Maybe I should have dusted off the drywall dust before taking that picture?
We stuck with the same theme for the two lights over the kitchen table.
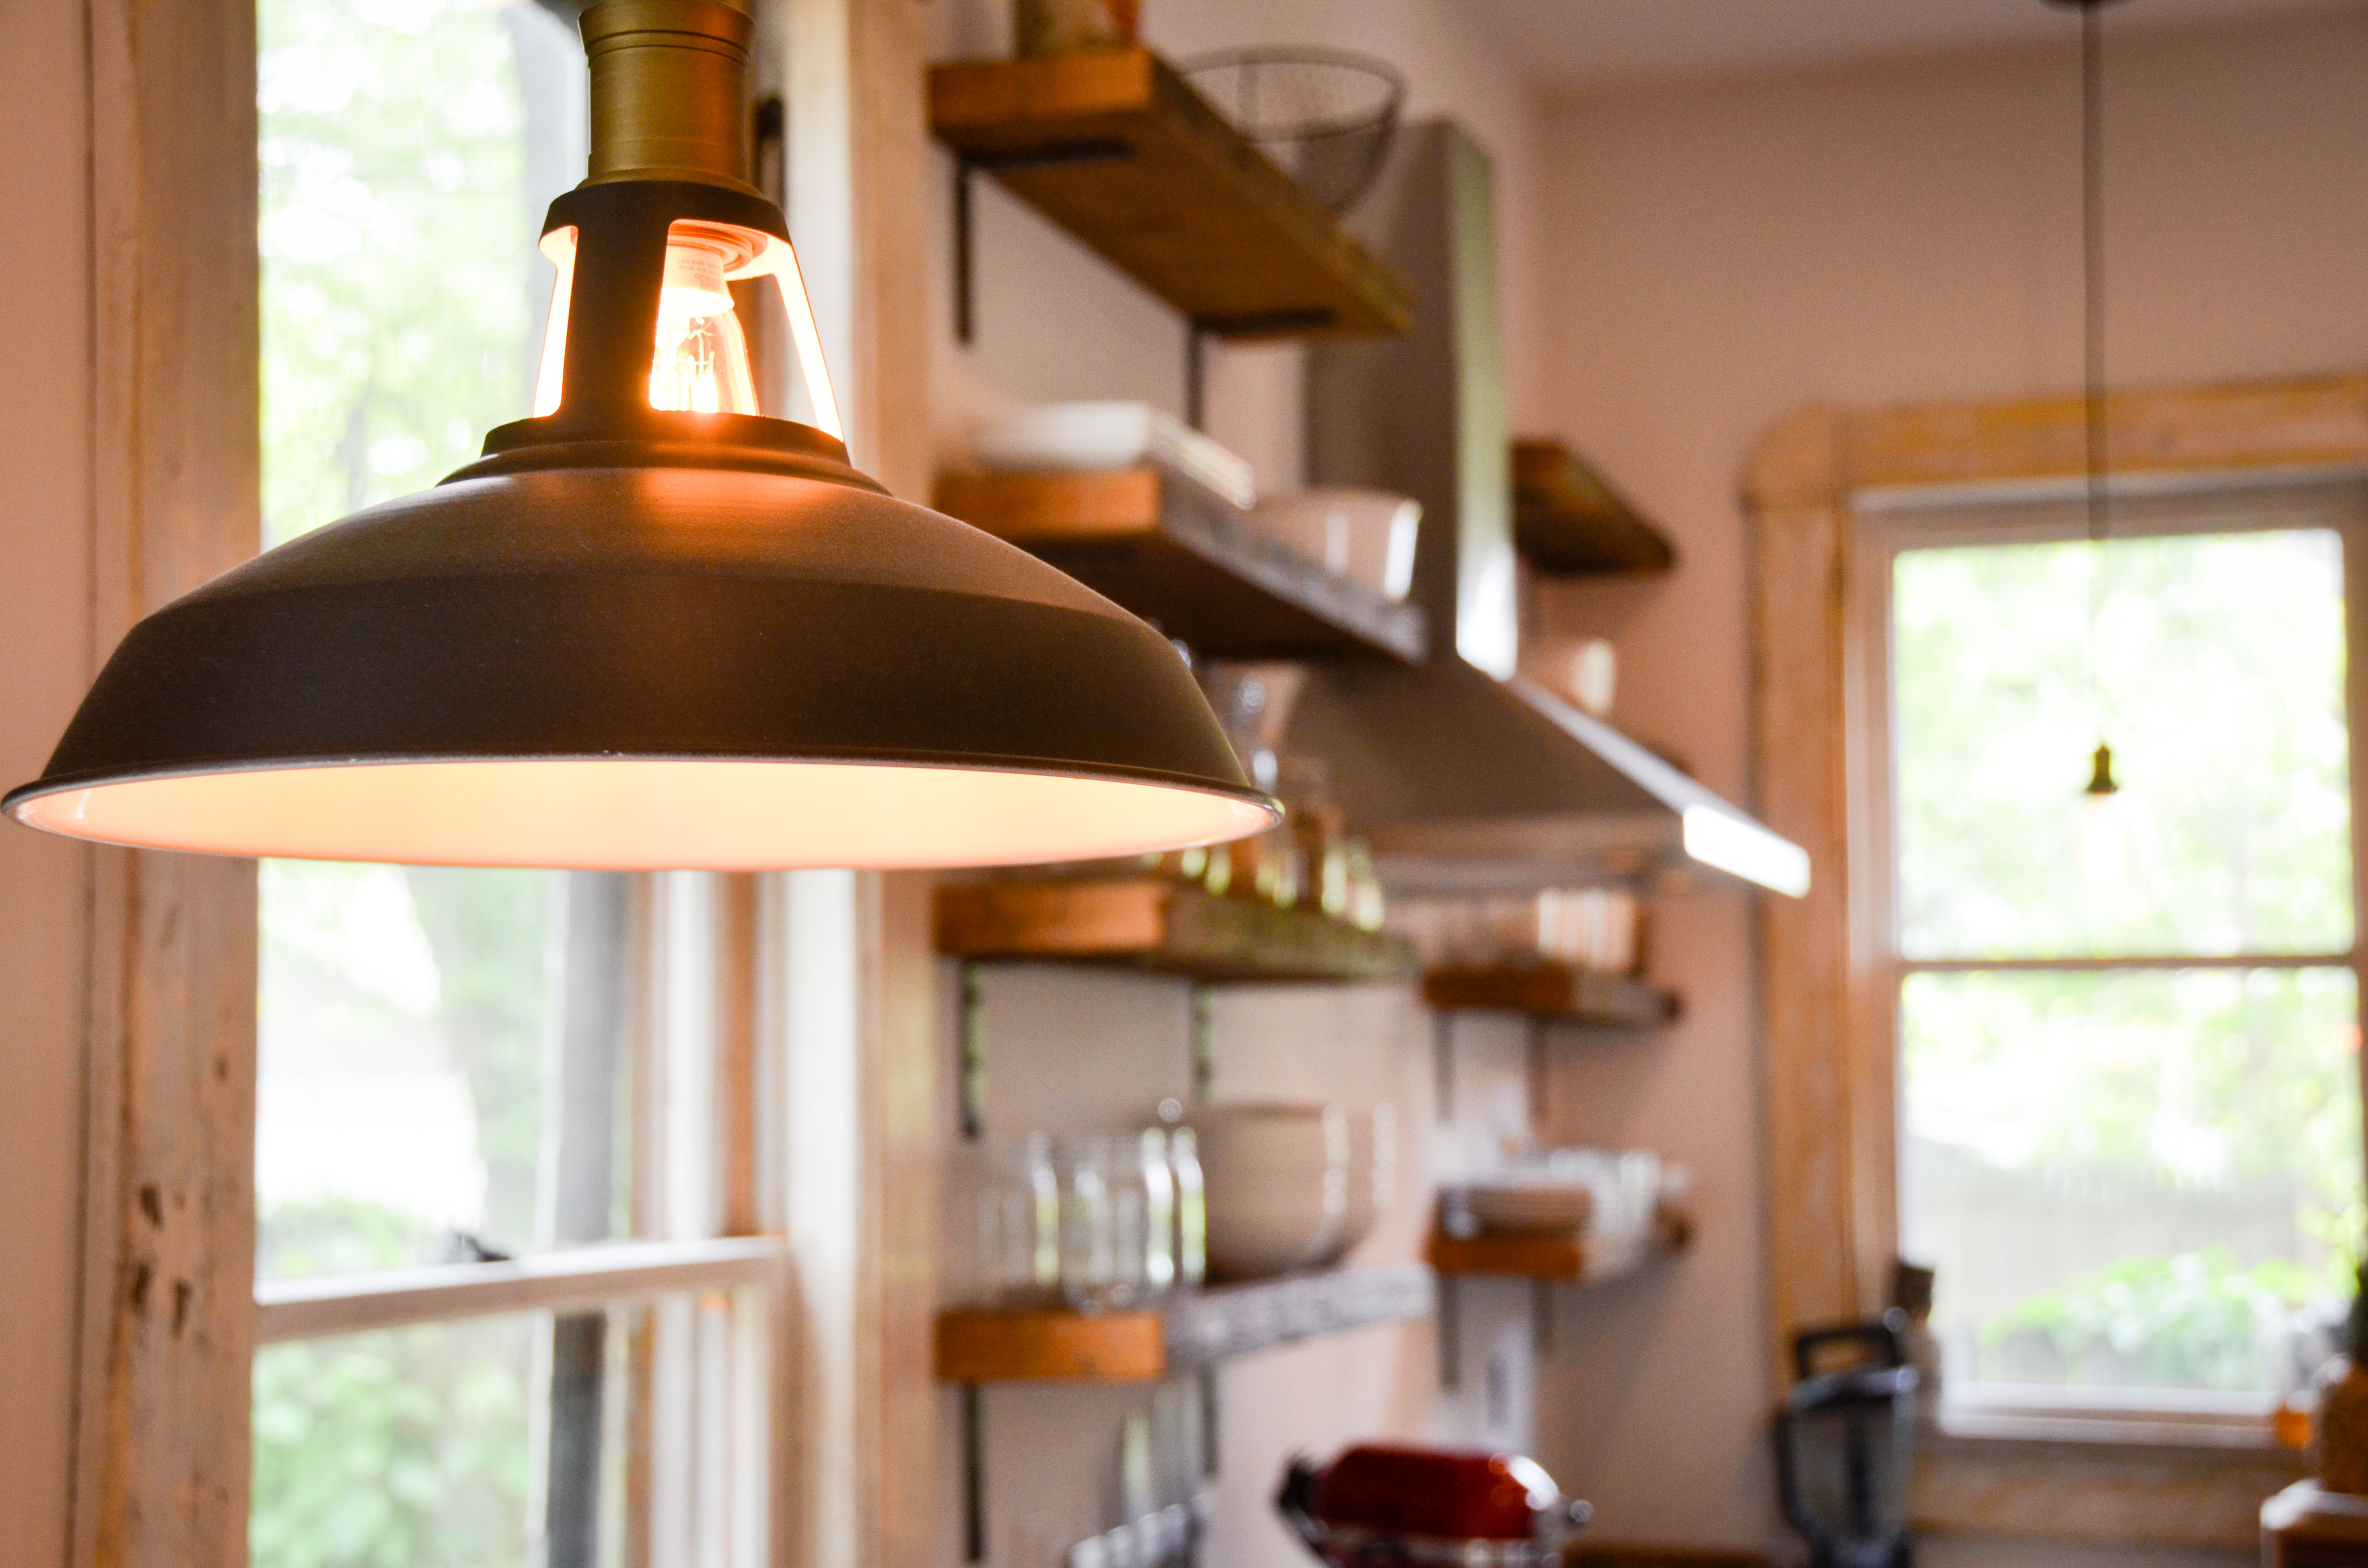
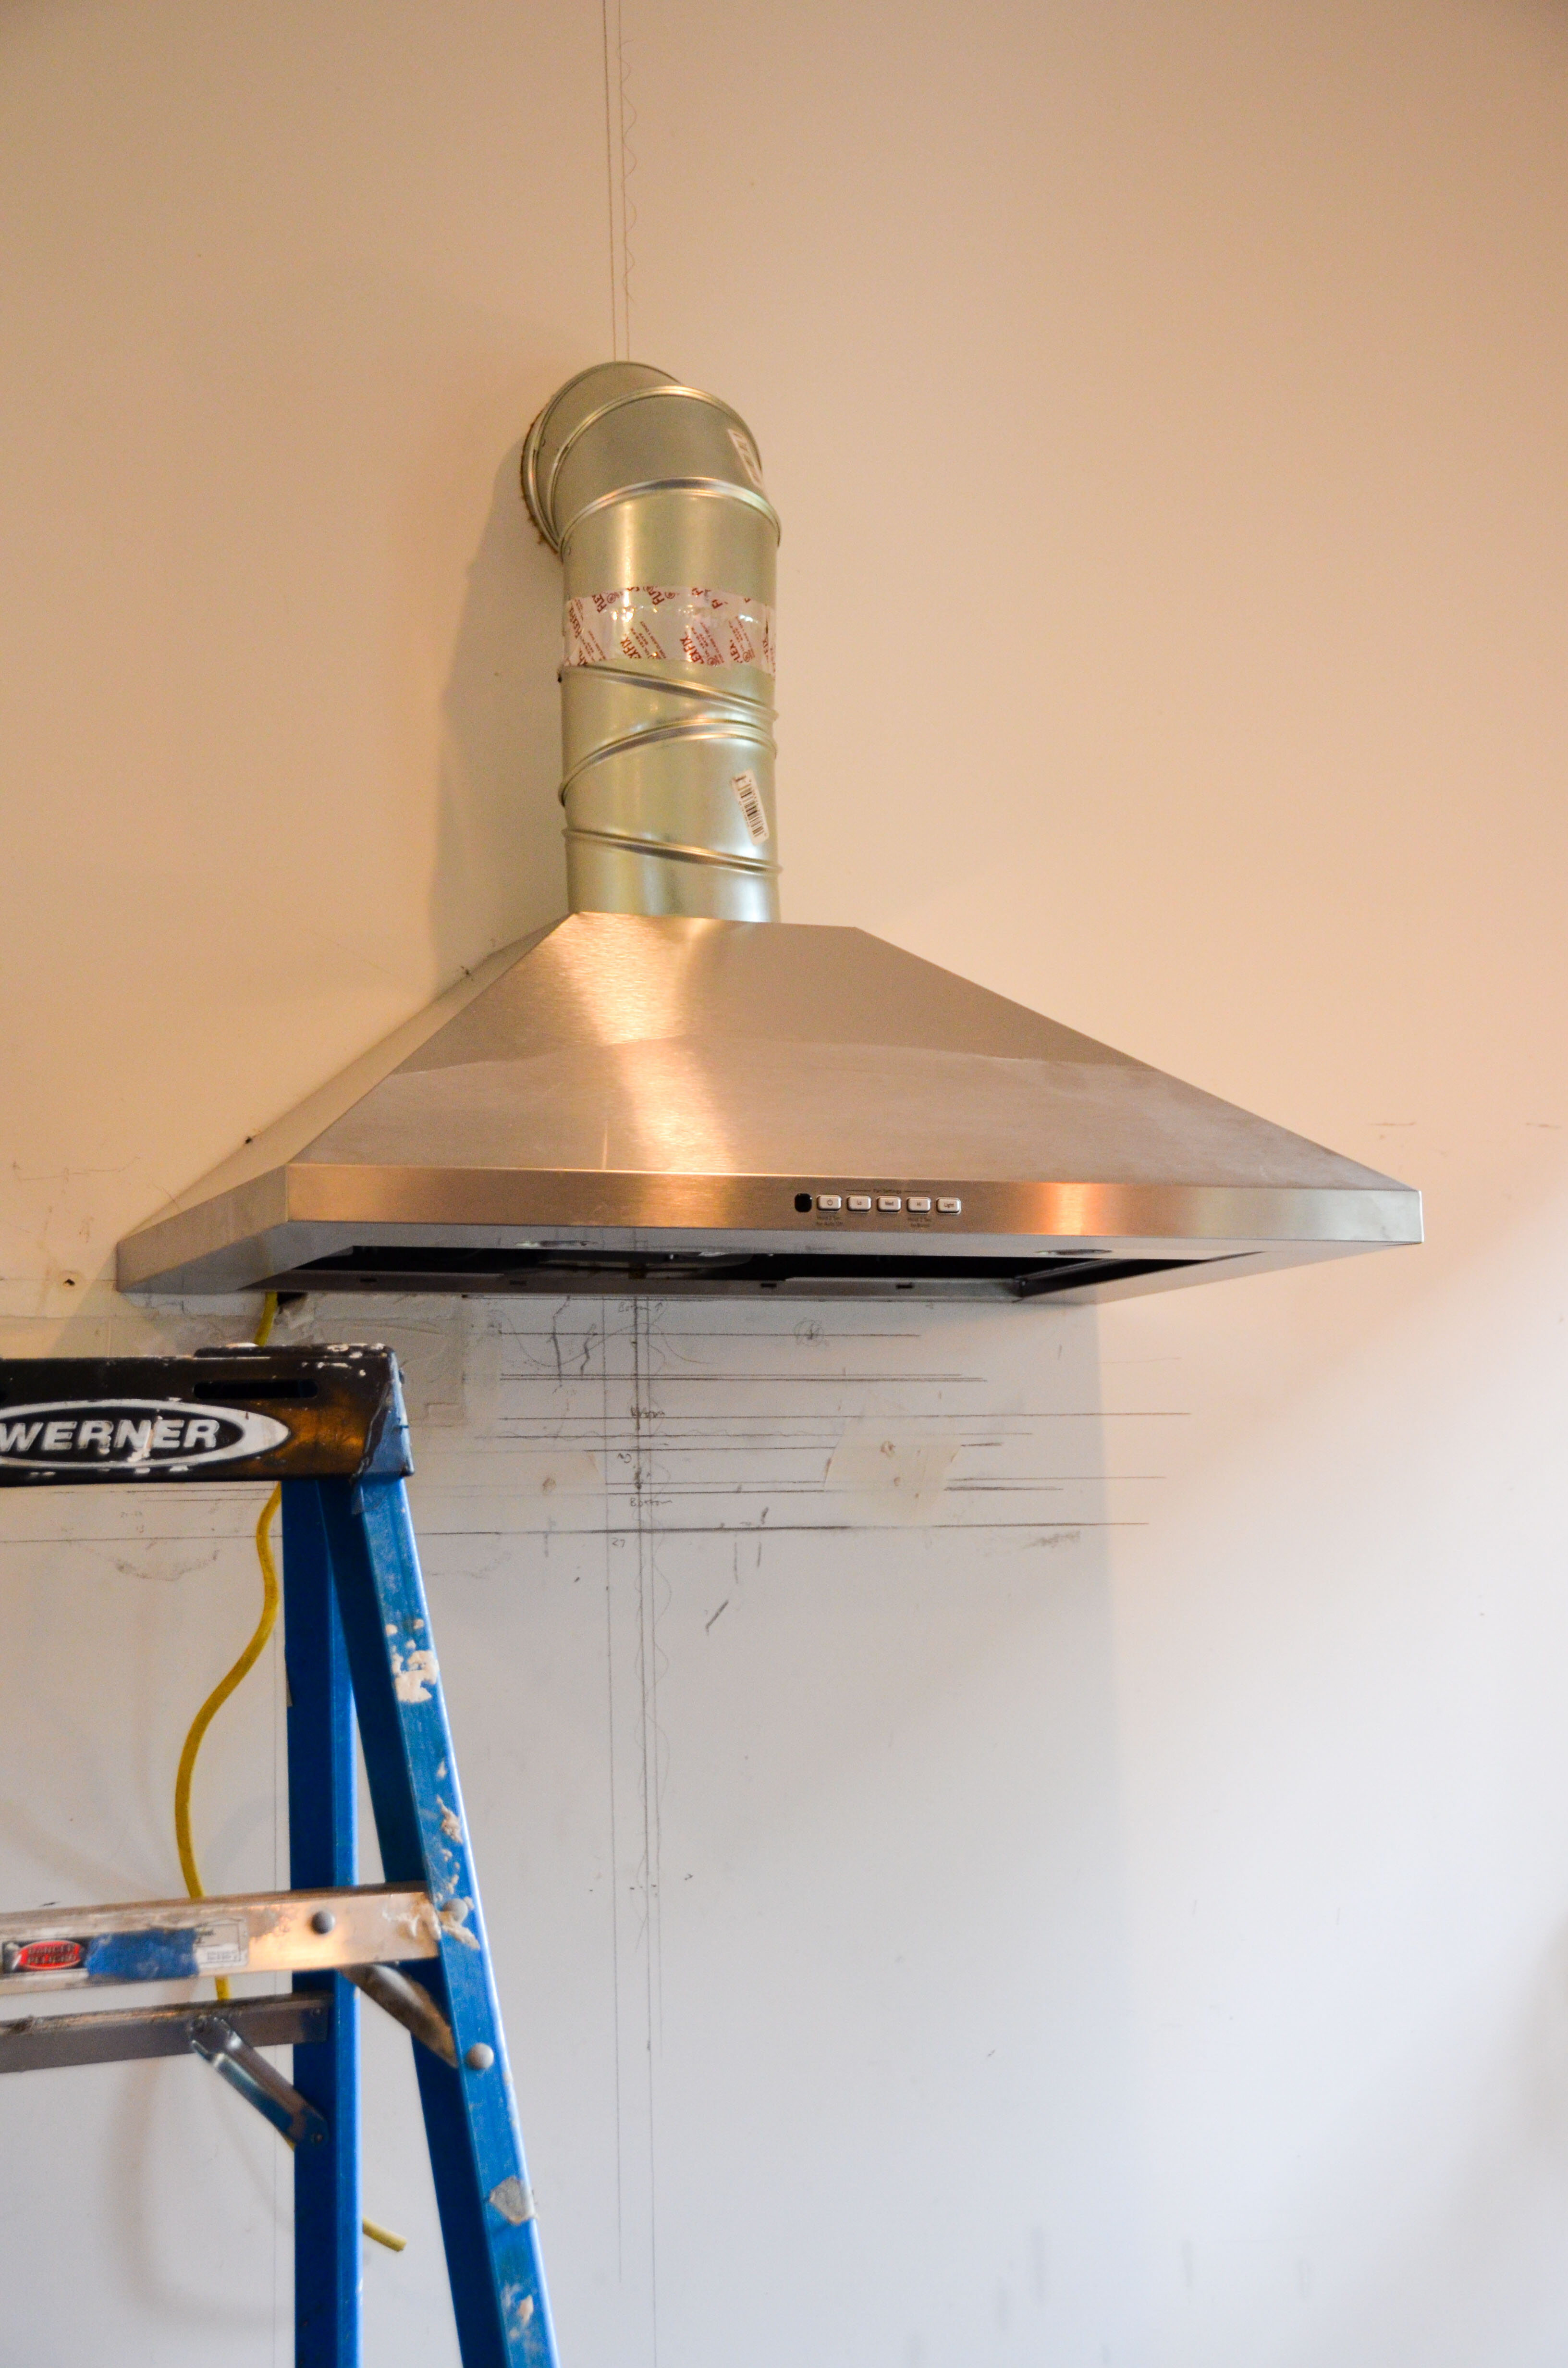
The vent hood and shelves combine to really transform this portion of the kitchen. I wish the vent cover went all the way to the ceiling, but apparently 10′ ceilings are not common enough to include a bigger extension with the hood. If anyone knows where I can get a longer vent cover, please let me know. The manufacturer offers an extension, but it is only 7″ longer and costs much more.

We have had open shelving since we moved in, but having every thing laid out in an organized fashion on these old floor joists has been awfully nice.
This is the just the very beginning of a huge kitchen endeavor, but the lighting, vent hood, and shelves are a nice first step. We are pretty certain that white subway tiles are in our future and are actually looking at some real cabinets and counter tops. But for now, we’re happy with the progress.

admittedly I don’t know much about vent hoods, but I feel confident that a metal fabricator can create a custom one for you. We are getting a custom stainless steel counter for our laundry room.
LikeLiked by 1 person
ps–my husband mentioned that an HVAC place could make one. We can commiserate with your pain as we rehab an old house ourselves.
LikeLiked by 1 person
Dear Amy and Joe,
I stumbled upon your blog about a week ago, and have been completely absorbed in your story and the transformation of your home. I am in awe of all that you have learned and accomplished. Thank you for the inspiration and best of luck with all of your projects. I’m so excited to be following your story.
Best,
Erynn
LikeLiked by 1 person