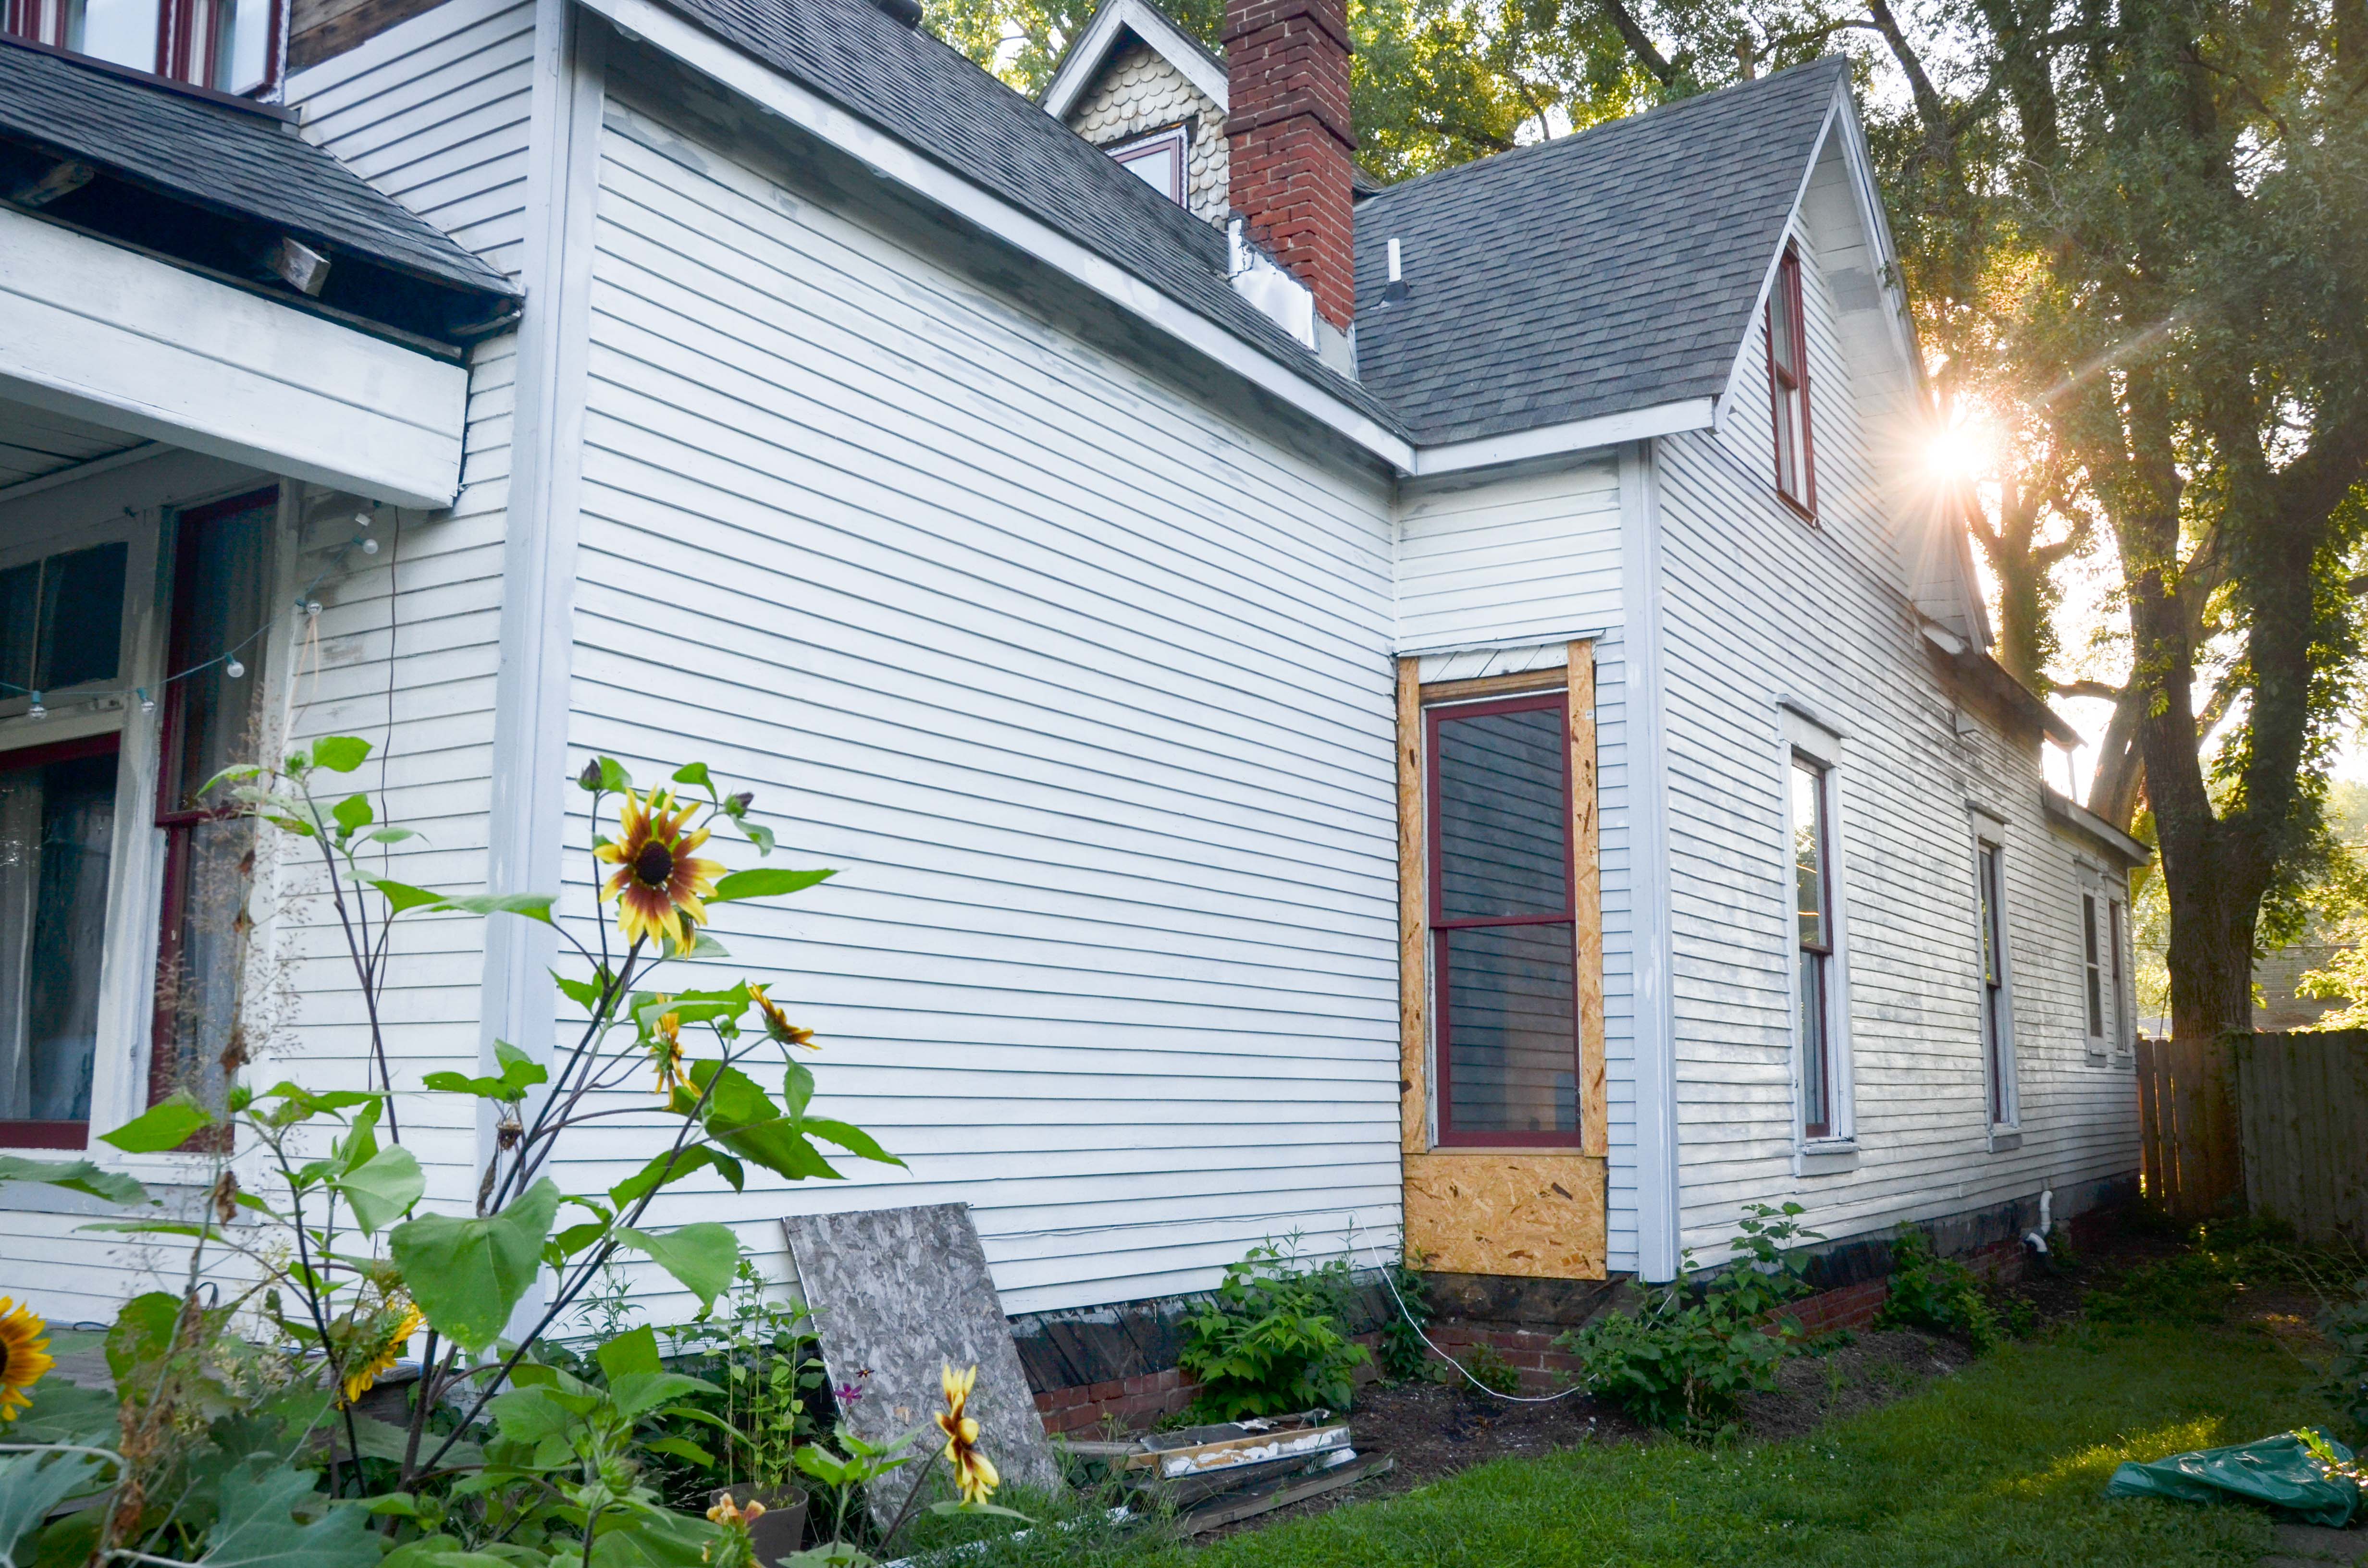
This spring we began the overwhelming task of renovating the exterior of our house. It is a massive job that we will tackle “one bite at a time.” Up to this point, our work on the exterior of the house has been pretty limited. We have removed the asbestos siding from the gables when we added new windows to the new rooms we created on the 2nd floor. And, of course, I’ve done a ton of work on all the windows. But for the most part the exterior looked pretty much like it did when we bought it.
Here is a reminder of where we started:
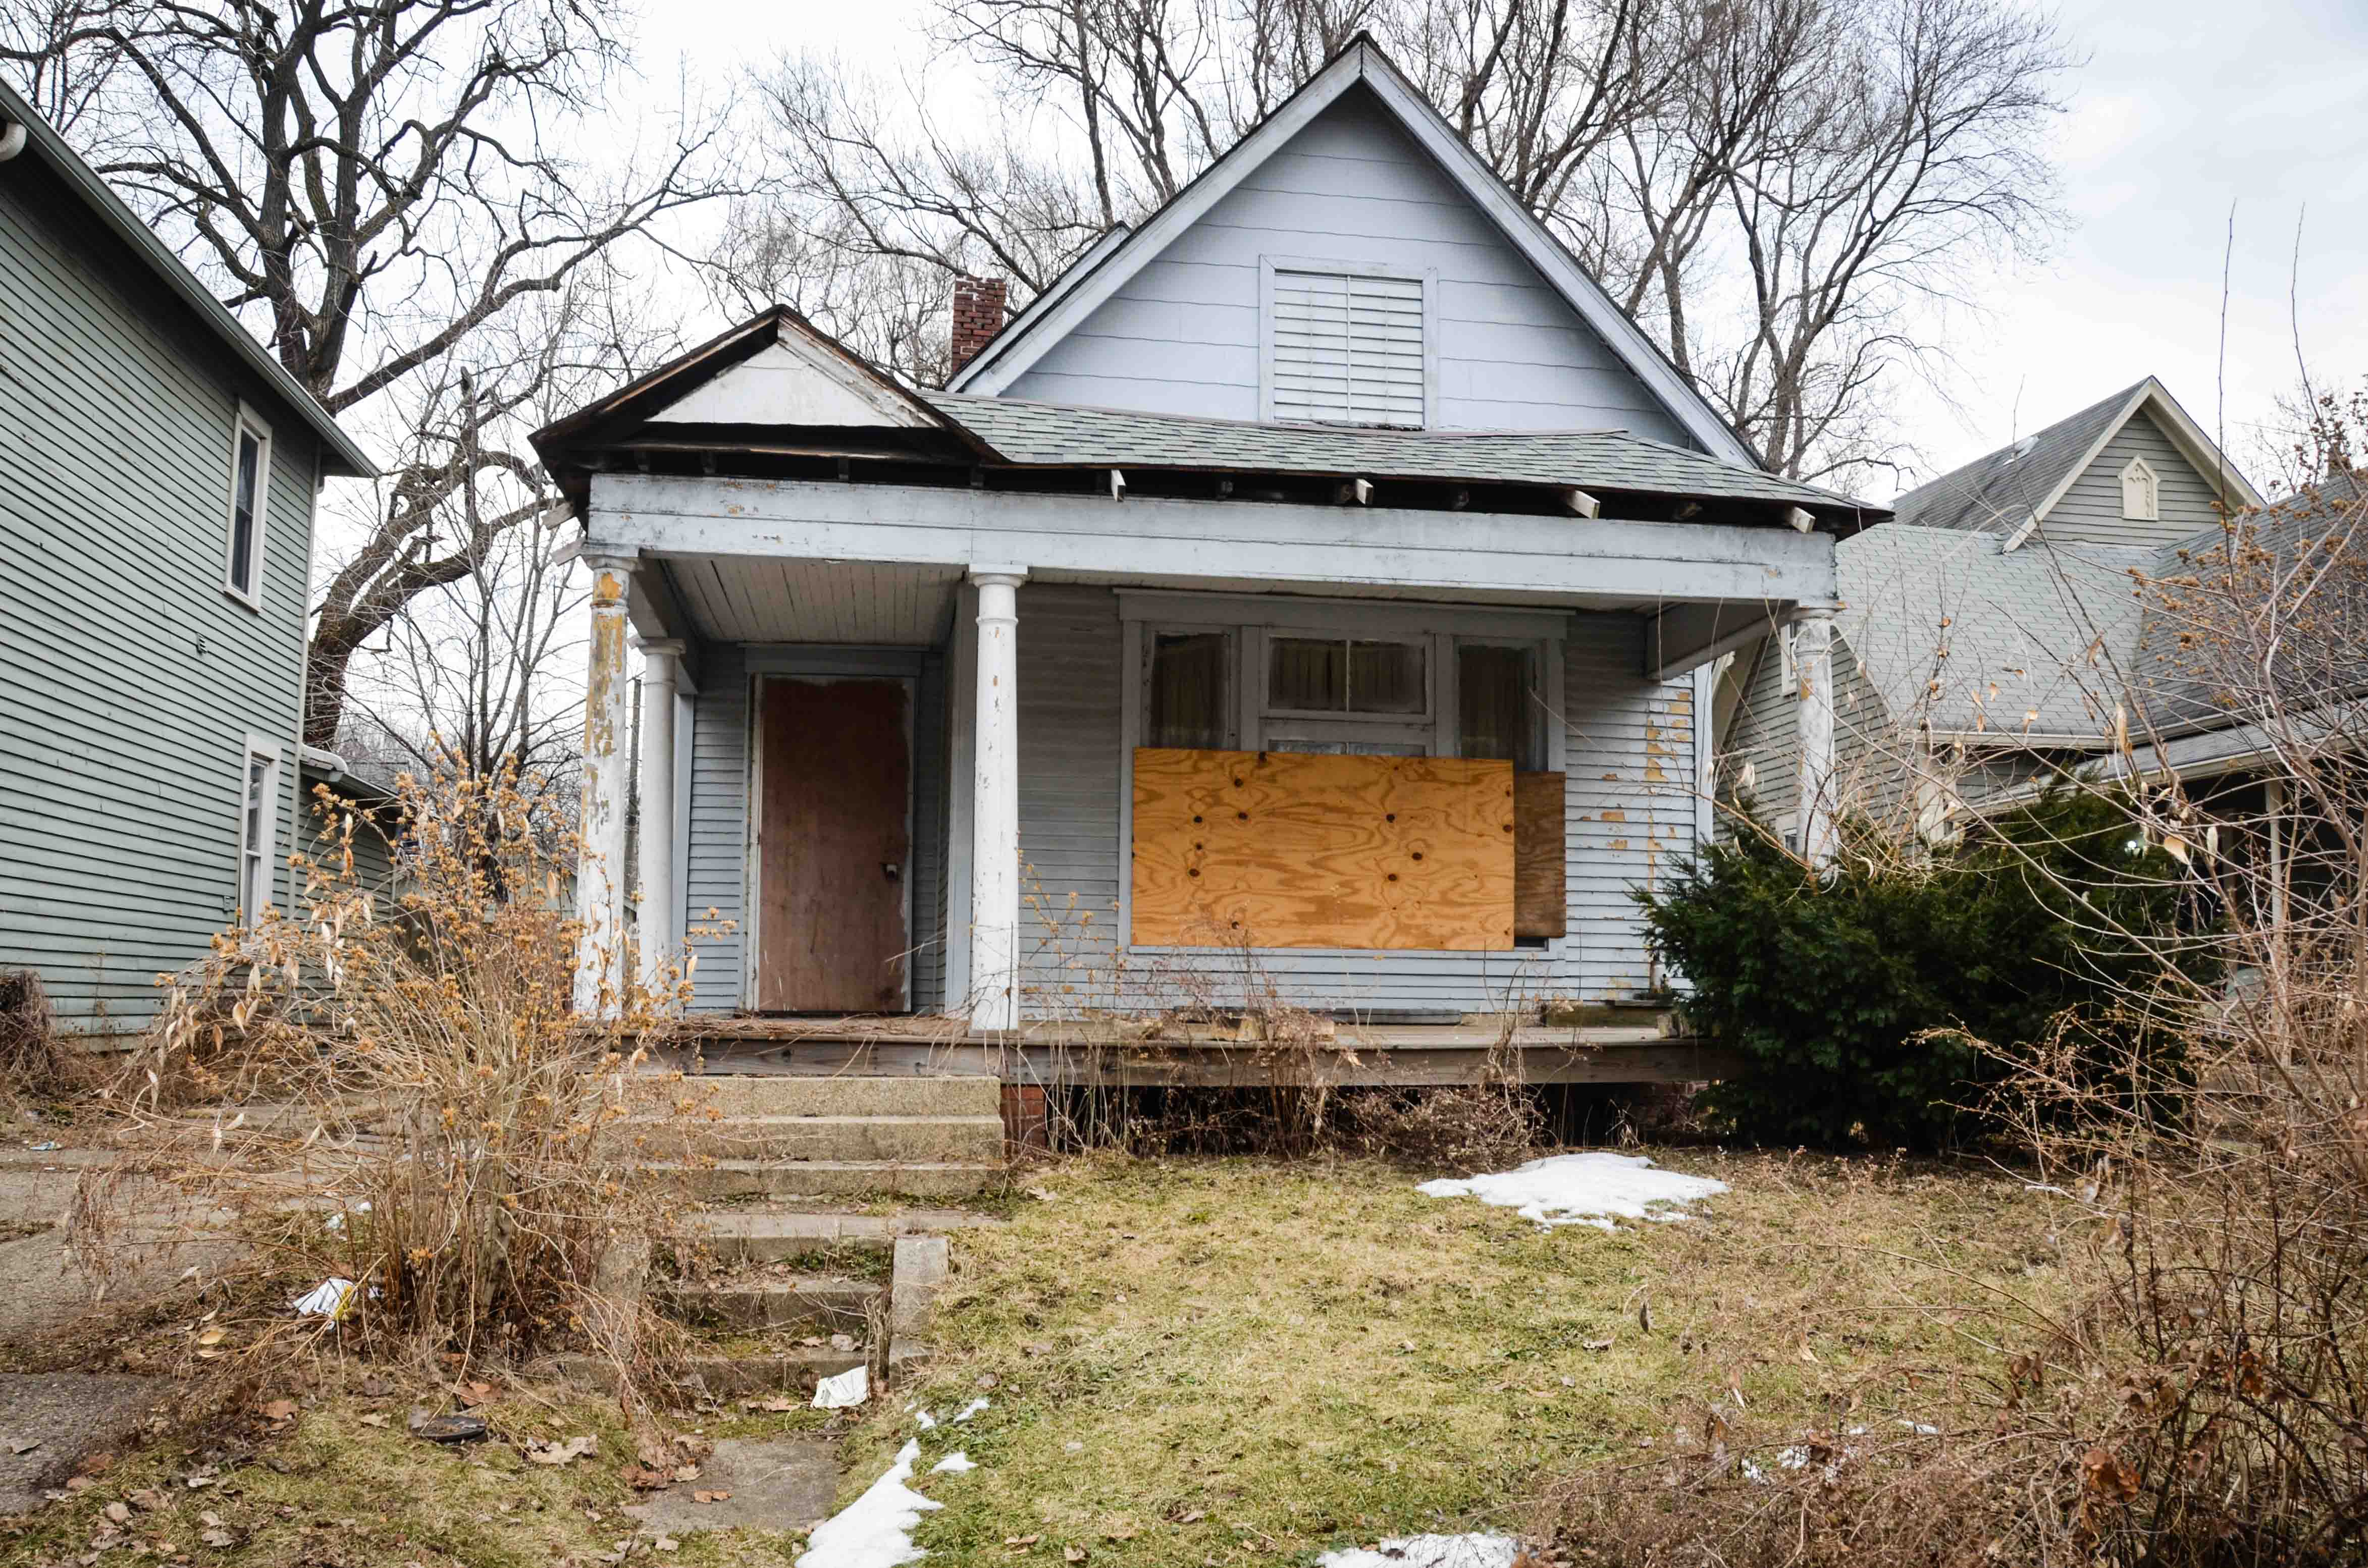
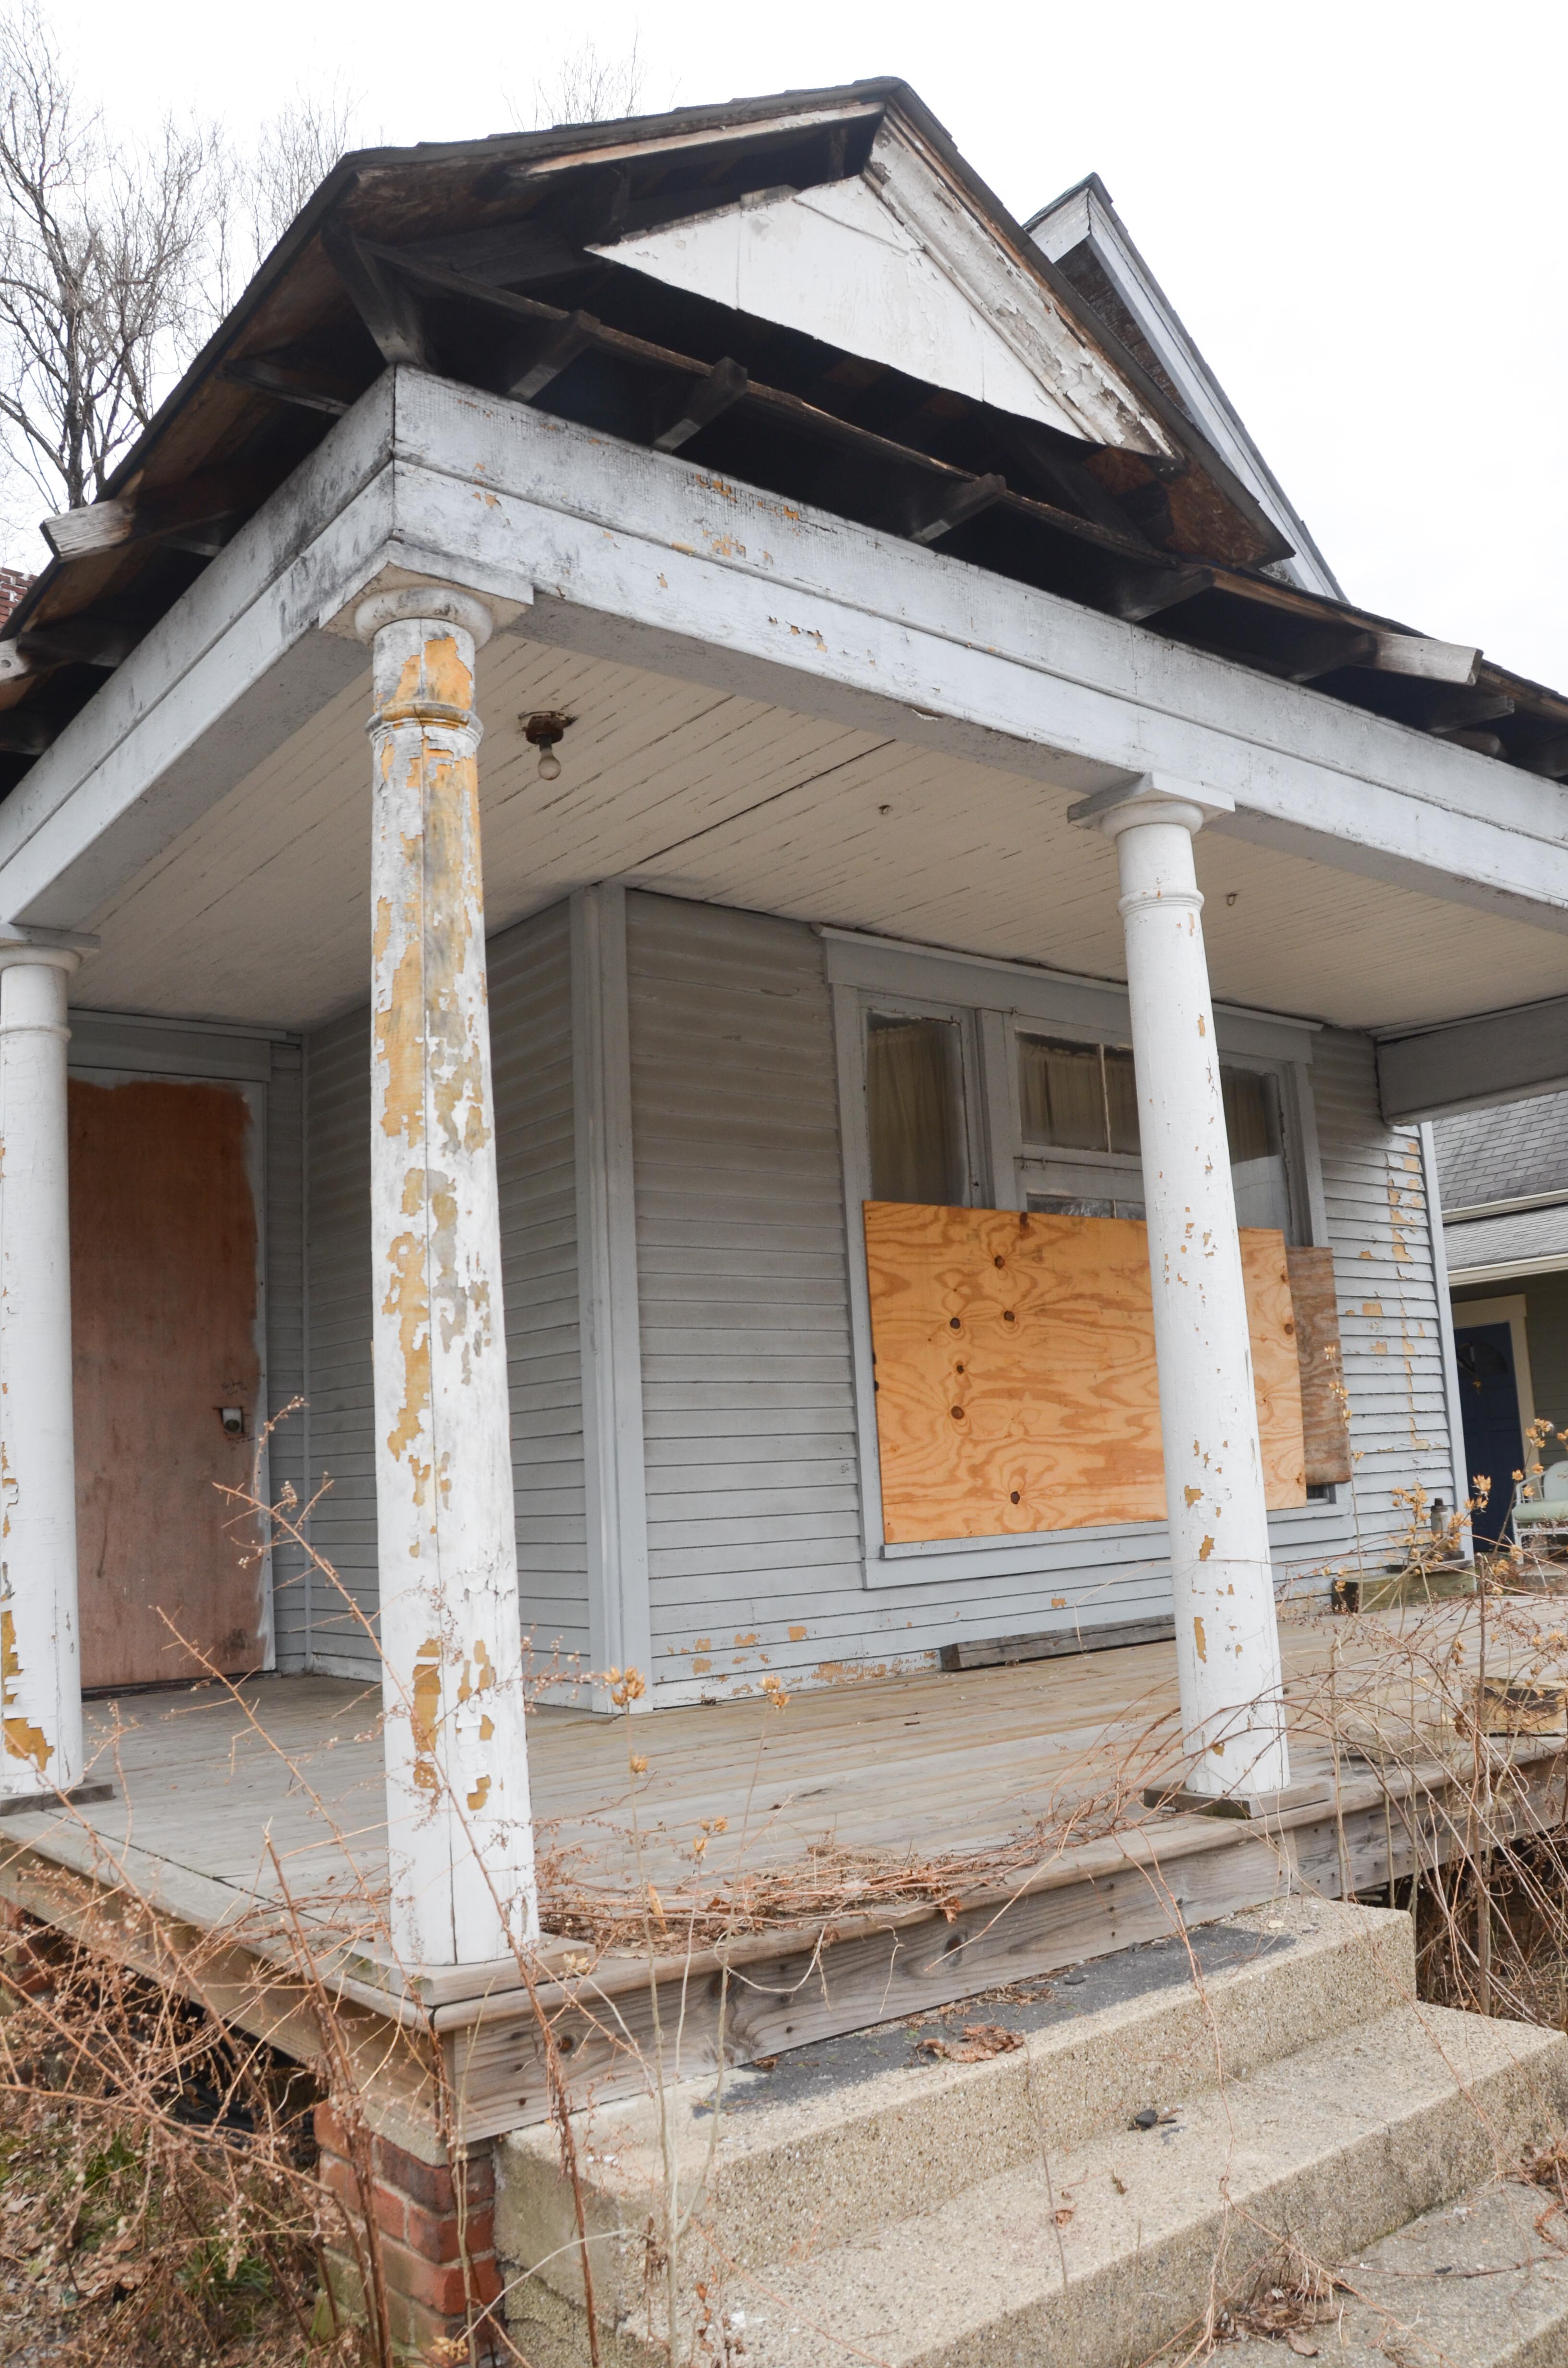
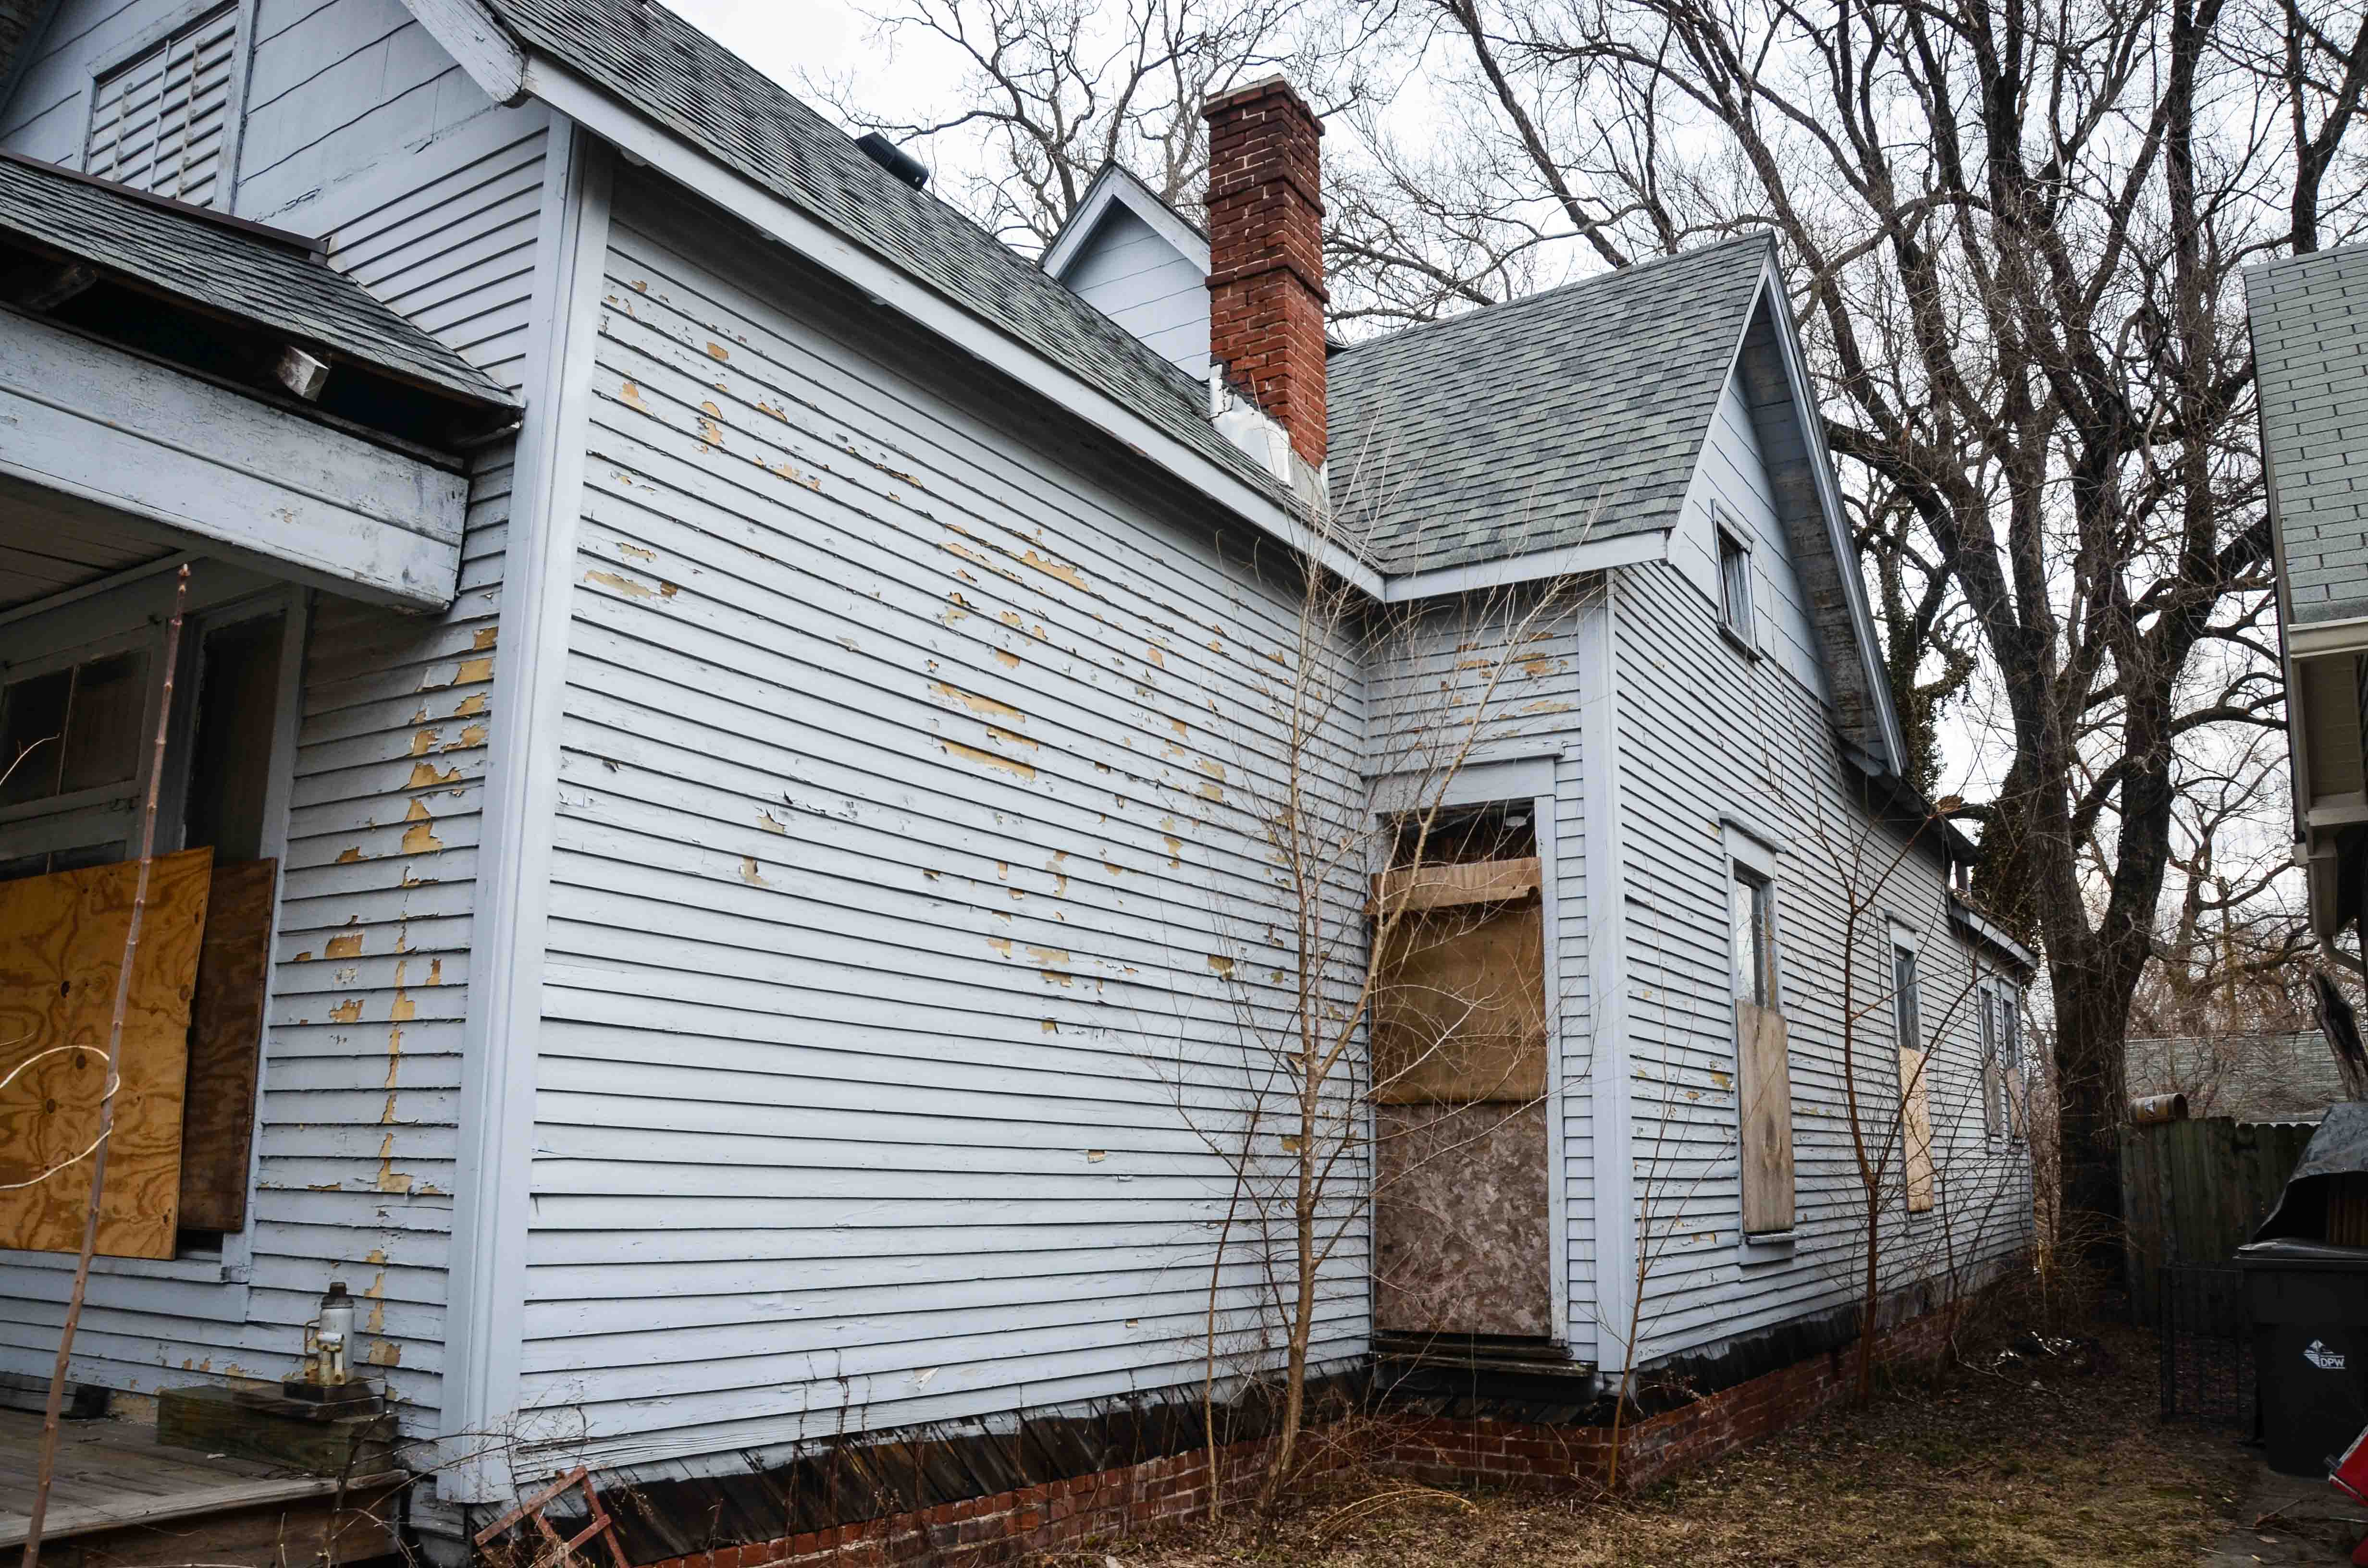
The previous owner of the house, who let the house sit abandoned for a decade, did complete some important work on the exterior. He put on a new roof, removed the fake brick siding, primed the whole house to protect the original wood siding, rebuilt some areas of trim that must have been removed at some point for the “brick” siding, and rebuilt the front and back porch decks. We are thankful that he took those steps to keep the house dry and to protect it from further deterioration.
There was a time when we thought we would pay someone to do the exterior rehab work, but our desire to have anyone else work on the house faded a long time ago. Like many rehab jobs, the outside of the house is going to be extremely tedious and time consuming, but not rocket science. The only part we will hire someone to fix (if we can find anyone who actually WANTS a job) is the structural issue with the front porch. The porch seems to be pulling away from the house a little and there are also some visible issues with the porch roof. But I feel pretty confident in our ability to do all the prep work for painting, do the carpentry work on the remaining missing trim, and do the final painting.
Our first task was the part I dreaded the most. Scraping. If there is one single job that Amy and I have both done more than other, it’s scraping. I have scraped dozens of window sashes and many doors, Amy spent months scraping mastic tar off the hardwood floors to prepare them for sanding, and we both spent weeks scraping wall paper off our plaster walls. Scraping the exterior of an entire house seemed unimaginable, but like many jobs we have done, you can’t look at the whole project. It’s just too daunting. You focus on one area at a time and keep your head down.
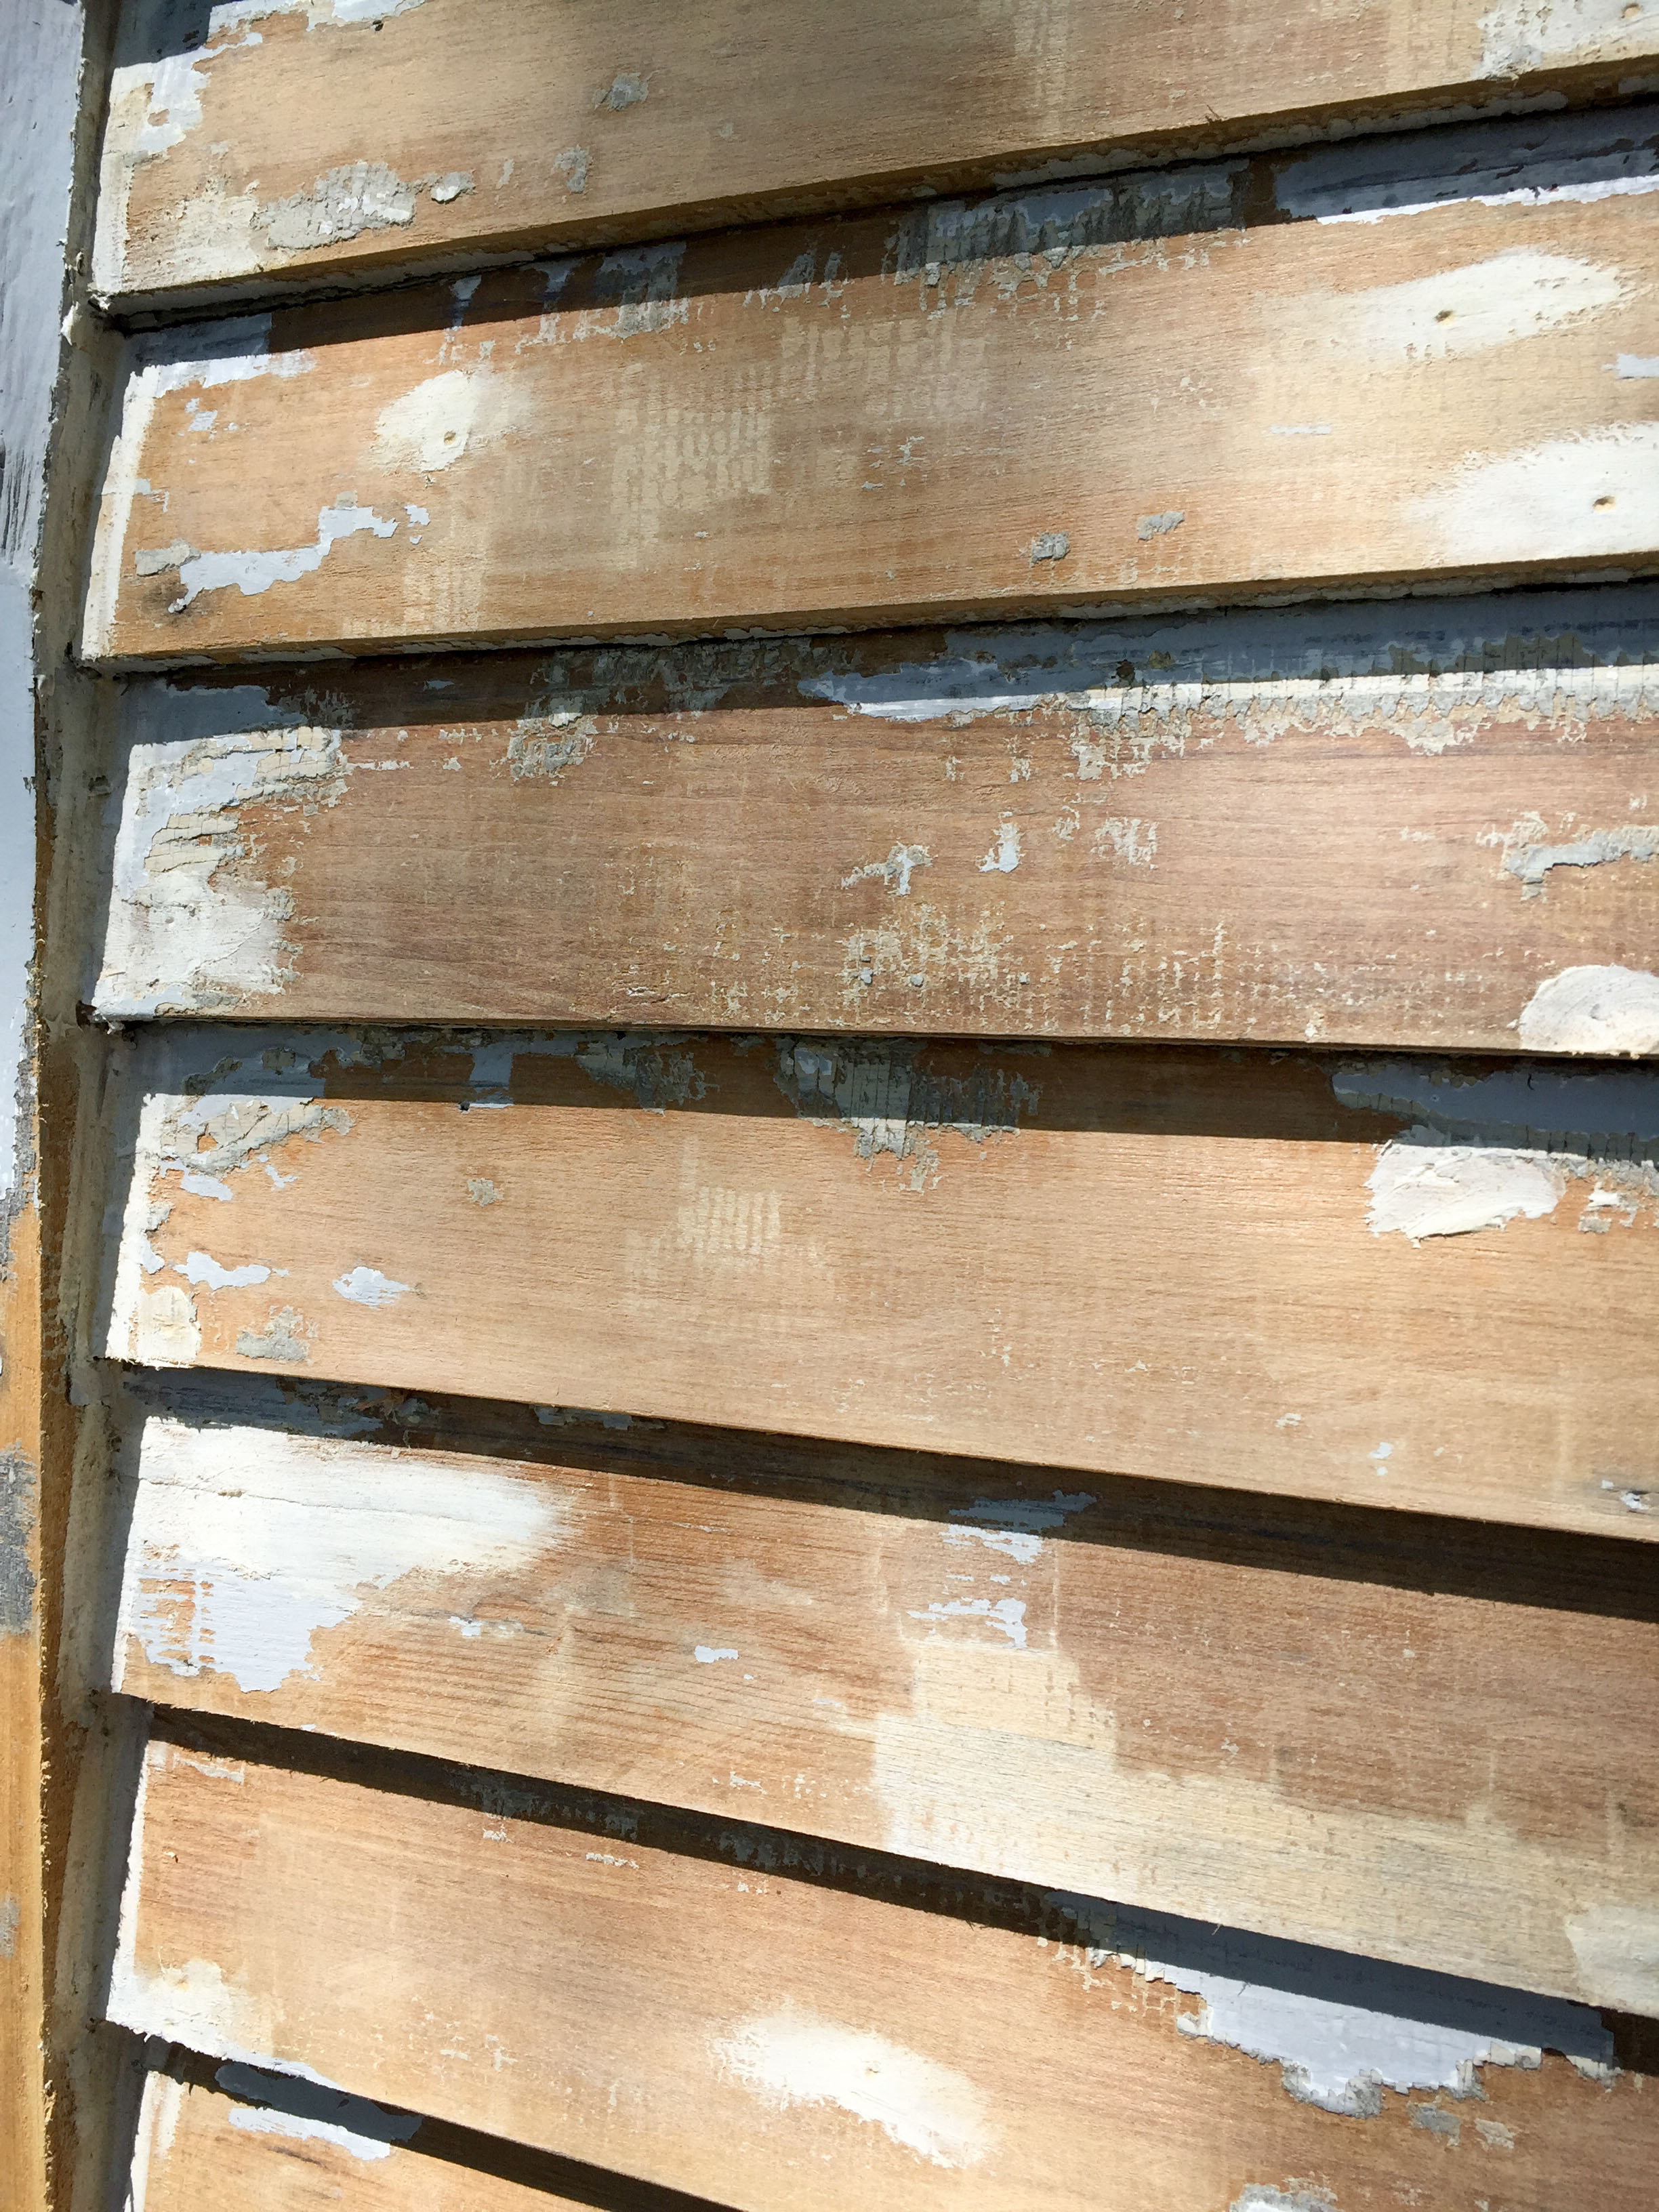
Here a sample of what the siding looked like in most areas.
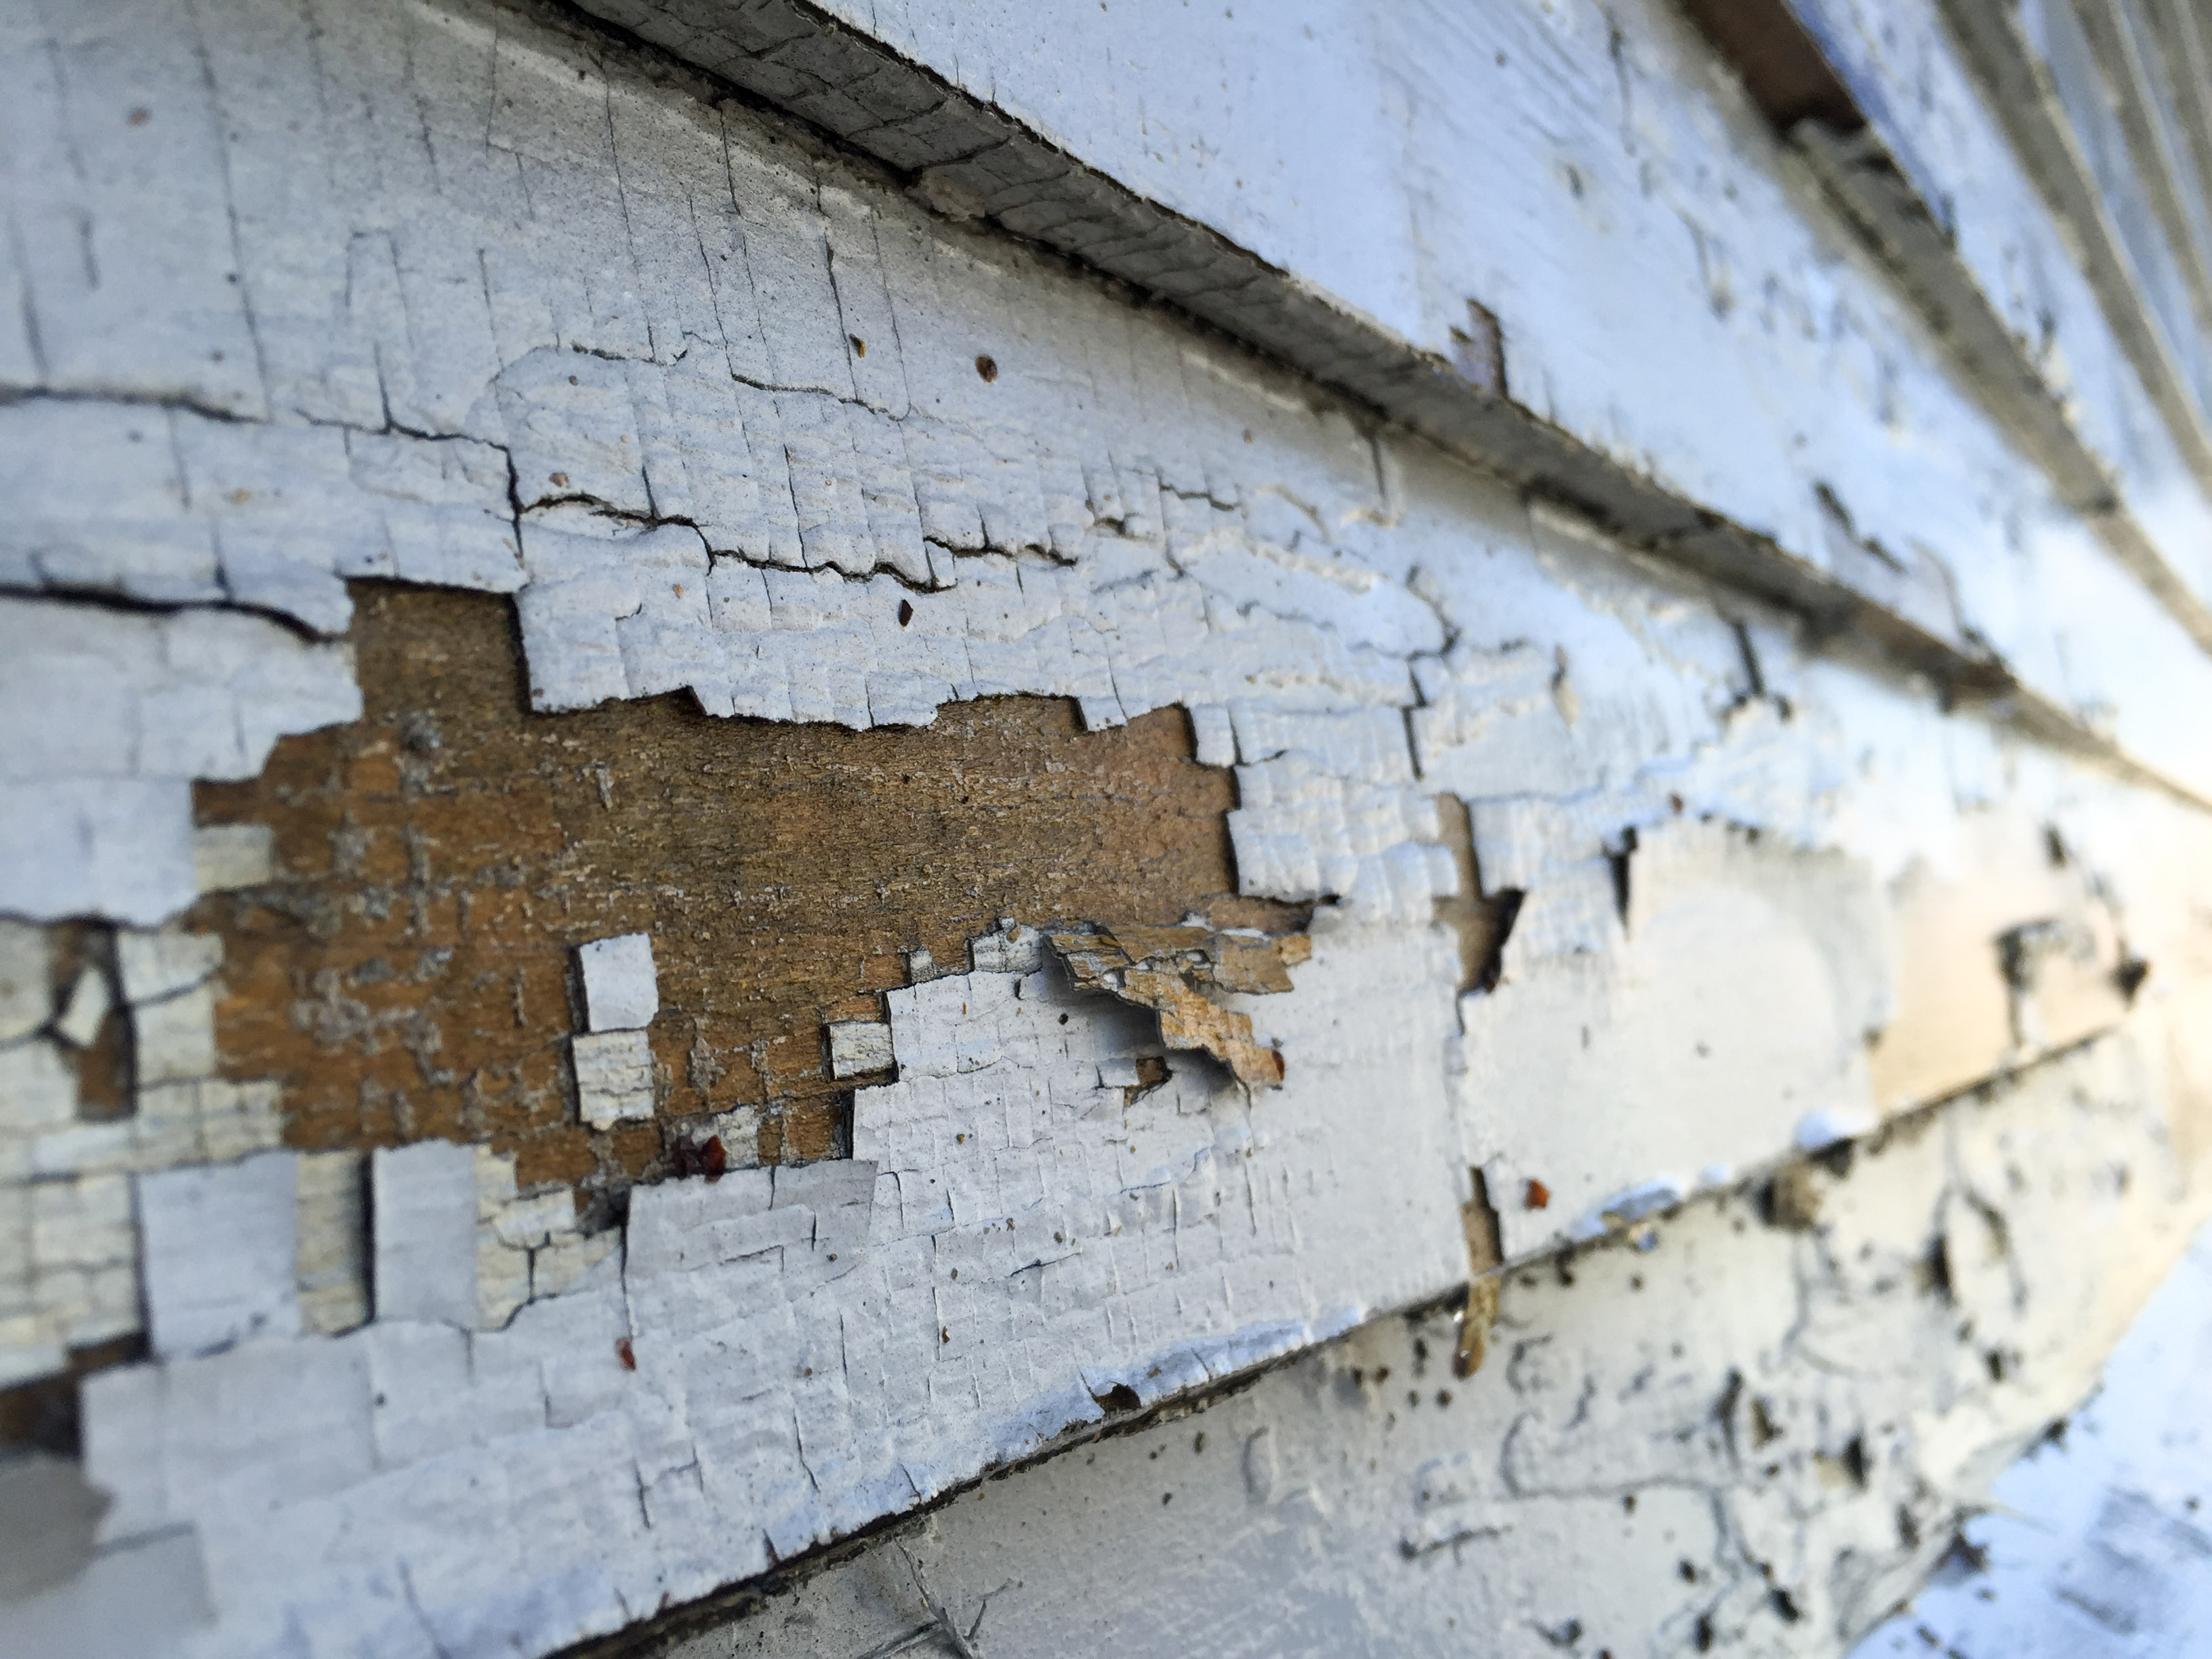
This was obviously the easy stuff. It just flaked right off. The hard part was knowing how much to try to scrape. Once the loose chips come off I could continue to work to get more of it off, but I wasn’t going to get ALL of it. I tried to find a happy medium and not get overly carried away.

It is inevitable that we will have some unwanted texture from the old paint on our siding, but that is expected with any old house. Around here, if a house has perfectly smooth siding, you can bet that it isn’t the original siding or someone was really determined to get it all off.

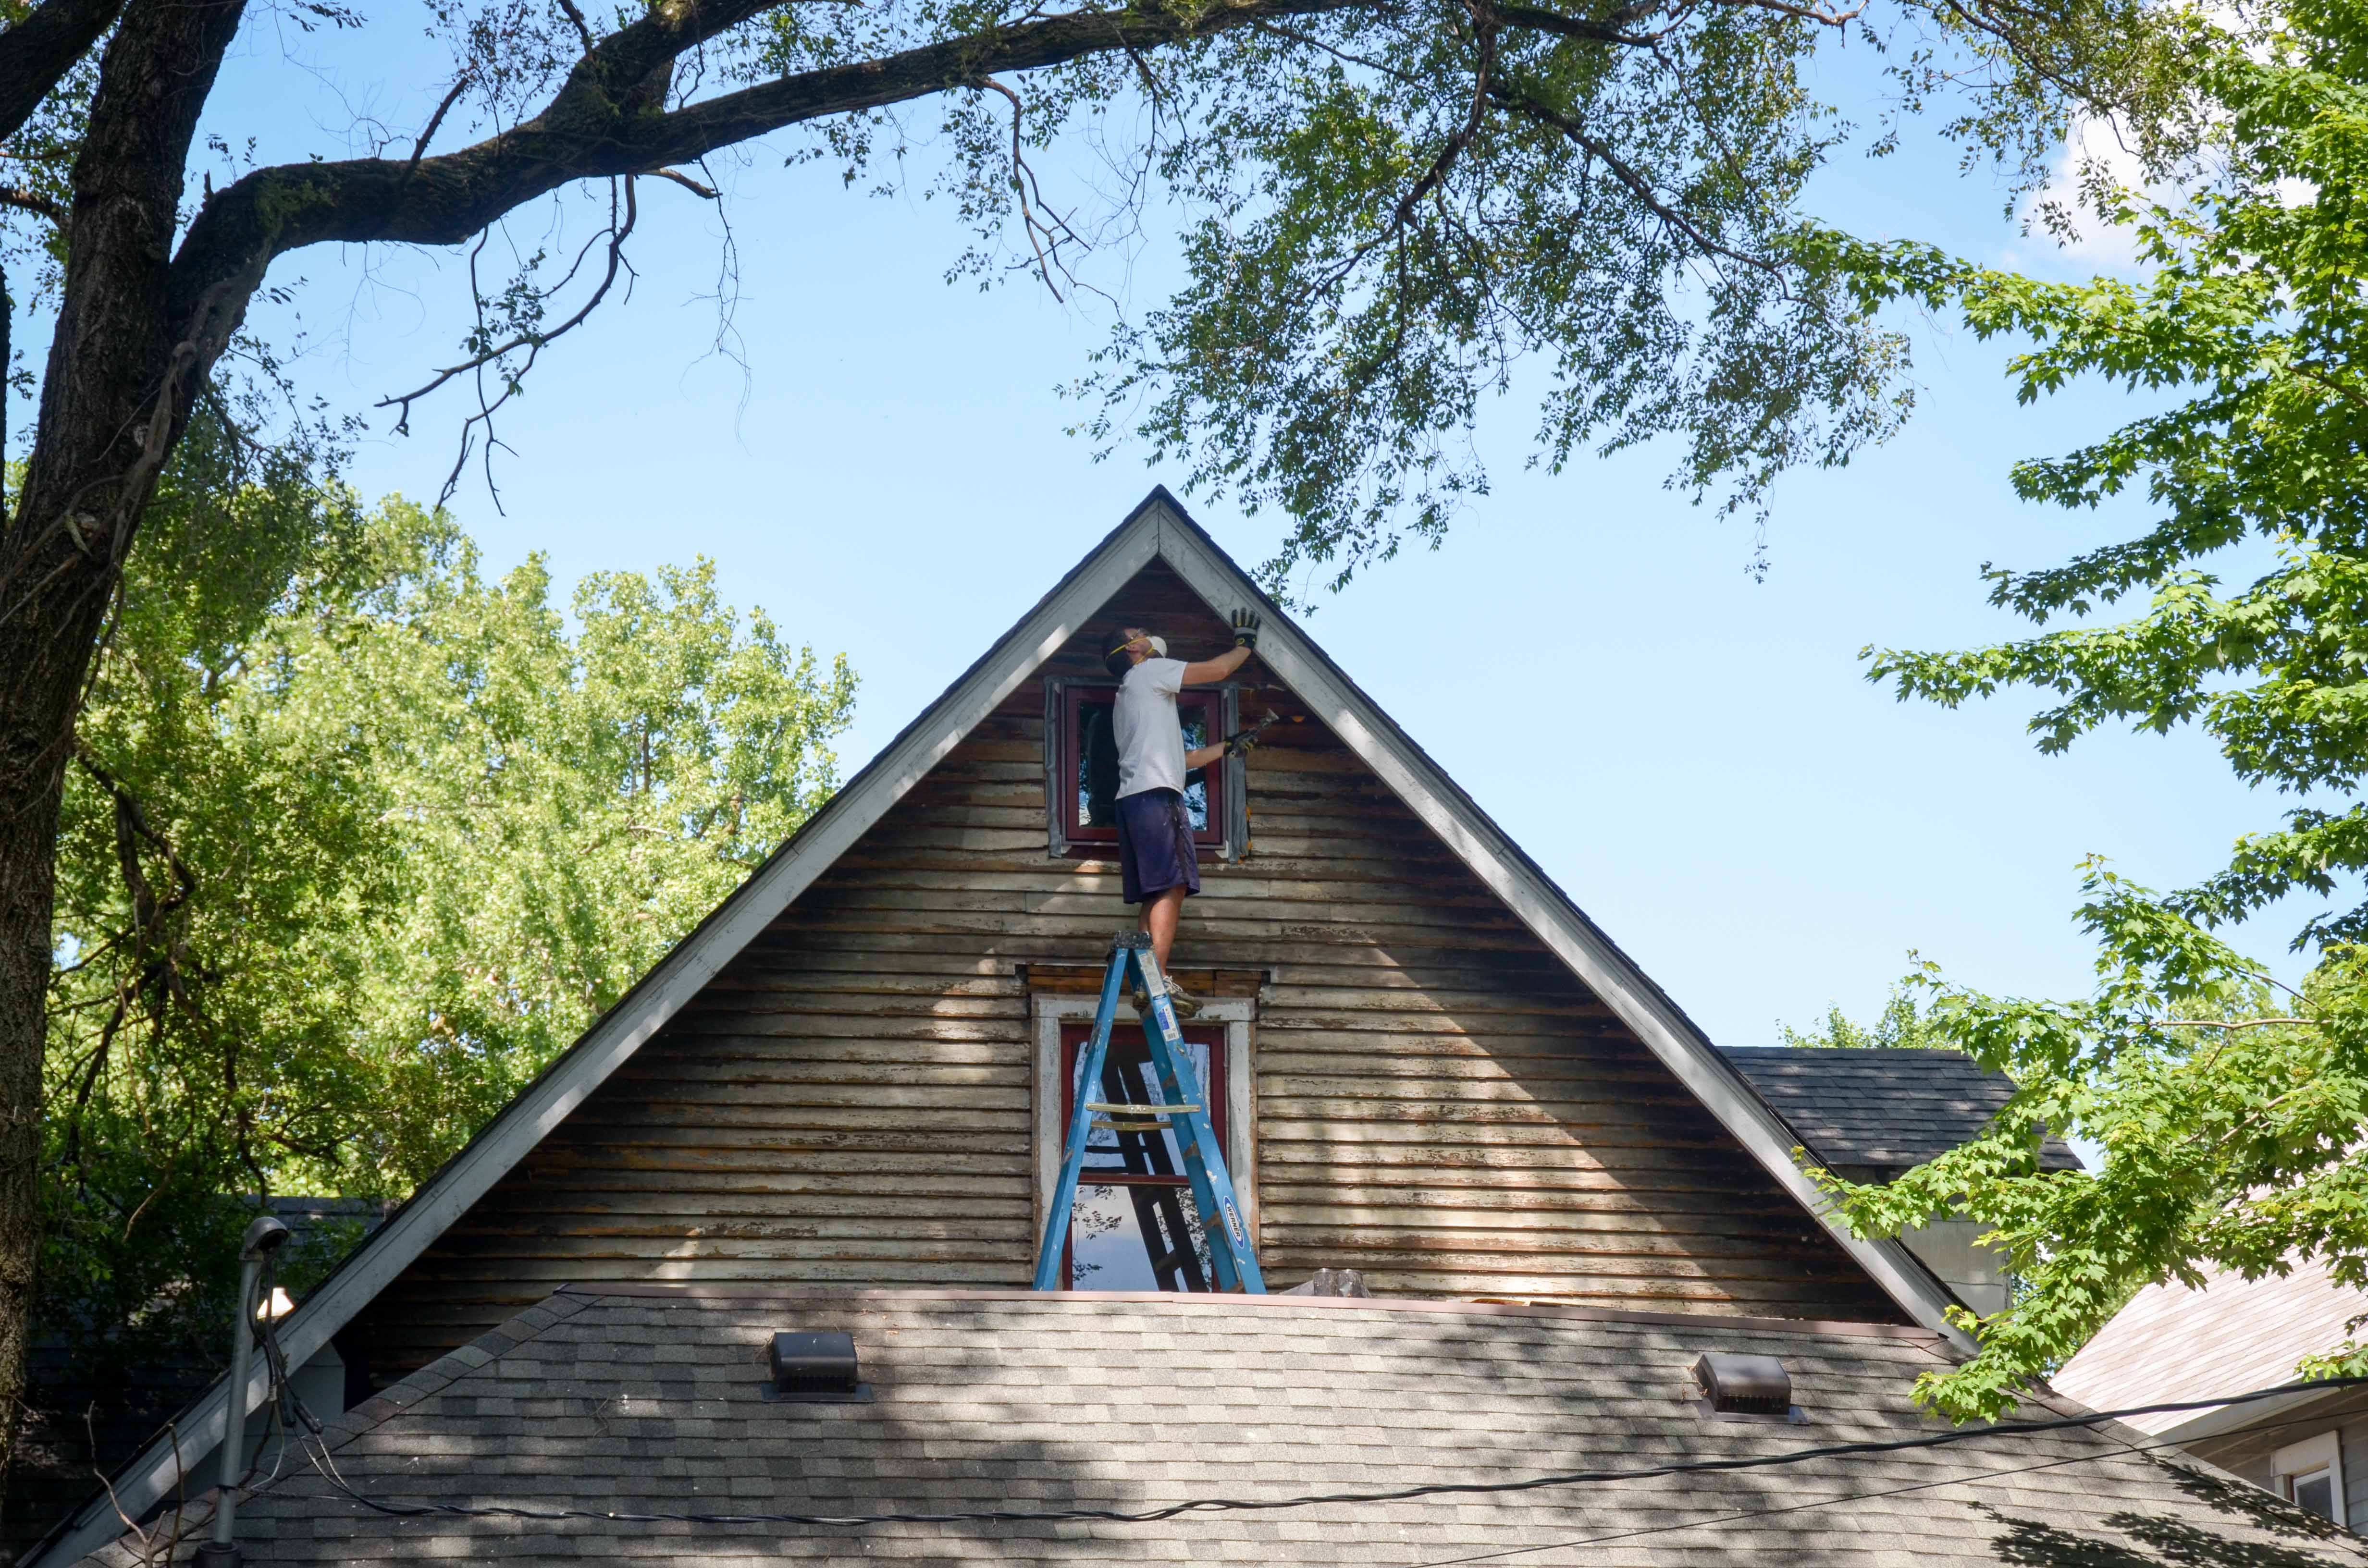
The hardest part was accessing the very top of all the gables. My 20 ft. ladder wasn’t quite tall enough, so we had to borrow a longer one. The back gable wasn’t too difficult to access because we can easily get on the kitchen roof. Still, scraping the soffits was not fun, especially when it was directly overhead.
After the scraping, we power washed (or washed by hand) all of the siding. Then we sanded areas that still looked a little rough, especially if they were lower and would be within easy view.
Here is an example of what some of the siding looked like after scraping.
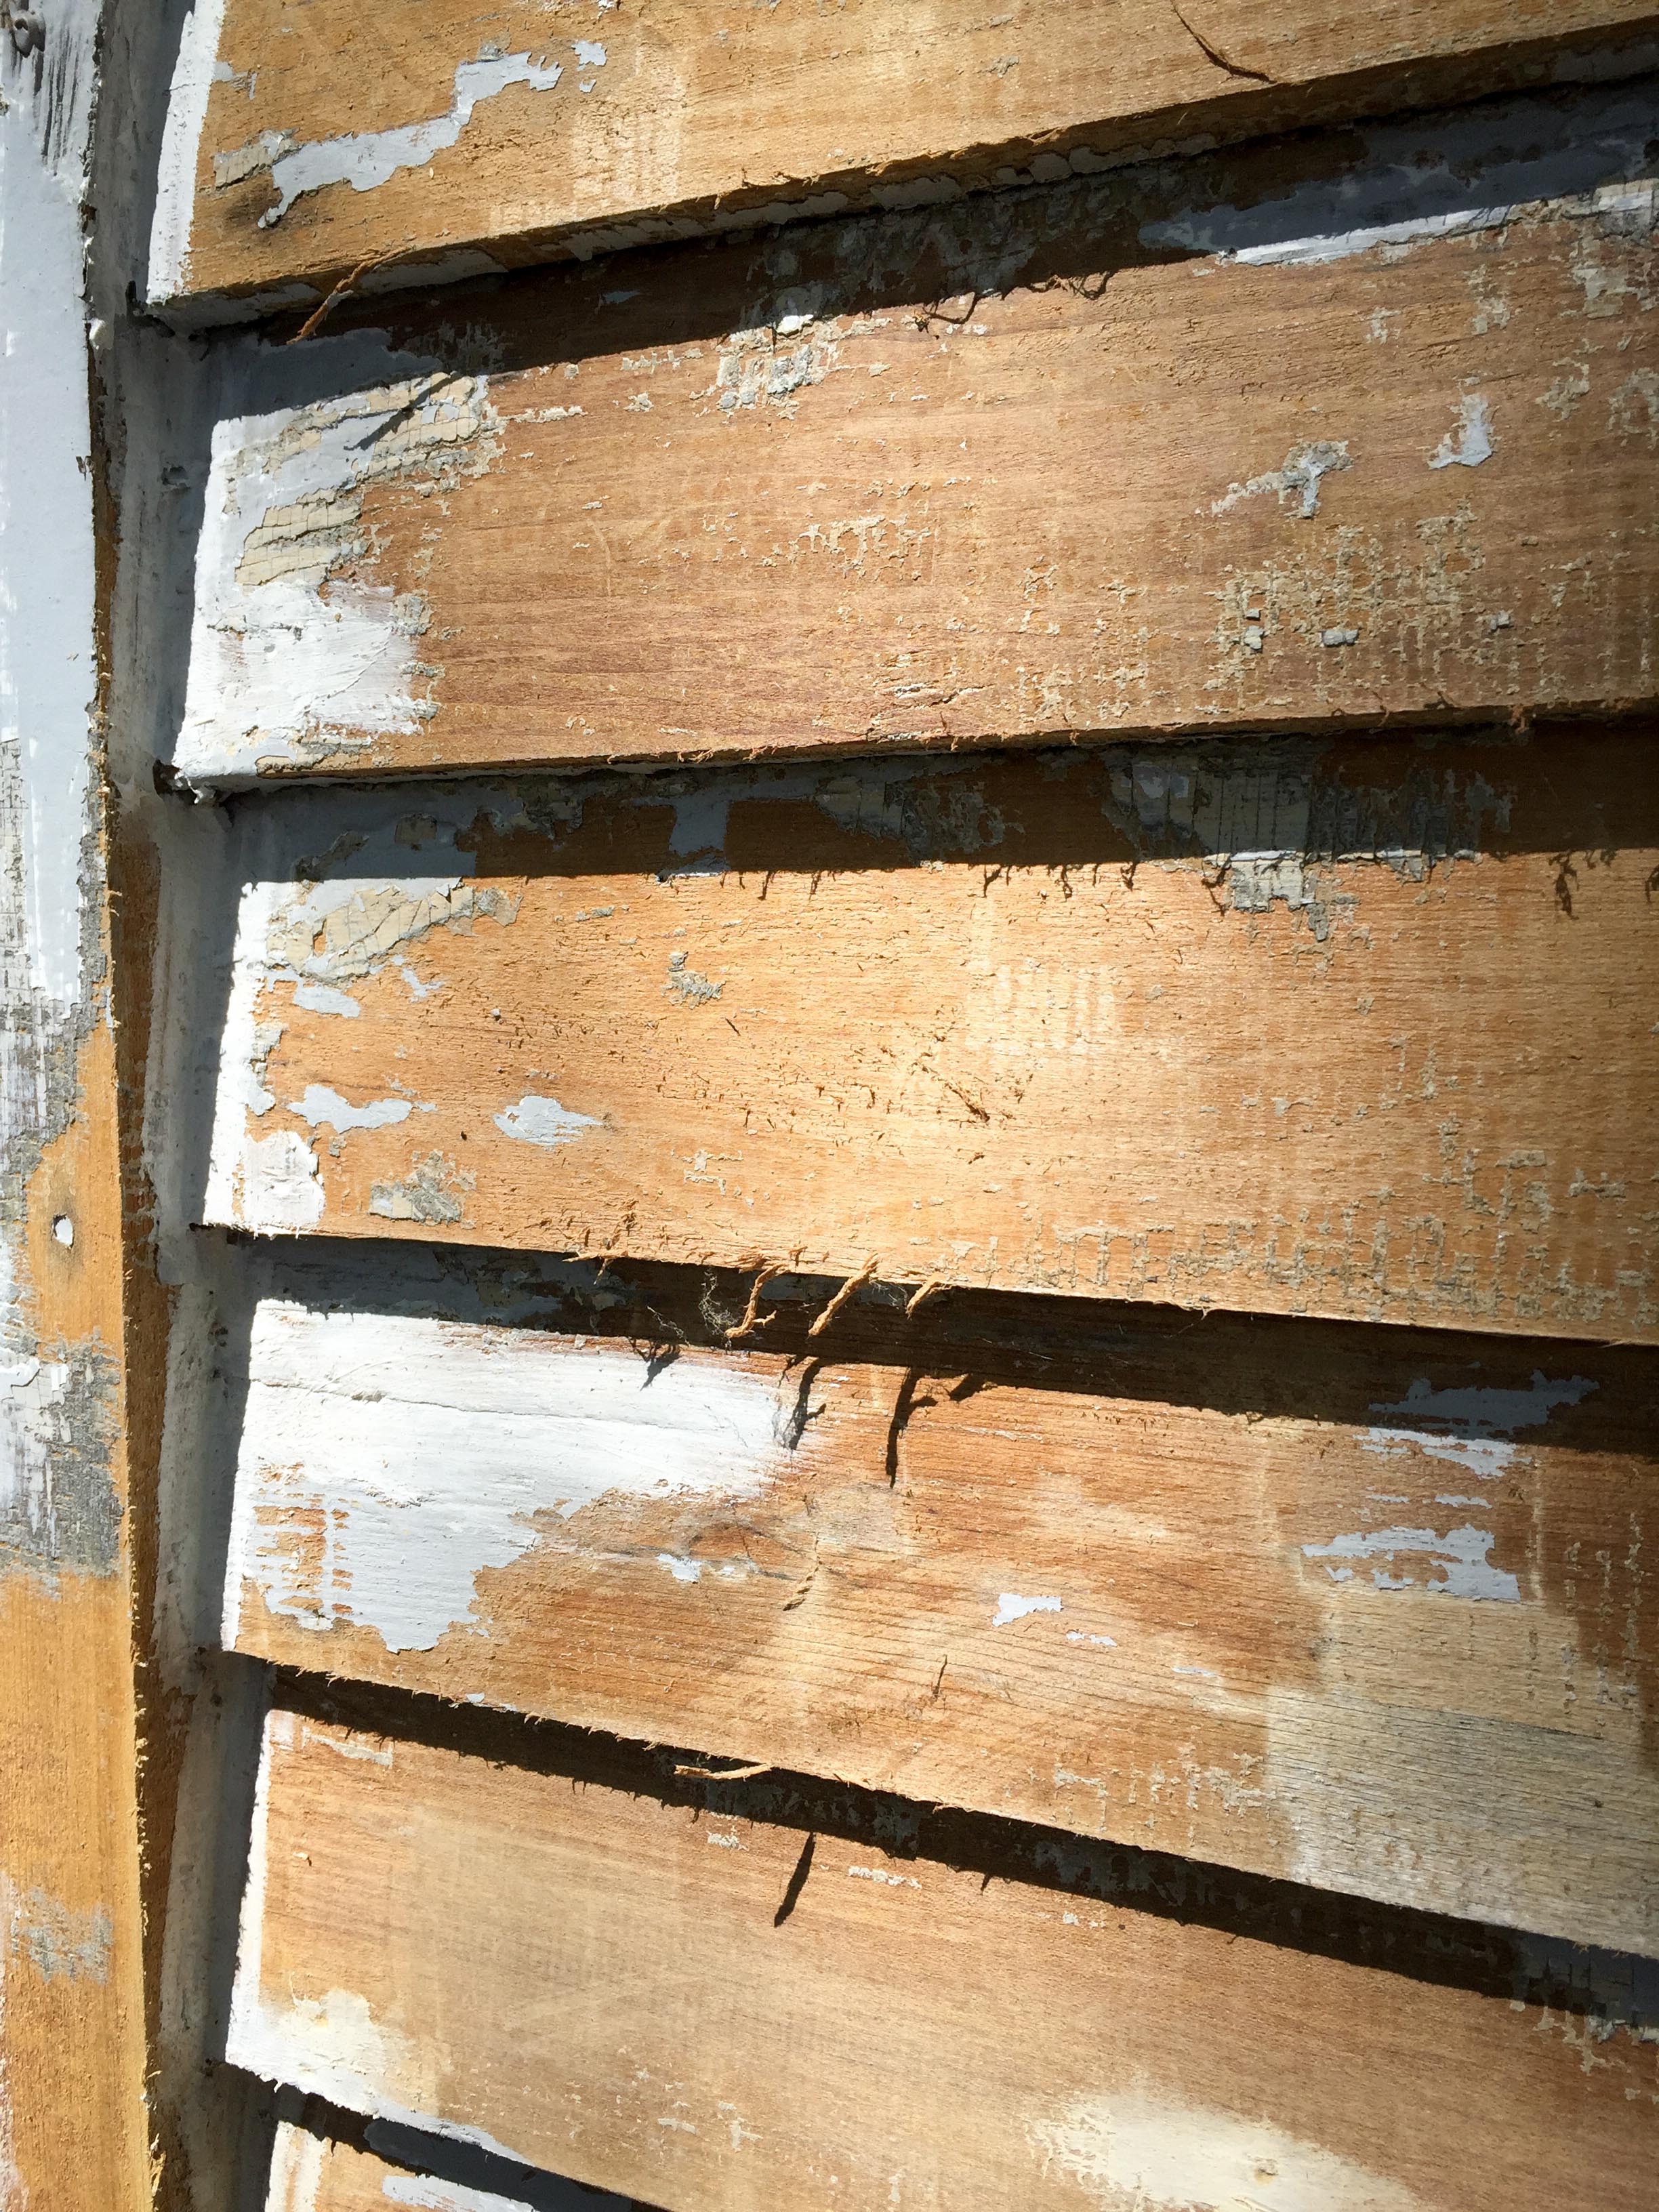
And then the obvious improvement after light sanding.
The next step was caulking. This job was not nearly as tiring, but equally tedious. There were many, many, many nail holes from the brick siding that had once been added and then also the original nail holes for nails that secure the wood siding. During this process I also secured any loose boards with additional finish nails. Also, I caulked around the trim on every window, door, and corner trim. For some reason, I didn’t stop to take any great pictures of what the siding looked like after caulking. I wish I knew how many individual holes I caulked. You can see a very small sample to the left of the kitchen windows in the picture below. (All those white dots are caulked nail holes)
FINALLY, once all the prep work was completed, we could begin to prime. This was just as tedious as everything else we had already done, BUT it was way more gratifying. It was almost like you could hear the house breathing a sigh of relief to be protected again with a layer of paint. It also amazed us at how much stronger the house appeared. It immediately just looked more structurally sound.


The back porch needed a deceptive amount of work. I scraped the ceiling (big pain) and then Amy primed it.

The “decorative” woodwork hanging from the top of the porch was beyond repair, so we finally made the decision to pull it down.

At first, the porch seemed naked without it, but now we have gotten used to it and kind of like it. We might rebuild it or come up with something else.

Here are some more before and after shots…
North side of the house…


Front of the house…

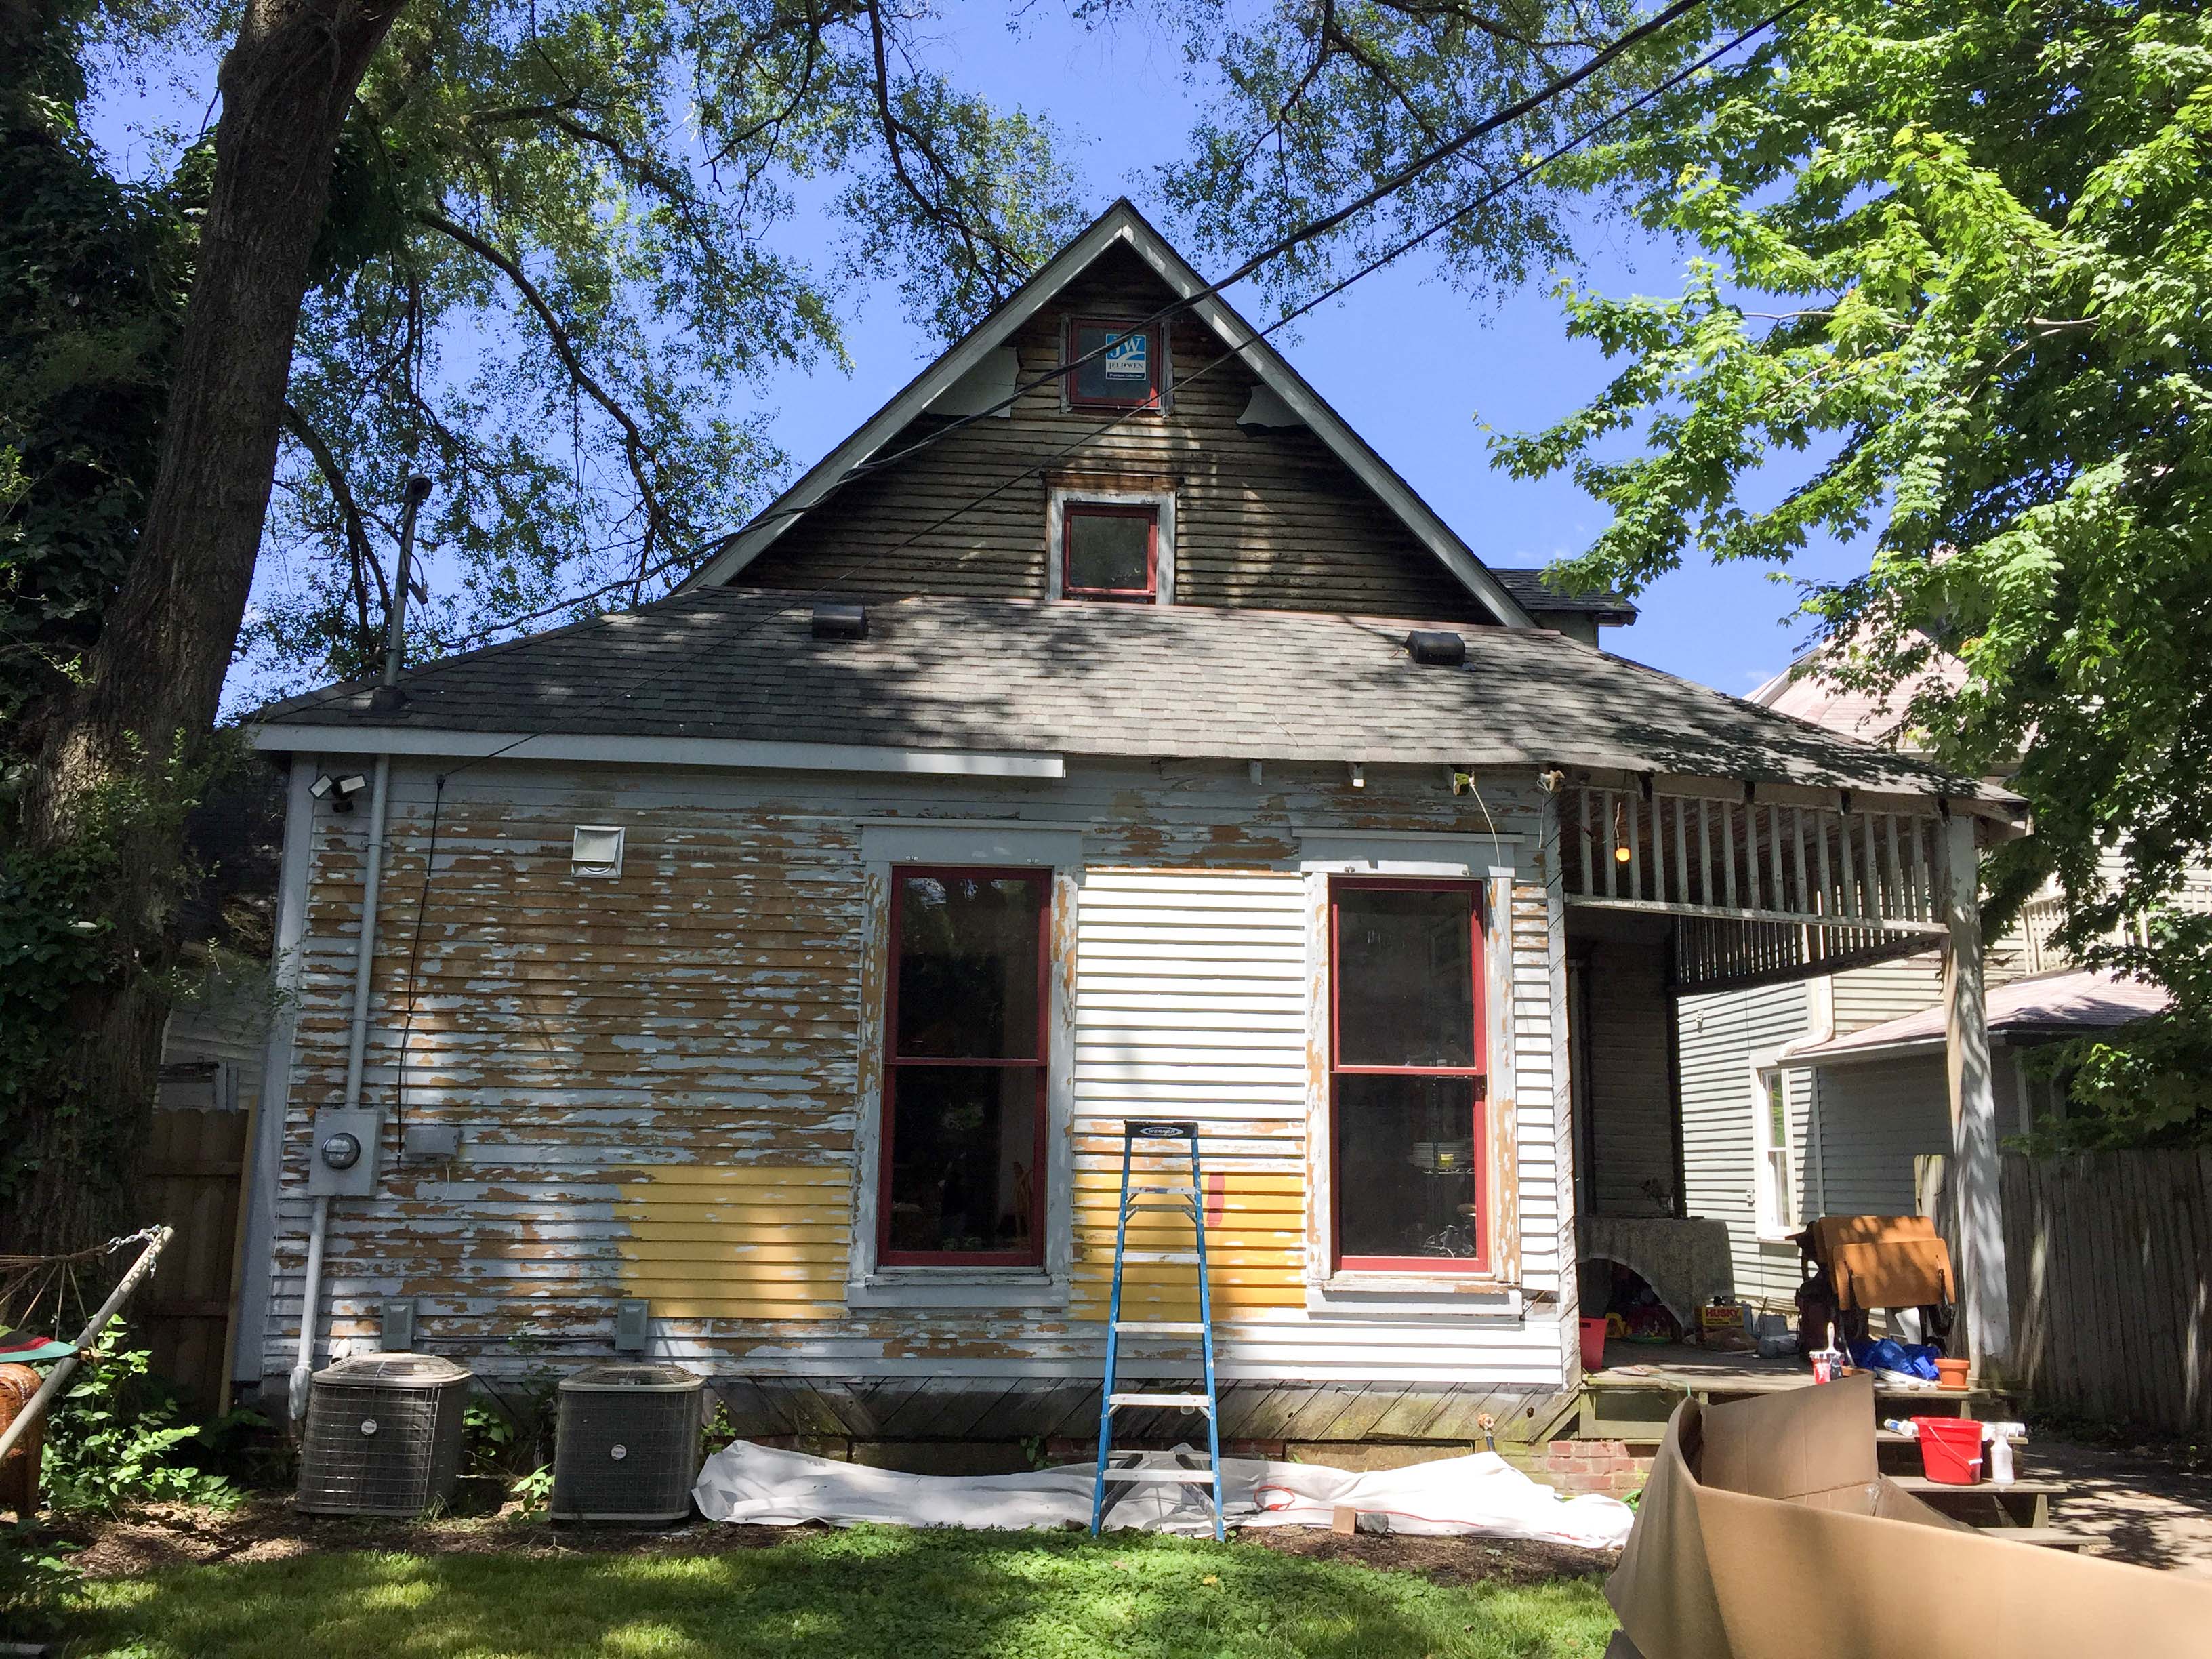
The south side of the house when we bought it…
After scraping…

After priming…
From the street…
Today…

Still a long way to go and a lot to do before we can actually paint, but we are finally making progress that is visible for our neighbors to see!
We started this rehab project two summers ago. We had lofty goals finishing before Christmas, so we spent most of our summer on the house and only took a couple very short trips. Last summer was the big push to repair all the plaster, refinish all the floors, and make the house habitable because we had a firm deadline to get out of our old house. Once again, not much vacation time available that year. This summer has been different. We finally had time to take an extended family trip and chose to go on a two week camping trip to Colorado, Wyoming, and South Dakota. It felt great to just leave it all behind for two weeks. For the first summer in three years that hasn’t had a very loud clock ticking in the background.
It’s been nice.

The house loves you guys. What a change when the right people come along and save an old house. Beautiful job.
LikeLiked by 1 person
Oh wow- this is near and dear to me. We wrapped up doing exactly what you are doing to our house last fall. It took us 1.5 years (breaking for South Dakota Winters). I loved knowing that my eyes had touched and studies every inch of the house. I also loved having an excuse to stay out all day on the very nicest days of the year (which are also the nicest days to be painting). We did not try to get all of the paint off either, which I know some purests would cringe at, but with our jobs and 3 kids, there was not time for that nonsense! I can’t wait to see the house in it’s final colors!
LikeLiked by 1 person
Amazing progress!
LikeLiked by 1 person
Joe & Amy ……how fun to see the before and after and all I can say is FABULOUS!!! The LOVE you both have bestowed on your home is BREATHTAKING!!! CAN’T say enough how much I LOVE your family home. Great job!
Look forward to seeing it next year. LOVE to you all.
LikeLike
That’s looking great! The degree of transformation the three windows in the front gable makes is incredible.
Kudos on the siding restoration as well. It’s looking great, and I just love the precise, finished look of wood siding. I definitely agree with the piece-at-a-time approach. I’m restoring the siding on our 1910s Foursquare, and doing it about 1/2 a side at a time. There’s a lot of work due to the missing and damaged trim from the asbestos siding installation on top, and I am going the extreme route of full removal (wouldn’t try it without my PaintShaver, though). Hopefully the extra work of my intense prep work pays off with longer repaint intervals (strip to bare wood, countersink nails, sand, treat with Wolman Woodlife, prime, putty nail heads, caulk with polyurethane caulk, spot-prime putty, then two coats of SW Duration).
LikeLiked by 1 person
Looks incredible. Question–how do you get all the paint chips off the tarp? I always end up buying plastic to put down, roll up and throw away. I feel bad about the waste, but i had a terrible time cleaning up the tarps when I tried that.
Also, did you not have to replace any boards?! If not, that’s a miracle! We have had to do so much replacement. Been working on it two summers and only half done. It’s disheartening sometimes. But yeah,we have to look at one piece and not the whole. We have soffit scraping in the horizon. Not looking forward to that.
LikeLike
I actually think we sometimes through the tarps away. It just depended on much was on it and how easily it came off. I started buying cheaper tarps that were longer and not so wide. Since our siding was covered for so many years it is still in good shape. We got lucky with that.
Good luck with your project. Slow and steady, right?
LikeLike
Slow and steady for sure. Thanks for the reply–I always wonder other people’s processes. And it’s so refreshing to hear of other people’s journeys as well, because some weeks we spend so much time on the house it’s like a part to full time job for (seemingly) little progress. It’s a ridiculous amount of work! So it’s great to commiserate with others going through it!
LikeLiked by 1 person
What a great restoration! My husband and I have restored an 1888 Victorian that was in similar condition. It’s taken years, it’s slow with just the two of us and we’ve raised our kids around all of the mess but I wouldn’t do it any other way. I’m looking forward to reading about the complete transformation!
LikeLiked by 1 person
Thank you!
LikeLike