From the first moment we saw the space that was to become Lucy’s room, we had a pretty clear vision of what it could be. It has been one of our favorite projects and it couldn’t have turned out more perfect for our little girl. Of course, we couldn’t really blame people for not sharing that vision based on what it originally looked like:
[Edit from Amy: Especially considering that most people found that this space evoked nightmares and horror movie scenes.]
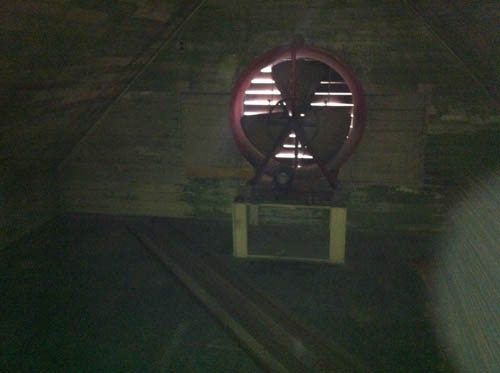
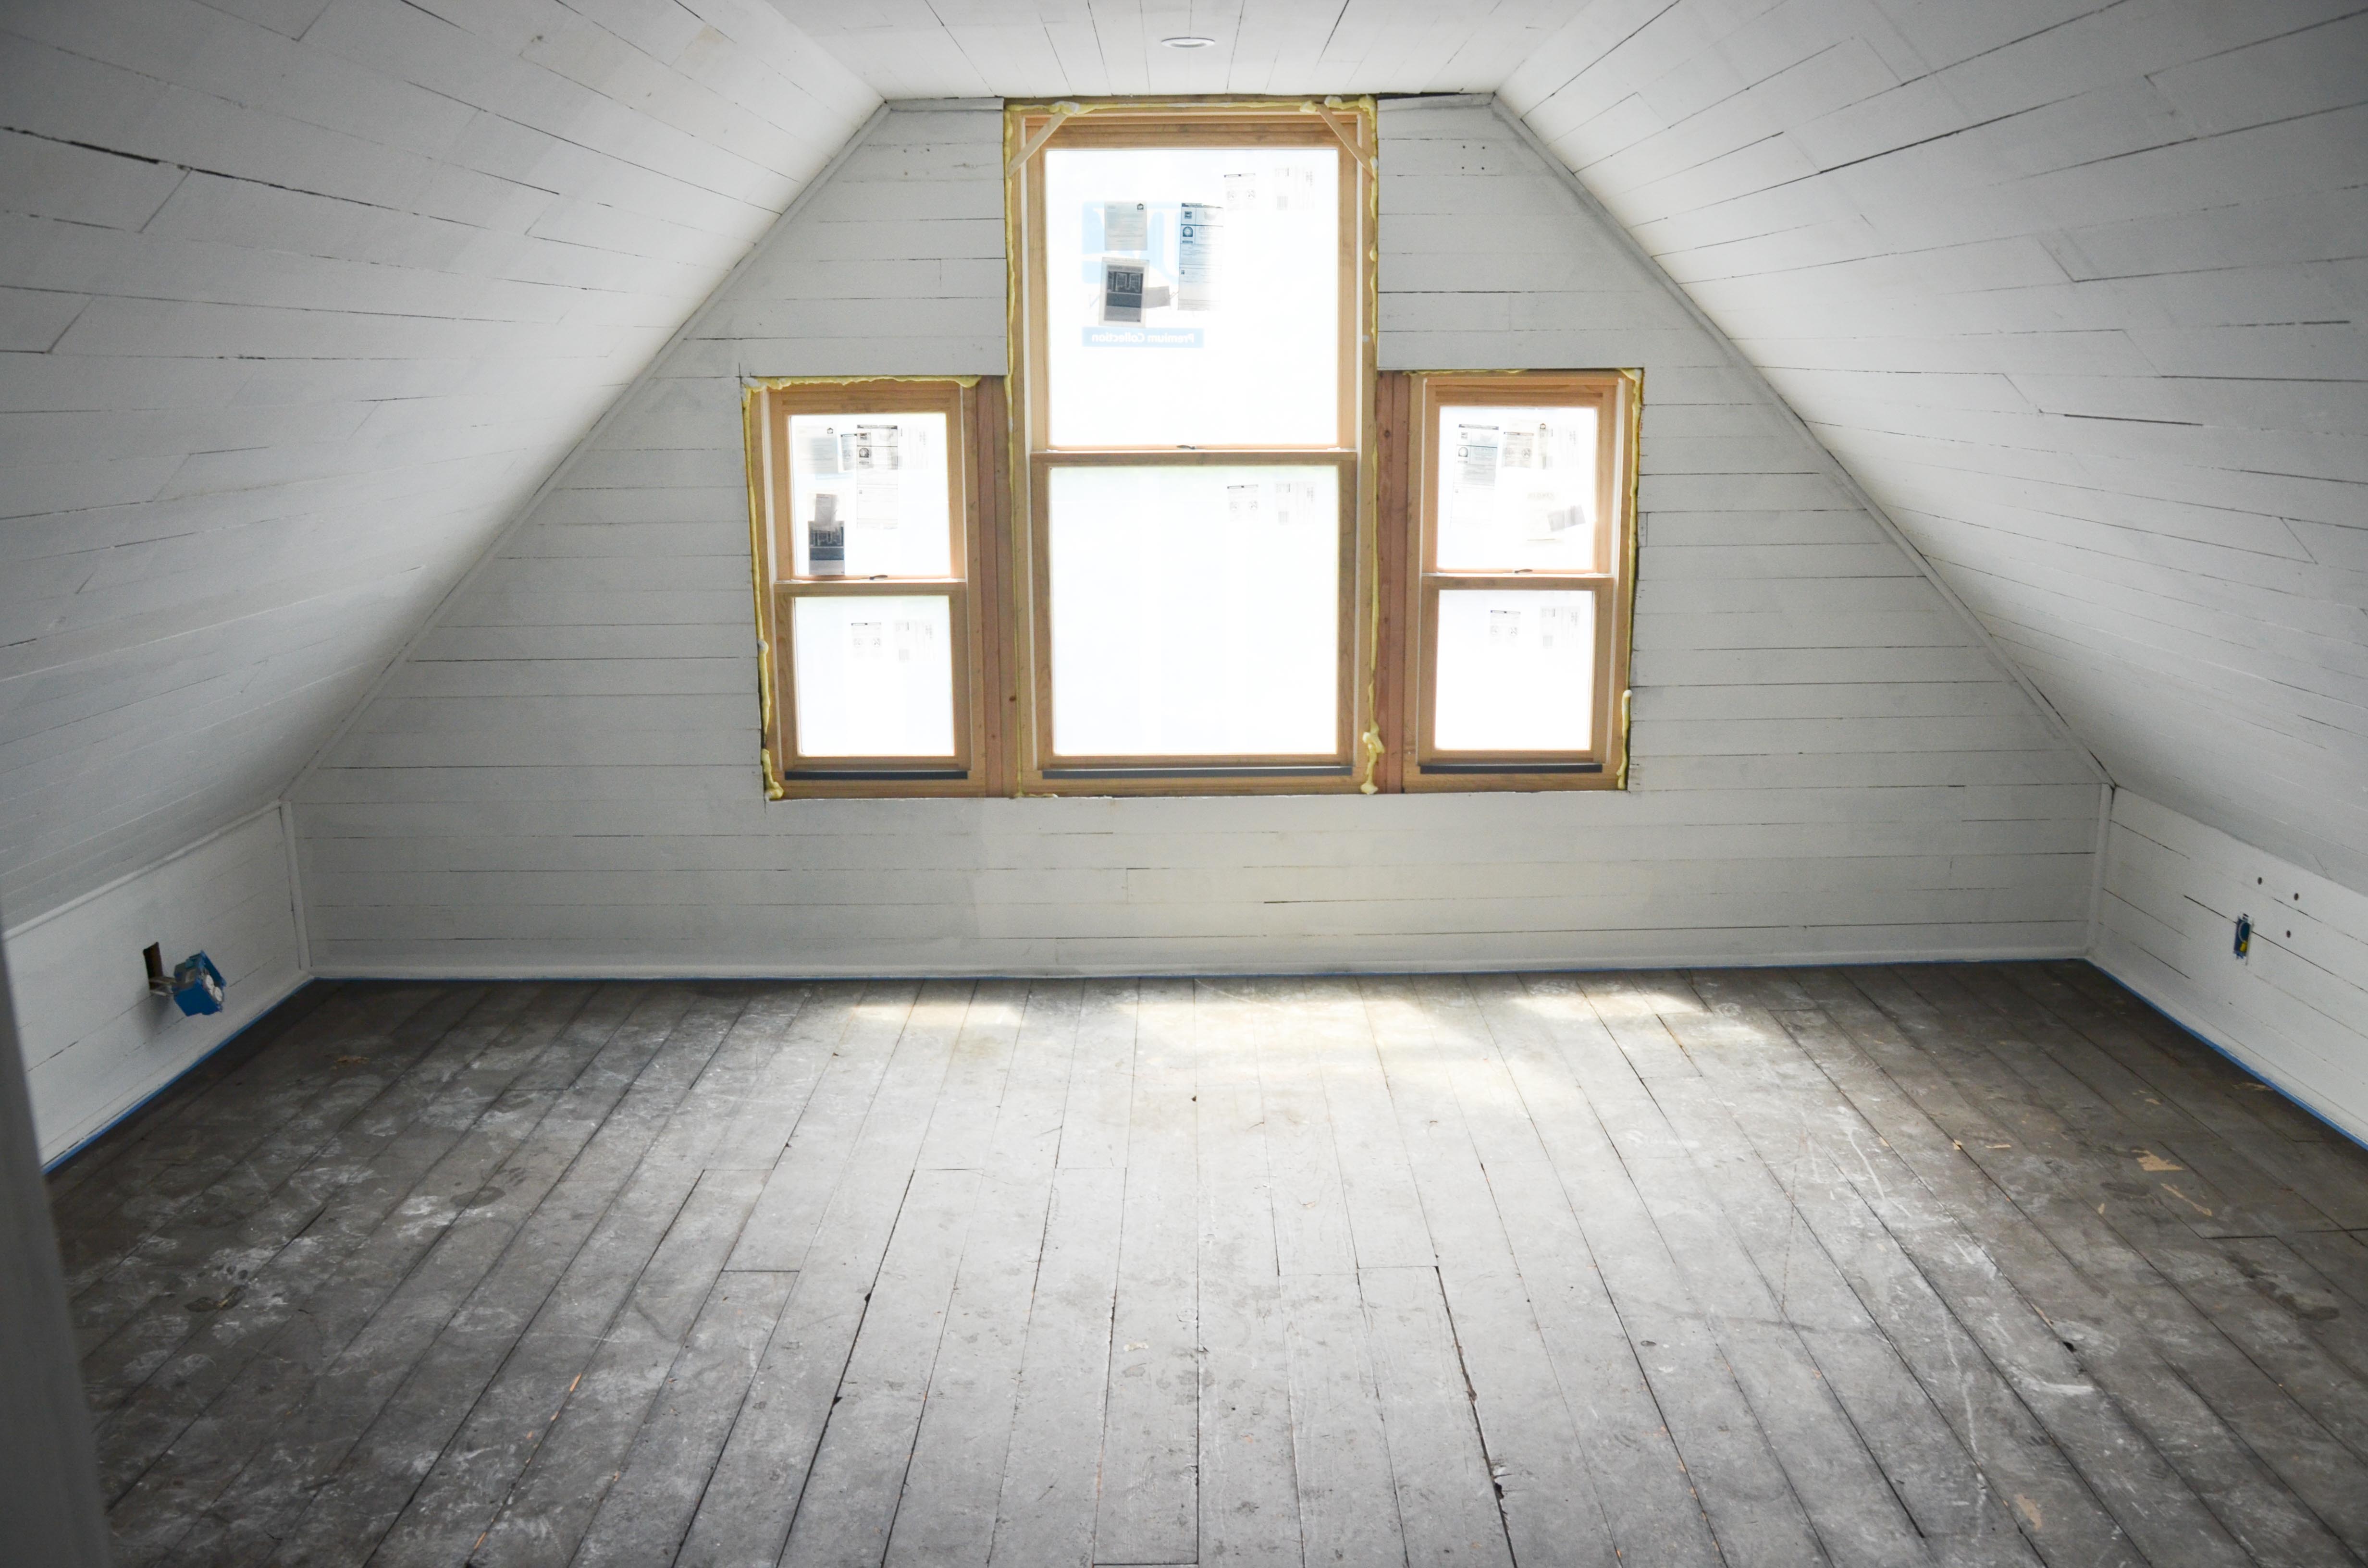
It was dark, scary, and we weren’t really sure what might be lurking in the corners. The most dominating feature of the room was this gigantic fan that was used to pull hot air out of the house. Lucy’s room remained in this condition for many months as we worked on much more pressing areas of the house. When we did finally have time to turn our attention to this room one of first jobs involved removing this fan and all the siding on the front gable.

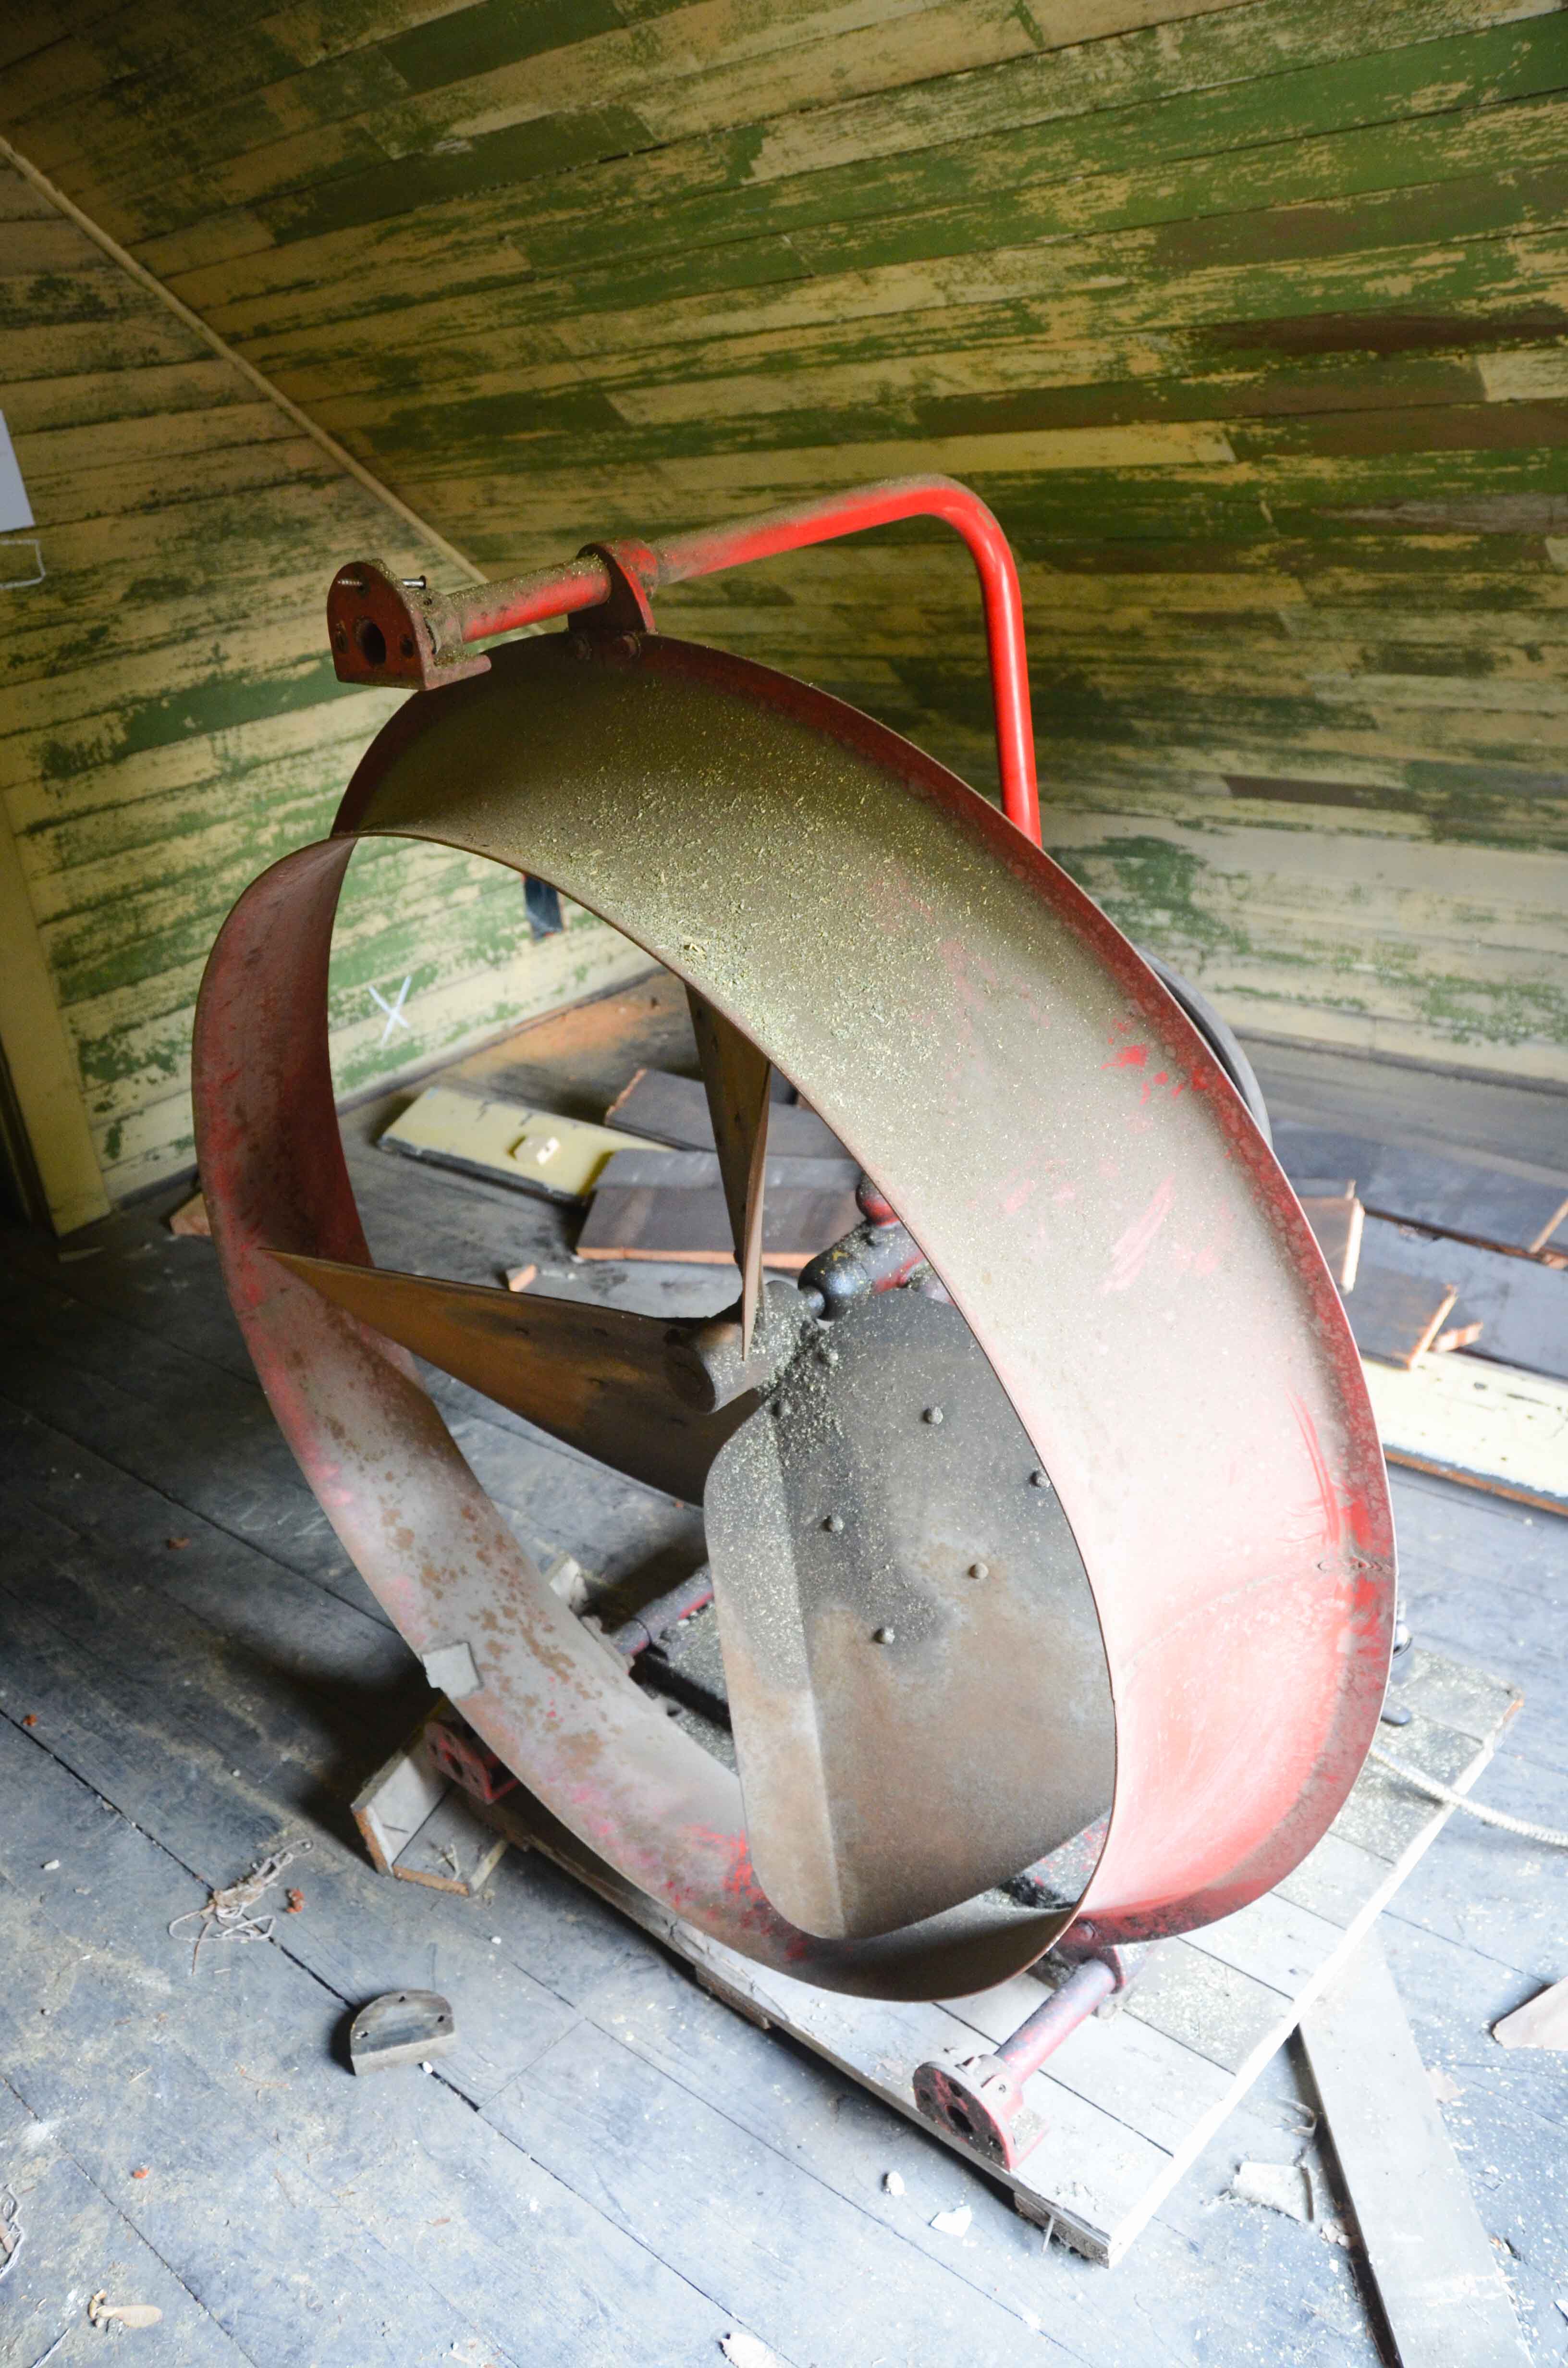
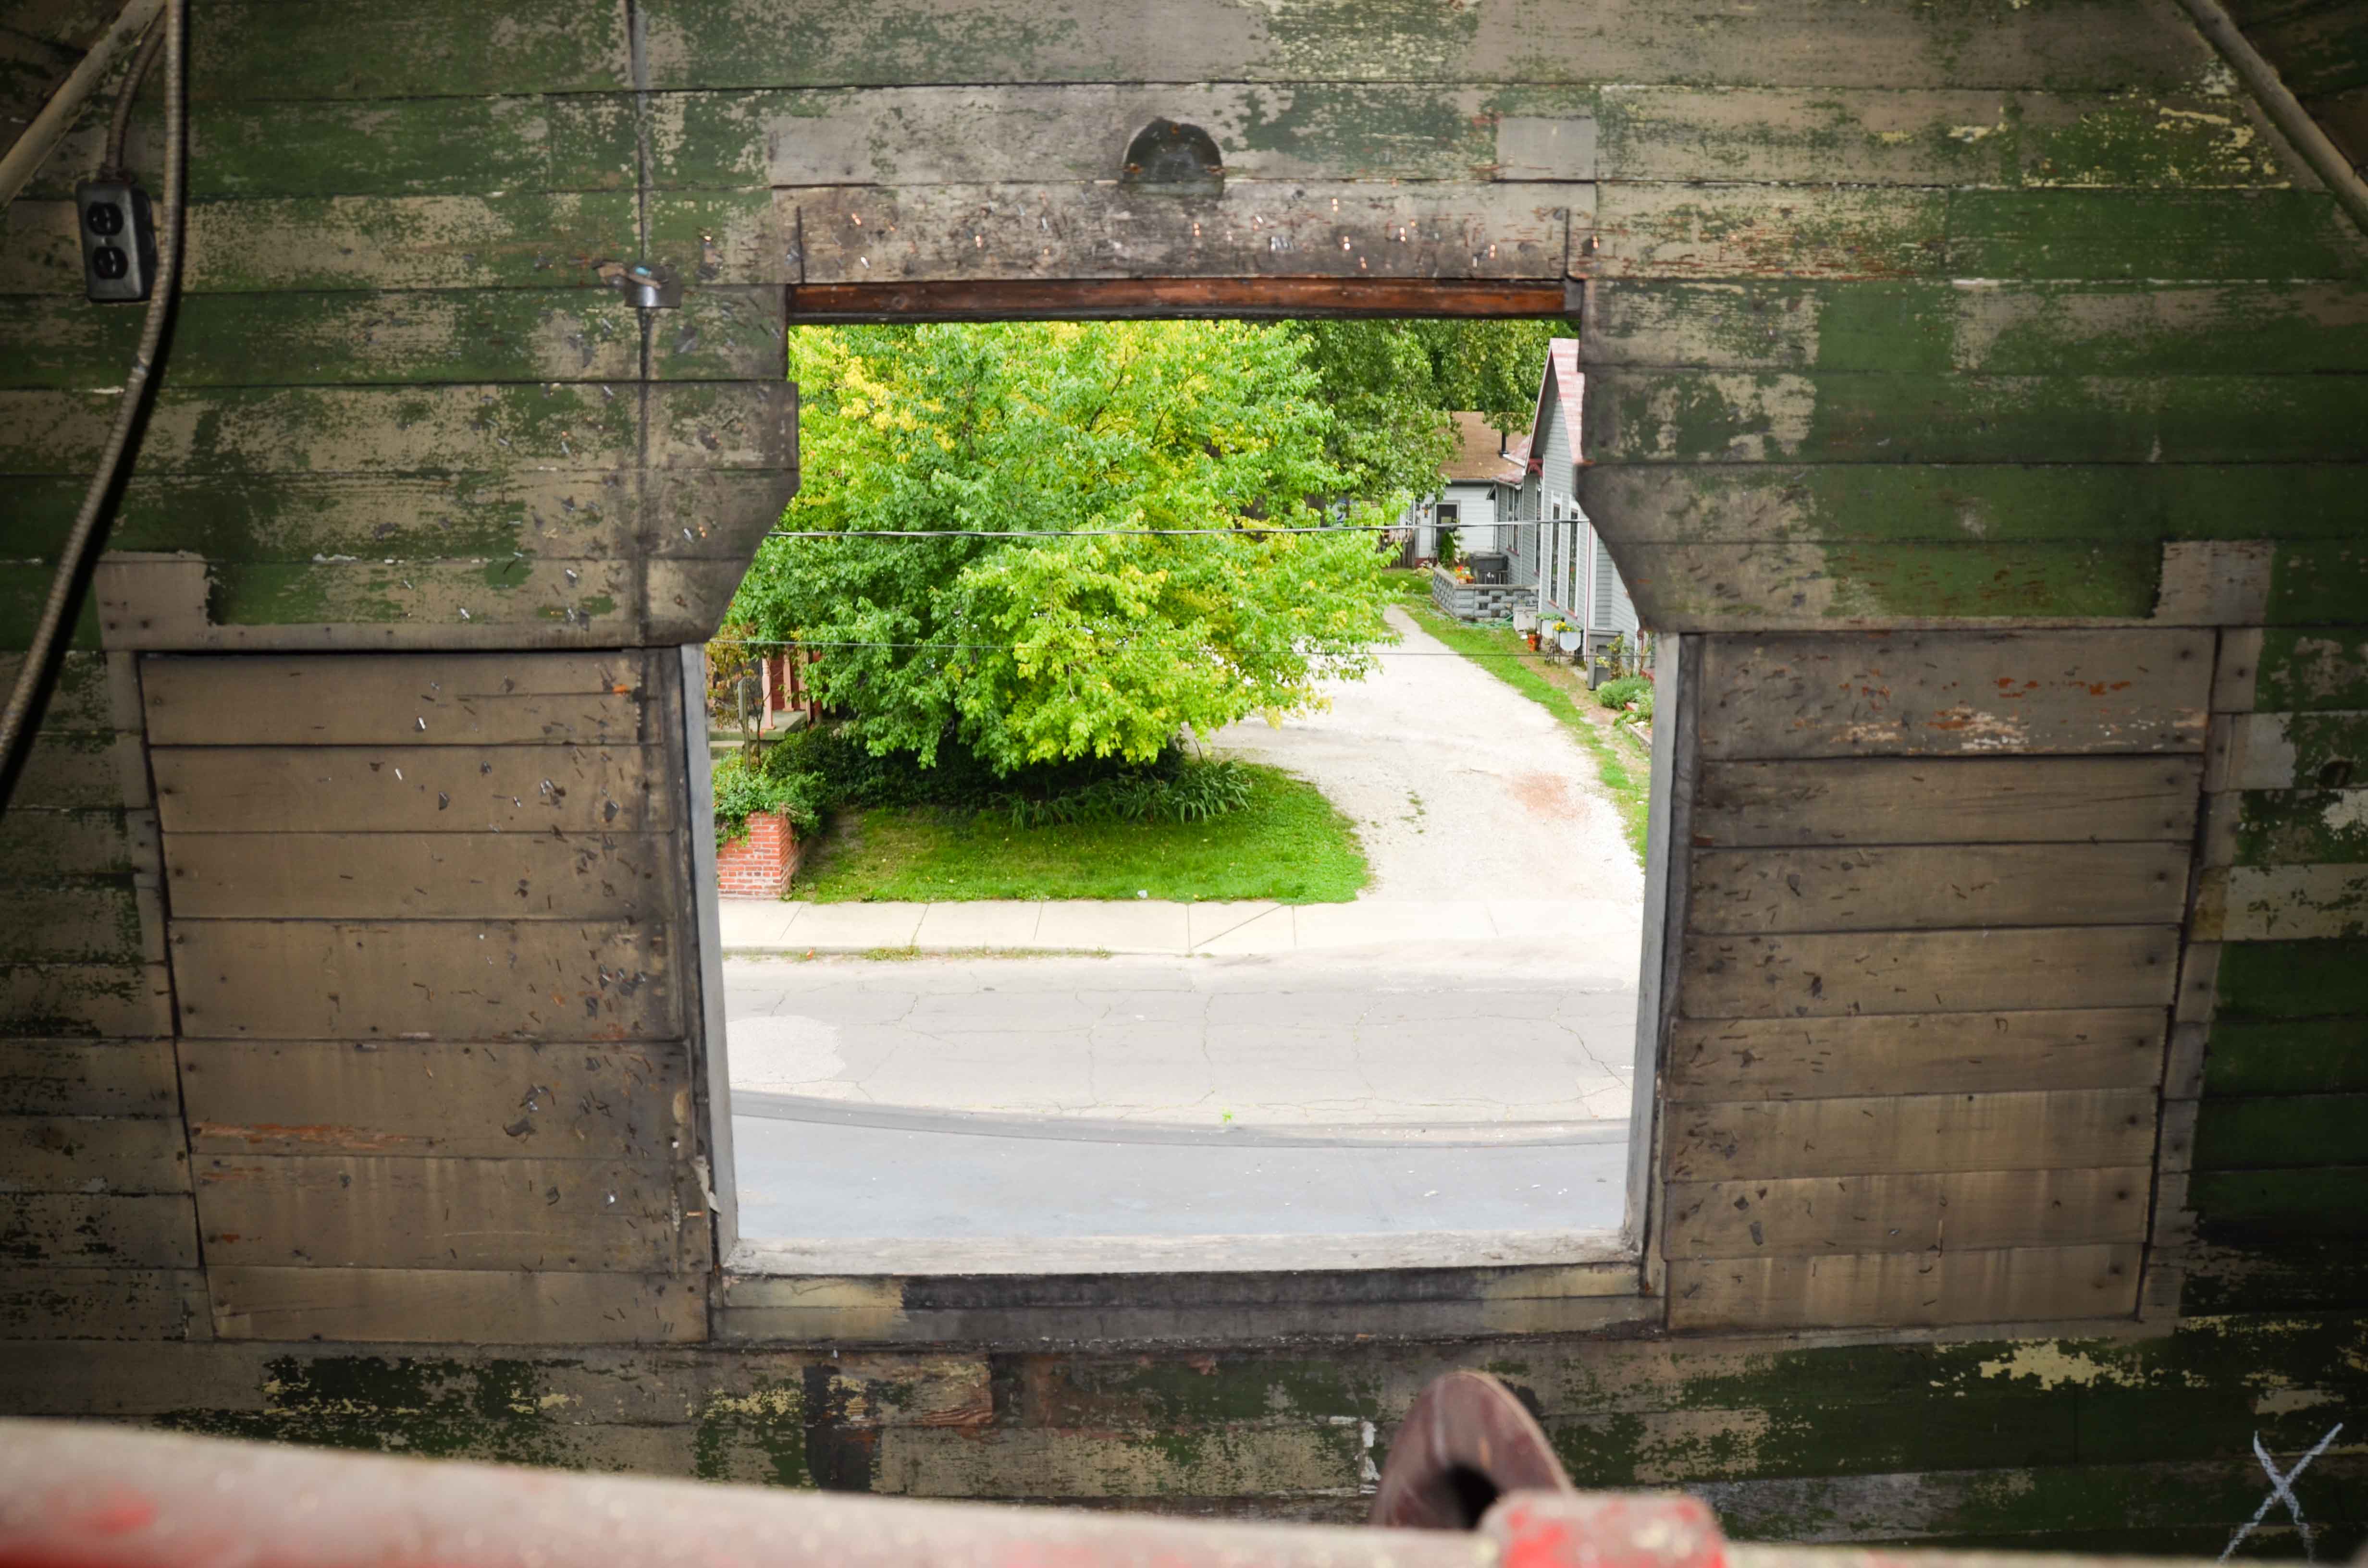
You can tell from the picture above that there were originally 3 small windows in this room. We applied for approval from the historic preservation committee to enlarge these windows to comply with egress requirements for a bedroom. Our request was approved and the new windows were ordered. For weeks, after ripping out the red fan, Lucy would not stop telling complete strangers “my room is broken.” We got a lot of weird looks.

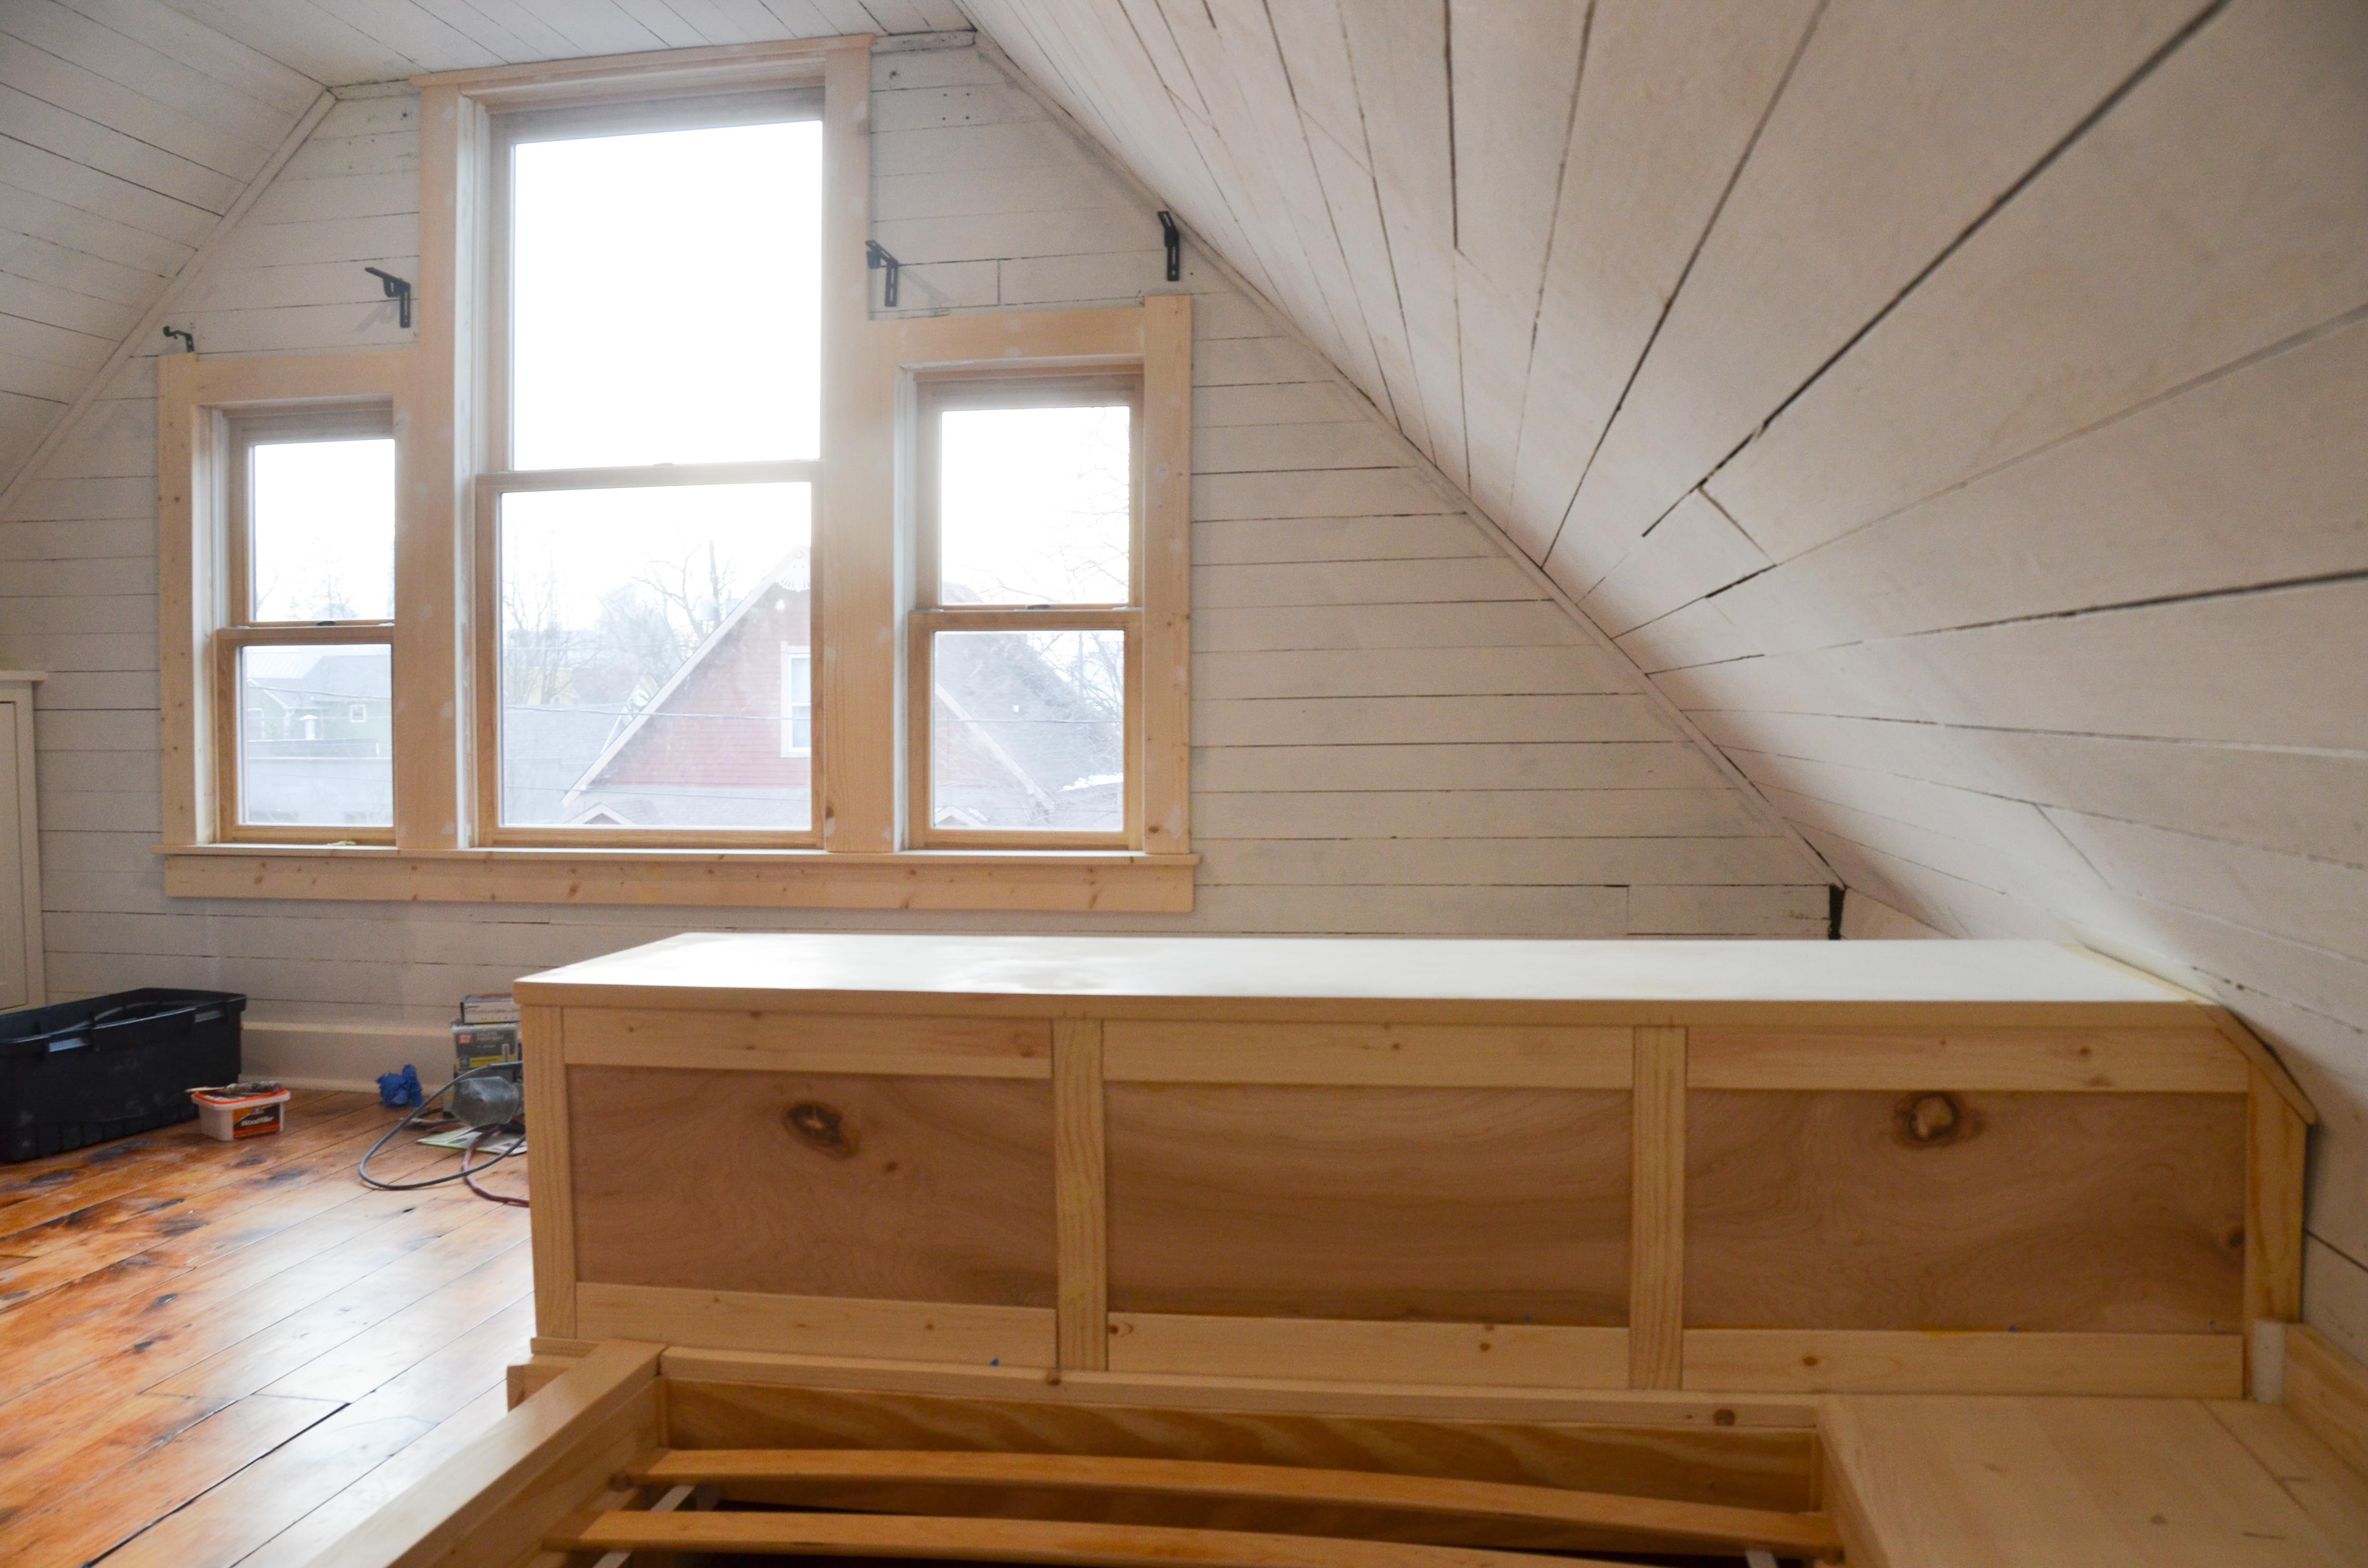
As you would expect, these windows had a profound effect on the aesthetic of the room and Lucy was happy.

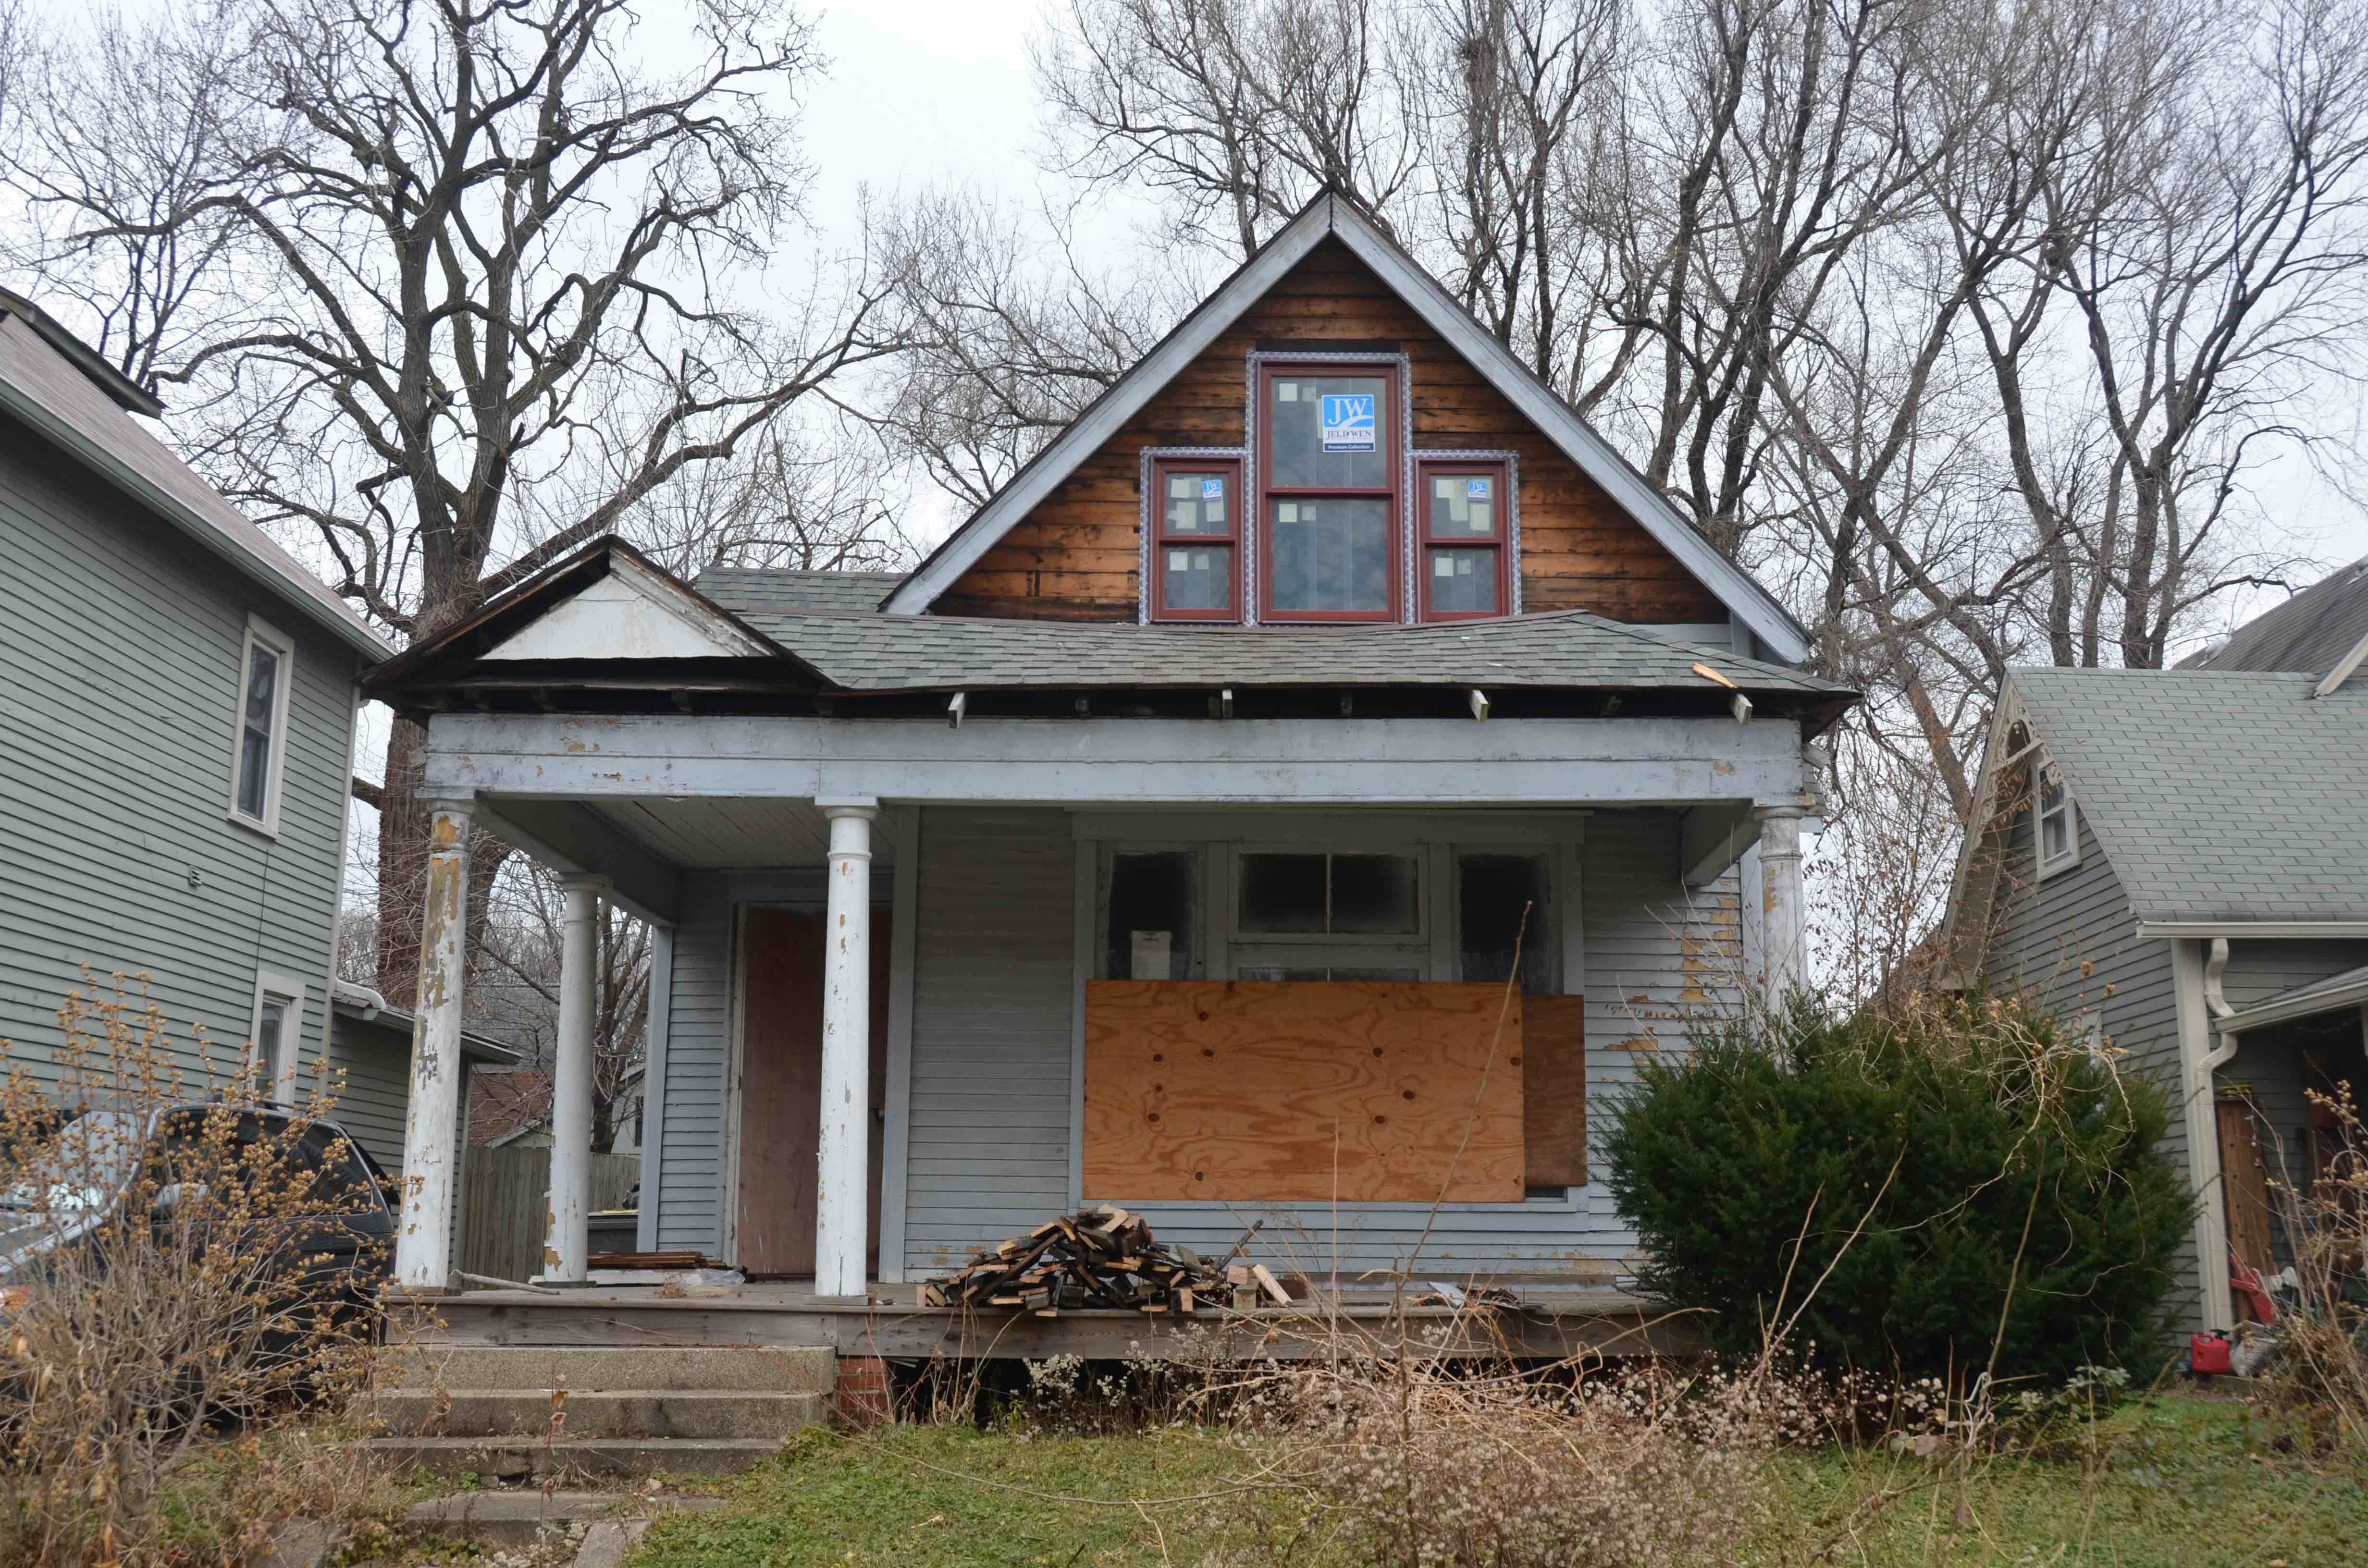
The new windows and removal of the added siding also had a sizeable effect on the exterior of the house. Here is the before:

And here is the after:
The house needed all new electrical. In the process Lucy’s room got 4 new outlets and 3 recessed LED lights.

We scraped the walls and then added a coat of primer.
The floors were sanded…

…and finished with three coats of poly. It’s worth noting that the floors in this room are my favorite in the whole house. The wood is the same throughout the house, but there is just something about these that standout. Maybe it’s the one spot where a little piece of mushy banana became encapsulated in polyurethane….forever.

This was the state of this room when we finally moved into the house and it remained like this for several more months.
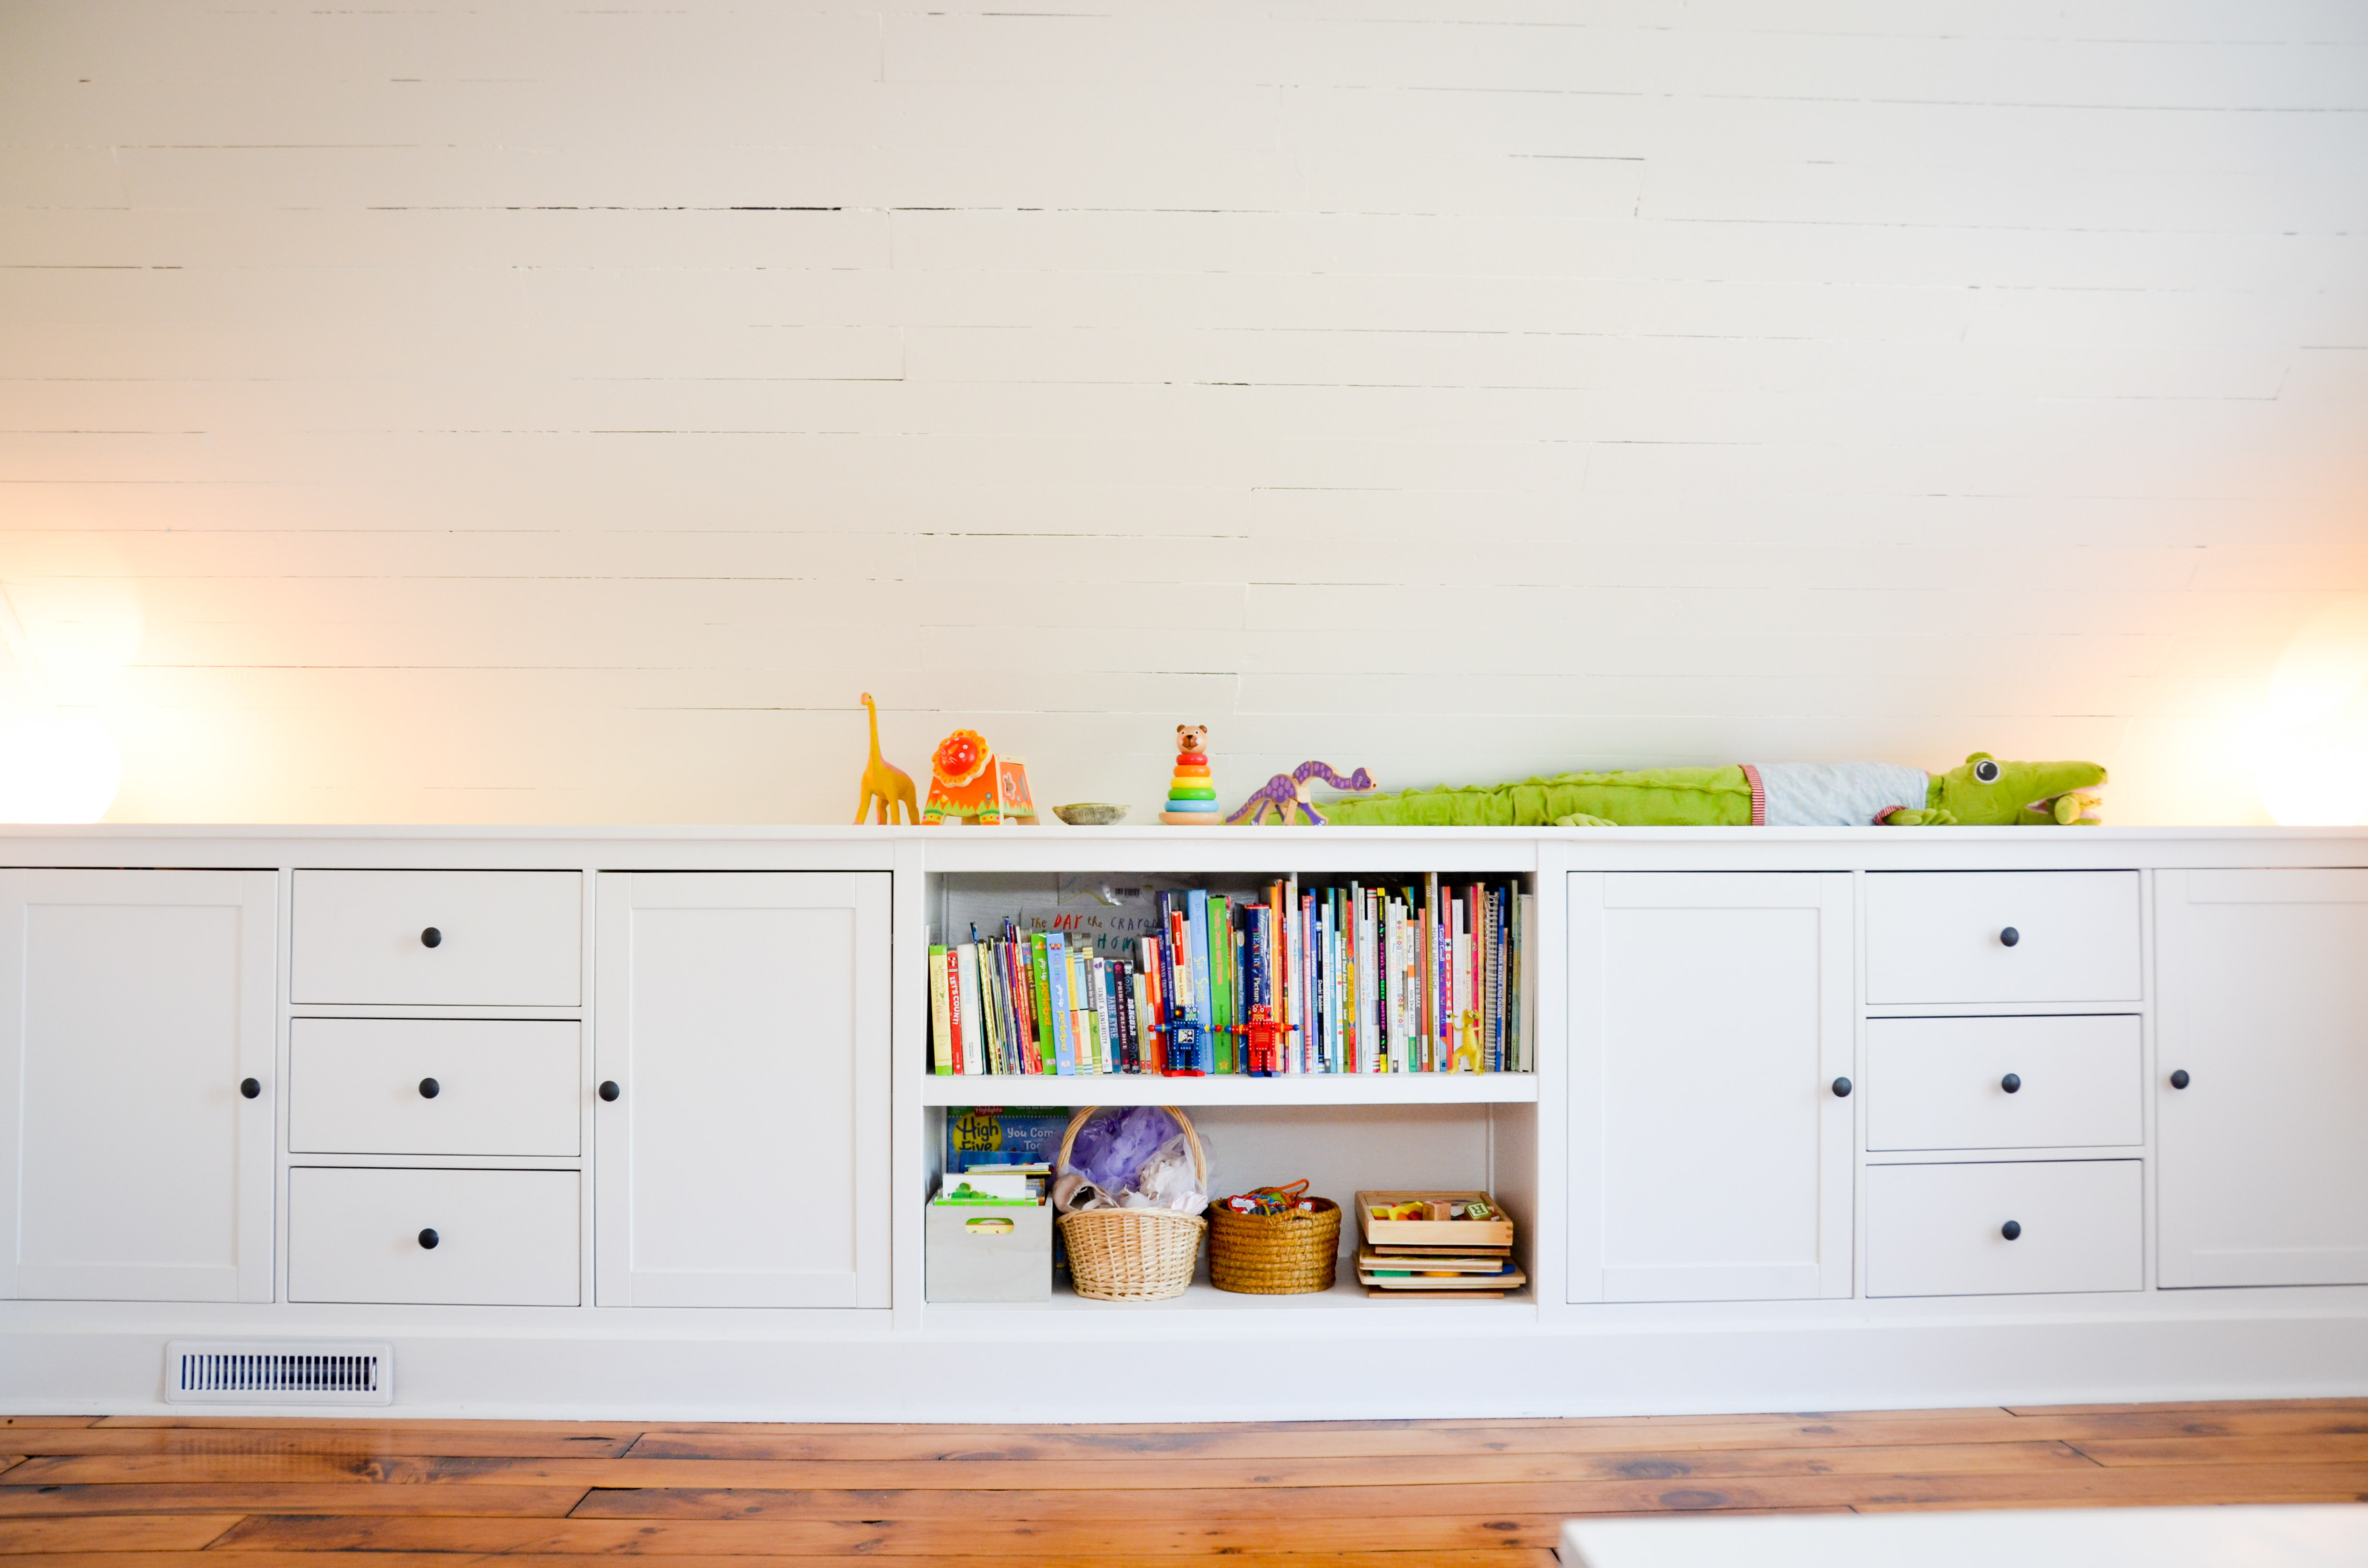
Winter break finally allowed time to do some fun, creative projects to make this room a little more functional. I used IKEA furniture to create built-in dressers for clothes and toy storage. The furniture is solid wood, so I was able to sand them and eventually paint them to match the trim and complete the built-in look. The dressers were augmented slightly to fit flush with the ceiling and walls. I also added a shelving unit in between and then finished it all with trim.

I then added trim to the three new windows.

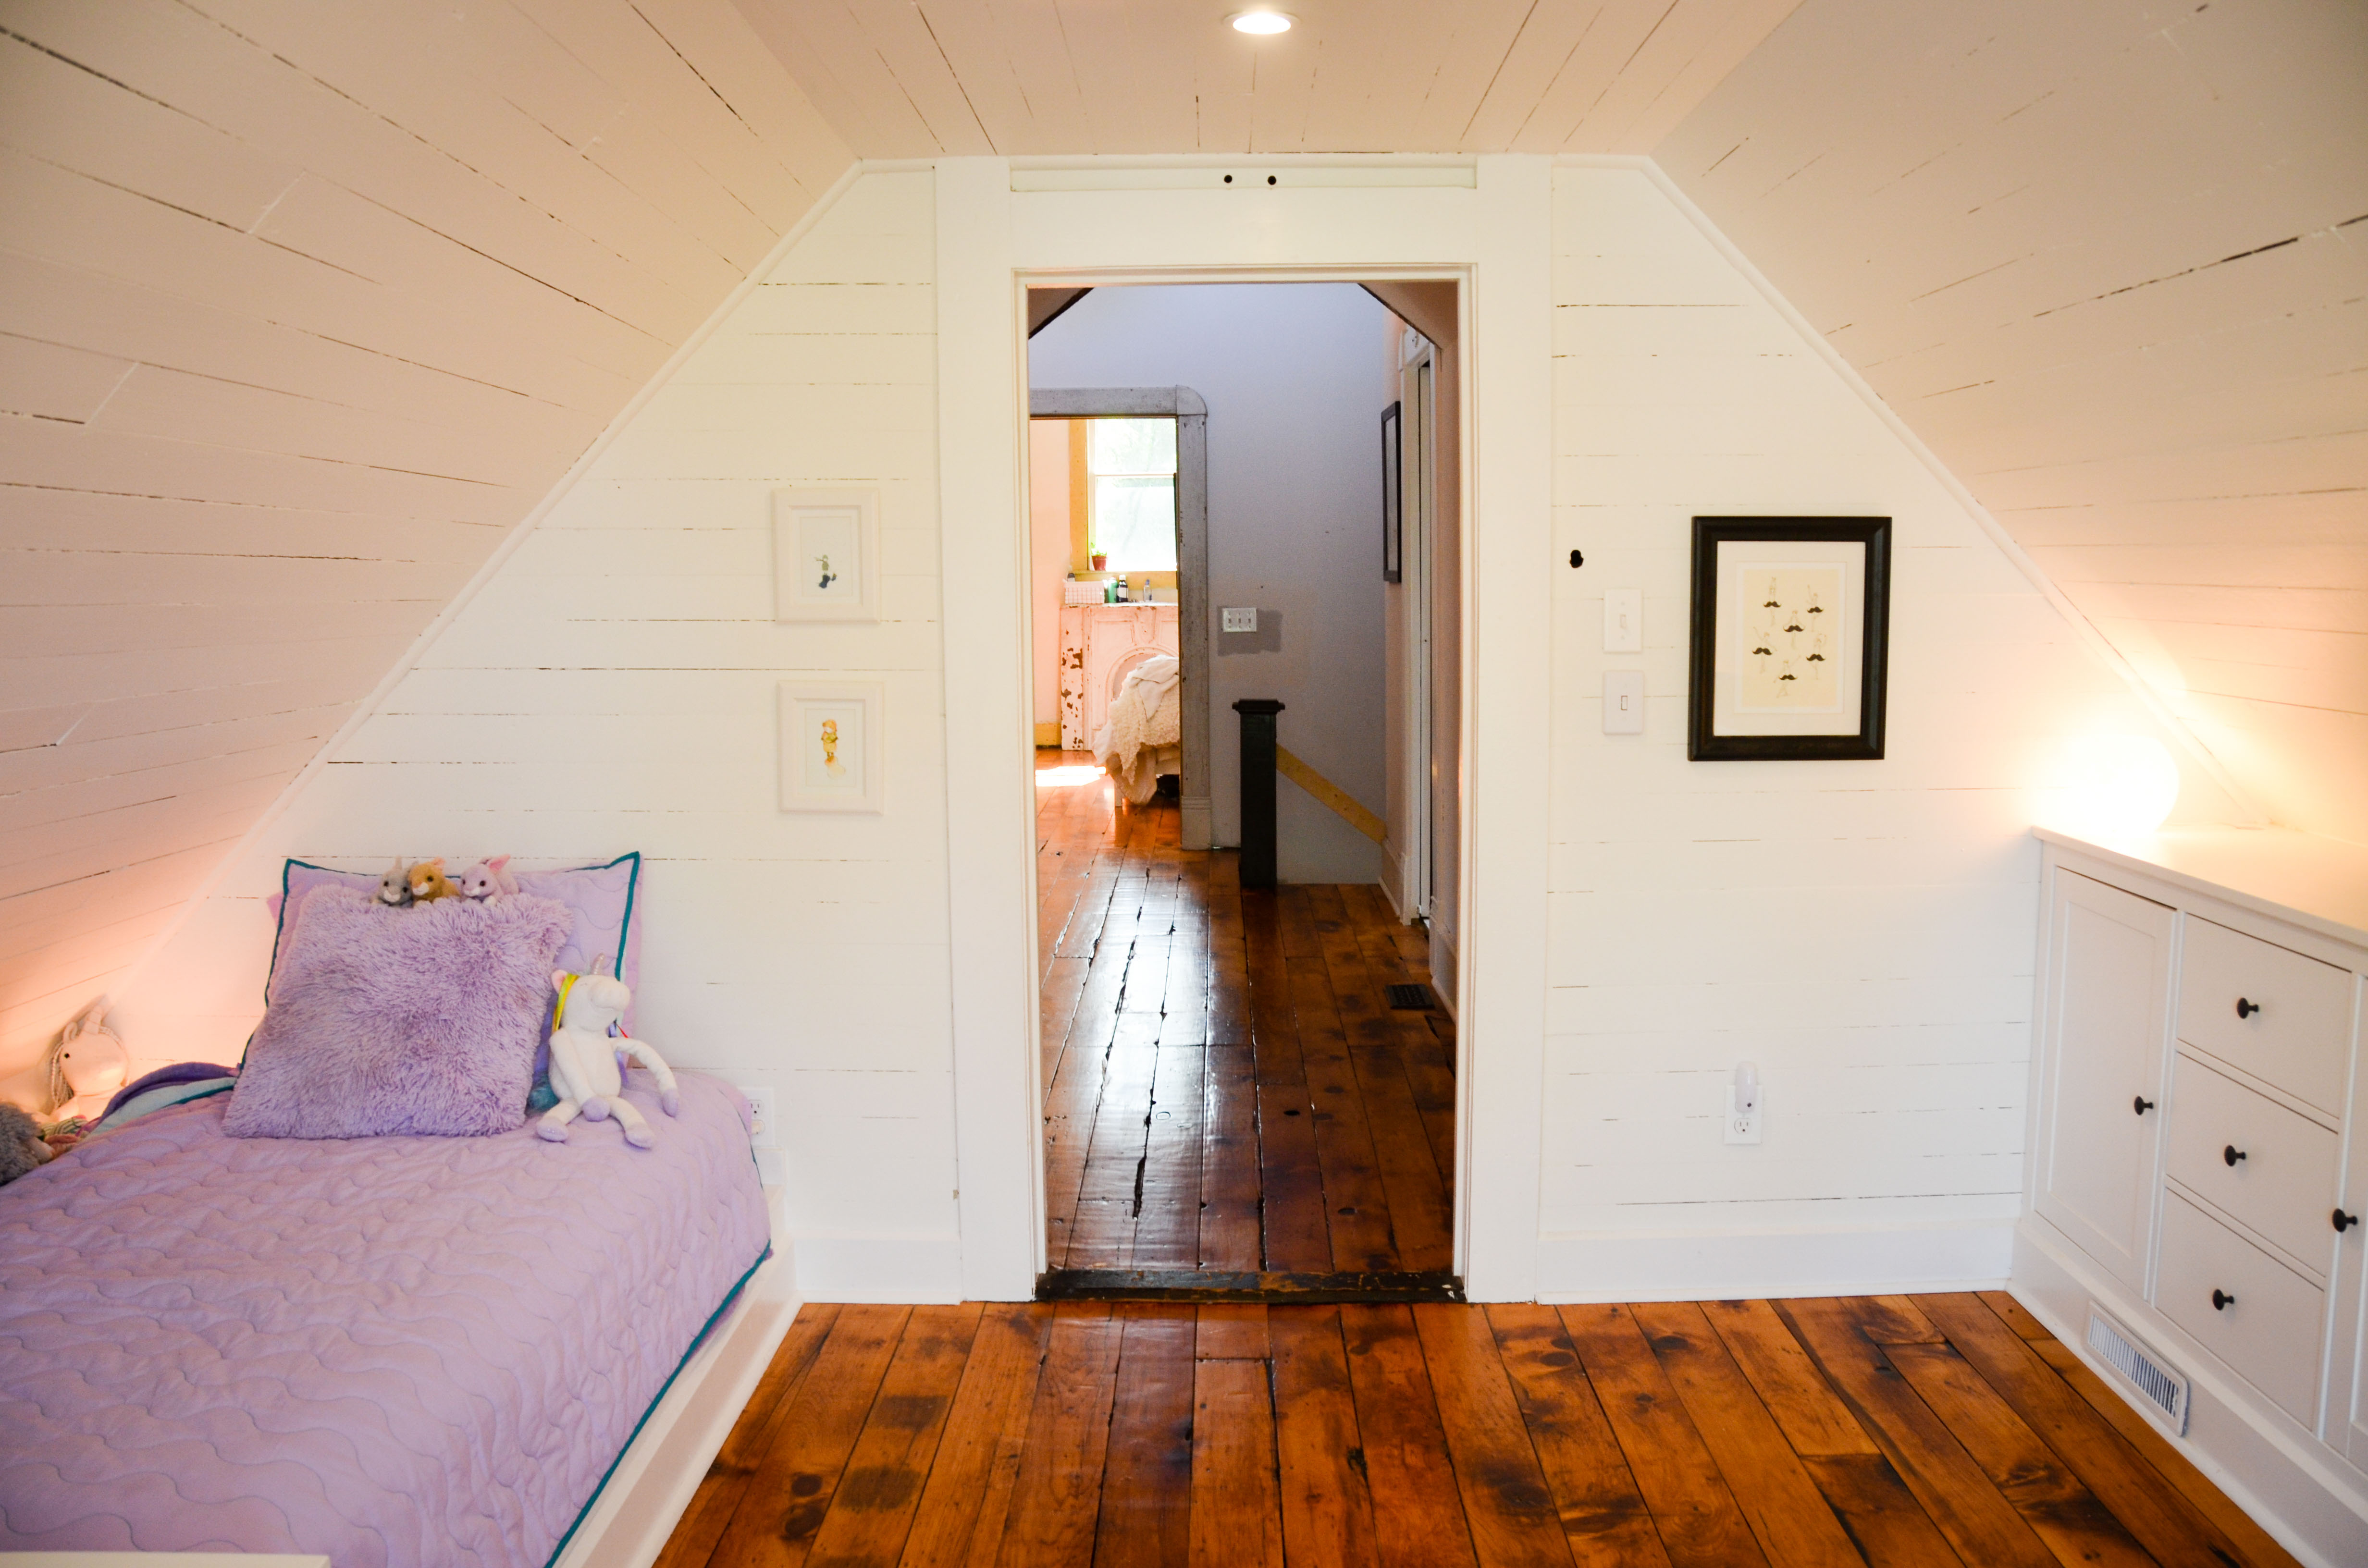
I also used a very simple frame and IKEA shelving unit as a jumping off point to create a built-in bed for Lucy and created baseboards for the entire room.

Several coats of paint later we were ready to sew some curtains, hang some art and decorate with toddler toys and books.
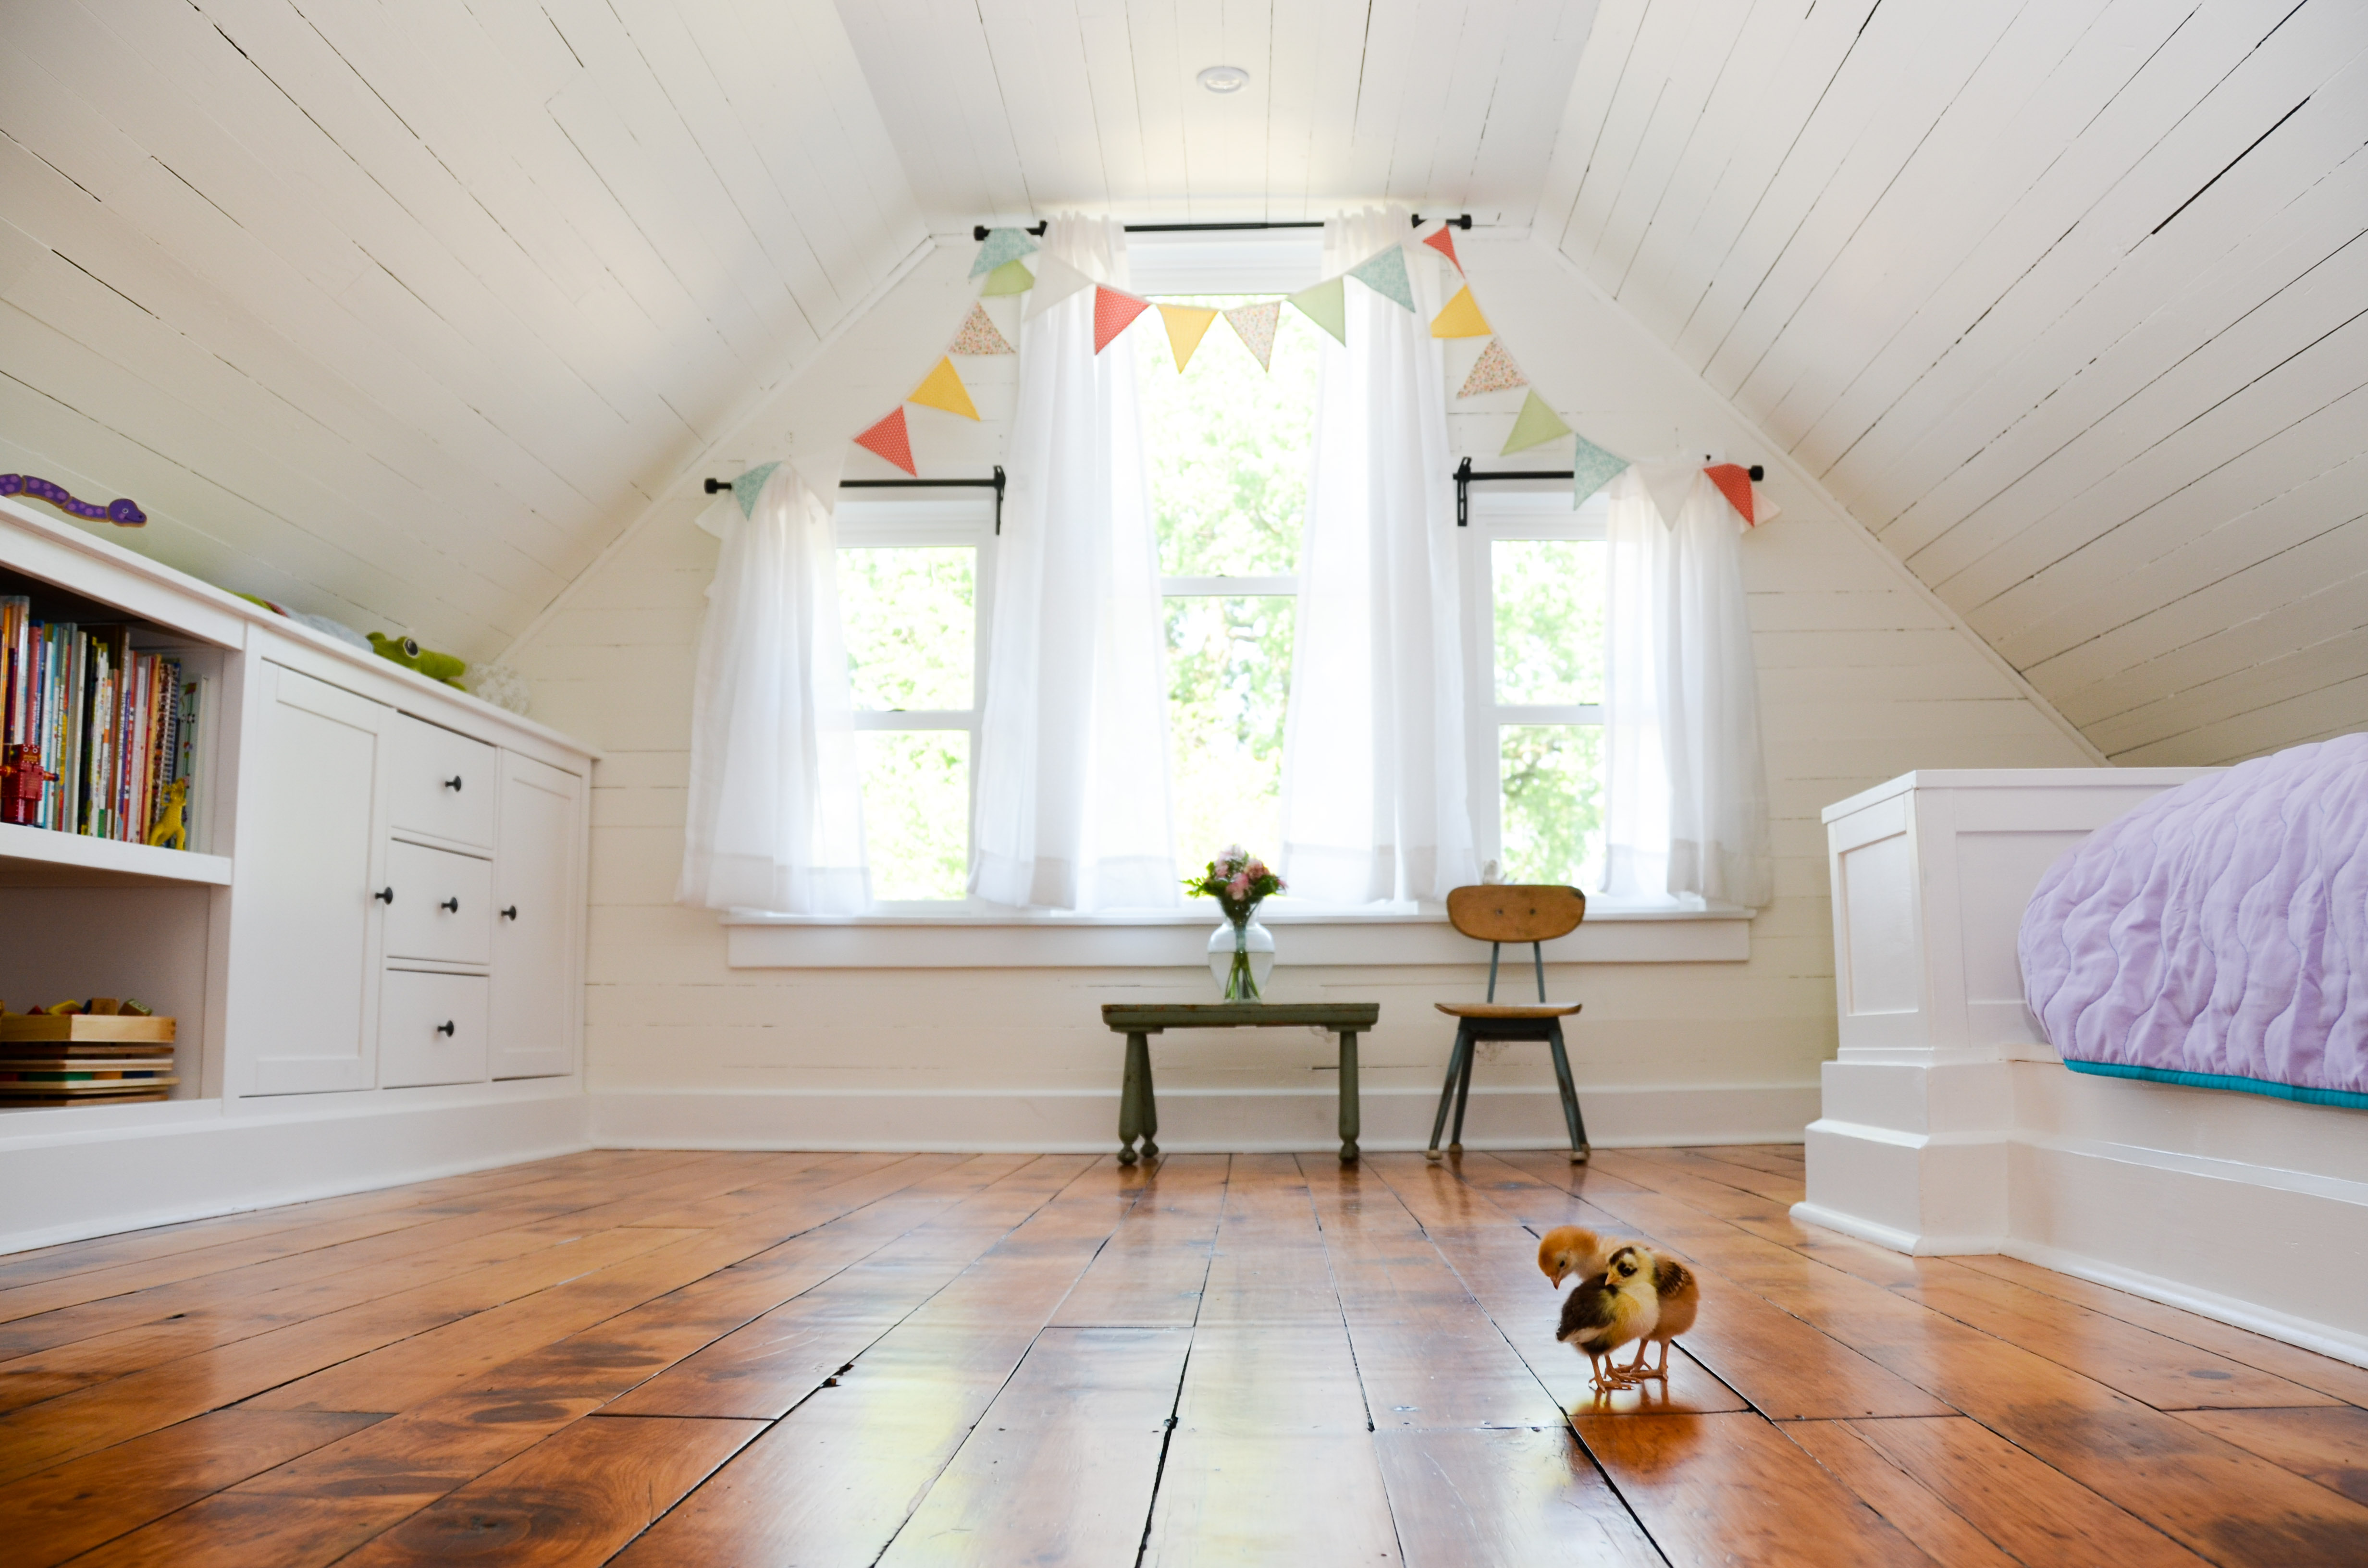
Lucy’s room has turned out to be one of our very favorite places in the house. She has a great view of the skyline (in the fall, winter, and spring) and also has amazing light as the sun sets every evening. There are still a few more finishing touches we will add – like maybe a small rug in the middle of the room and a few more simple decorations, but overall we couldn’t be more happy with how it turned out. Now for the big reveal!


Oh… We have been raising a few baby chicks the past couple weeks. They currently reside in the clawfoot tub of the first floor bathroom, but we took them on a little field trip to explore Lucy’s room.

What’s cuter than baby chicks in a little girl’s room?!

I came accross your reno blog through Doug & Amy Heavilin’s (and binge-read it in a few days) and wow, you did an amazing job! the kids rooms are awesome, the bed nooks and ikea-now-built-ins too. Congrats! I’m now hooked on what’s coming next! keep it up!
LikeLiked by 1 person
I once spent a good 3 hours going back through all of your posts and reading every word. You have undertaken a mighty task. I came back today because we’re designing a house and I wanted to steal your staircase idea, but here I am, reading everything I’ve missed since last time. How you do it with small children is so beyond me..you two are other-worldly in that respect. I don’t have the energy or the imagination. It’s all coming together so nicely!
LikeLike
Thank you! We appreciate the kind words. Renovating with kids is definitely a challenge. We certainly don’t want to sacrifice spending time with them, so we work to make sure we are smart with our time. It just means we don’t watch much TV or spend time doing things that aren’t meaningful in some way.
The hardest part is that we can’t just schedule time to work on a project and assume that will actually happen. Sometimes kids need a ride to a friend’s house or our little one might feel especially needy during that moment. We also just get used to constant interruptions. Usually, as long as we maintain an easy-going attitude, it all works out okay. 🙂
Good luck with your house design!
LikeLike