For more than a year Amy and I were motivated by deadlines dictated by contractors, mother nature, school, vacation time, and the sale of our old house. But once we were able to move into our rehab house the deadlines suddenly disappeared. This is NOT to say that we haven’t been working our butts off to continue moving forward on the house, but there is nothing like a hard deadline to kick us into another gear. The deadline that had been looming in front of us was pretty terrifying – a neighborhood home tour! Yikes. Nothing like knowing hundreds of people will soon be paying money to walk through your house to raise the stress level just a little. Of course, everyone tried to make us feel better by saying, “Your house is in progress, everyone will understand if it’s not perfect.” There are two major flaws with this statement. Number one, Amy and I have worked very hard for two years to bring this house back to life and this home tour is the first time that many of our neighbors (and many hundred complete strangers) will have the opportunity to see it in person. We wanted it to look like we were doing justice to this beautiful old lady we now call home. Number two – We still hadn’t completely unpacked from moving 8 months ago! People would probably be understanding of walls that aren’t painted yet or trim that isn’t completed, but they don’t expect to be walking around boxes on the floor.
In the end, we were able to wrap up several big projects, finish unpacking (or relocating to the basement, loft, or garage), and clean up the place. We got lots of positive feedback from everyone and now have the pleasure of living in a super clean house! The kids’ rooms were among people’s favorites, probably because they are the only rooms that are now complete! After our blog posts about the built-in cabinets and beds in the kids’ rooms we never really got around to wrapping them up with a full reveal. So… here is the final post about Aiden’s room.
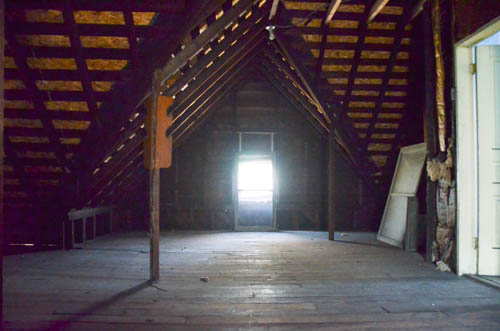
When we bought the house the second floor consisted of one very ugly finished room and about 500 sq. ft. of additional attic space. After considerable planning and thought, we decided to go whole hog and renovate the entire attic to include two more bedrooms and a bathroom. Here is what Aiden’s “room” looked like when we bought the house.
For a long while this part of the house remained mostly unchanged while we did demolition in the kitchen, bathroom, and playroom. Eventually we got around to having this room framed out. We knew the room was going to be a little small, but we had ideas on how we could save floor space by using a unique place for the bed and utilizing the “unusable” floor space tucked up near under the knee-walls.

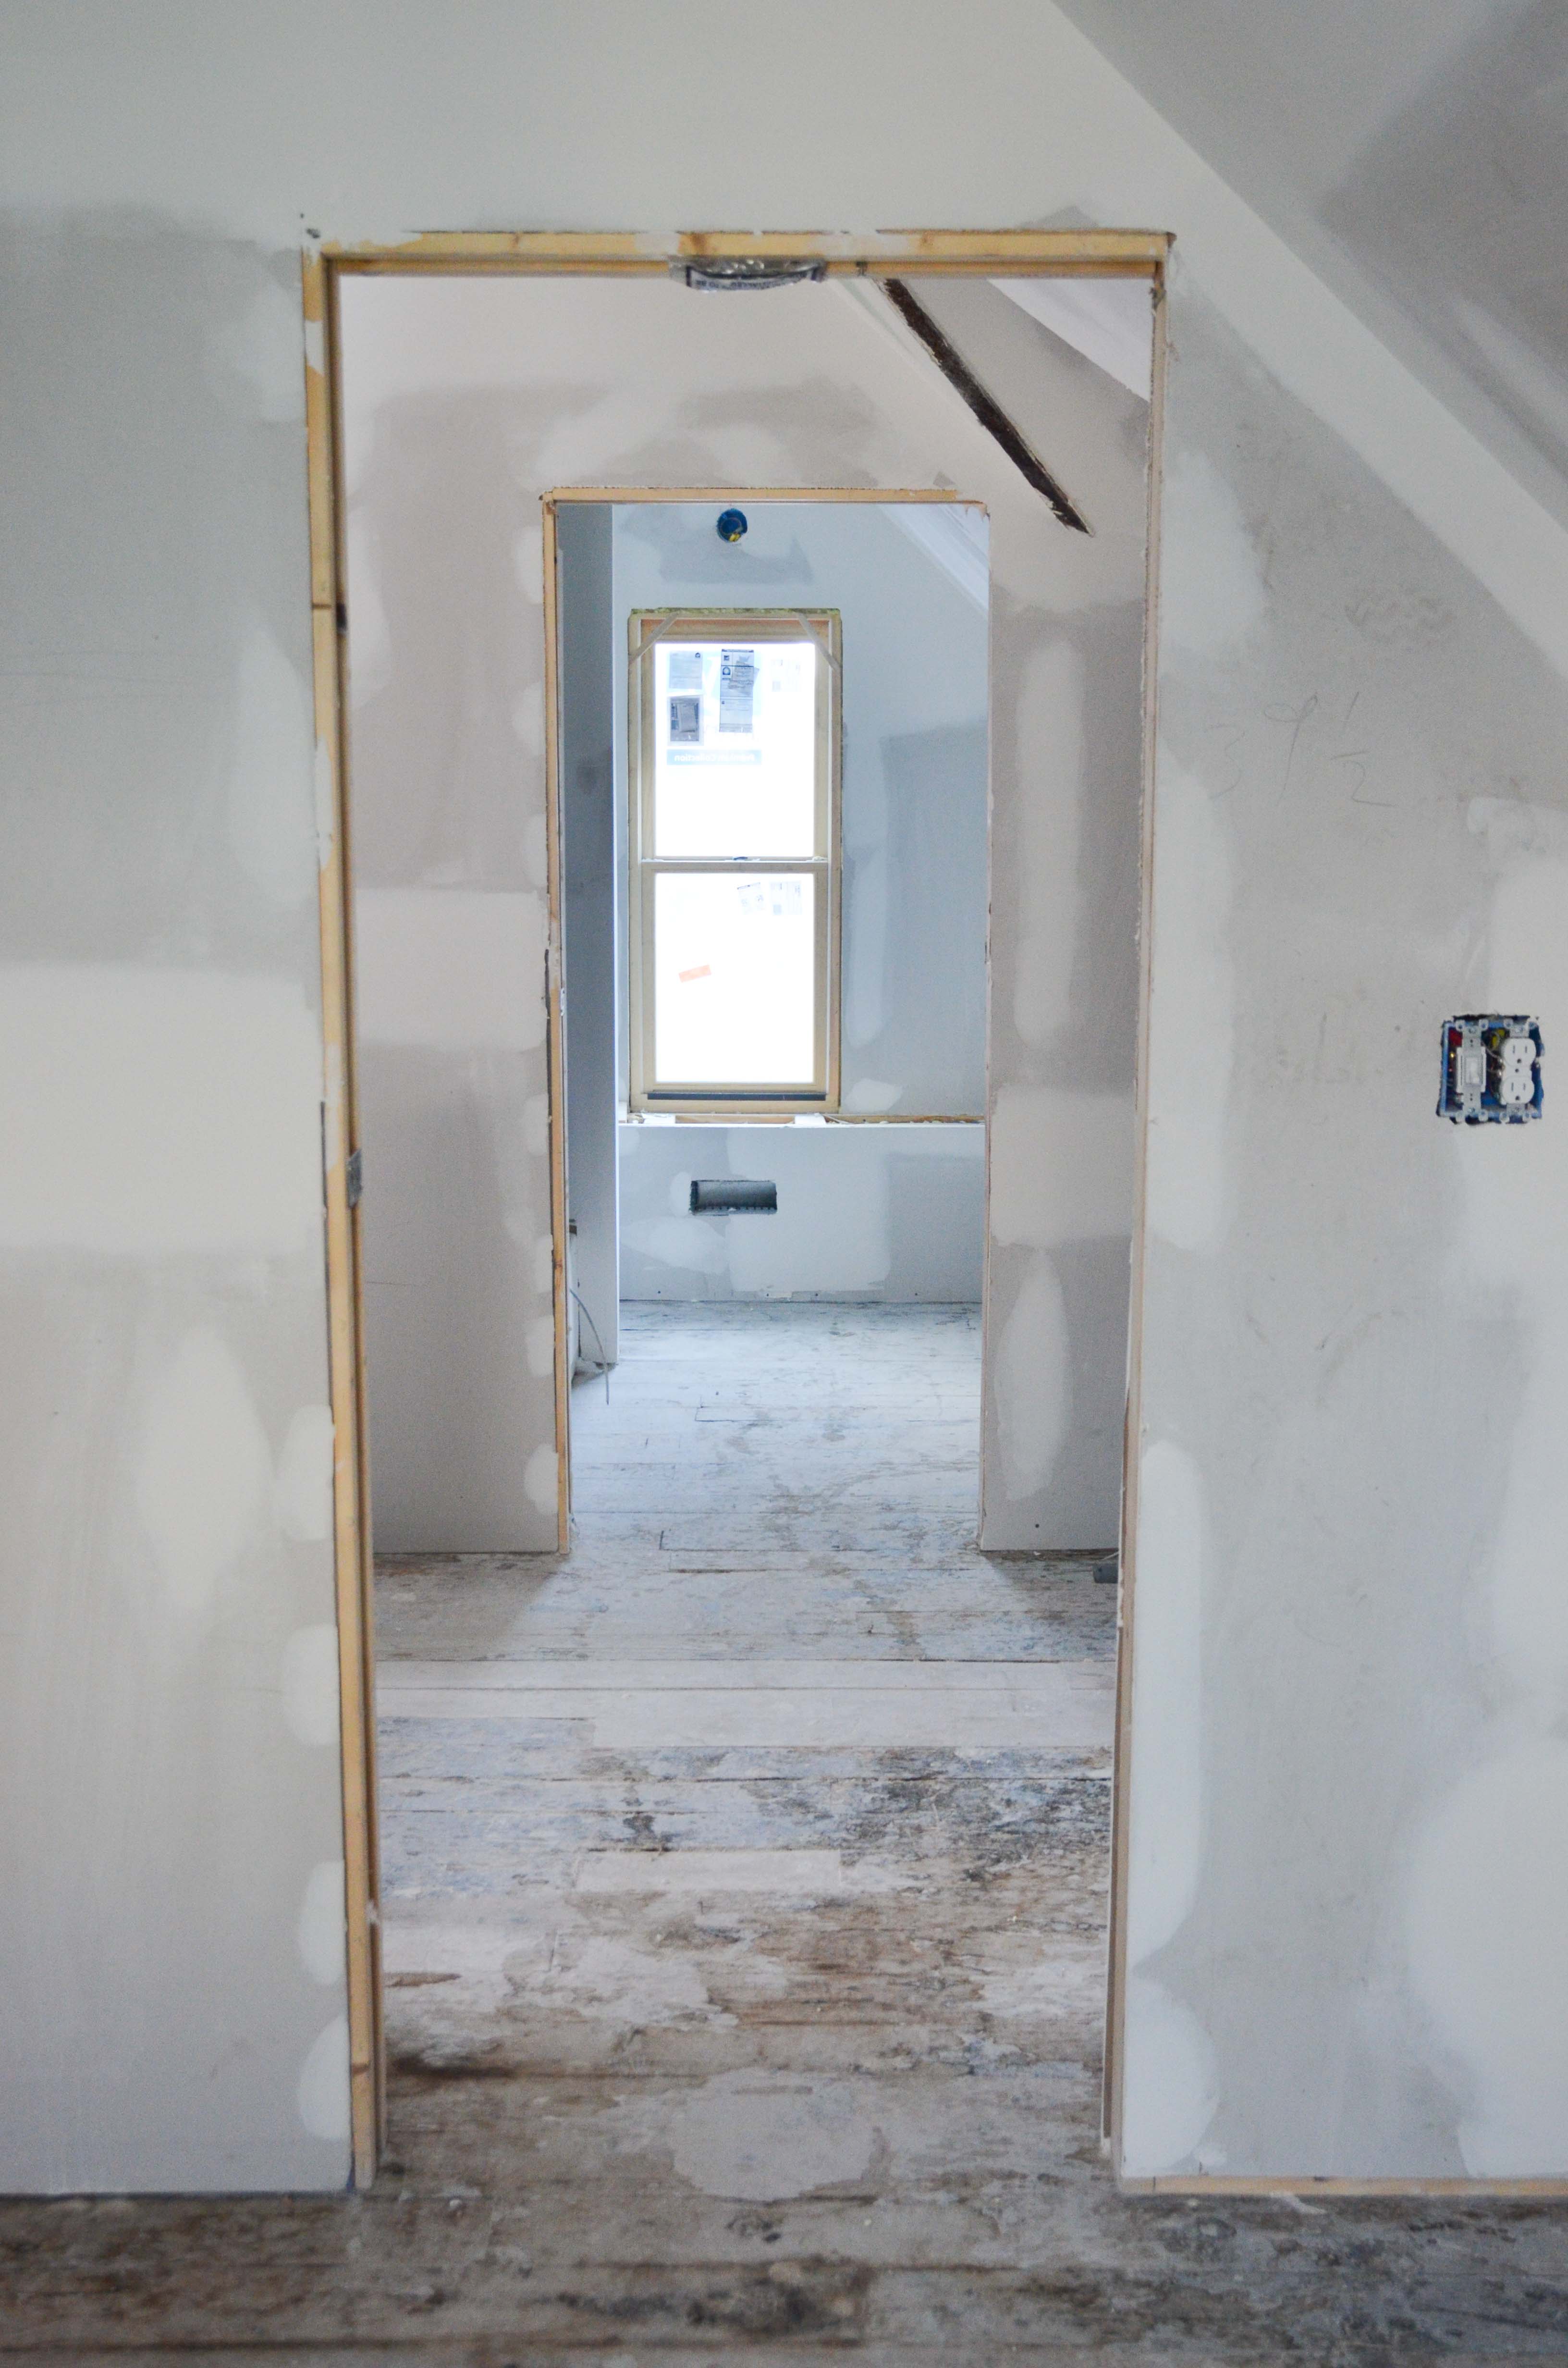
If you have been reading the blog for a while, you know that Amy and I tend to change our minds. So, true to form, we then decided that a pocket door made much more sense in such a small room.

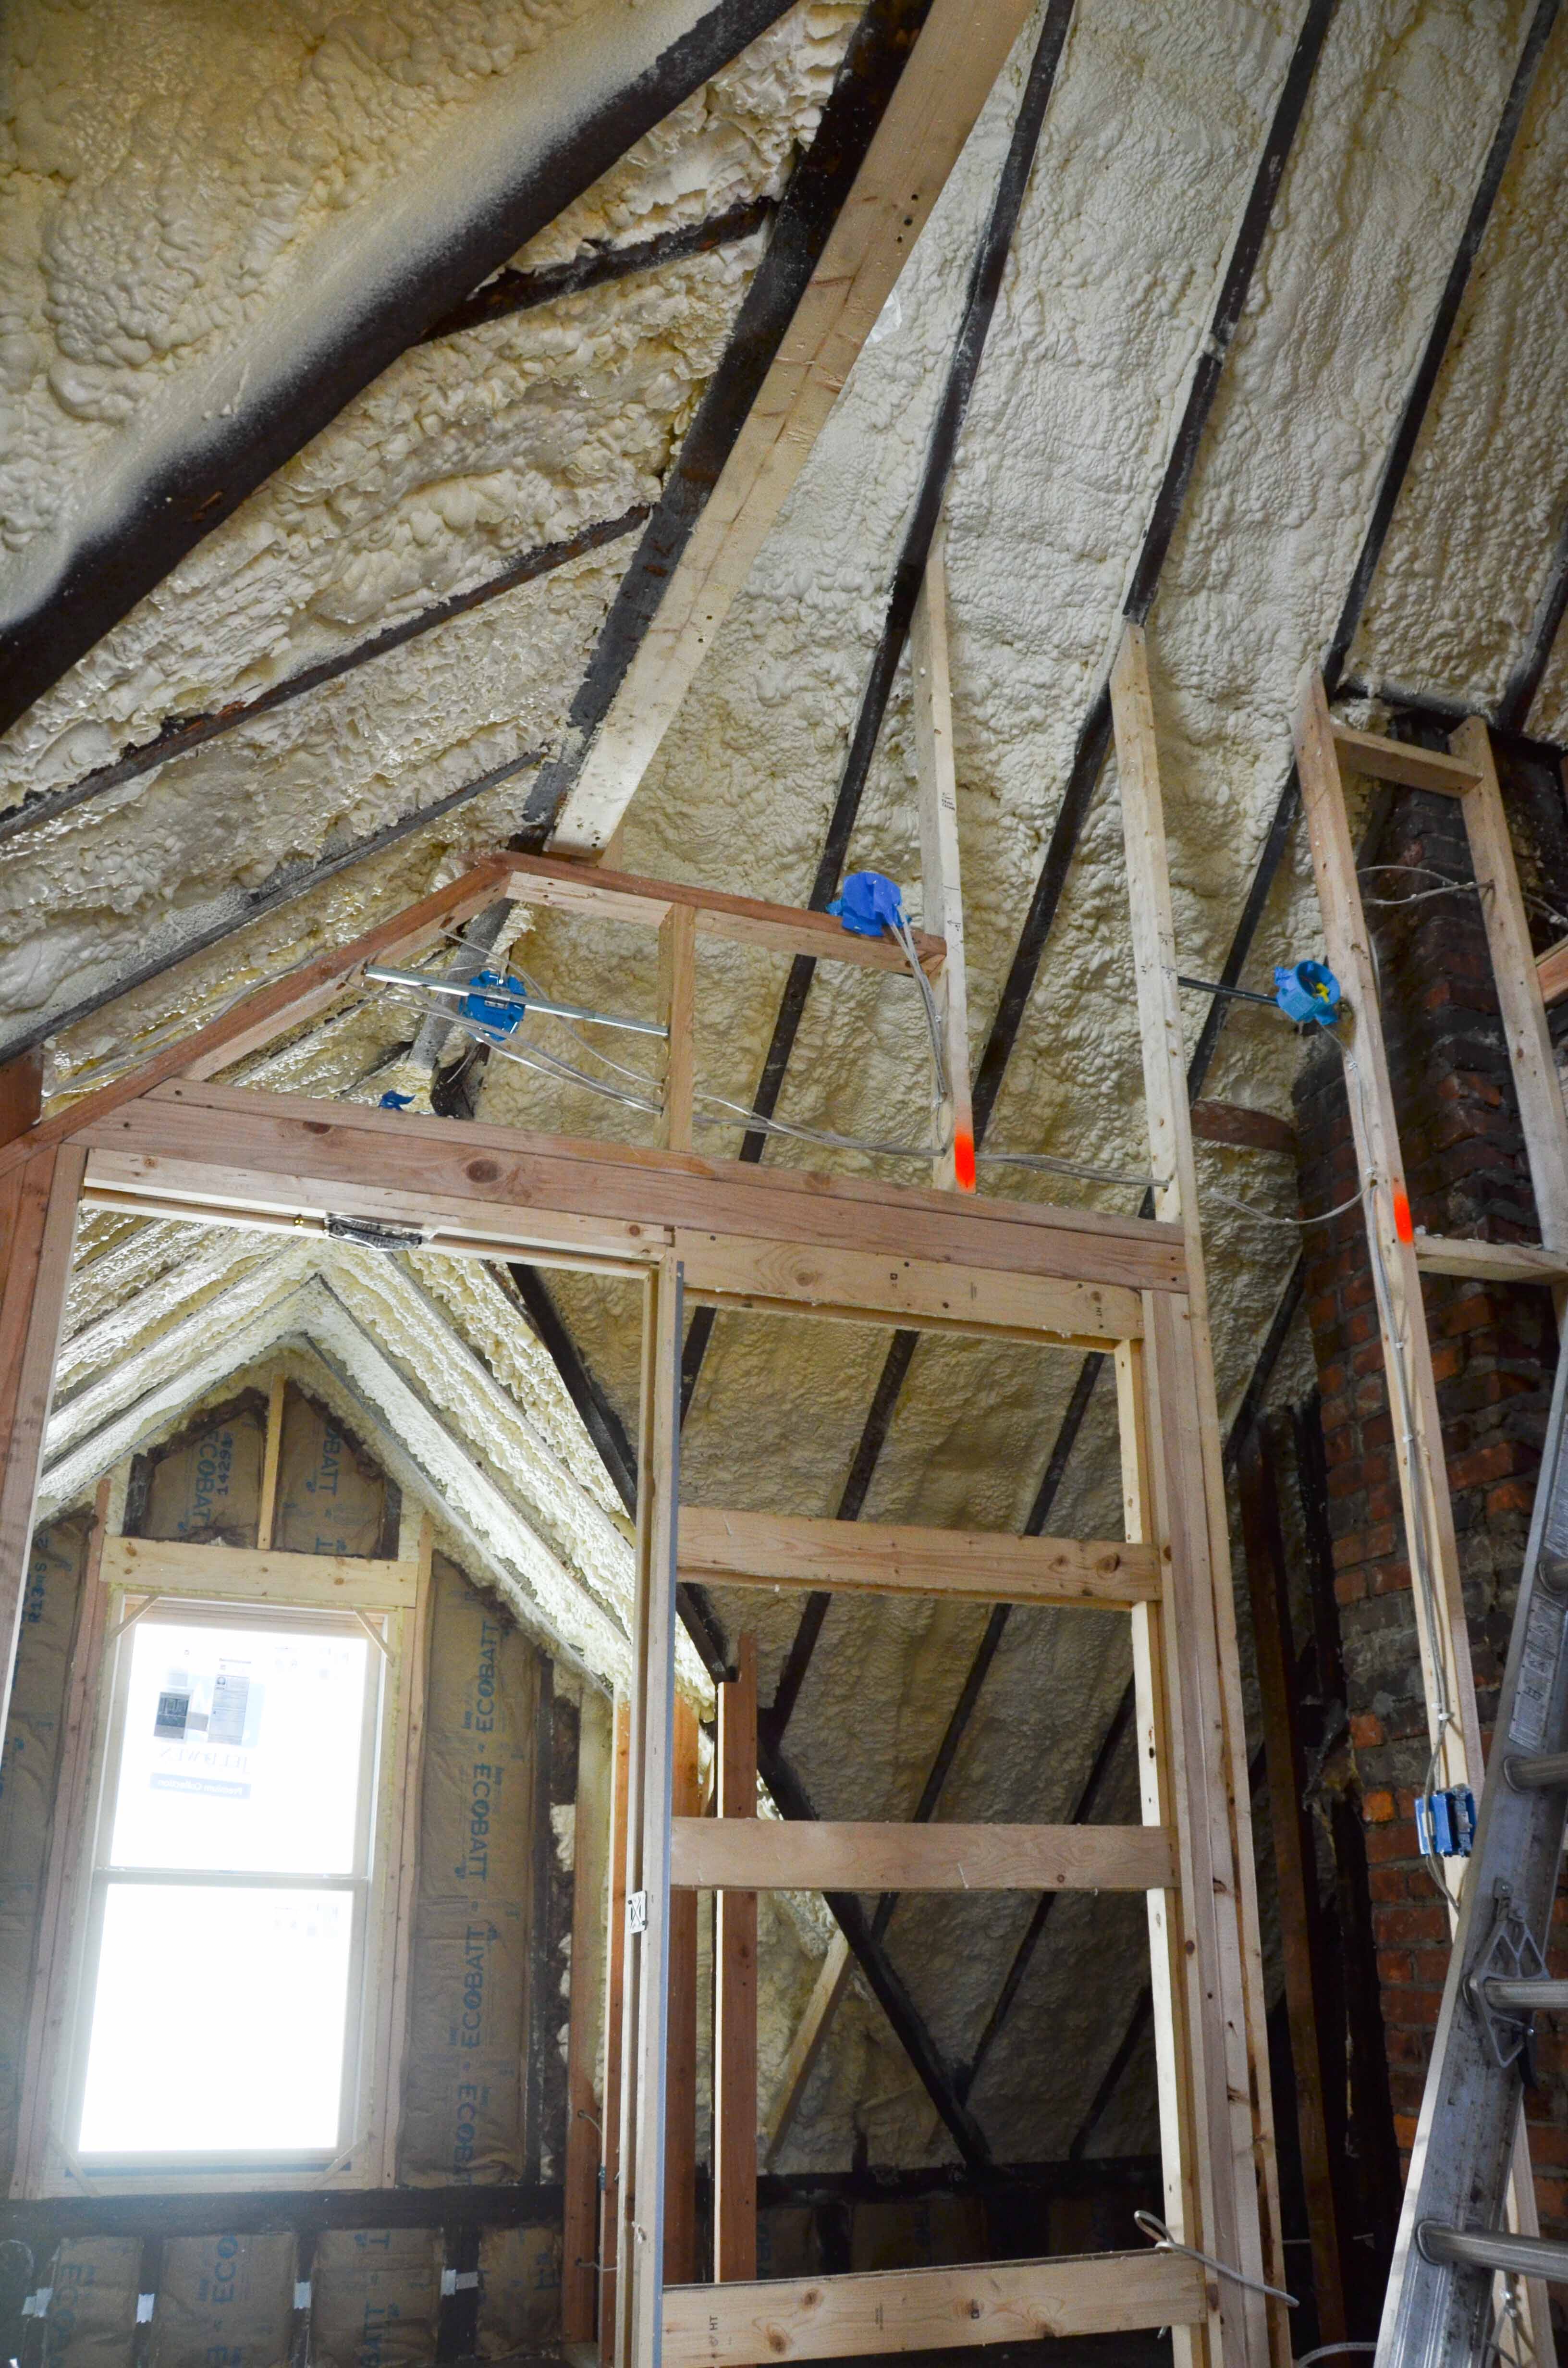
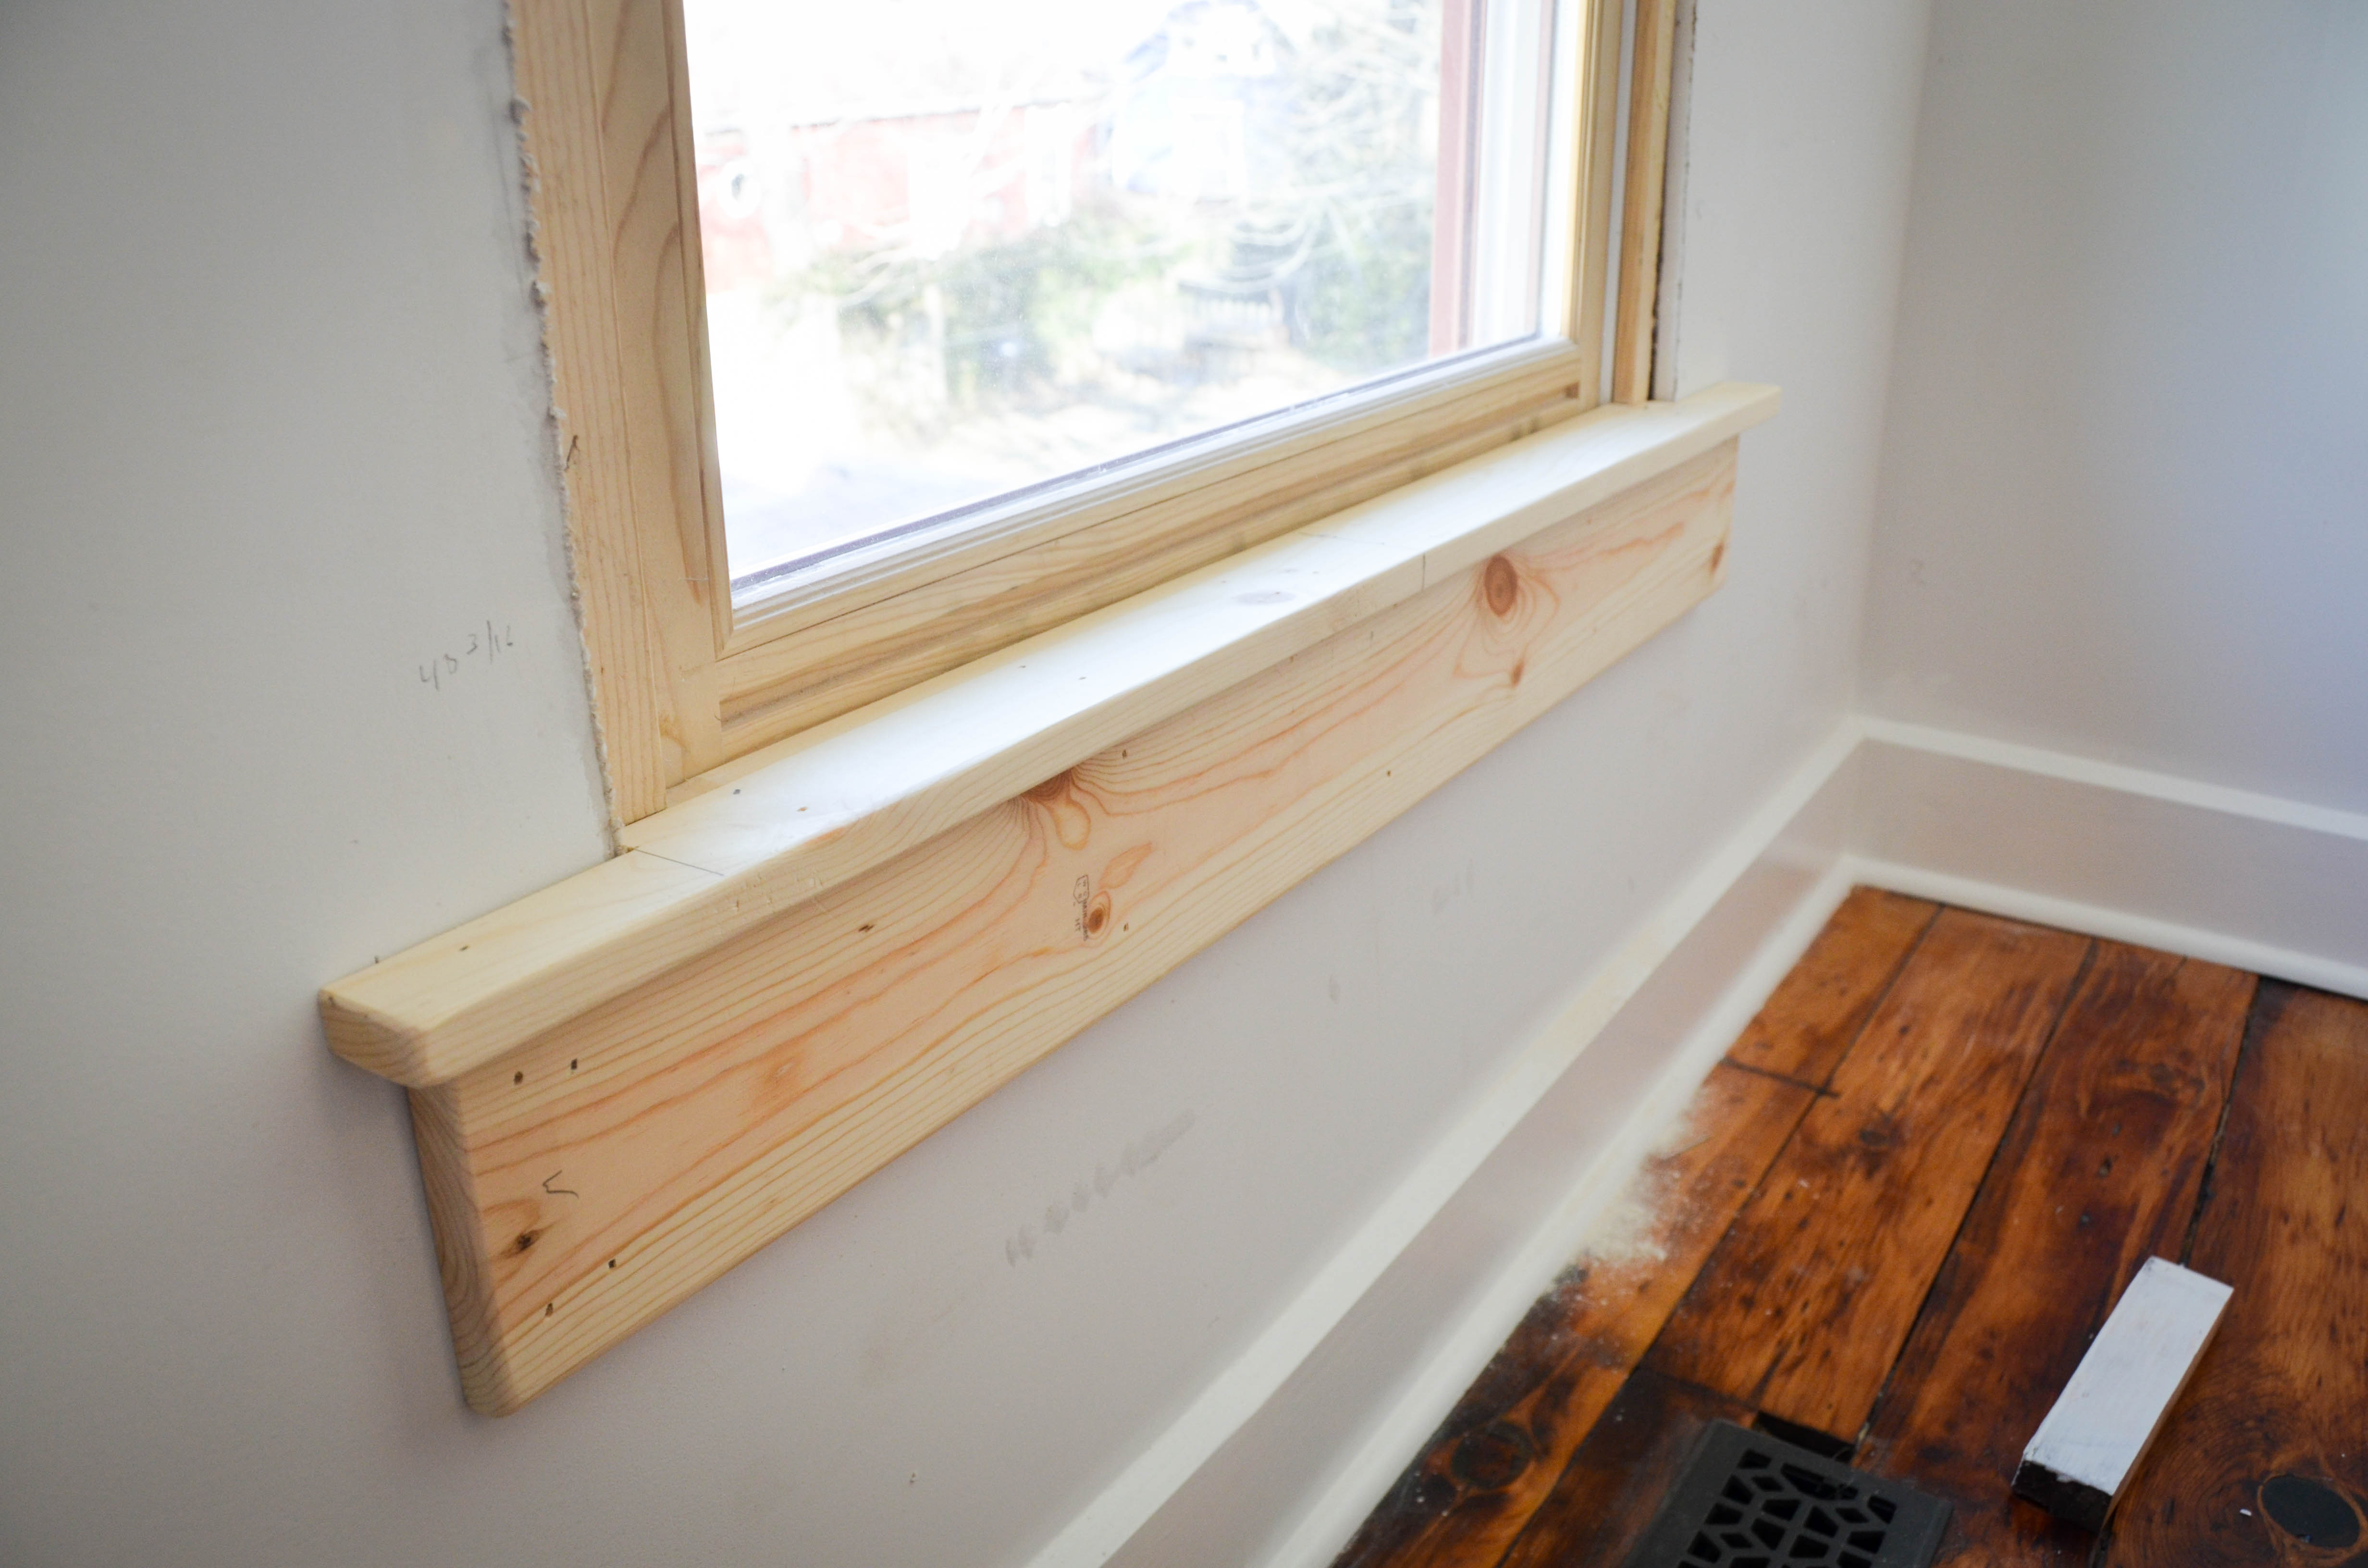
There was originally a very small window on this gable. We installed a big new window to meet code requirements for a bedroom and to bring in much more light to the space.

Soon after we finished the electrical work we hired someone to do our insulation. We went with the closed-cell spray foam. It only took 3 or 4 inches of that stuff to seal up the roof and give us a pretty high R-value. Between the good insulation and a 2nd floor hvac unit, the upstairs is always a comfortable temperature.
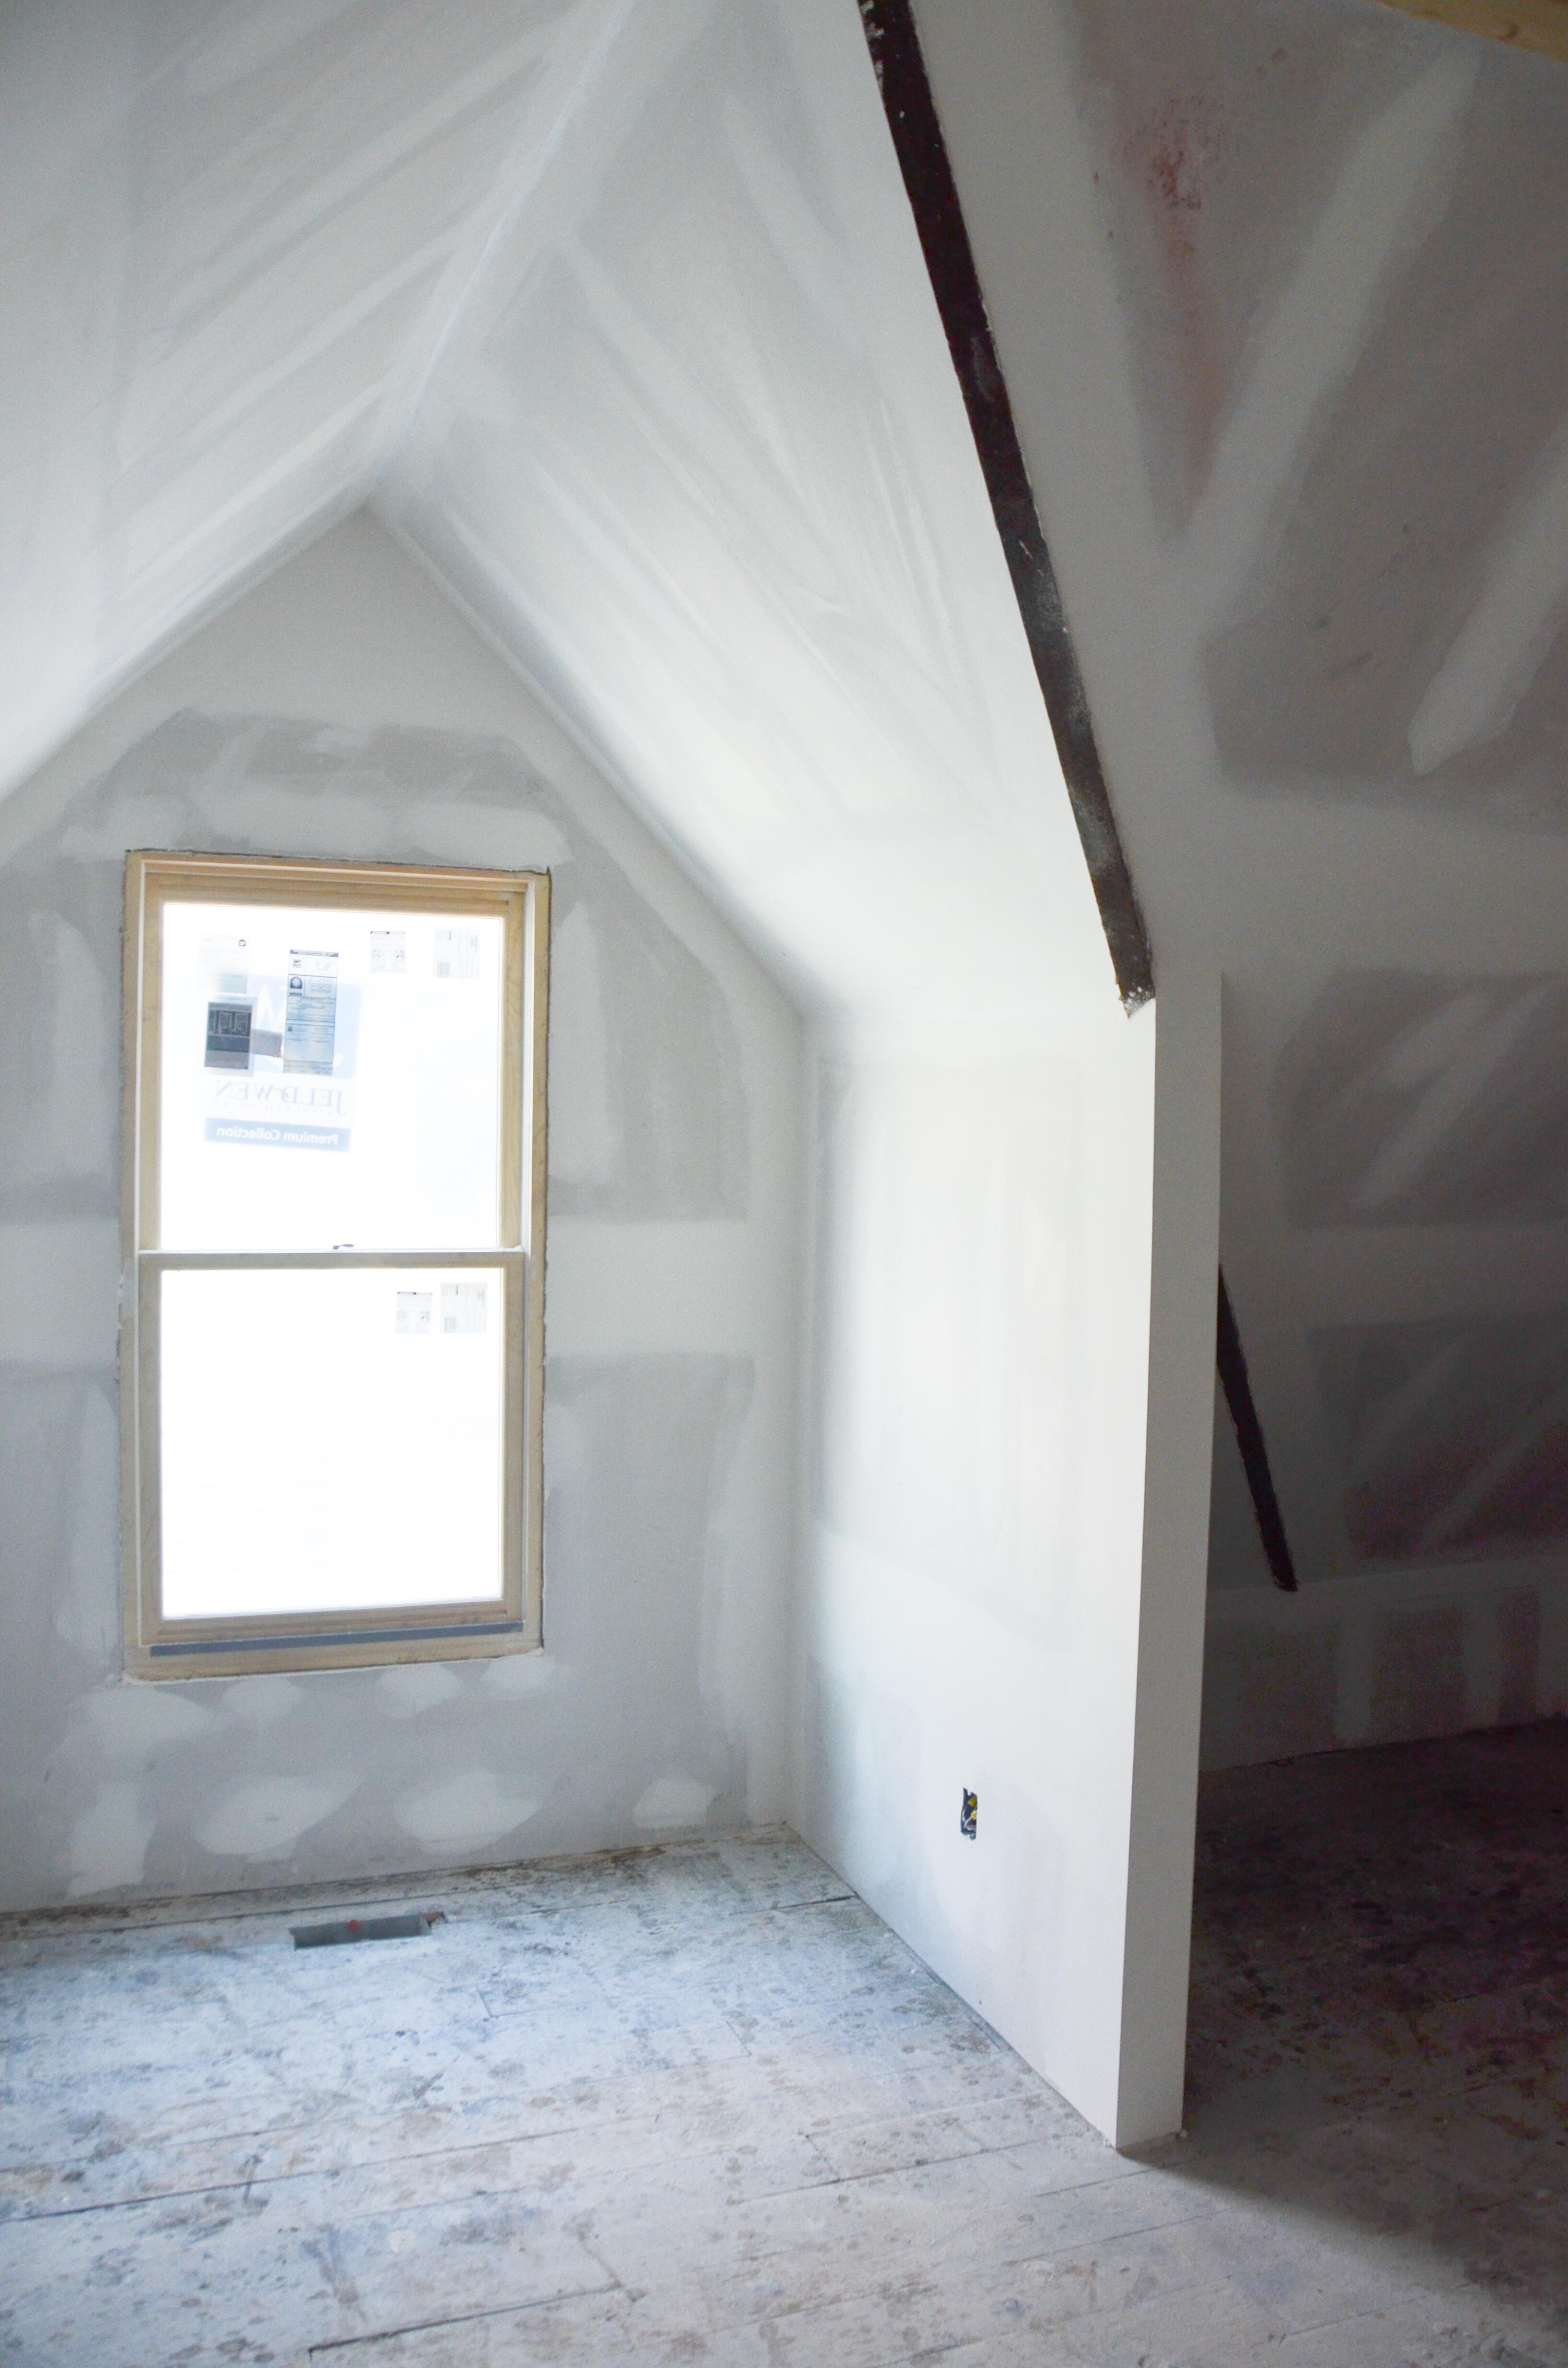
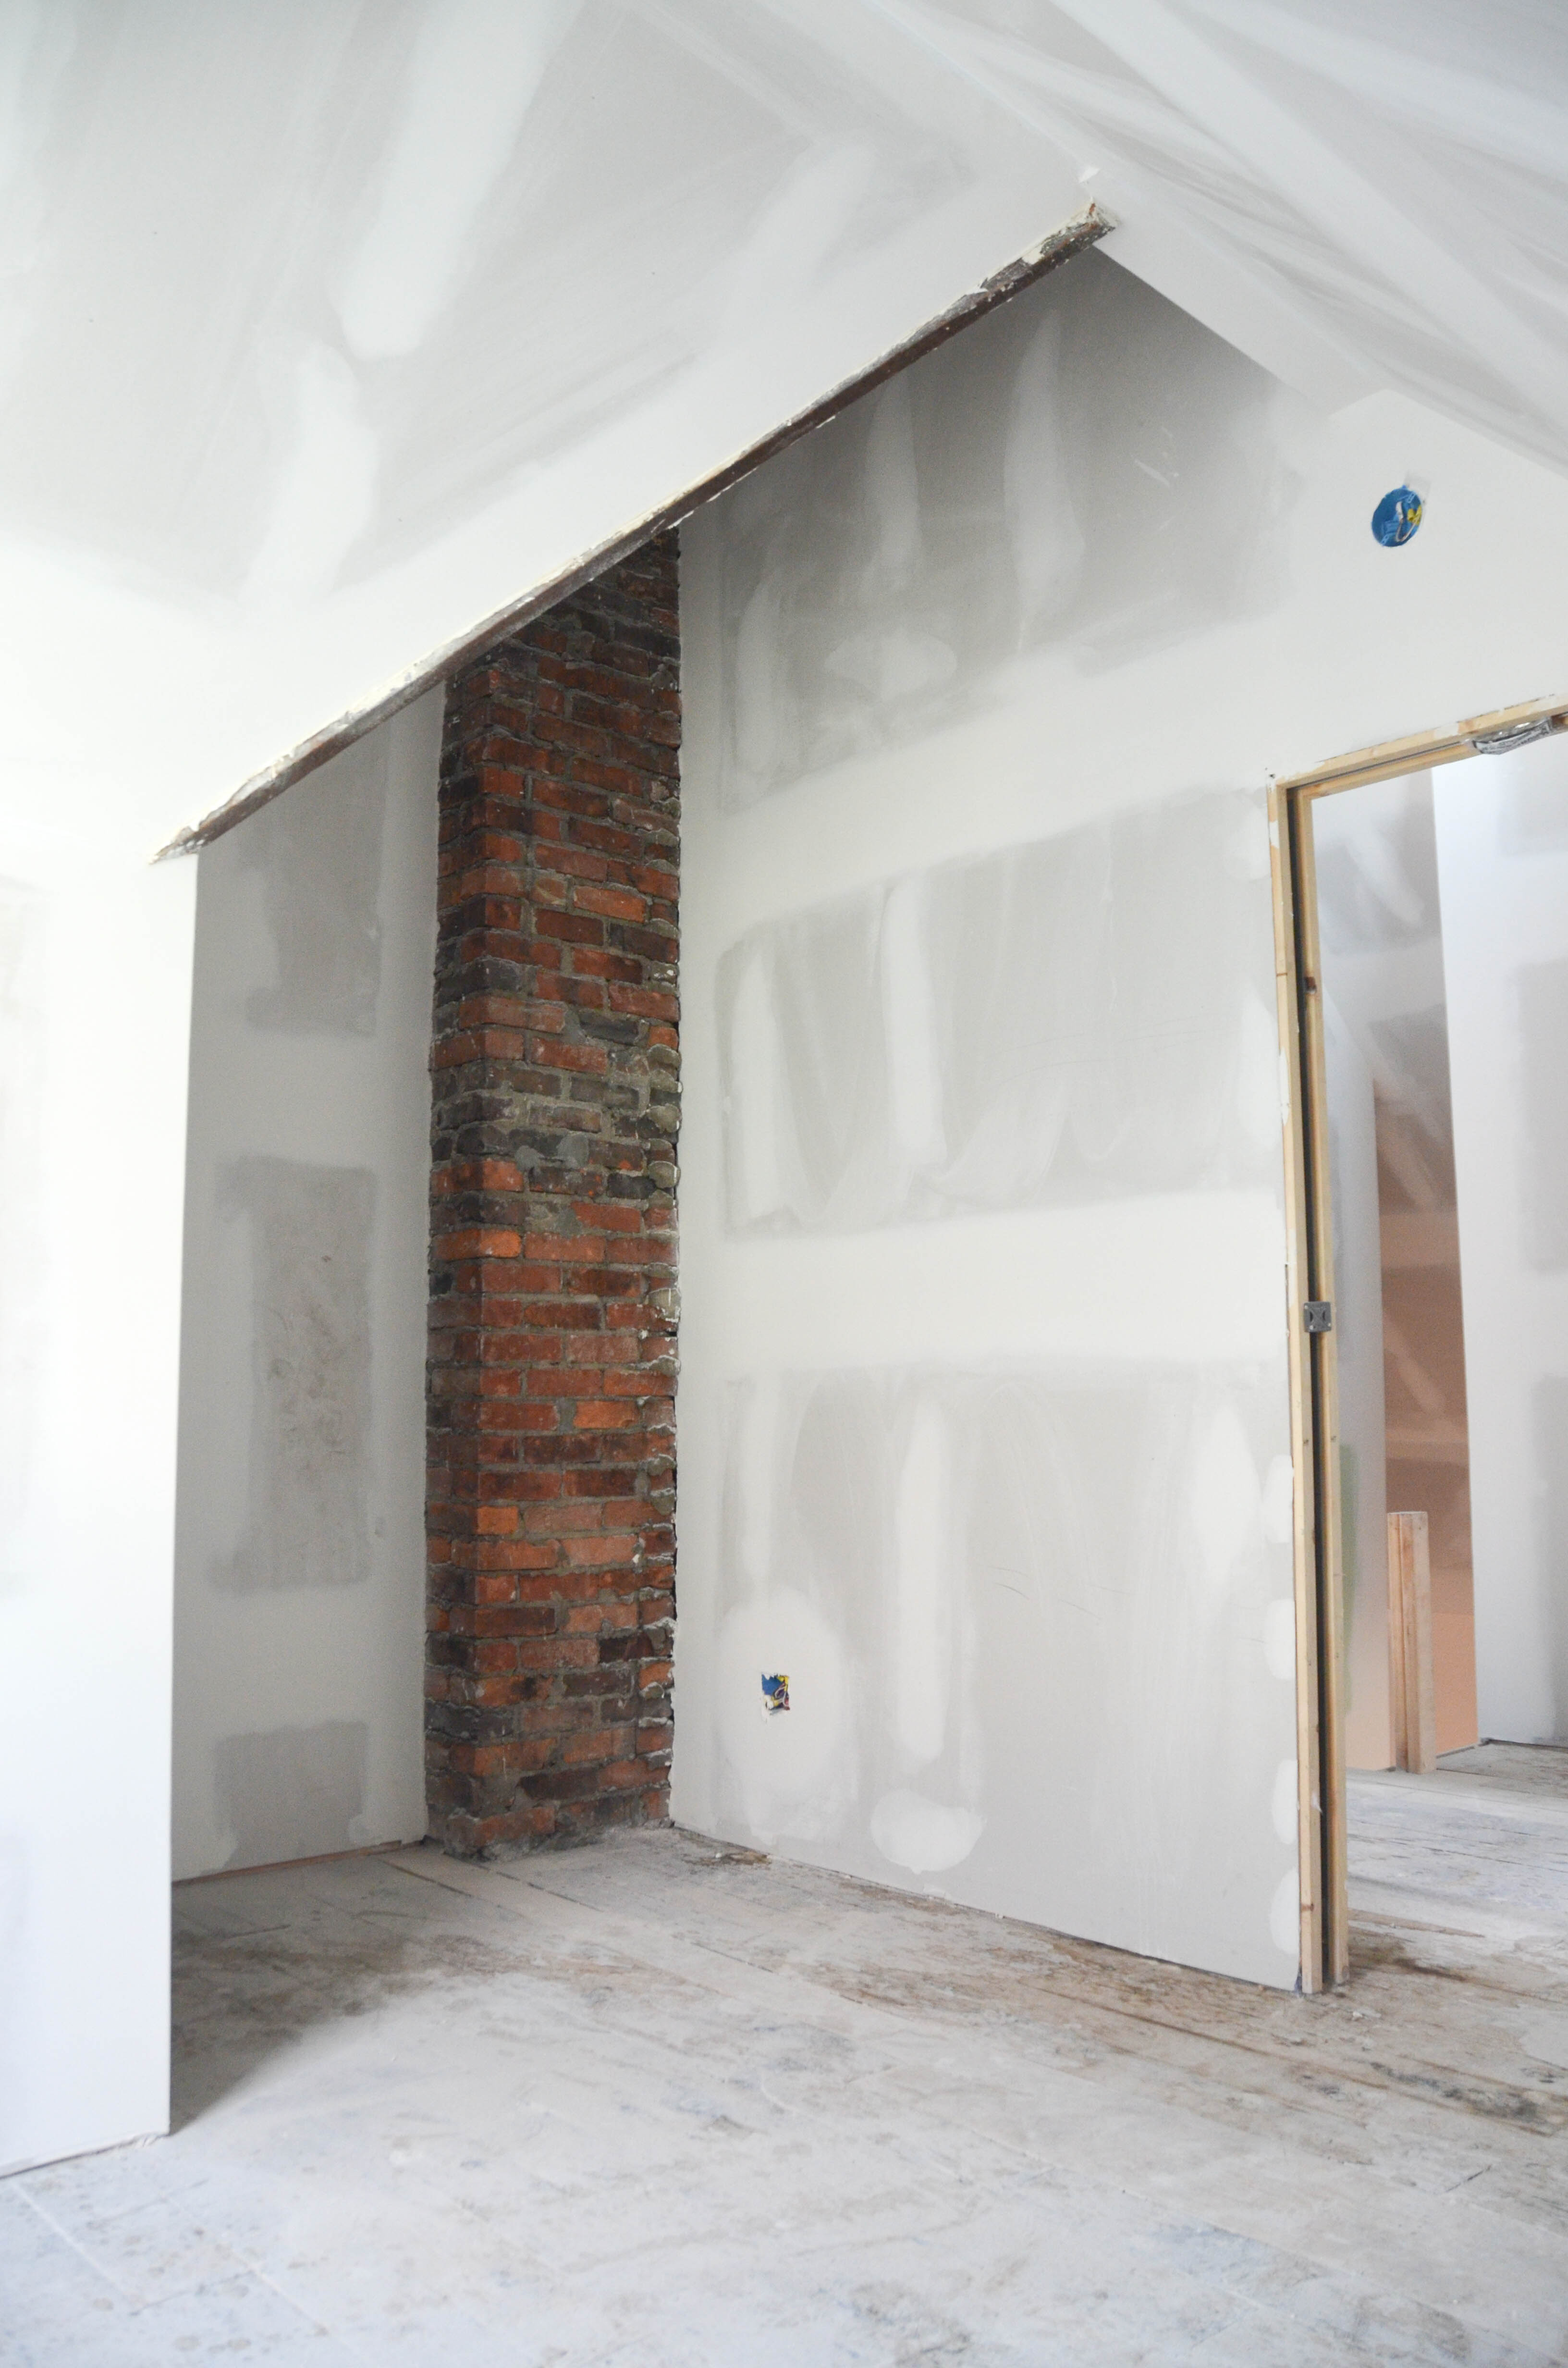
The insulation was quickly followed by drywall and our first hint of what Aiden’s room would soon become. (note: This posture, stance, and expression on my face is pretty much what I have looked like since we started this whole rehab thing)
[Edit from Amy: this is absolutely true.]


[Edit from Amy: We were warned by several people that our drywall crew would not like us very much. We had a lot of wonky angles and creative “cubby” spaces, but truth be told the drywall hangers were some of the nicest people we worked with, even if they did pee into their liquor bottles. Because, that’s what you do when you don’t have a toilet.]

The taping and mudding was another huge transformation!
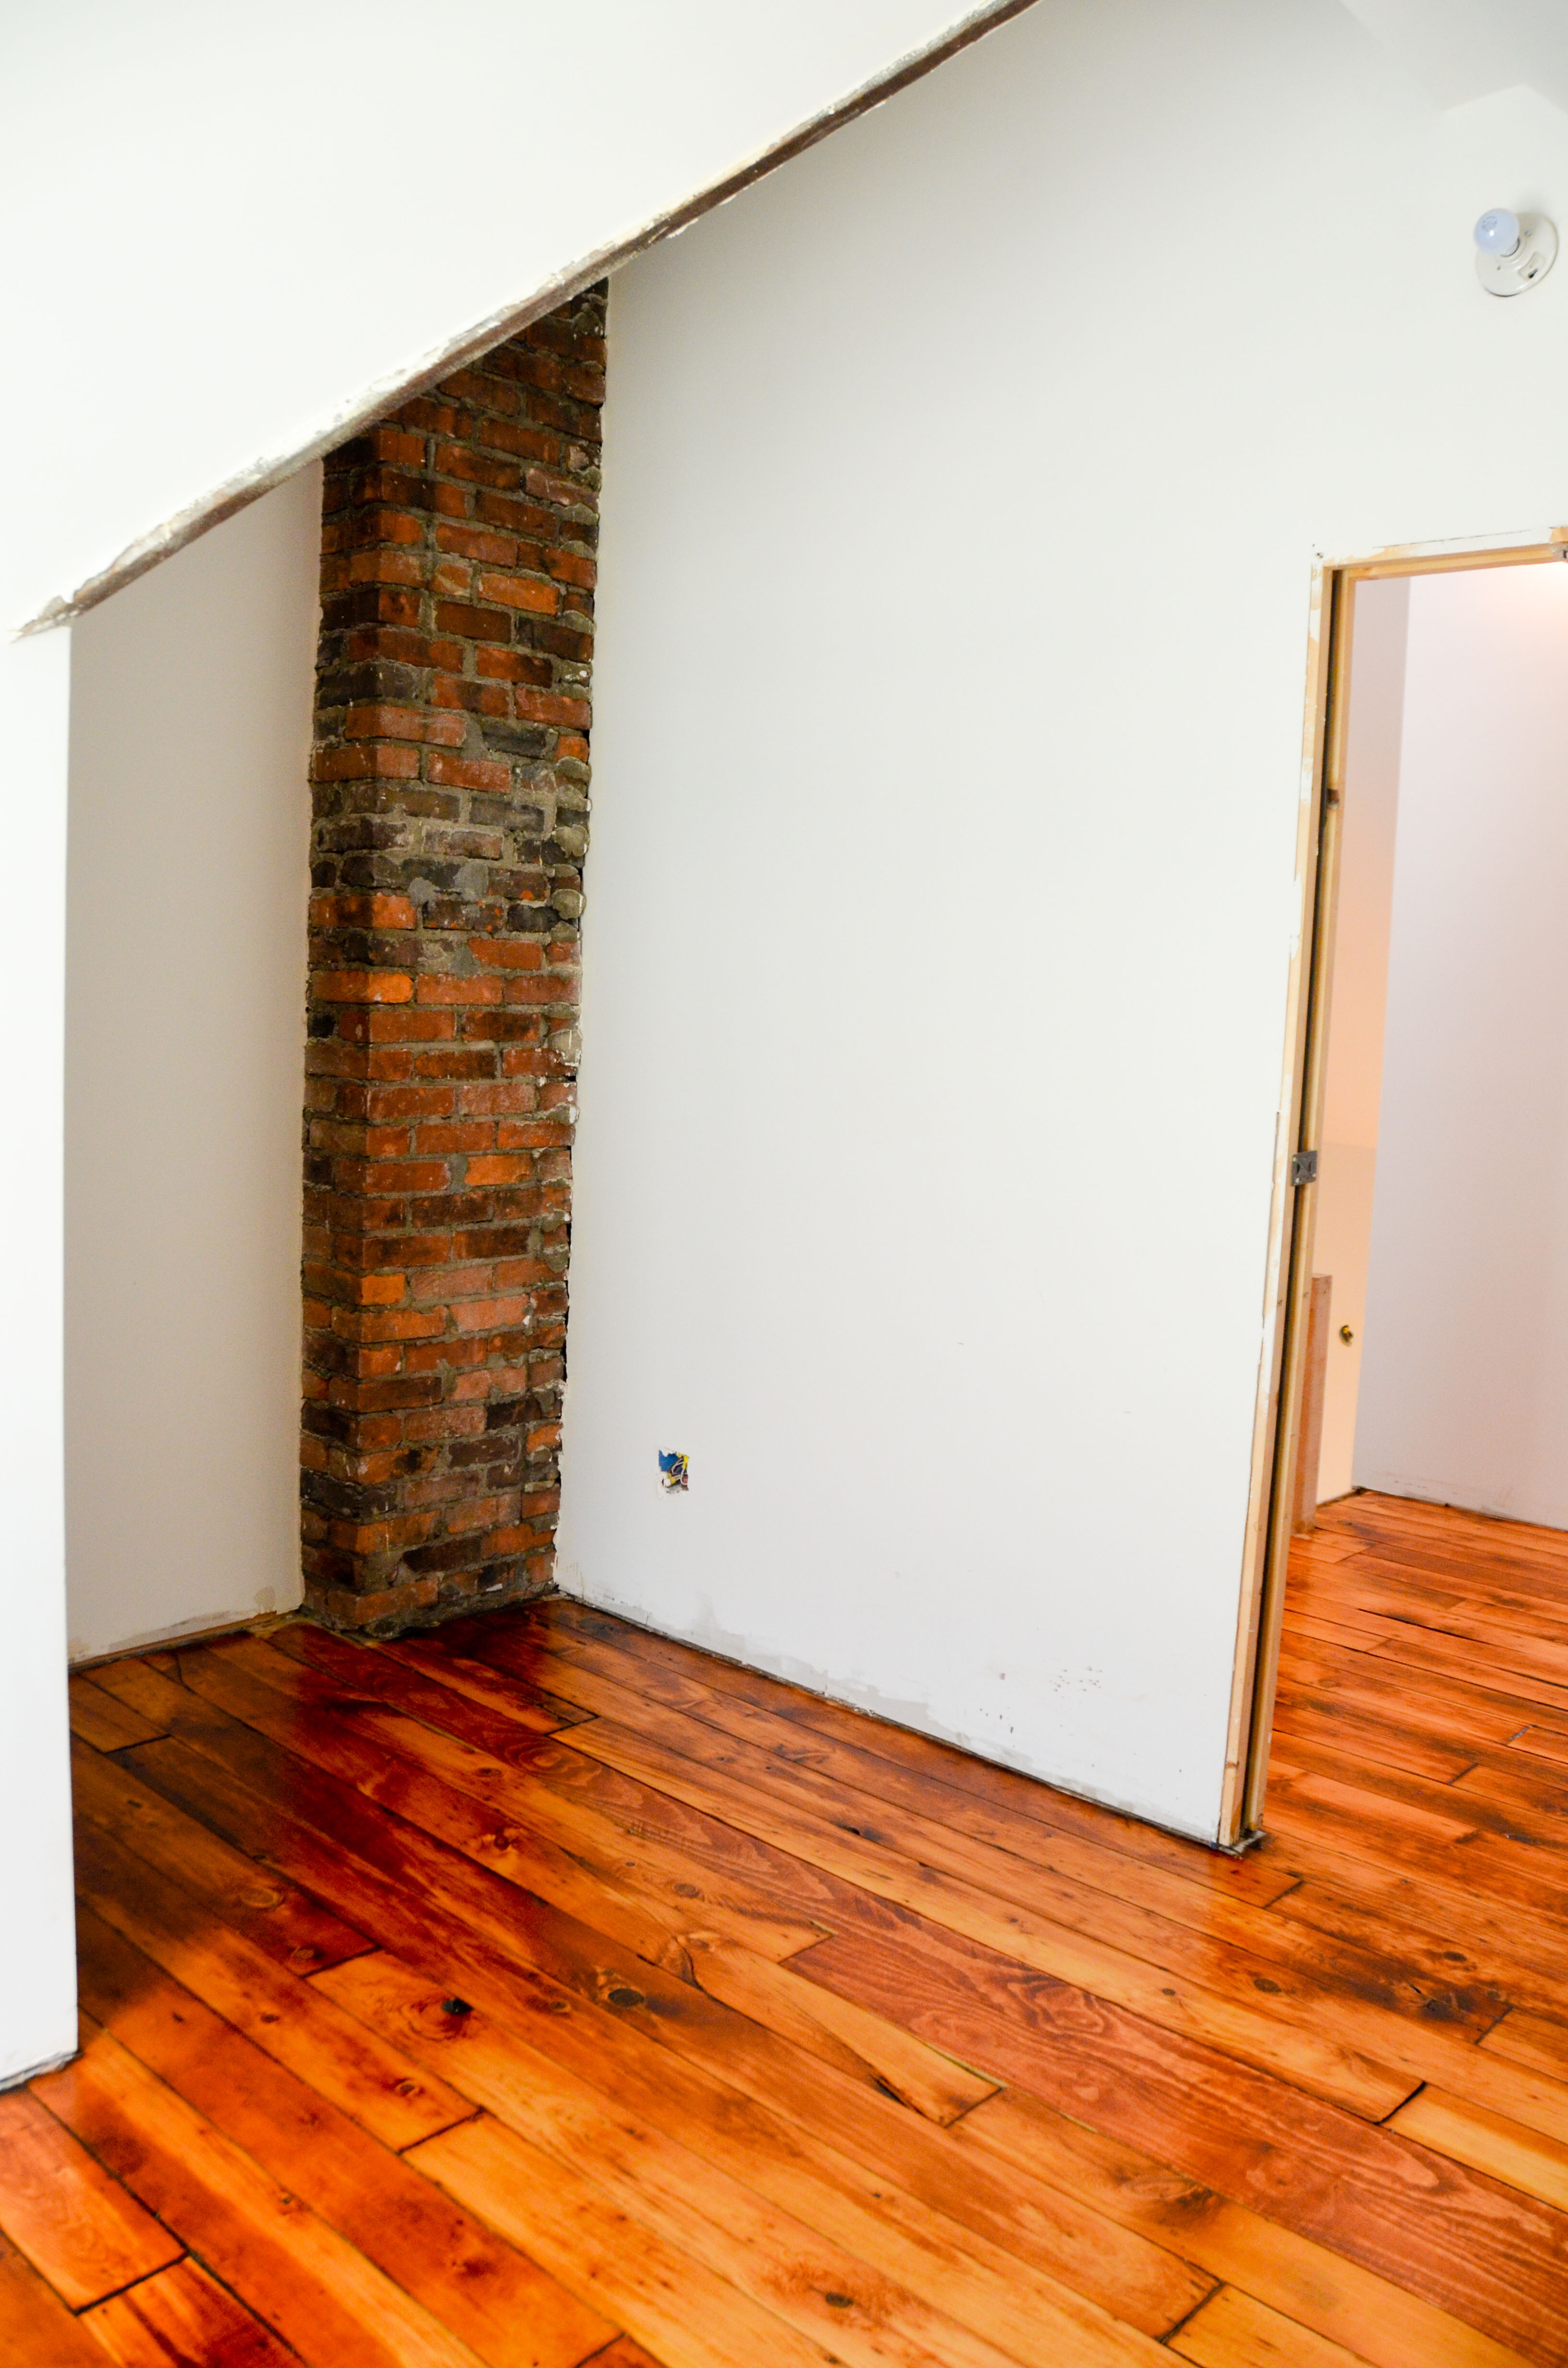
Amy primed the walls and wired the outlets. I cleaned the floors thoroughly as we prepared to refinish the floors.

It took a lot of effort and time, but the floors sanded up great! We did have to replace a couple boards (as you can see in the picture below), but we were able to stain them to match the other floors. You probably wouldn’t notice them unless you were specifically looking for them.

After applying a couple coats of polyurethane, this room suddenly felt so much bigger! Any concerns we had about the size of the room disappeared.
It would have been great to finish the trim and other details before moving in, but we were out of time. The picture below shows what Aiden’s room looked like for many months. And really, he was pretty content for it to just stay that way, boxes and all.

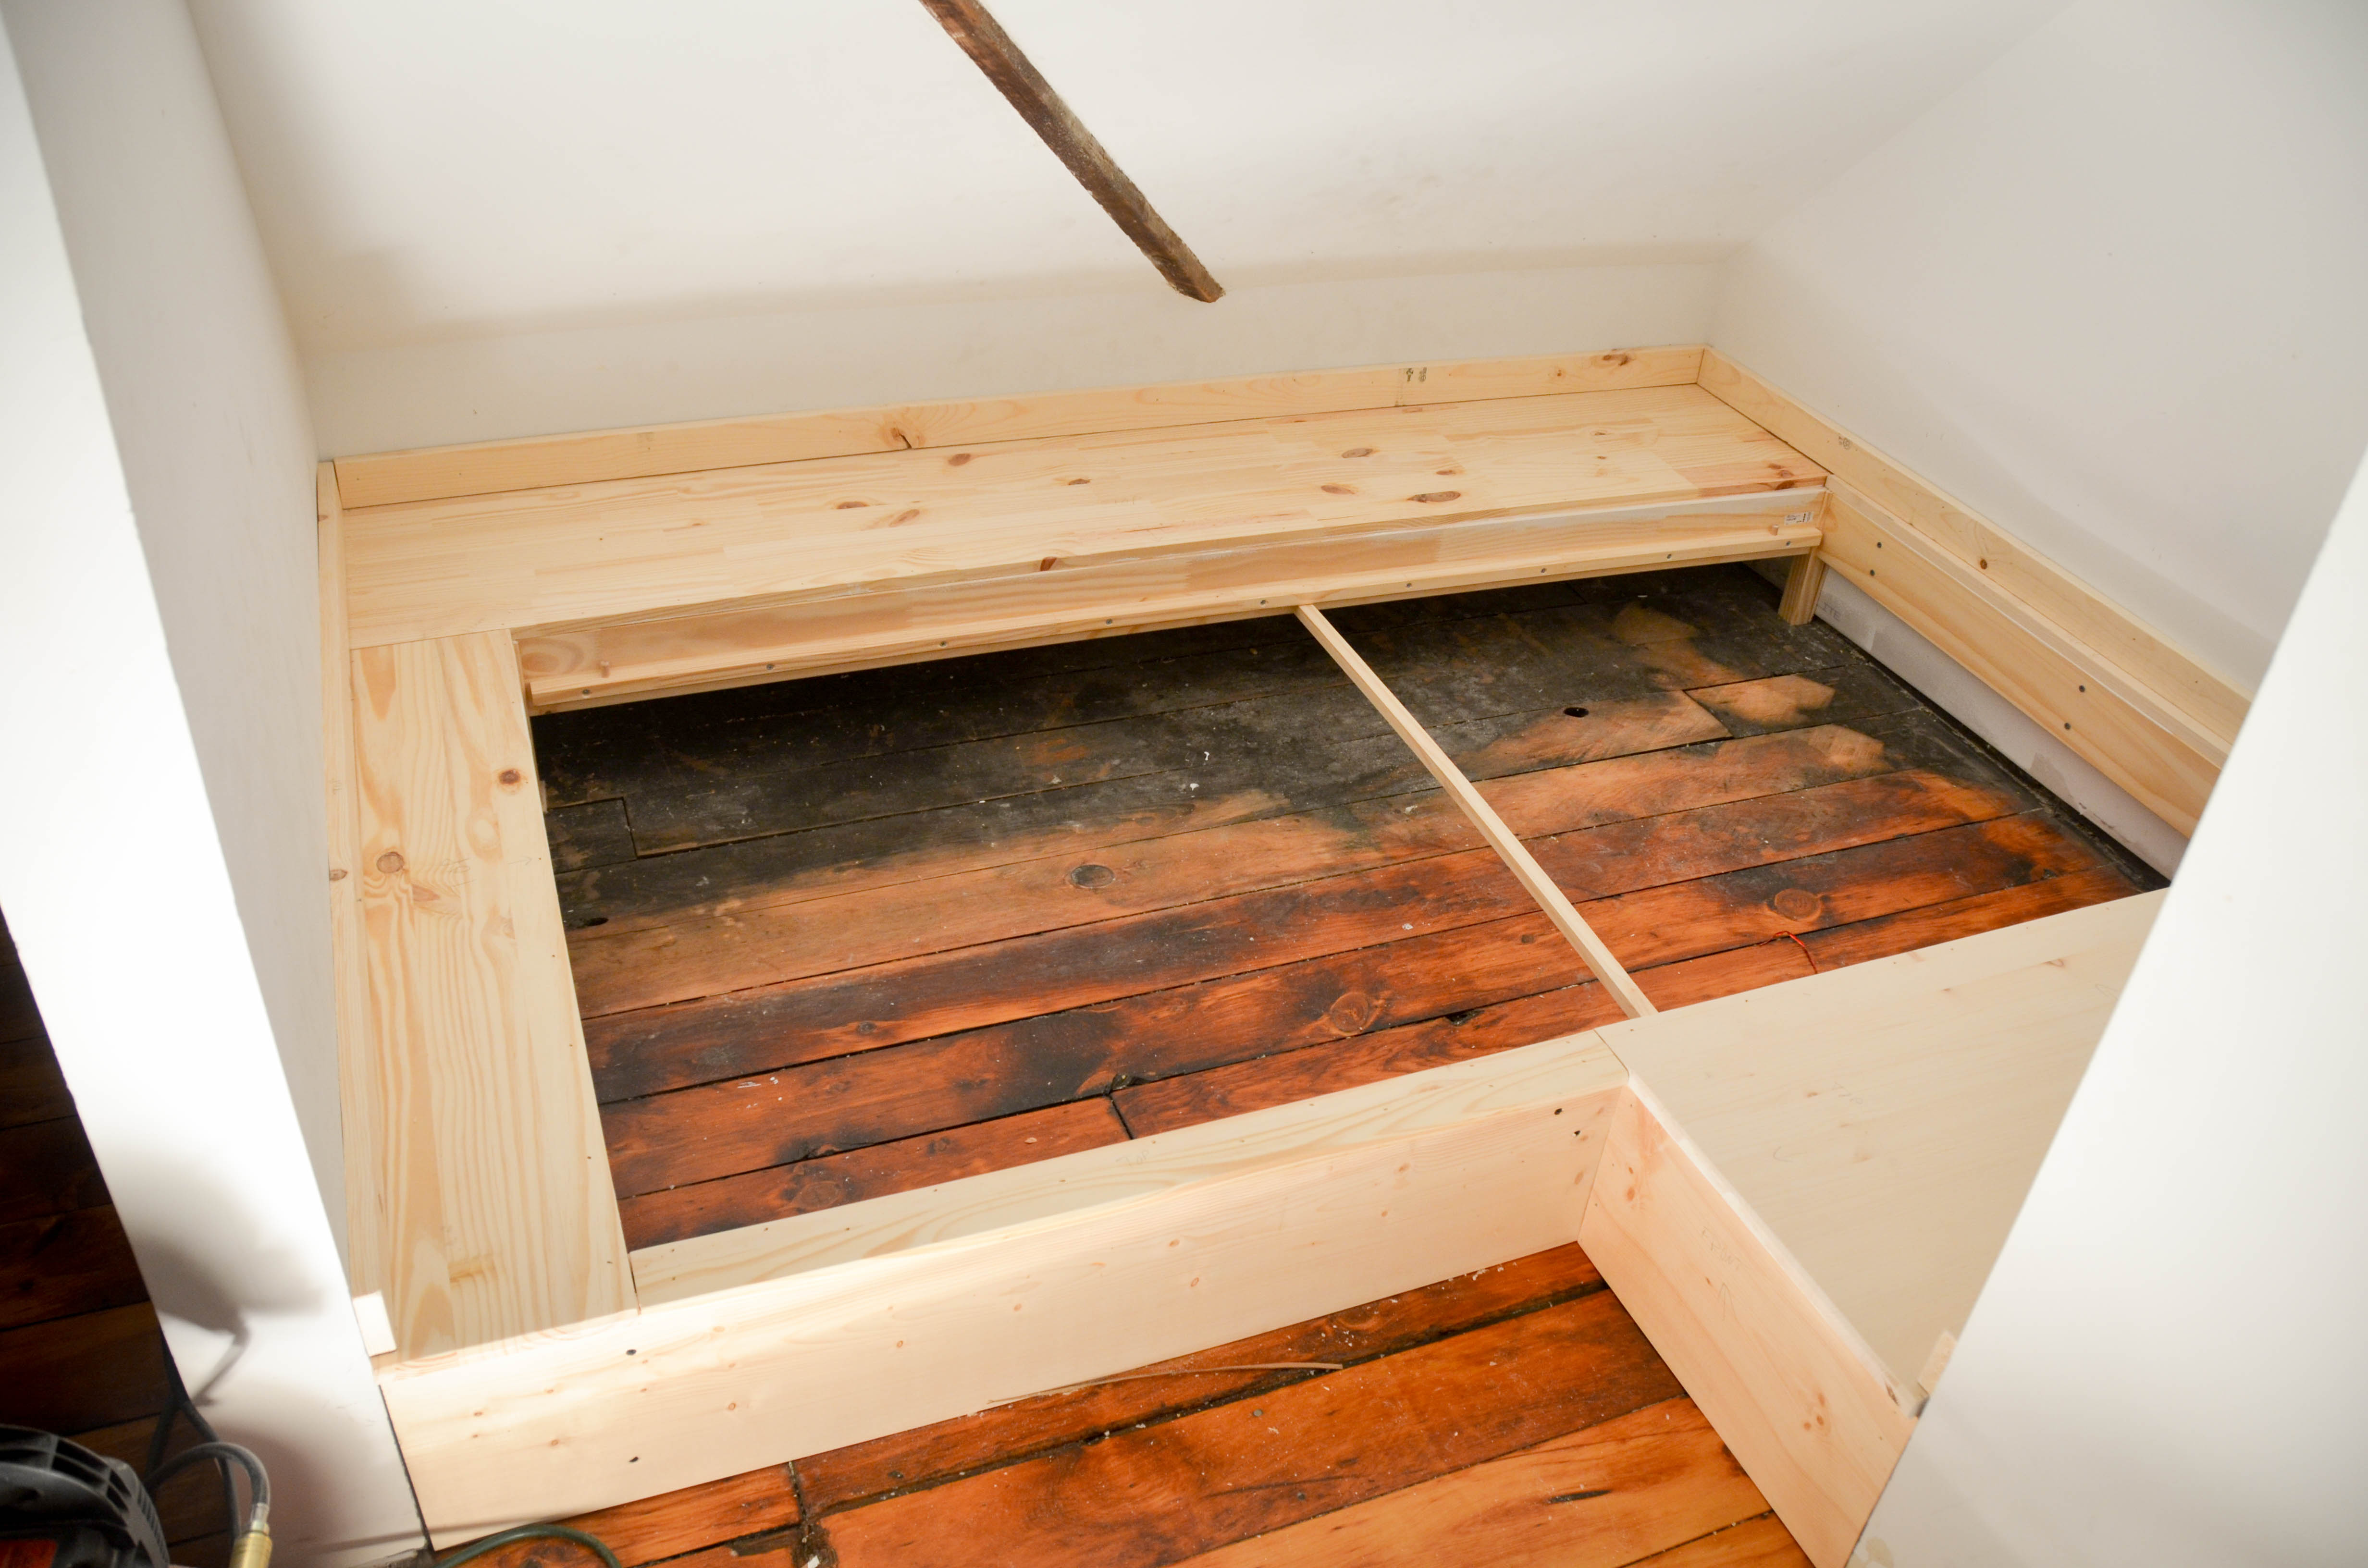
We finally got around to emptying his room and working to finish the final details. The first project was to create a built-in bed for his sleeping nook. We had been excited about this idea since we bought the house, despite everyone’s assumption that this particular space could only be used as a closet.
I also completed the woodwork for the windows, doors, and baseboards.
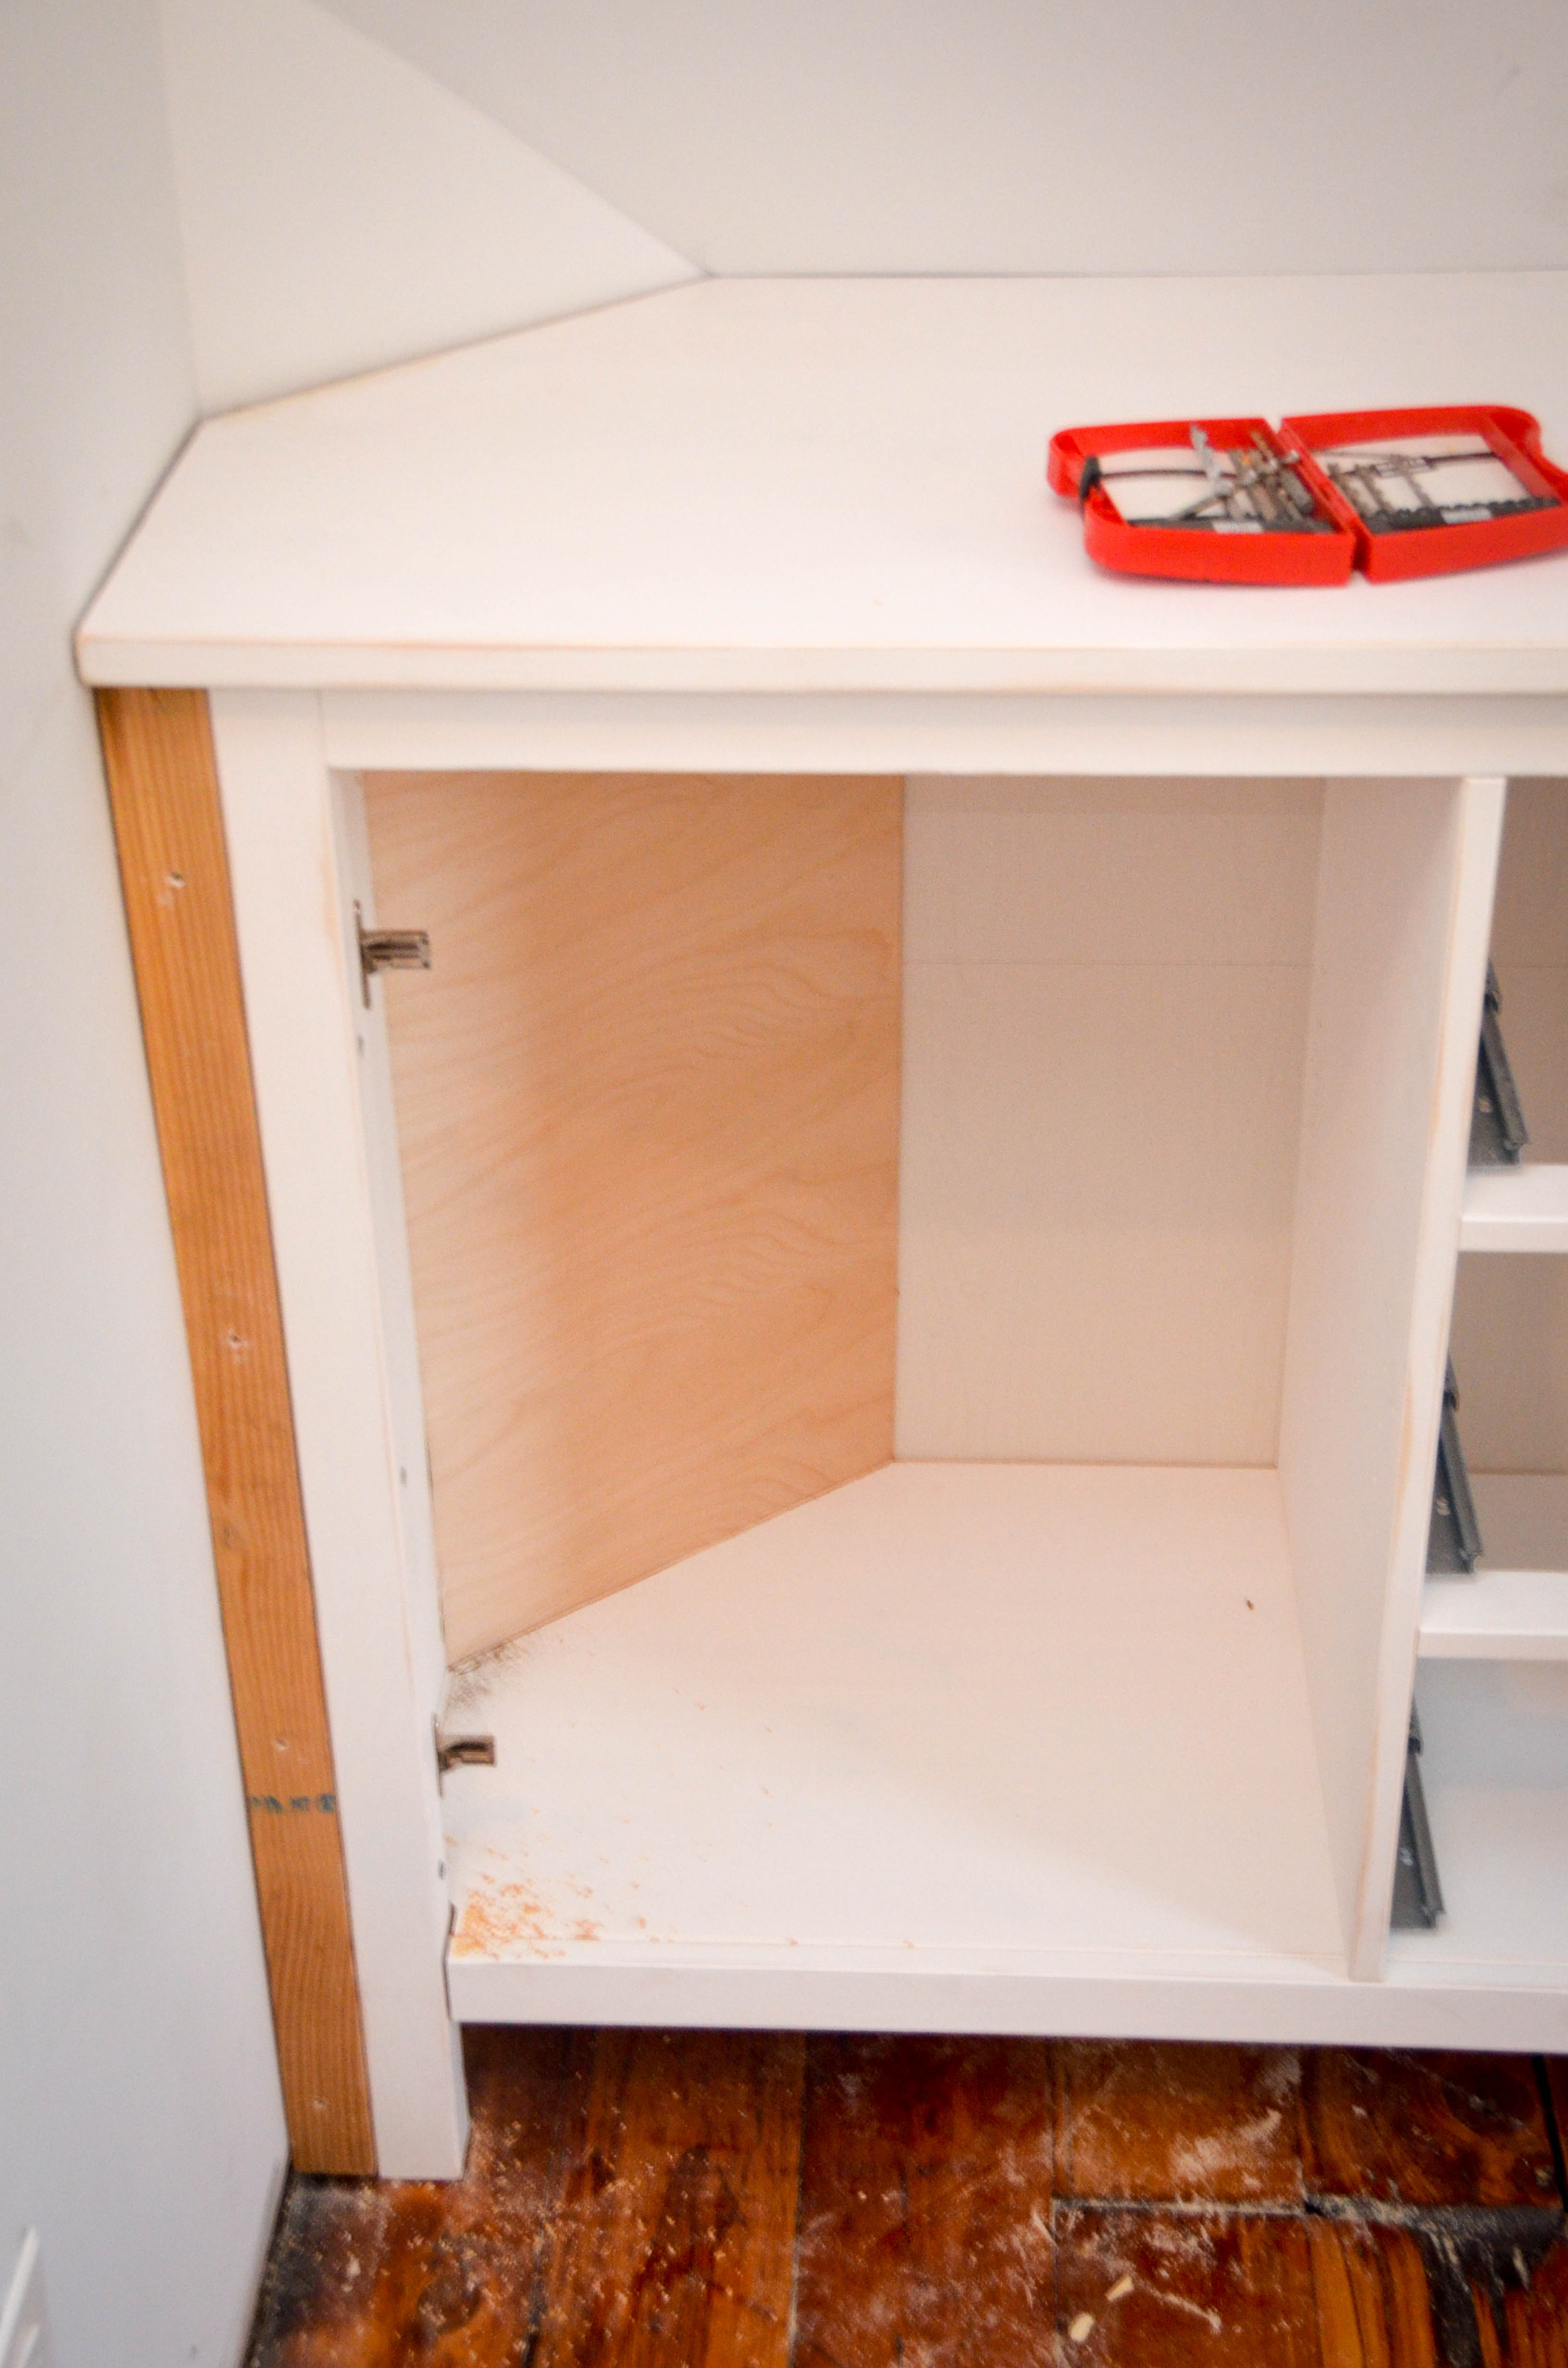
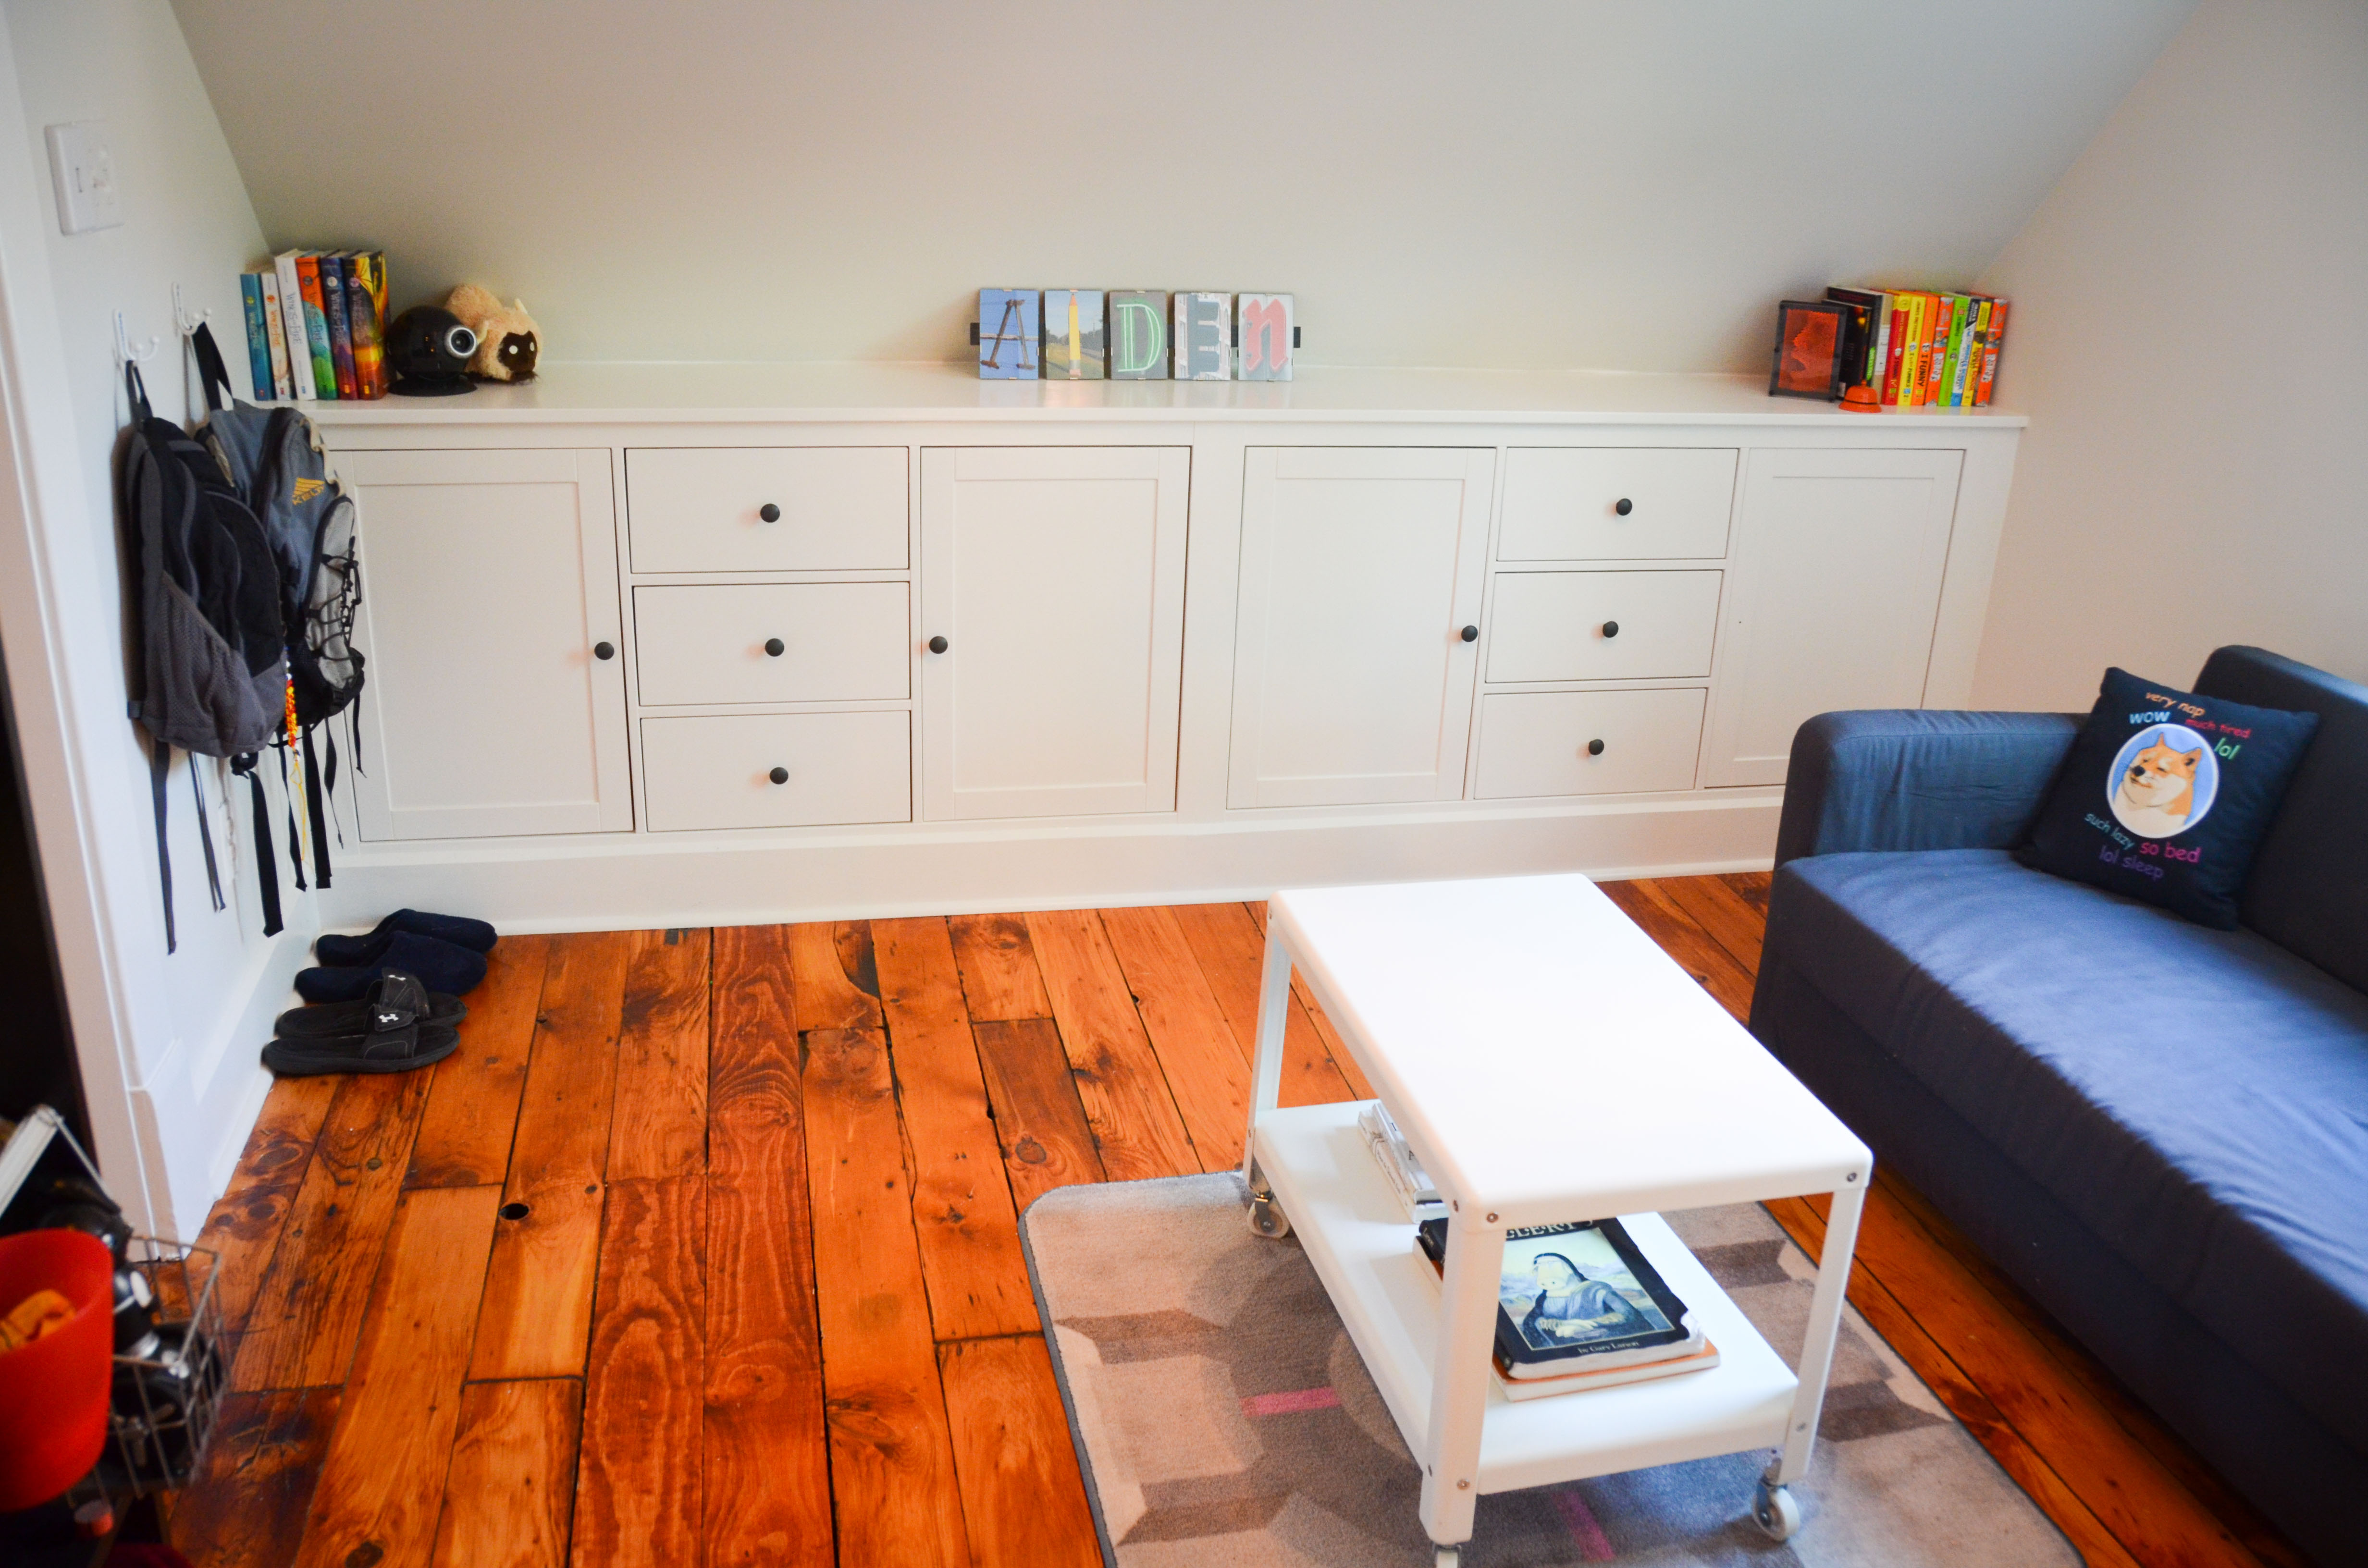
We used a couple of IKEA dressers to create a built-in cabinet under the lowest part of the angled ceiling.
Amy had the unpleasant job of cleaning the chimney brick.

Now for the reveal! The trim is white, but the walls are actually a very light grey (it’s hard to tell from the photos). Most of the furnishing are from IKEA. We find that it works great for a kid’s room, especially one that is on the small side. One nice thing about that sofa is that it folds out to accommodate sleepovers guests. The light hanging from the ceiling collapses into a ball or expands out, depending on which string you pull.


So that’s it. Our first finished room. Actually, it’s not completely finished. We still need to add curtains and a little artwork on the walls, but it’s pretty darn close! Several parts of this room turned out much better than expected, like the bed nook and the built-in dresser. I only have two things I would do differently. 1. I would have centered the door on the window. It’s a long story as to why that isn’t the case, but I wish we had found a way to make that work. 2. I wish we had spent the little extra money to put in a skylight on the ceiling in front of the bookshelves. It would have helped to make that space feel even more open.
The upstairs common area, loft, bathroom, and Aiden’s room have been the most fun to create because we had to opportunity to create something from nothing. It was a great opportunity to be a little creative and make a space specifically for our family. Aiden is 12 and doesn’t seem to get very excited about anything nowadays, but we like to think that someday he might read this blog and appreciate the space we created for him. Maybe. When he’s 40.
[Edit from Amy: Hi, future Aiden!]

Beautiful job. Don’t even worry about the skylight, you would be up on the roof cleaning the glass and fixing the leak in know time. I think you have other things more important to do with your time. Again beautiful job.
LikeLiked by 1 person
Love your blog. We too are restoring/ renovating a Victorian and we too, have a 12 year old son. Wonderful job! You are inspiring.
LikeLiked by 1 person
Wow, what a fun room!
LikeLiked by 1 person