Joe and I are teachers, which means we have a good old fashioned spring break penciled in each year to get a jump start on warm-weather projects. This year we had a long list of projects that we wanted to do on the house, but we have learned over the past two years that there is a time and a season for each job. As much as we might have wanted to do some other projects, such as finishing our downstairs bathroom or installing trim in the master bedroom, we know enough now to temper those ambitions and replace them with sensible and seasonal plans. NOW was the perfect time to work outside and get ahead of the spring growth.
For two years now we have been been waging a war against weeds, weed trees, and weed moats. I’m not talking about dandelions here. We wage this battle multiple times a year and frequently in the heat of a mosquito-infested summer. This year we planned to end the war once and for all.
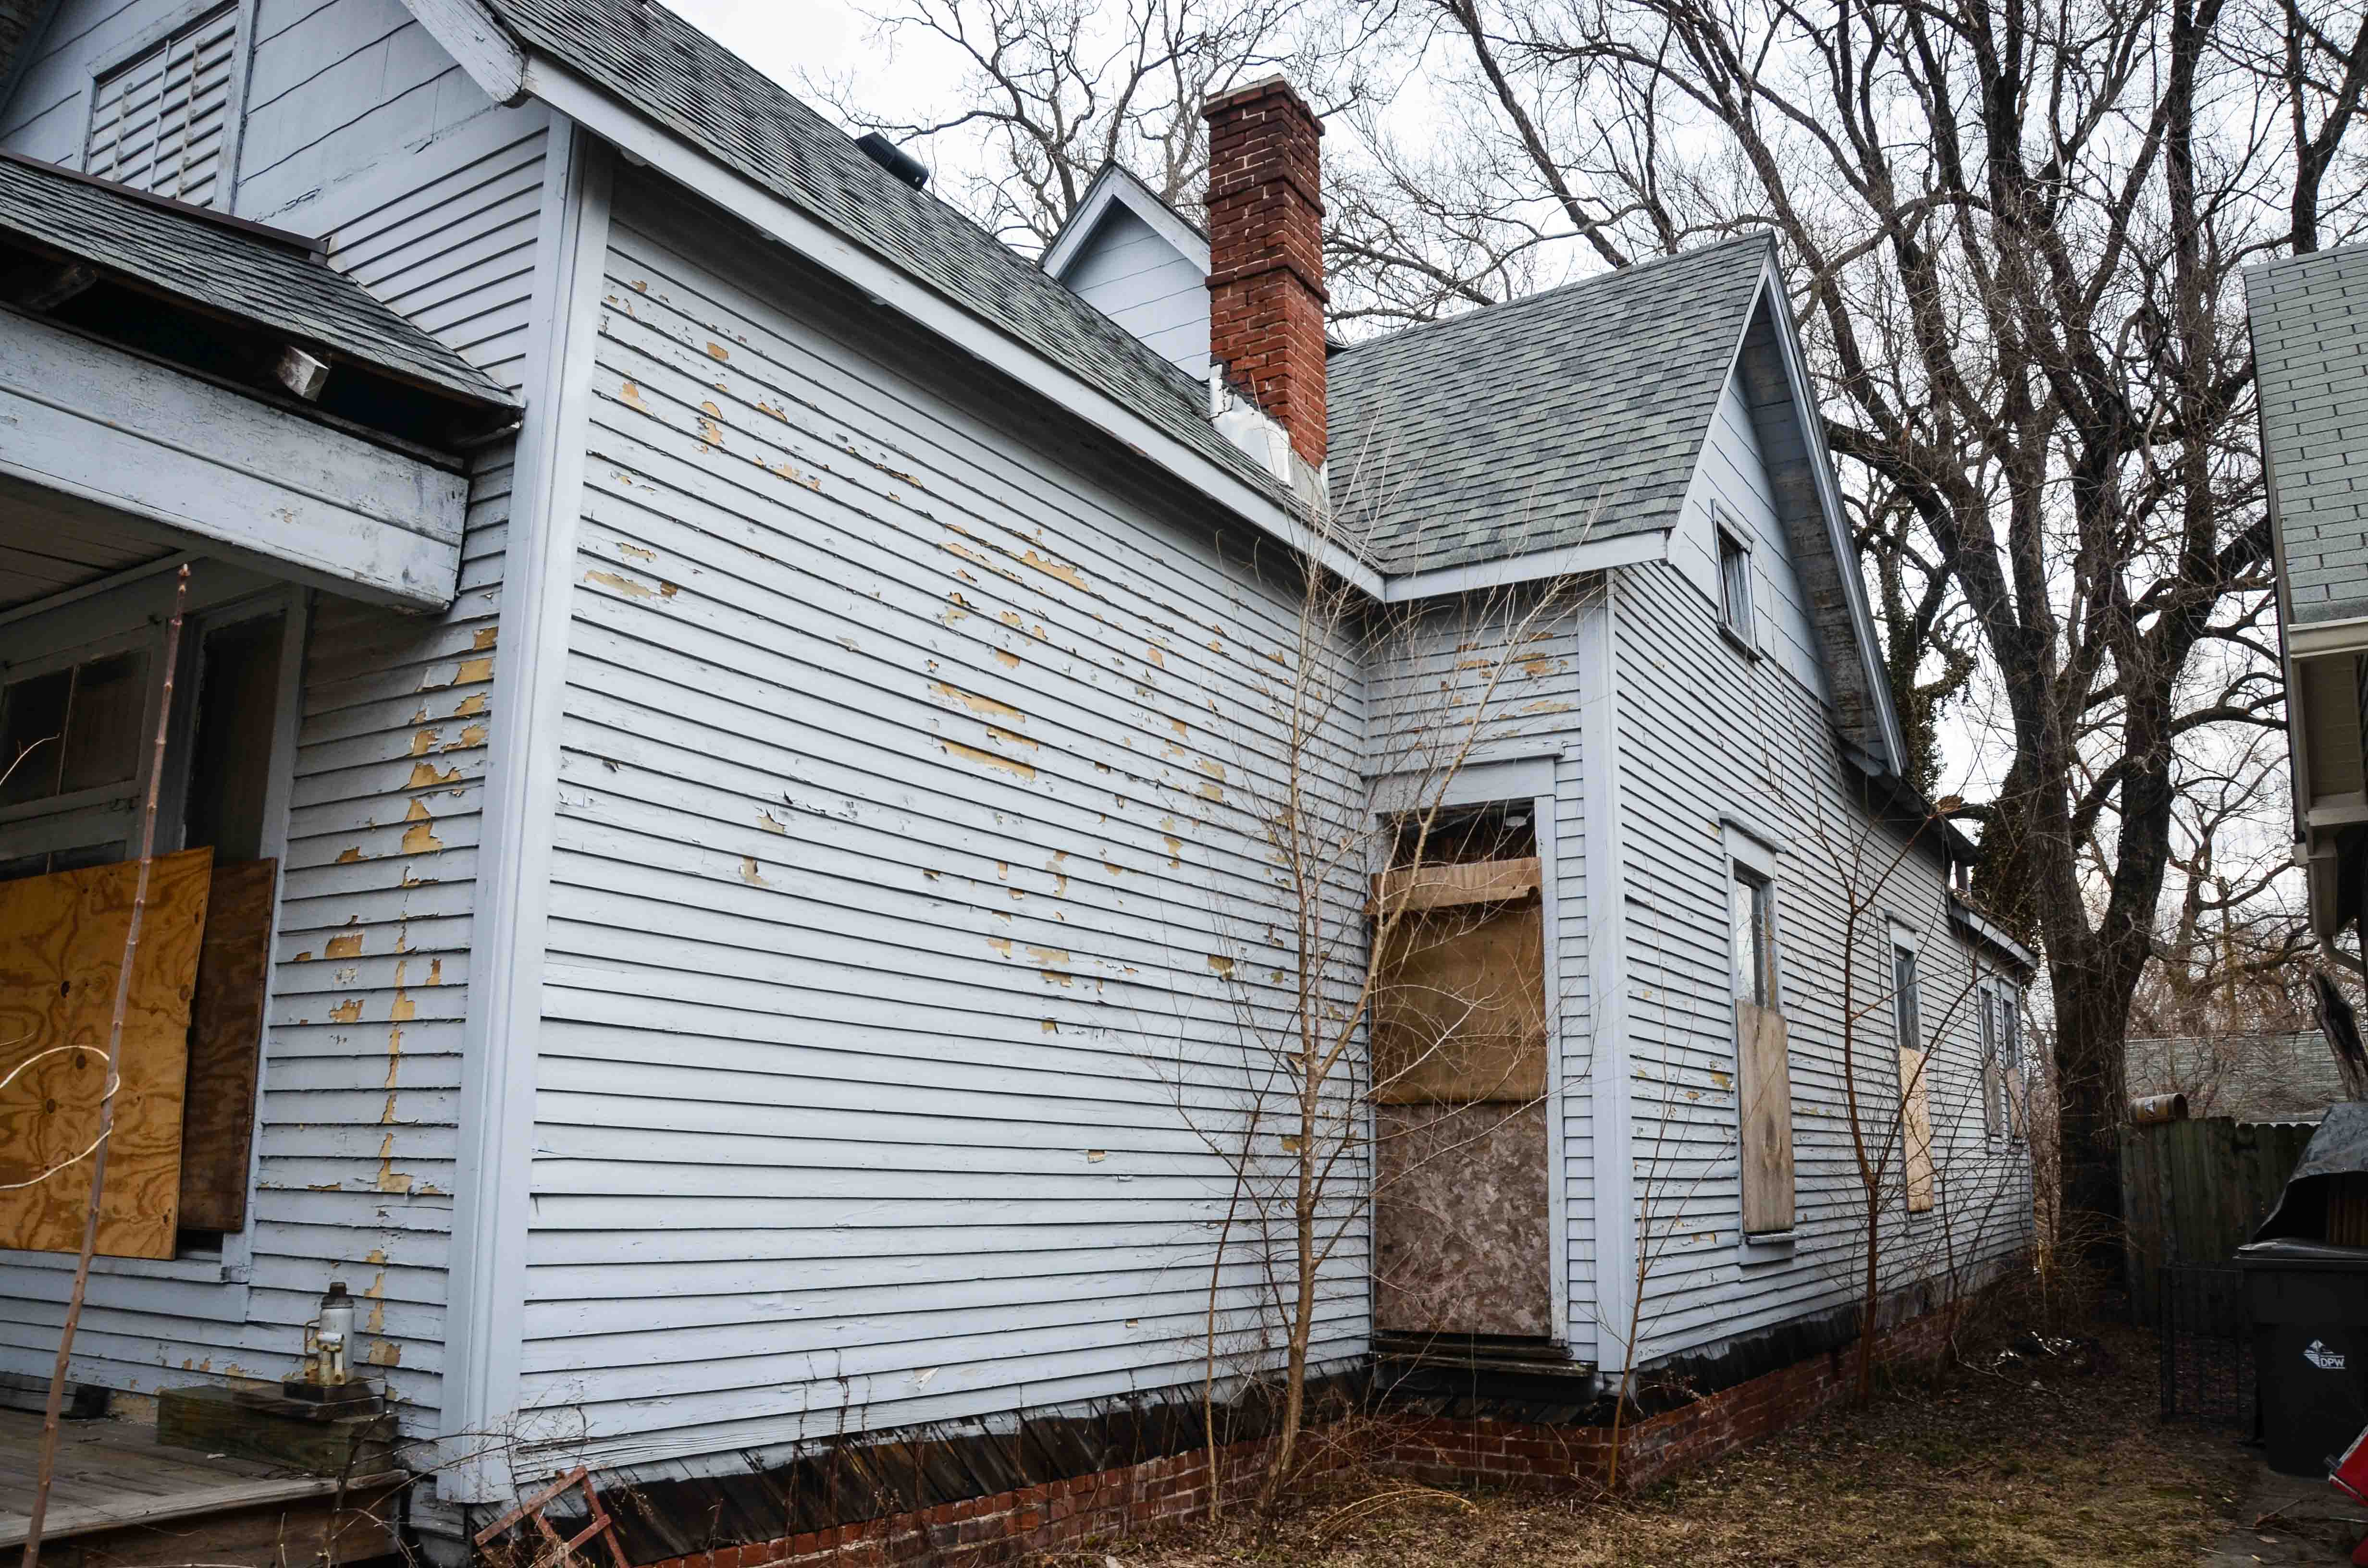
Here is a reminder of what our landscaping looked like when we purchased the house. Keep in mind, this picture was taken in the winter. I can’t imagine how much more overgrown it looked in the summer!

Every part of the front yard was overrun and portions of the backyard were practically a jungle!

Our main spring break goal was to get the landscaping permanently under control and to eradicate the jungle. No more pruning or other quick-fix temporary solutions.
The first thing we did was to draw a landscaping plan for the entire property. Besides the beds of mulch and planning for future plants, we also had specific elements in mind that we wanted to add to our outdoor space, including a vegetable garden, chicken coop area, fire pit, and fencing. Once we revised our plan a couple times, we headed to the yard to further “draw” our mulch beds with extension cords. We edged the outline of the beds, removed the sod from the topsoil, and then turned the soil underneath . I cannot tell you how many rocks, bricks, and pieces of glass were excavated during this process.

All of our mulch beds have nice curves, but the one area where we have a straight line is the front of the yard. It was obvious by the buried bricks that someone had also done this LONG ago. We planned on building a picket fence slightly back from the sidewalk and then planting flowers in front of the fence.

We then re-claimed our brick borders that had been covered by sod. In this image you can see what it looked like before (on the left) and after (on the right).

All of this digging uncovered some fun artifacts. I have a little collection of yard findings I will put in a jar on a shelf somewhere.


Our plan was to prepare the soil, then add weed-blocking fabric. But before we could do that we needed to remove many, many deep-rooted tree-sized weeds, dead bush stumps, and one giant live bush. When we told our neighbor we were going to get rid of the evergreen bush growing at the corner of our porch, she got very excited and exclaimed, “that bush has no business being in front of that house.” She also angrily declared that it belonged in the suburbs. We wholeheartedly agreed!
Joe had the unenviable job of chopping, sawing, and digging out this large root ball.

On one side of our front yard we have rose of sharon growing in a row on the property line. These look great when they flower, but they had grown to be more than ten feet tall and were tangled up in an old chain link fence. After consulting again with our neighbor, we decided to chop it all the way down, remove the unwanted weeds and trees imbedded in rose of sharon, and remove the old fencing. We are hoping it will grow back a little bit fuller and will be easier for us to manage.

It was at about this point when we started feeling a little worried about our “progress”. We had chopped nearly every living thing down and turned half our lawn into dirt patches. It really looked pretty desolate and sad for a couple days, but we proceeded with the knowledge that it had to get worse before it got better.

We did keep the one lovely thing we have…a very old rose bush that we are told was planted by and tended to by an elderly man named Claude, the man who last lived in our house and has sense passed. So, here’s to you Claude, we kept those roses just for you.

We also tackled the sides of the house. Here is a “before” picture of the south side of the house (notice all the trees)…
Here is what it looks like after all our work and mulch. Eventually we will have a vegetable garden in that area near the front.

On the other side of the porch we dug up several old bush stumps to create an area for new plants and also created a new brick “landing pad” as a short cut to the front door from the driveway.

Another big item on list for the front yard was to construct a picket fence.

We only fenced the front portion of the yard because there will be bushes on the sides of the yard to give it a sense of enclosure. It’s not much, but it really does make the front yard feel so much better and helps nicely frame the house from the curb.

On to the backyard!
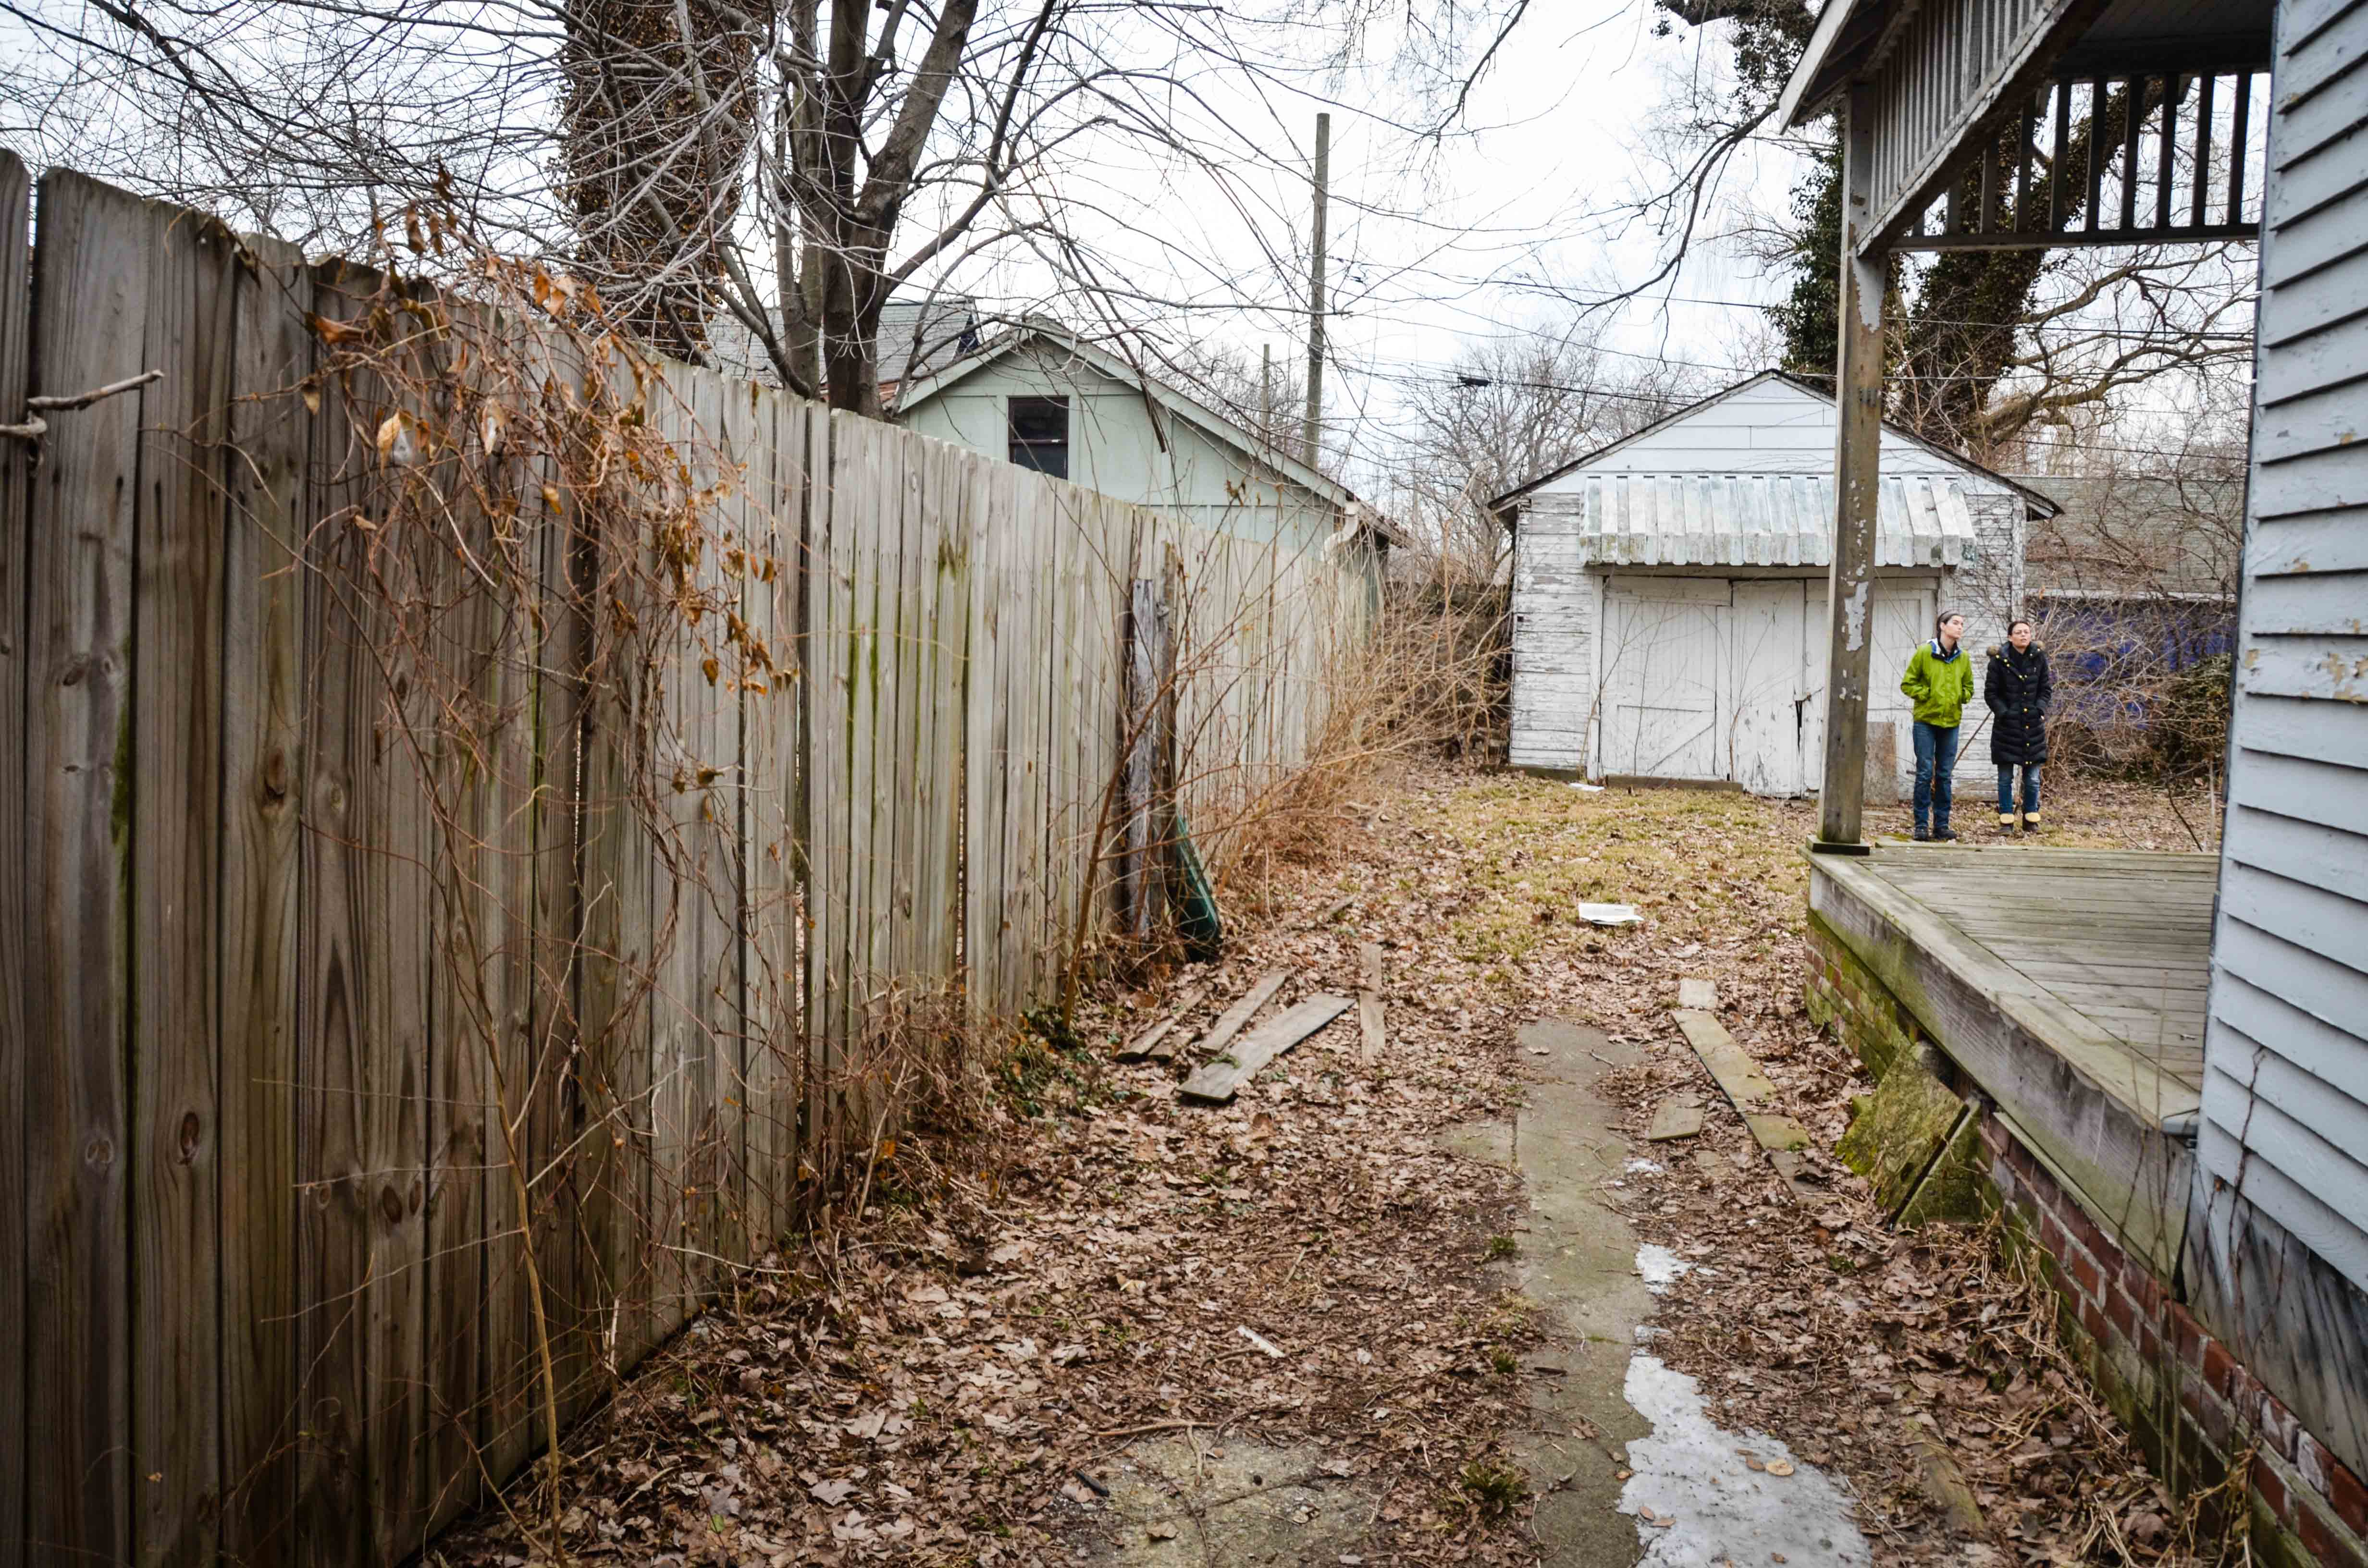
In the backyard there were three main areas that needed extensive work. The area next to the shed originally looked like this…

We hacked my way through this right after we bought the house and then last spring we removed a broken chain link fence, cinder blocks, countless bricks, and then constructed a privacy fence. Still, the ground looked like this…

This area is where we plan on keeping our chickens. That means we needed to clear away all the ivy, bricks, cinder blocks, and glass. In the process of doing this we discovered that there was a sidewalk! Who knew? We also relocated more than a hundred bricks to clear out the other side of this newly discovered sidewalk and expose the rotted area of the shed that needed to be repaired. Joe created CUSTOM lap siding to cover the gaping holes on the bottom of the shed. We’re apparently ready to live off grid and build a cabin in the woods. 🙂
[Edit from Joe: Uh, yeah… as long as we have power tools. Does that count as off the grid?]

Our chickens passed away last summer [Edit from Joe: Ha! That’s a nice way to put it] and we have been waiting out the winter until the warm weather allows us to try incubating and hatching chicks from eggs. Our new flock won’t be old enough to brave the elements for a couple months, but now is the time to build the fence and get everything situated.
We built this coop several years ago for our old flock and brought it with us when we moved here. The coop includes nesting boxes and an enclosed “run” for them, but it’s nice to be able to let them out in a larger space without opening up the entire yard. The back area of our yard works perfectly for the chicken coop and we decided to situate the coop so that we could check for eggs and also let out the chickens without even going in the fenced area.
Lucy is anxiously awaiting our new flock…

Behind our new privacy fence was the weed “moat” that we jokingly used to ward off burglars. This picture was taken last summer only a handful of weeks after building that fence and completely clearing out the weed-choked alley. You can see the battle we were fighting. I’m laughing because I hadn’t been back there since I cleared it all away. I just couldn’t believe it.
[Edit from Joe: Actually she’s laughing because I told her to angrily point at the weeds… she failed.]

Originally the alley looked like this…

After much chopping, digging, weeding, putting down weed block fabric, and mulching… it now looks like this!

To provide a break from all the digging, we decided to spend a day completely emptying the shed in the backyard. When we bought the house the shed was already half full of scrap lumber, old windows, and general creepiness. We were able to store our bikes in the shed, but it was awfully crowded and involved a lot of maneuvering to get everything in and out.
This was a super NASTY job…..and coming from us, that is really saying something. It was full of spiders, mystery substances, animal poop, and rotting animal corpses. Yep. Rotting corpses.
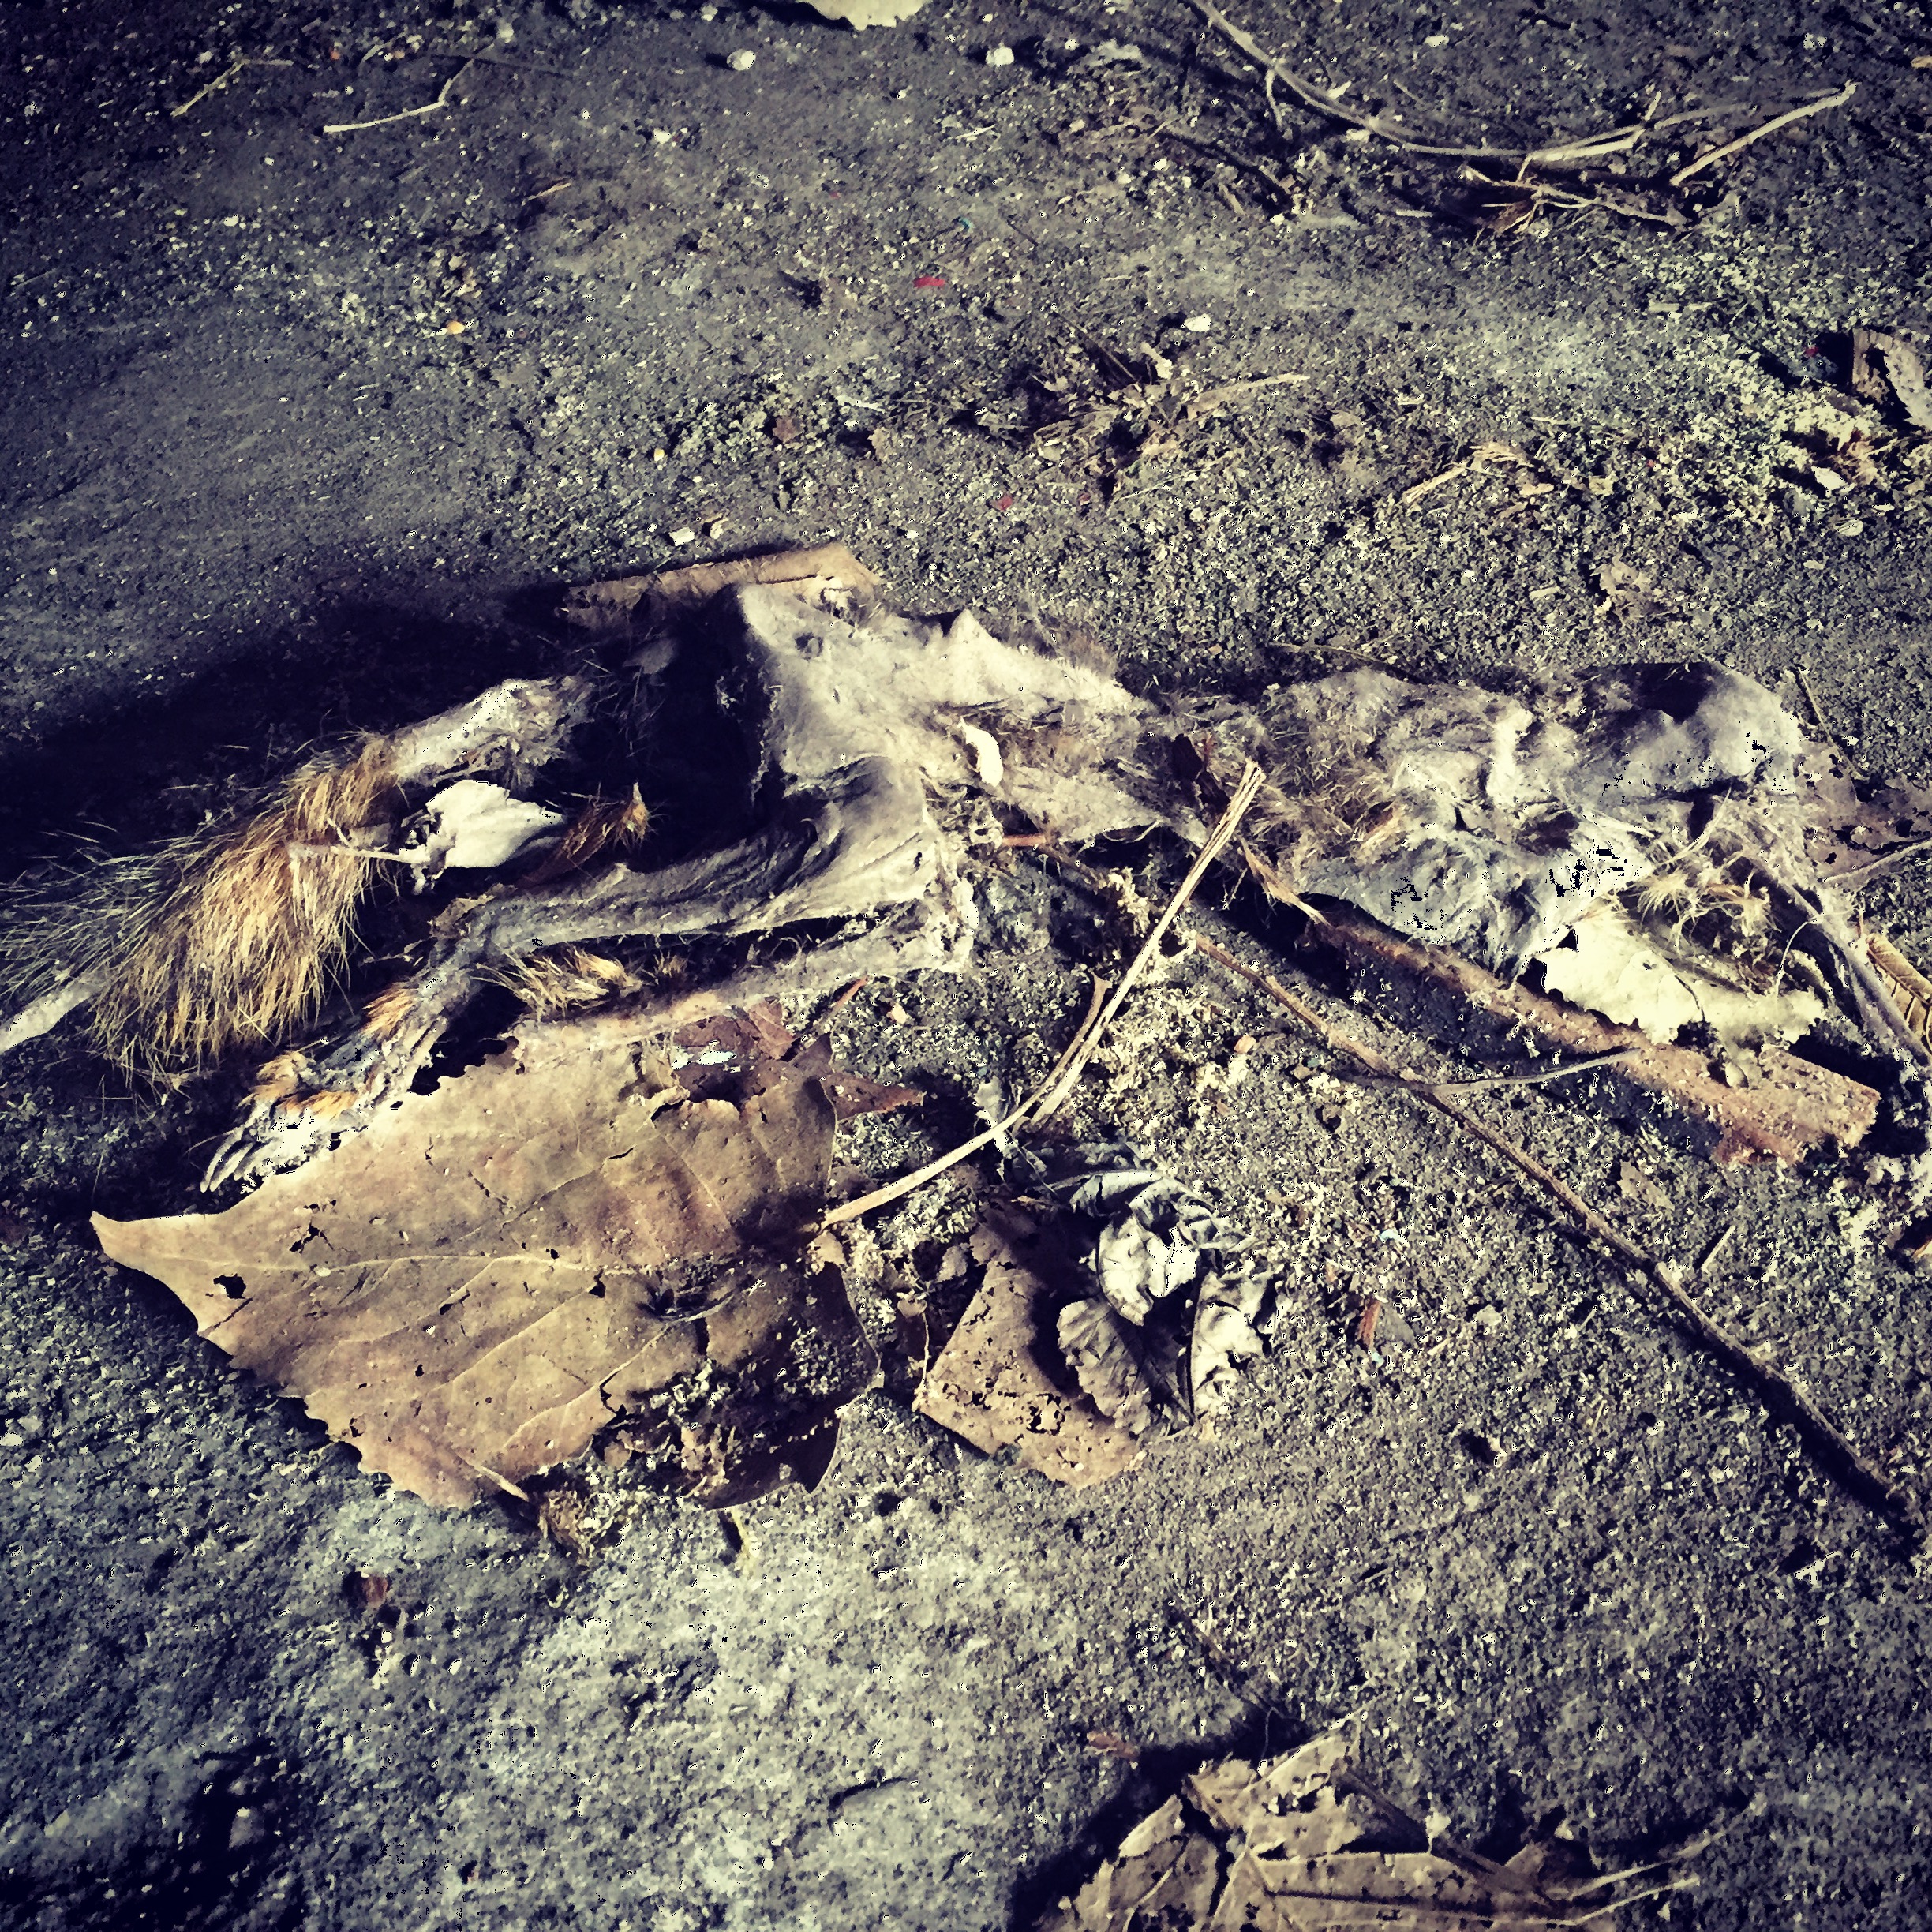
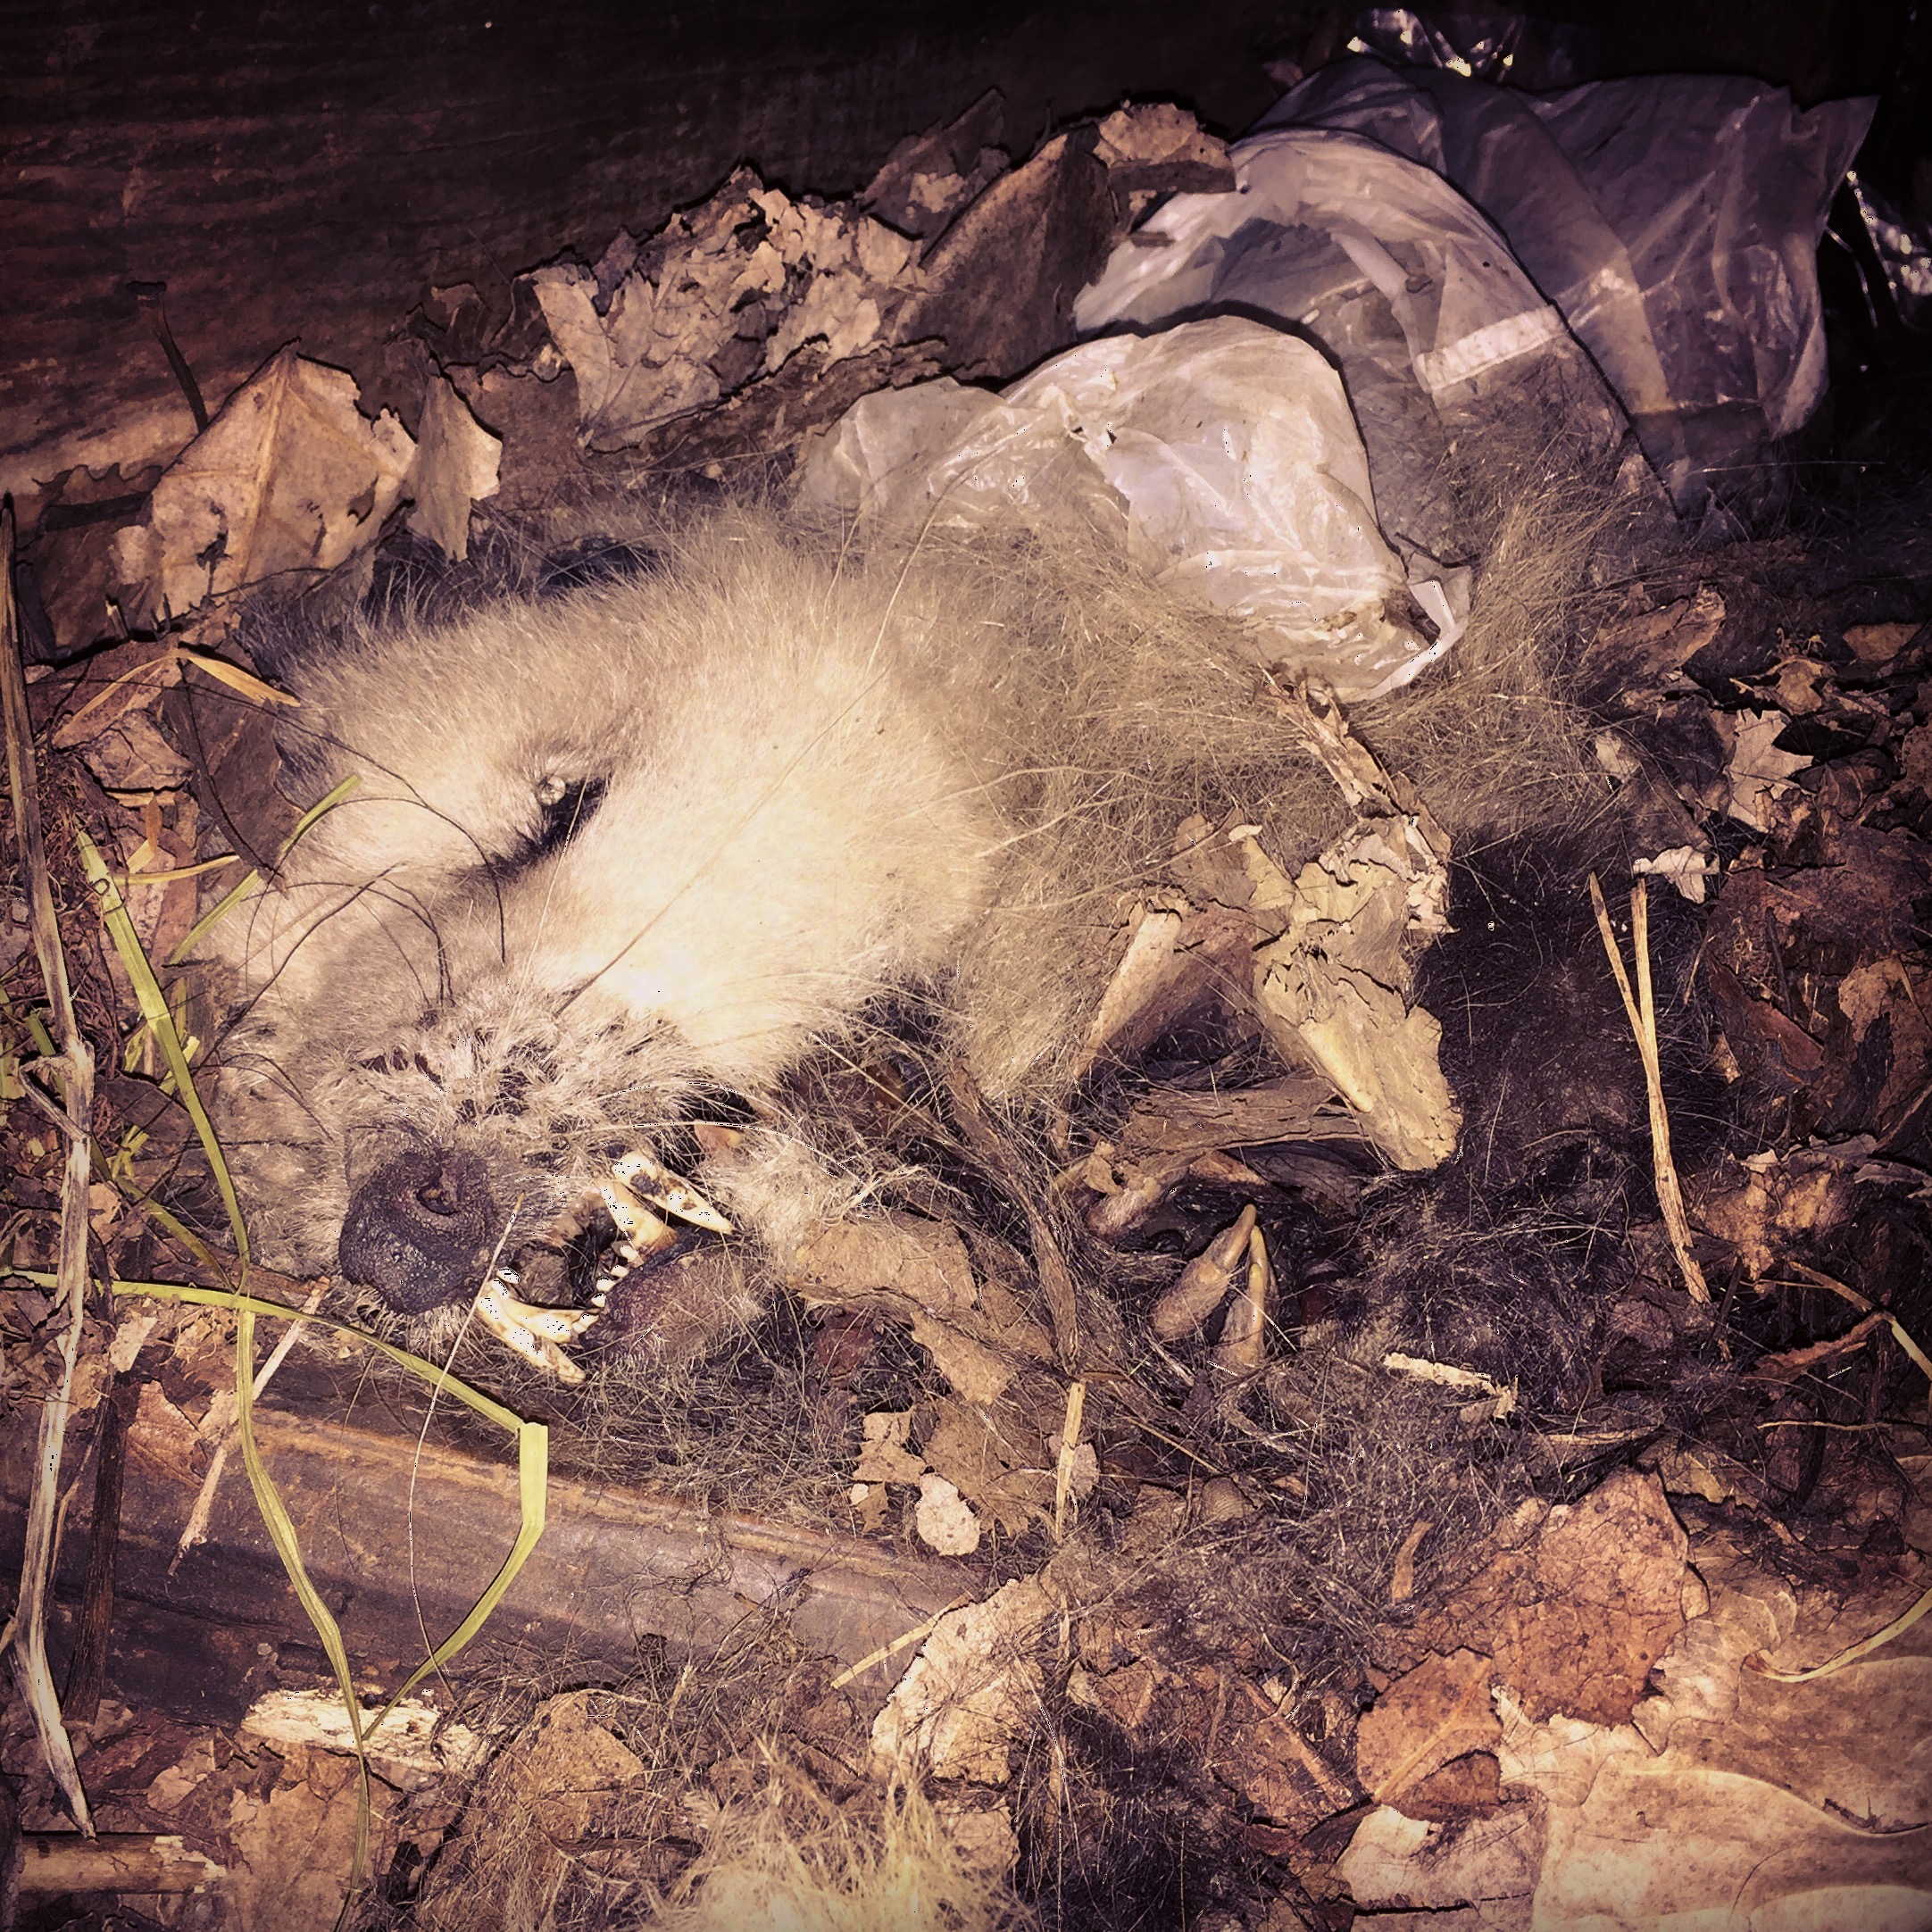
Super fun.
We did manage to find humor in the ridiculousness that someone apparently went to the Looney Tune school of carpentry to secure the back of the shed. “Ain’t no one gettin’ in”

As awful as it was, clearing out the shed turned out to be a cathartic experience. And now we have SO much space.

It’s still kinda scary, but at least it doesn’t smell like rotting animals anymore.

Emptying out the shed turned our backyard into a temporary junkyard. But we were able to get rid of most of it via trips to the landfill or putting stuff on Craig’s list.

Our last spring break improvement was to create a fire pit. In normal Joe and Amy fashion, we called up some friends in the midst of our landscaping marathon and invited them to come over for a marshmallow roast that very evening. One problem, we didn’t have a fire pit. We spent the day planning, digging, leveling, and bricking a fire pit using piles of the old bricks left in our backyard. By four o’clock we were ready to roast. How’s that for motivation?
First we removed the sod…

Next came the weed block and sand…

Then we organized the bricks in concentric circles and used the sand to keep everything level.

Finally, we swept sand and dirt into all the gaps…

Here is what this side of the yard looked like when we bought the house…
…and now!

We also did weed maintenance and mulching on the back of the house and along the other fence.

And we also finally took down the hideous awning on the shed…

There is still a lot to do. We want to rip up all that concrete sidewalk and do bricks or a stone path. The grass is mostly weeds and obviously we will be adding many bushes and flowers. Our yard is still pretty barren, but for now, it will just have to be okay.
In total, we spent two weeks, with two people working probably 30-40 hours a week on these projects. When you stand back and look at the visual evidence, it doesn’t even start to communicate what it took to get there. Like so many of our projects (creating flat wall surfaces, tar-free floors, and making lights turn on) we didn’t start at zero, we started at negative 10. For every bit of earth we wanted to claim there were sunken bricks, cinder blocks, and 20 years of vine, trash, glass and poison ivy growth to remove.
So one more time, let’s look at these before and after pictures of the front yard…

…and back yard.

If you made it all the way through this very long post, it’s safe to say that you probably like old houses, you know us, or at least watch a lot of HGTV. You might also be interested to know that our neighborhood has an upcoming home tour! This tour is a big fundraiser for our neighborhood and anyone can buy tickets. If you live in central Indiana, you like historic houses (and/or new urban construction), you want to support our hood, or you are just as nosy as I am, then this is a great event for you. PLUS our house will be on the tour as an “in progress” example what many homes in our neighborhood already went through. We’ll have artifacts we found in the walls on display and maybe some baby chickens in the clawfoot bathtub. Who doesn’t want to witness that disaster? Also, if you are one of the people in my life who likes to ask, “Are you done with the house yet?” I would say definitely come and answer that question for yourself. “Unequivocally, NO!”
Check out our neighborhood website and find information about the home tour and other great neighborhood events at the link below.
Alright…that’s enough for now. We have to prepare for a home tour, put some chicken eggs into the incubator, and get more medicine for our poison ivy!

Oh Amy and Joe I am overwhelmed with your PERI cannot wait to see those chick’s in EVERANCE in making your house a HOME. I love old homes and the mystery of what was and what is in the present. Keep on keeping on and yes my favorite word is and has been PERSEVERANCE for many years. I plan on attending your Cottage Tour……I cannot wait to see those chick’s in your old bathtub. Hugs & Love and I pray all the Poison Ivy is gone from your yard. I love seeing all your hard work in the before and after pictures. Hugs Love AJ
LikeLike
I’m inspired by your progress. Great post!
LikeLiked by 1 person
WOW what a lot of work! Looks great so far!
LikeLike
this blog is awesome! I am going to have to read all your posts, I love, love, love it! we are up the road in noblesville restoring a house and it always feels good to read about others going through similar processes (ours has always been habitable though!). Good work!
LikeLike
Thank you so much! I’m glad you are enjoying the blog.
LikeLike