The built-in craze continues with yet another IKEA hack! Aiden’s bed is in a unique area of the upstairs which most people assumed would be an oddly shaped closet. We decided this was an ideal nook for a bed, despite the thoughts of the occasional contractor that lacked vision and creative thought. But those same contractors were probably the same ones that were surprised we weren’t going to get all new flooring or replace all our plaster walls. Heck, they were probably the same ones that asked, “So, why do you want to live in this neighborhood?” Like I said, no vision.
Anyway…. back to the project. Here is the area we had designated for Aiden’s bed.
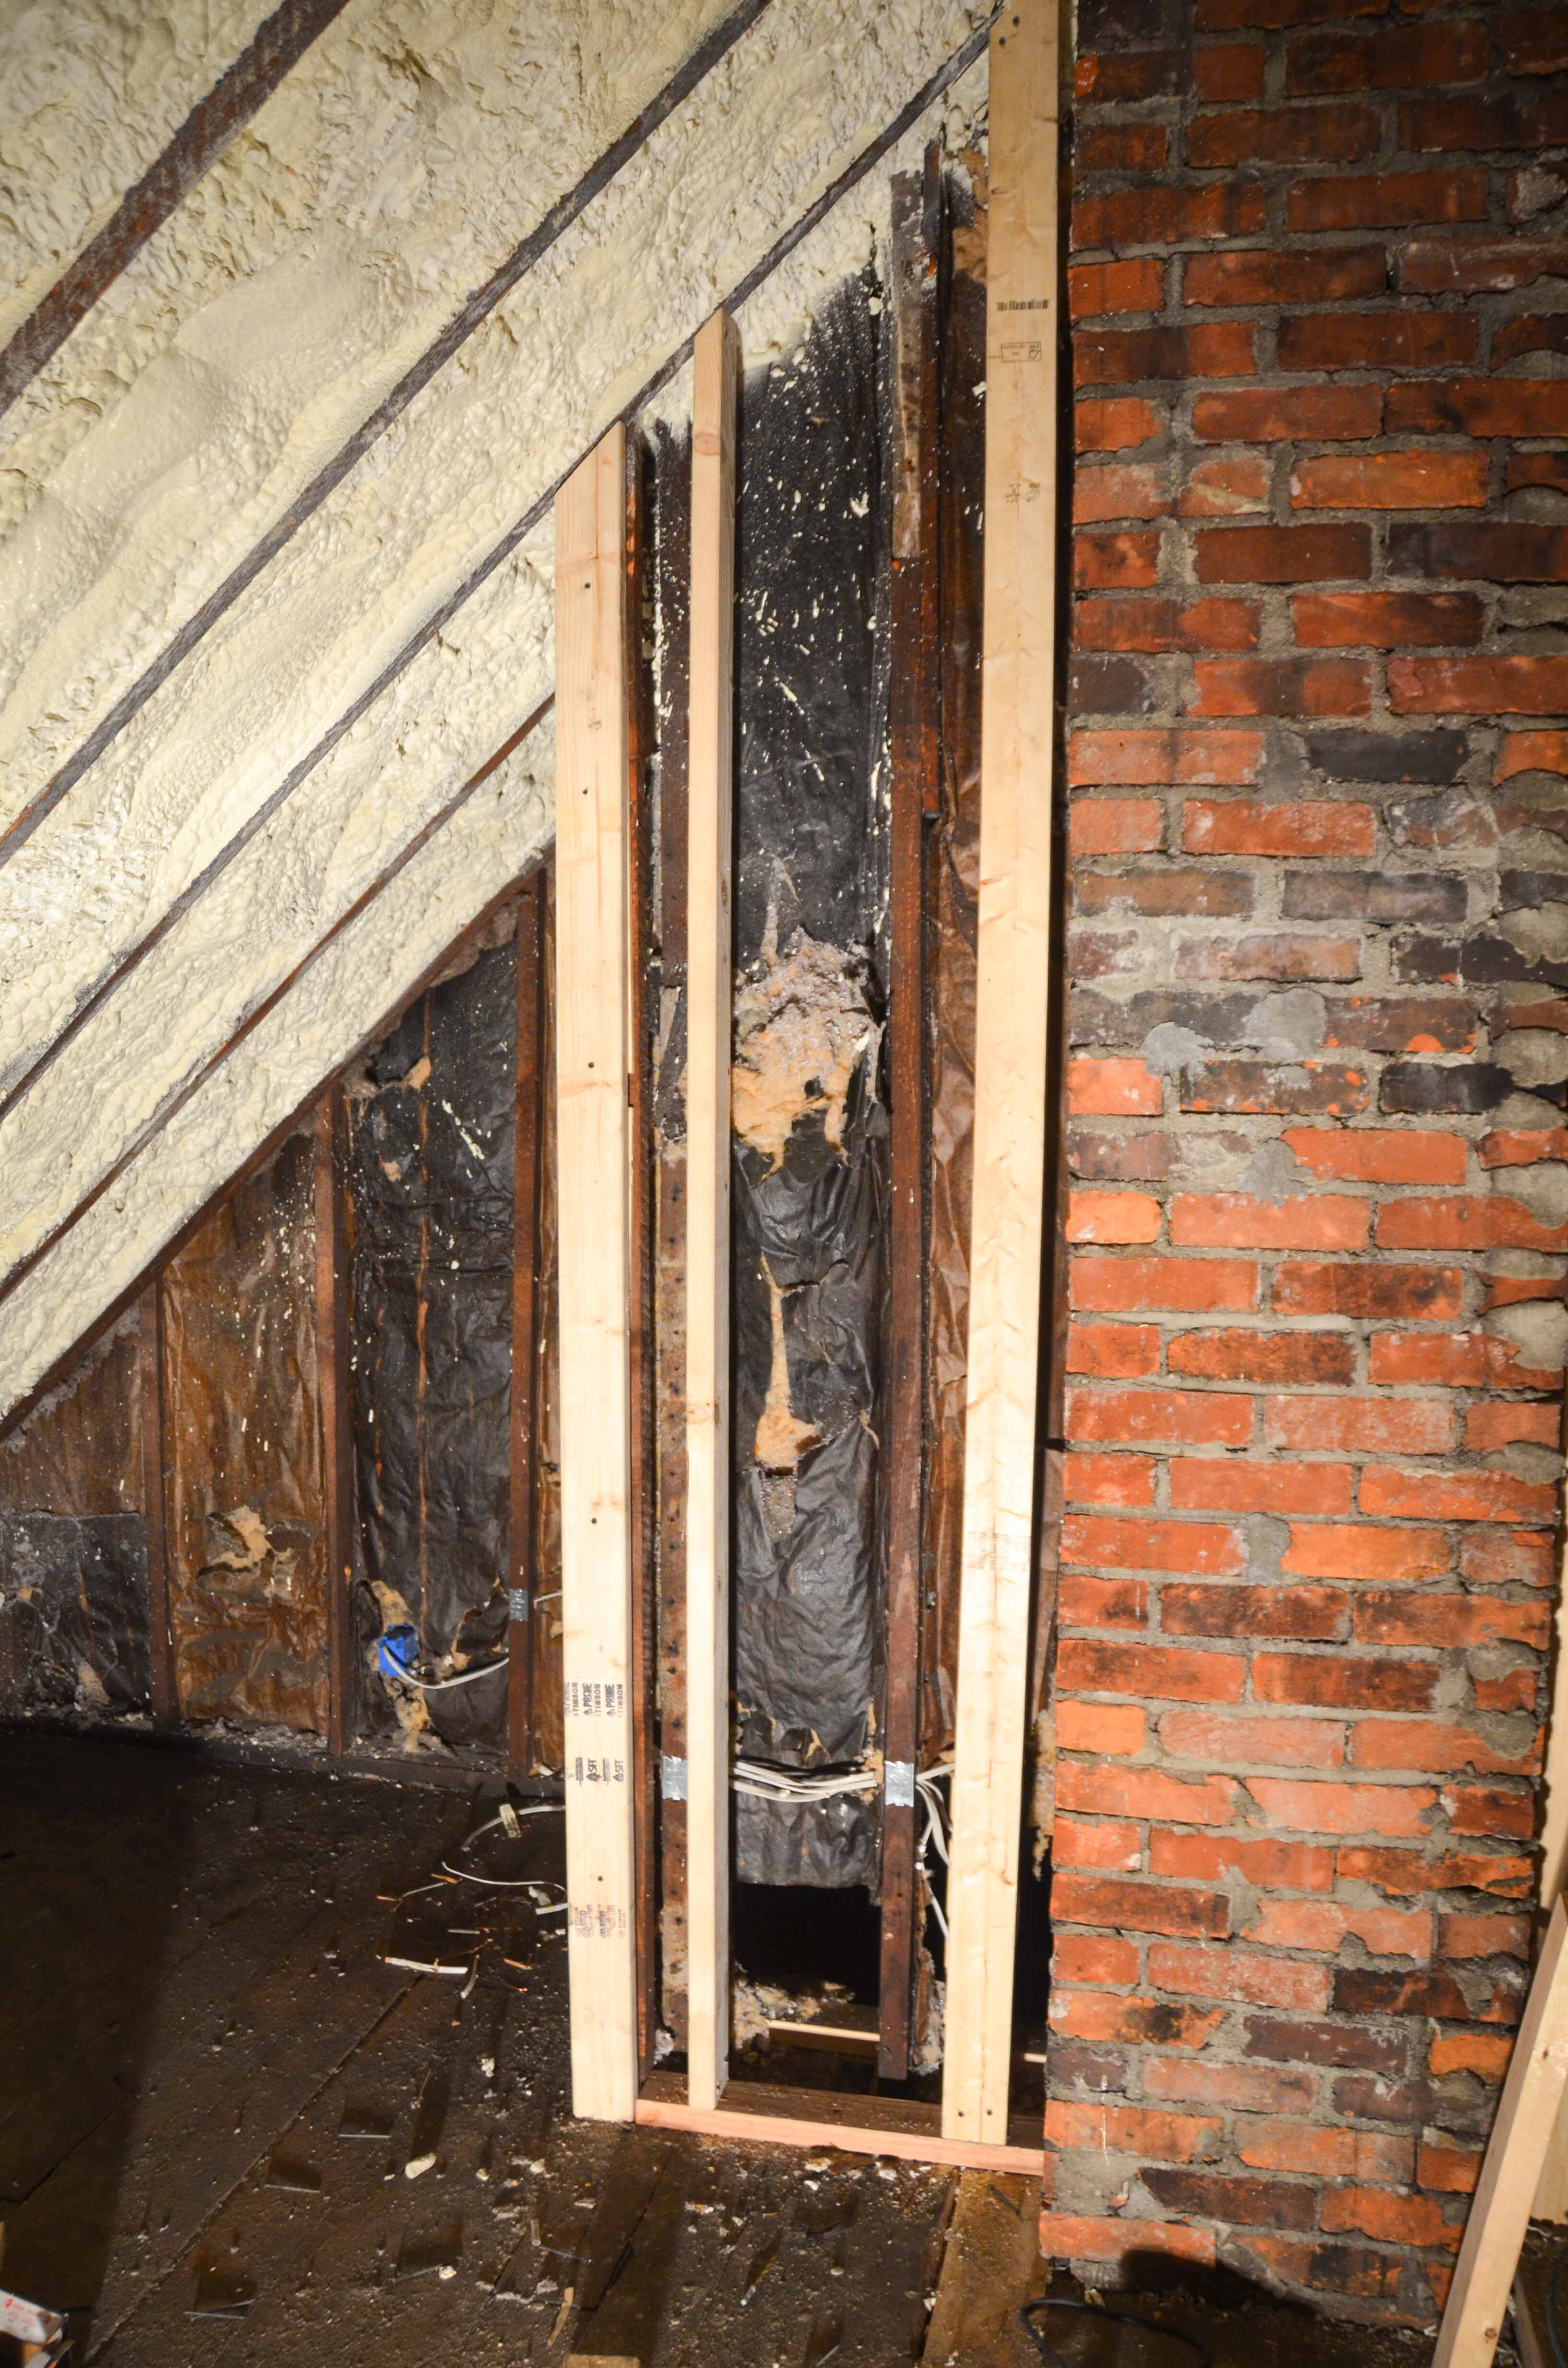
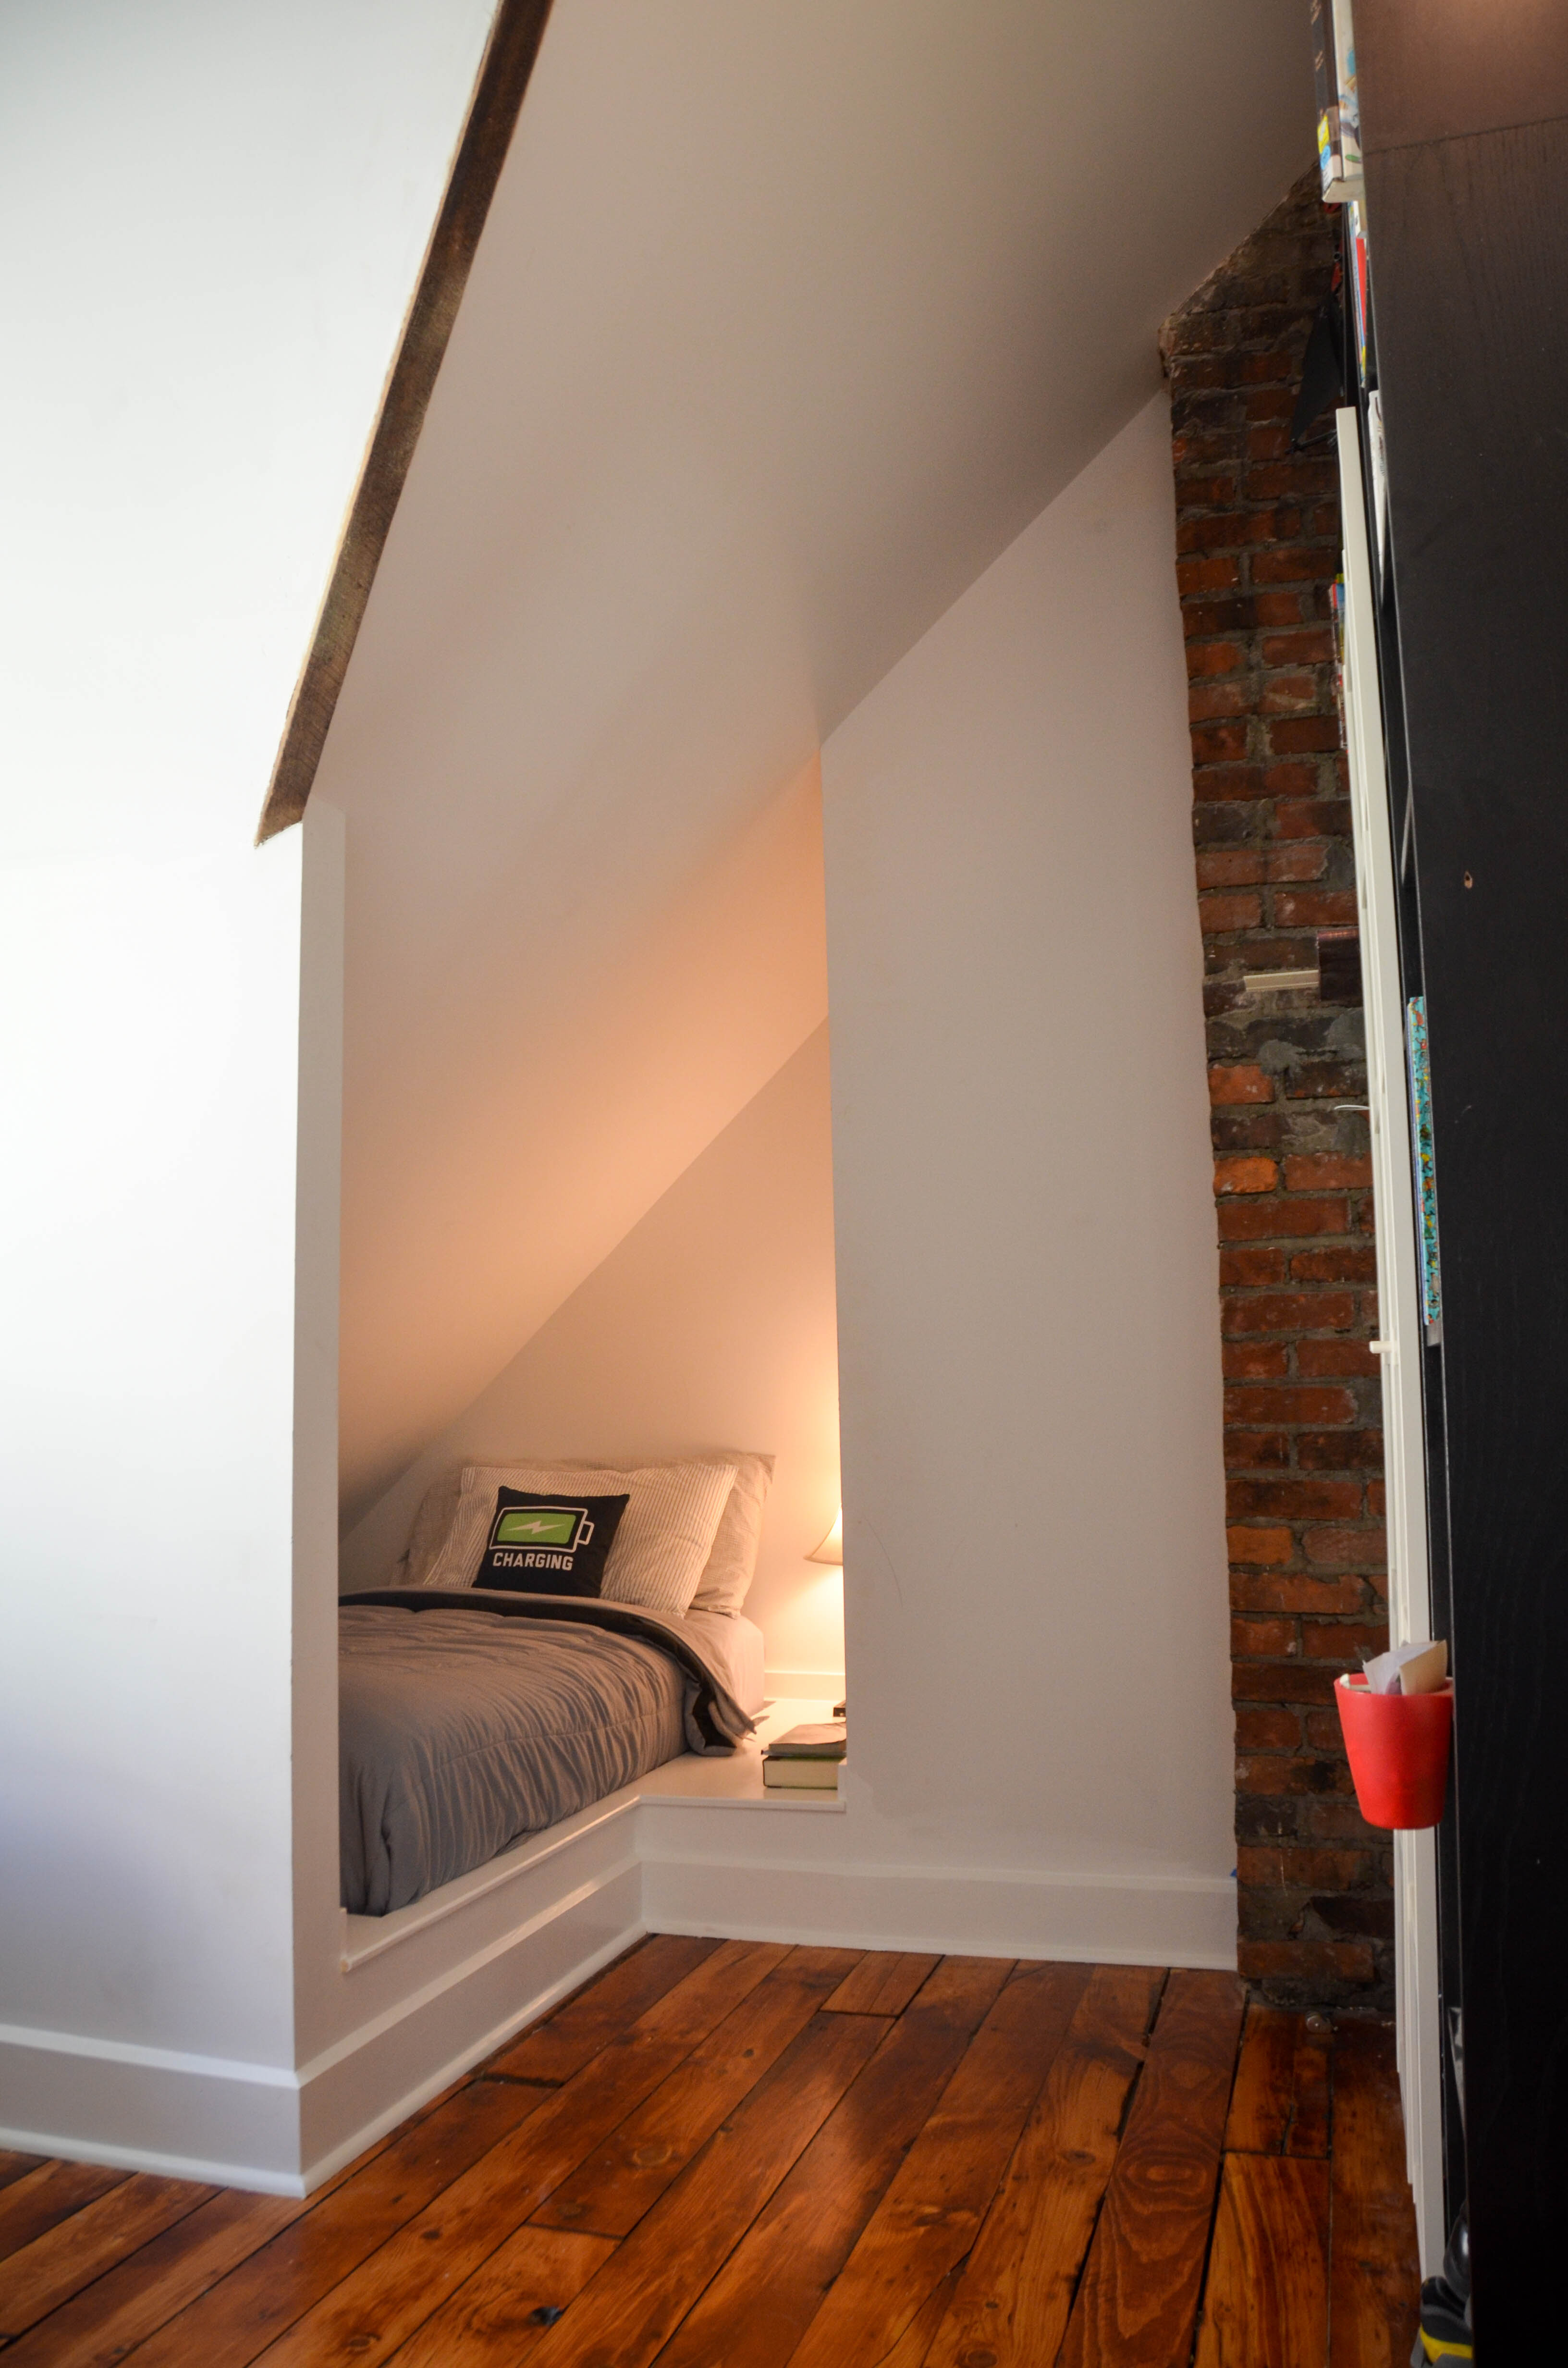
[Edit From Amy: Cozy, huh?] Here’s another view from a long time ago, before drywall. His bed area is to the right of the window, on the other side of the newly-framed wall, under the angled ceiling…. in that dark space… that you can’t really see.

Just plopping a bed into that area would have seemed forced, odd, and not very cozy. I wanted to create a built-in bed that would look like it belonged there. It needed to be off the ground, but not too high, and something that would make the space seem unique and purposeful. I was originally going to tackle this whole project without any help from a certain Swedish furniture manufacturer, but while we were looking for Lucy’s dressers we noticed a very cheap bed frame ($39!) that would serve as a great starting point for our project.

We didn’t want a head board and we also wanted the bed to be a little lower to the ground so that there would be more head room when sitting on the bed. This was easily remedied with a circular saw.

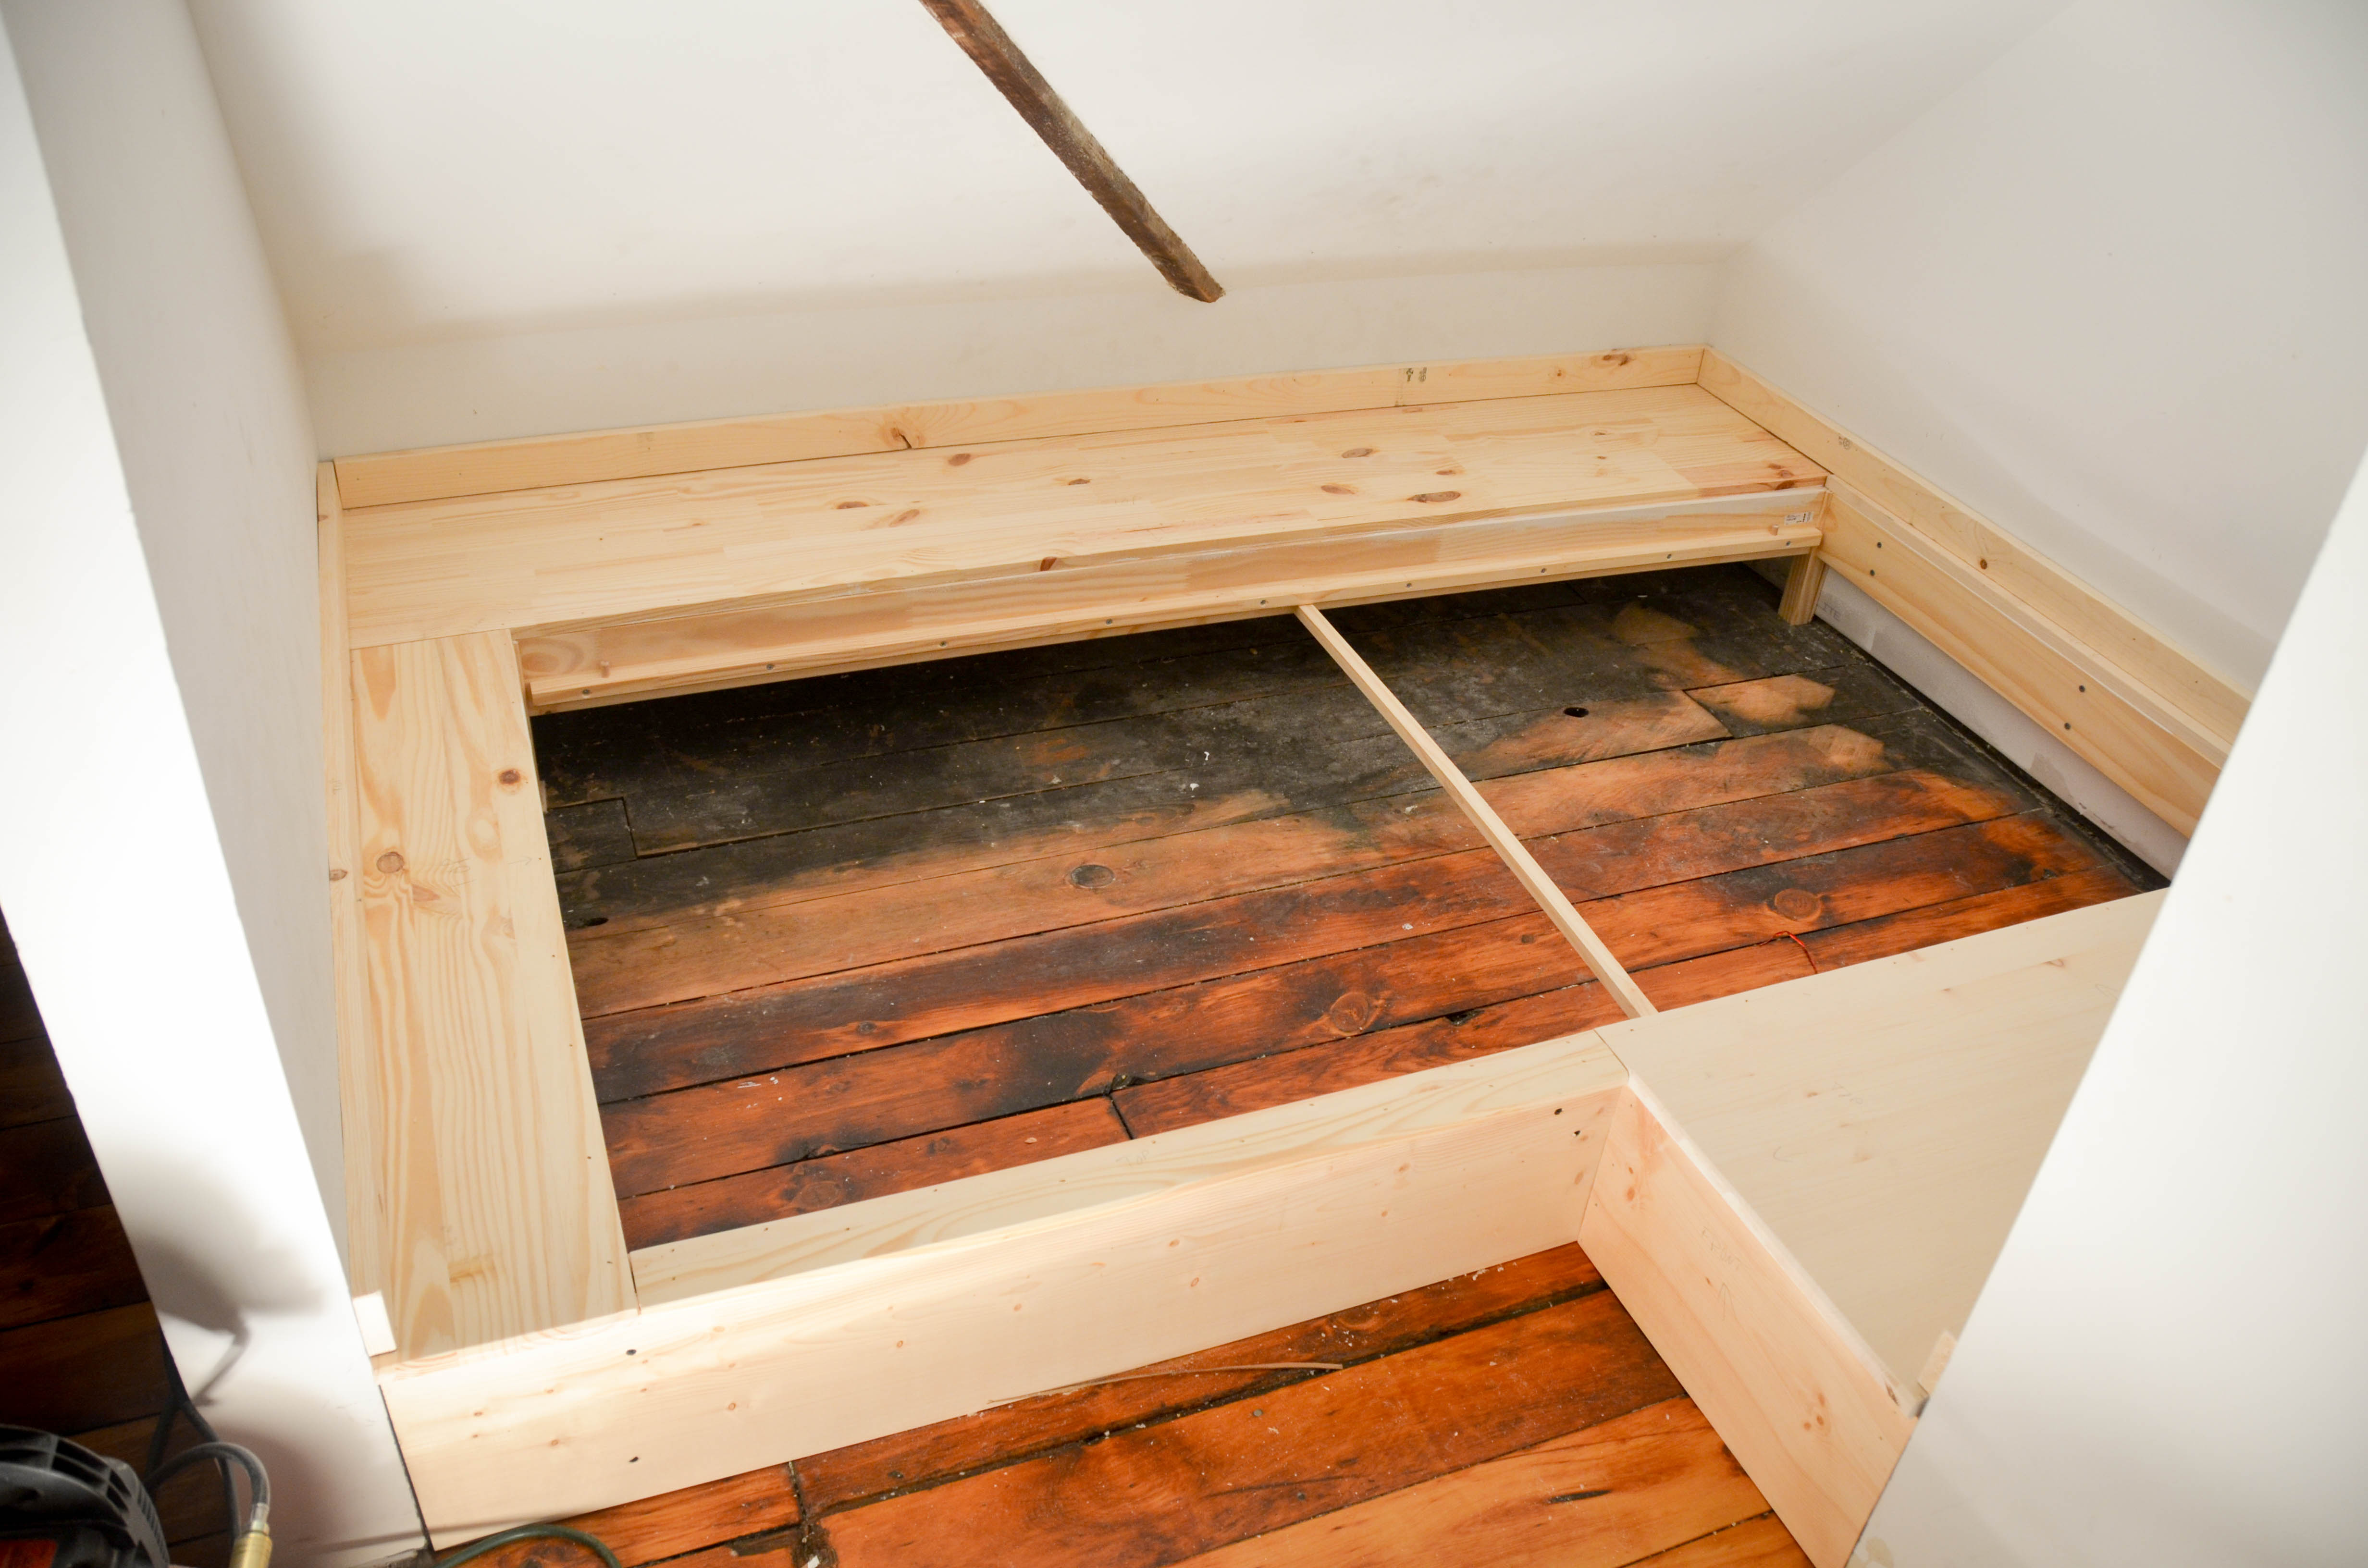
I wrestled with a couple different options for creating a platform around the bed and then settled on the easiest option. I used the top of the existing frame as my reference height and installed 2x4s on the walls to create support for a platform that would would encircle the majority of the mattress. I also added a vertical piece against the bed frame to continue the line of the wall.

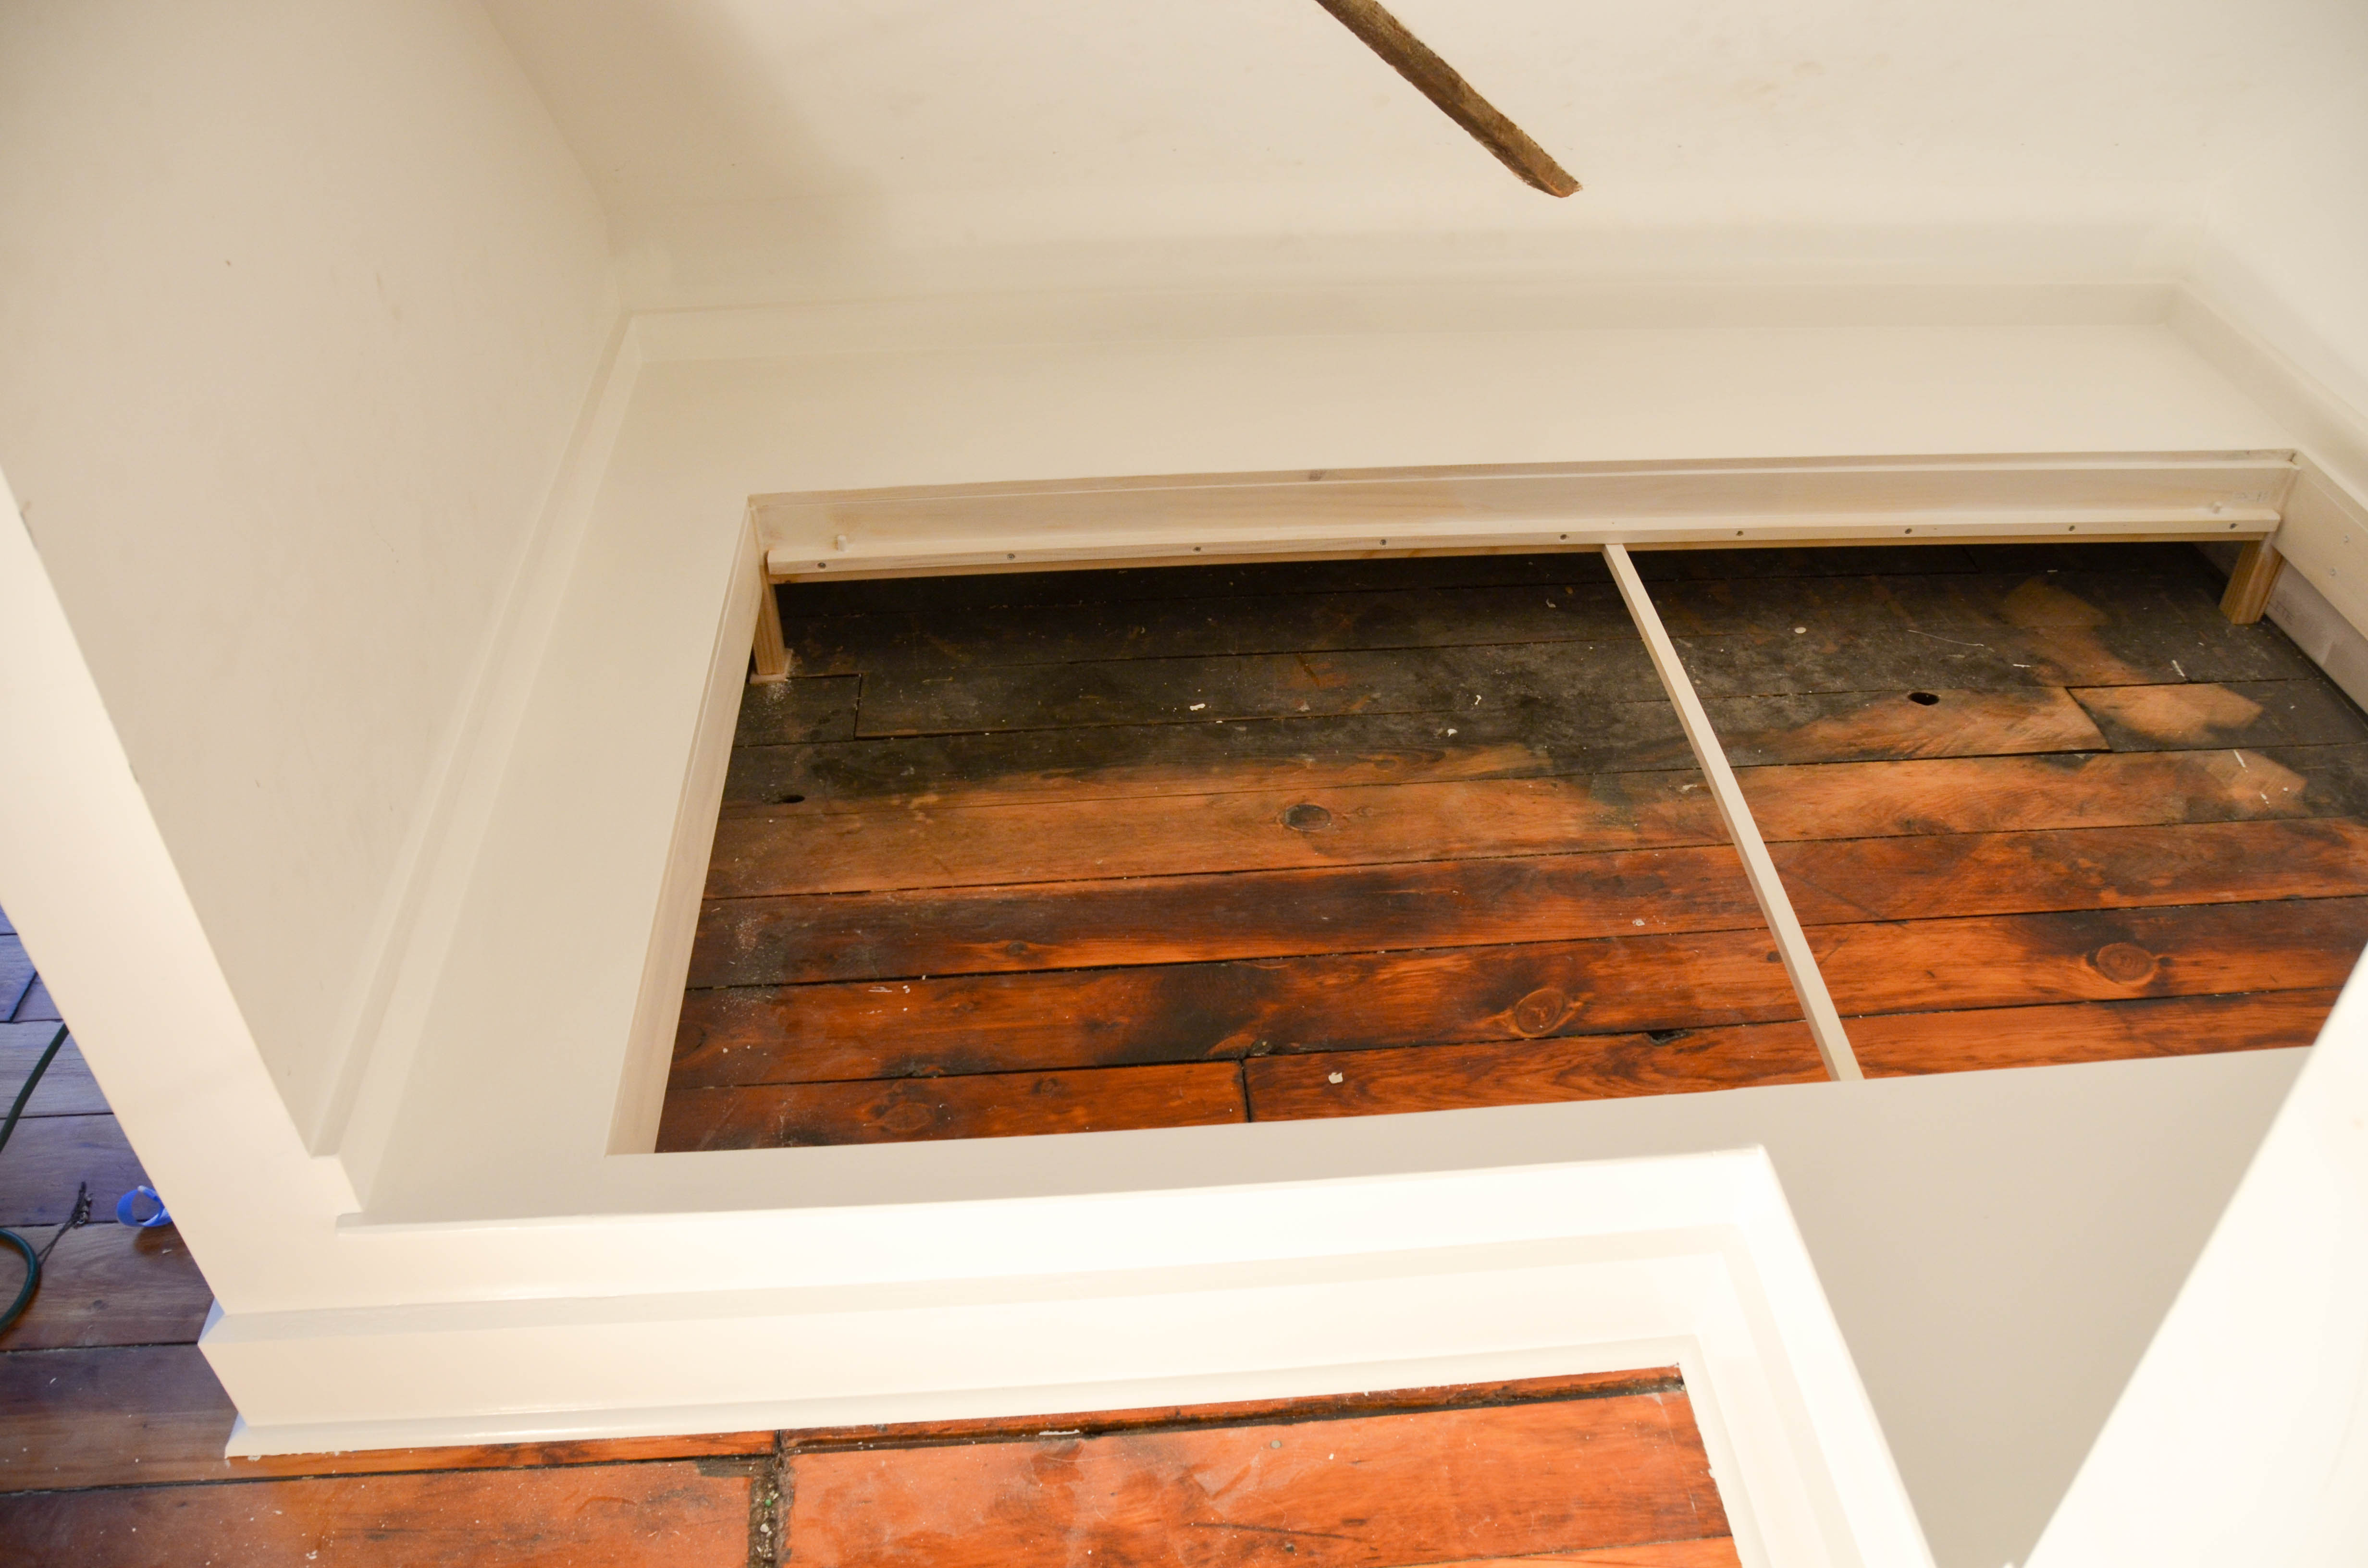
Next, I cut wide boards that would rest on the 2x4s and the side of the bed frame. This was more difficult than it should have been due to uneven walls and general un-squareness. I also added 1x3s along the edge to clean up the edges around the outside and to get a slightly more finished look.
I should mention that at this point Aiden saw his new bed frame and was very skeptical that his mattress would balance perfectly on that tiny piece of wood in the middle. In his mind he would just have a bed that teeter-tottered back and forth. To his credit, he seemed ready to accept this. 12 year-old boys just kinda roll with it, you know?
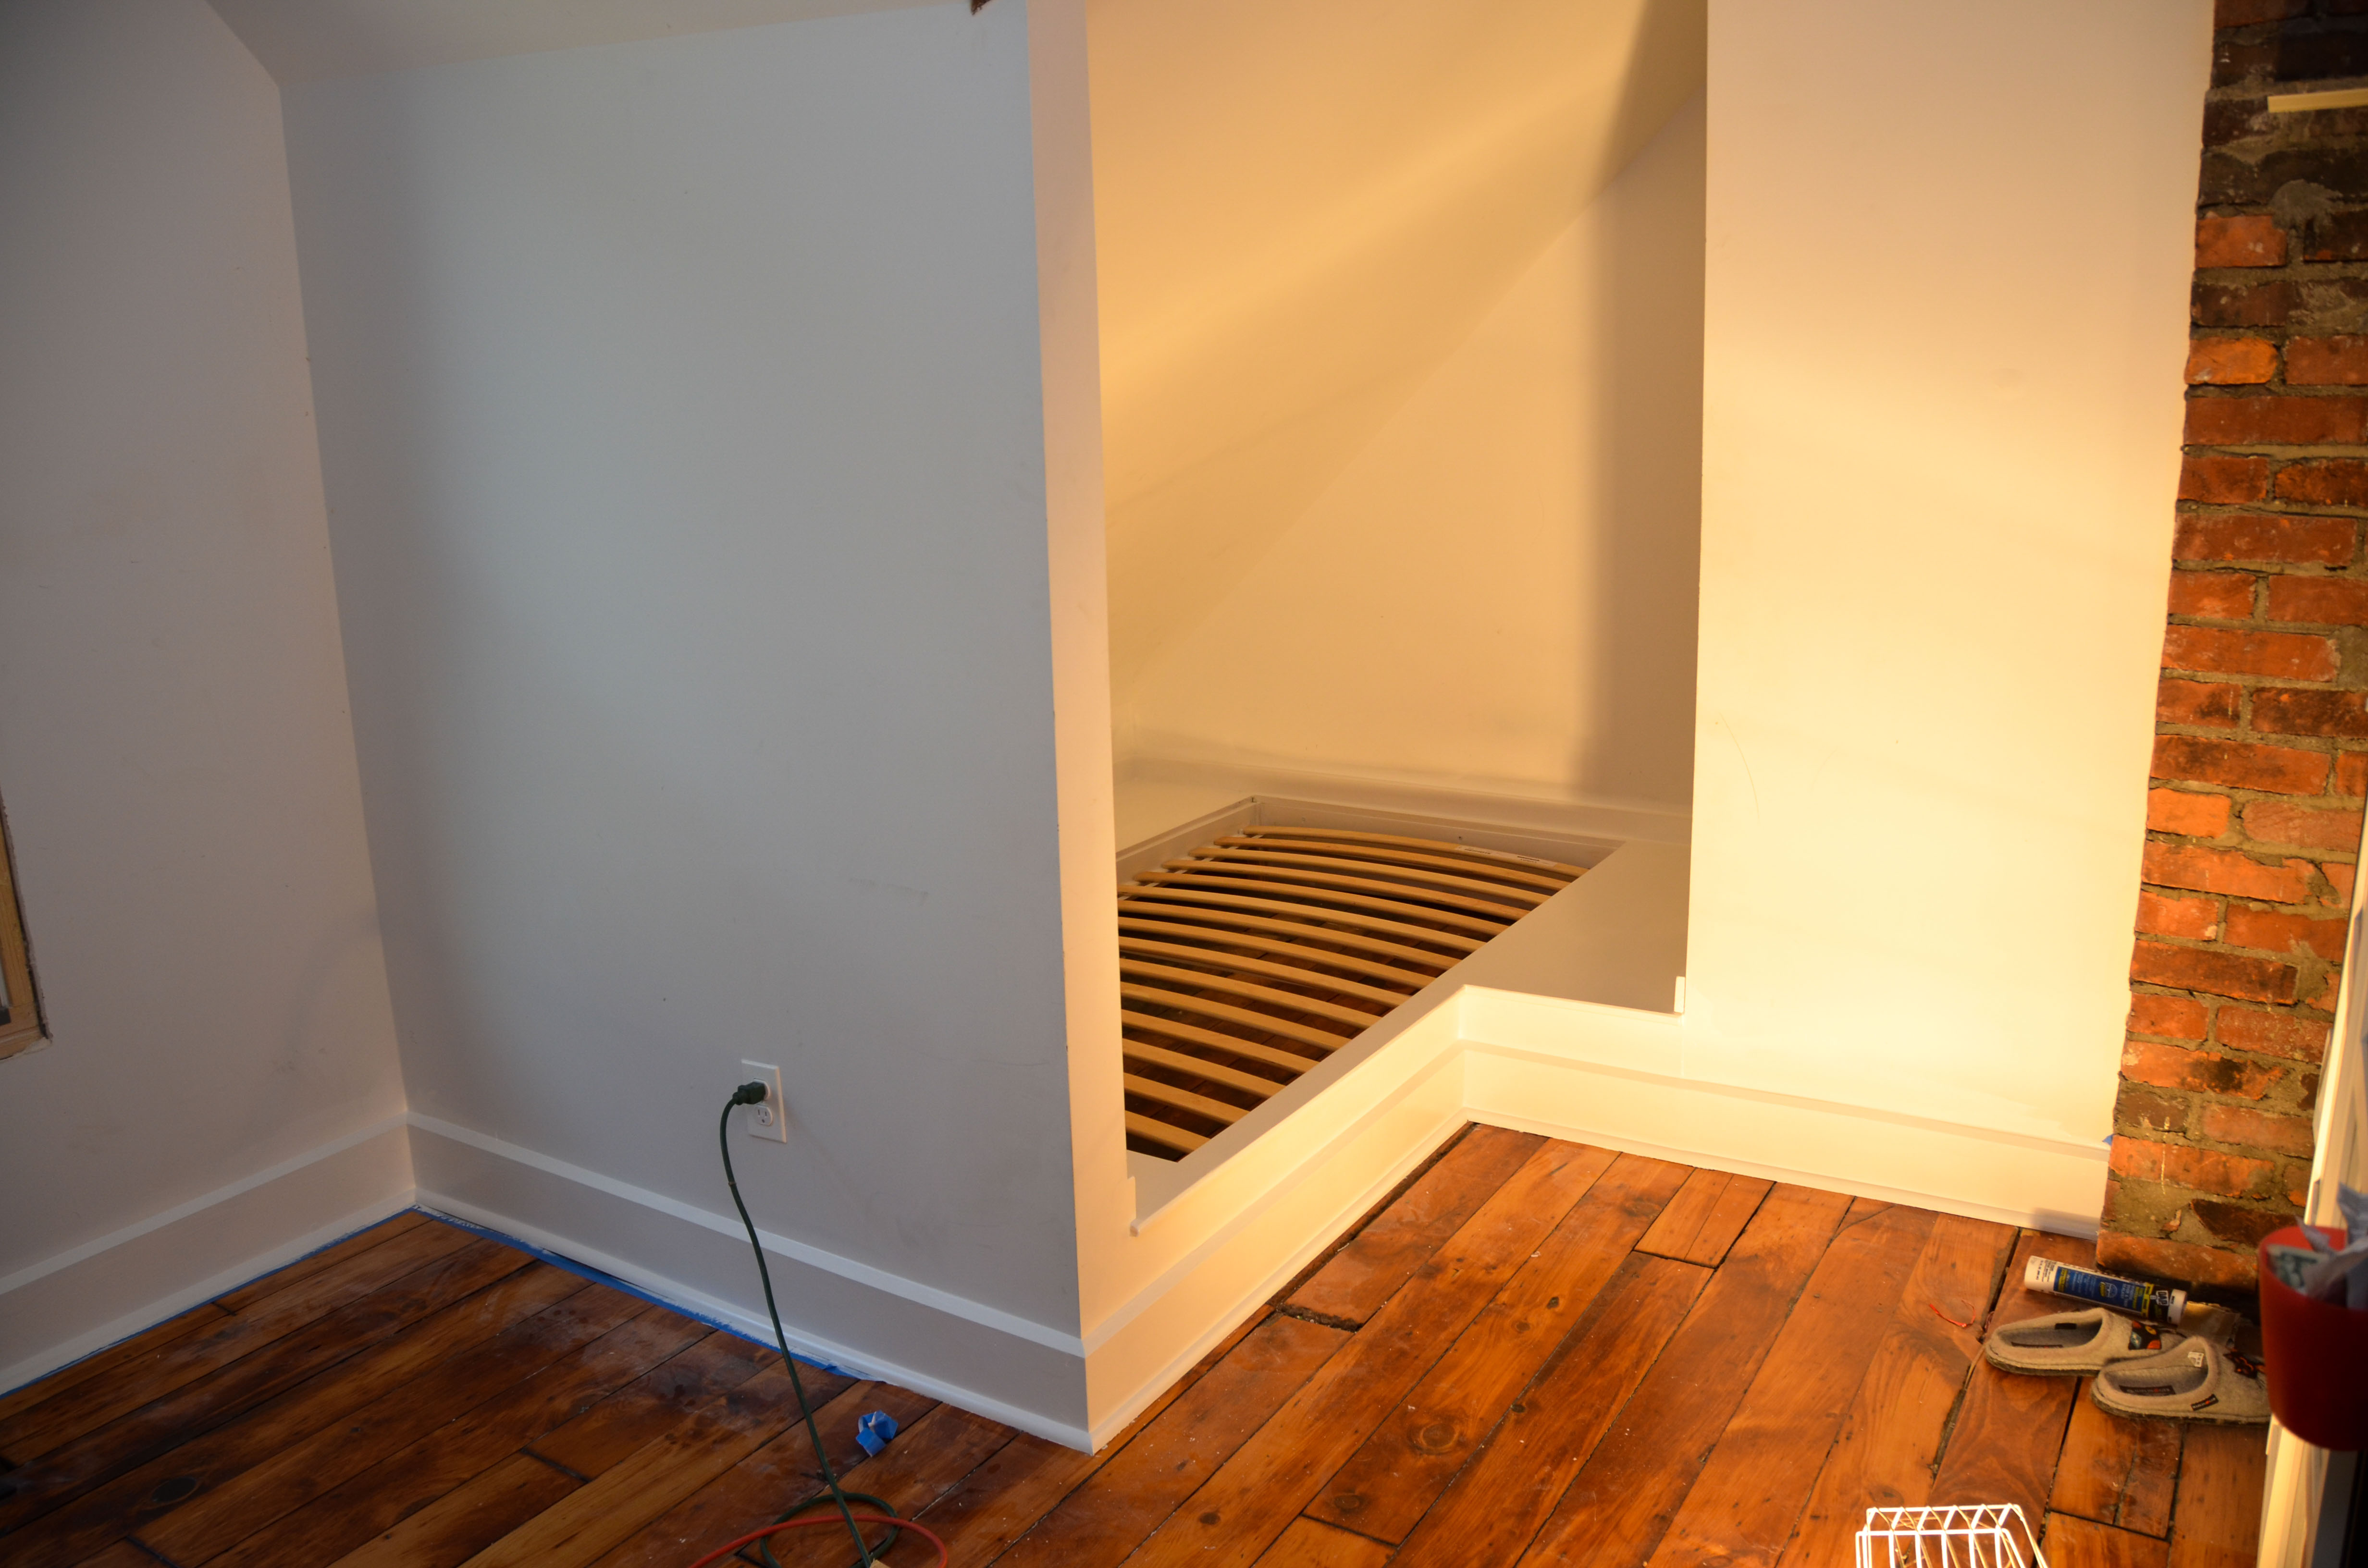
After Amy cleaned up gaps and nail holes with caulk and wood filler she was ready to prime and paint.
Adding the baseboards really completed the built-in look and it all made a little more sense to Aiden once he saw the mattress support actually installed. No more teeter-totter bed.
I don’t think Aiden really cares that he no longer has to sleep on a mattress on the ground, but I think he likes the new sleeping area. It’s hard to tell.
Here is how this space looked in the very beginning…

and now…

We still have some small additions we want to make to this area… like shelving, paint, and extra lighting. BUT, we are still excited about how looks right now!
But wait! There’s more!
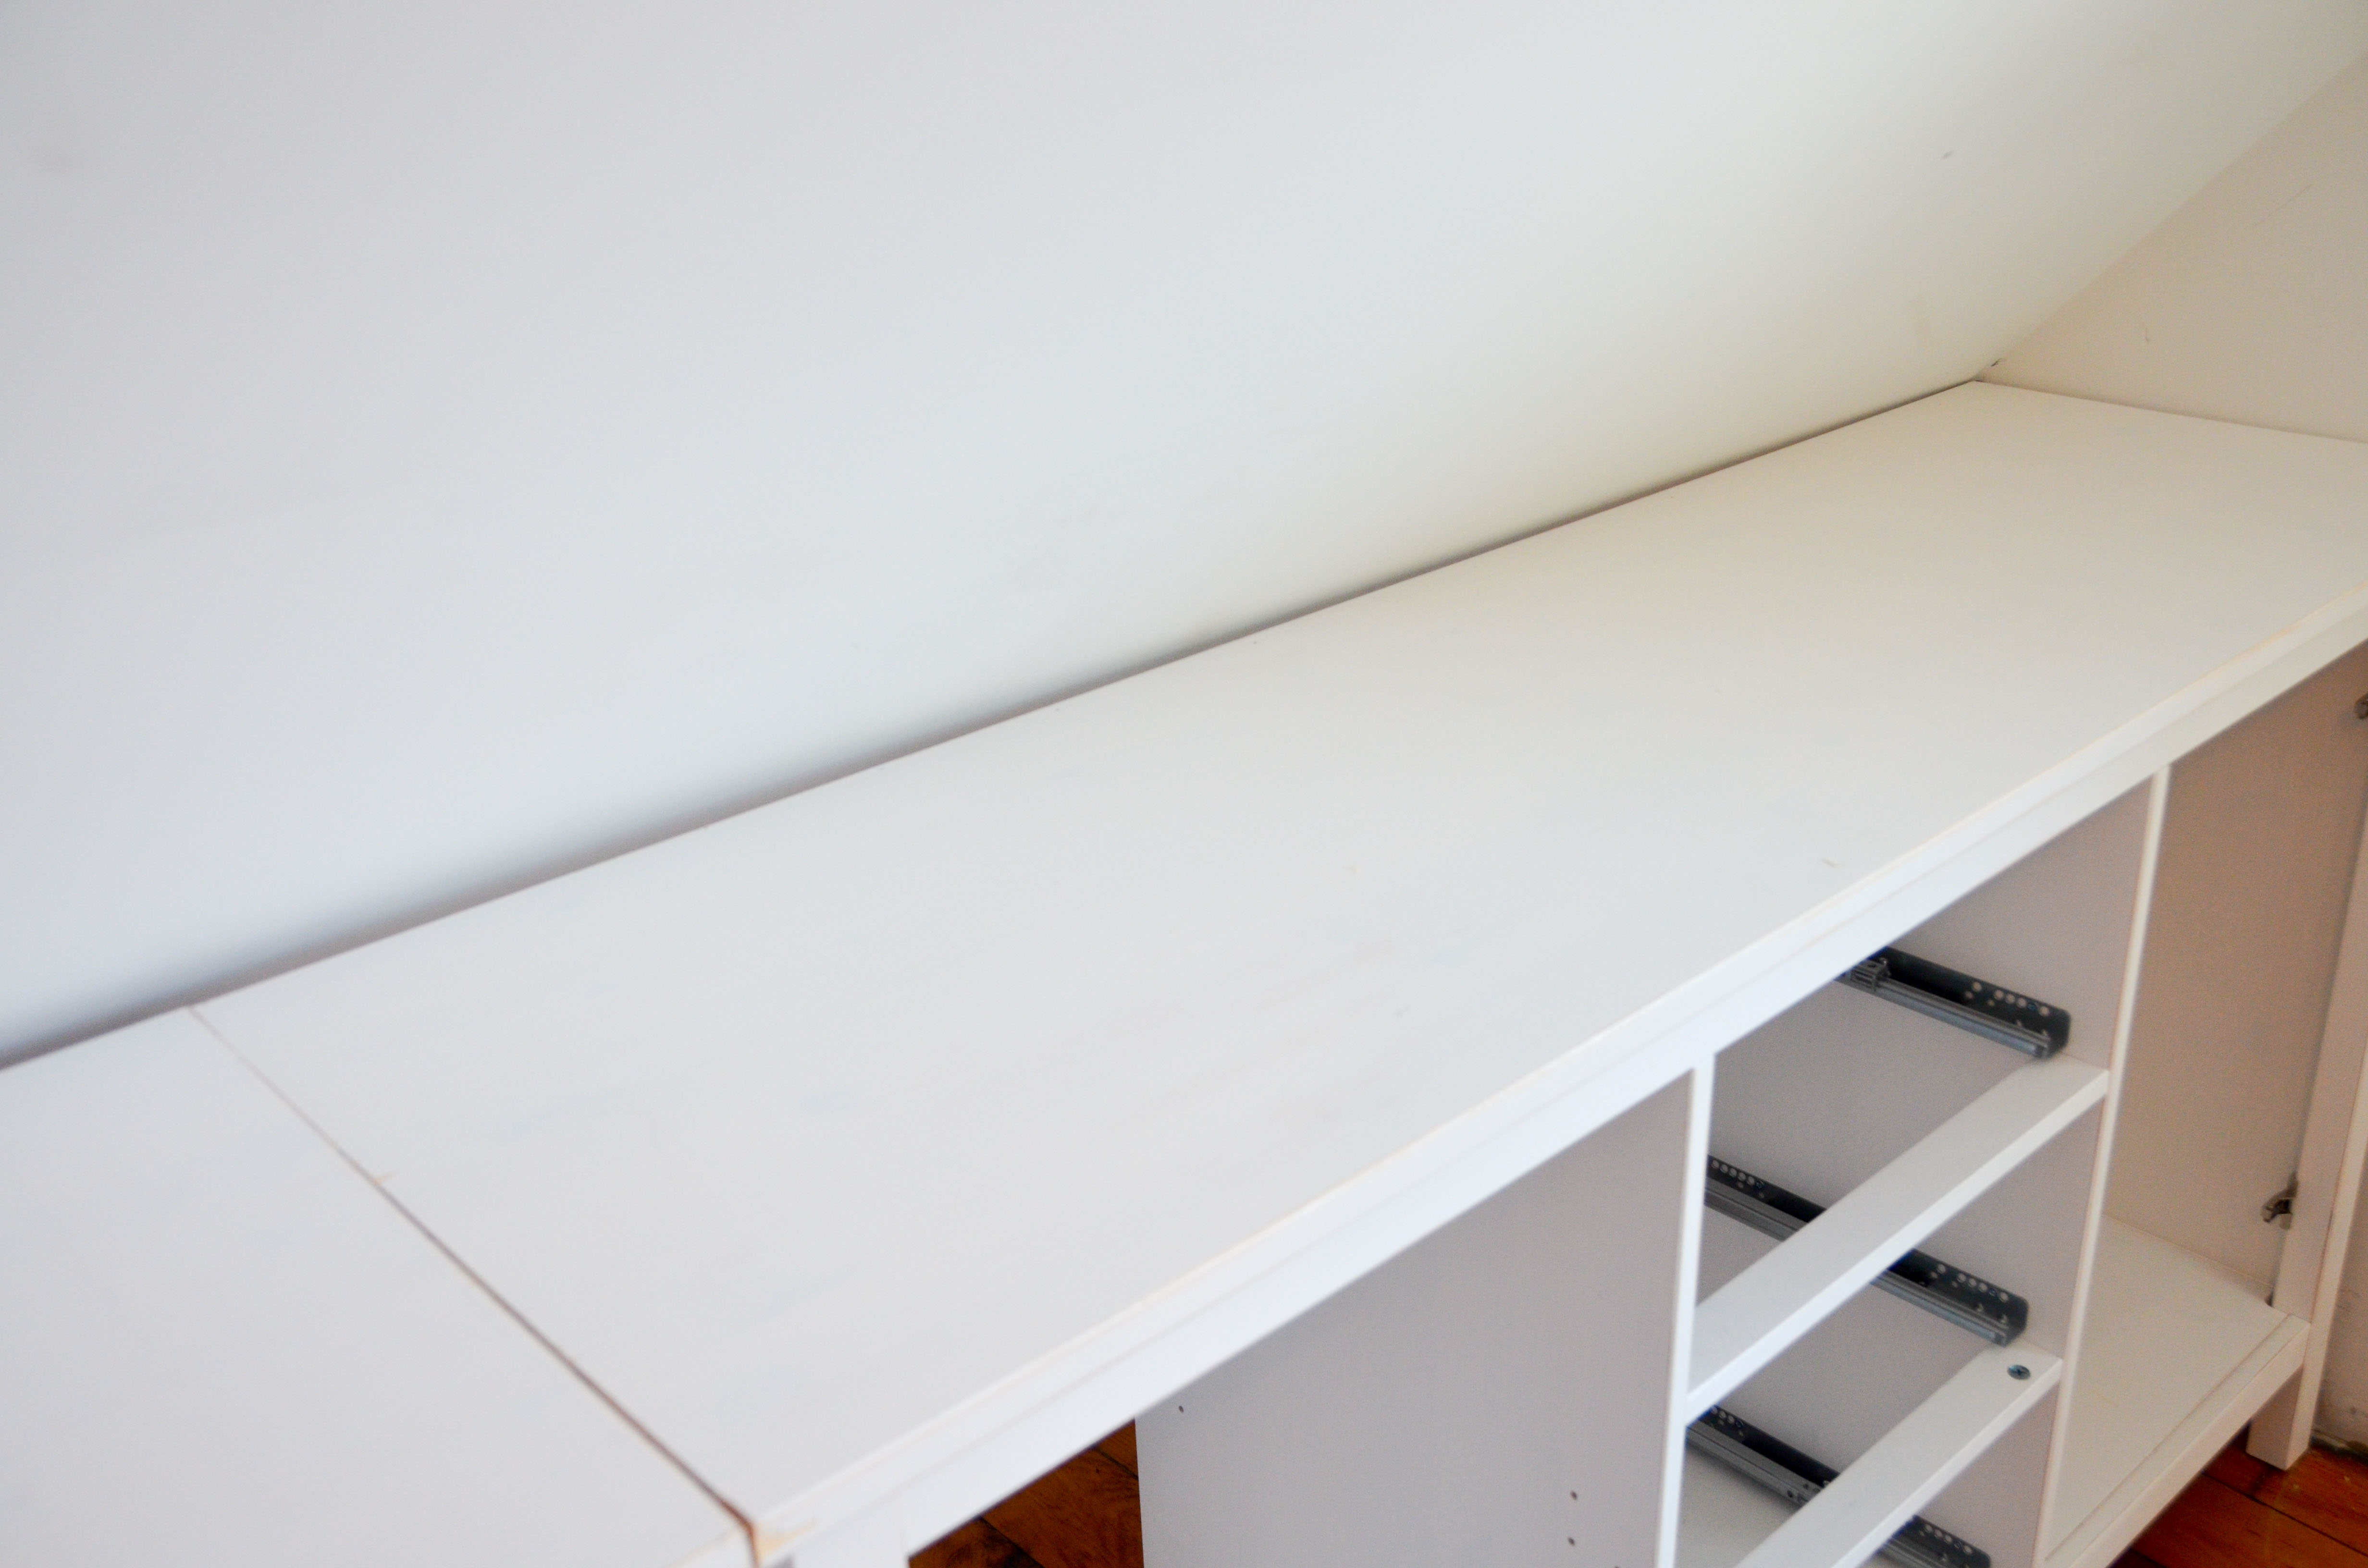
We were so pleased with the result of the built-in dressers we completed in Lucy’s room that we decided to do the same thing in Aiden’s room. There is no closet space in Aiden’s room and his ceiling has the same angle as Lucy’s. Originally we thought we would install just one of the dressers that we used in Lucy’s room, but then decided we could squeeze in a second one and just forgo the bookshelves. Of course, this was a spontaneous decision that resulted in a similarly spontaneous 4 hour drive to IKEA and back. [Edit from Amy: And a quick of our arrival time confirmed the promise of a free IKEA family lunch date] The installation of the dressers in Aiden’s room was a little more straightforward because I didn’t have to reroute duct work or build any shelves. But, as we have come to expect, there are always unforeseen obstacles. One issue that I already knew I would need to deal with was accommodating an angle in the wall. I made what I thought was the right angle cut out of the back corner of the dresser, but once in place it appeared that I had miscalculated. Annoyed and confused, I added some material back to the corner and slid it in place.


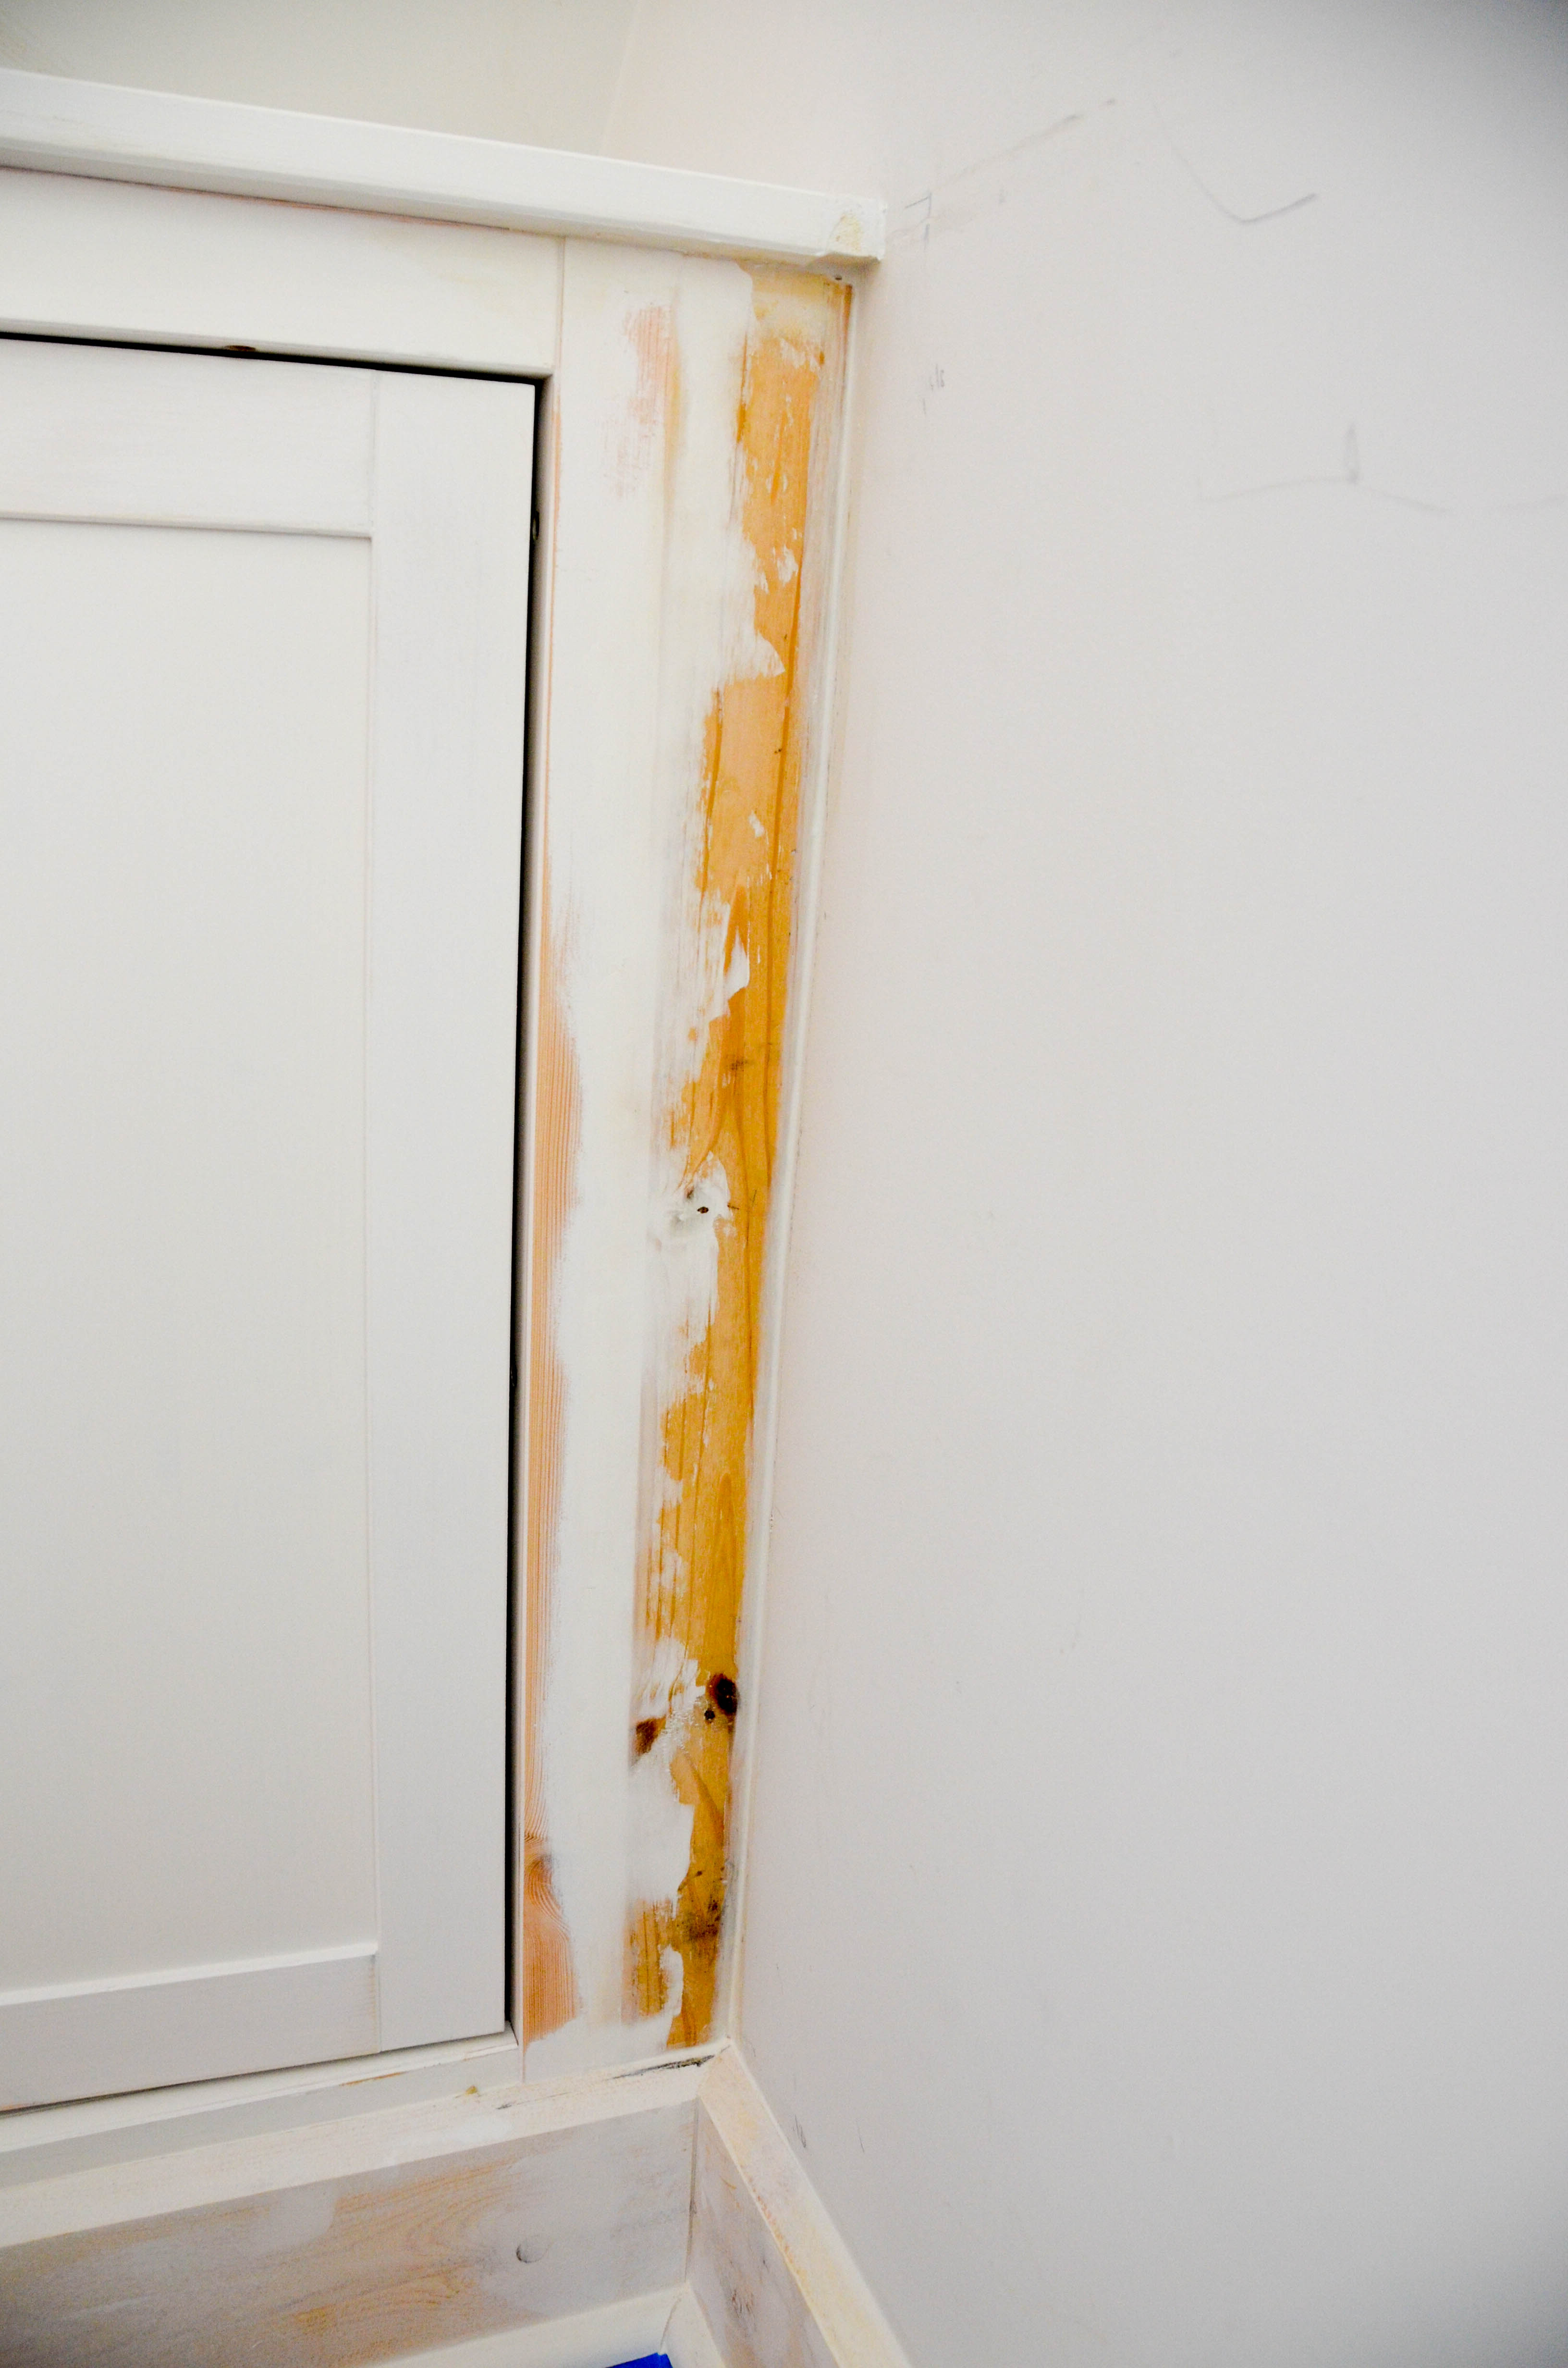
But then, once I had completed the other dresser and squared everything to the wall it became more clear why I thought my original cut was wrong. Turns out, the drywall isn’t even (this should not have been a surprise). It is bowed significantly in the middle and when I placed the dresser flat against the angled ceiling it caused the corner to not fit appropriately if squared against the wall.
I went back and removed the additional material I had added to the corner and began figuring out what to do about the fact that the dressers would not sit flat against the angled ceiling. No amount of caulk was ever going to fill that void. I eventually decided to scribe the curvature of the wall onto the back of the dresser tops and then cut them to compensate for the curve.
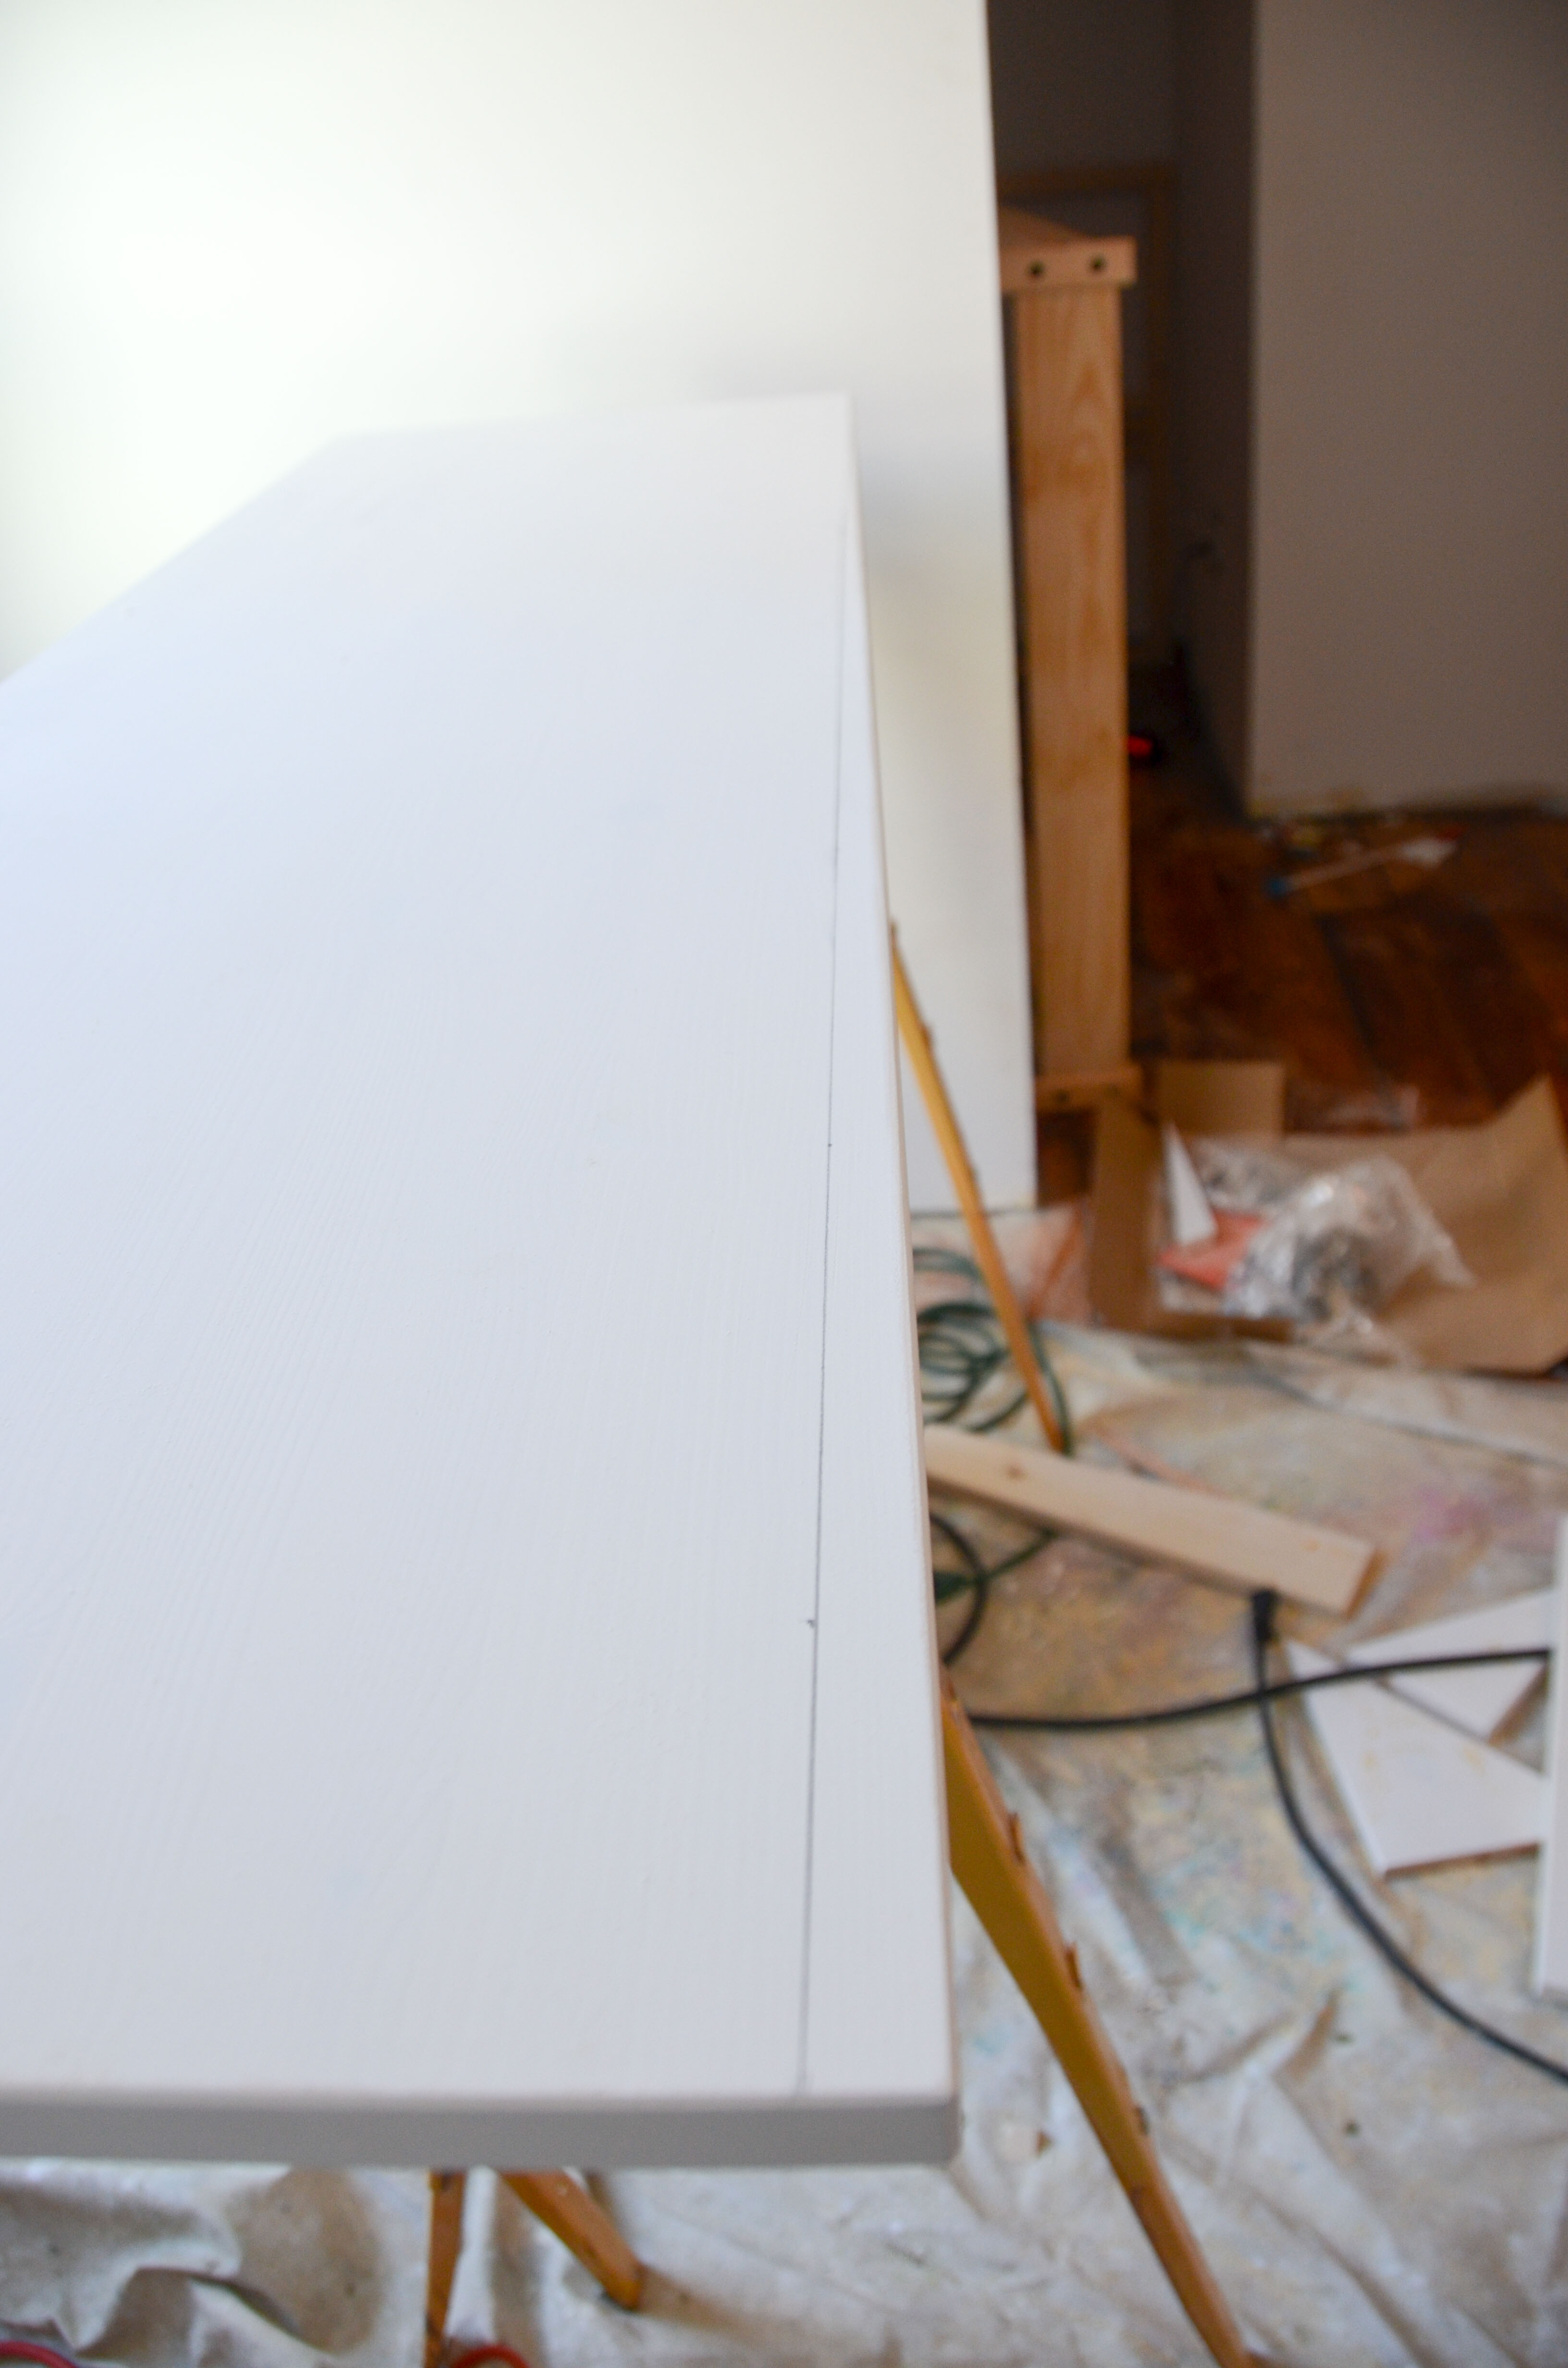
This worked pretty well and allowed everything to be relatively square. The only other adjustments I needed to make was to add material to the back of the new angle I created and add material to fill in the extra gap between the dressers and the wall.
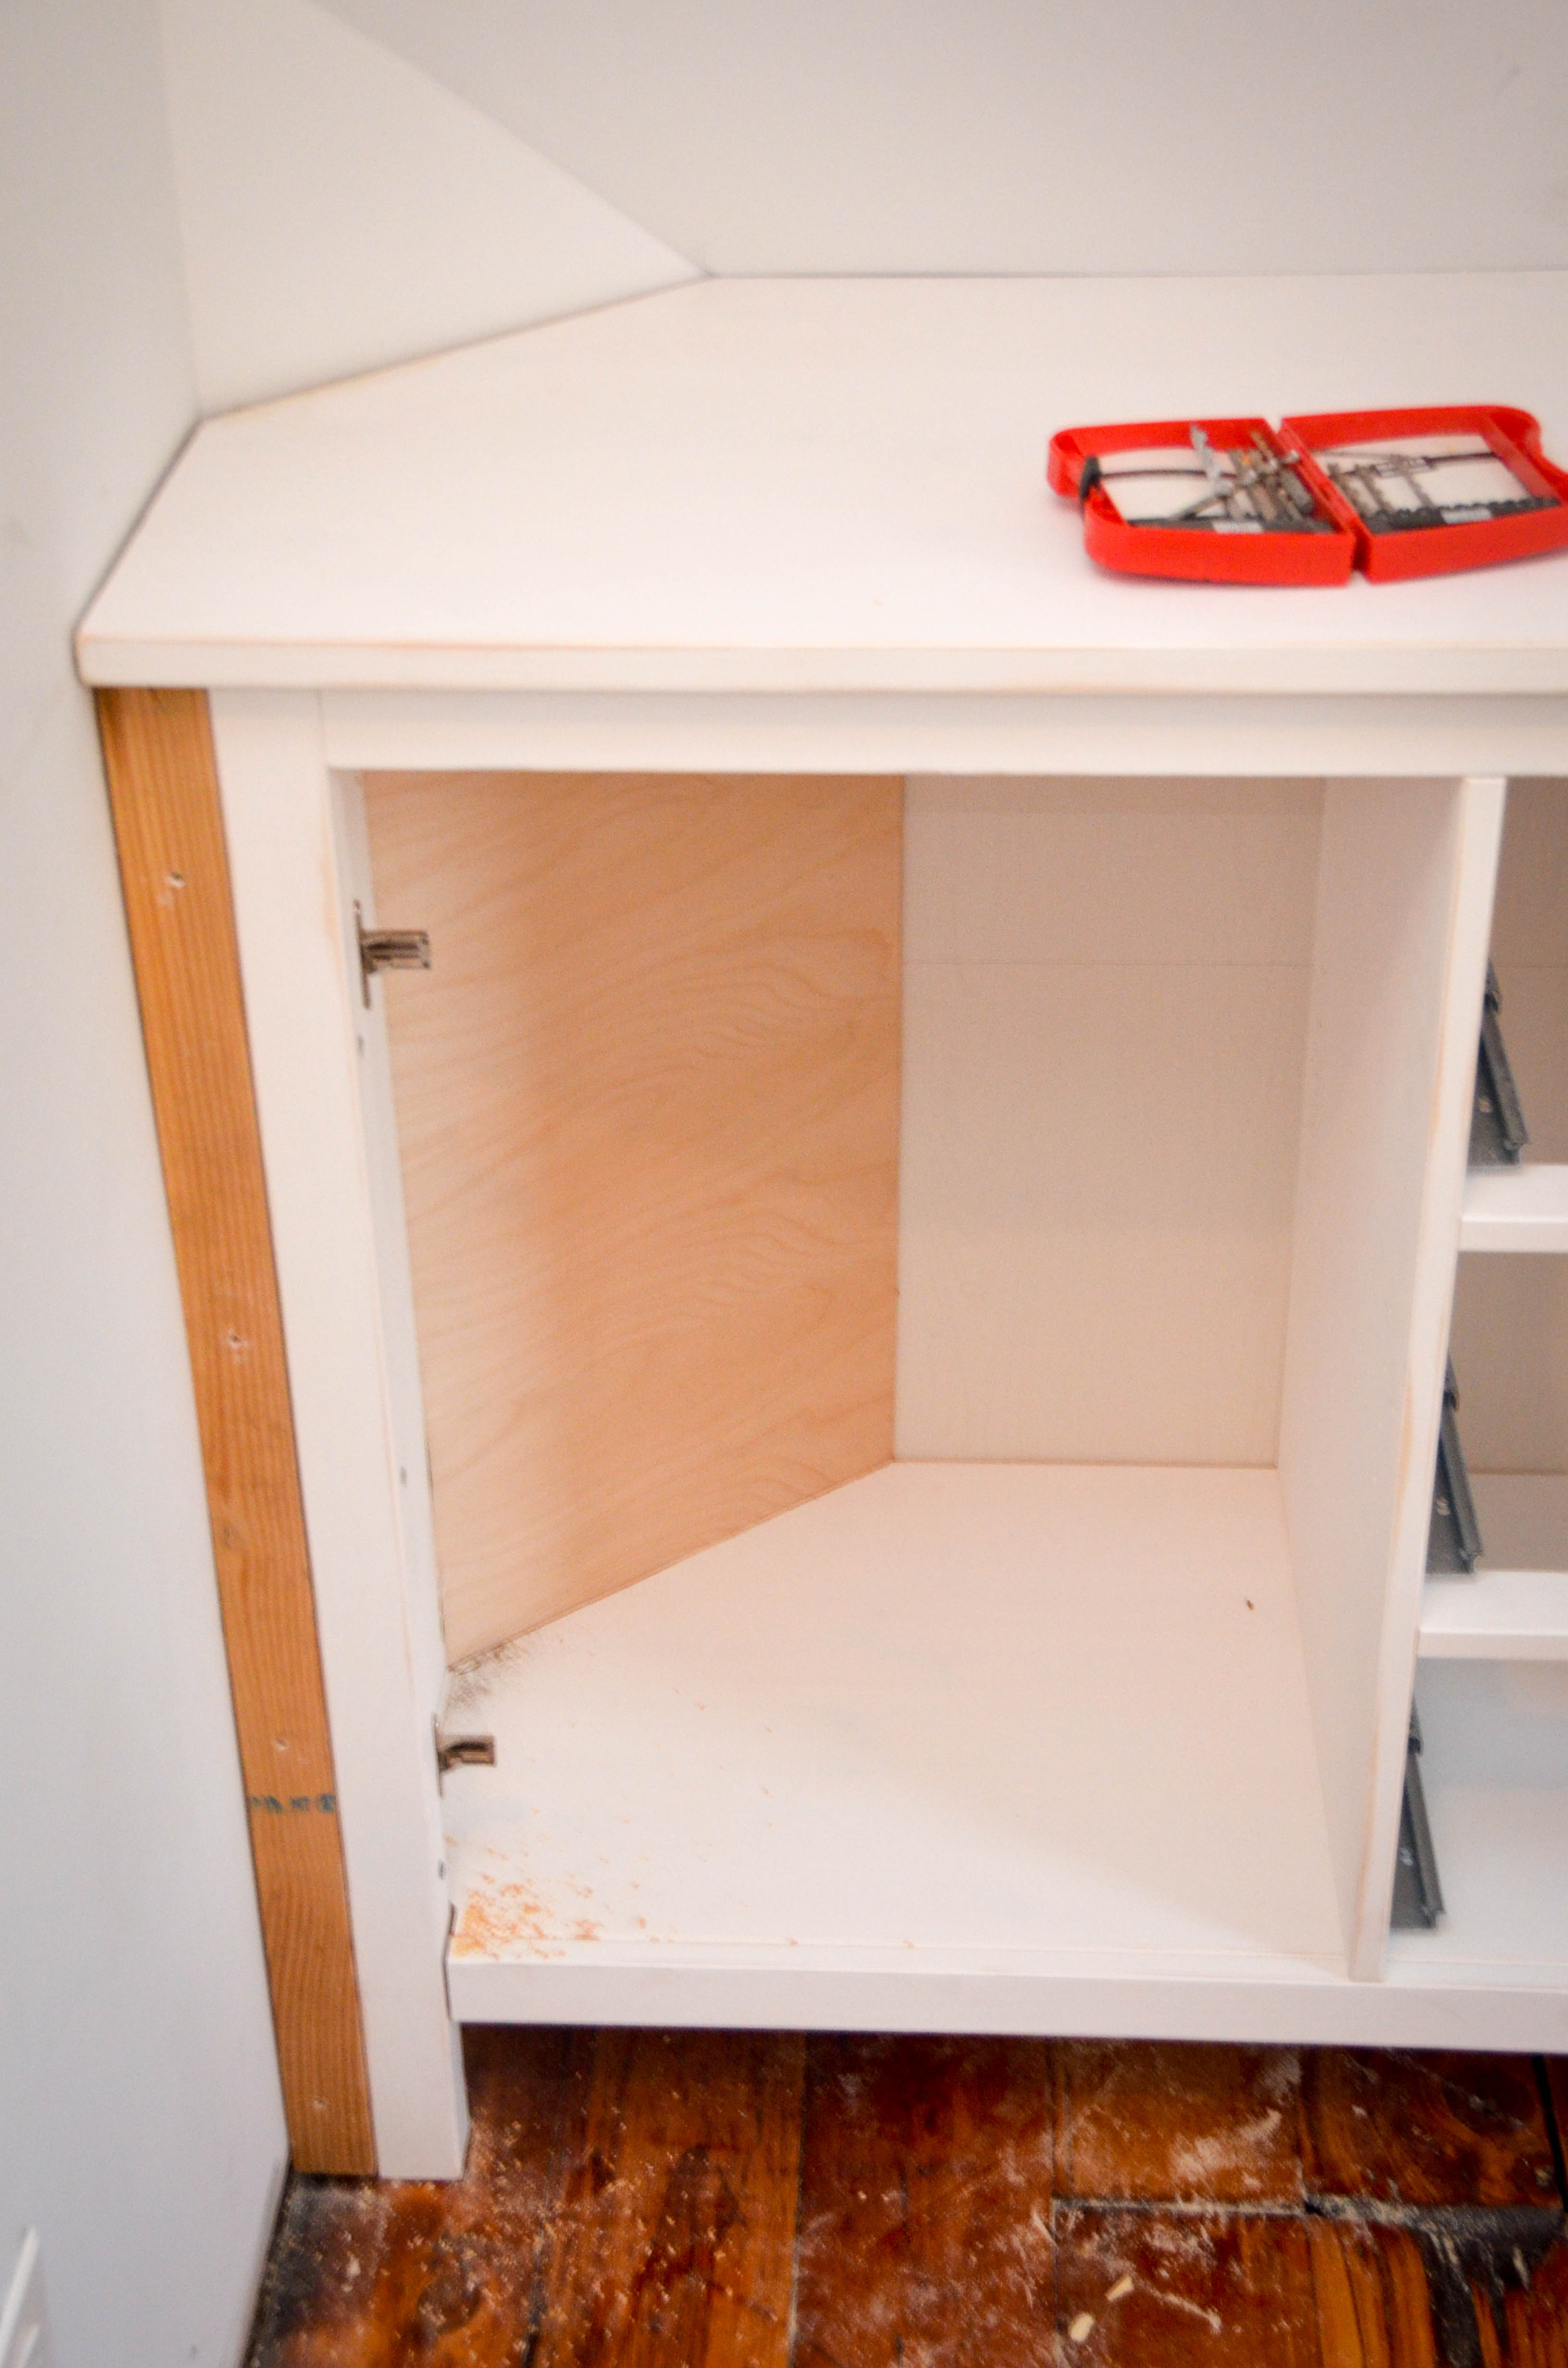
The final step before I set Amy to work priming and painting was to use a couple coats of wood filler to get rid of any existing gaps and create the illusion that this was one solid piece built into this space.

Once the wood filling was complete I milled the baseboards, added quarter-round, then Amy primed and painted!
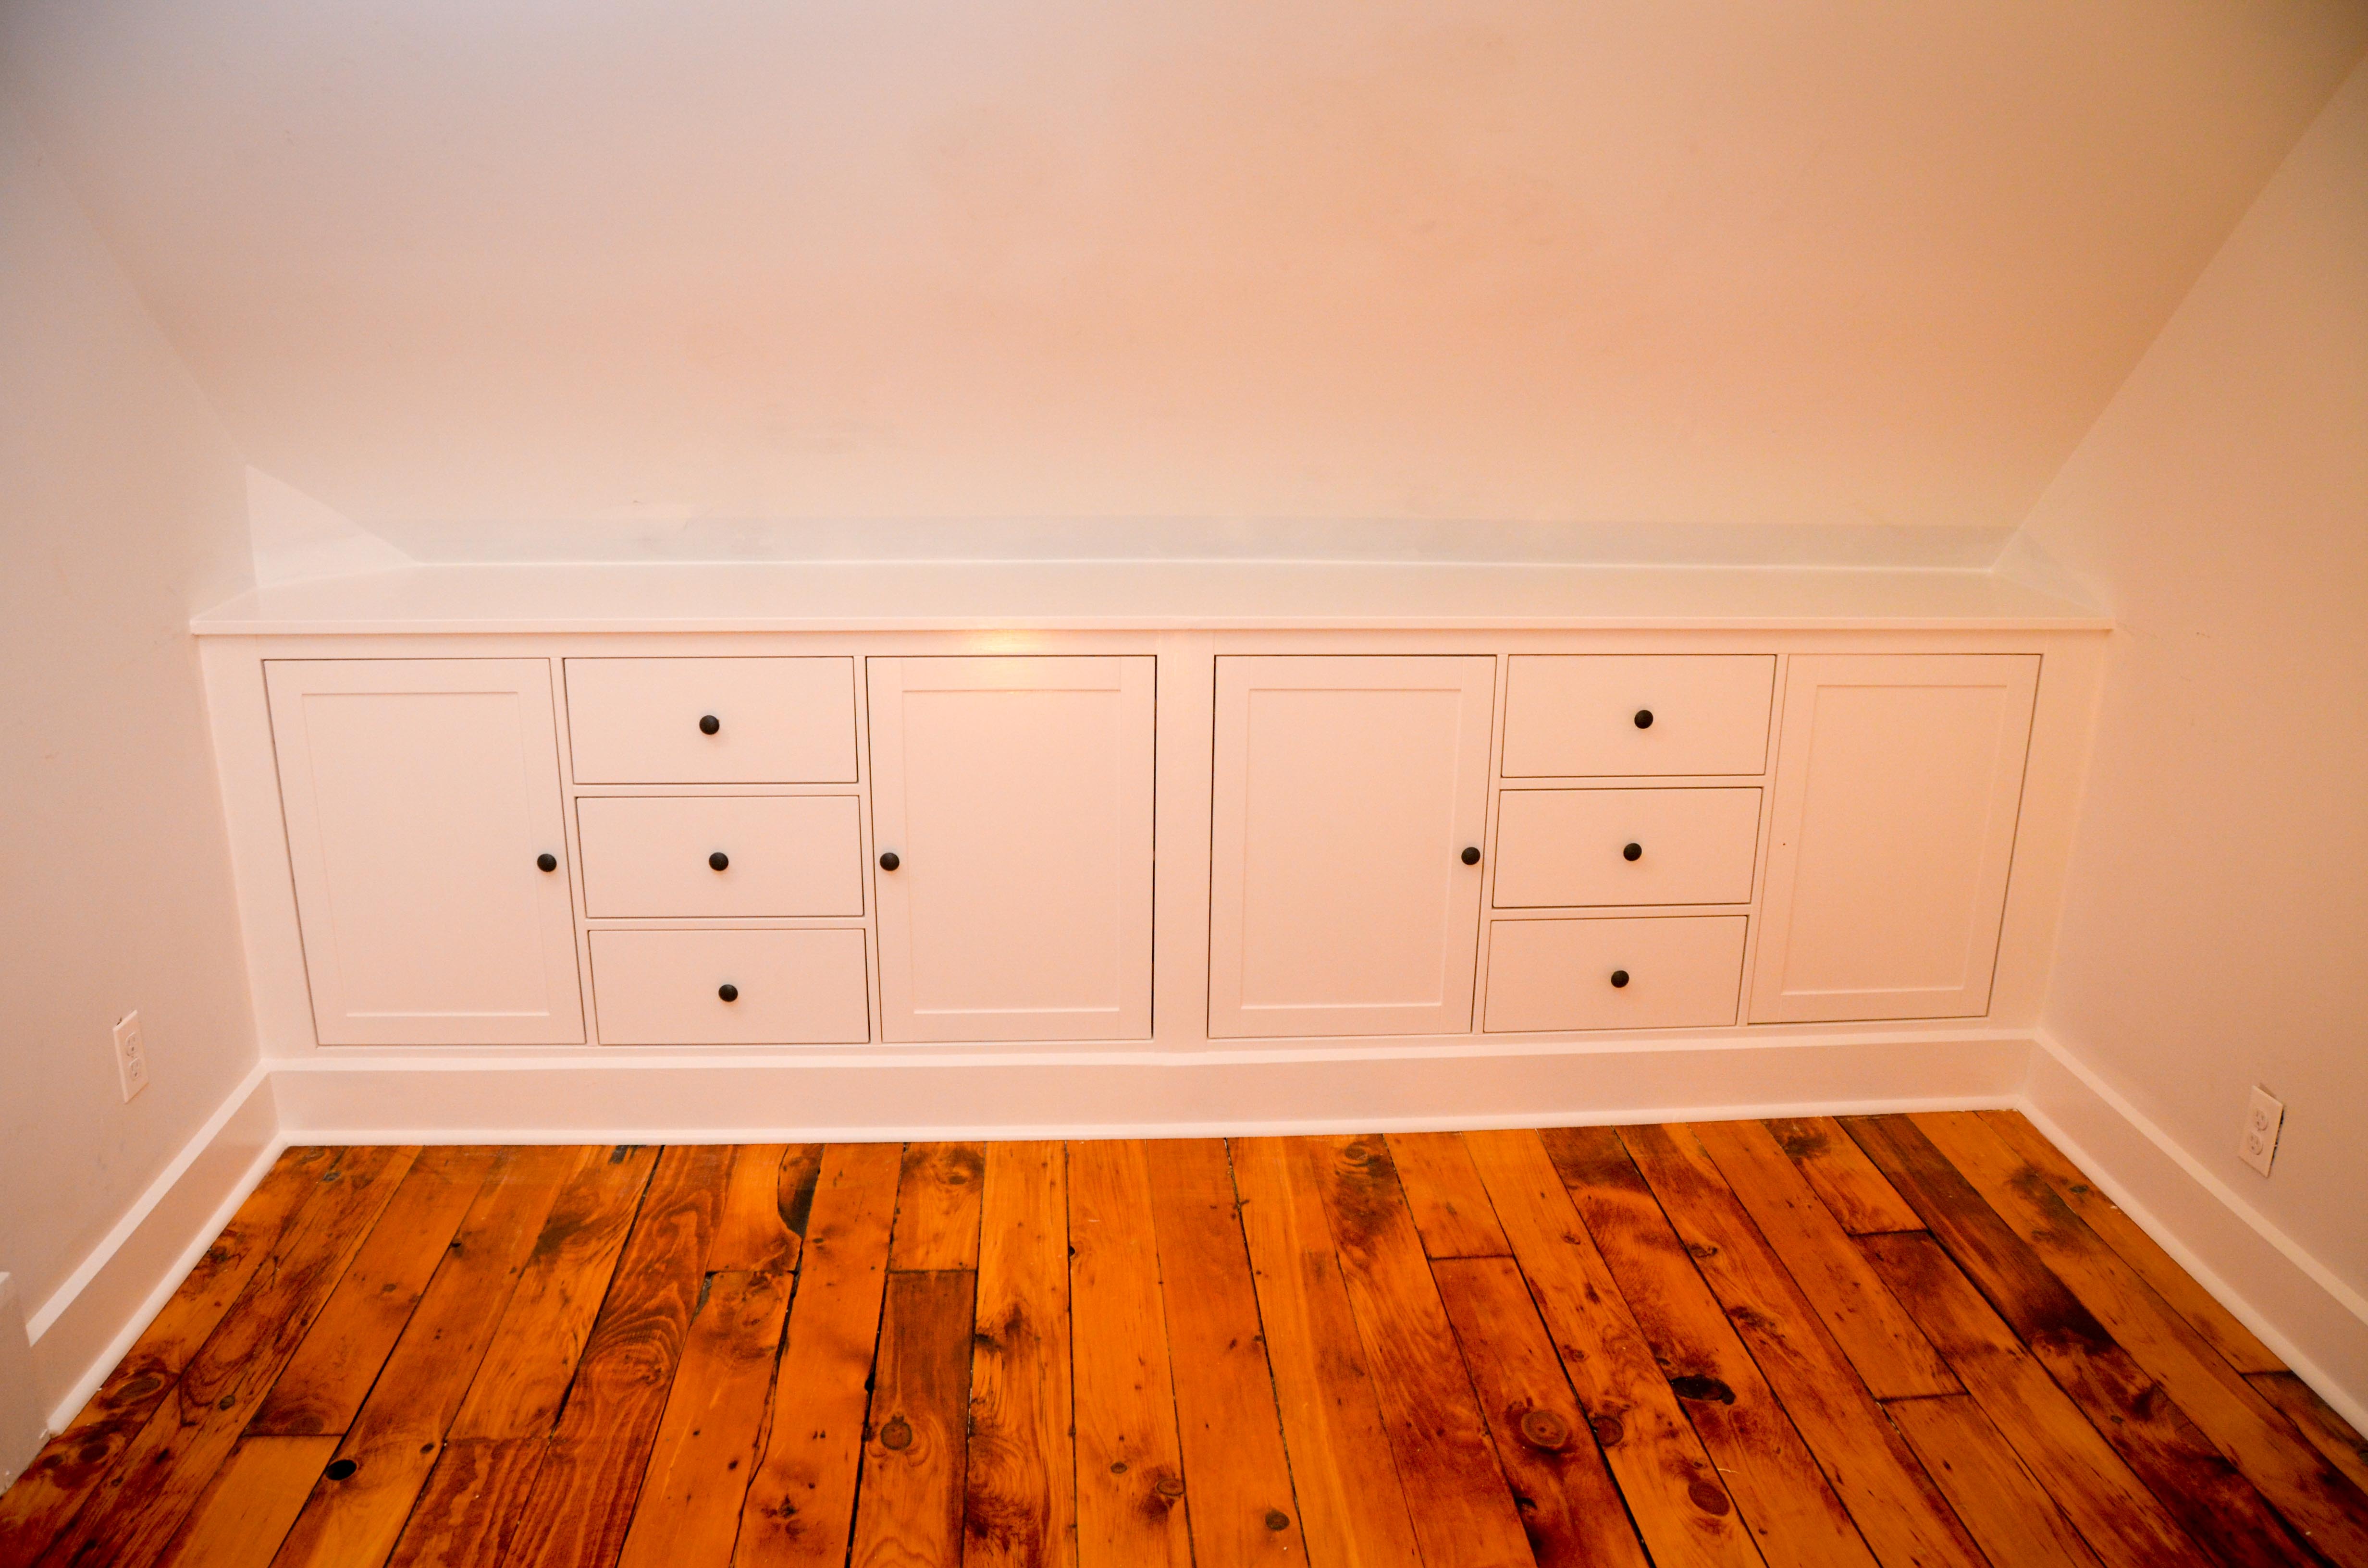

The kids’ rooms are getting closer to completion! We still need to paint the walls, make and install the trim for the windows, decide on curtains, make a couple lighting decisions, and complete the final touches of decorating. Once we are done with that we will post some final blog entries with a full kids’ room tour of before/after pictures!

Wow you have out done yourselves with the great bedrooms you both have designed for Lucy & Aiden. I love the CozyNess of each room. Joe you are quite the designer. Nice job Amy on caulking and painting. Joe and you are definitely a team! Hugs to all of you.
LikeLike