One of the big remaining jobs we have left to tackle before moving into our rehab house is repairing the plaster.

Technically, I guess we could do his after we move in, but it’s a messy job and not something we really want to be doing with furniture in the house. Plus, those silly people at the bank would probably deem the house uninhabitable at the very sight of exposed lath. Plaster repair was one of the jobs that we didn’t know much about in the beginning and it seemed as if we might just hire someone to do it, but the more I researched the more I believed in our ability to do this. [Edit from Amy: Big surprise there] Like most aspects of home rehab, it’s not horribly difficult. It just requires time and practice.
The plaster issues include cracks (lots of them!), missing plaster, crumbling plaster, small holes from insulation being blown into the exterior walls, and big holes from who knows what. One of the things that makes plaster repair challenging for a novice is that each situation requires a different strategy. It was only after researching every possible scenario I would encounter did I then feel like I could proceed. [Edit from Amy: Yep, that’s the man I married.]
You might wonder why we even kept the plaster. Don’t most people just gut an old house and start over? Yes, some people do, but ripping out the plaster is a big mistake (in my opinion). Sure, removing the plaster and starting over might make things easier for a rehab job, but you lose such an important part of the house. Plaster has many positive attributes. It is more fire resistant, it is a much better sound buffer than drywall, plaster is much stronger and more durable, and plaster walls just have a certain warmth and charm that you aren’t going to get from drywall. In addition, it just feels sturdy and solid… more substantial.
In my research of plaster repair I discovered a relatively new product that seemed easy to use and effective, even though the name of the brand does not instill much confidence – “Big Wally’s Plaster Magic.” Definitely sounds like something that would be advertised on late night TV for $19.99. Right? BUT, this stuff has been featured on This Old House at least twice and seems to be ligit. Bob Villa wouldn’t lead me astray, would he? This product isn’t going to take care of all our plaster needs, but it will hopefully help make sure that all of our repairs will last.
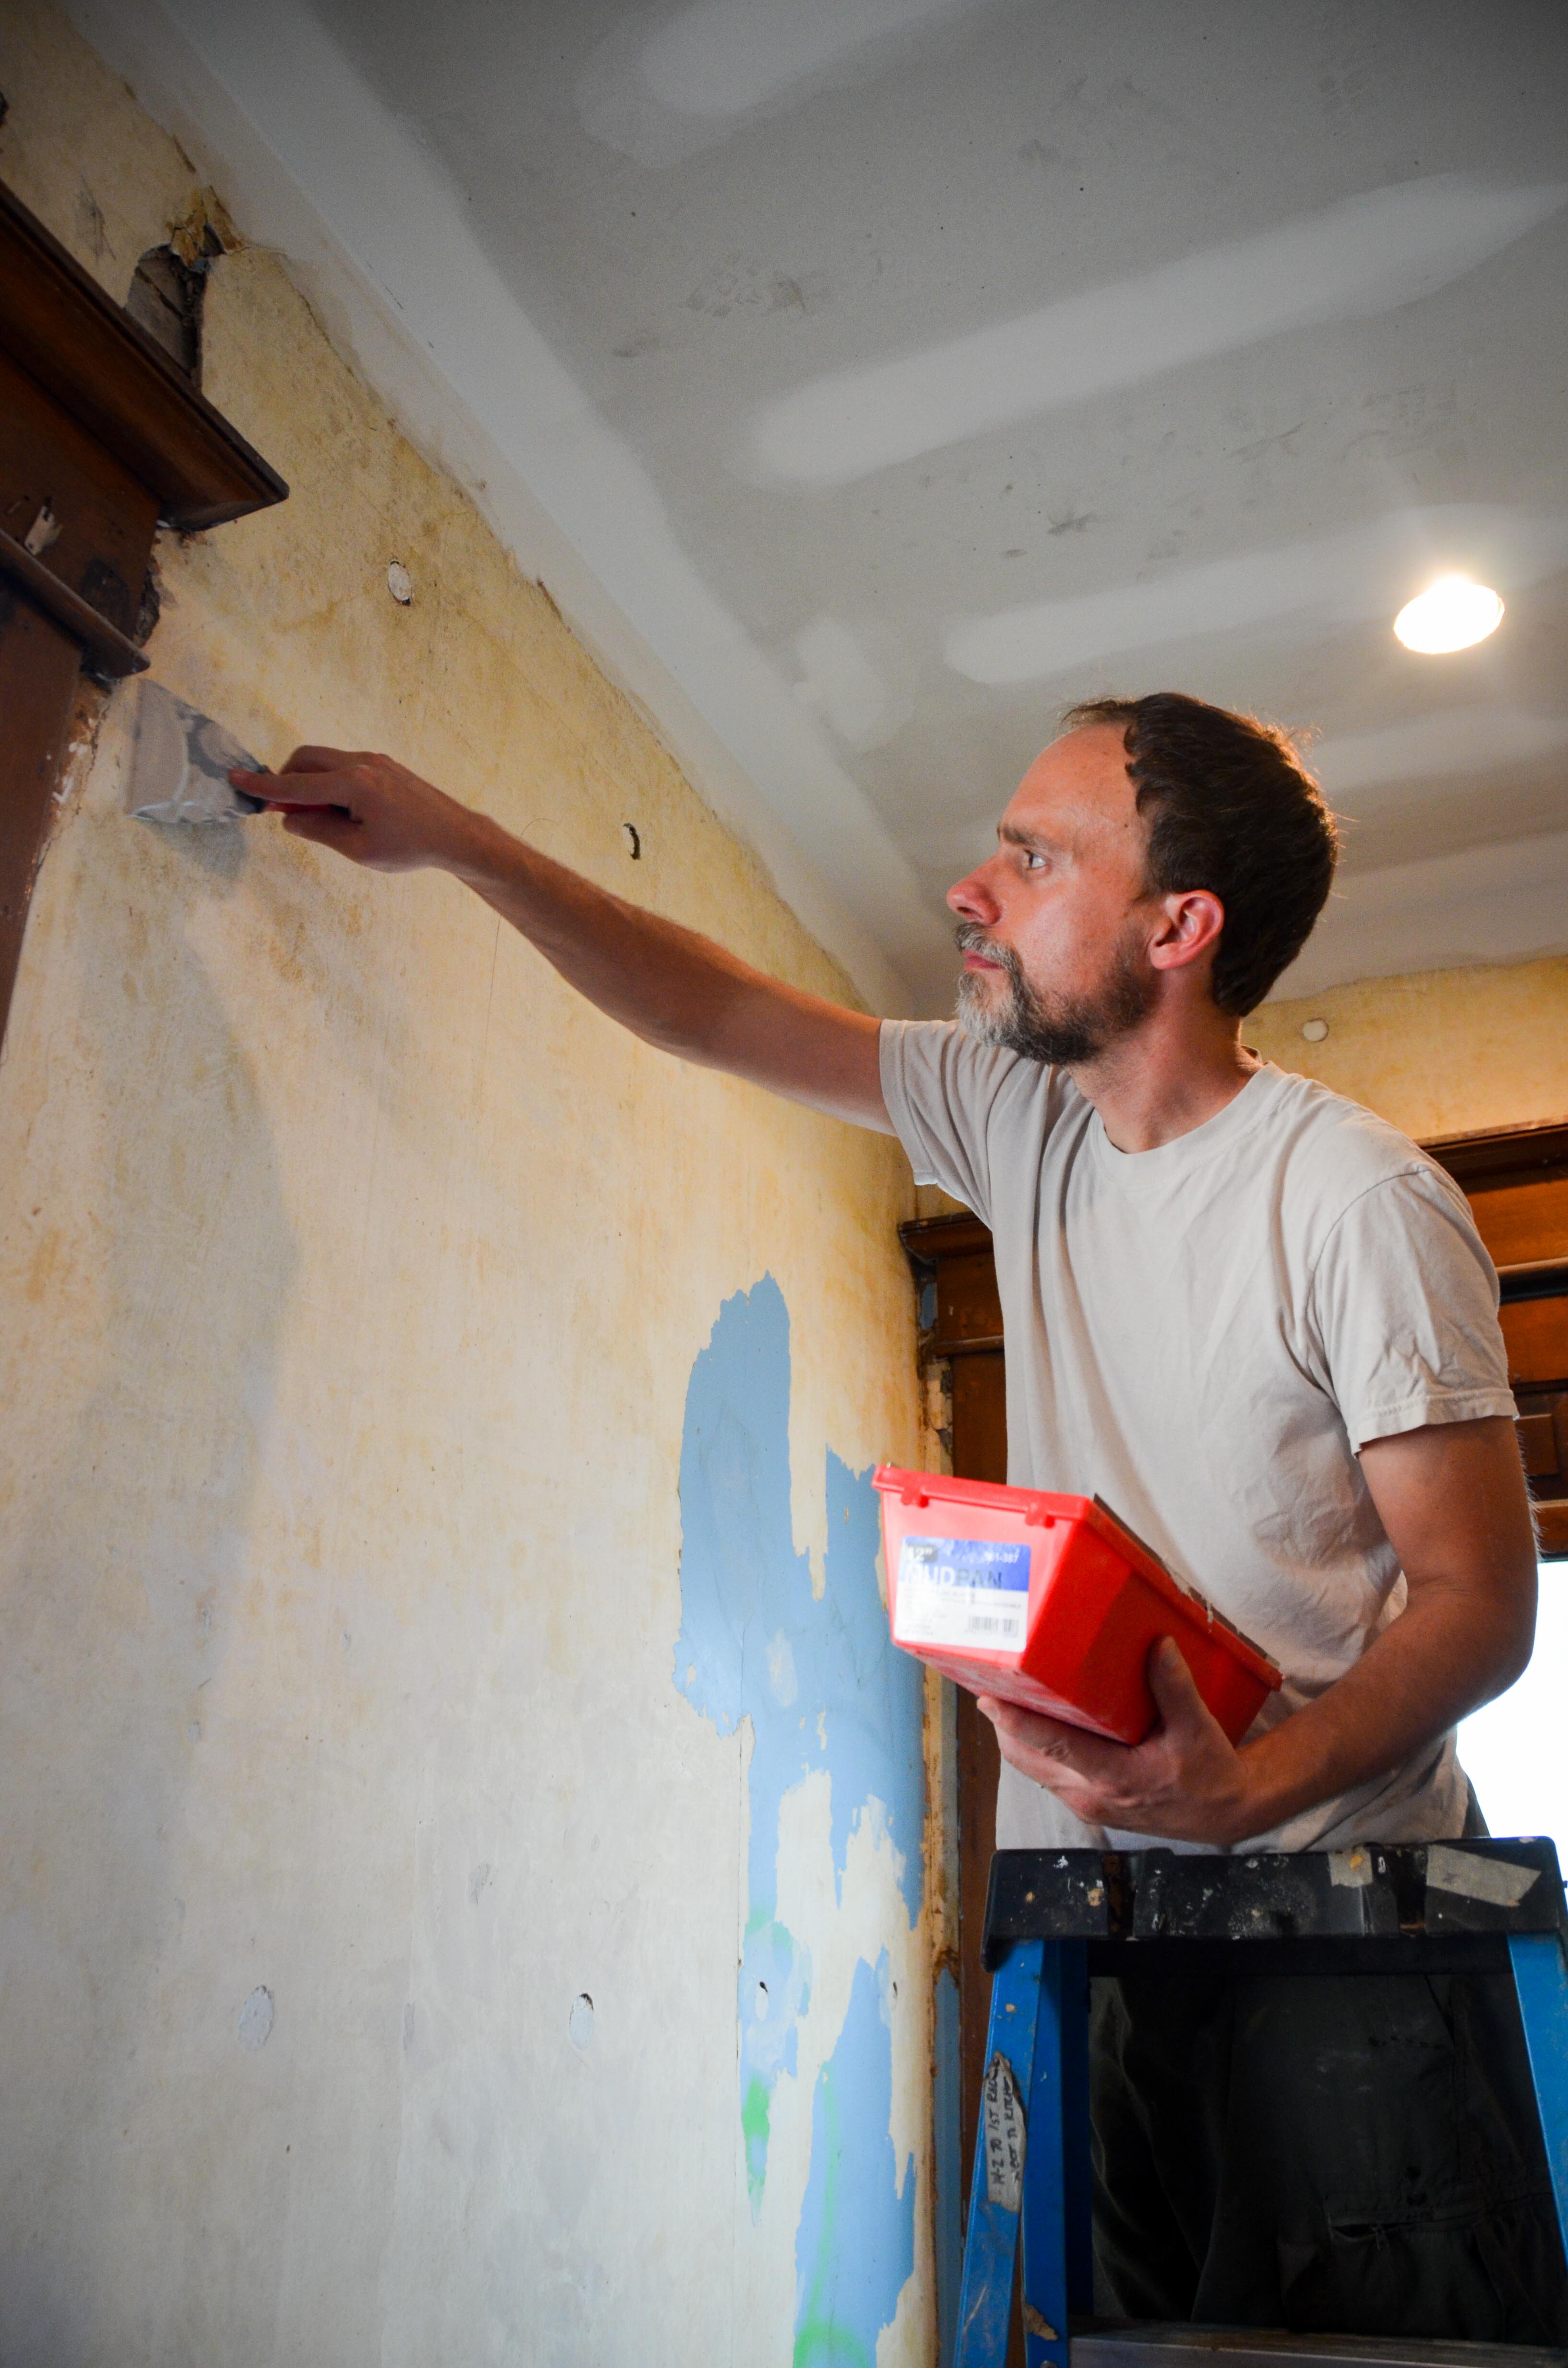
We already experienced the joy of wallpaper removal, so now every crack is clearly visible. It is obvious that cracks in the plaster have not recently (probably NEVER) been addressed in this house. The first thing we did was to carefully inspect every inch of the wall and fill every tiny hole, scrape, gouge, or dent. This was easy. Just a couple quick swipes of joint compound with the putty knife. [Edit from Amy: Hundreds and hundreds of these.]
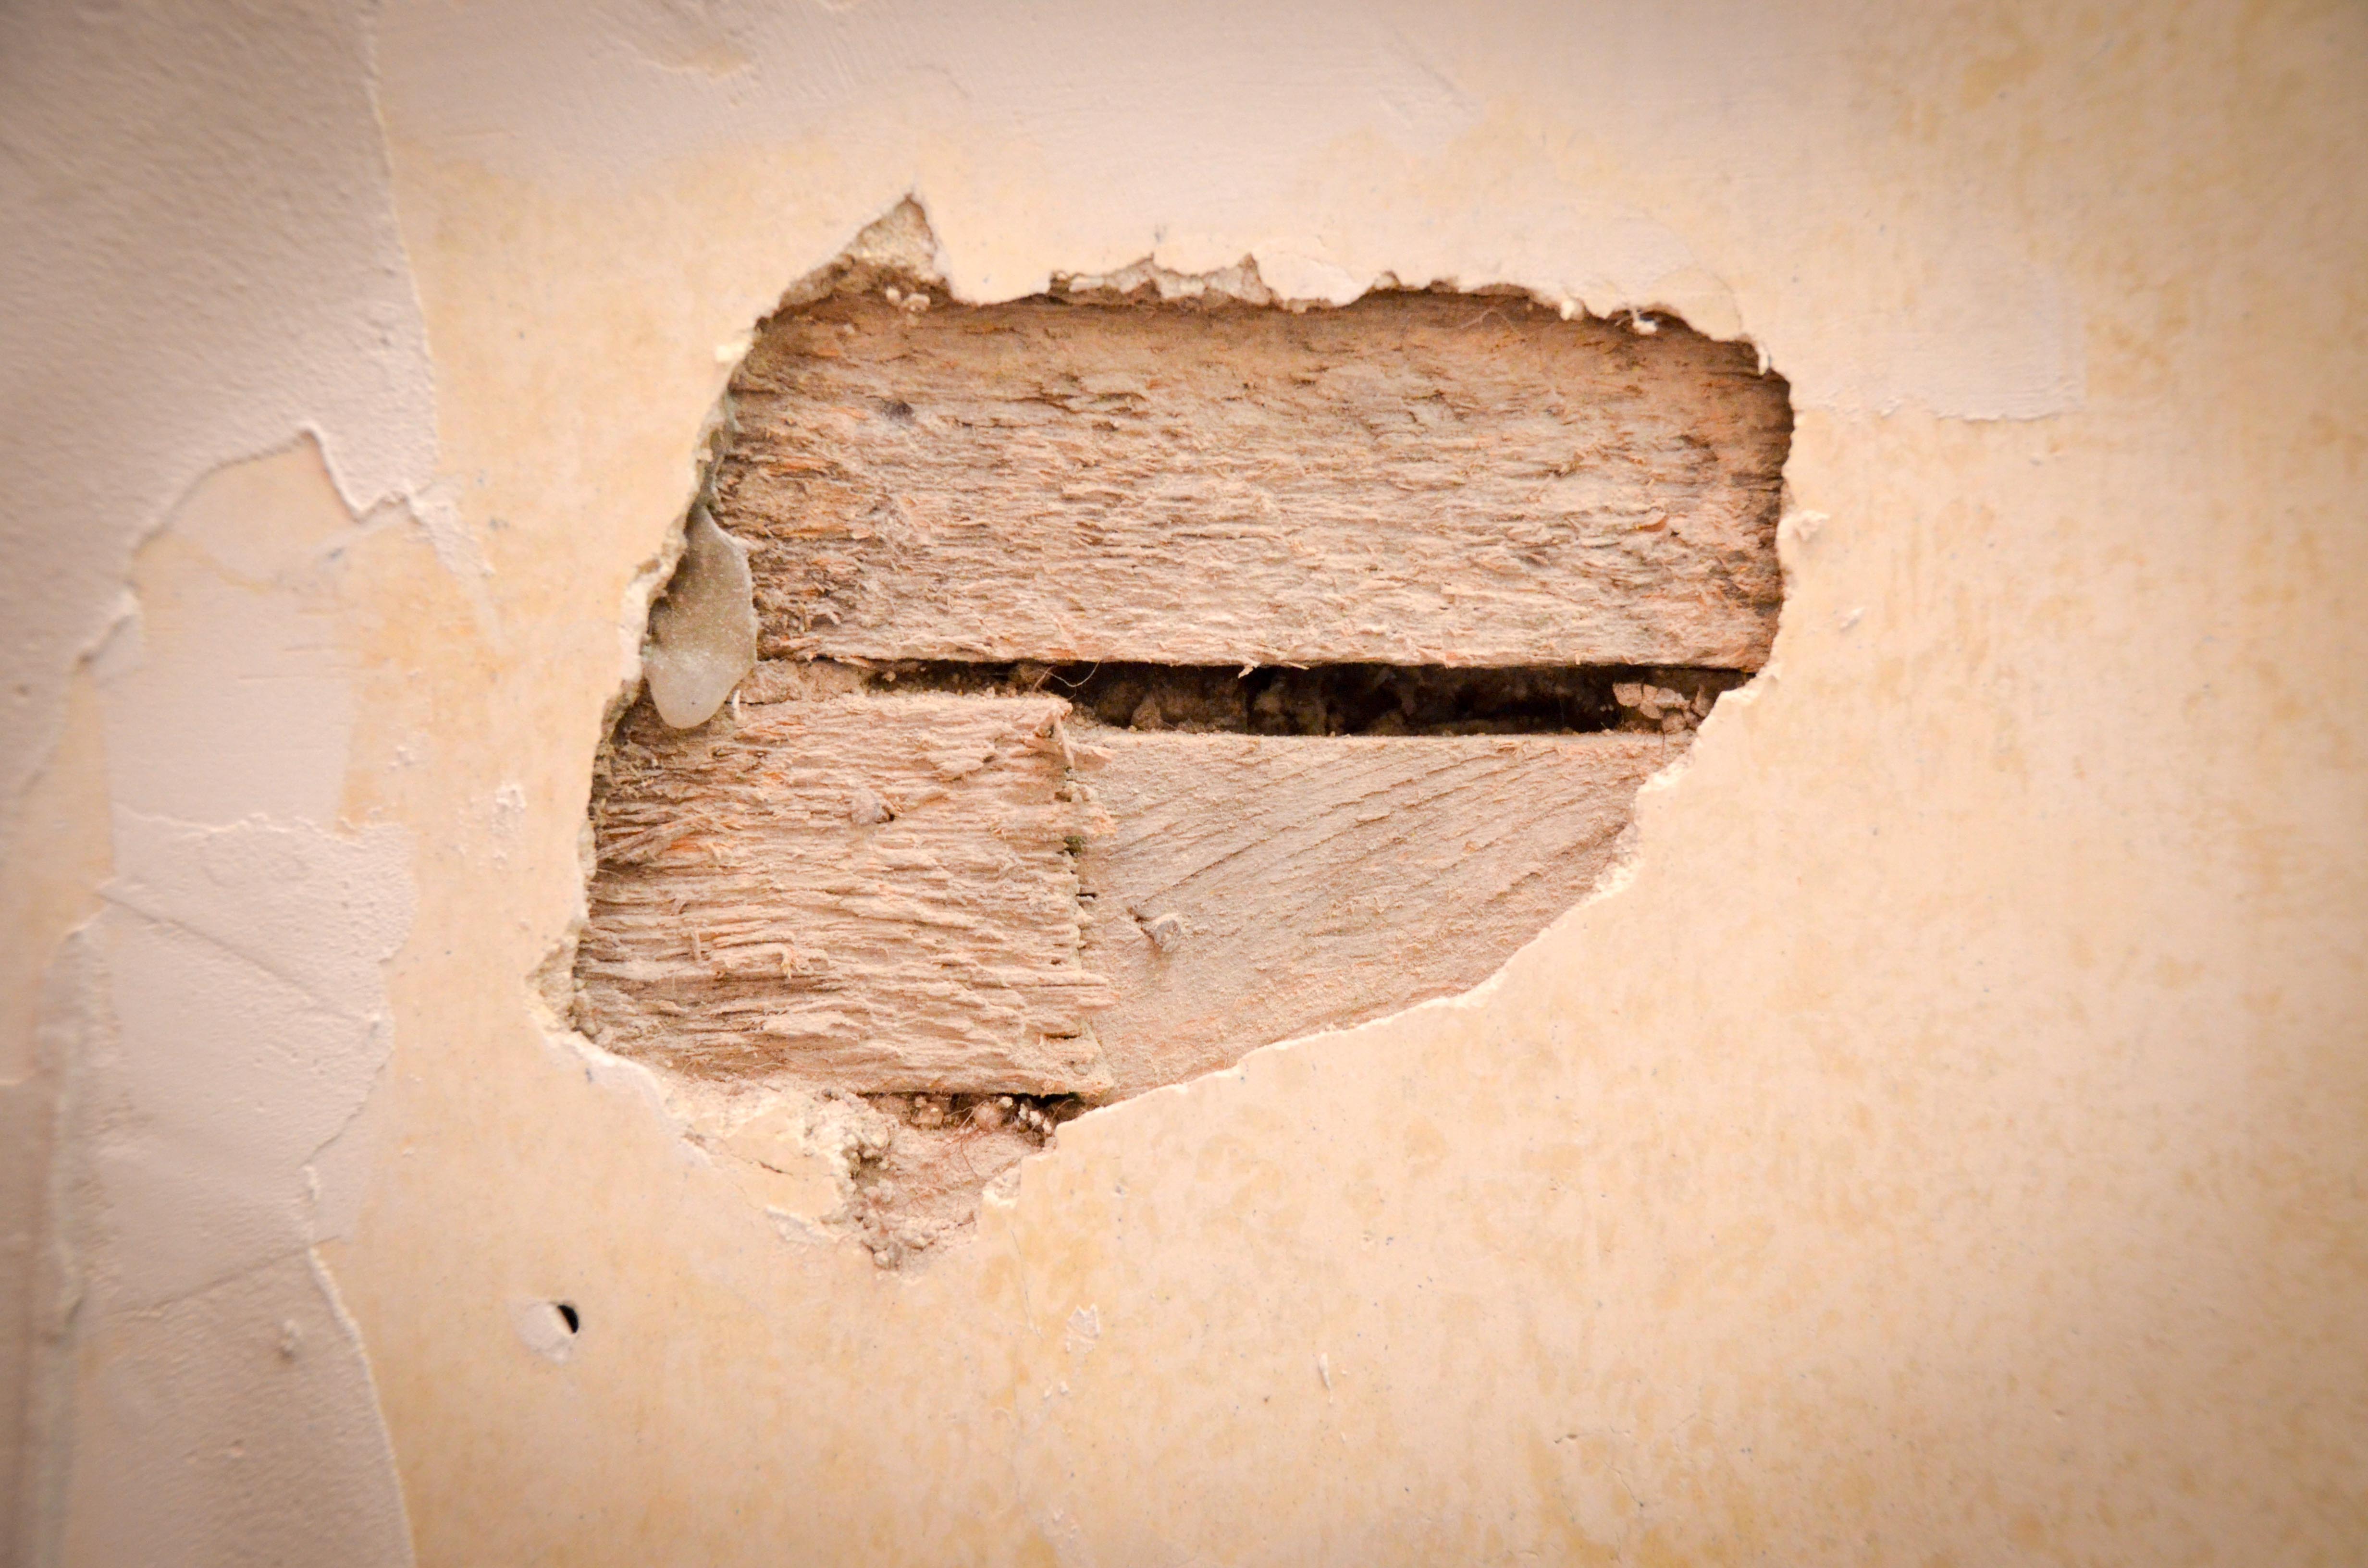
Now it was time to get serious and address the cracks. The cracks in the plaster are a result of the plaster pulling away from the lath. [Edit from Amy: The horizontal wooden pieces are the lath.] When plaster is first applied it oozes in between the gaps of the lath and become anchors for the plaster. [Edit from Amy: The parts that ooze into the other side are called Keys. They hold the plaster tight to the wall.]

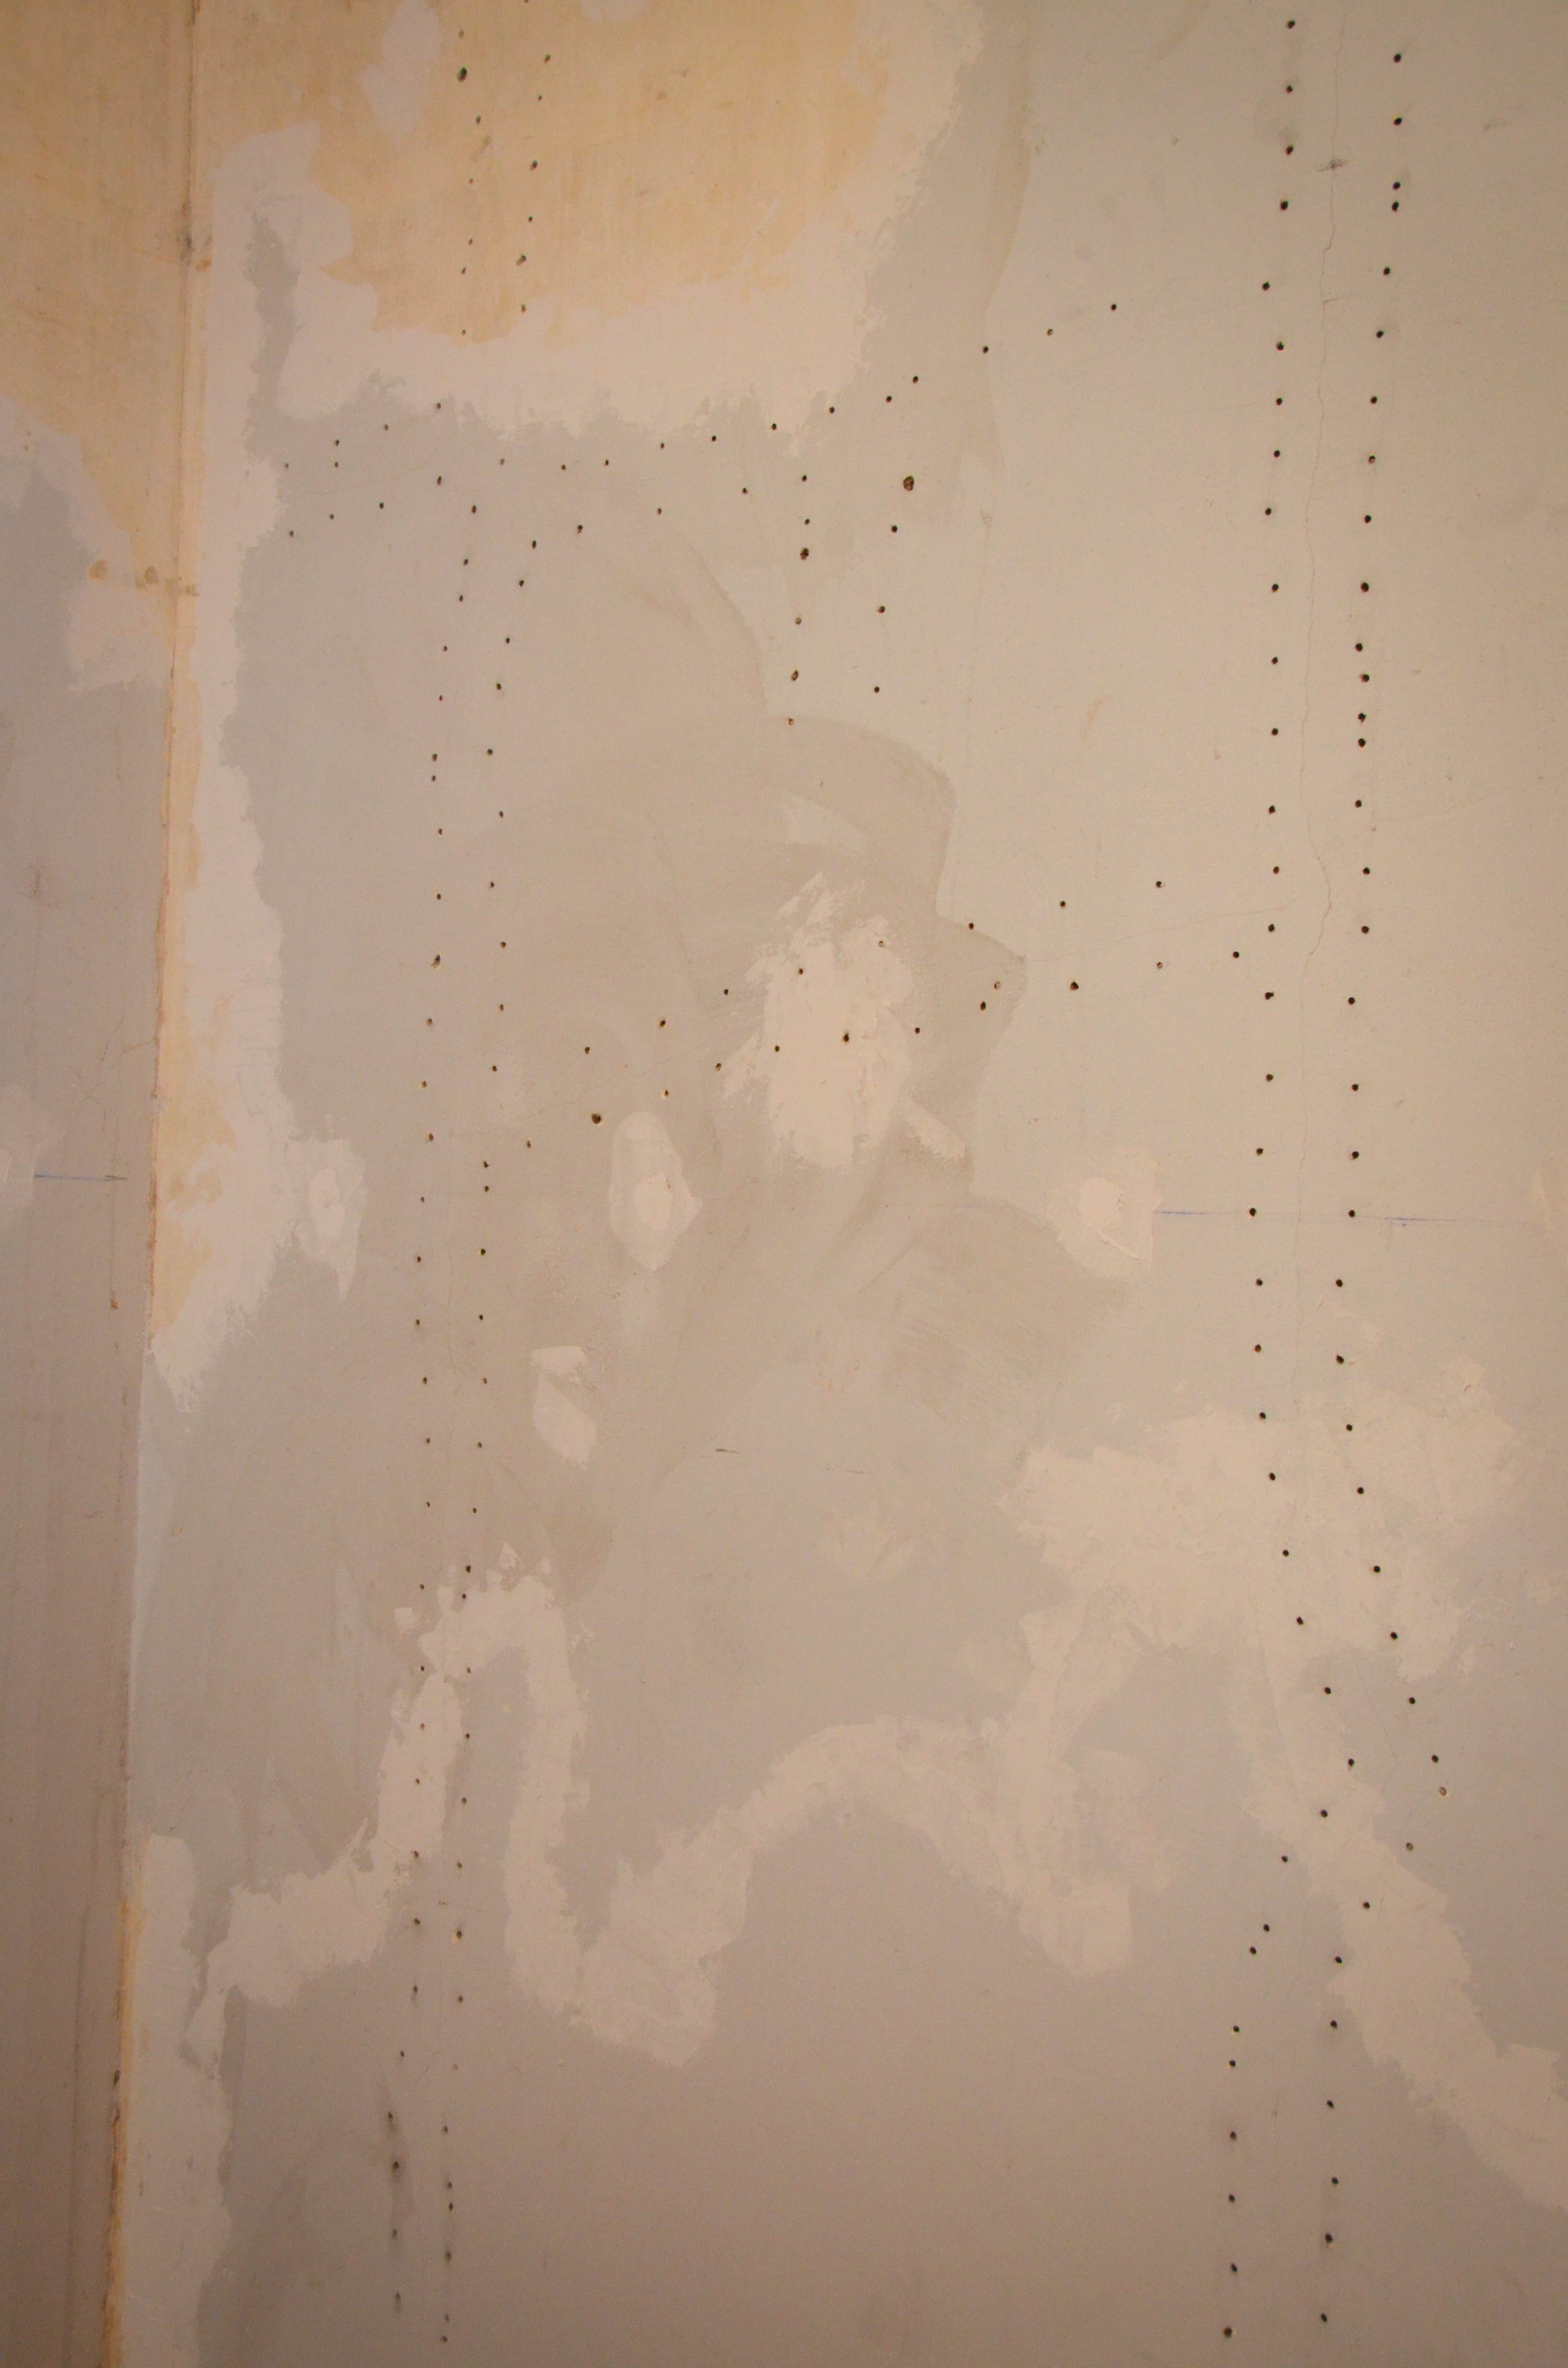
Eventually those “keys” can break off in the wall and then there is nothing holding the plaster onto the lath. The crack is really a symptom of a larger problem – loose plaster. The only way to really fix plaster cracks is to reattach the plaster to the lath. The first step is to drill 3/16″ holes into the plaster on each side of the crack about 3 inches apart (essentially trying to hit every lath piece as you ascend the wall.) As you drill you feel the bit go through the plaster and then hit the lath. If the plaster has really pulled away from the lath you feel a little gap between the plaster and lath. You don’t drill through the lath. The main point is to create a path to get an adhesive behind the plaster.
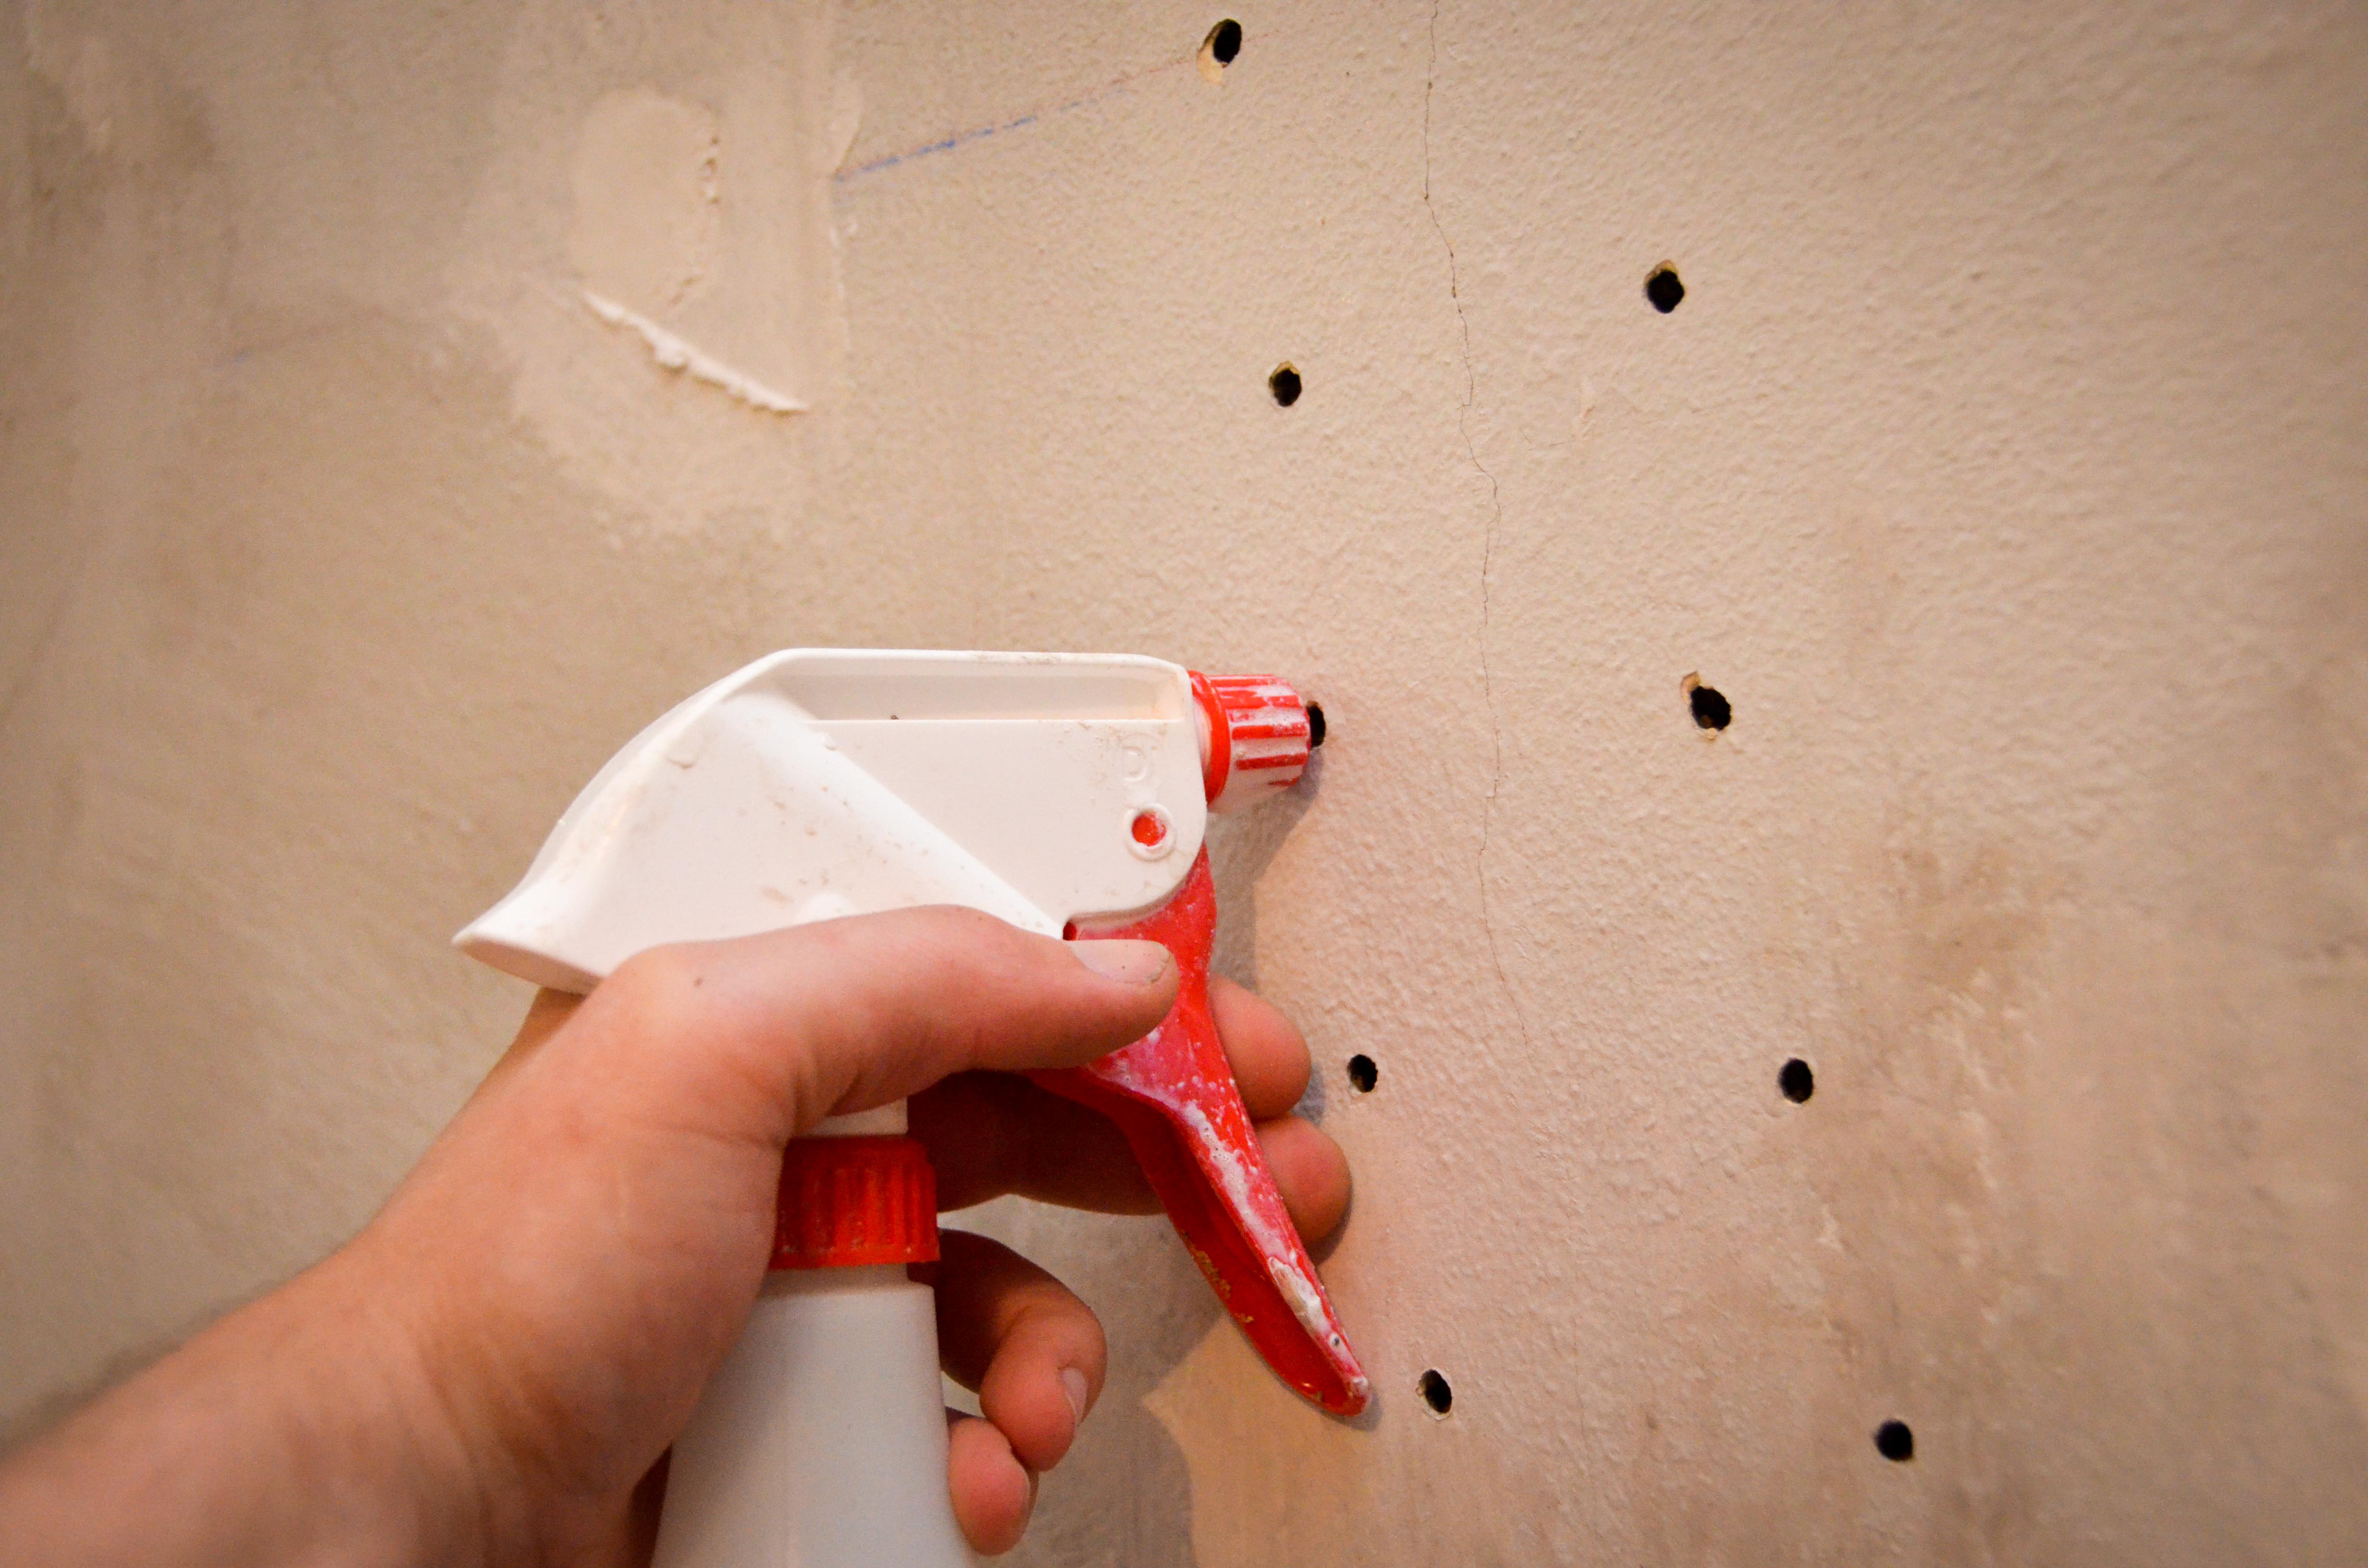
After drilling all the holes (it’s a LOT of holes for our house) you vacuum out each one to remove as much dust or debris as possible. After that, you spray a conditioner into each hole that prepares the lath for the adhesive.
Finally, the adhesive is applied in each hole until you notice it starting to come back out. 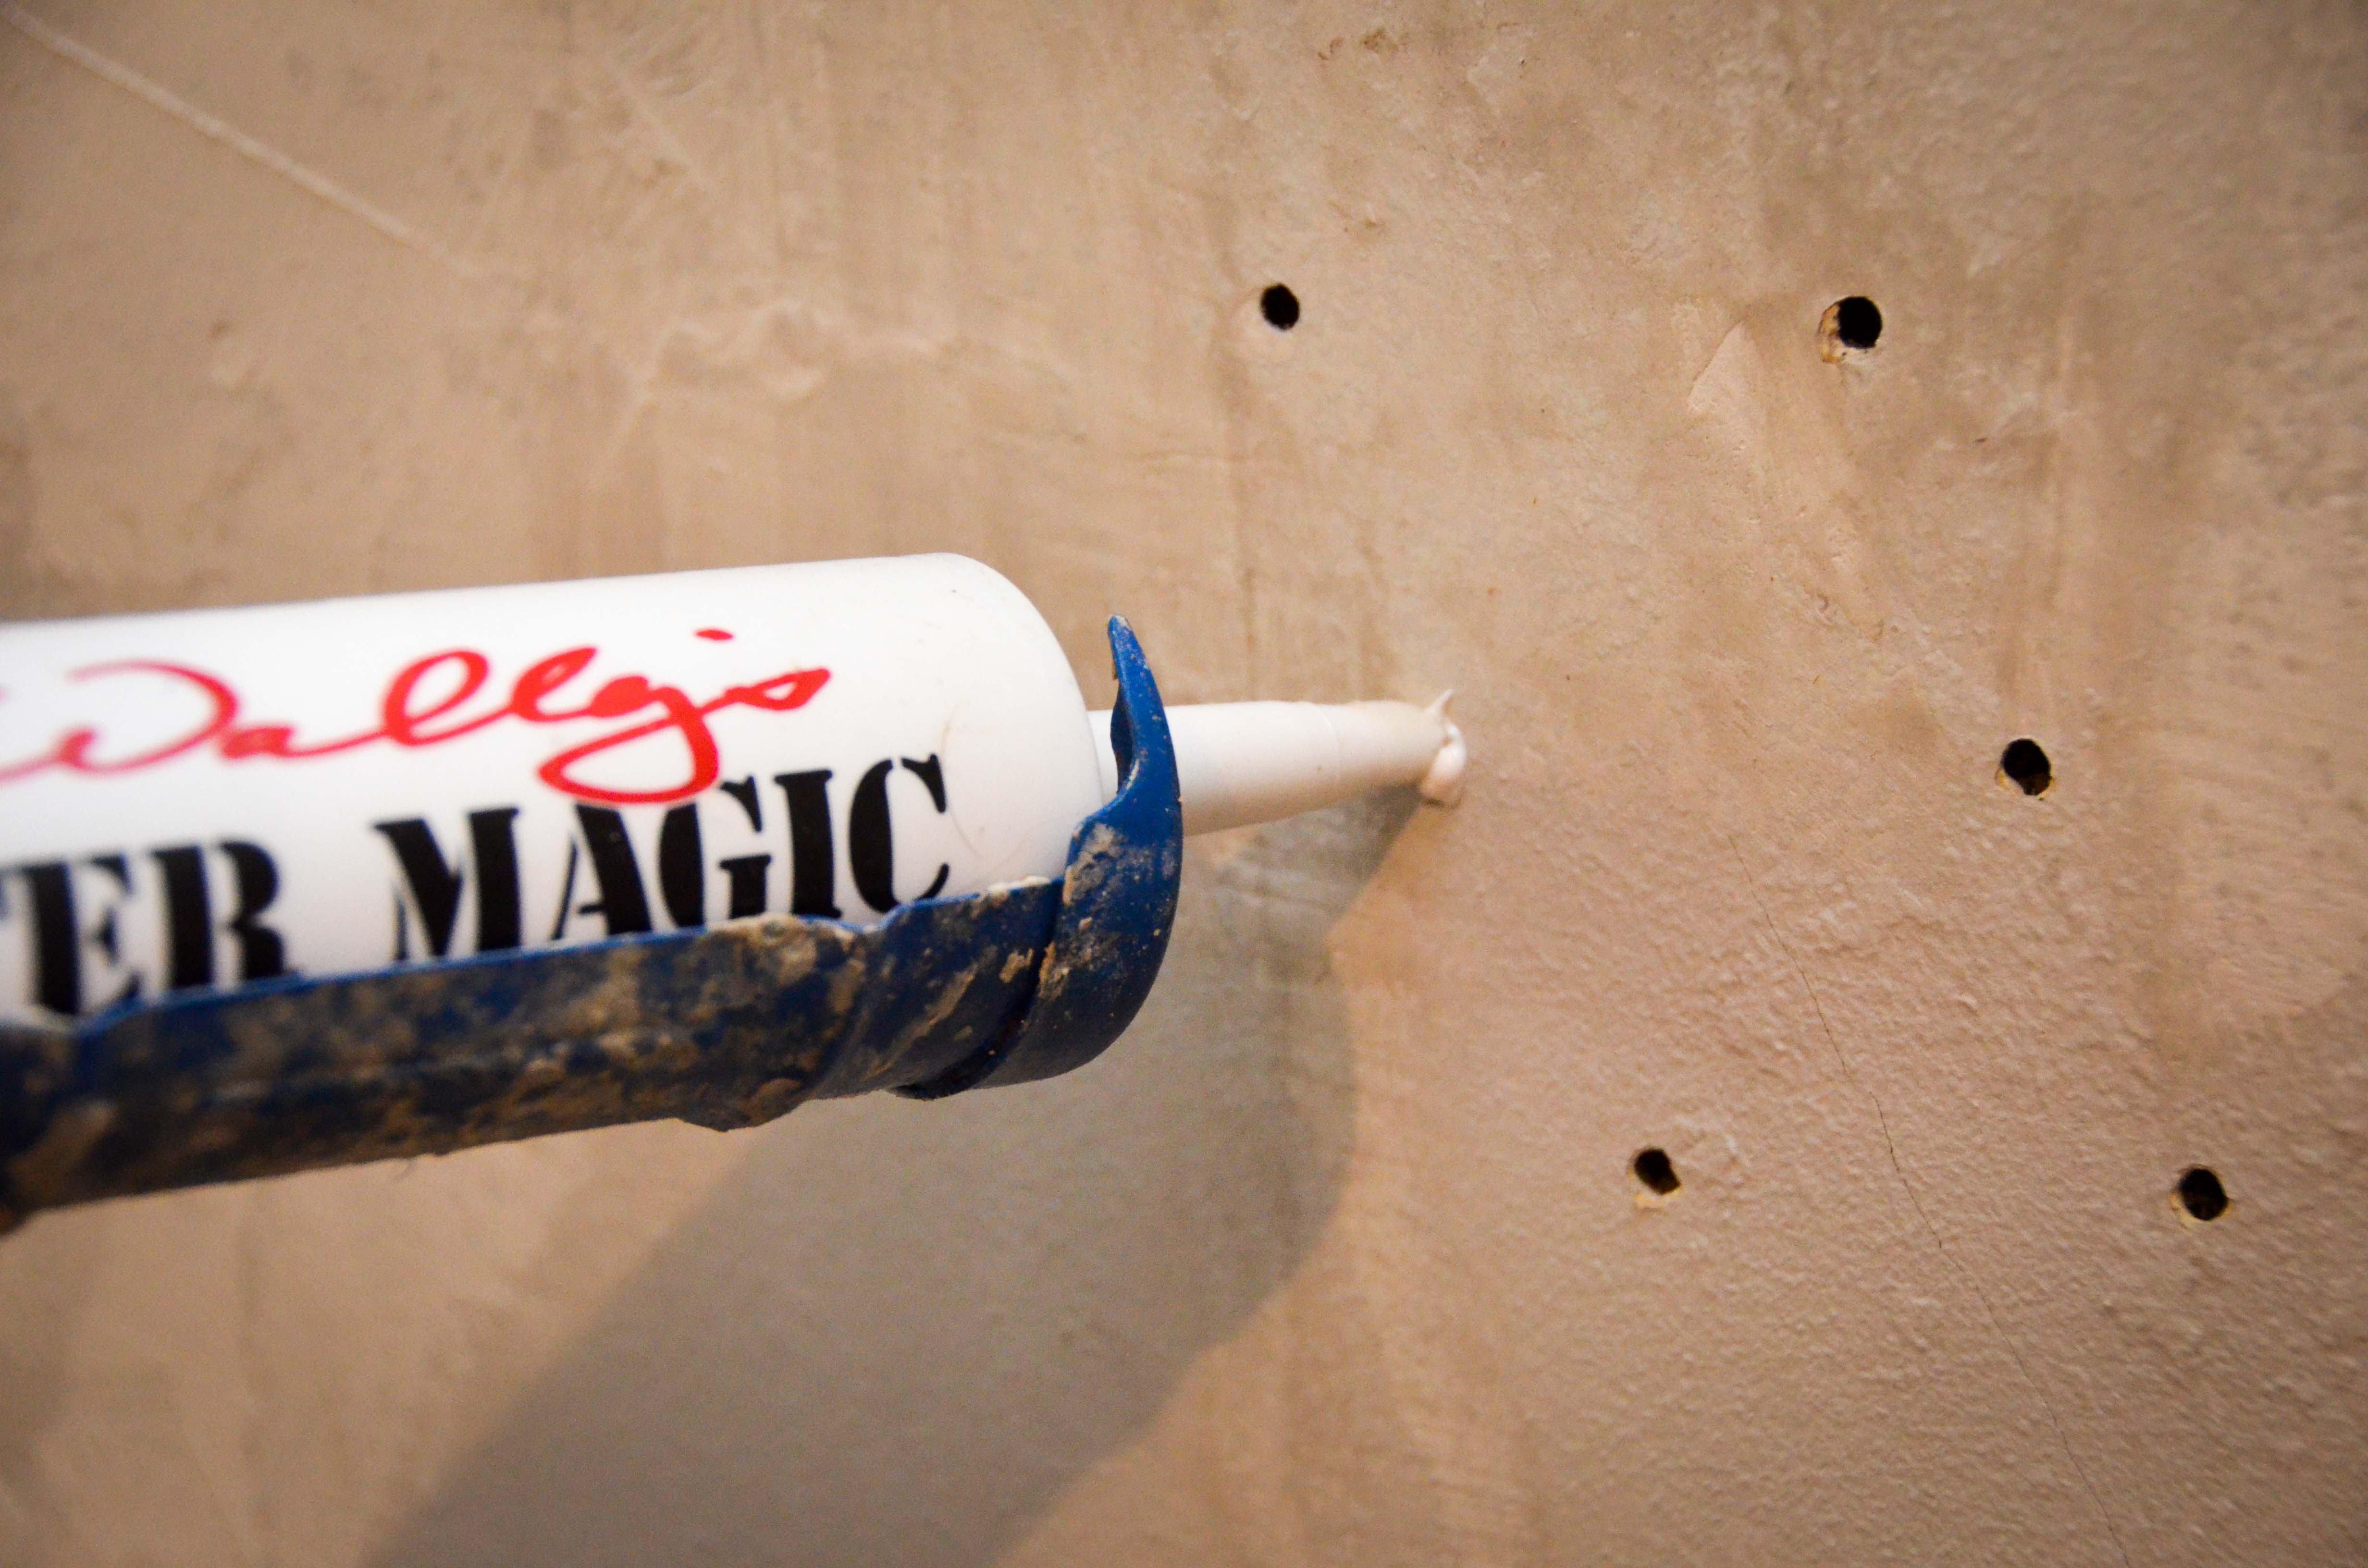 After each hole is filled, you gently screw on a little piece of plastic about every 8 inches to carefully pull the plaster tight to the lath.

This part is fairly gratifying because the adhesive starts coming out other holes and sometimes you can really feel the wall get tighter. This will dry for 24-48 hours and then the screws and plastic are removed. The wall should now be more stable and the crack is ready to be covered.

In my research I couldn’t find much on what to do after the cracks have been addressed. It was also apparent that many people have different philosophies on how to repair plaster cracks. I assumed the most effective treatment of the cracks would be taping and mudding – like drywall. I have done this once before… just enough to know how tricky it can be. I’ll admit I had a frustrating start. I decided to mix my own joint compound instead of buying premixed, but I had several issues. One – my mix was drying out too fast even when I intentionally started it a little “wet.” I had to work so fast (which I can’t really do yet) and then when my mix would dry out I had to empty everything, clean everything, make another mix, and start over. It was time-consuming and stressful. In addition, if I didn’t get all everything completely clean I would end up with old chunky bits in my mix and then that would cause streaks in my compound when I applied it to the wall. I finally gave up and decided to get the big 5 gallon container of pre-mixed joint compound. I immediately had better results.
My other mistake was trying to use paper tape instead of the mesh tape. The pros use the paper tape, but in the hands of amateurs the paper is much more likely to bubble or create other issues. I had a couple spots of bubbling and had to go back and cut the tape out. Not a big deal, but why worry about it when mesh tape is a little more dummy-proof?
At was at this point I started second guessing myself and decided that maybe the taping was a little overkill. I had questions that the internet seemed unable to answer, so I called the number on Big Wally’s website and got to talk to the big man himself – Rory! (I know, strange that his name isn’t Wally, right?) He was kind enough to answer all my questions. Turns out, i just need to do 3 or 4 skim coats of join compound after I have done all the plaster/lath adhesion. No need for taping. He also said there might be a 1-4% re-cracking possibility. I’m okay with that. It’s an old house and I don’t expect perfect walls.
Back to plaster repair… Some areas of our walls have missing plaster.
Fixing this begins with the same process as the cracks. I want to make sure that the lath is firmly attached to plaster around the hole, so I drill holes and apply the adhesive in each hole. Then I spray the exposed lath with the solution that prepares the lath for the adhesive. Once that is complete, I apply a plaster mix and make sure it gets into the spaces between the lath and all the crevices of the existing plaster. I only fill the hole halfway and make sure to rough up the surface to give the next coat of plaster something to adhere to.

After that has dried for a couple hours I apply another coat of plaster, but make sure to leave it even or slightly less than even with the existing plaster. When that has dried I am now okay to apply joint compound to the surface and blend it in with the surface of the wall.
In some cases, there is a hole in the wall and not enough lath on which to apply plaster. In this case I just cut a piece of scrap drywall to fit inside the area and screw it to the remaining lath that is sticking out from the plaster.
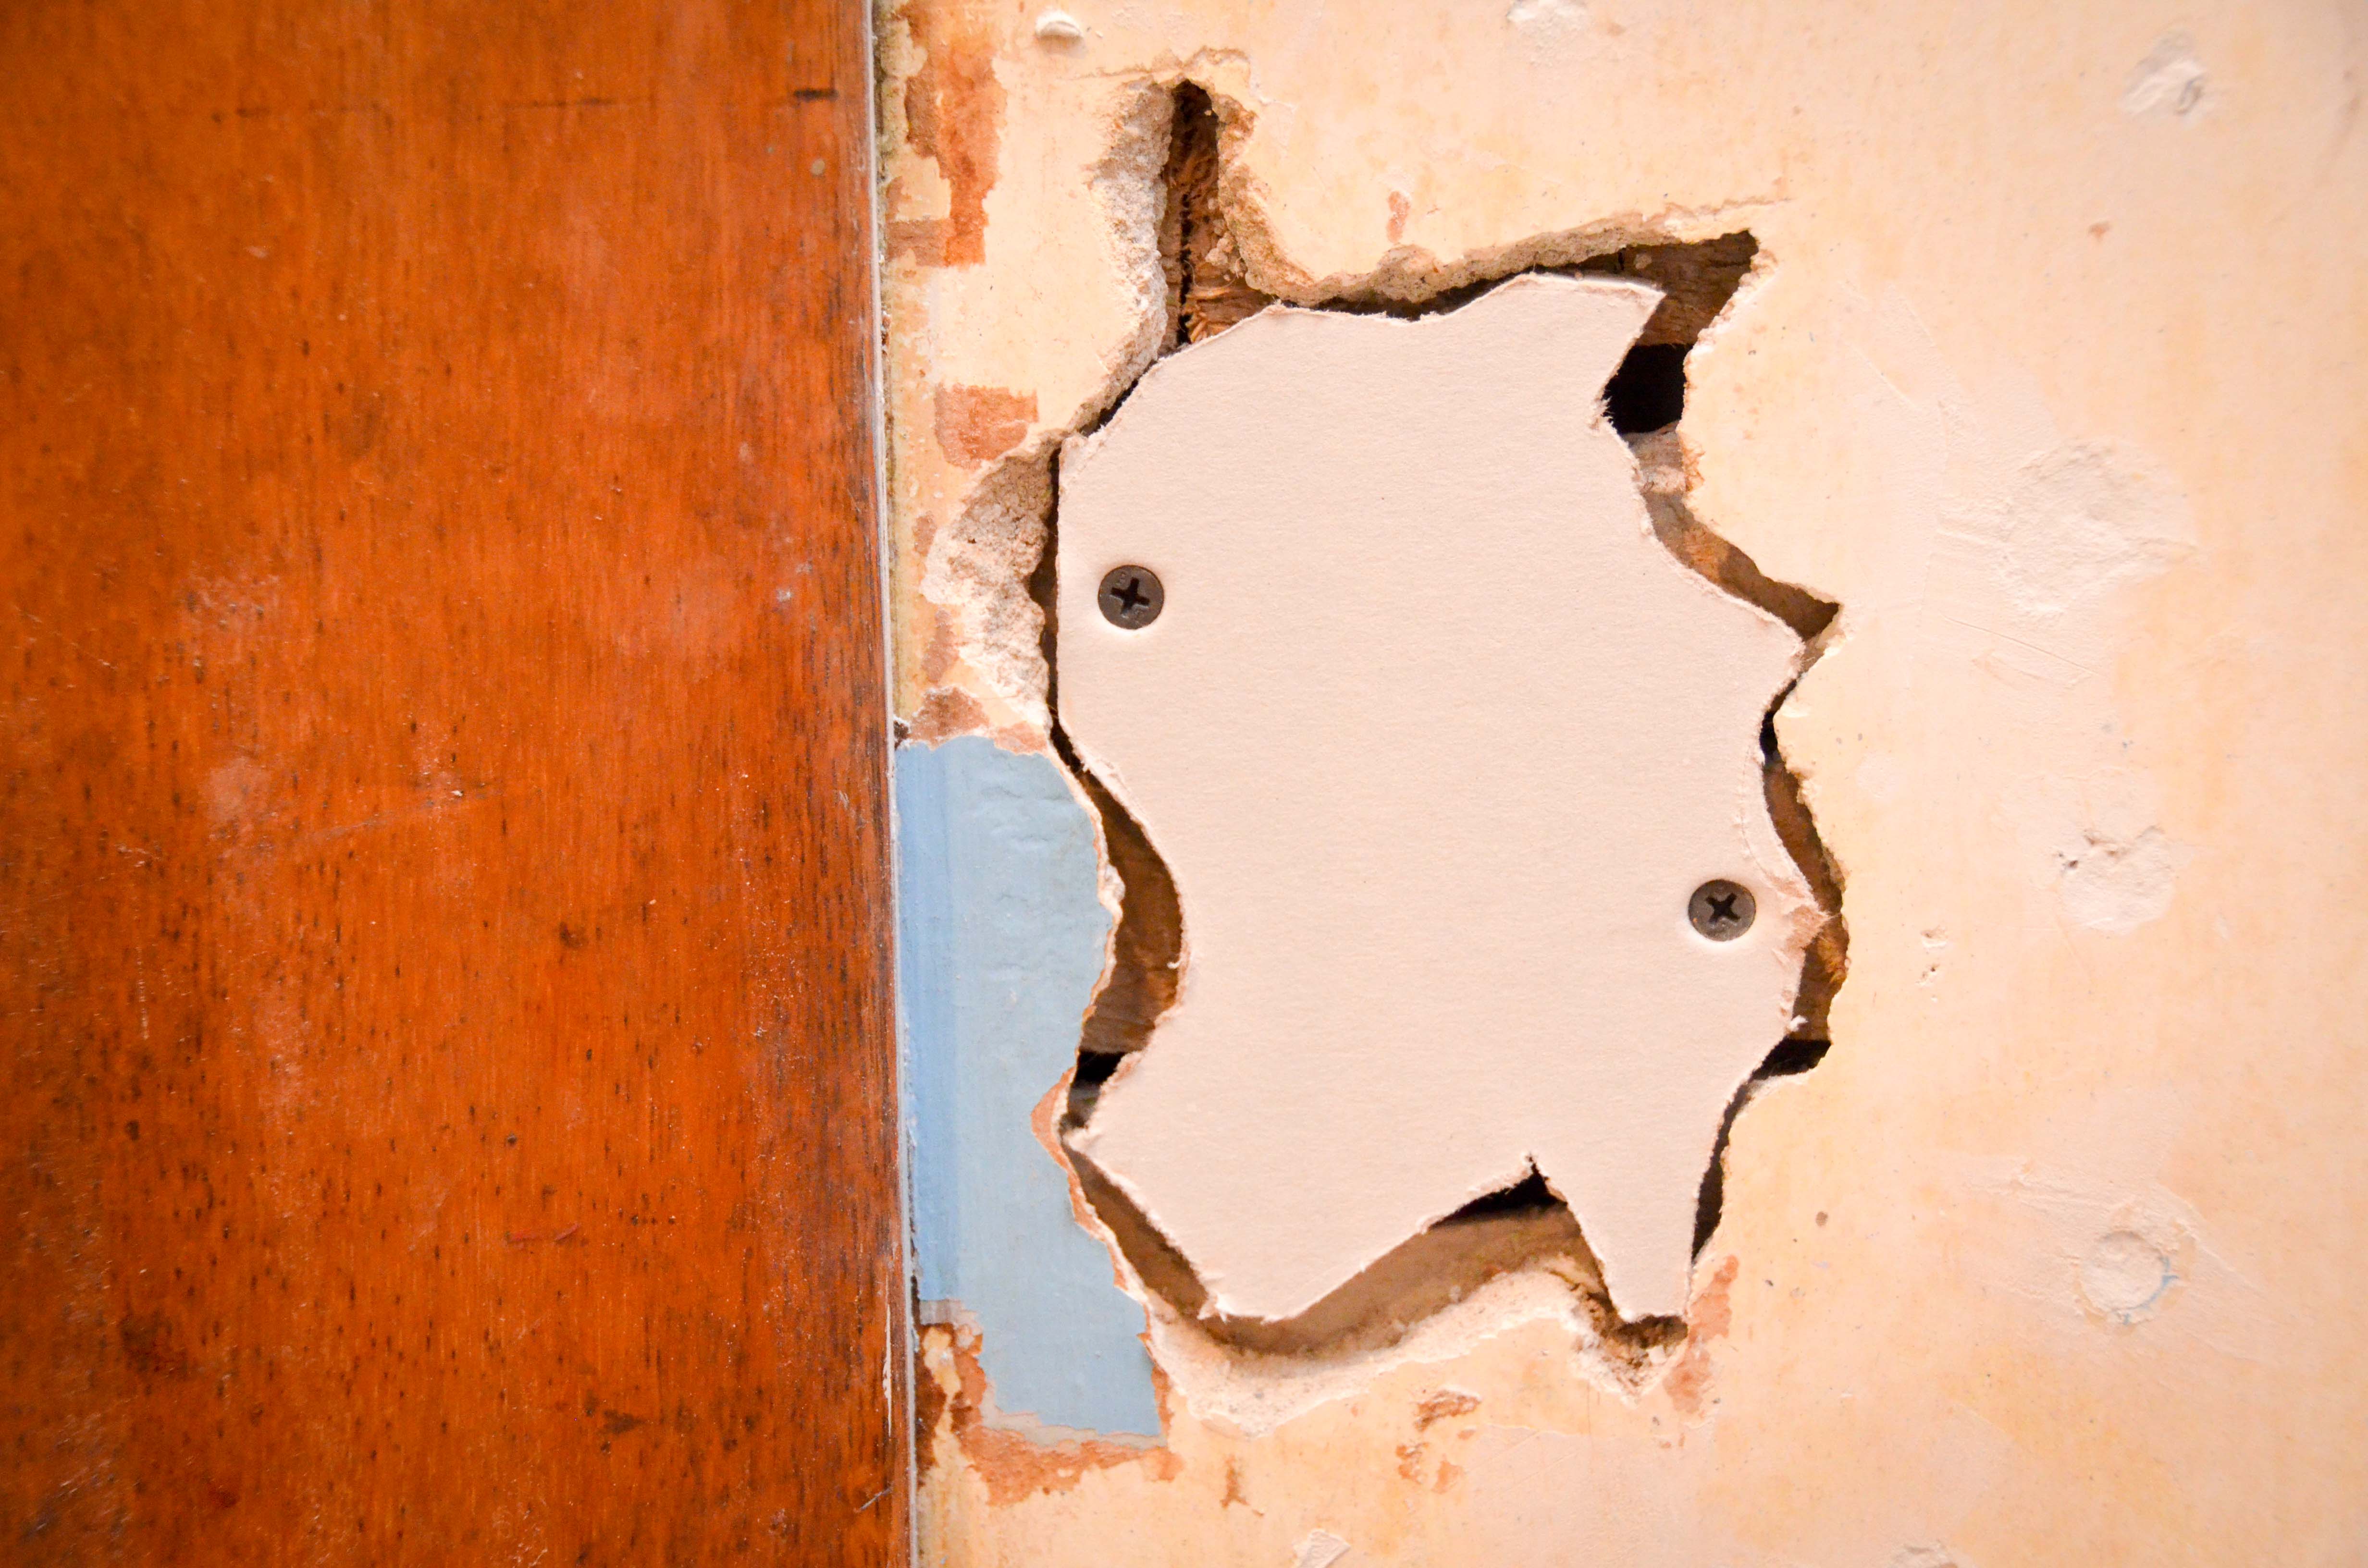
…and then I add three thin coats of joint compound to blend it in with the surface.

My biggest frustration has been how quickly I am going through the plaster repair supplies. I have already had to re-order supplies twice and it’s expensive! I know there are probably cheaper ways to do it, but this is the only product that gives me the confidence that the plaster will actually be stabilized. I still have four more rooms to repair, but those will hopefully go faster now that I am not taping anymore. I will cover those in a future post. For now, I will enjoy the completion of one room that is ready to be primed!
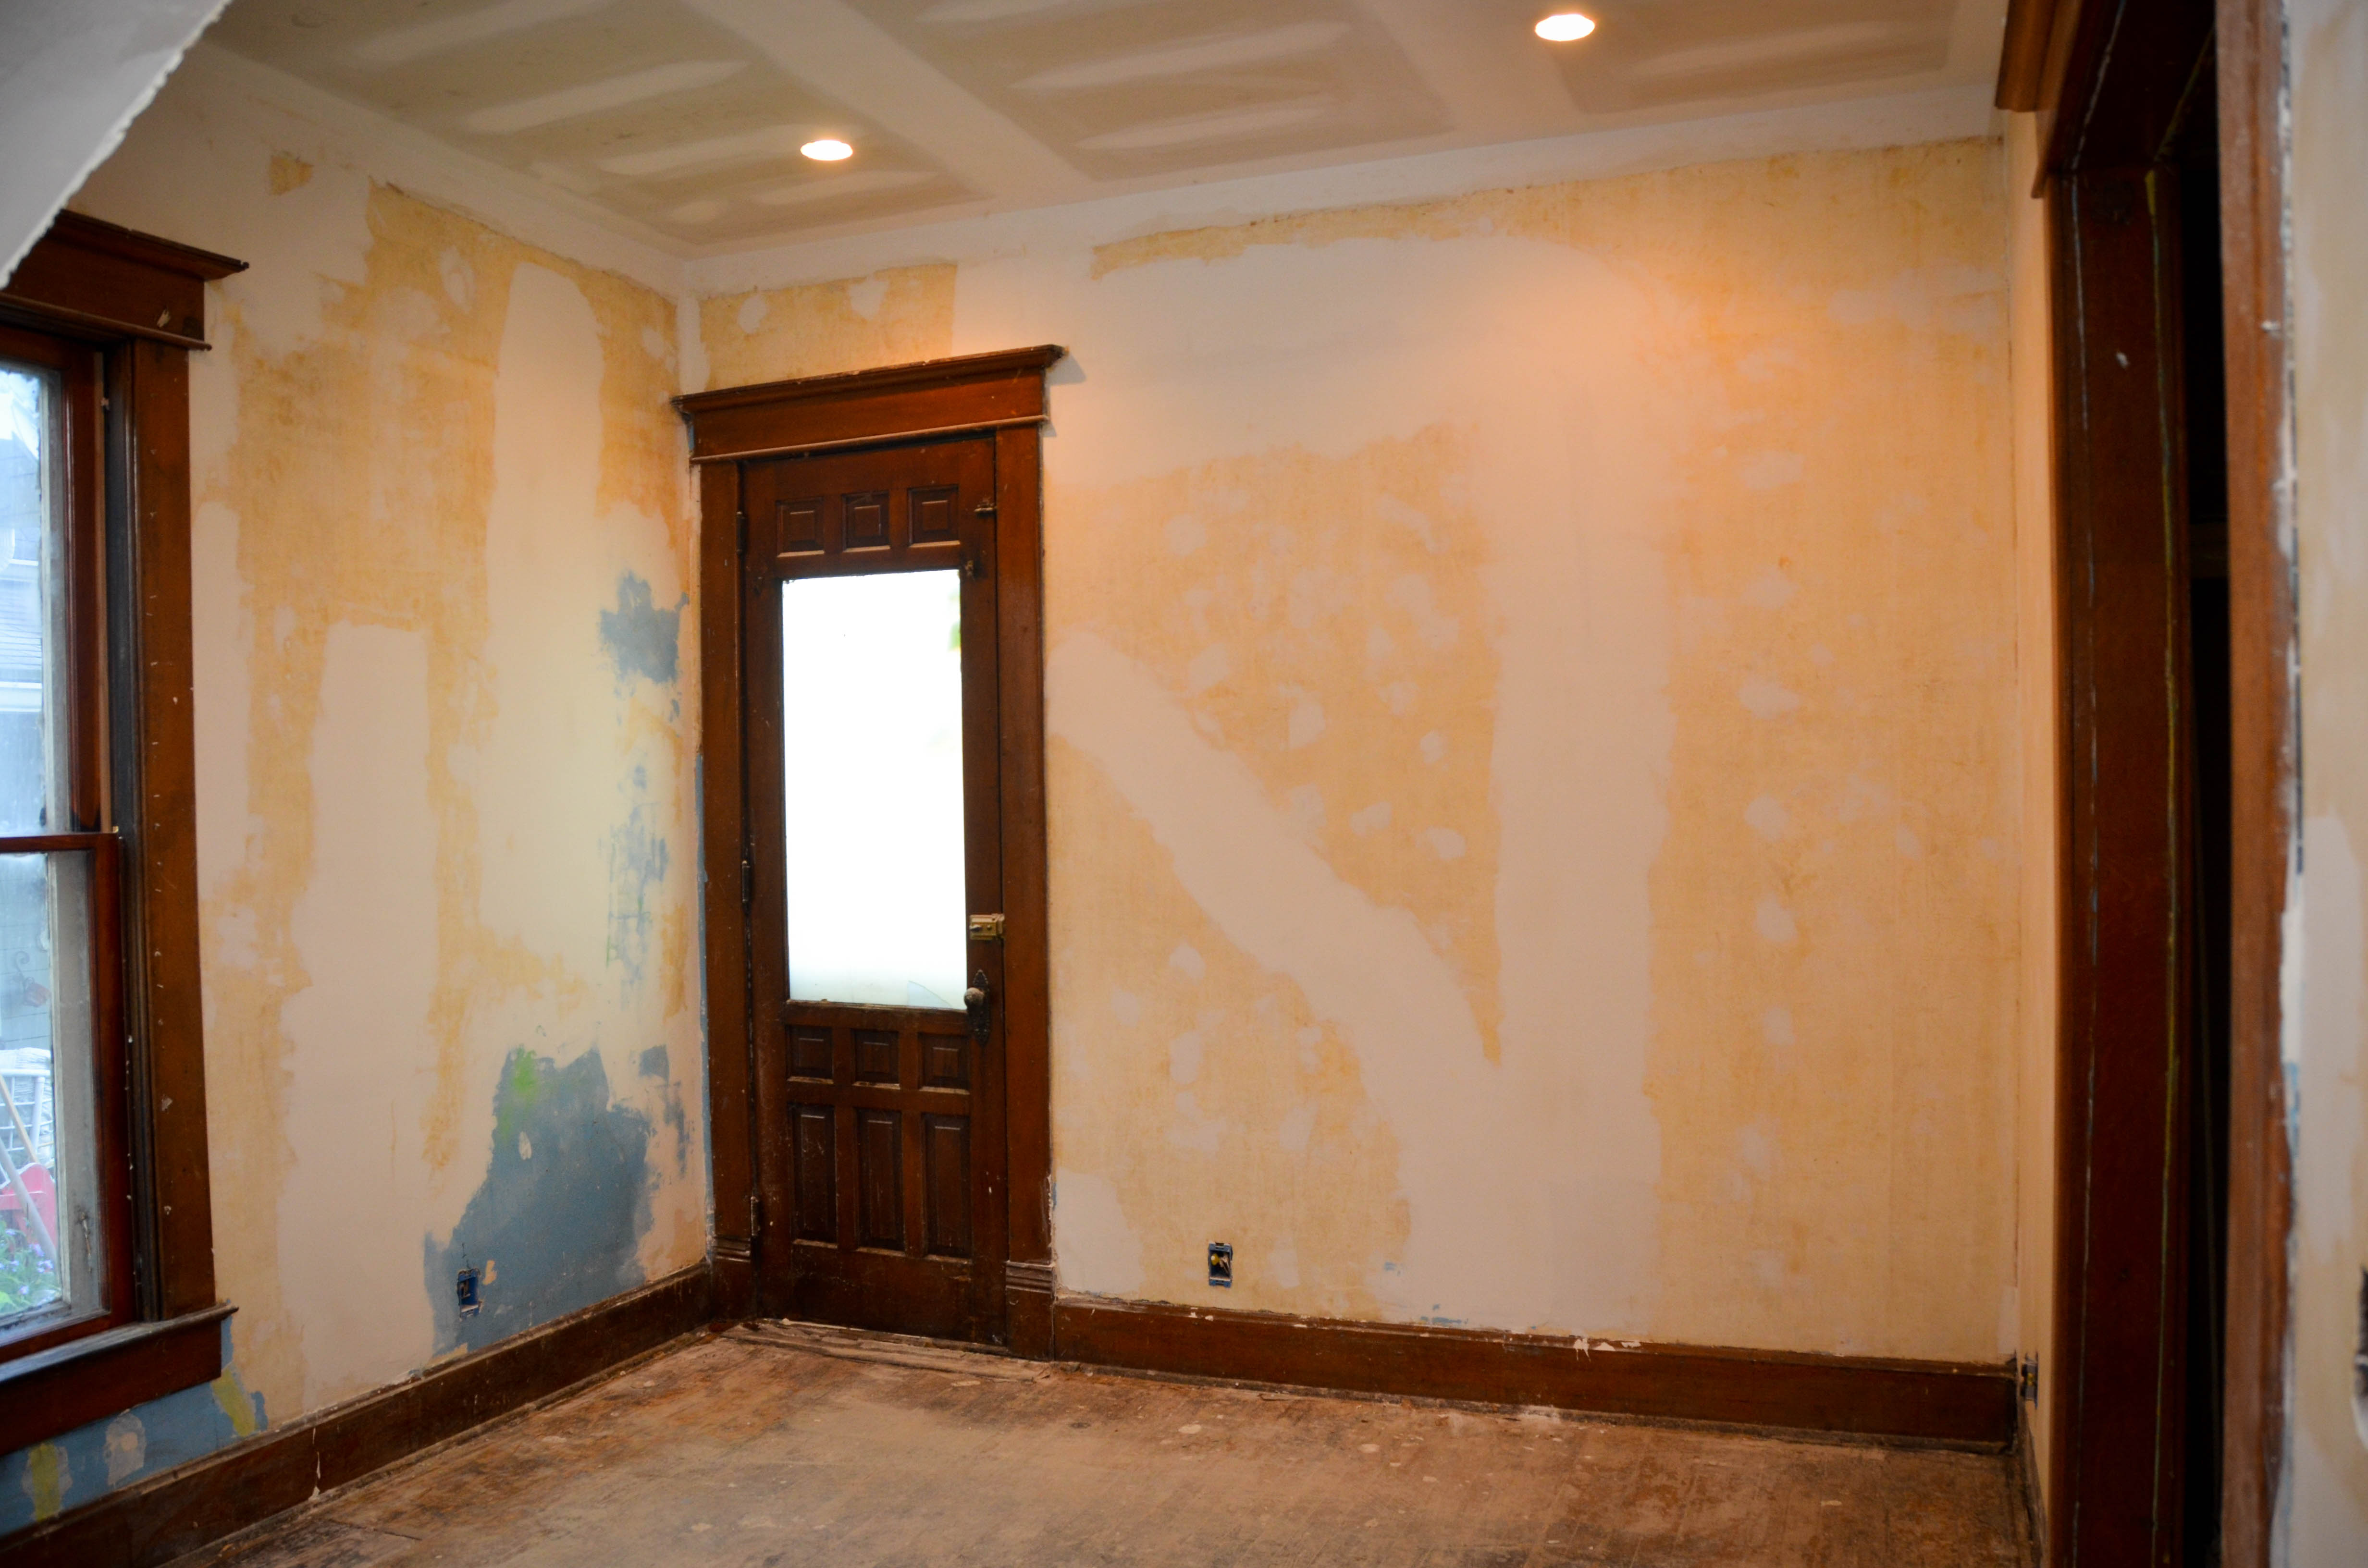
[Edit from Amy: I’m right behind you with the paint roller!]

Loved reading all the steps to repair plaster walls. LOL I loved this blog….very informative and you were very witty Amy. LOL Love you all so much. You two are amazing. Love you all.
Aunt Janet XOXooXxo
LikeLike
Amy and Joe,
Just ran across your blog through Instagram. I’ve spent the last hour reading and enjoying your pics. Having done many of these things with our old house on a much smaller scale, I’m in awe of your abilities and more importantly your staying power! The window rehab project…wow!!!!! Can’t wait to keep up with your posts! Your blog and house are awesome!
LikeLike
The dry joint compound mix comes in three versions: 90, 45, and 20 minute. Once it has been mixed for that time period it will set up no matter how watery it is (or even if it is sealed in a bucket). The pre-mixed stuff is a little different and will stay wet forever if it isn’t exposed to air. The dry mix stuff is best for your first coat and filling big holes, because it dries quickly and you can top it with the pre-mixed stuff without waiting overnight.
LikeLike