As we look back on the past year of our rehab project it is obvious that the stages can be neatly divided into categories:
Stage 1 – Planning (and lots of thinking). Meetings with architect, contractors, skilled friends who can give advice.
Stage 2 – Demolishing (knocking stuff down and taking it out). The demo stage goes on for a long time. In fact, it still seems like it is going on. I’m still making trips to the landfill.
Stage 3 – Structural (building stuff). Once the old stuff is out of the way, any new framing or structural reinforcements take place. For us, this included new walls upstairs, a bathroom downstairs, new stairs, addition floor support under the new stairs, under Lucy’s room, and under the new loft space.
Stage 4 – The guts (the important stuff in the walls). For us, this included new plumbing, electric, and hvac.
Stage 5 – The walls. This is when everything you spent the past 12 months working on is covered up by drywall. [Edit from Amy: And it looks like you’ve done nothing.]
Stage 6 – SURFACES. This is our current stage. As you would expect, it means getting all the door, window, wall, ceiling, and floor surfaces repaired, primed, painted, sanded, refinished, or all of the above.
You would think that stage 6 would be pretty straight forward and I guess, compared to wiring an entire house, it is. But a century old house doesn’t exactly clean up with a quick rinse. Also, there is a lot of square footage to deal with. Here is what we need to accomplish before we can get to the next two big goals (priming all the wall/ceilings and refinishing the floors):
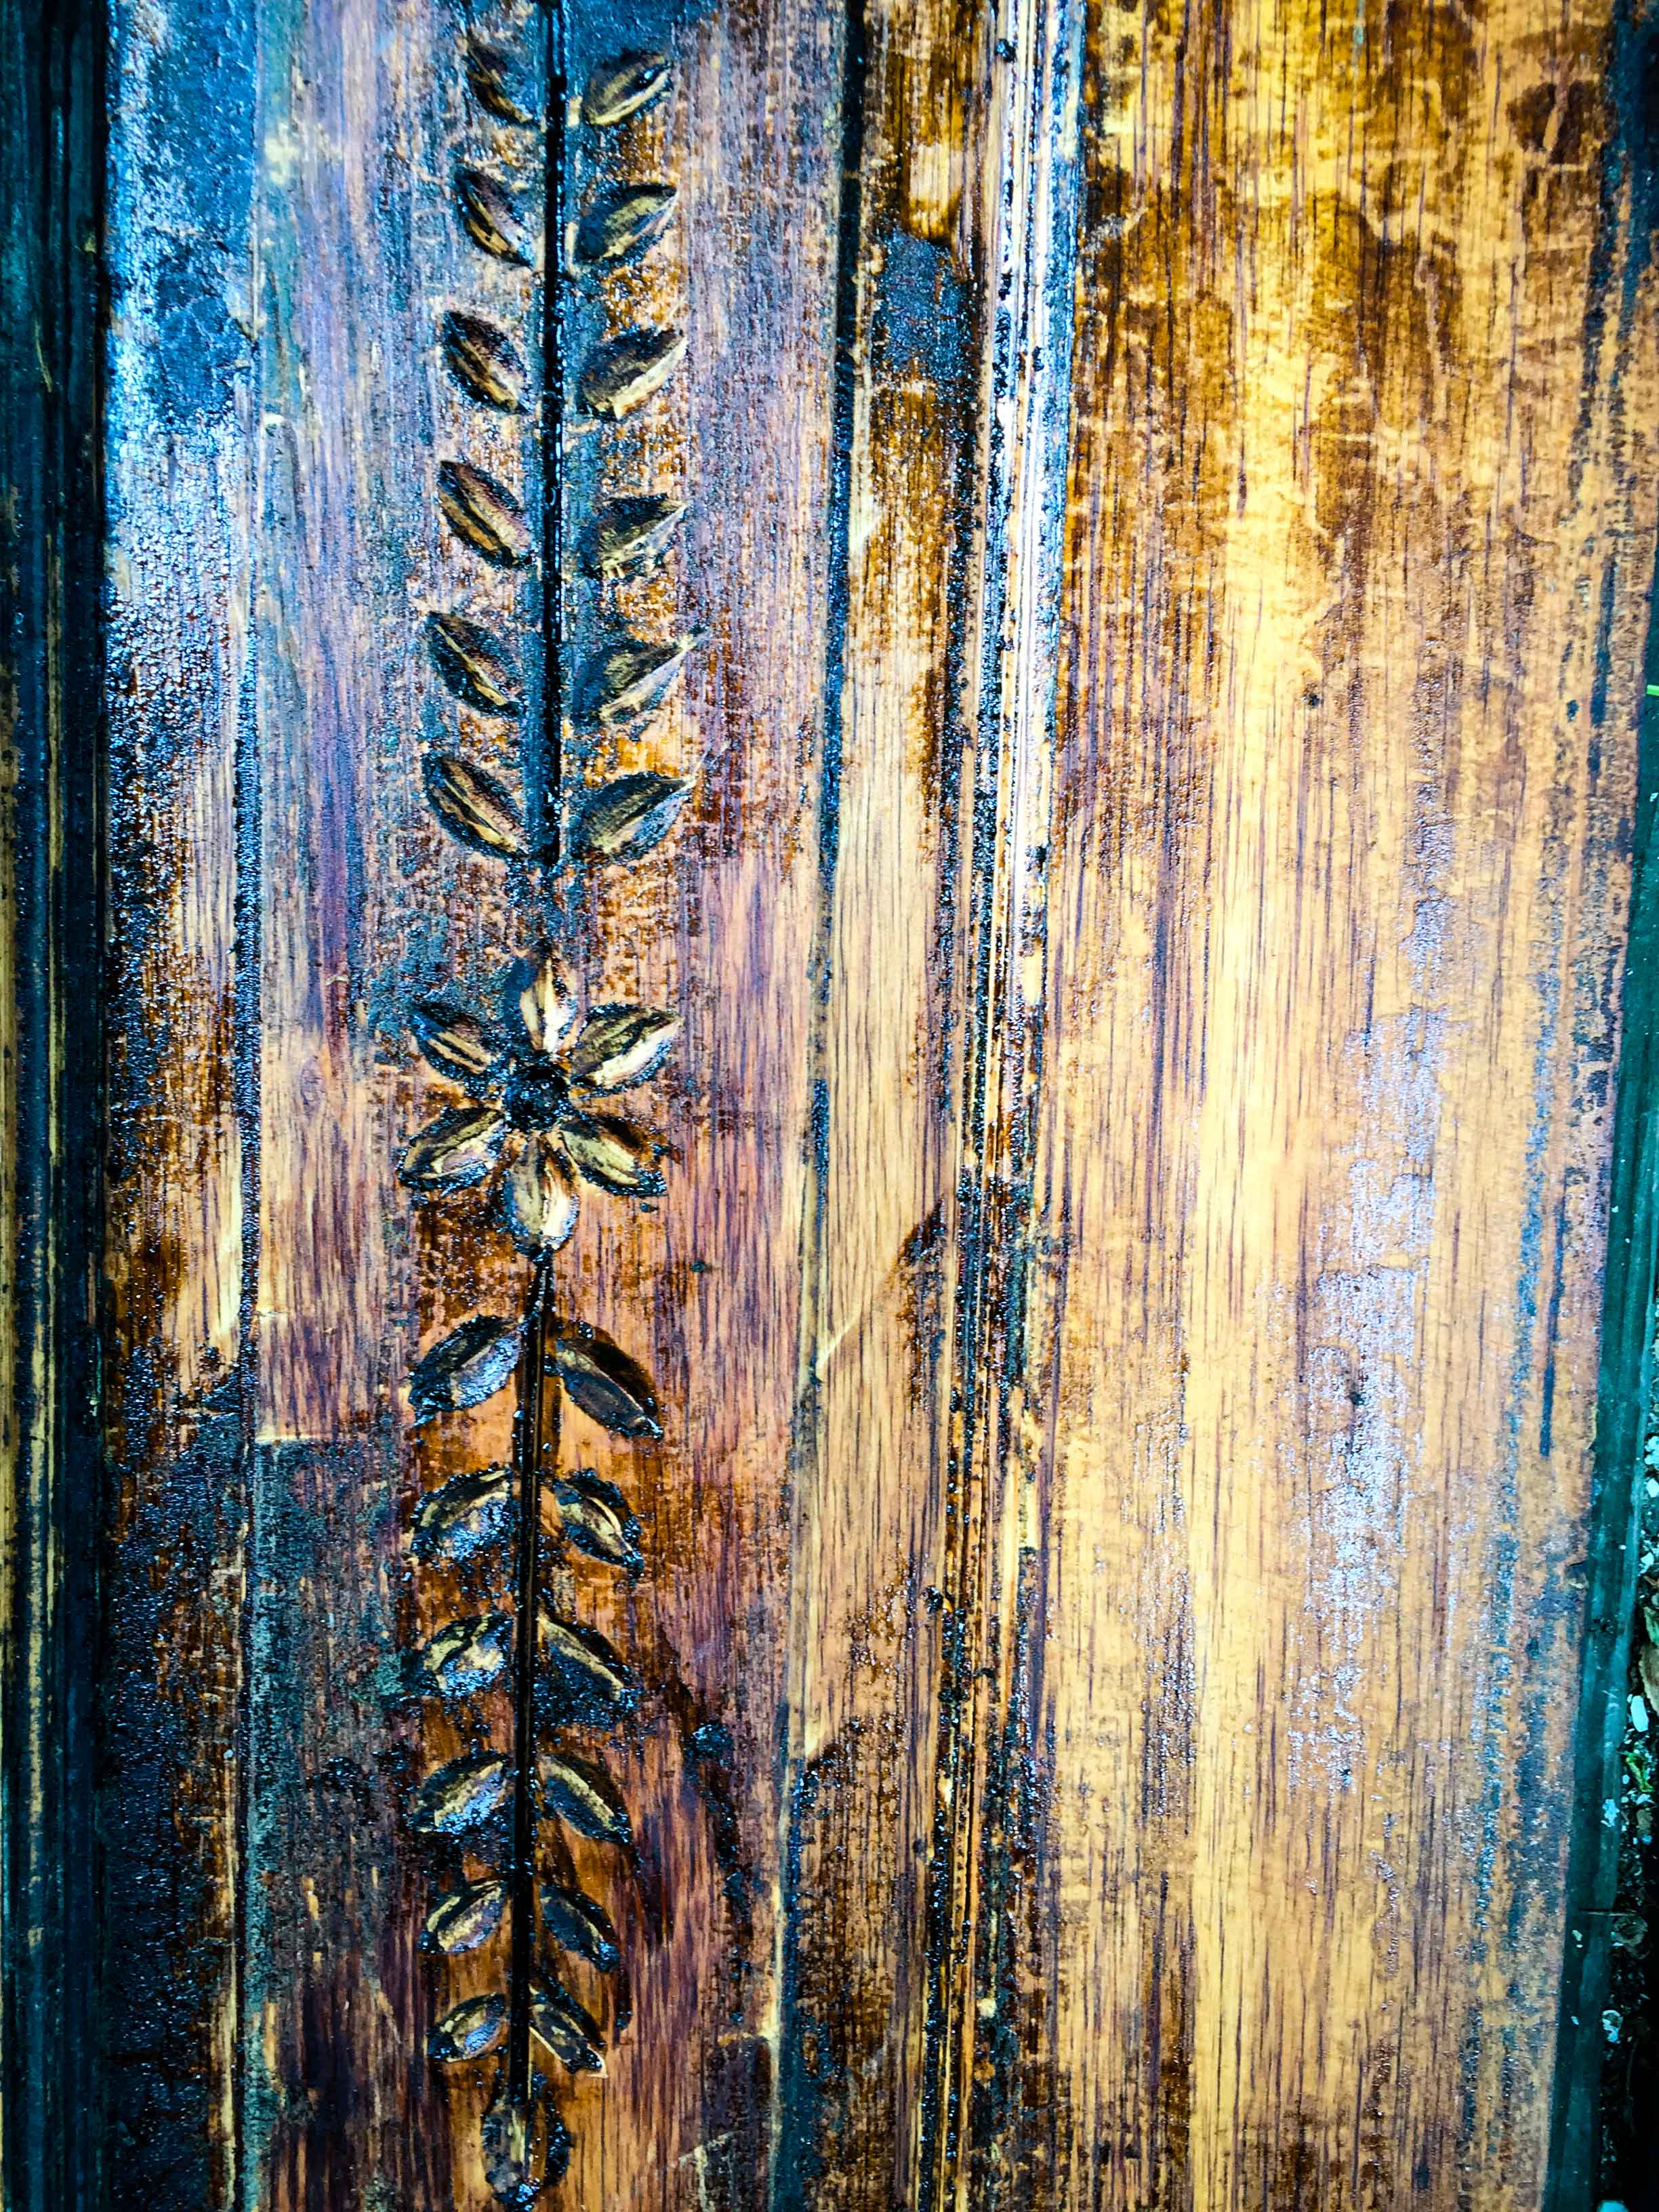
1. Repair and refinish the front and back door. Seems better to do this now so that we can actually use the air conditioner when it gets toasty.
2. Remove the rest of the mastic tar from the floors and make sure they are prepared for sanding and refinishing
3. Make any repairs to the plaster walls. We have 5 rooms that have the original plaster. The vast majority of the walls are in good shape, but we will need to make minor repairs to cracks, missing plaster, loose plaster areas, holes, nicks, and gouges.
If you remember from our last post – we are broke. Luckily for us, these 3 items don’t cost much money to do yourself. It mostly just takes time. Also luckily for us, we are officially both on summer break now. Yay! This means that we have time every day to work on the house and progress should really heat up (get it?). My job this week is to get the front and back door refinished, repaired, re-locked, and re-installed. I started with the back door. Here it is after removing the board that was covering the missing window:

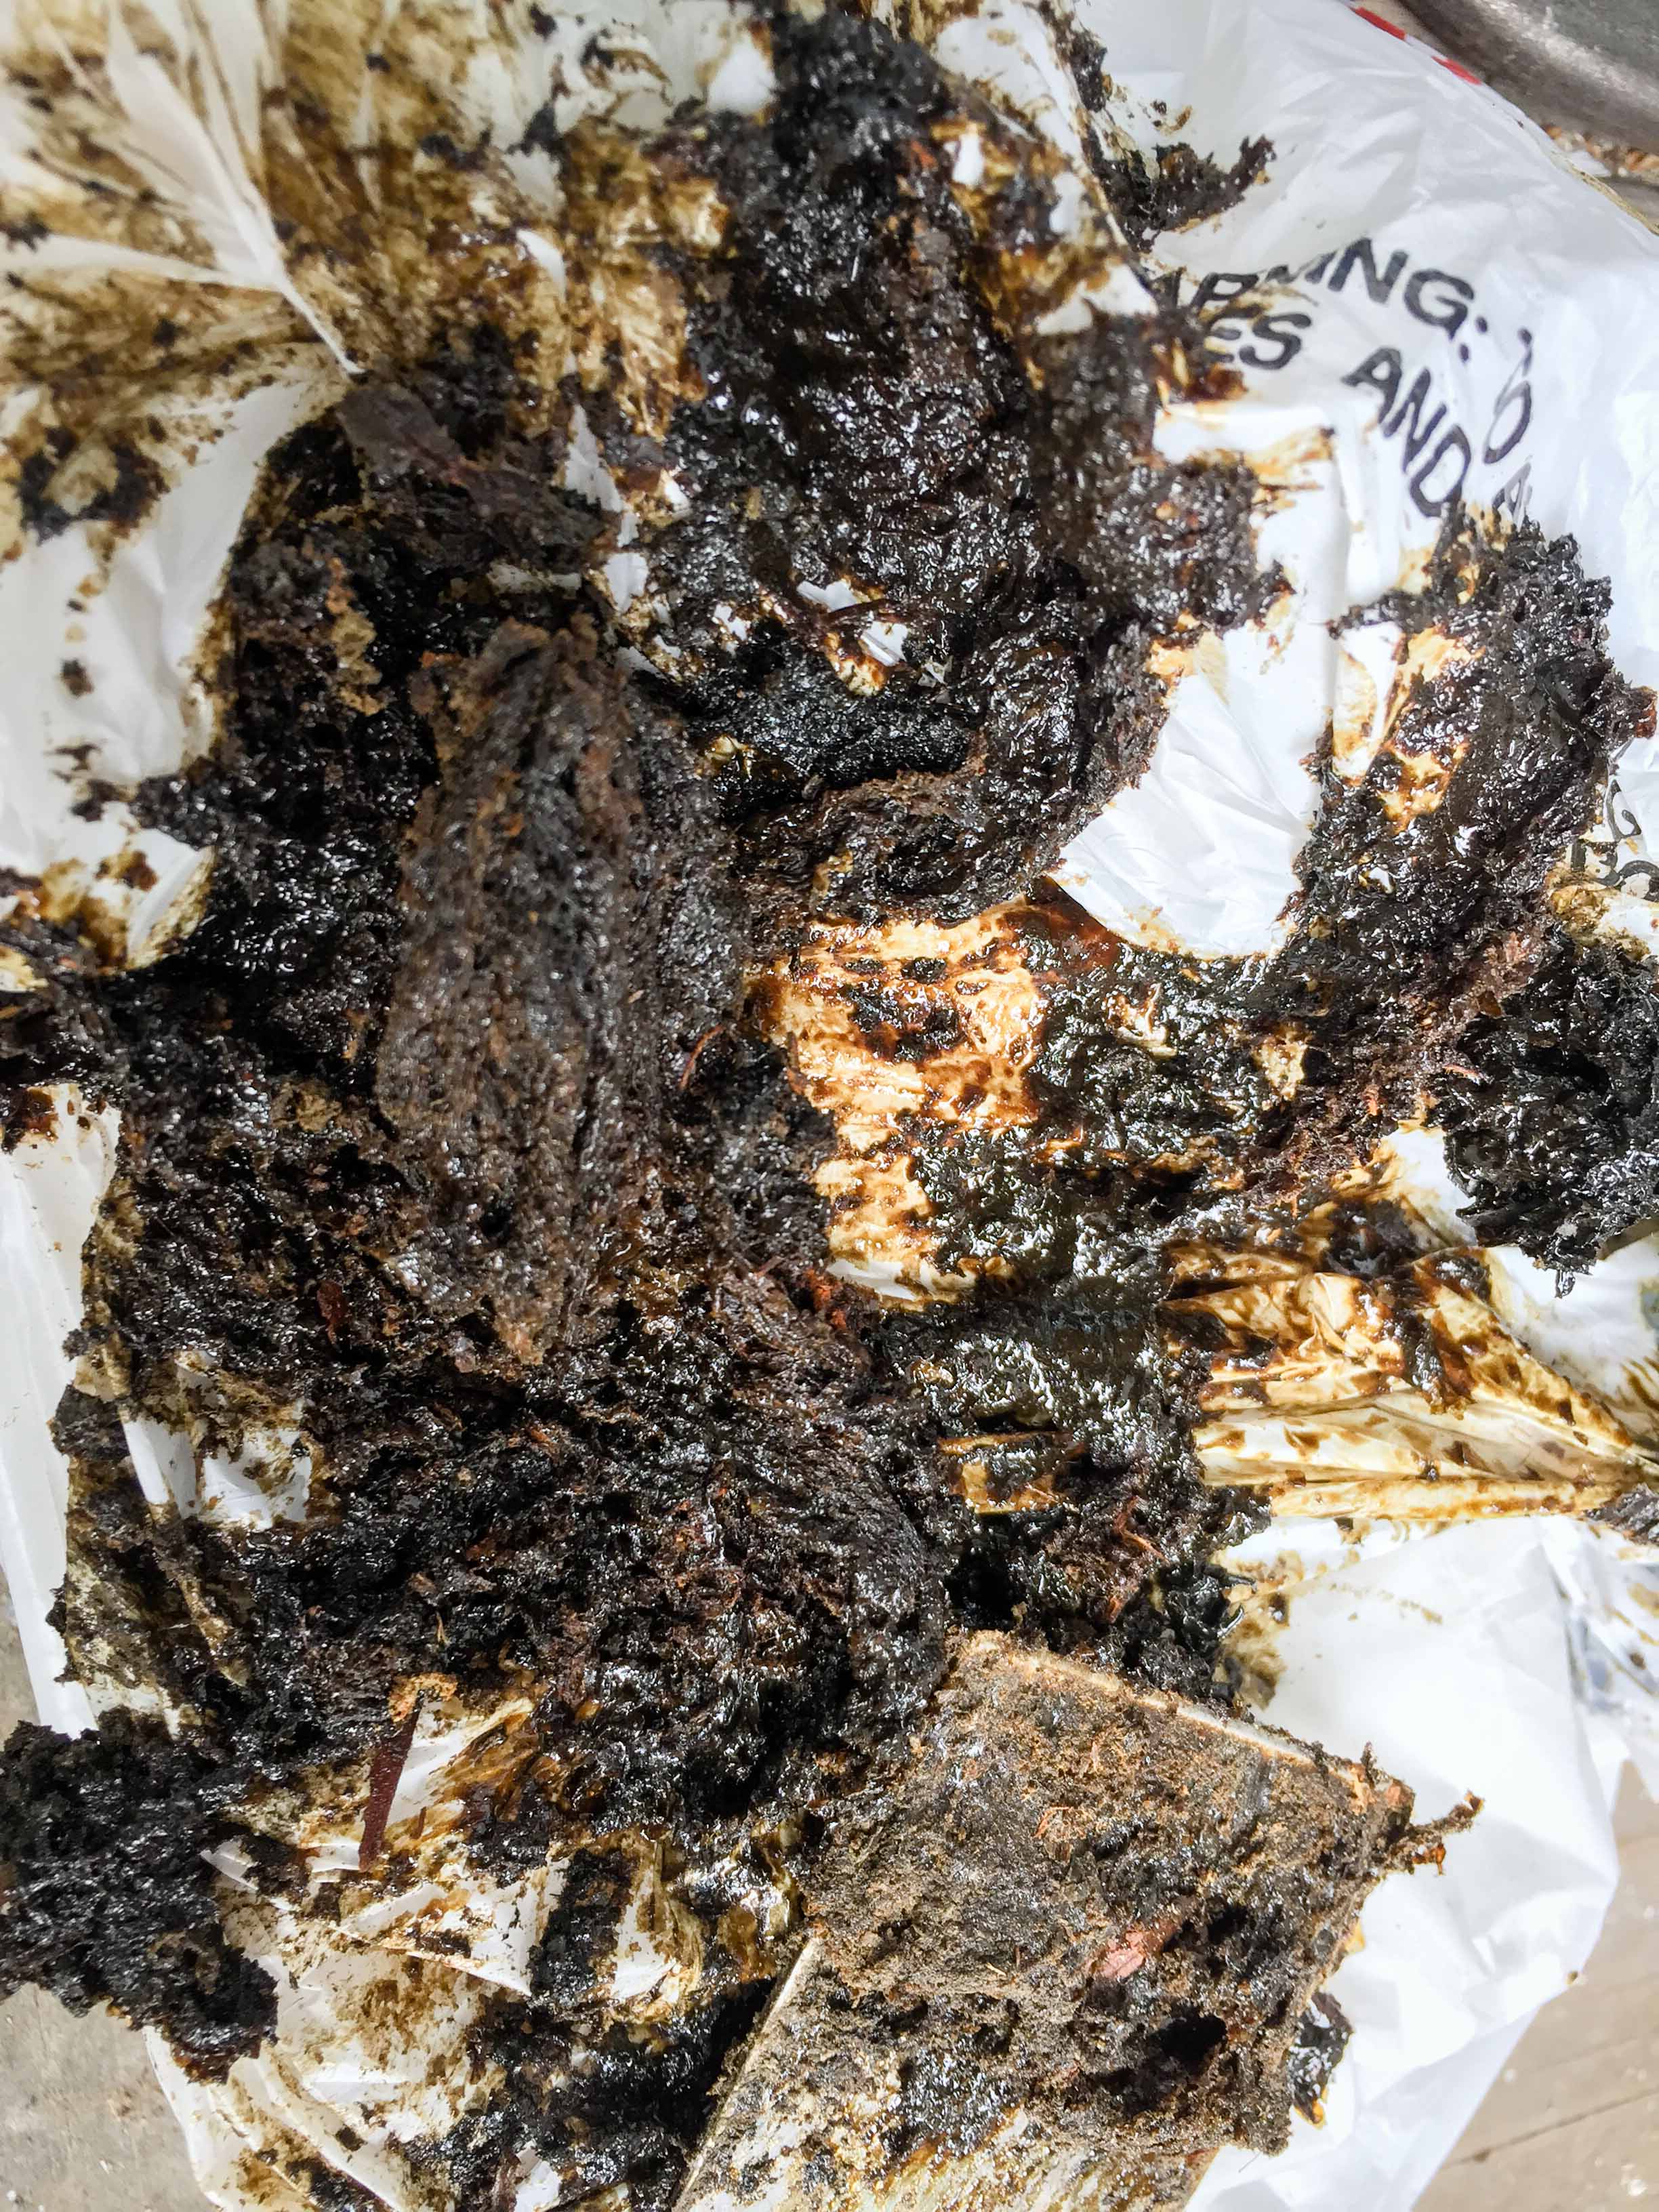
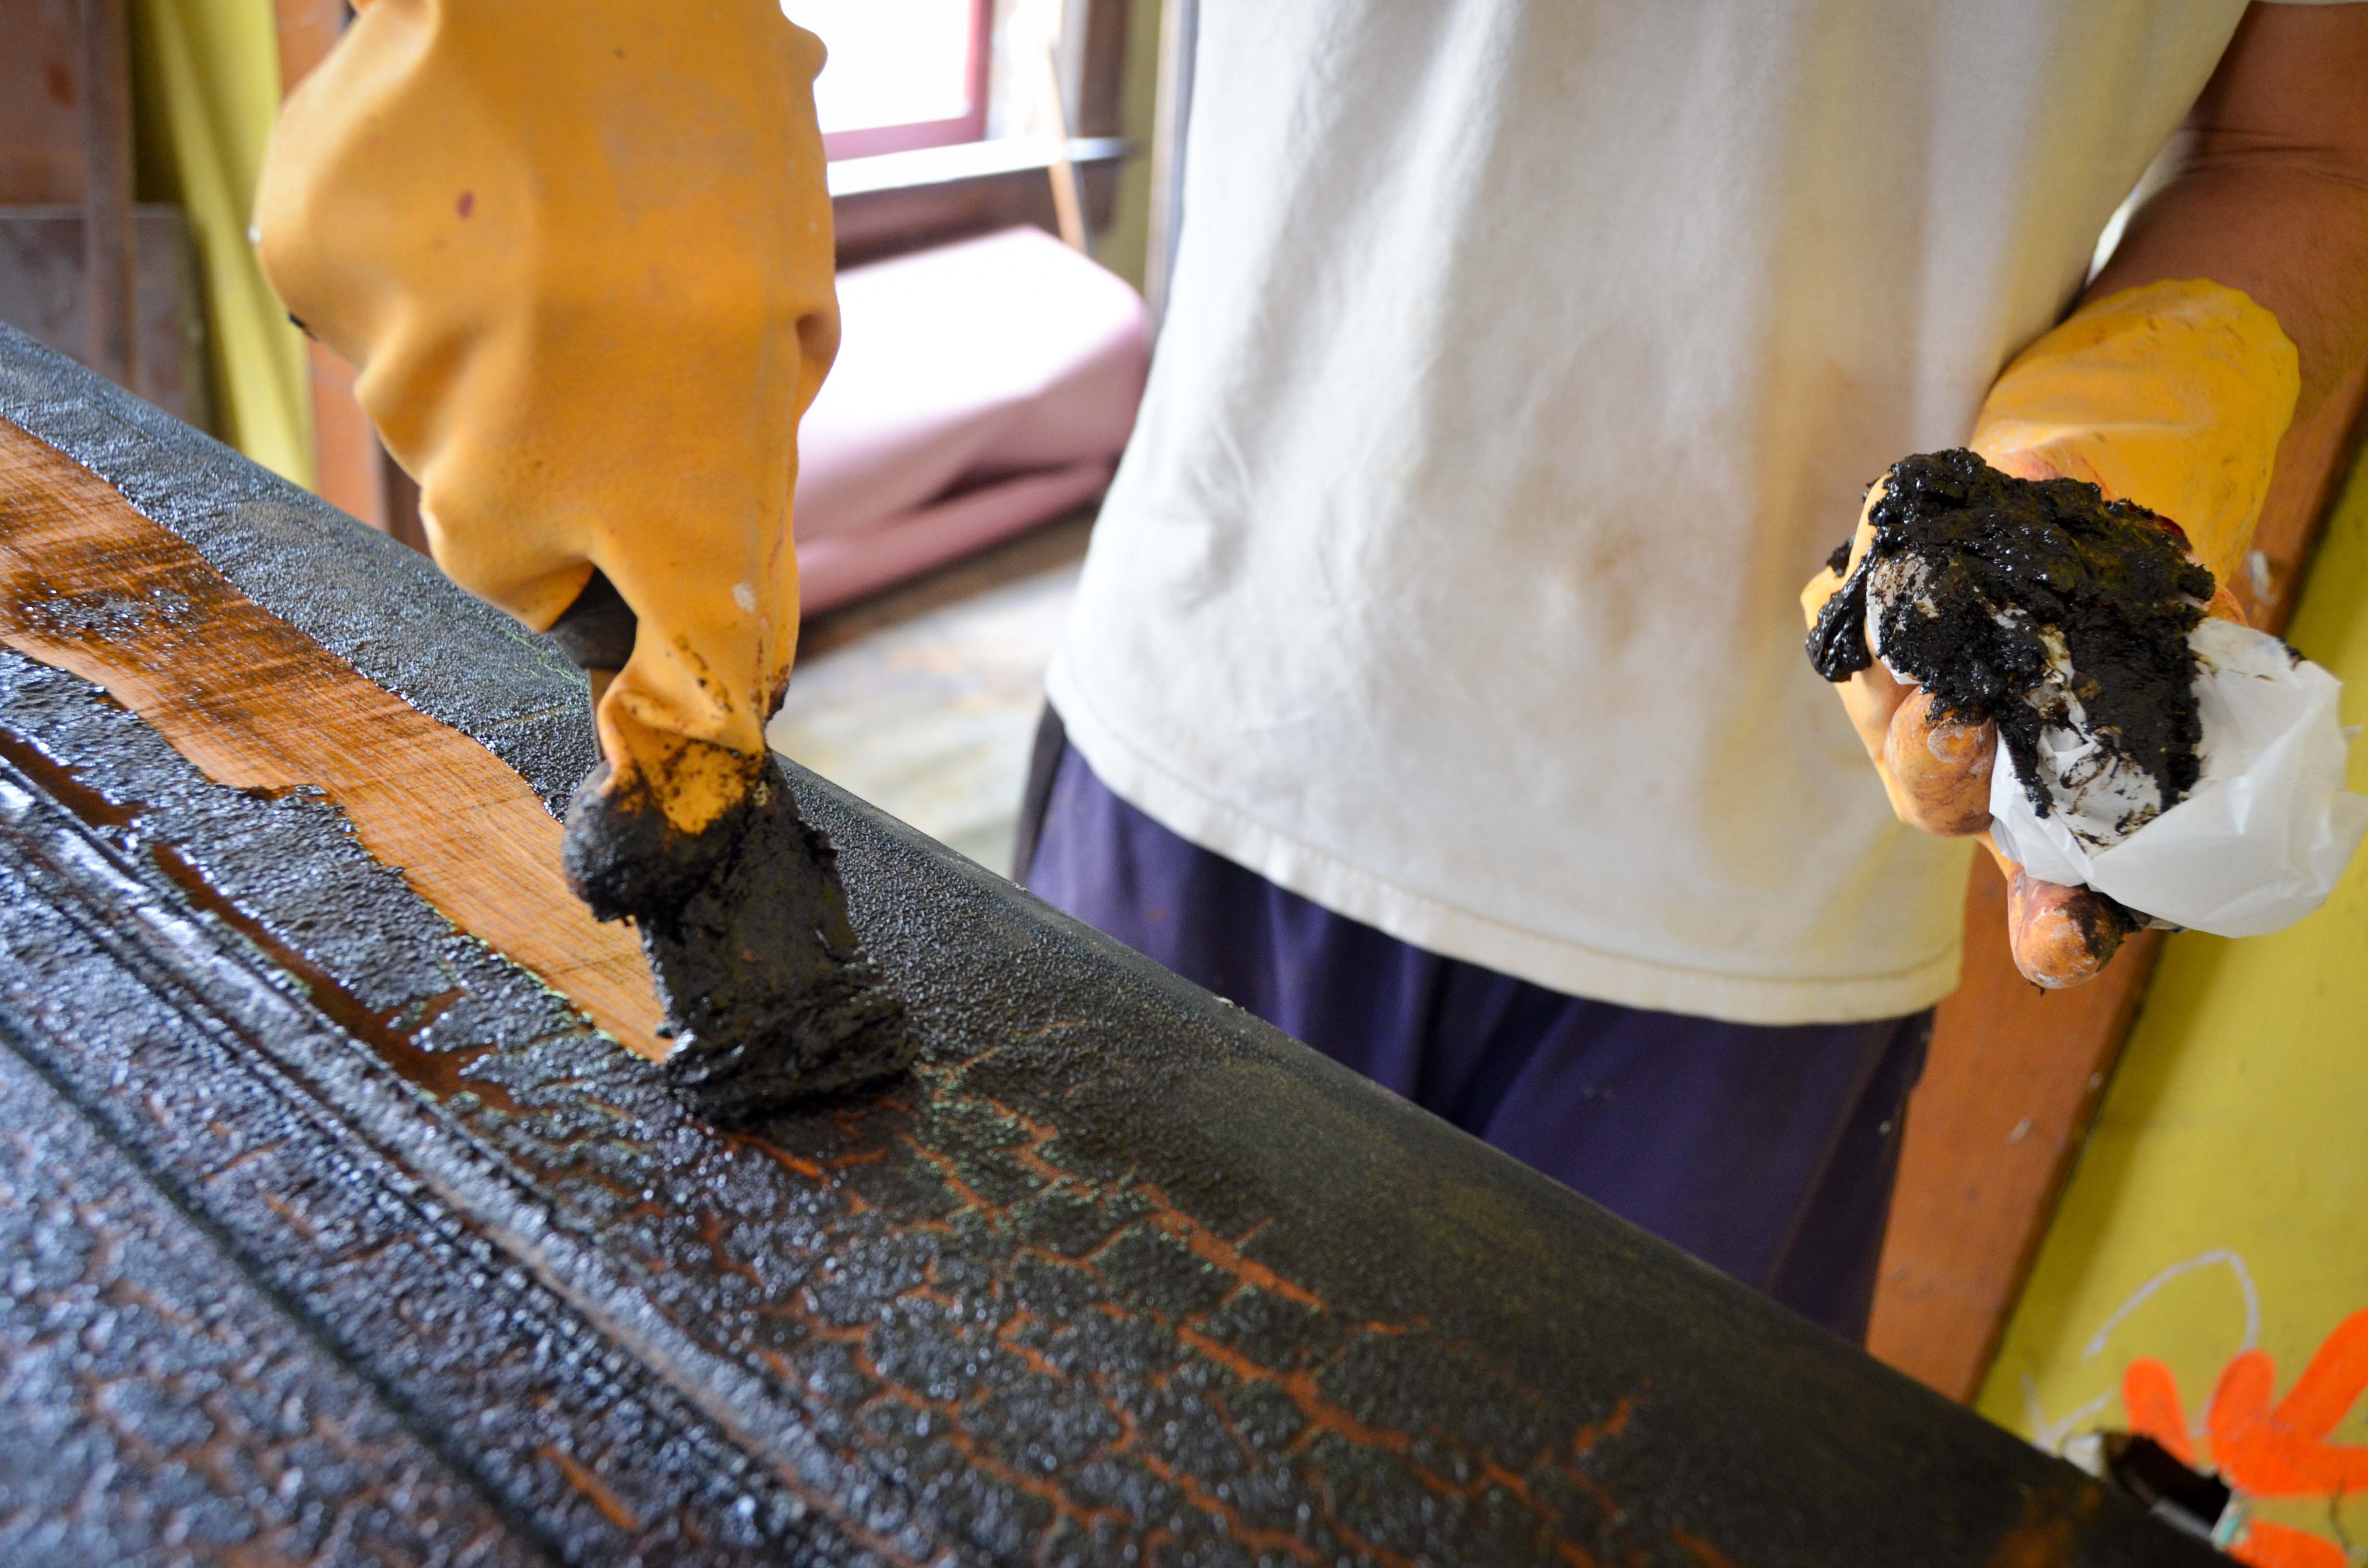
From the picture it looks so dark that you would think it had been painted brown, but no… this is what happens to polyurethane or shellac after it has been exposed to the weather for a long time. It turns black and crusty. [Edit from Amy: It looks like it’s been in a fire.] I very briefly experimented with scraping but quickly discovered that wasn’t going to work. I went right to the chemical removers. This works just like paint stripper. You brush on the chemical, let it sit for a while, then scrape it off. This worked reasonably well and didn’t require too much elbow grease.
It did, however, require a LOT of patience to get into all the little cracks and crevices of the detailed woodwork. It was also very smelly, messy, and sticky..
Here is what the door looked like after one pass:

2nd pass:

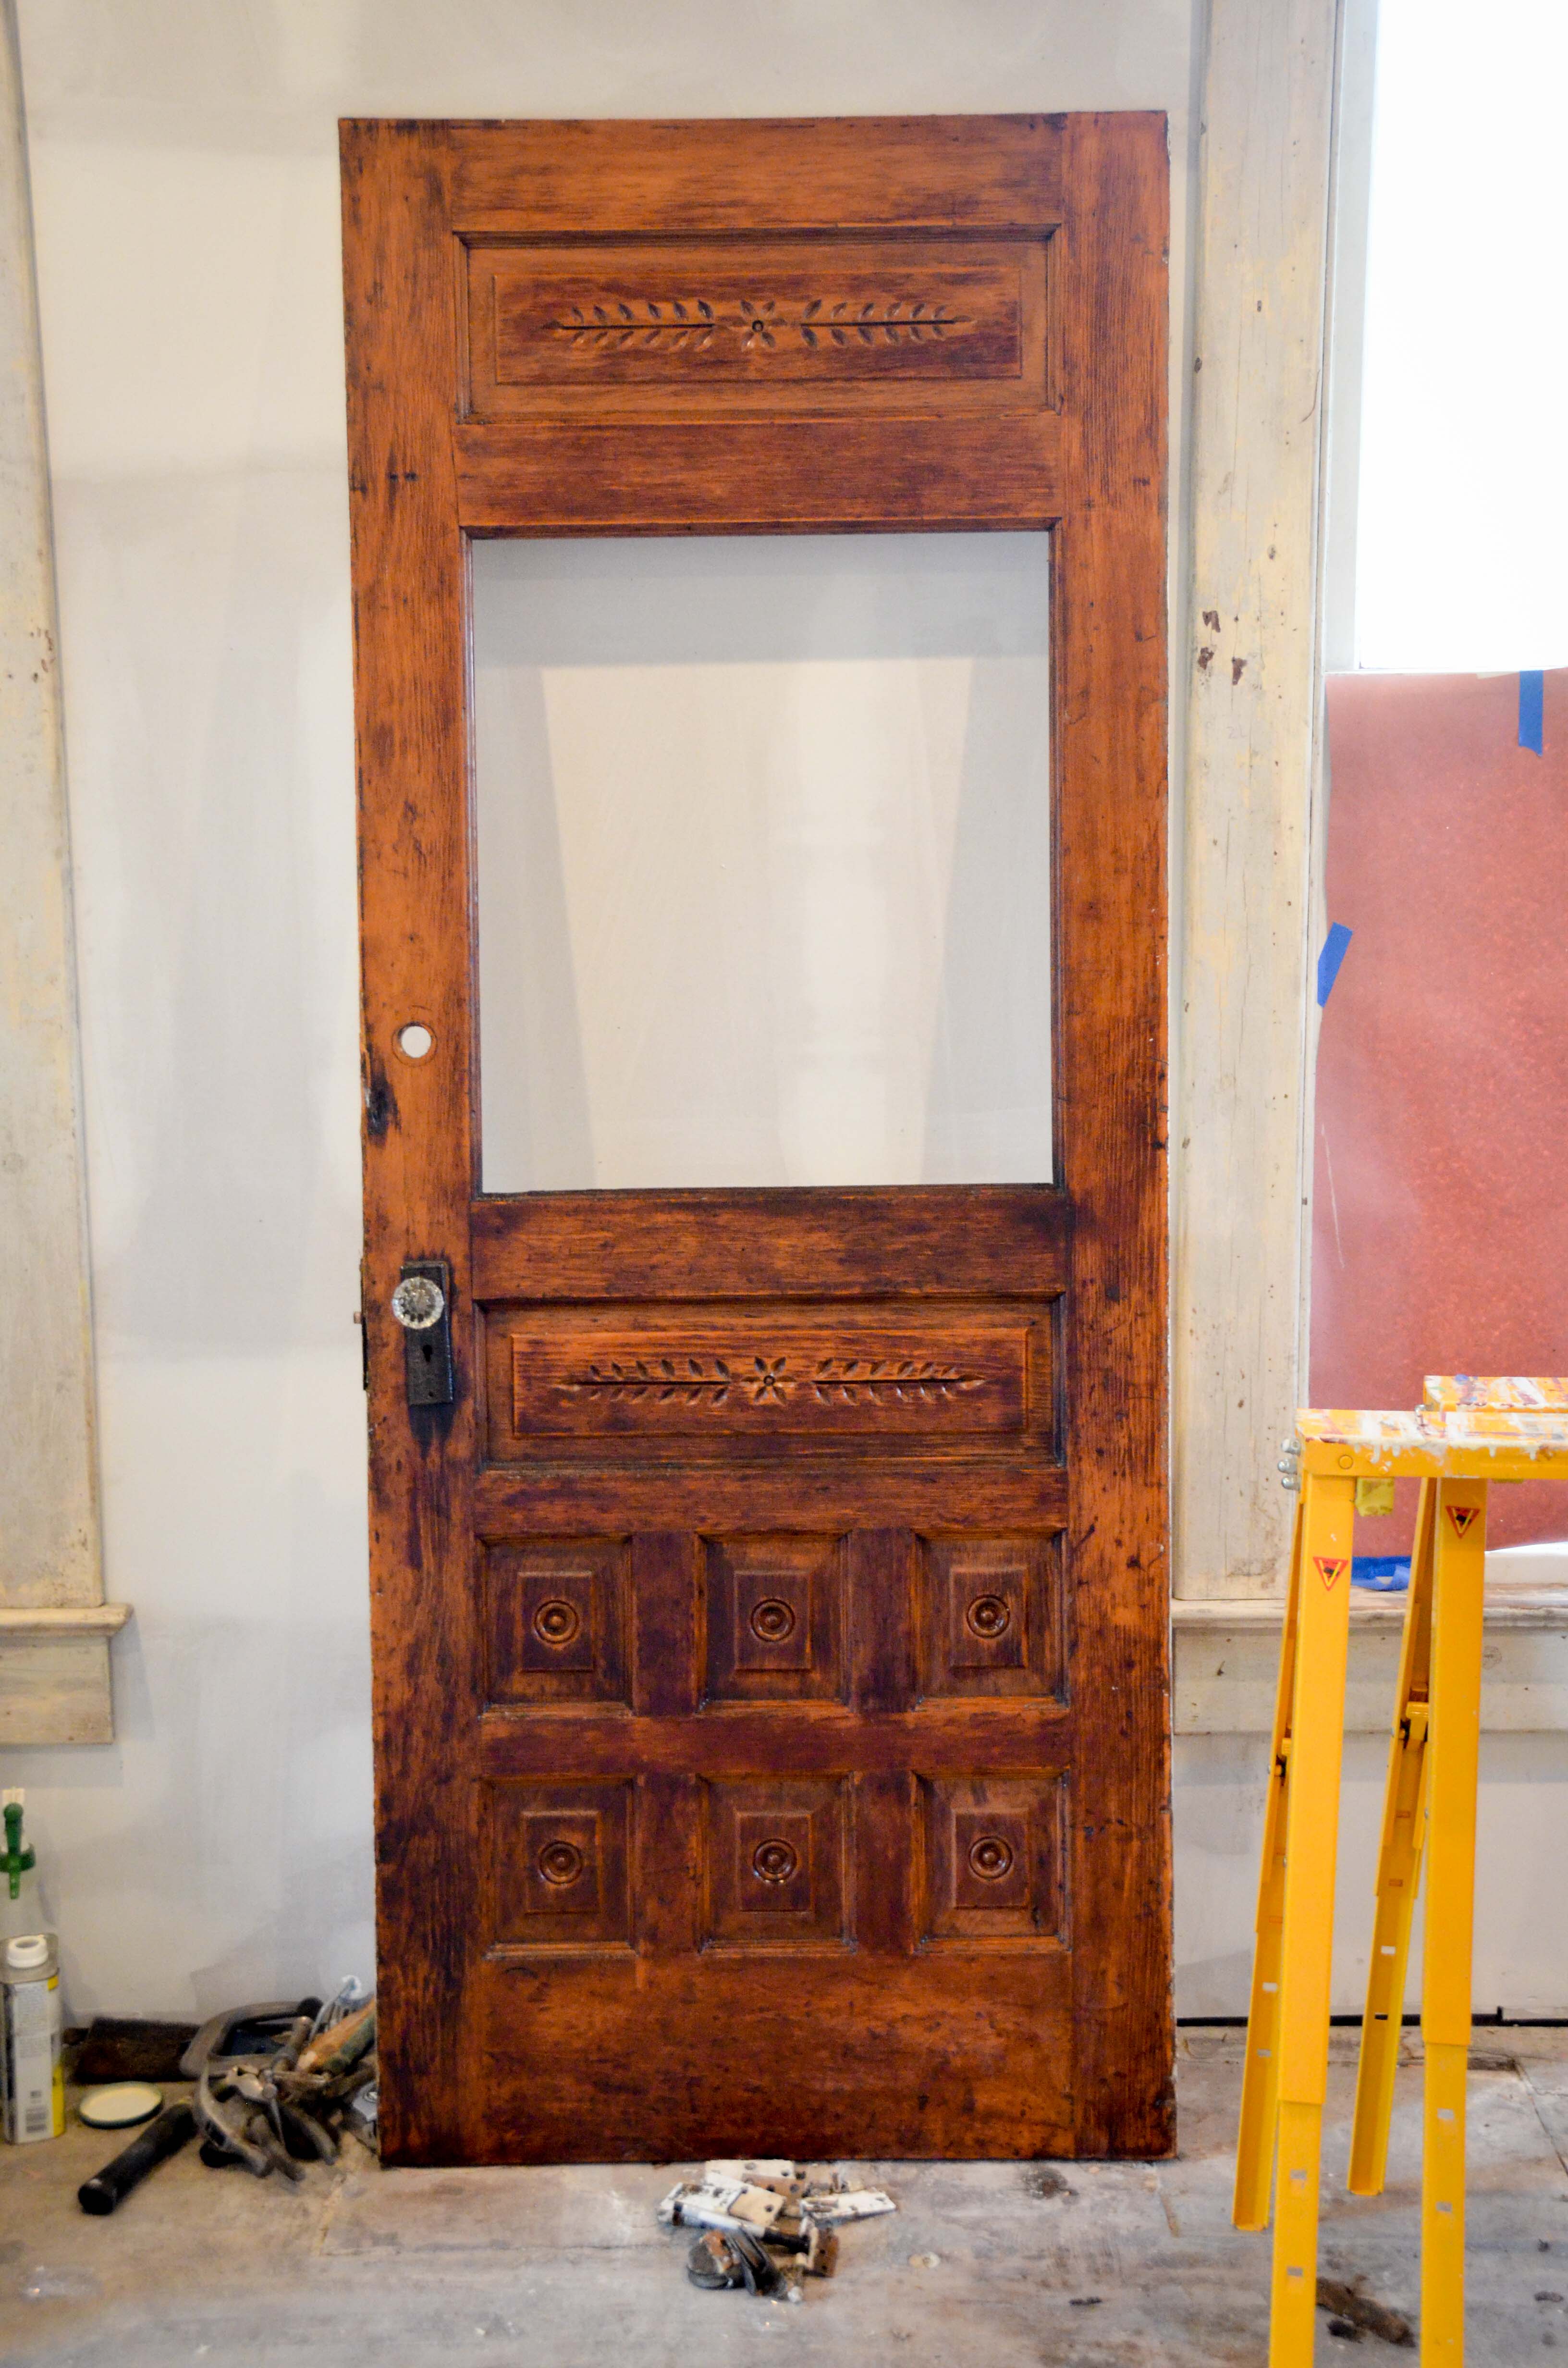
No picture after the 3rd pass (it was getting old), but here is after the 4th time with the stripper…

Next, I moved on to the other side of the door (the interior side). This side was covered in thick paint and I wrestled with the idea of just lightly sanding it and putting a fresh coat of paint over it. In the end I decided to go ahead and strip it down. This was not fun.


Back to the exterior side… I wanted to retain the patina of the old wood so I thought I would see what it looked like after a light sanding. Not too bad, but I was still skeptical because the wood color looked so uneven.
Here is what it looks like after one coat of poly. I was not happy with it.
Amy liked it, but I was sure I could make it look better. I am fine with all the dings, scratches, and natural wear and tear that comes with a century old door, but splotchy just looks wrong. Frustrated that I was going to have to remove the coat of poly I just applied and do a lot more sanding, I moved on to something else.
While I was working on the door I also figured it would be a good time to deal with the door frame. It needed to be scraped and generally cleaned up. This was frustrating work because this particular area seems to have several coats of paint.

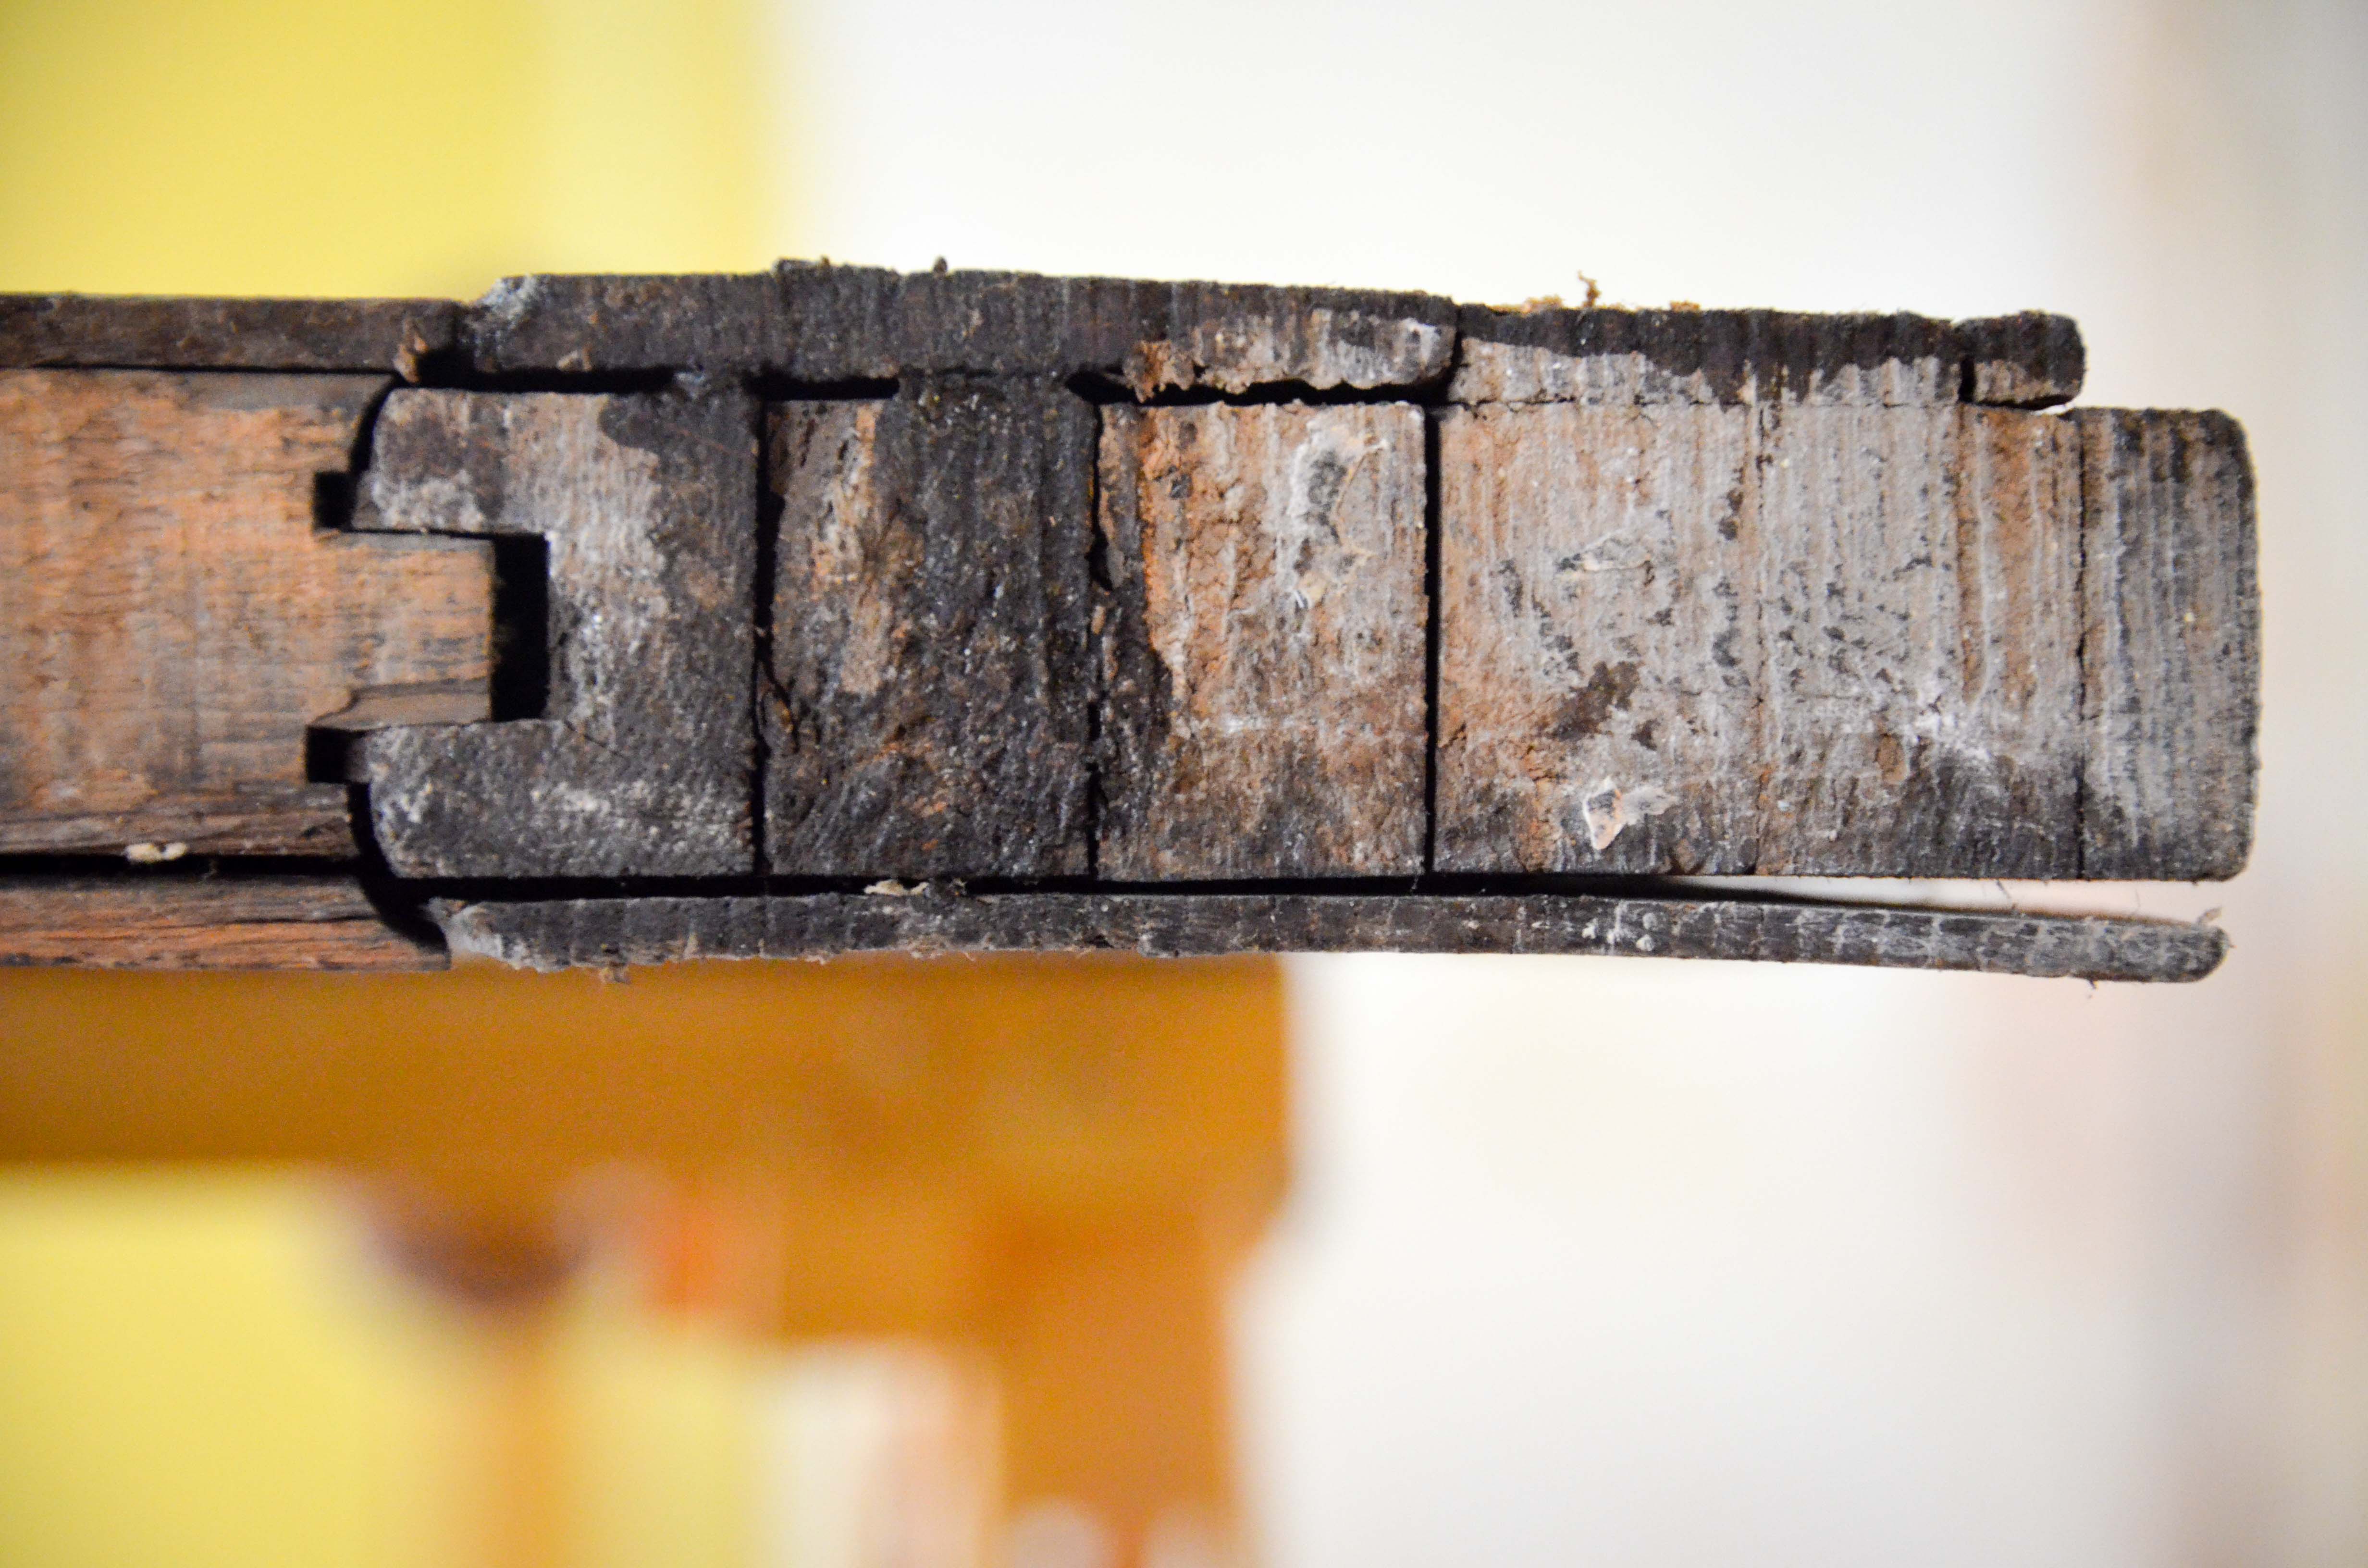
Included in the door frame work was the removal of the transom window. I had almost forgotten about this little gem because it had been painter over. [Edit from Amy: And also wallpapered over.] I guess the previous owner didn’t like light.

I was finally able to get this sucker open and removed…

I needed to order a new piece of glass for the back door and while I was thinking about it, I took stock of how many window panes were missing or cracked in the back and front storm doors.

Then I went through my glass graveyard (remember that from last summer?) and found pieces of glass that I could salvage for these smaller panes. Turns out I have enough to cover all of my needs… as long as the glass place can successfully cut these without breaking them. [Edit from Amy: Fingers crossed! ]

As I was waiting for the poly to dry on the back door Amy and I removed the massive front door. This sucker is heavy! I can’t believe those hinges can hold the weight. Seriously. It’s heavy!

The exterior of this door looked like it had the same cosmetic issues as the back door.

But as soon as I applied the stripper I noticed something different. The finish came up very easily and the scraper just glided on the wood, but in many areas the black remained on the grain.
Upon closer inspection I noticed that this door is actually covered in a veneer. I didn’t expect that at all. In my limited and very quick research it seems to make sense that door itself is probably pine (cheap) but was then covered in an oak veneer to make it a little fancier and to match the trim of the rest of the house. I didn’t even know veneer has been around that long.
Because of the fact that the stripper wasn’t really soaking into anything I didn’t really need to wait long before trying to remove it. I finally came up with a system that cleaned it up pretty thoroughly and it looked like it was going to turn out just fine.

But the bottom half of the door was not doing as well.
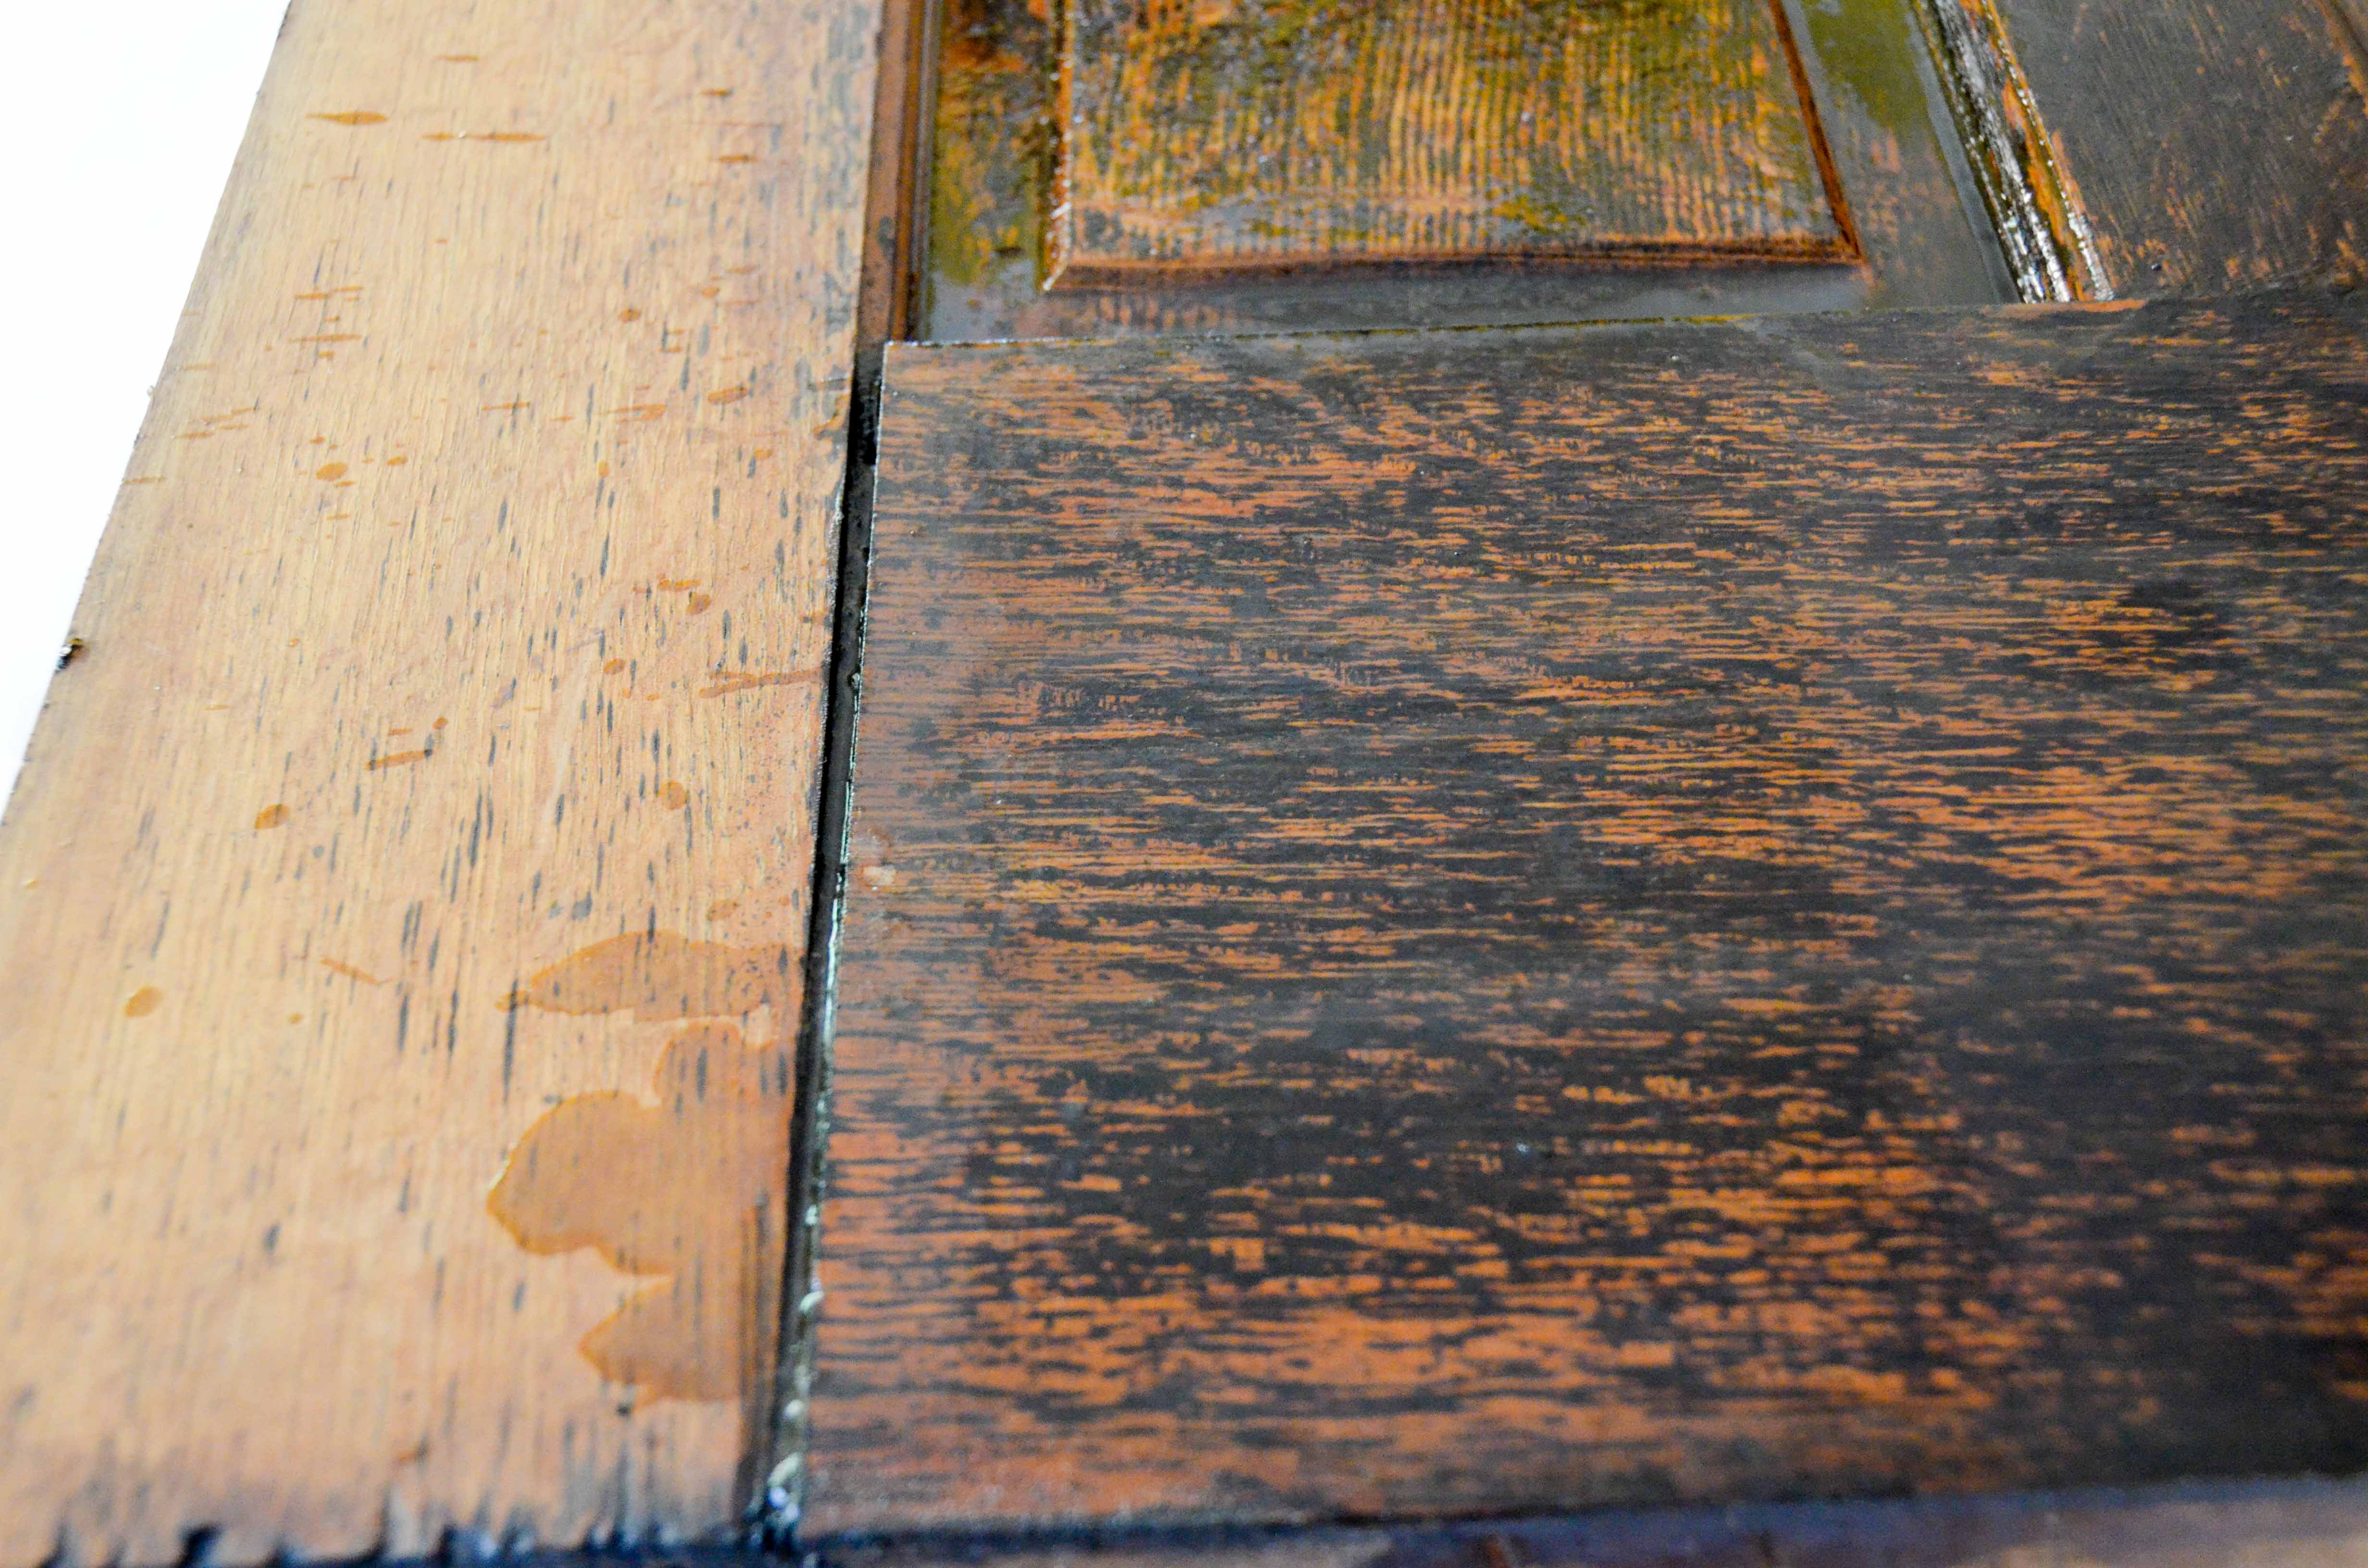
No matter what I did the black would not come off. I finally gave up and removed all the stripper. Once it dried I was surprised to see that the color had changed.
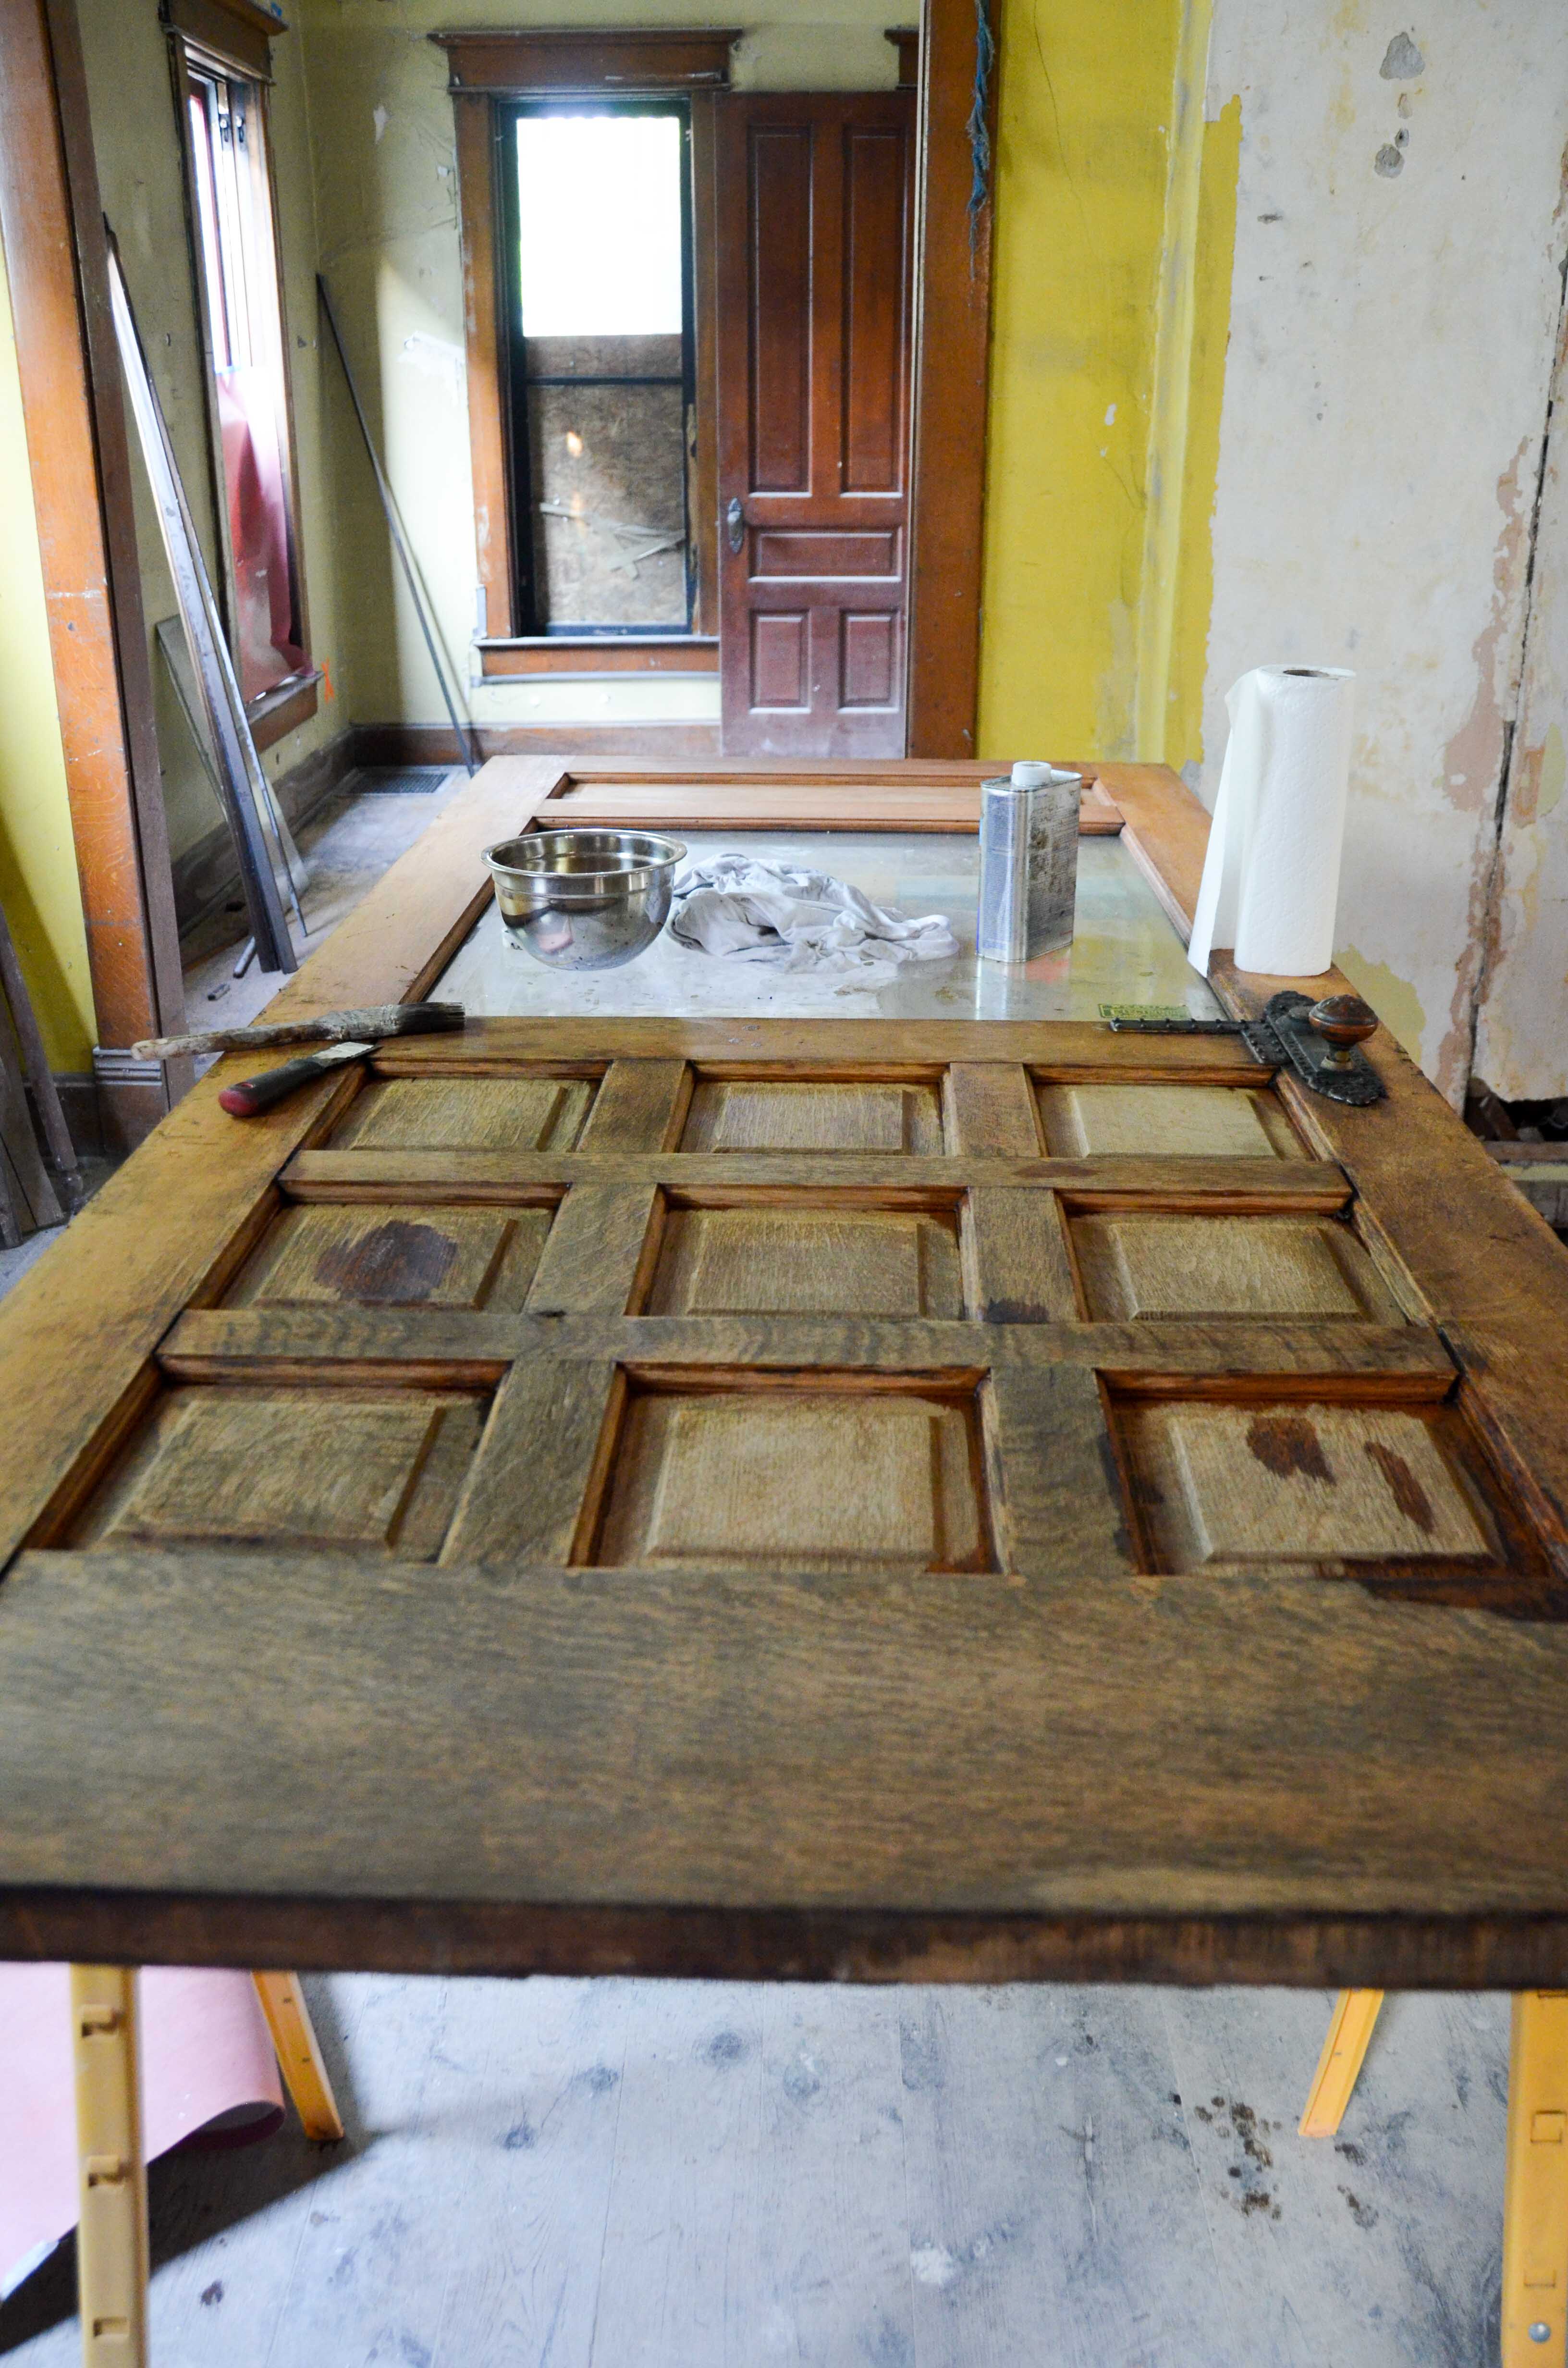
I’m not really sure where to go from here. I have some more research to do. I briefly tried to sand it and then put a coat of poly on a test area, but there is no depth to the color and the black is still there. Anyone have any advice? Should we give up on the wood finish of the exterior and just paint it?
The interior side looks much better and should probably refinish easily. I’ll know more soon.
On a somewhat related note – If you asked me what tool we have used the most in our rehab project I would have to say it was the scraper. Seriously! One other task this week was to get the walls in Lucy’s room ready for priming. It had a lot of paint flaking off. Here it is all ready to go… [Edit from Amy: We will most likely paint this all white for a fresh cottage feel.]

One more side note…. Remember all the work we did when we removed the old back fence, built a new fence, and eradicated the weeds in the spring?

Well, look at it now…. !!!
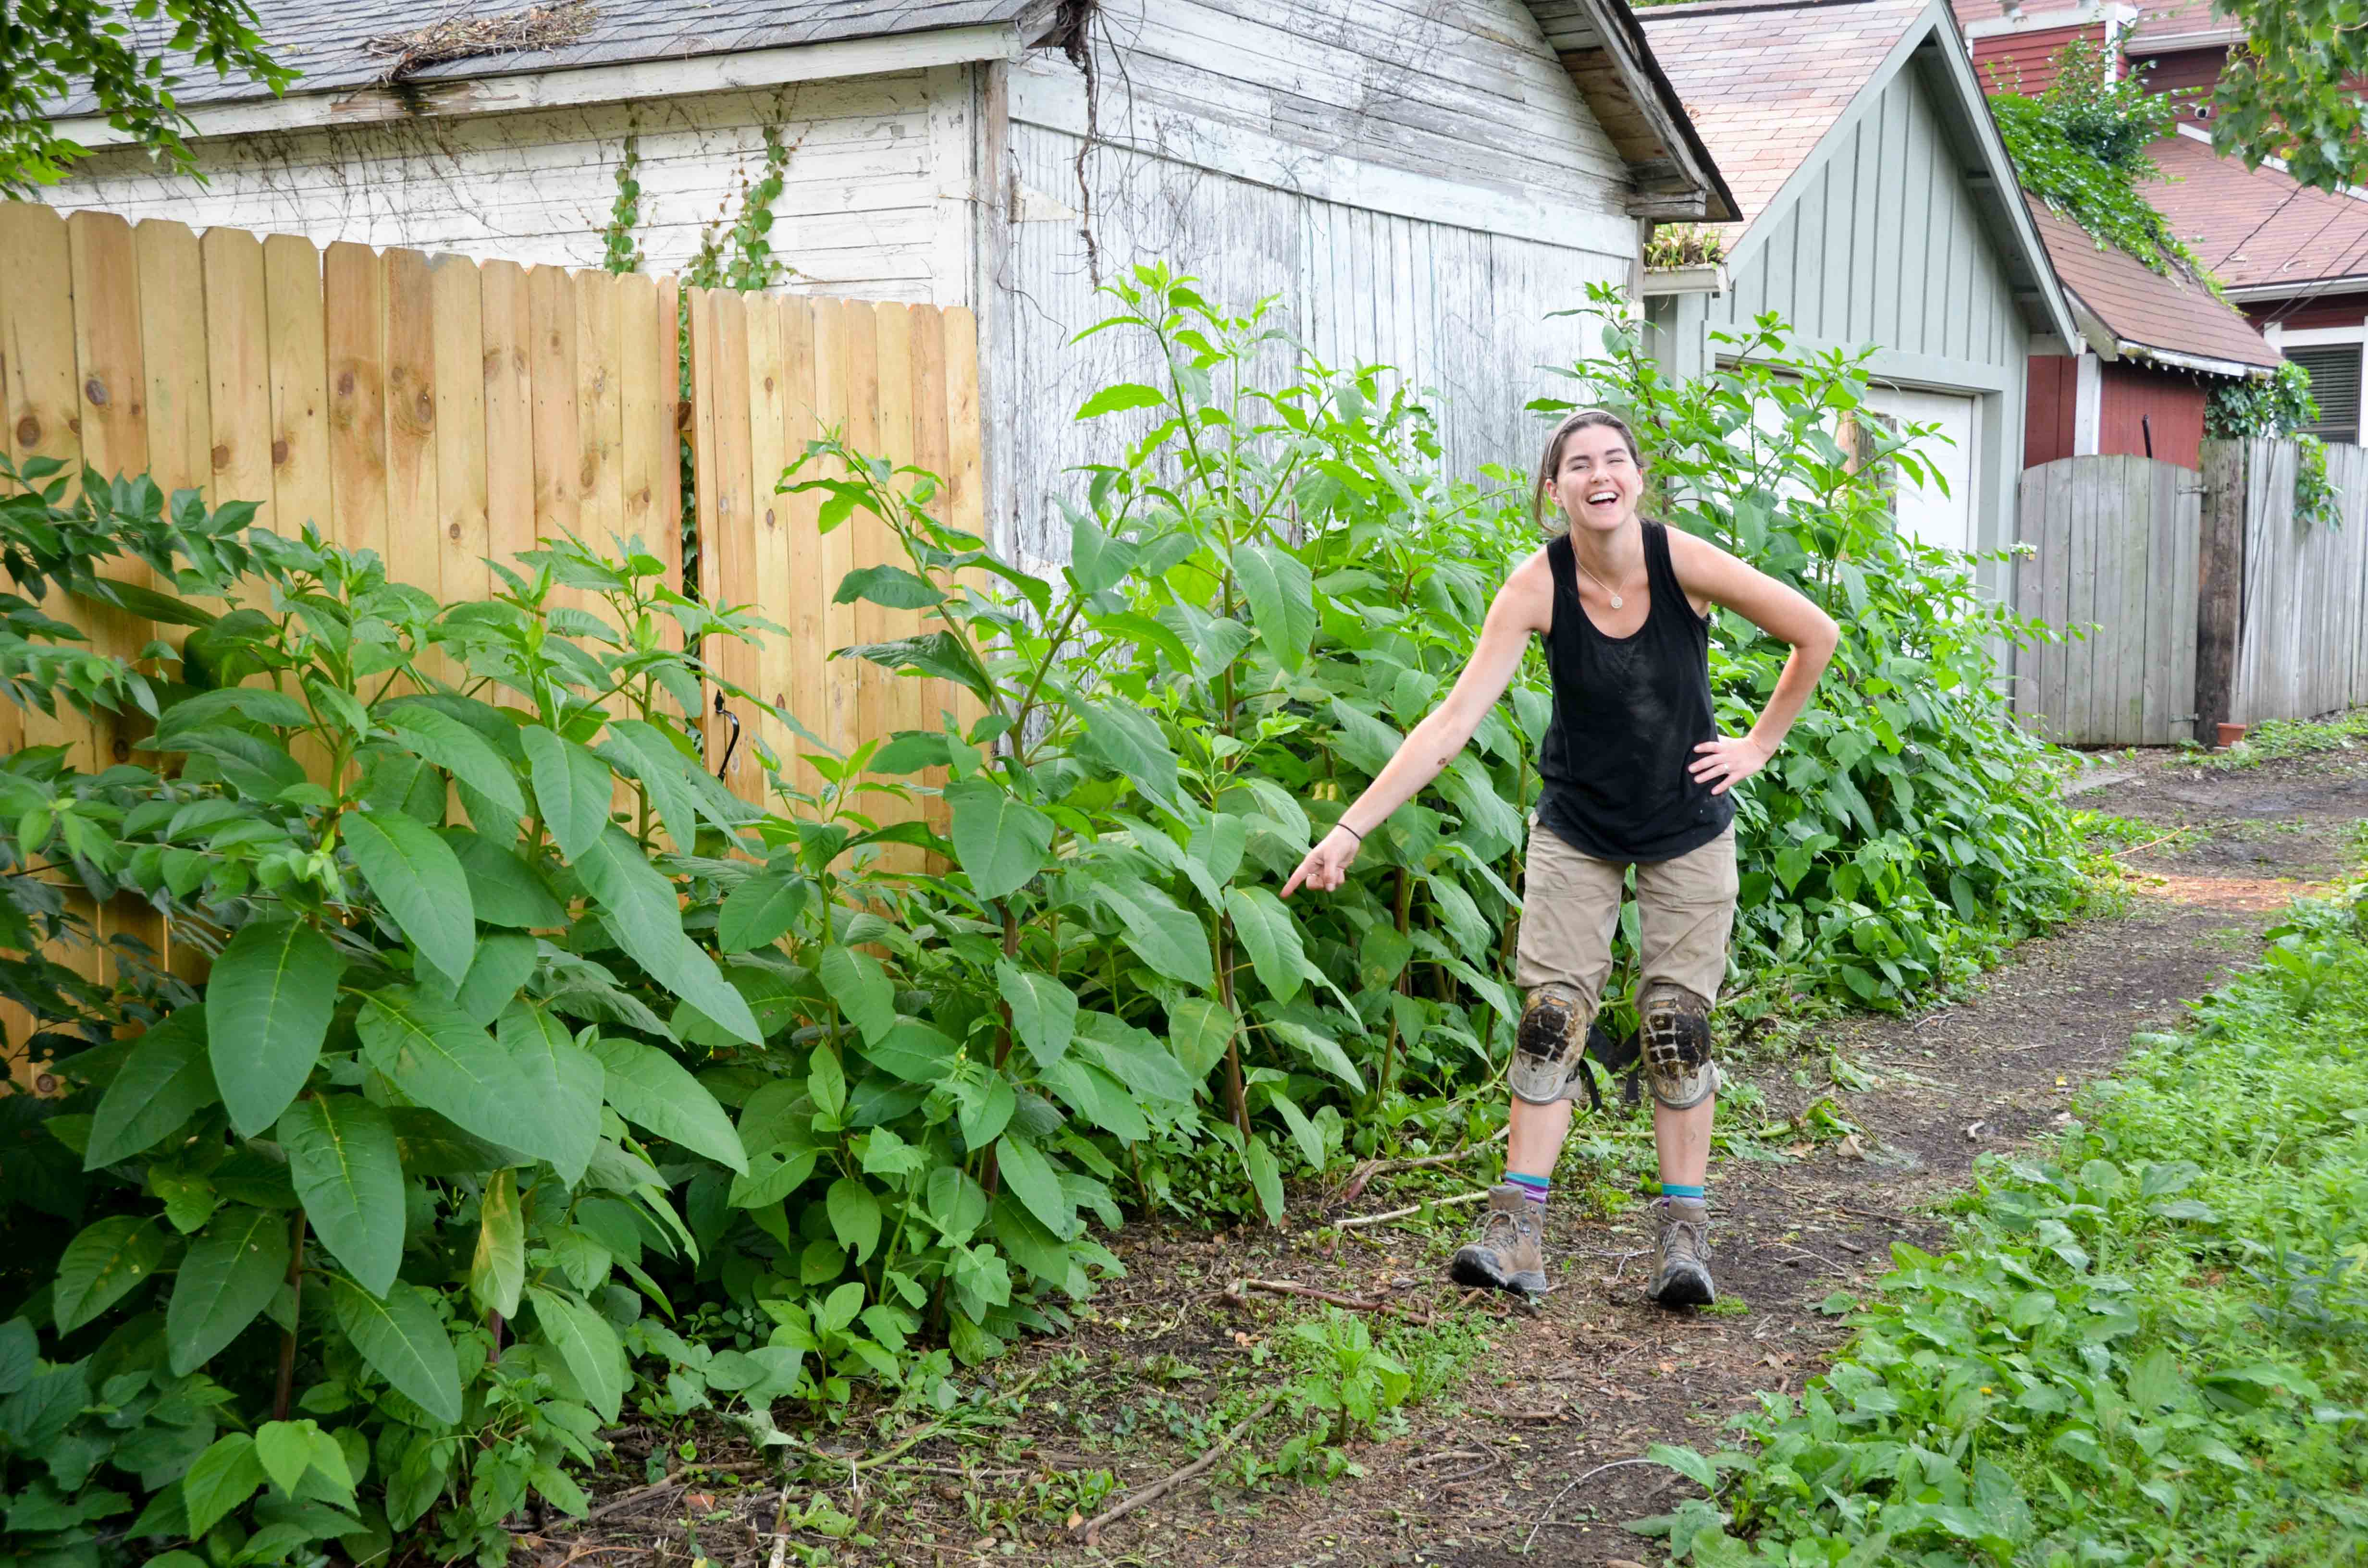
[Edit from Amy: Okay, seriously I hadn’t walked back there since we had it all cleaned up. I just couldn’t stop laughing at what a jungle this was. I had no idea it had been silently growing.] This fall or next spring we will take care of this with some weed block and mulch, but for now we will just leave it. I think we should consider it an added layer of home security. What home invader wants to bushwhack through this? It’s like a moat around a castle, right?
A weed moat!
We will have more posts soon about the completion of the doors, Amy’s battle with the mastic tar on the floors, and our initial stages of plaster repair. It’s been a busy week already!

WOW, I truly love those doors, I hope you can figure something out because wow I would hate to paint over them. Love the detail. Yes Amy those durn weeds continue to grow whether were looking at them or not. Amazing work you all have done on your home. I cannot wait to see your finish product….but, of course with any home….THERE IS NO END OF working on a home….old or new. HUGS
Aunt Janet
LikeLike
This is Jim Olson, stepdad and father-in-law, writing to congratulate you on a impressive year’s worth of progress.
The place looked great when I stopped by yesterday. Joe was working by himself on the front door, disheartened that the bottom seems too dark compared to the beautiful honey oak of the top. it’s due to moisture accumulation between the two doors when one of the panes in the storm door was missing. Moist air sinks.
You can reduce the color difference between top and bottom with artful use of wood stain, but don’t dwell on this detail because it’s part of the character of the house. (At 62 I have my own top/bottom mismatch to deal with.)
***
Joe’s writing today contained a faint tinge of rehabber’s fatigue. Not unlike settlers in the 1800s who stood in the Mojave Desert looking up at the eastern slopes of the Sierra.Mountains asking: “Aren’t we there yet?”.
The solution to fatique is to stay out of the weeds (literally, Amy) and maintain a project manager’s high-altitude perspective. Sand less and delegate more. Yes, it costs money to delegate but delays on completion also cost money.
Soon (a few days?) you’ll have the boards off the windows and any bank will be willing to loan you money. And there’s more help available from the non-bank sources you’ve already tapped. Keep borrowing and keep up the pace while the weather is good. I’m always available to help.
When I asked Lucy if her bedroom in the Highland house was still broken she said “No!”. That speaks volumes.
Jim Olson
LikeLike