One year ago this week we still hadn’t even picked up a hammer, decided on floor plan revisions, or even lined up any subcontractors. Everything we have done since that time has been towards one big goal – drywall. Last week our drywall was officially completed. Let’s pause for a moment to celebrate….
Okay, time to move on.
I know we already did a blog post about the drywall, but the taping and mudding made such a drastic change in the look, I thought it would be worth another post. The guy doing the taping and mudding didn’t seem very excited about the project when I met him on the first day, but to my admittedly untrained eye, he did a great job! It took him almost two weeks, but that included A LOT of repair work to the areas where the drywall and plaster transitioned. In fact, he did WAY more repair work than I thought he was going to do… I didn’t really think he would do any at all.
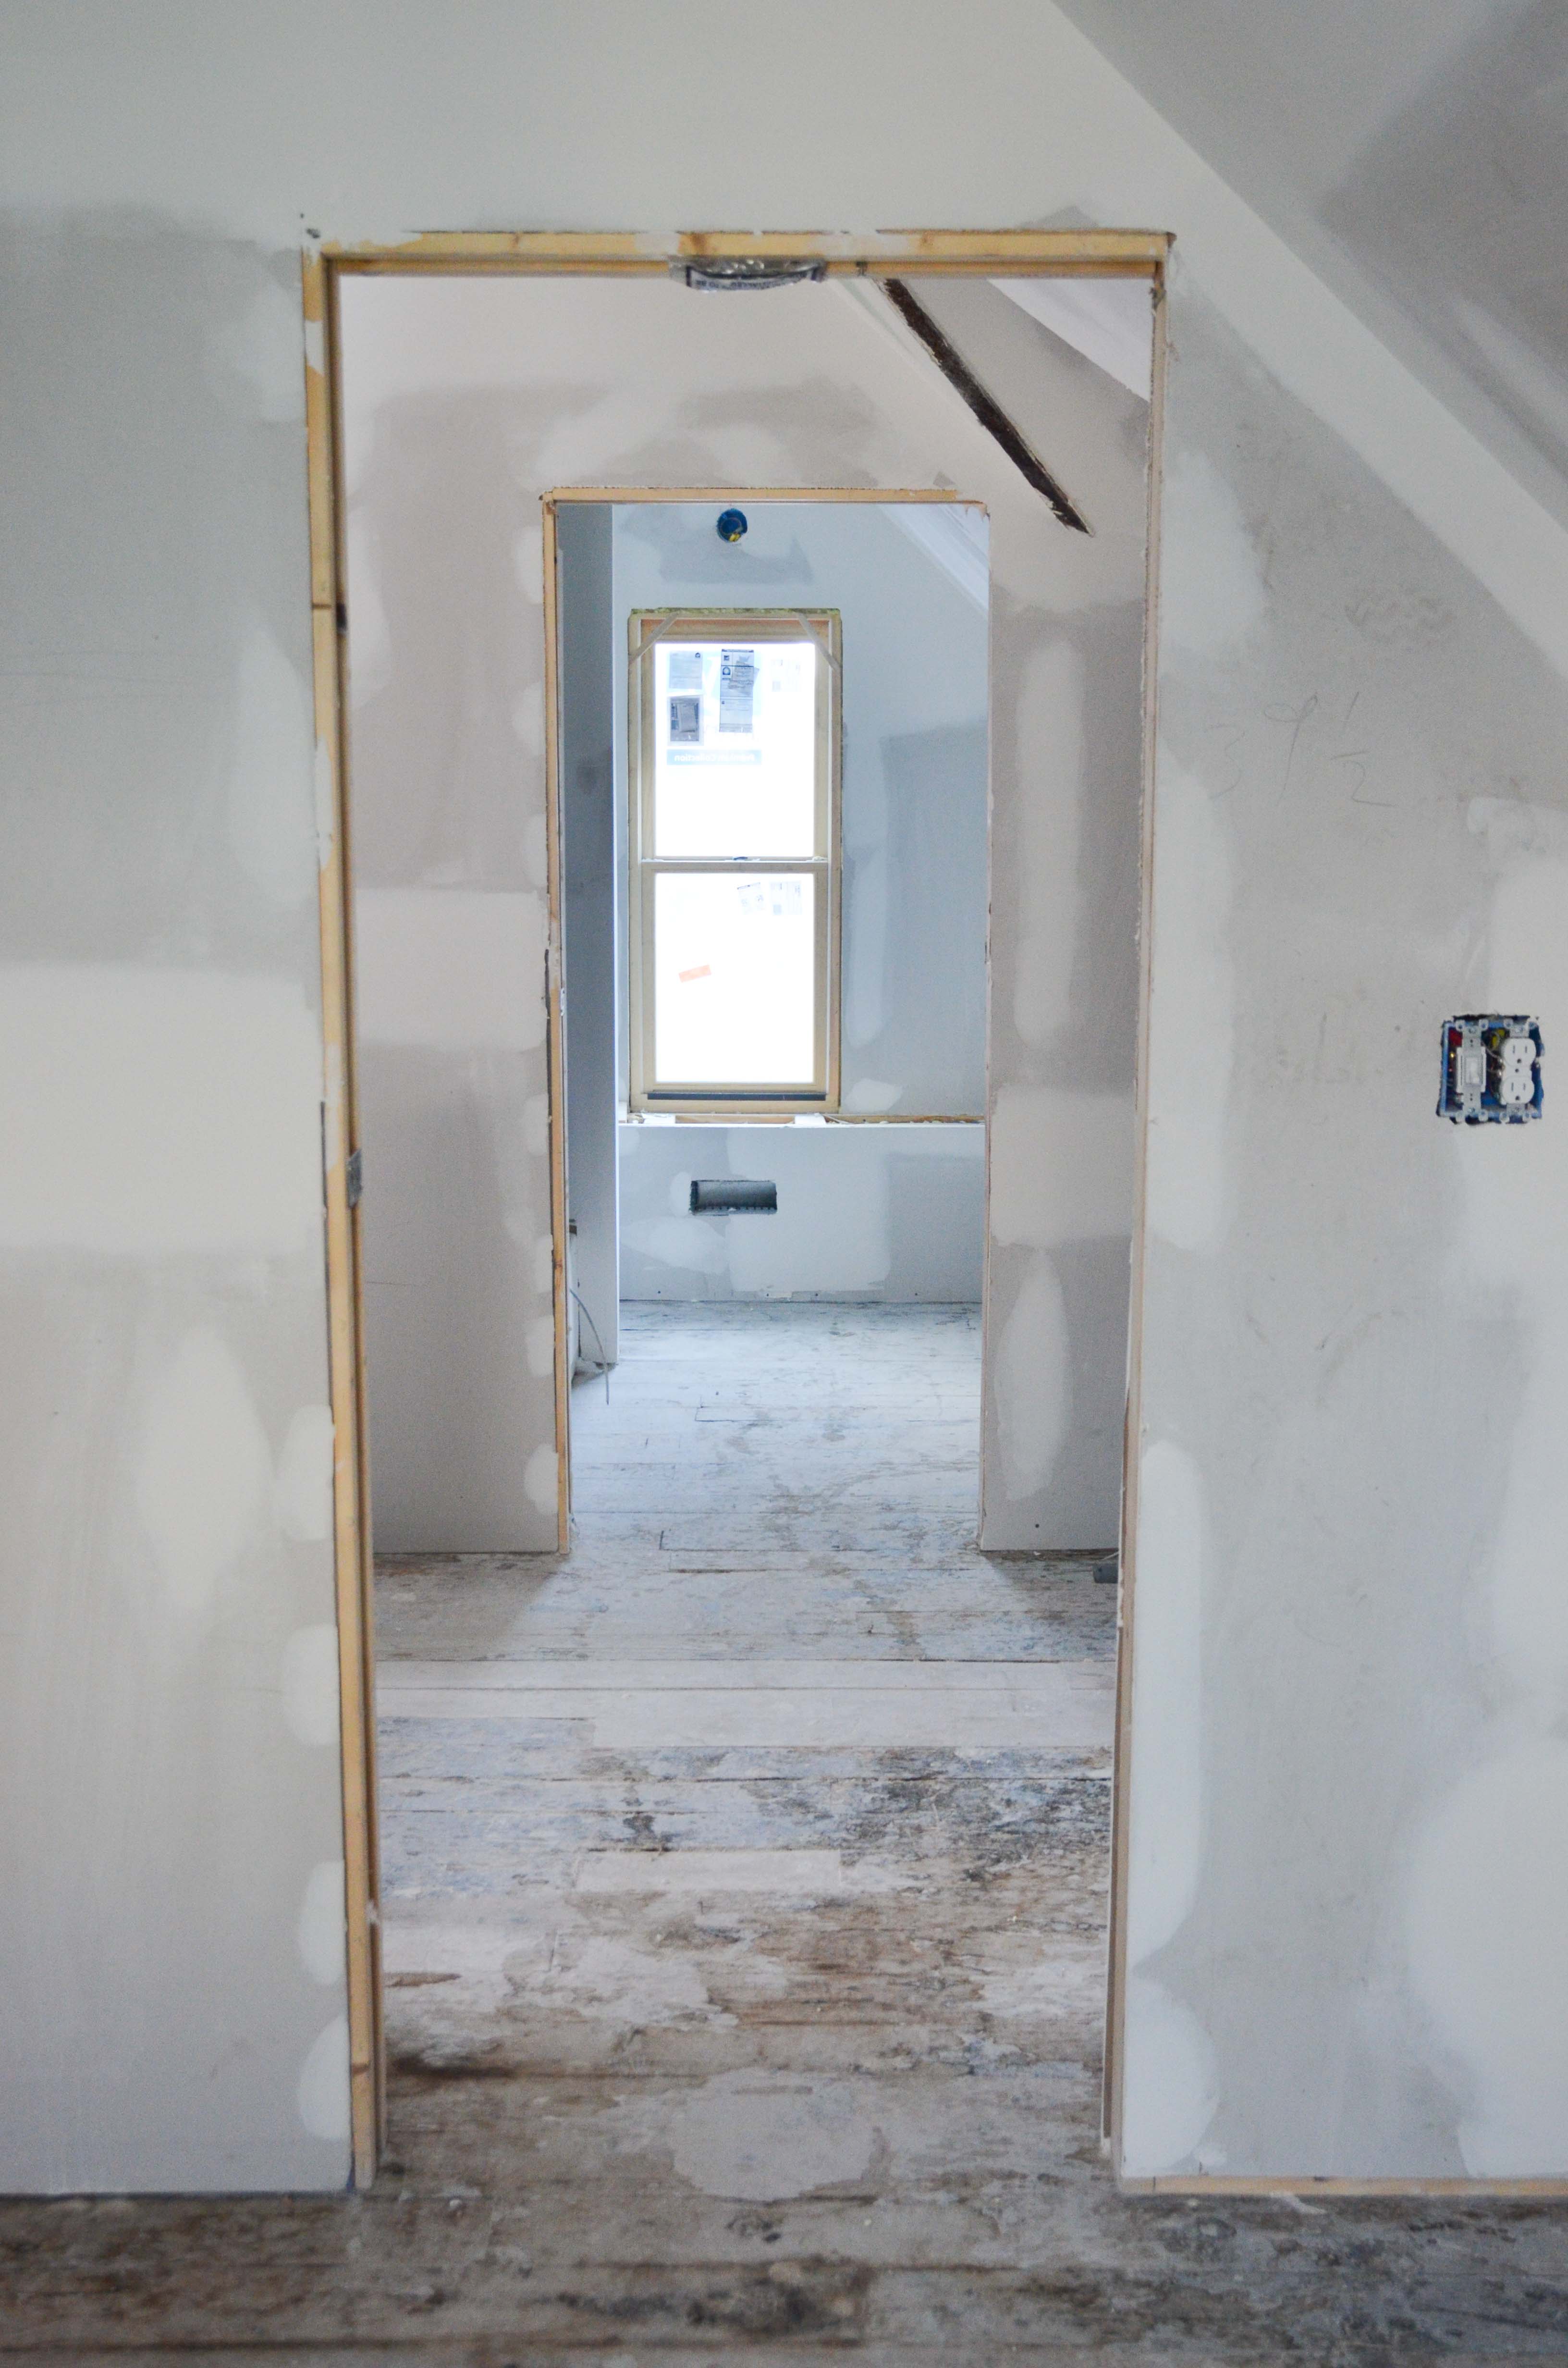
A lot of the repair work centered around where the ceiling meets the walls. Many areas were damaged when the previous owner removed the old ceiling. Plus there was a larger gap between the plaster and joists because of the width of the lath and plaster compared to just drywall. In addition, the areas where walls were removed to create hallways needed a ton of work to create a seamless wall surface. The photo below shows just one example of how much needed to be done (notice the gaps near the ceilings and the uneven transitions from plaster to drywall).  The after…
  The area underneath the new stairs was particularly bad, but now you can’t even tell there used to be wall or that there was a ton of plaster missing.


The wall surface above the landing was a mix of drywall and plaster. The surfaces didn’t really line up, but now you can’t even tell there was an issue.
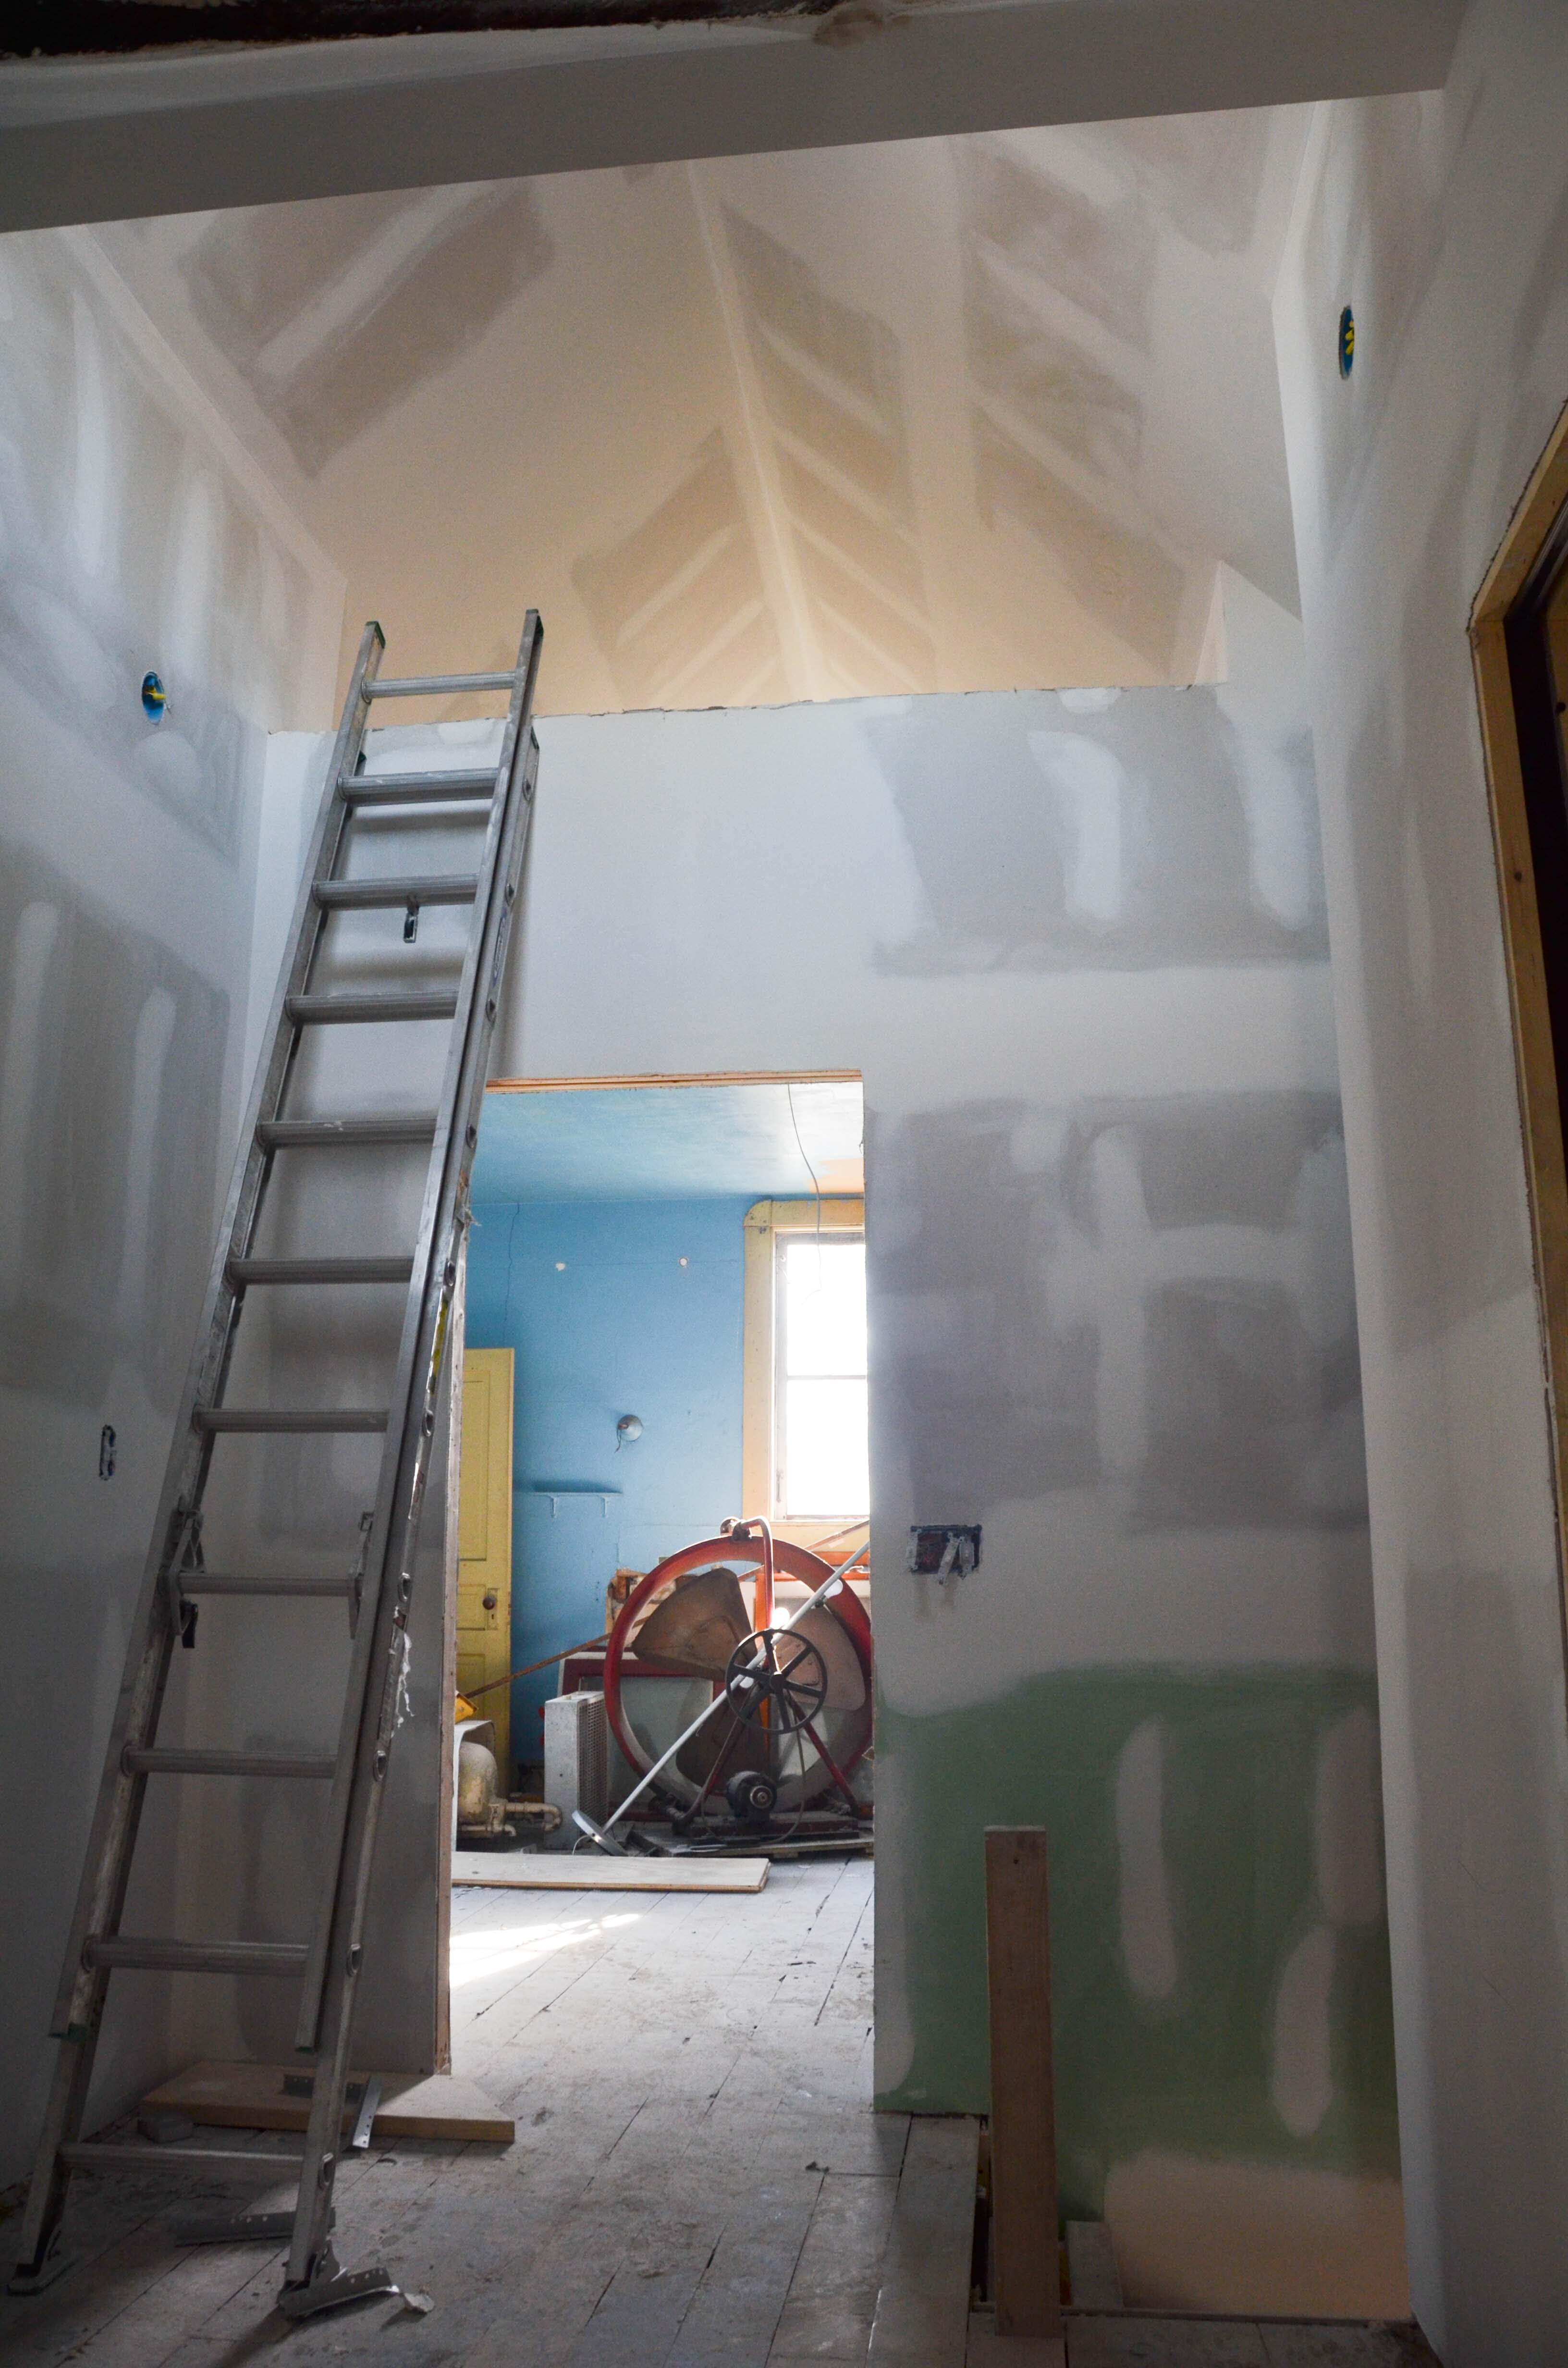
 Here is a quick tour of the rest of the house… I used the panorama function on my phone to give you a bigger view of each room. Clicking on the panorama pictures will give you an even better, full-size view)


There is actually a part of me that is a little sad that the drywall is finally installed. It means that most of what we have been working for the past year is now just covered up. You can no longer see mechanical, electrical, and plumbing. You can’t see the evidence of the walls we removed, the new framing, or the insulation. It’s all gone. If someone were to walk into the house today, they might just say, “Well, what took so long? This doesn’t look impressive. You now have some new walls and some old walls. What’s the big deal?” I guess at that point I would just direct them to our blog. Sure glad we have taken lots of pictures and documented the work, because all the evidence is now covered.
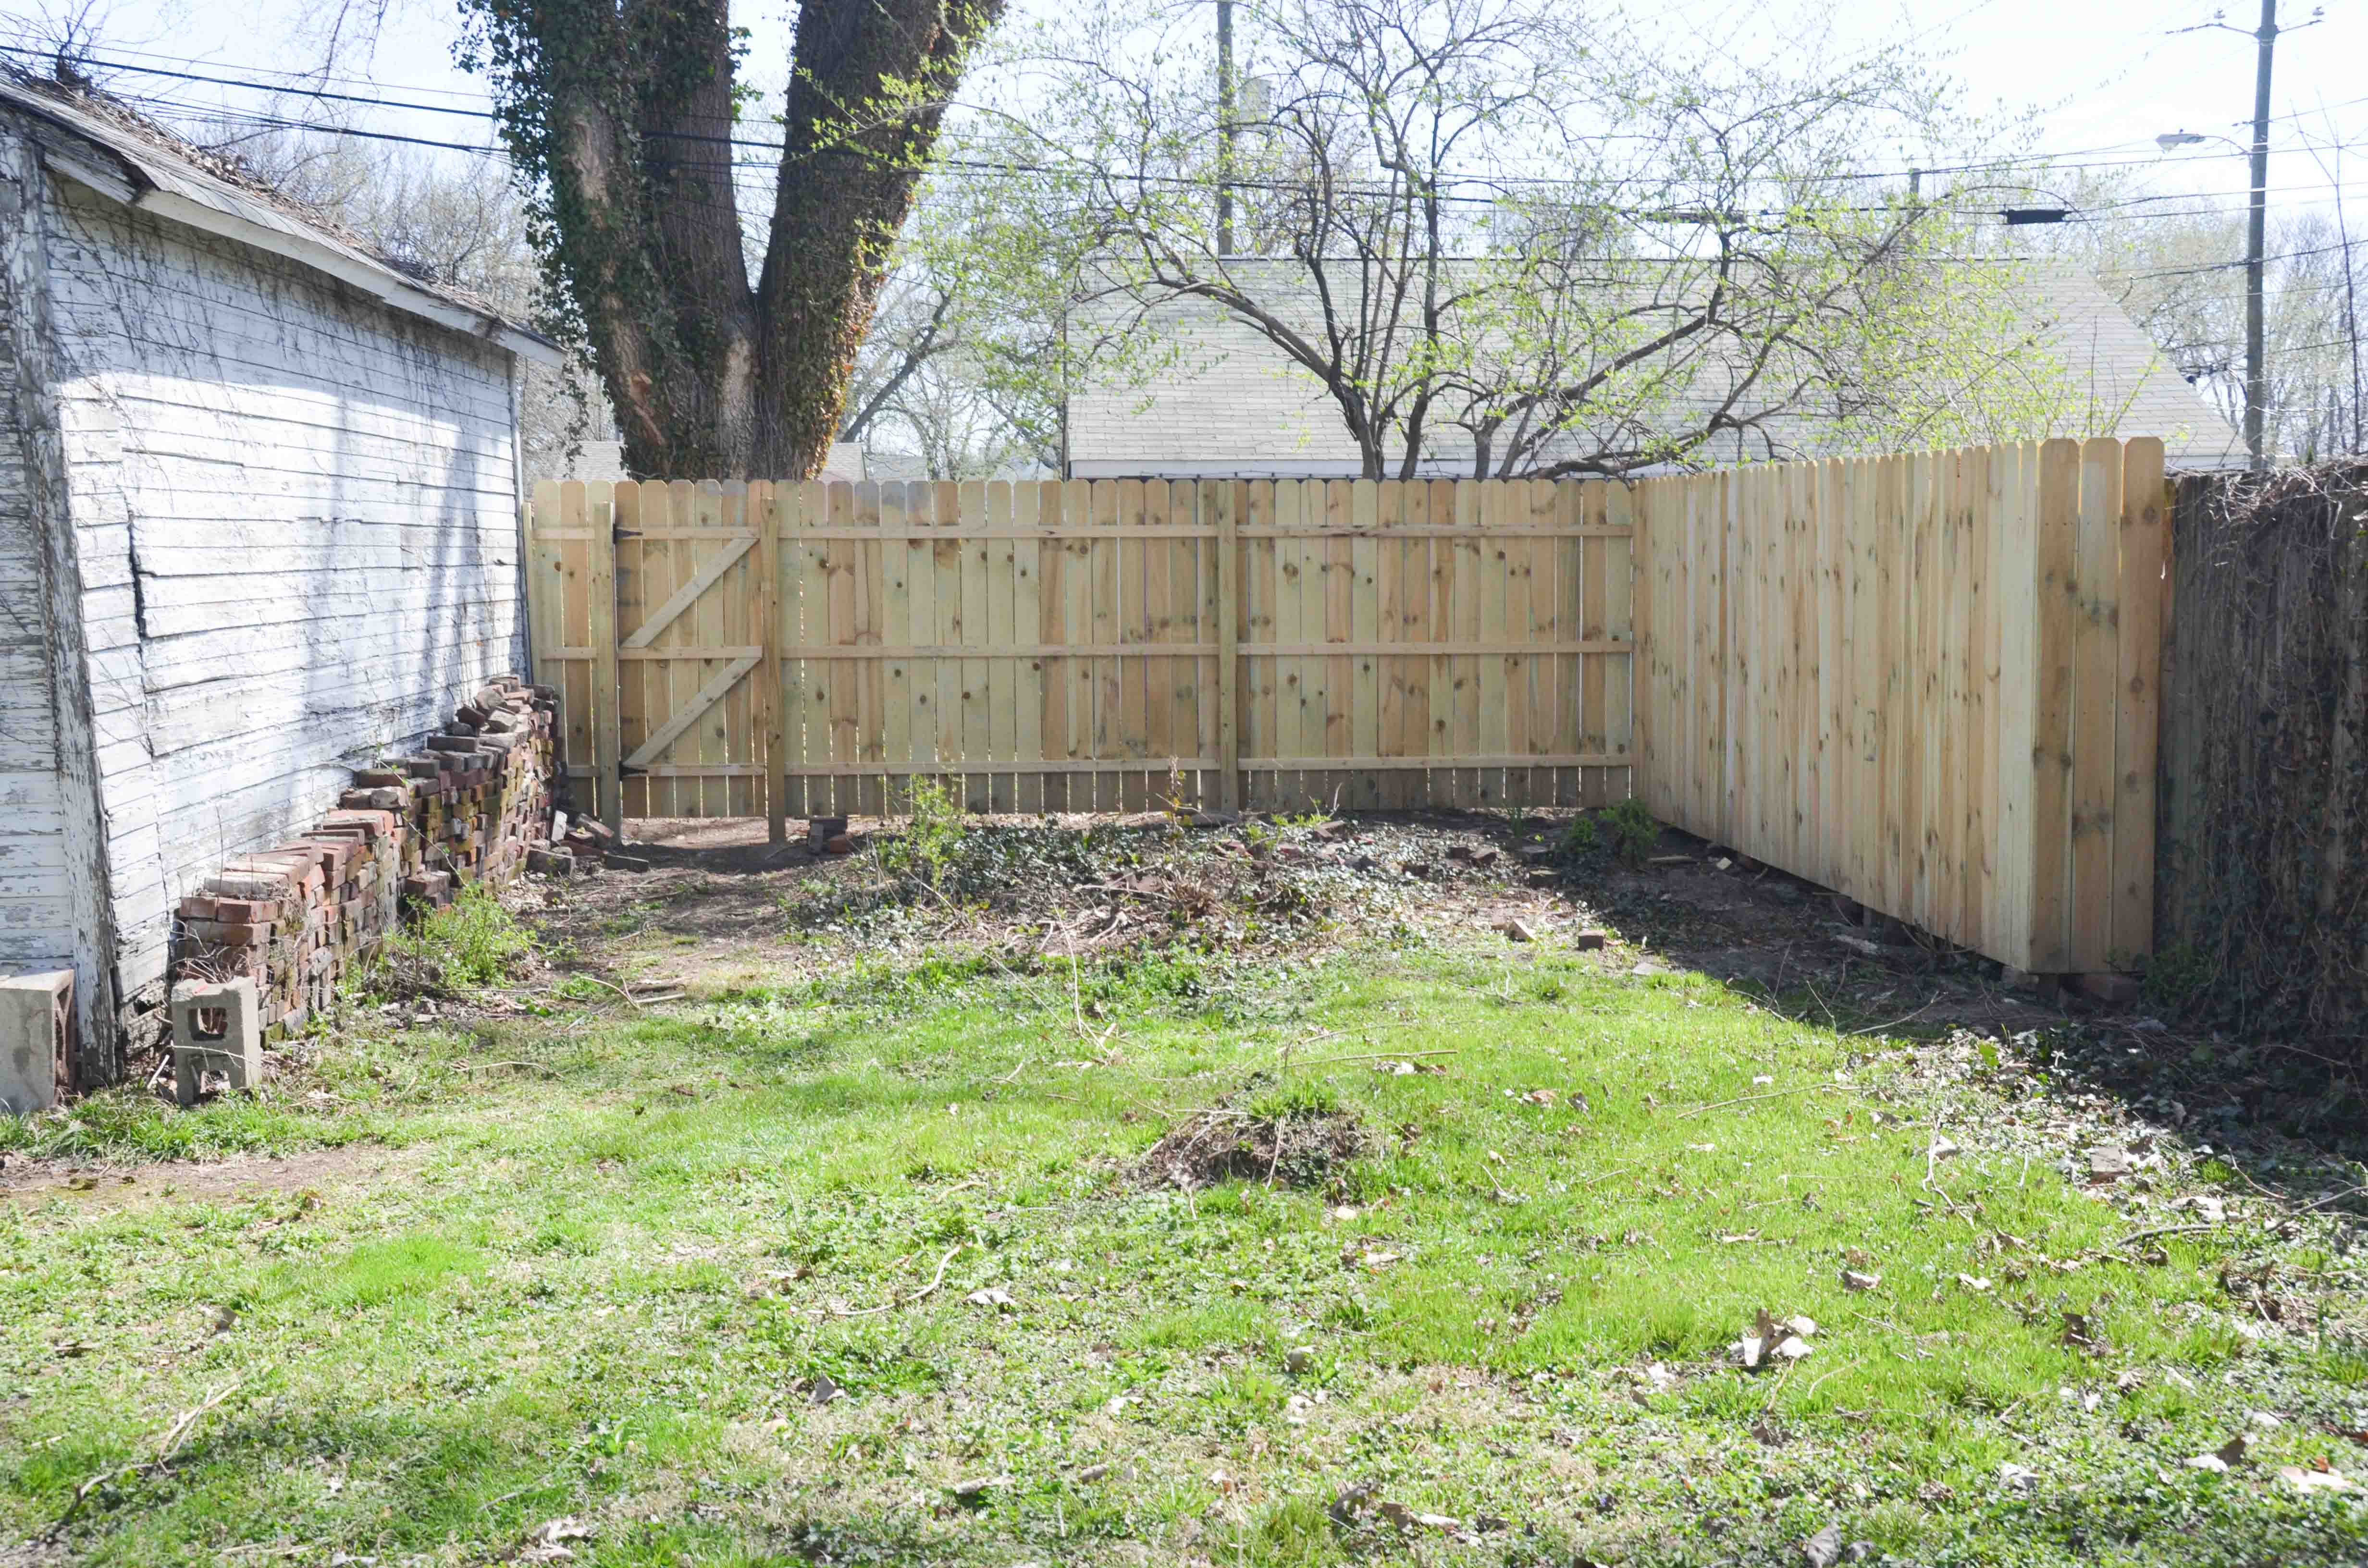
We haven’t just been sitting around the past couple weeks admiring the drywall, we have spending a considerable amount of time removing wallpaper, finishing the fence, and removing wallpaper glue from the plaster.
The fence is now done. I added the last couple pieces to the ends of the fence and built the gate.

In our last blog post I wrote that removing wallpaper wasn’t too bad. Well, I spoke too soon. The parlor room was much easier than the other areas we had to scrape. No more occasional big chunks of wallpaper falling effortlessly to the floor. The playroom, living room, and vestibule did not go easily, but we are finally done.

The wallpaper that was harder to scrape inevitably led to some gouging of the plaster. I cringed every time I did it, knowing that it was a spot I would need to go back and repair.

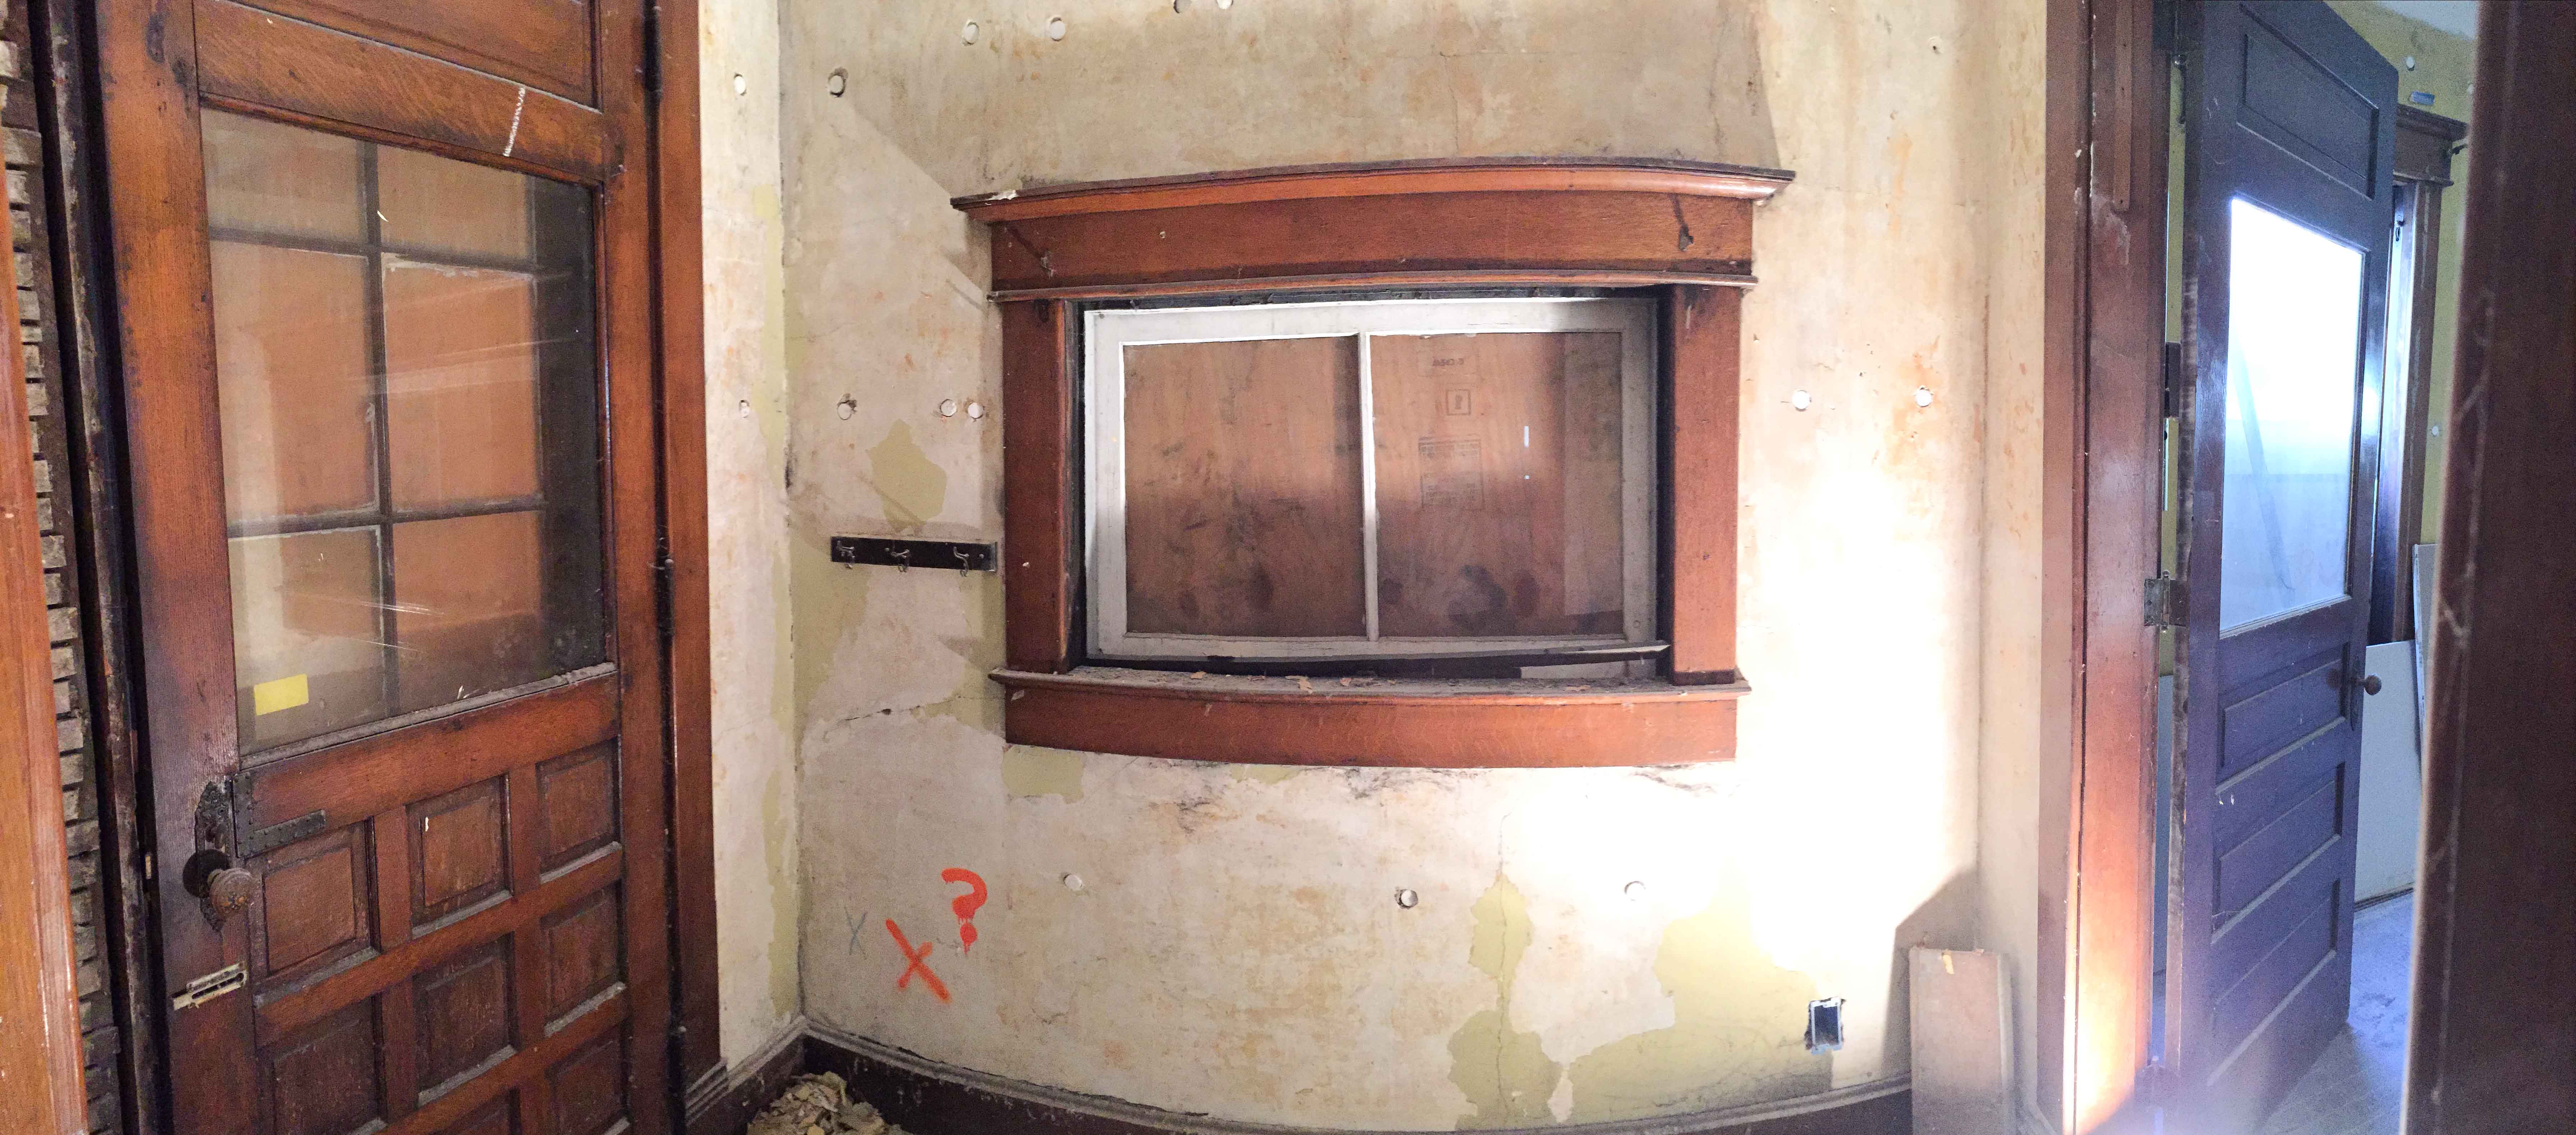
Here are some panoramic photos of the rooms that we scraped… (click for a larger view). The paint that is still on the wall is directly on the wall, not on wallpaper.


After removing the wallpaper we needed to wash all glue and leftover remnants of wallpaper off the walls. This was a relatively easy process, but still time consuming. The process involved repeatedly washing the walls with warm, soapy water and then scraping just a little more. The bad news is that it took a long time, the good news is that this meant I had time to listen to my own NPR Radio Lab podcast marathon! This also gave us the time to note every little nick, ding, hole, and crack in the plaster. Lots of work still to do on the plaster, but at least the prep work is done.


It may not look that much different in the pictures, but the walls are now very smooth and clean.
We have also been busy researching plaster repair, making decisions about our staircase, and trying to make progress on the kitchen and bathroom designs. Our current goal is to be able to move in by August 1st… a little more than 3 months. Amy thinks that is plenty of time, but I am not so sure. There is A LOT to do. Although, summer is coming and with it – much more time for us to work on the house.

One Comment Add yours