Week 53 (Joe)
One of the very first projects we did a year ago was to try to make the front and backyard of the house not look so… abandoned. The house had been vacant for more than 10 years and it definitely looked like it. Weeds had turned into trees. Parts of the yard were so thick with brush that you couldn’t even get through it. The picture below doesn’t do it justice. This was taken before there were any weeds, leaves, or other normal summer growth.
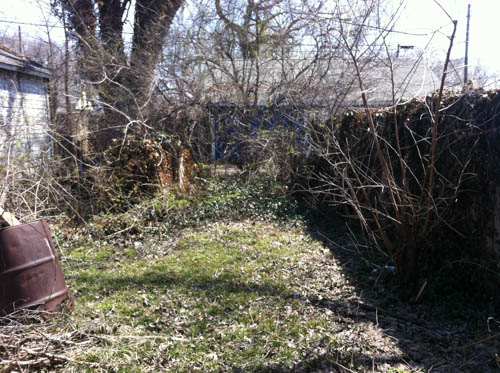
We spent three weekends with a chainsaw and other assorted sharp items cutting down everything we could. There is still a lot of work to do, but at least it doesn’t look completely neglected anymore.
Since the drywall crew has been hogging all the space in the house and the weather remains cool, we thought that now would be a great time to do some outdoor projects. One of these projects is to build a privacy fence at the very back of our yard. Our first goal – remove the chain link fence and also the accompanying weed-trees that have actually enveloped the fence. Here was our starting point…
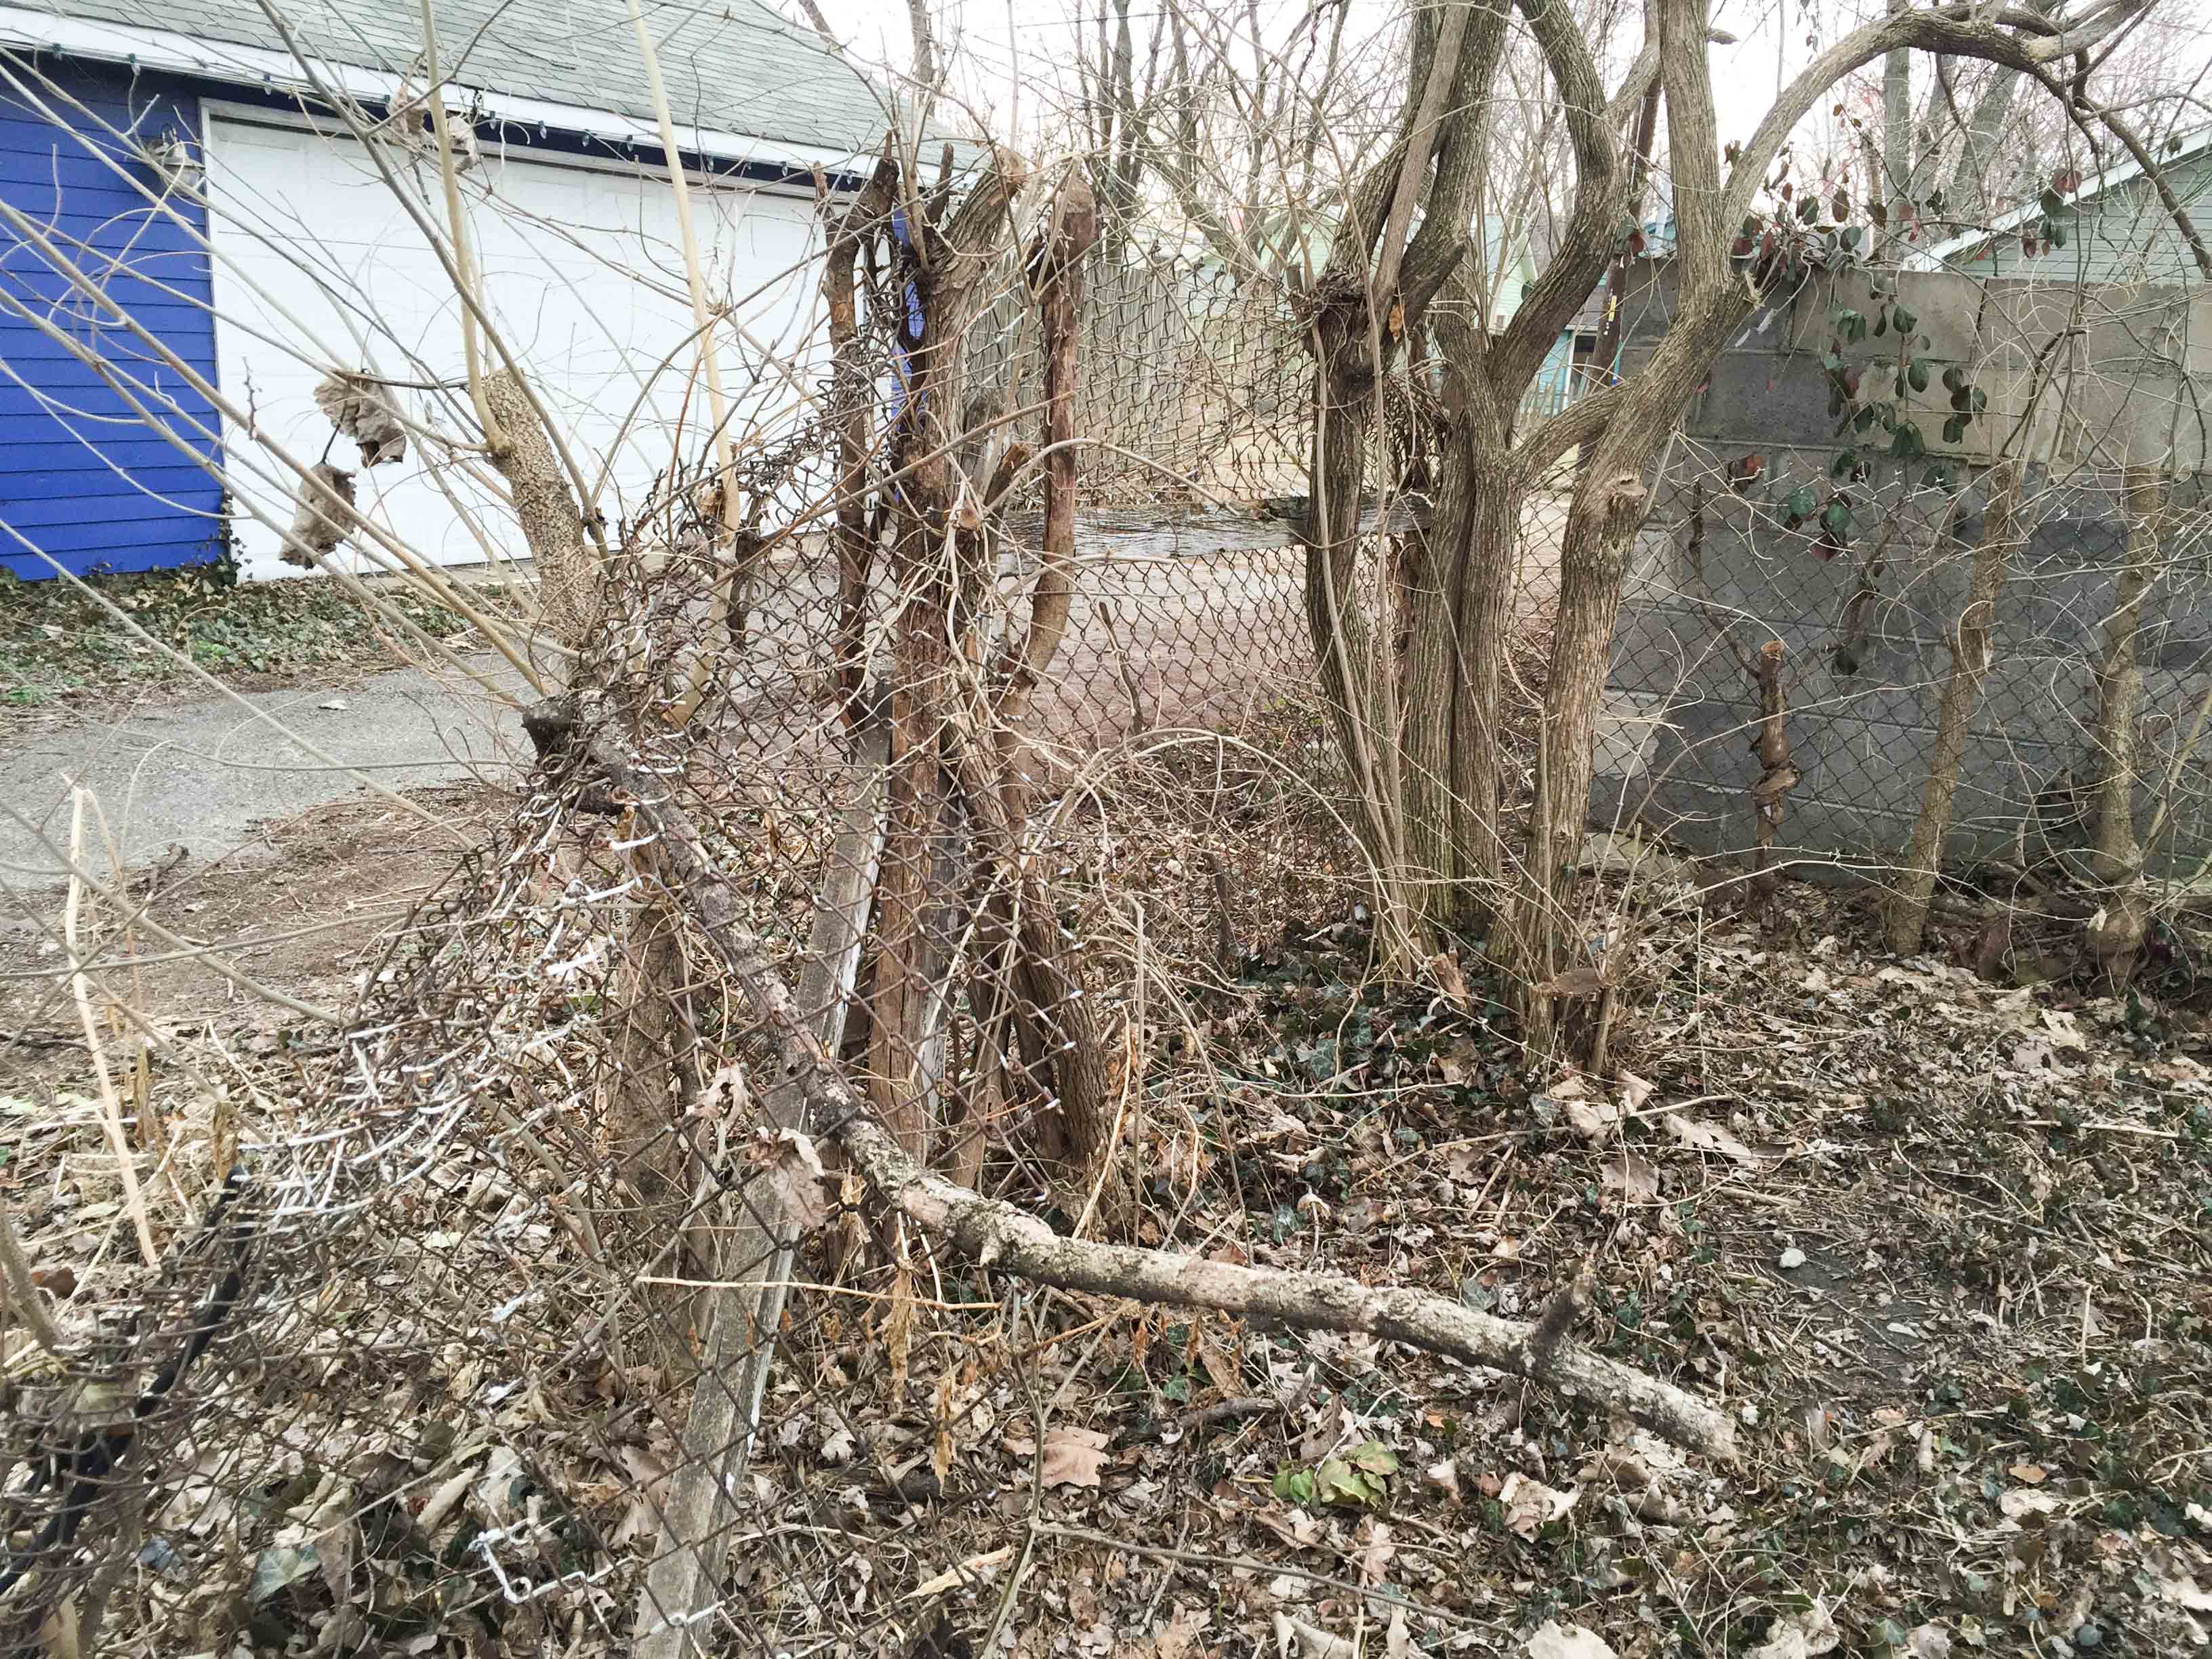
This mangled mess of miserable mayhem seemed like it would be impossible to dislodge. Even if we could remove the weed-trees we would be unable to free them from the fence. Digging out the fence posts wouldn’t mean much if we couldn’t free the fence from the weed-trees. Undaunted, we just started digging. We would just find a way.
I started in this corner…
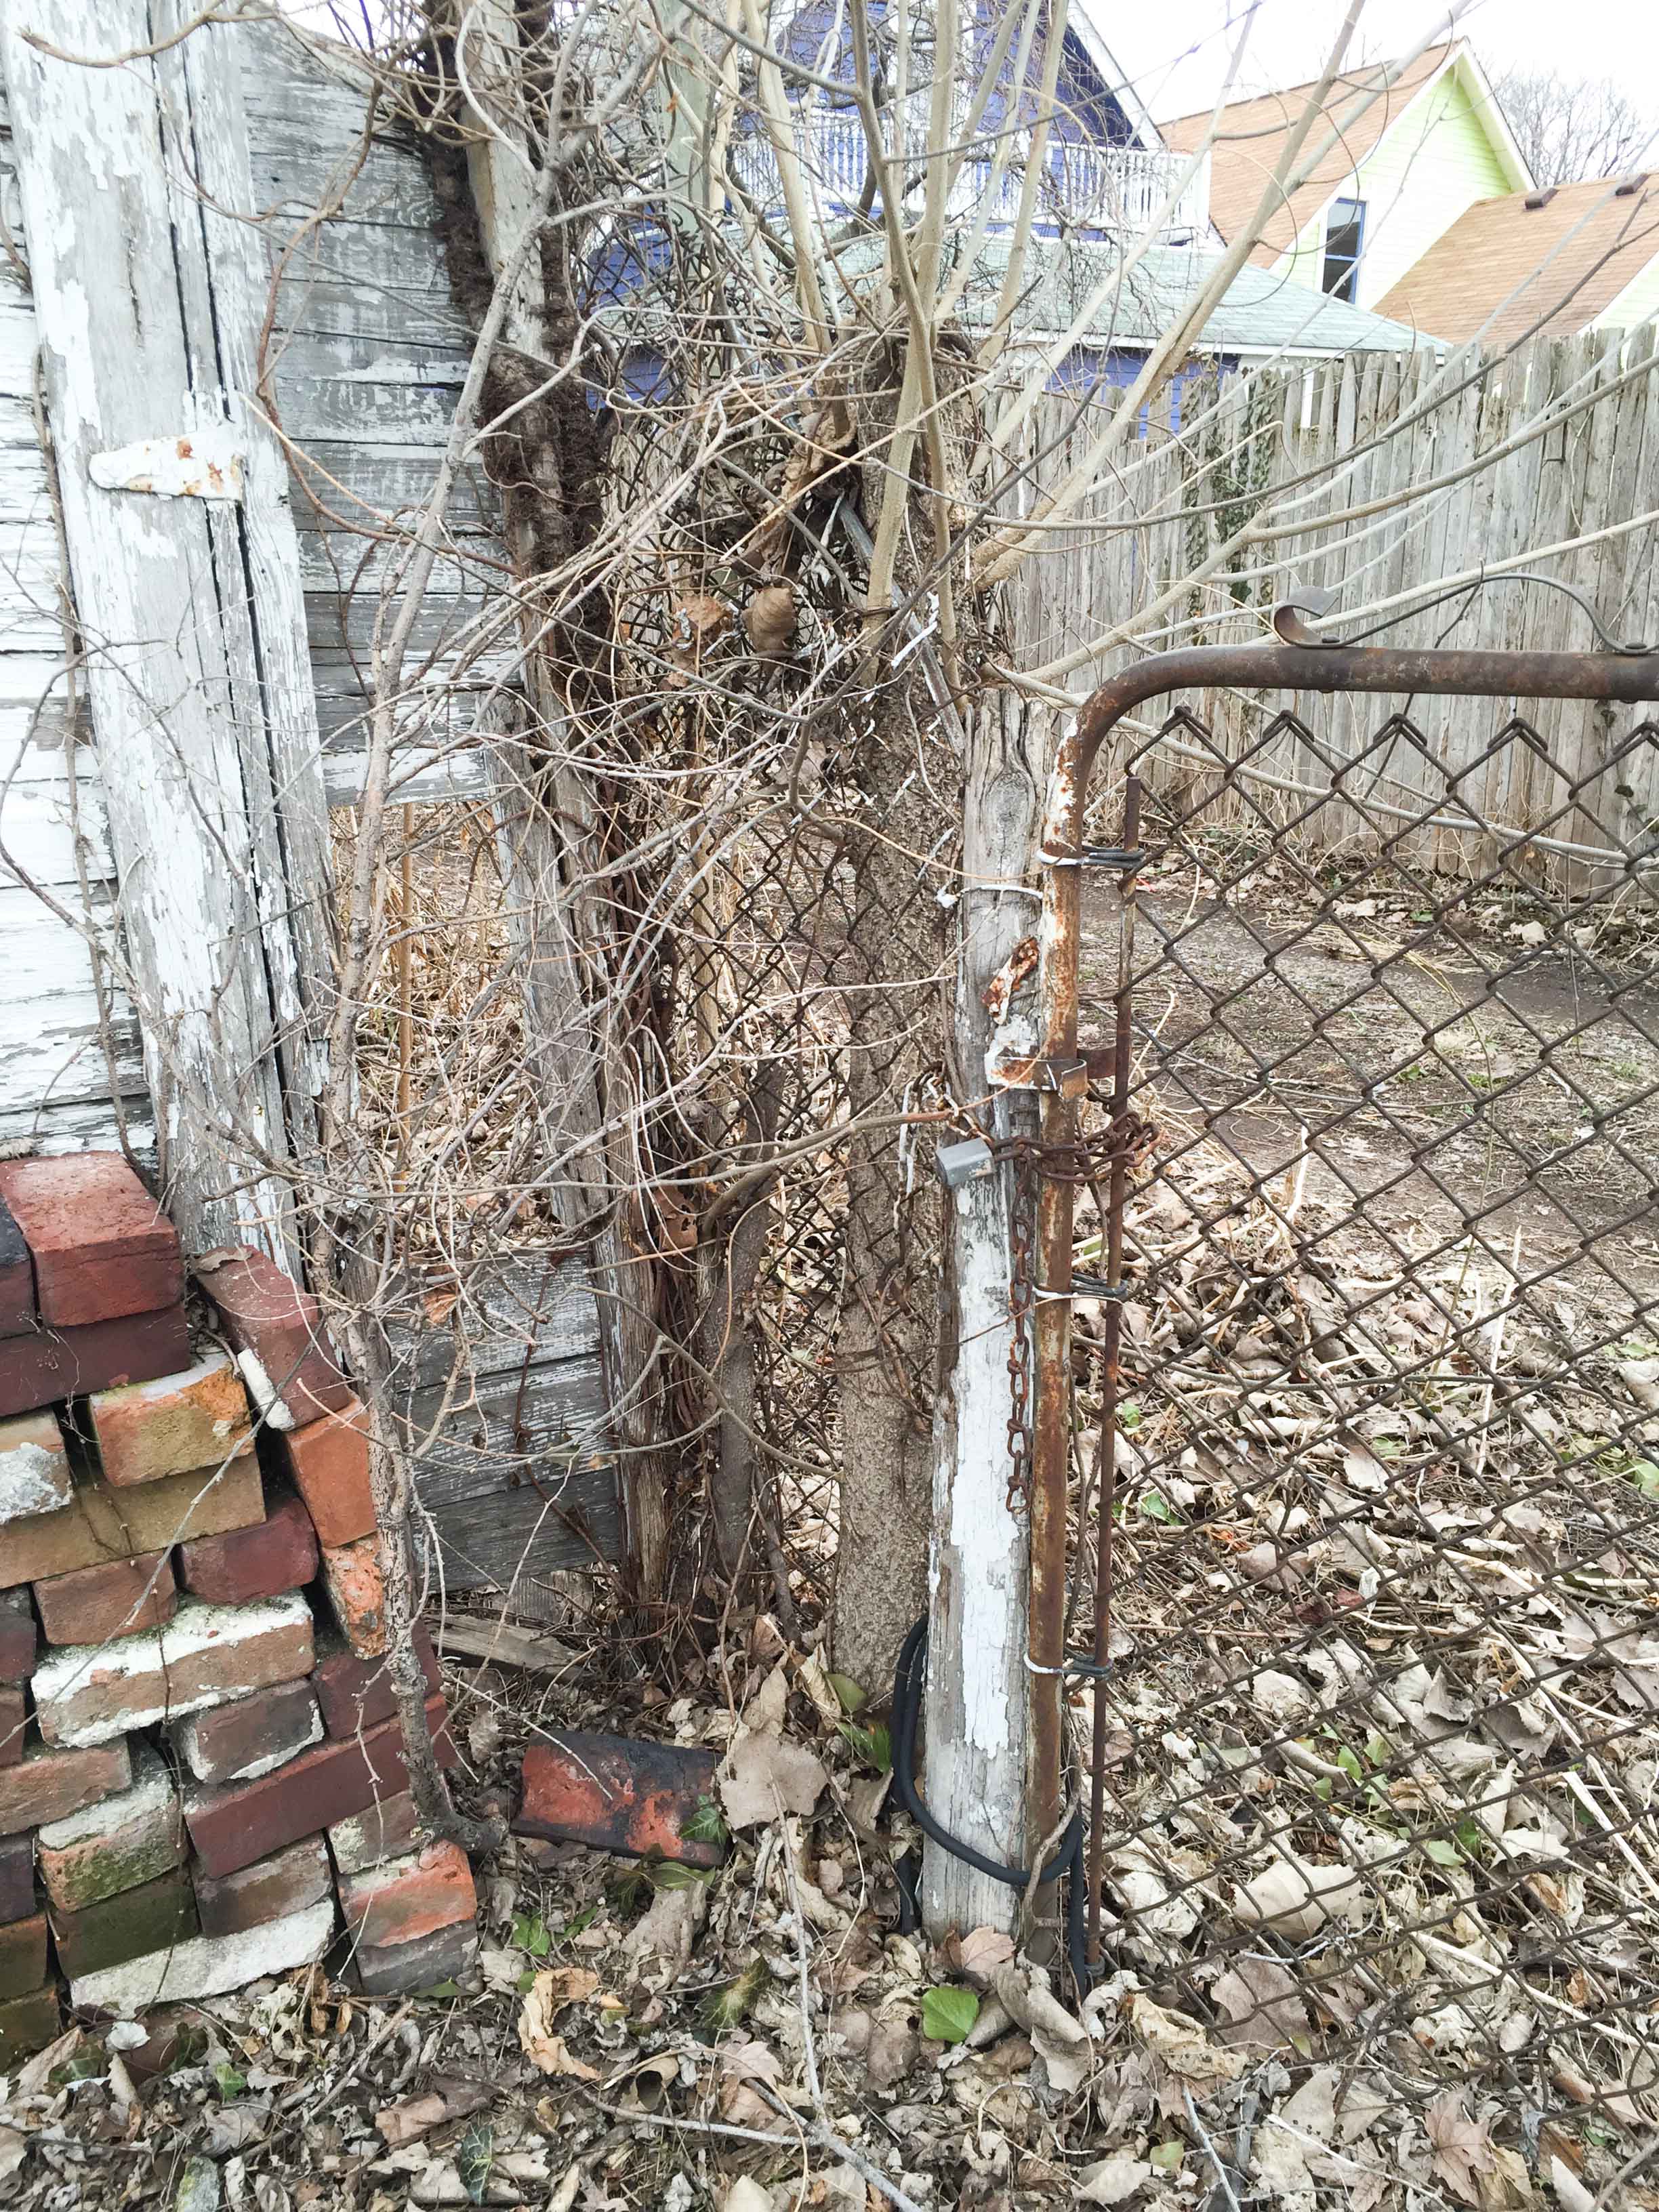 That there is a fence gate, chained to a fence post, attached to a fence that has been engulfed by a tree that sprouted from inside a cinder block buried deep beneath the ground. That sounds tough enough, right? Nope. There was also another fence-eating plant right next to it that also grew through a cinder block and was entangled in a fence attached to a post that has been attached to the corner of the garage. To make matters even more difficult, after 5 seconds of digging I discovered that there was a concrete pad surrounding half of this mess and underneath that there were countless bricks!
[Edit from Amy: He’s not kidding. This was a circus of obstacles.]
Luckily, the fence posts were mostly rotted and not anchored with cement. I was eventually able to dig low enough to be able to hack through the tree roots with a sawzall to free the fence. I was unable to remove the stump or the 2 cinder blocks, but that’s okay… we will just re-bury all of it.
[Edit from Amy: Notice this glass bottle that is somehow lodged into the side of these roots…underground. We could not get it off. It is now underground again waiting to see light maybe another 100 years from now.]

Our digging unearthed a couple typical finds…

[Edit from Amy: I found the above bone in a pile of dirt/decomposing leaves in the alley. By some odd chance I also found the other half of this set in a completely different area of the yard.]

I don’t have a picture of Amy and I wrestling the tangled mess of fence and trees into the back of the truck. It would have been an amusing photo. There was nothing we could do to easily separate everything, so essentially we had to just heave it all into the truck in two large masses.
The backyard already felt so much better just by removing that old fence.


The next day we began the installation of the new fence posts. I carefully measured, stared, measured, and stared some more.
[A little side story: The morning we were just starting to shovel some dirt around and dig the fence post holes was the same morning the guys arrived to cart away all the scrap drywall. While I was doing the standing and thinking, Amy was filling in the areas that were dug out to remove the old fence. After being there for while one of scrap guys felt the need to ask, “Is that your wife? Because it looks like she’s doing all the hard work!”]
Confident with my plan, I began digging.
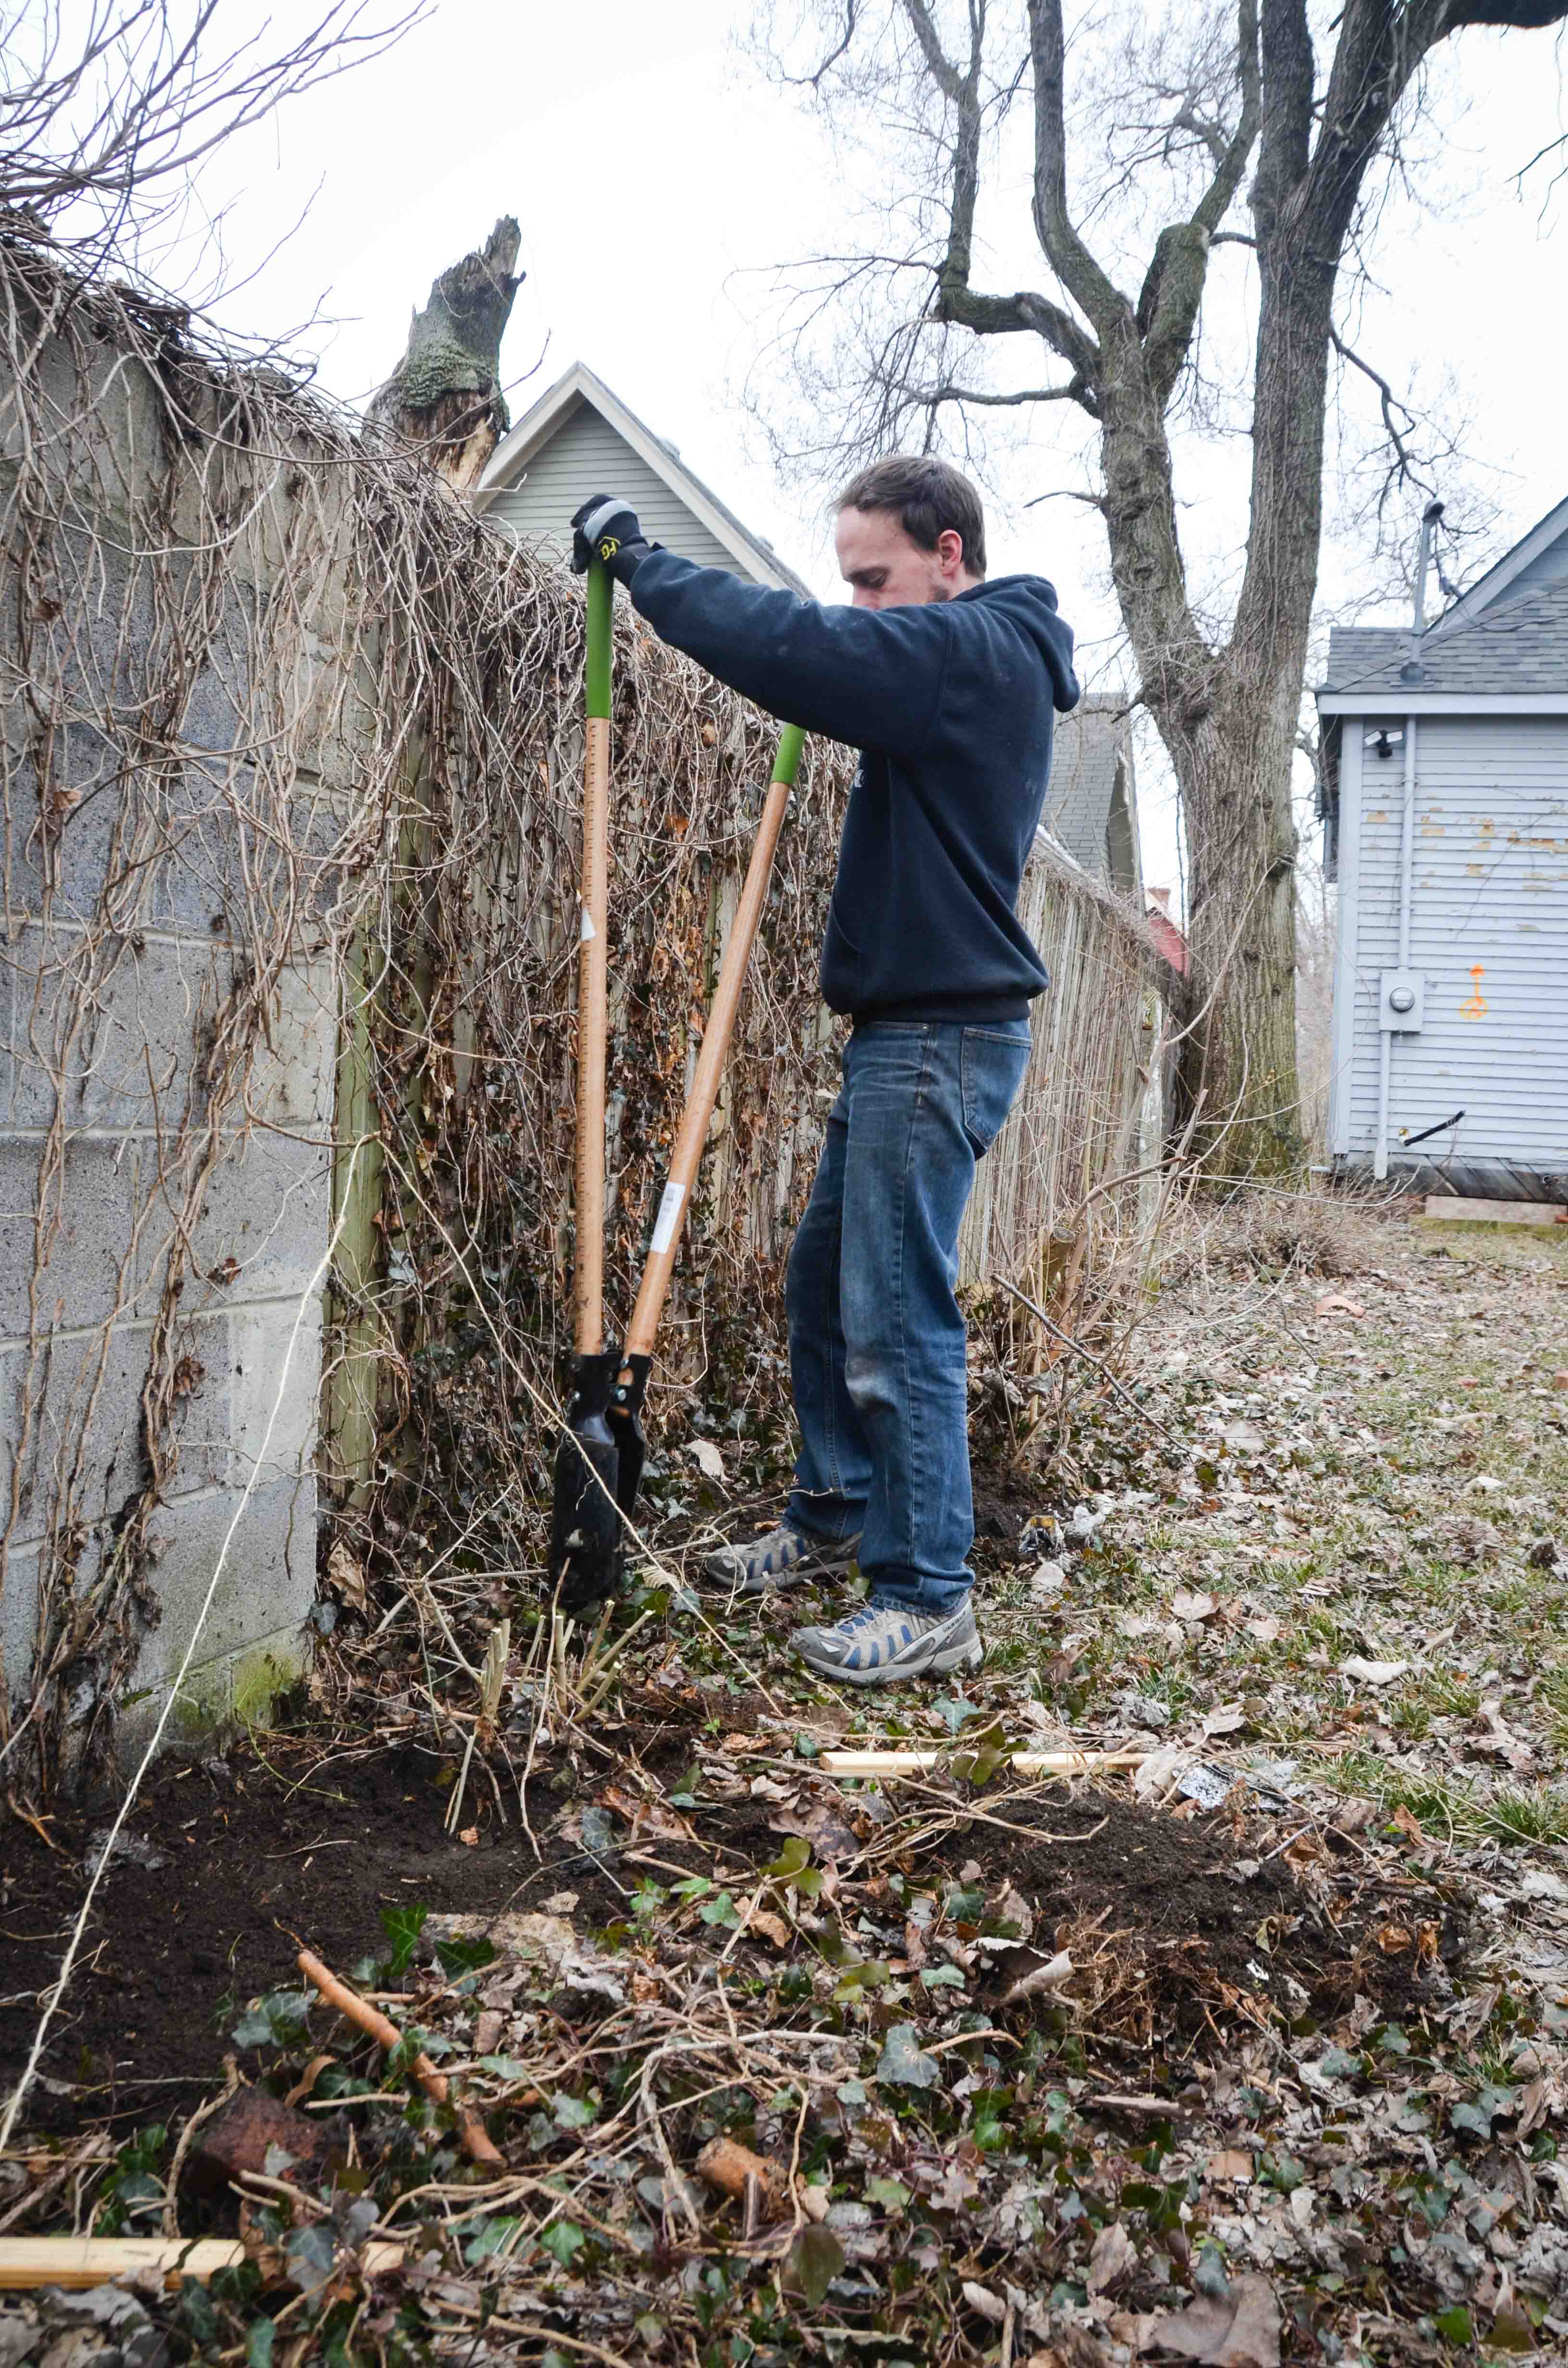
Once again, there were many bricks near the garage that slowed me down, but I only had to dig 7 holes so it wasn’t horribly bad.

We poured the concrete, mixed the water, and worked to get each post as level and plumb as possible.

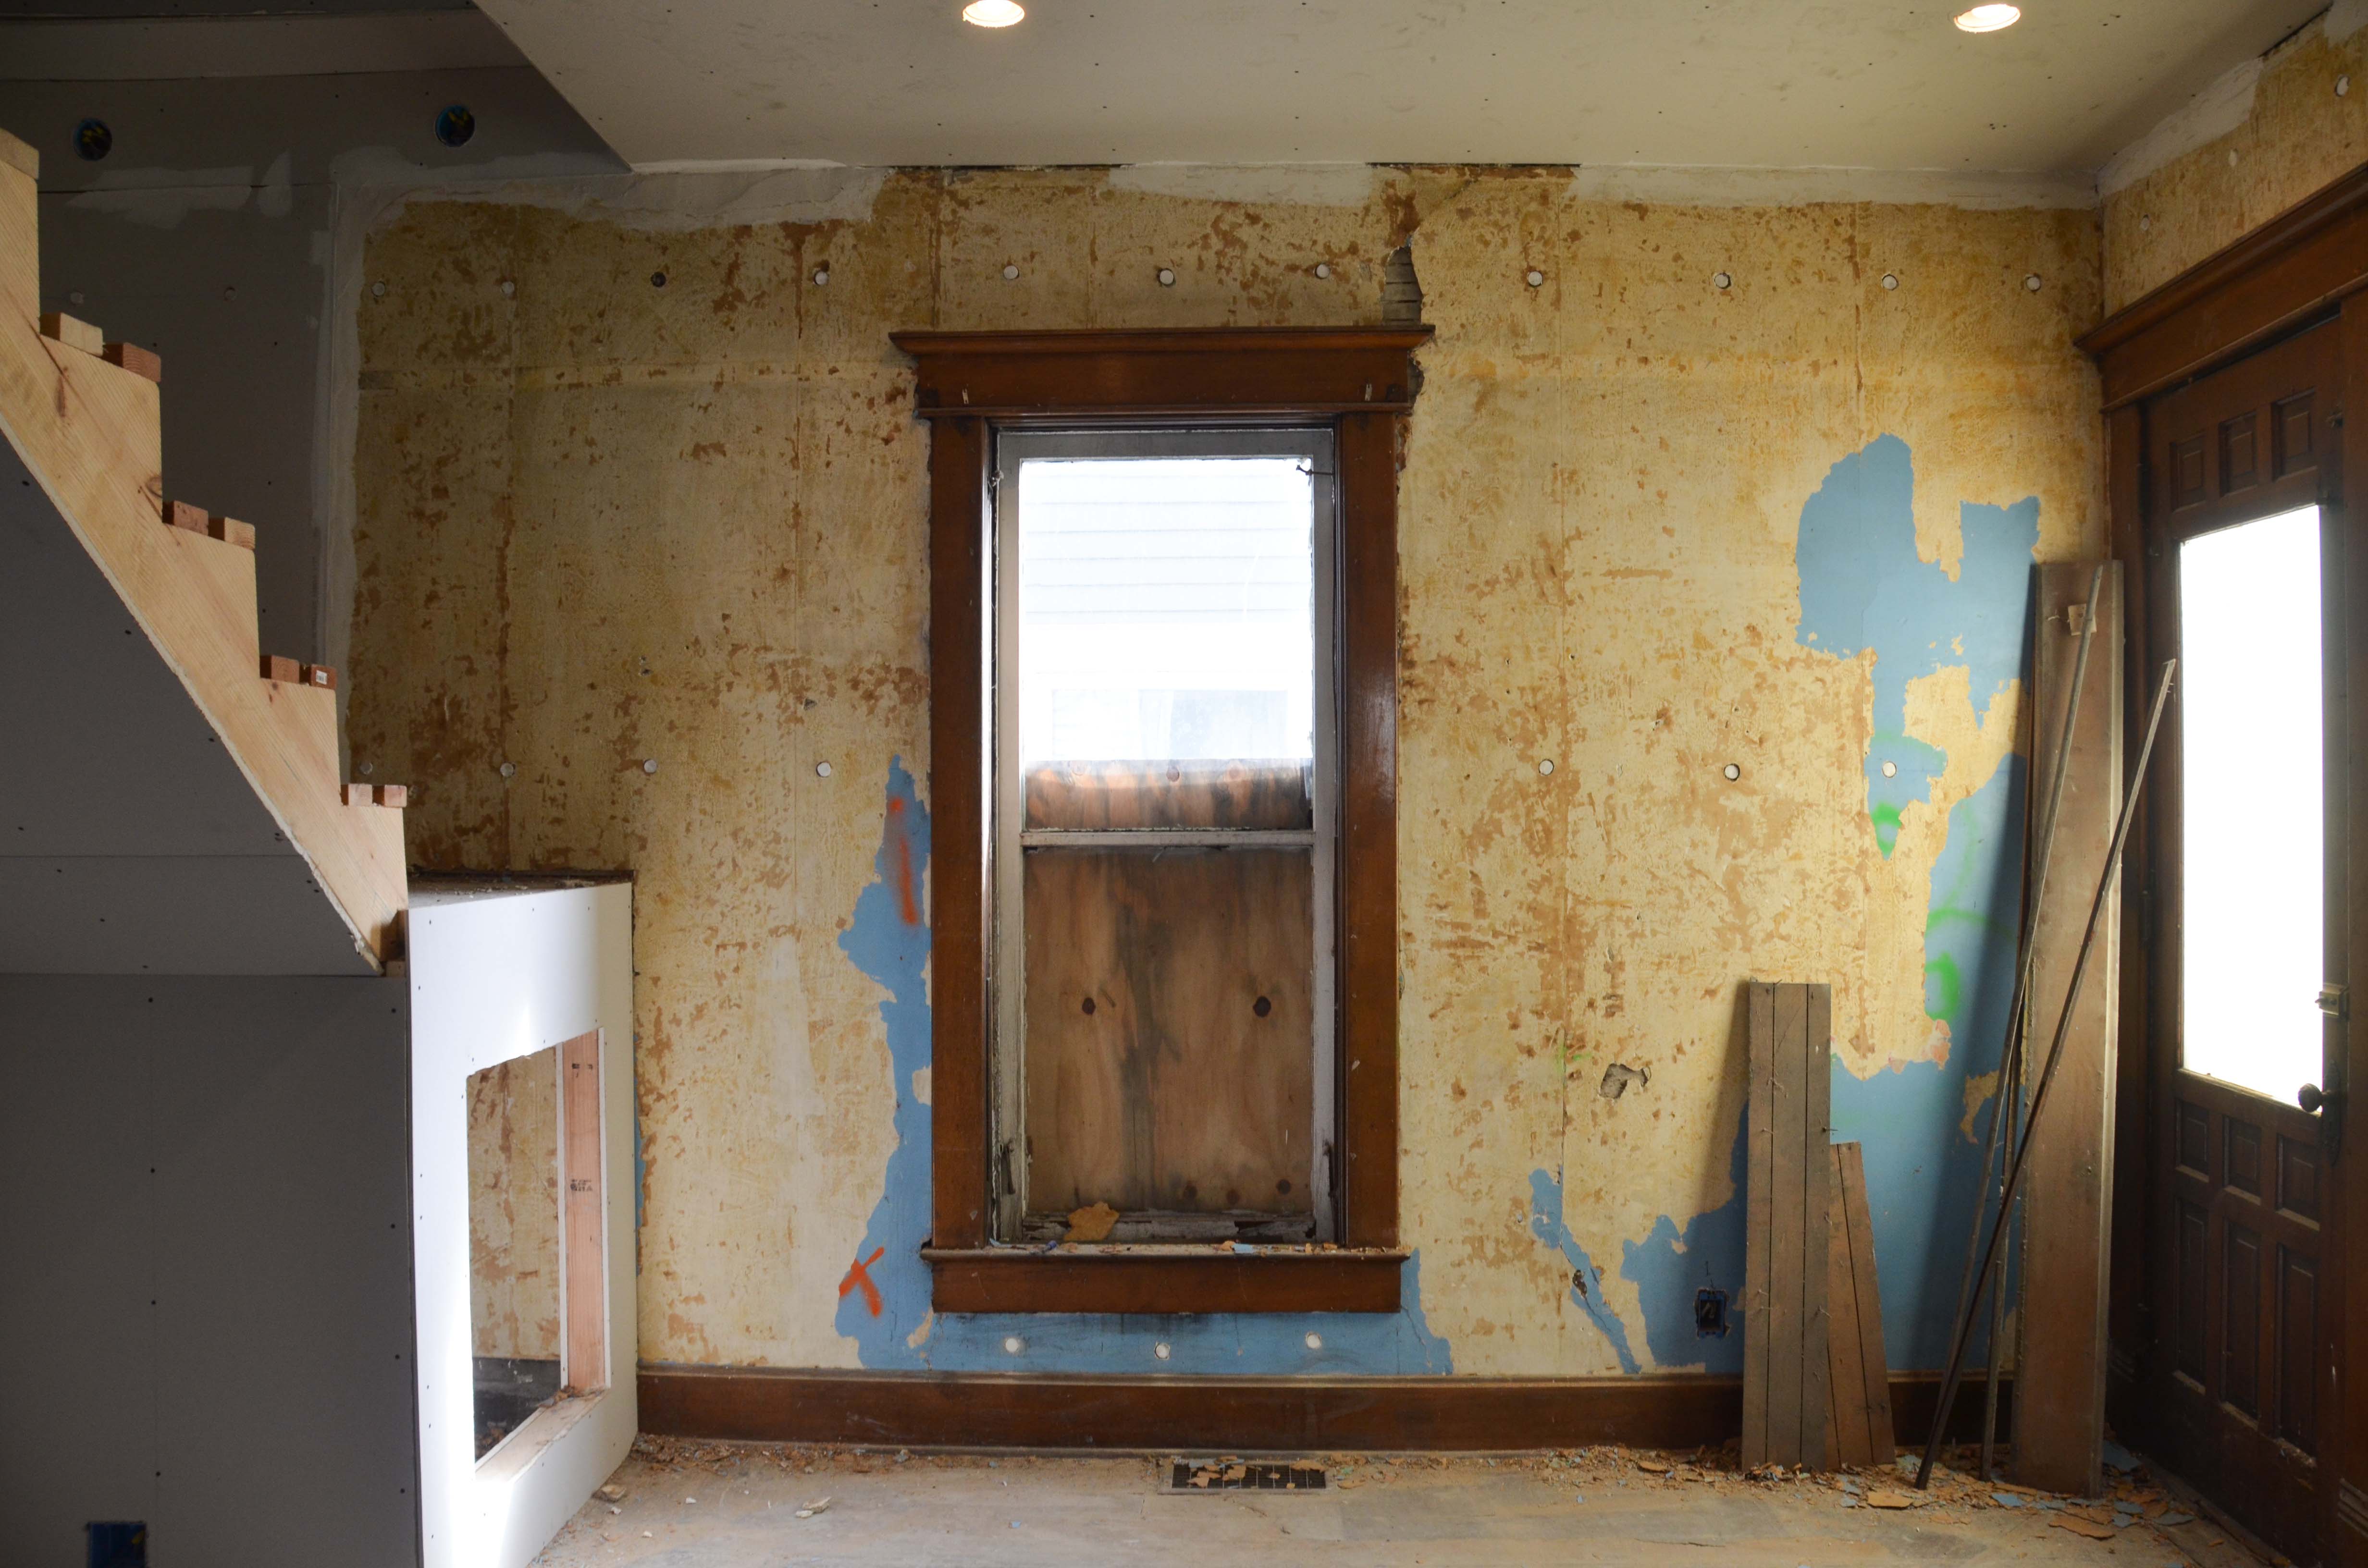
Then the weather turned bad for the next 3 or 4 days and our outside project was put on hold. Luckily, our drywall crew didn’t start taping and mudding when they were supposed to (surprise!). This meant that we were able to begin our first post-drywall project inside the house. Here’s our immediate plan: Remove any wallpaper, repair the plaster, prepare all the wall surfaces, then prime the whole house.
So we picked up a scraper and got going.

Amy and I both marvel at how nice it is to just walk in, pick up the scraper, do the work, put down the scraper when you are done, and then leave! No hunting for tools, no dragging extension cords around, no big prep necessary. It is such a contrast to the work we were doing to prepare for the insulation and then for the drywall. That involved so many little projects that it felt like we were constantly just prepping or cleaning. Anyway, back to the wallpaper… It isn’t awful to scrape, but it’s not much fun. Imagine scraping ice (not frost, ice) off your wind shield, except that your windshield is huge. The parlor came off pretty easily, the playroom was significantly harder.
[Edit from Amy: The gross yellow parts of the wall show where we have scraped wallpaper off of the plaster. I guess things are going to look worse before they get better. There are 2 or 3 layers of wallpaper that we are scraping off. At least one of these papers was painted over. Before the last paint job, someone actually scraped off random sections here and there and in short order gave up and painted the blue color that you see here. The blue that remains are ares where there was no wallpaper to remove. Classy.]
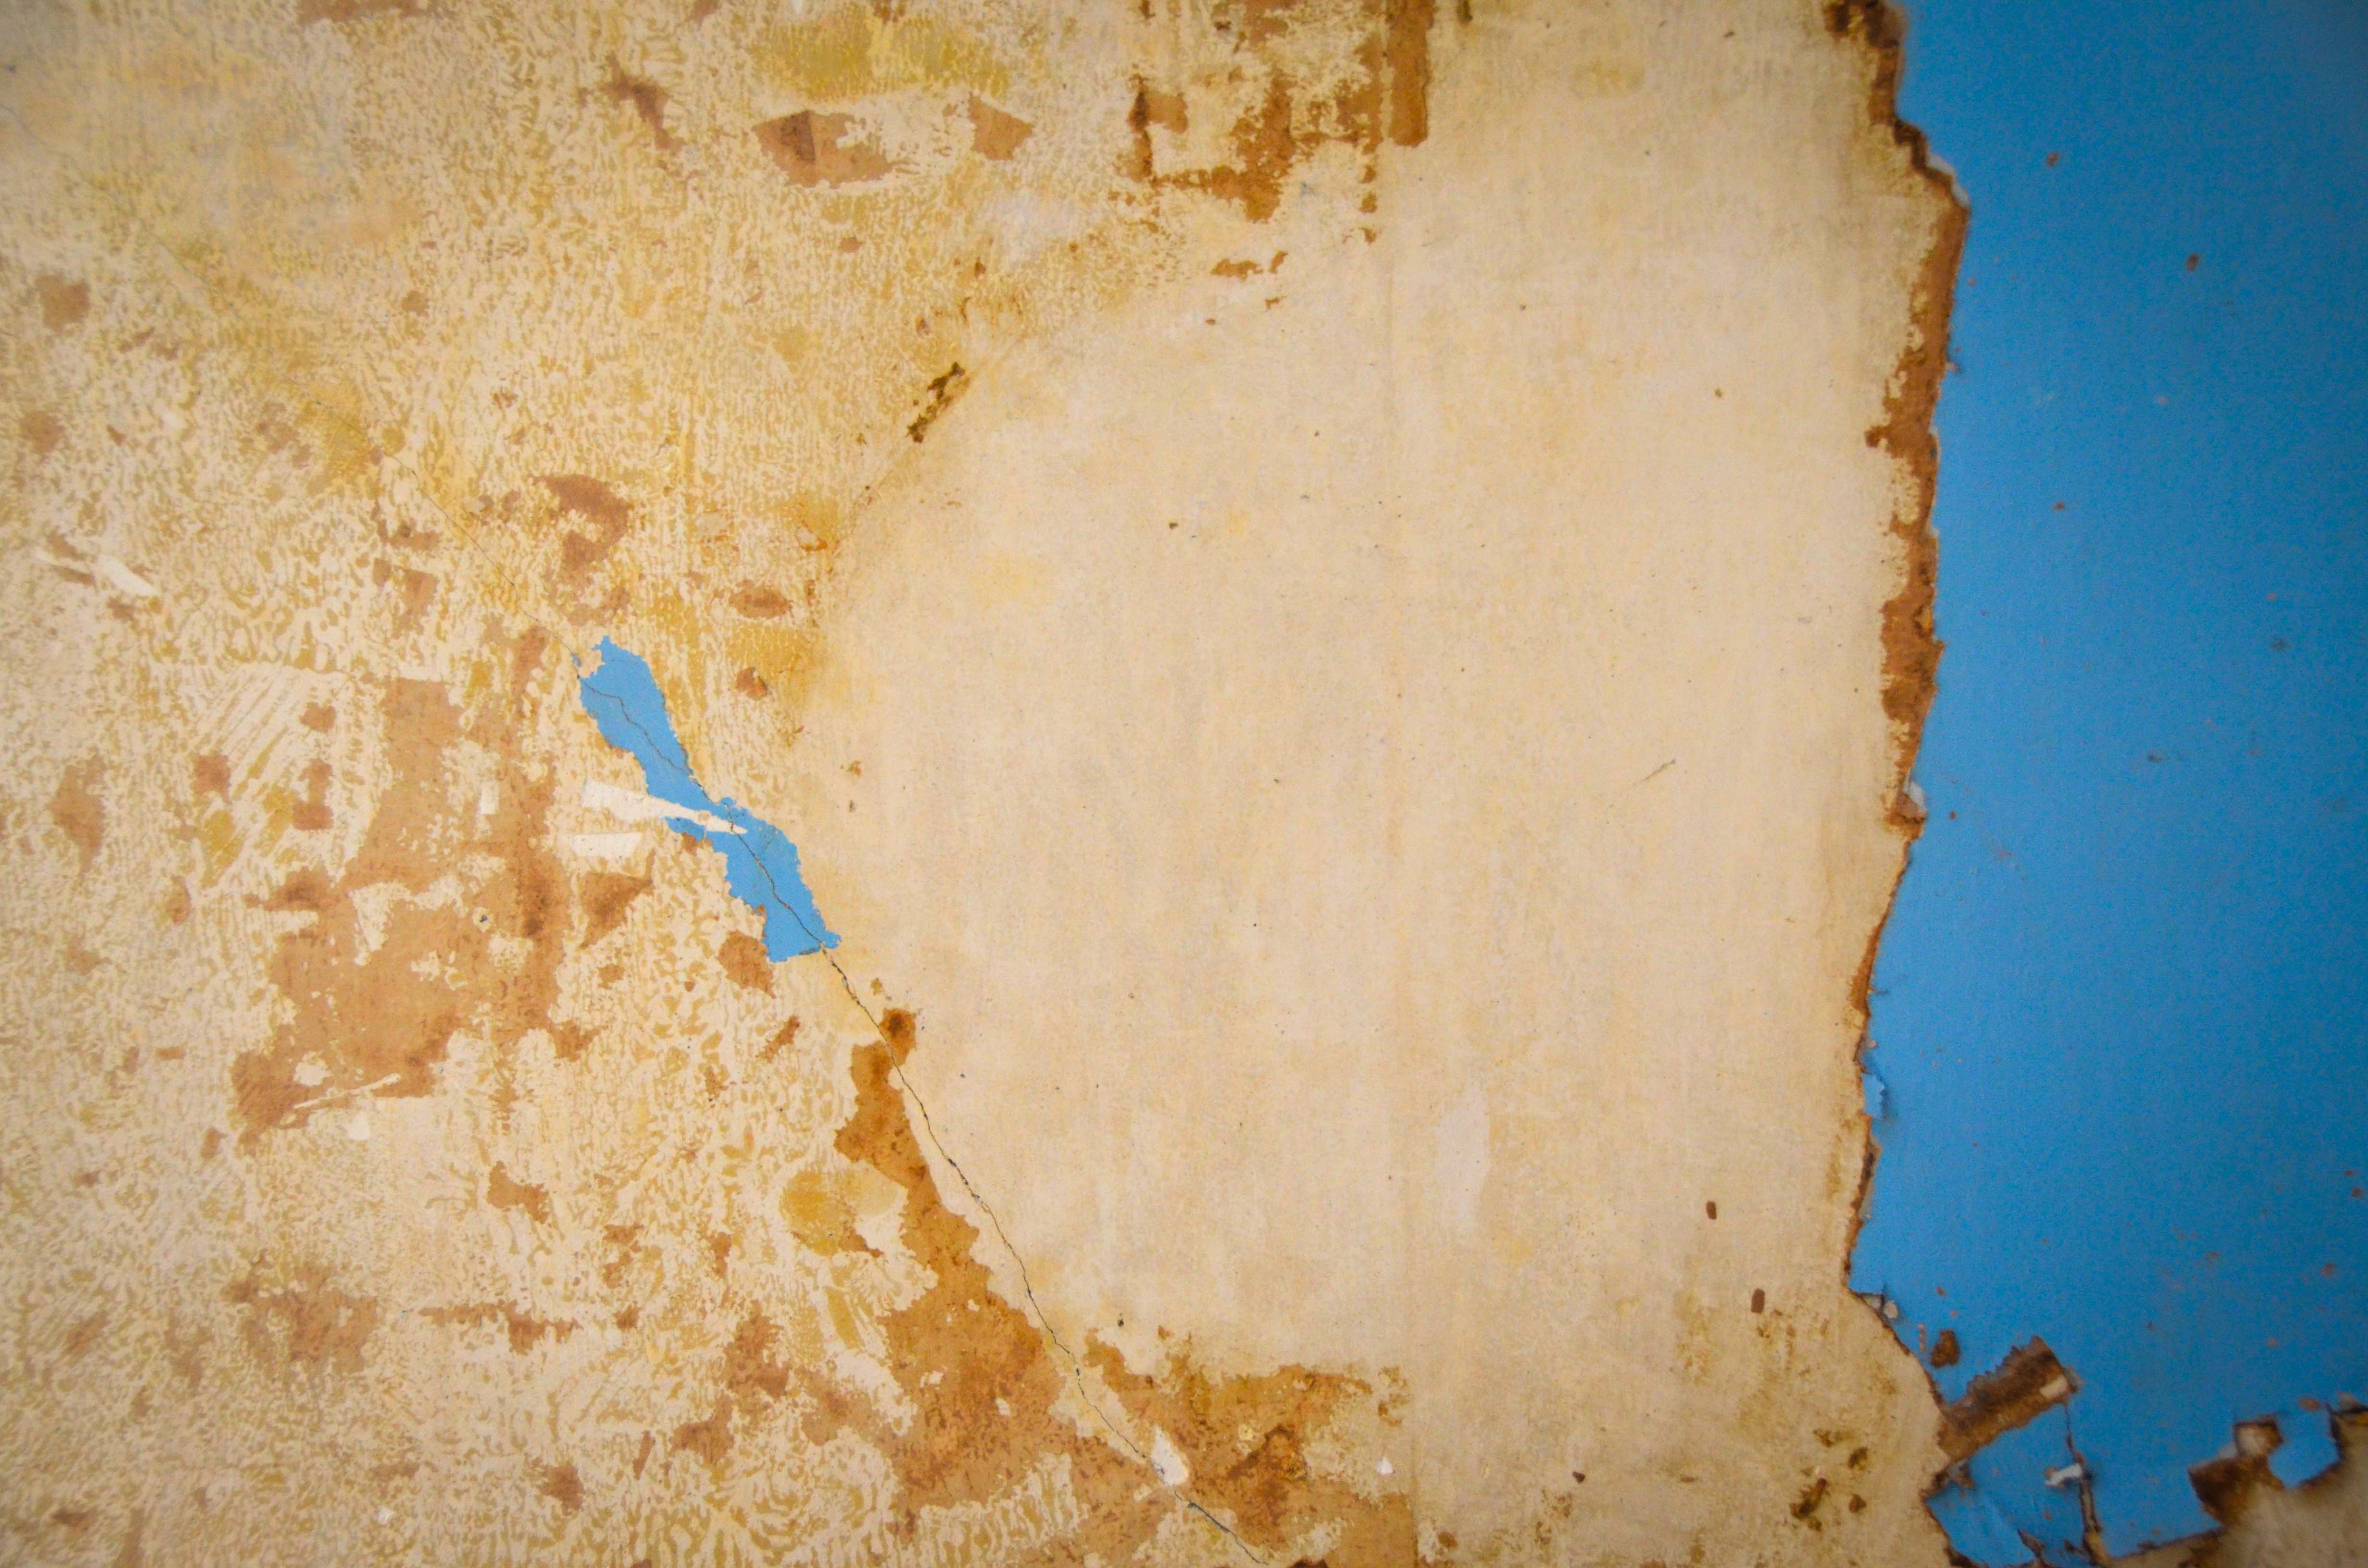
The yellowish stuff is the glue. Amy experimented on a small portion of the wall with a steamer to remove the glue. It worked easily and the result is amazing. You can’t tell from the picture below, but the plaster is so smooth, clean, awesome to touch.
[Edit from Amy: Yes, the spot in the picture does not look exciting but I was thrilled. I wanted to kiss it.]
Today our taping and mudding guy finally showed up. I arrived after he had already let himself in and I could tell he was a little surprised at the amount of work he had to do. I could also tell he wasn’t really looking forward to it. I did my best to talk him down. I’m sure he is used to just working on new construction and not dealing with ceilings that need to be taped and mudded to plaster. I’m also sure he isn’t used to dealing with all the oddities of the 2nd floor. We walked around the house and looked at all the areas he was going to have to repair/fill. I think he spent a lot of the day just doing repair work. I offered to patch up a few large areas near the ceiling with some scrap drywall just to show that I was sympathetic to his plight. He is working alone (which surprised me) and said it will take him all week. That’s fine with me because we are going to be on vacation all week. I walked around after he left and was pleasantly surprised to see all the areas he had repaired already. To be honest, I didn’t think the drywall guys would do any repair work that had to do with missing plaster.

Meanwhile, Amy and I took advantage of the first nice day in a week to make more progress on the fence.
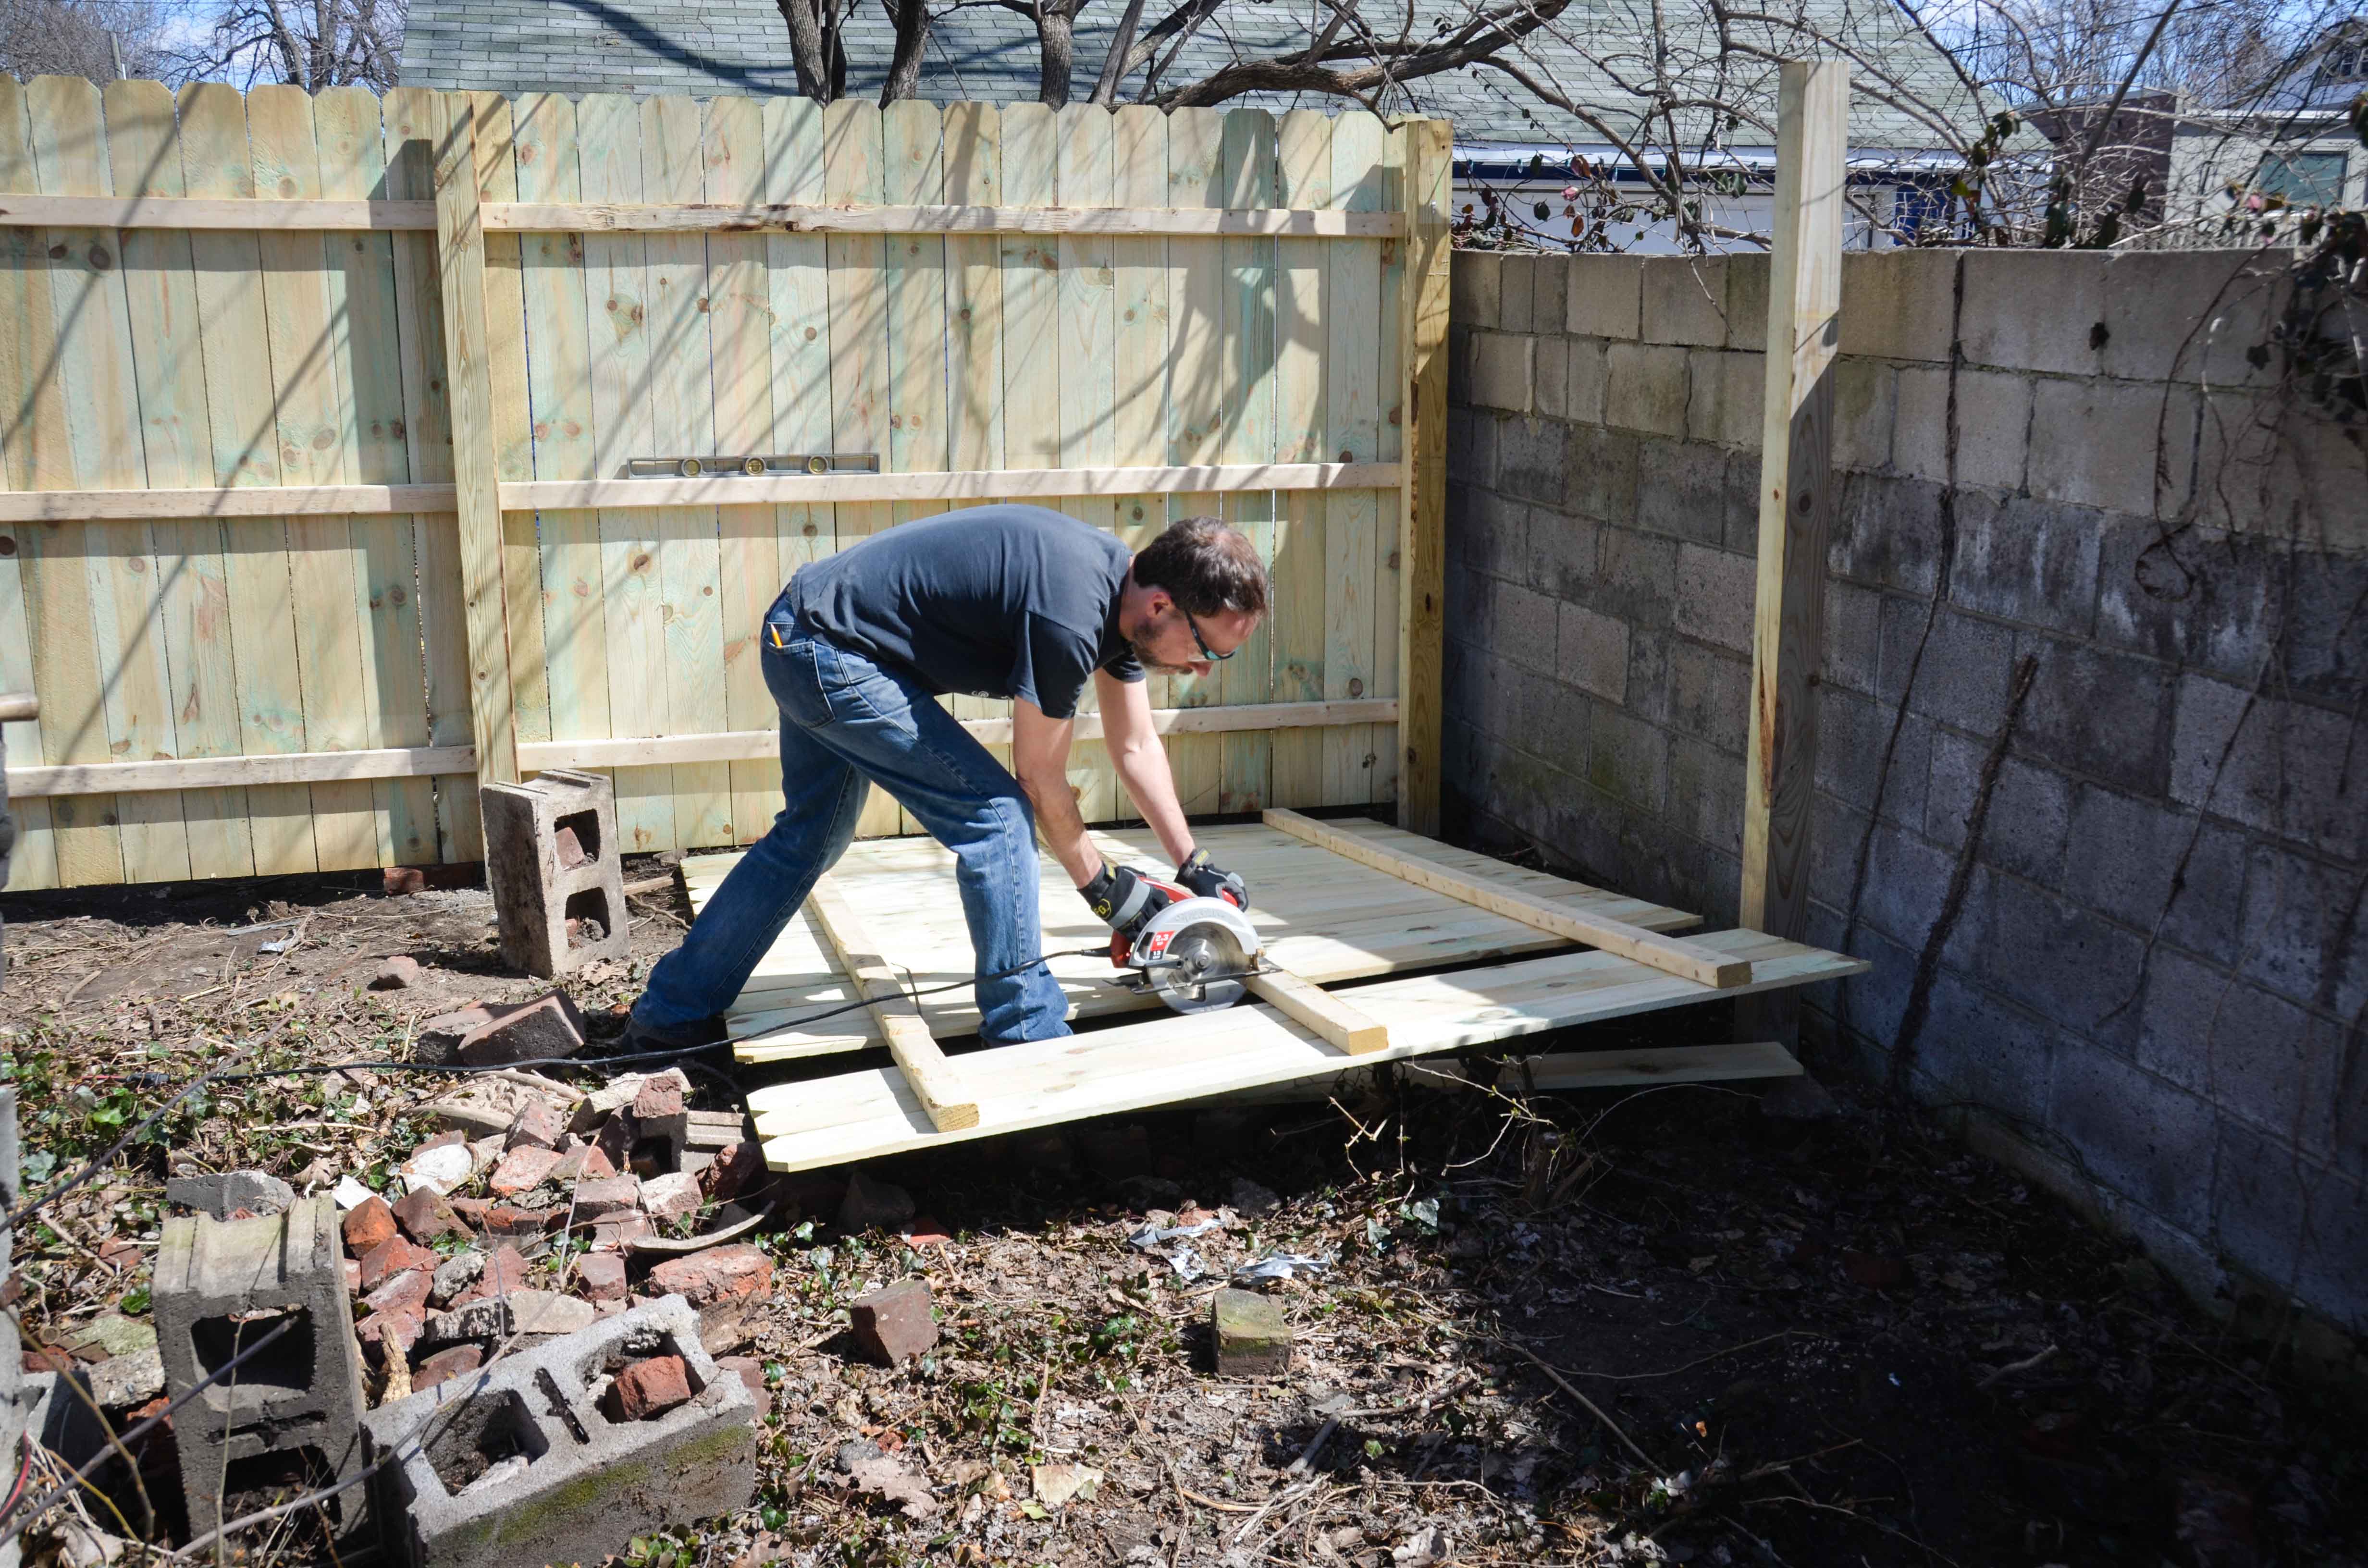
It went a little slower than expected, but we got most of it up. Lucy offered her help by moving dirt from one place to another.

I still need to make the gate and work on each end of the fence, but we are excited to have something nice and new in the backyard. Here is that “before” picture again:
And here is the “after”… (notice the last remnants of the cinder block and brick pile are now gone!)

Now we are off to Florida for some much-needed rest! When we get back the drywall should be completely done. Let’s hope it is.

One Comment Add yours