Week 53!!! (Joe and Amy)
One year ago TODAY we took possession of our new house! How fitting that the 1-year anniversary corresponds with one of our biggest milestones – drywall! By coincidence, another small milestone will be passed today – some lucky reader will be the 10,000th view on our blog! We wanted to commemorate the anniversary with a look back at this past year. We have had about 40 blog entries and it would be ridiculous to try to recap ALL the details in one really long post, but we did try to pick the highlights of each month and show a timeline of our overall major progress. Maybe it’s a little long, but not really long. It’s mostly pictures, and everybody loves pictures, right? Enjoy…
January, 2014
We begin thinking seriously about finding a fixer-upper in a nearby neighborhood. This involves a lot of number crunching, what-ifs, and house stalking.
February, 2014
Amy makes many phone calls and inquiries about properties in several different neighborhoods, but we focus most of our efforts on one of our favorite neighborhoods, Cottage Home. She eventually tracks down the owner of one house in particular that matched the size, location, and condition we were looking for. She talks to the absentee owner and discovers that he might be willing to sell, so a meeting is arranged and by the end of the month we finally get a tour. We know almost immediately that this is the house we want.

March, 2014
After weeks of nervousness that the owner will change his mind, we finally meet to sign the papers. The closing occurs on the 27th and we become the official proud owners of our uninhabitable home.
April, 2014
Most of our time is spent talking to banks, seeking advice about the scope of our project, and deciding exactly how we are going to approach this new endeavor. As our plans grow, we decide to seek the services of an architect. In the meantime, anxious to do something on the house, we spend several weekends tackling the overgrown yard.

May, 2014
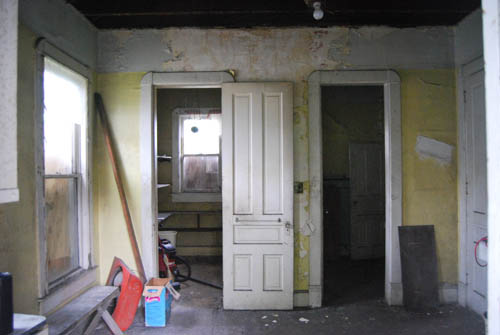
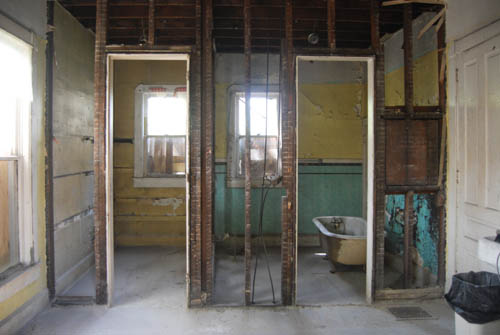
After several meetings with our architect, we begin to solidify some aspects of our floor plan. We don’t want to make too many changes to the original floor plan, but some small changes are necessary to create a workable kitchen and add 2 bedrooms and a bathroom to the 2nd floor. There is one thing we do know, we need to demo the old pantry and downstairs bathroom to expand the kitchen. This is our first work inside the house and we are excited to begin!


June, 2014
We have finally settled on a floor plan that successfully fits all 3 bedrooms and a bathroom upstairs. It also includes a new staircase to the 2nd floor, which means that we need to demo a wall that includes a pair of closets.


Window restoration begins. The process includes removing the sashes, chipping away the old glazing putty to remove the glass, scraping and sanding the sash, priming, and then reglazing.


In order to fit in a new staircase to the 2nd floor, one wall of the master bedroom needs to be moved about 16″.

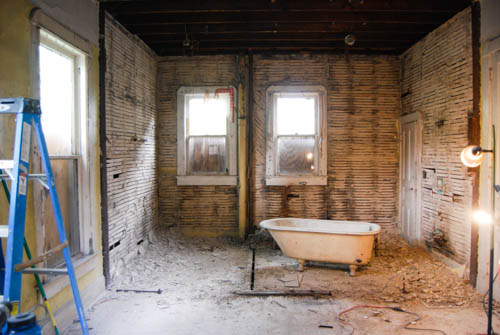
Joe gets a little help from his brother on this project. I’m sure he was excited to experience the joy that is plaster removal.

At the end of the month our floor plans are finalized (although the exact placement of the walls are still up for debate and adjustment).
July, 2014
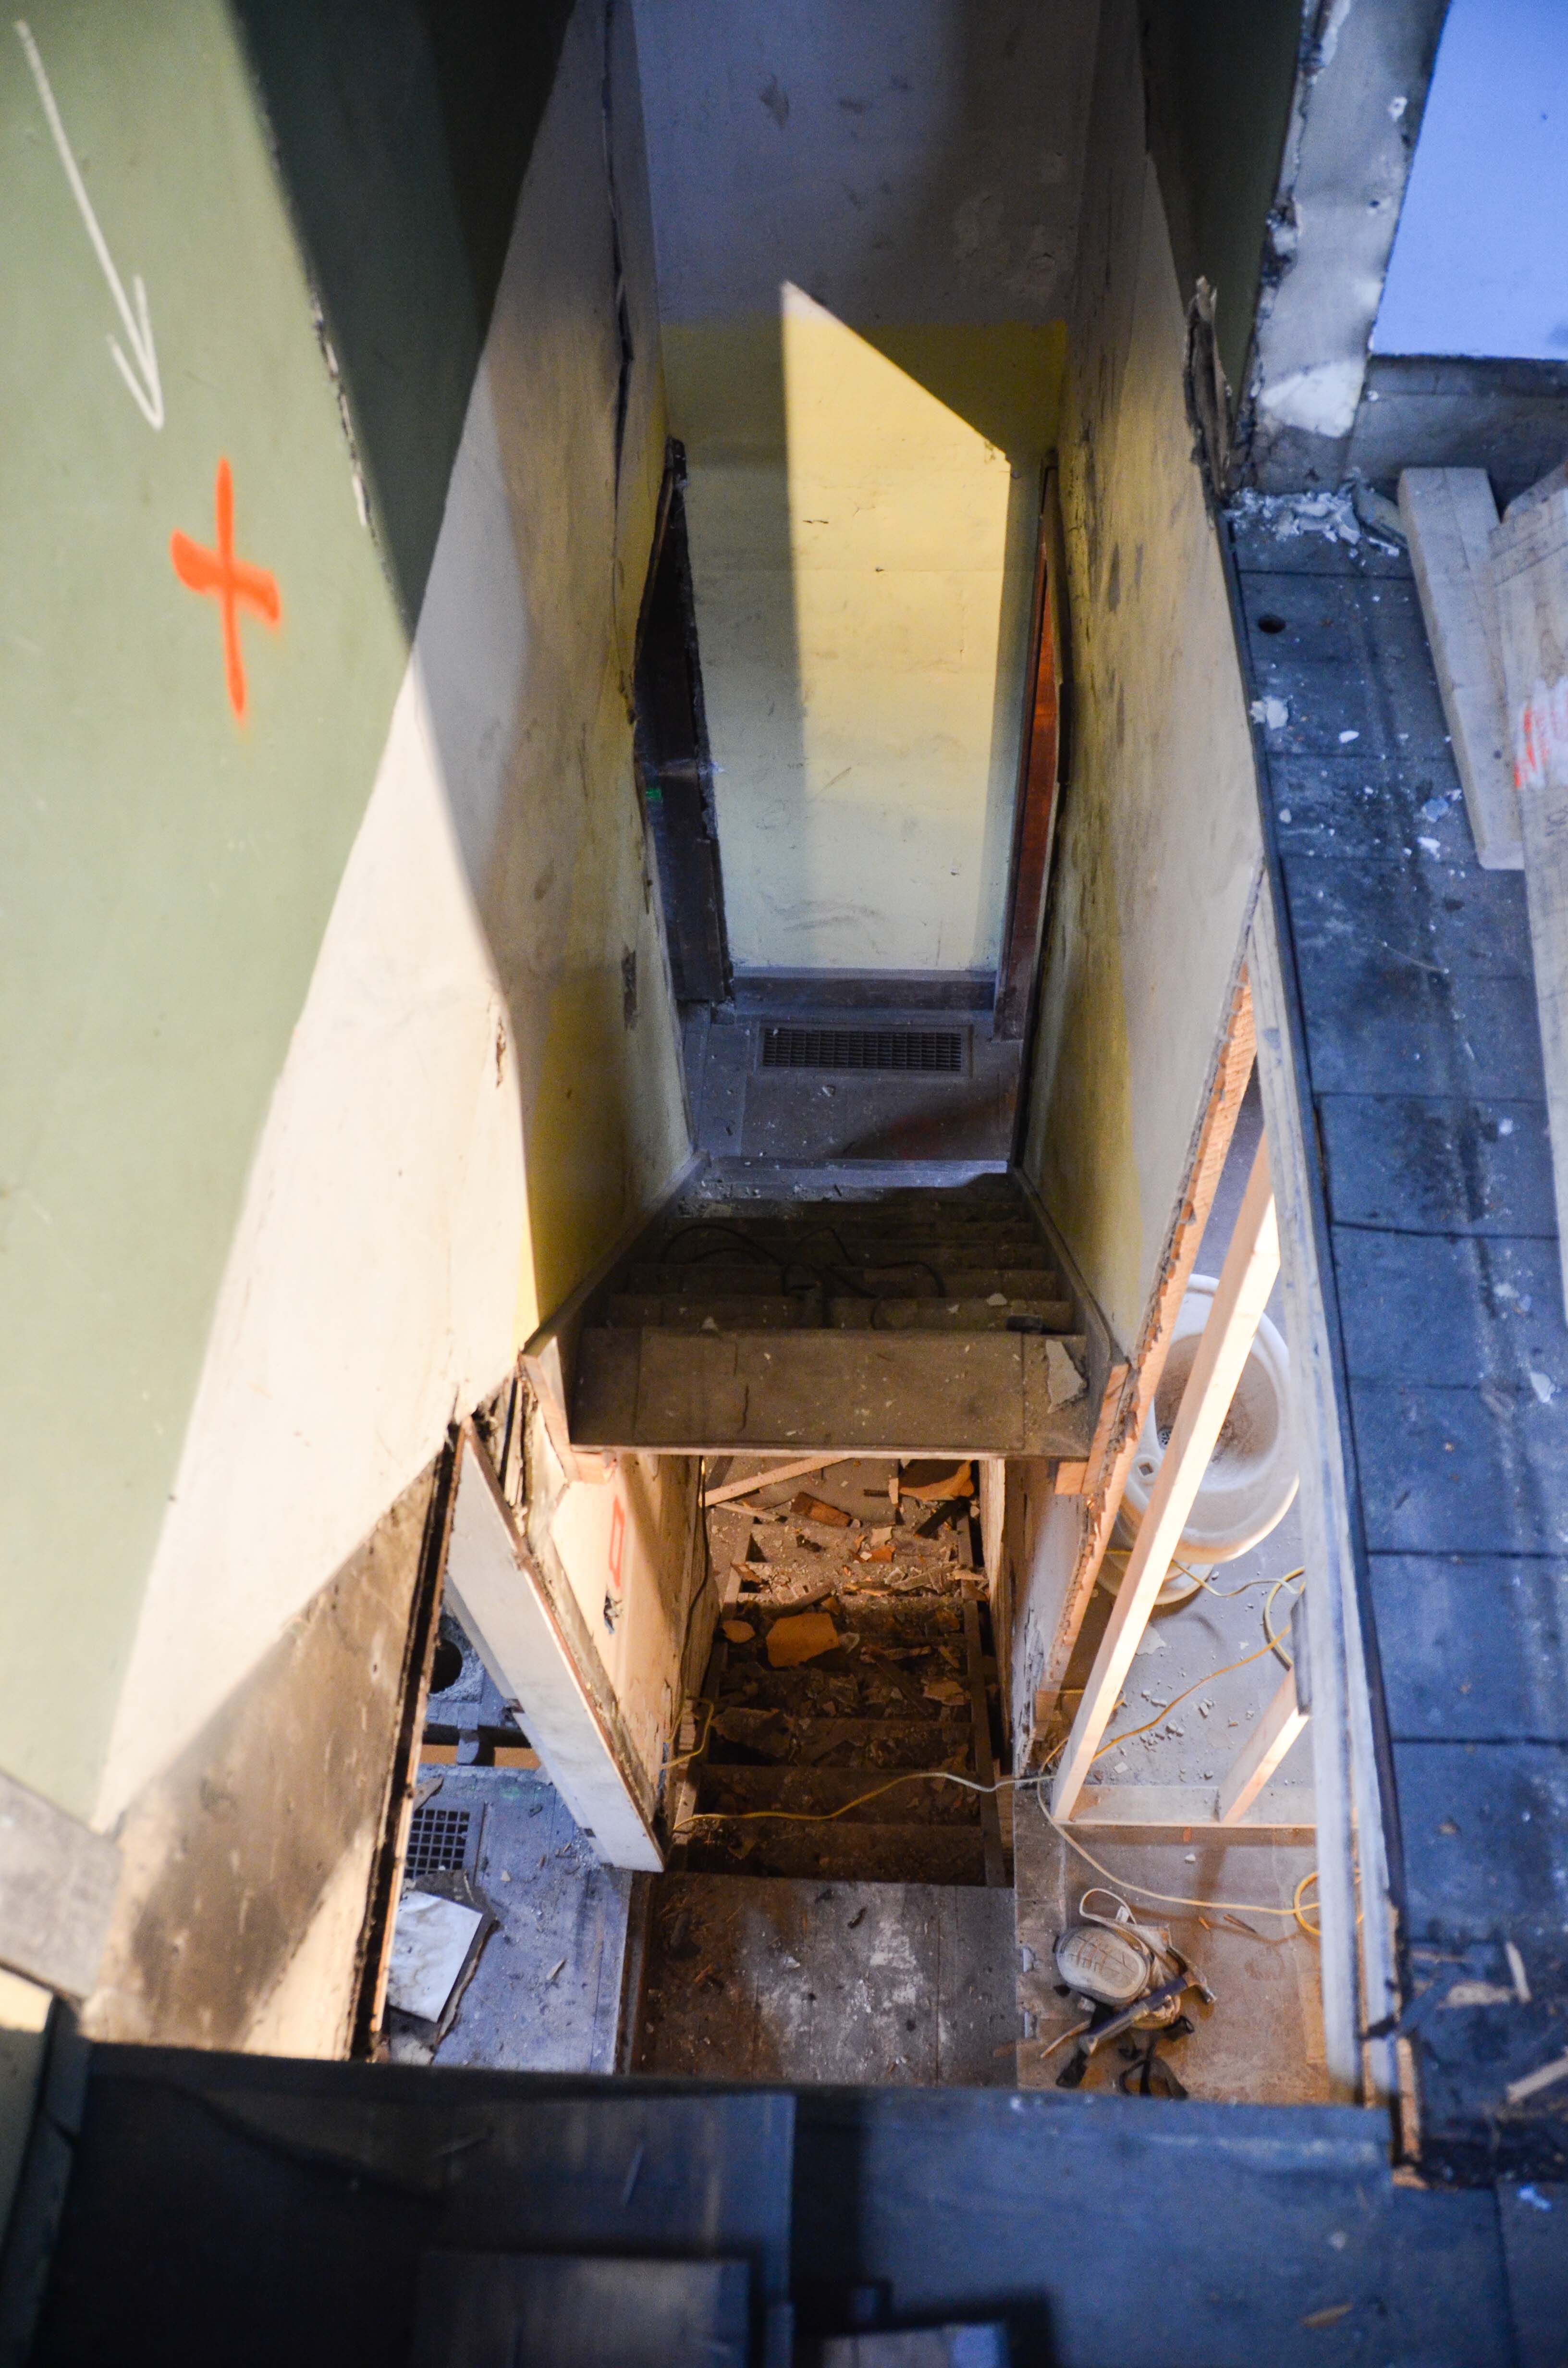
The pace begins to really pick up. The plumbers are ready to begin, but we need to have the framing done first. We are fortunate to talk a really awesome carpenter into working us into his busy schedule. He begins by framing the downstairs bathroom. After Joe creates the new entrance for the basement, we decide that we love this new entrance to the kitchen. This has a ripple effect of changing the kitchen layout (once again) and creating many new jobs related to the basement stair area.

The second floor receives most of the attention. Each wall is carefully considered and eventually we feel good about the size and shape of each room.

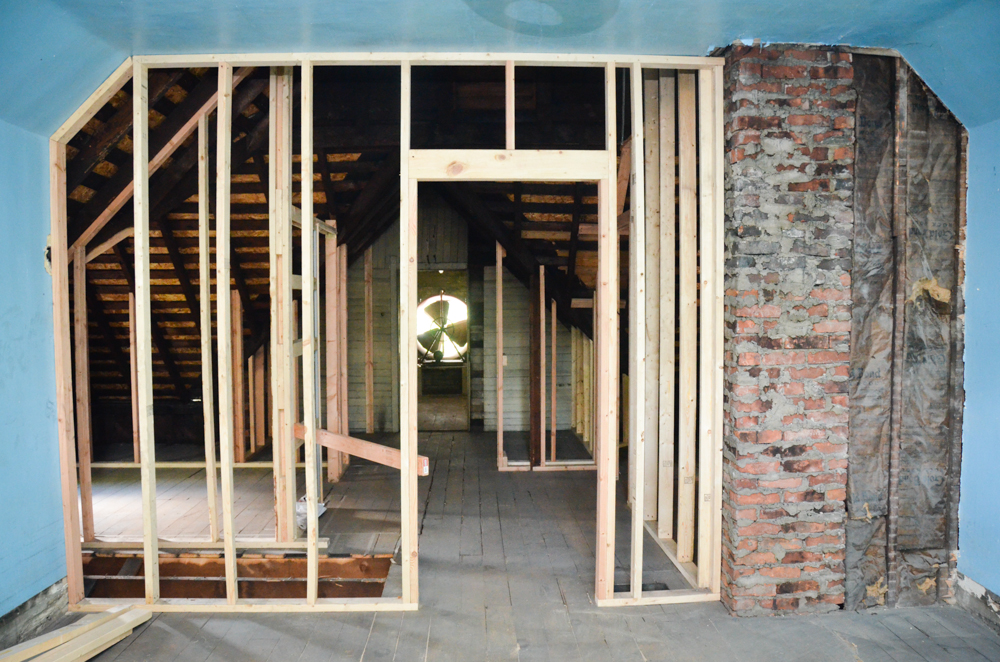
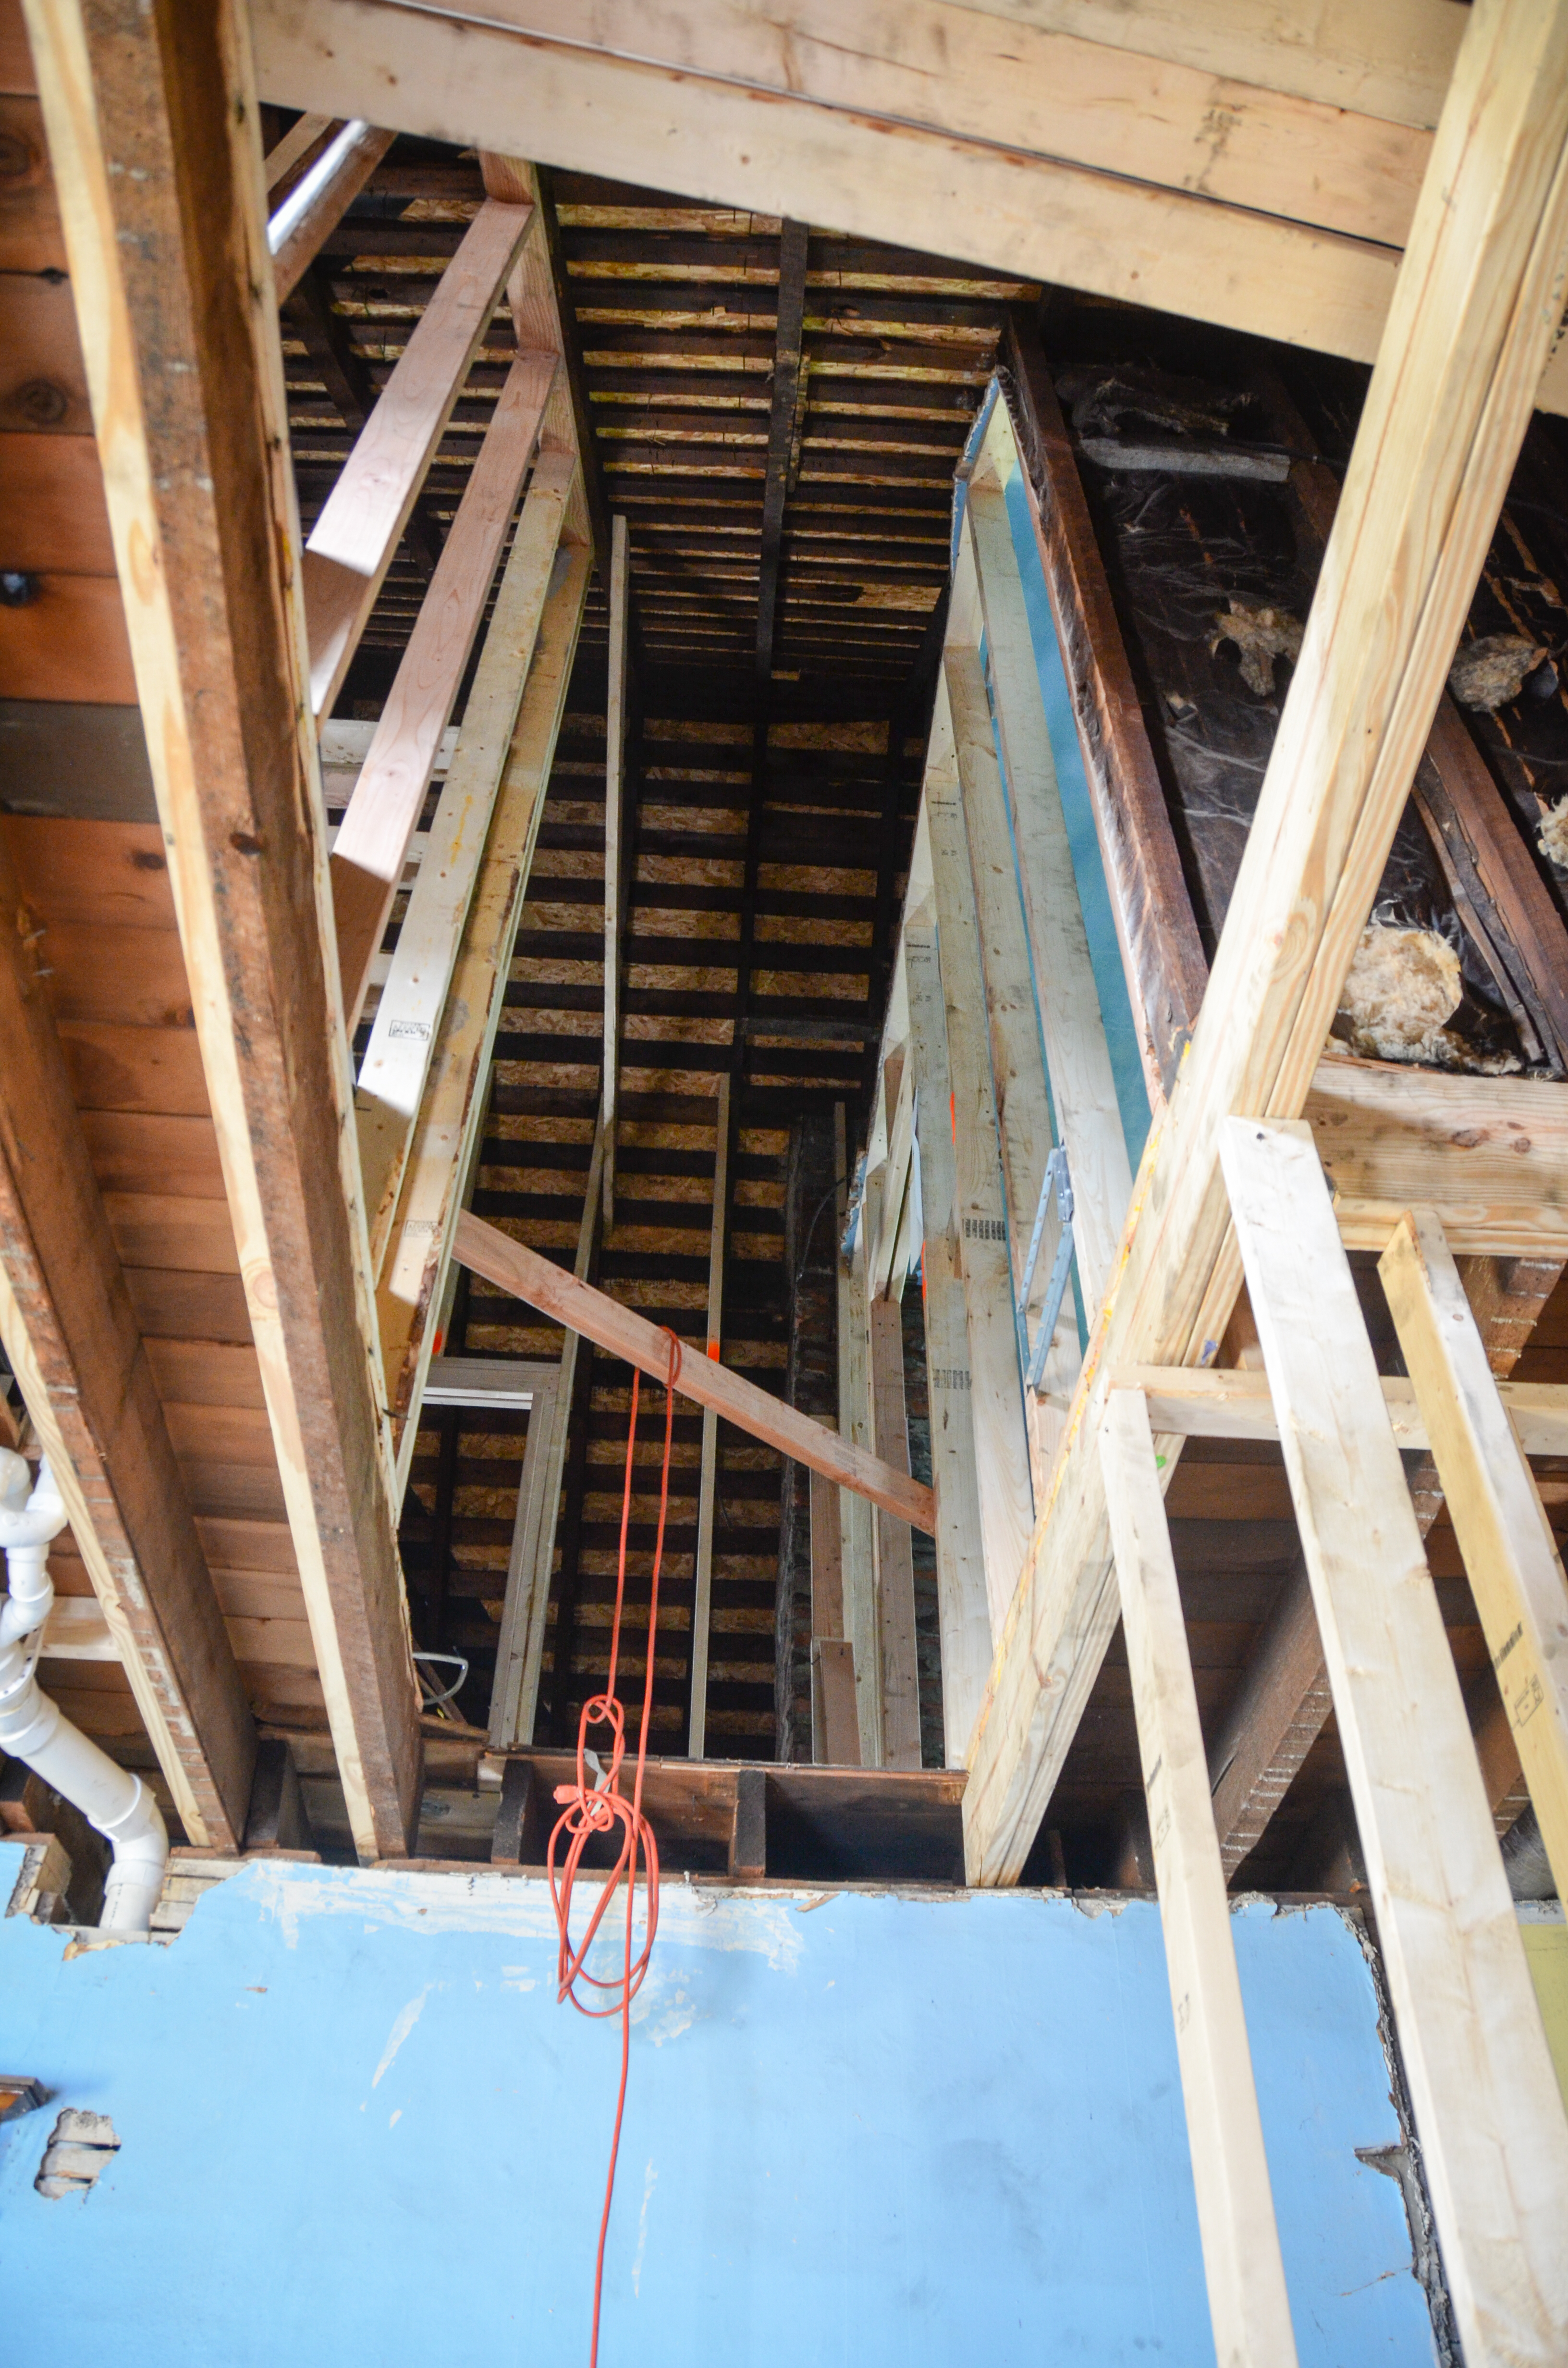
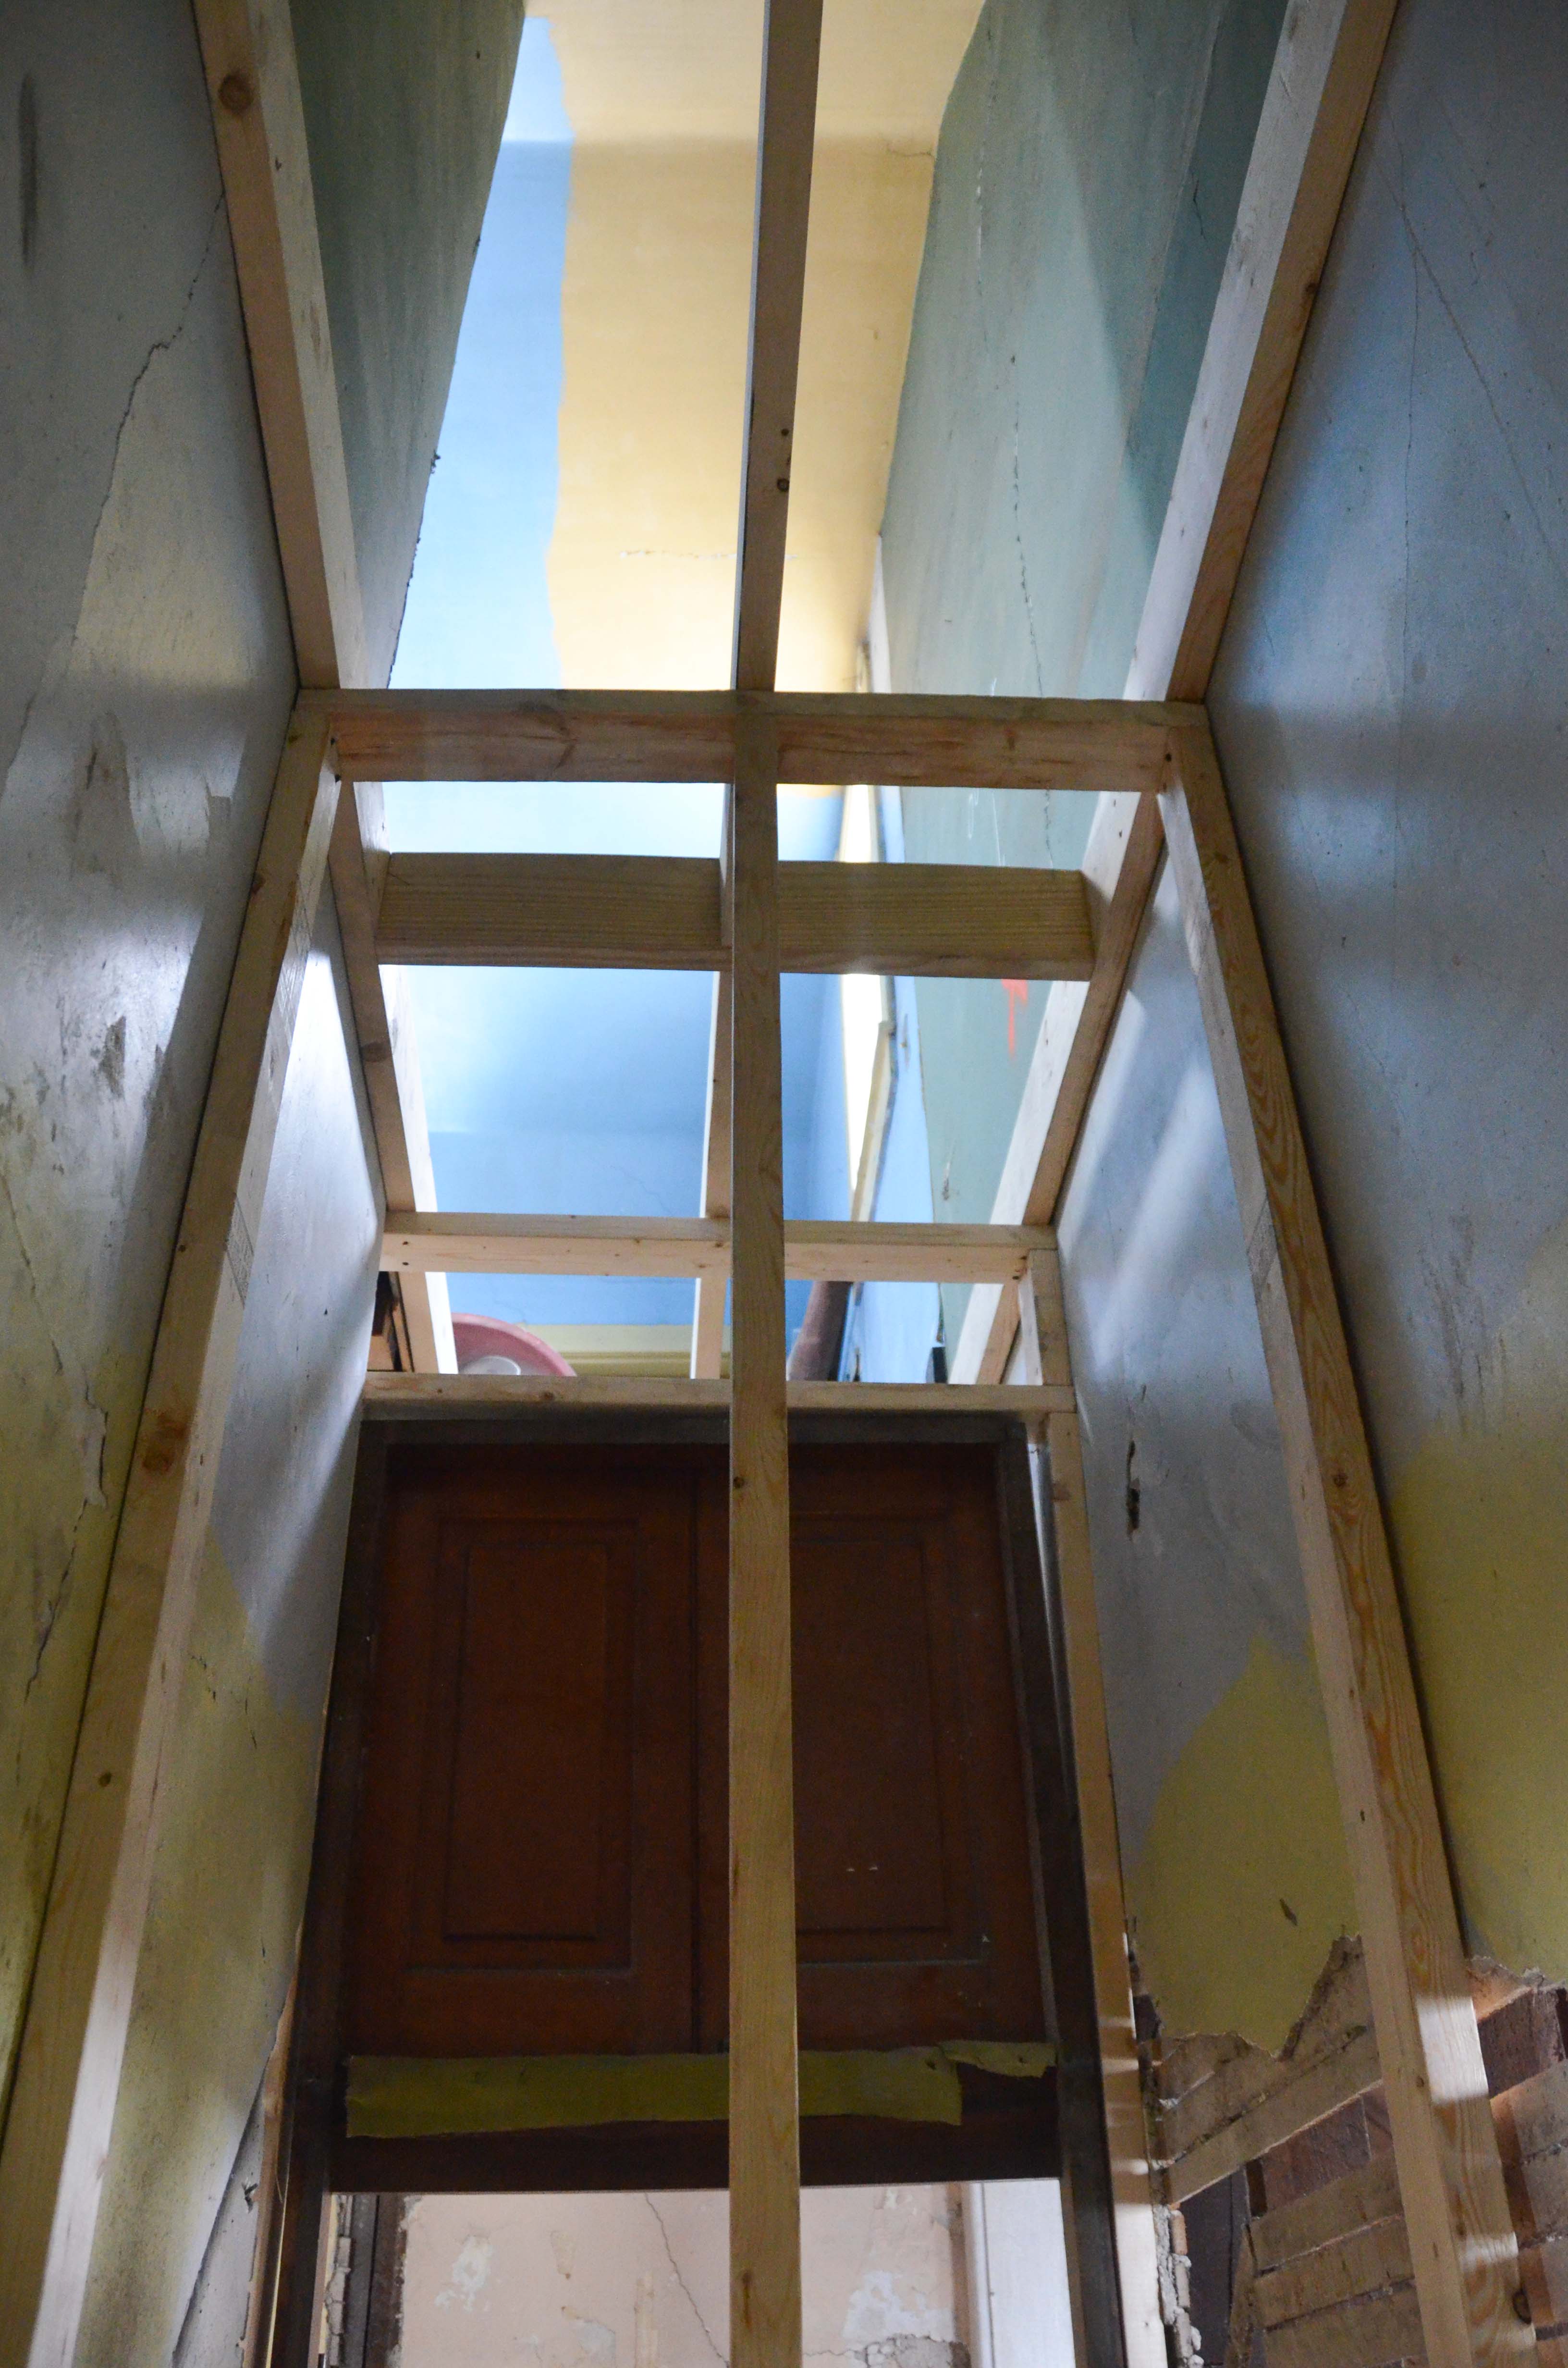
A portion of the 2nd floor is removed to make way for the new stairs.
The plumbers are able to get going on the rough-in.
We meet our electrician to walk through the house. Making all the decisions about lighting and placement of every switch and plug cause some serious headaches.

Spoiler alert: We never hear back from our electrician. We fire him. Although, is it really considered “firing” if he didn’t really want the job and we never actually let him know he was fired?
August, 2014
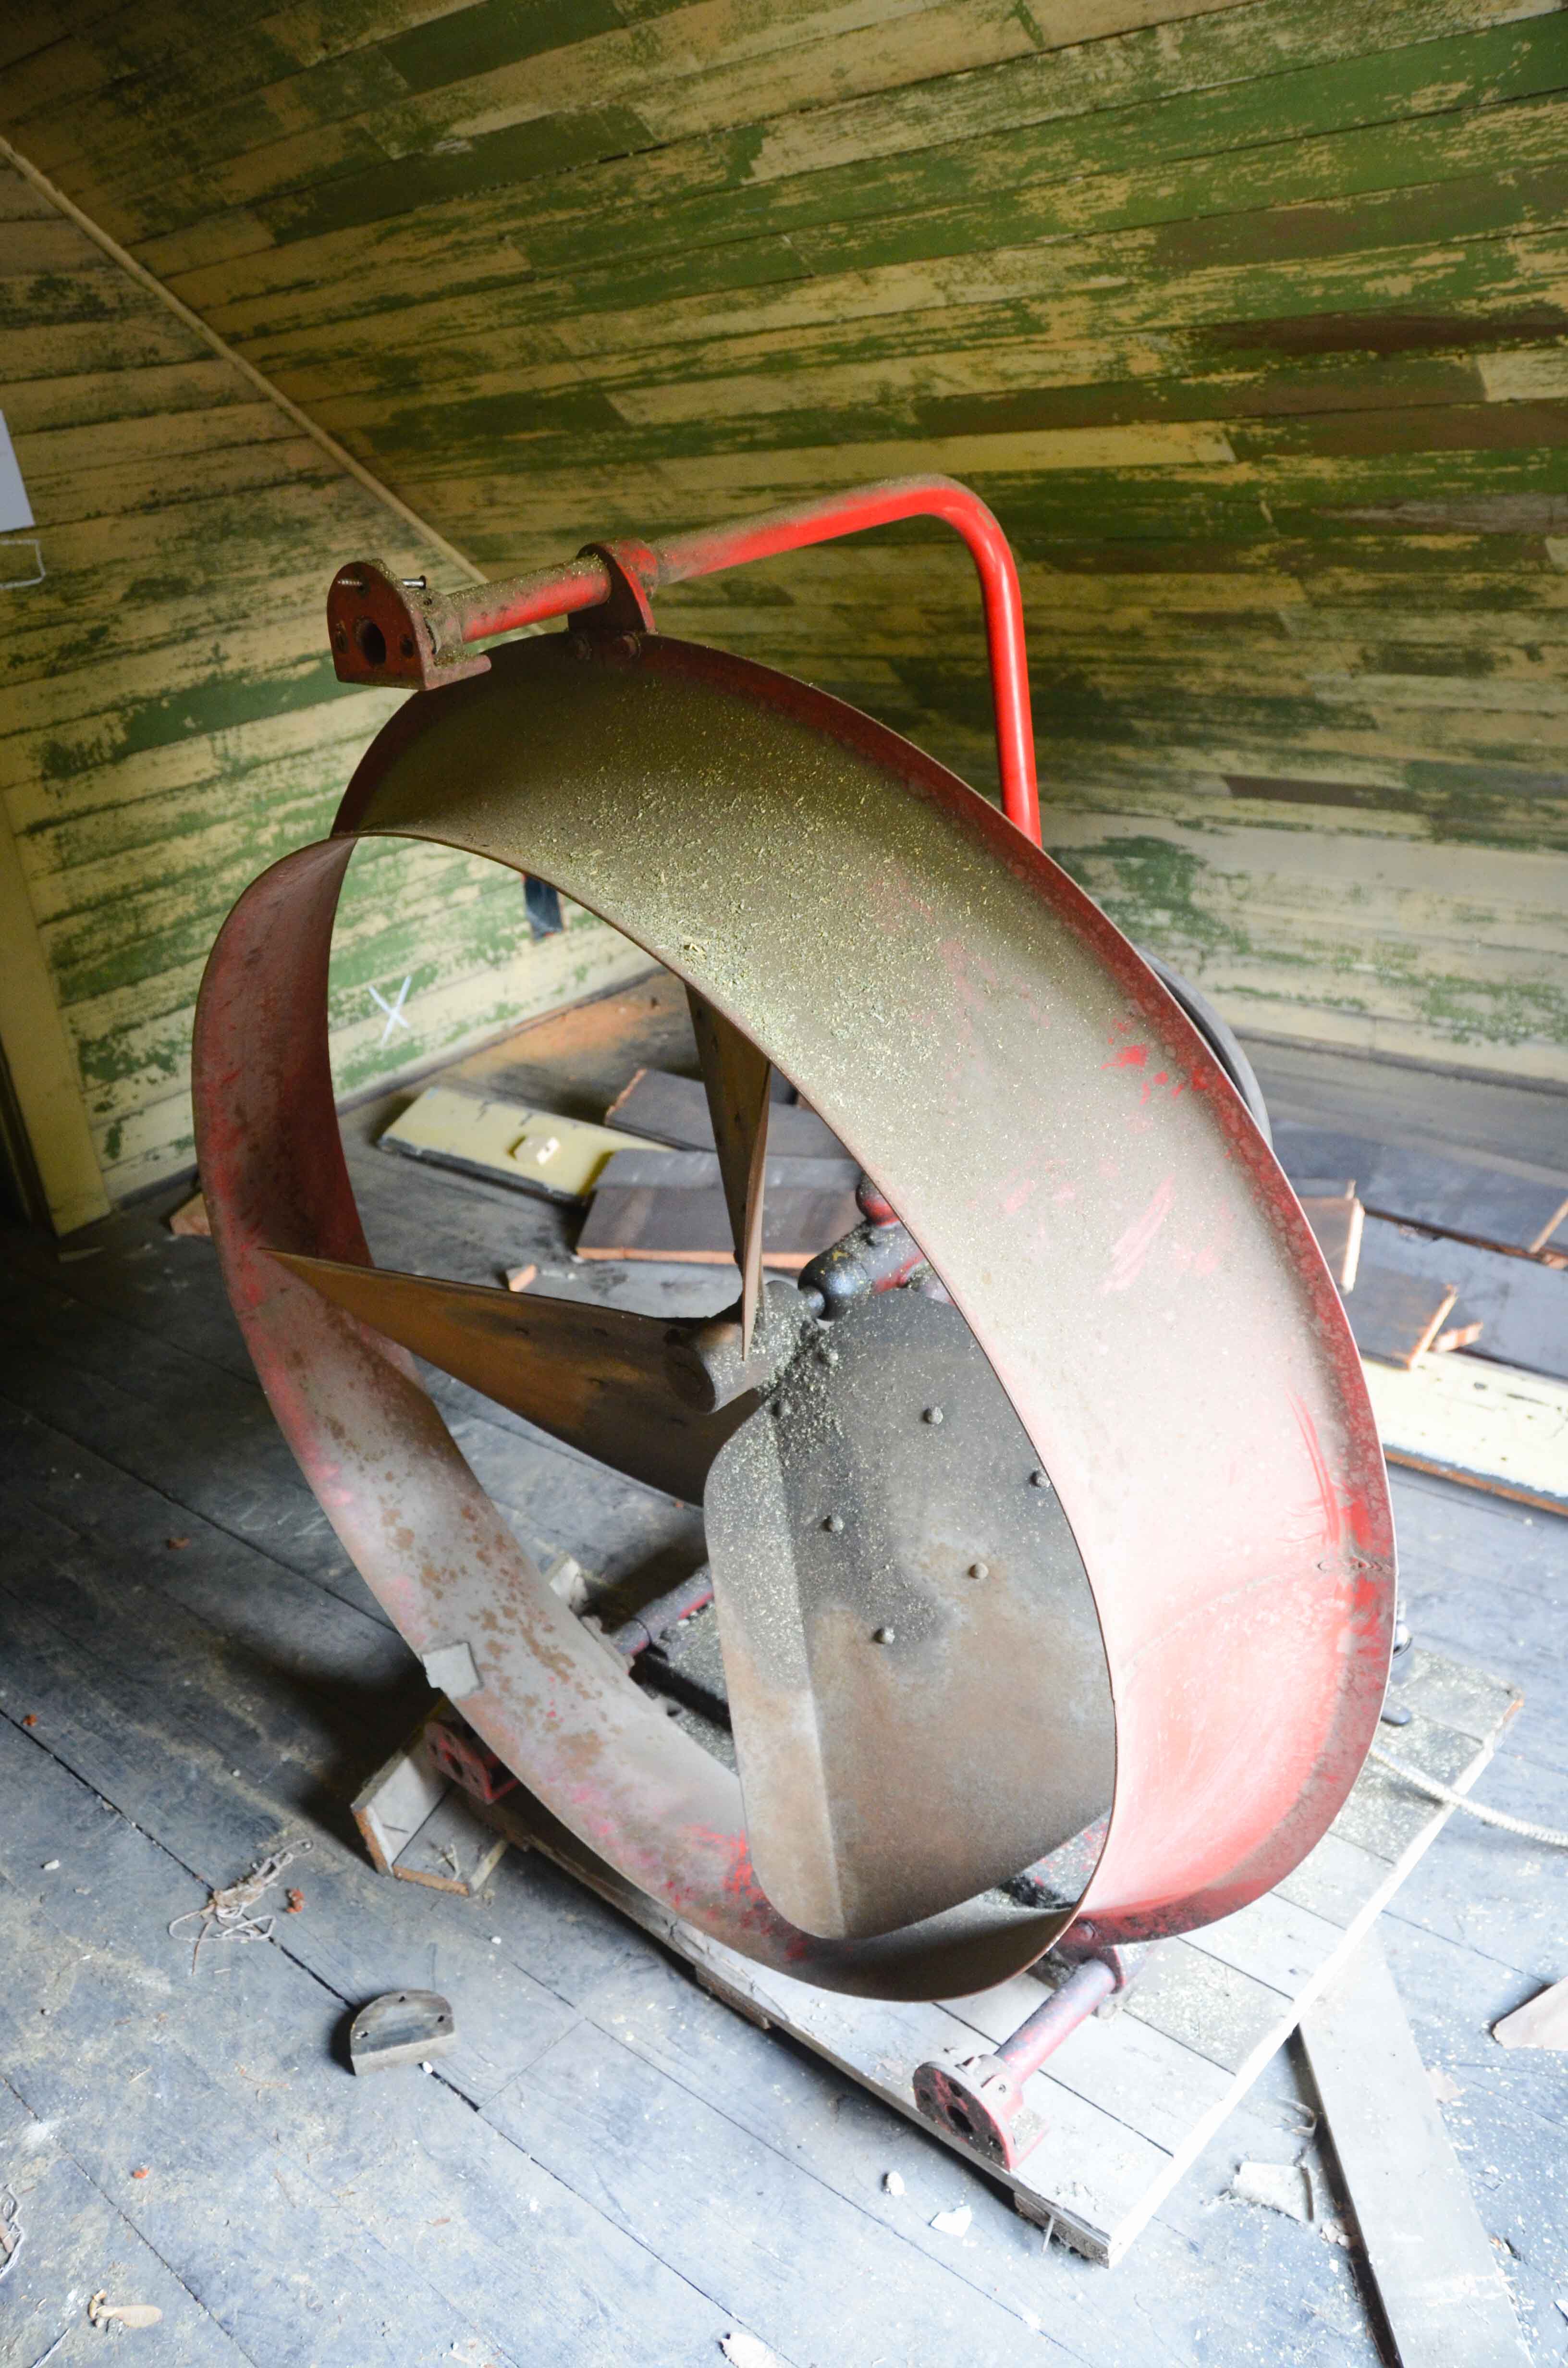
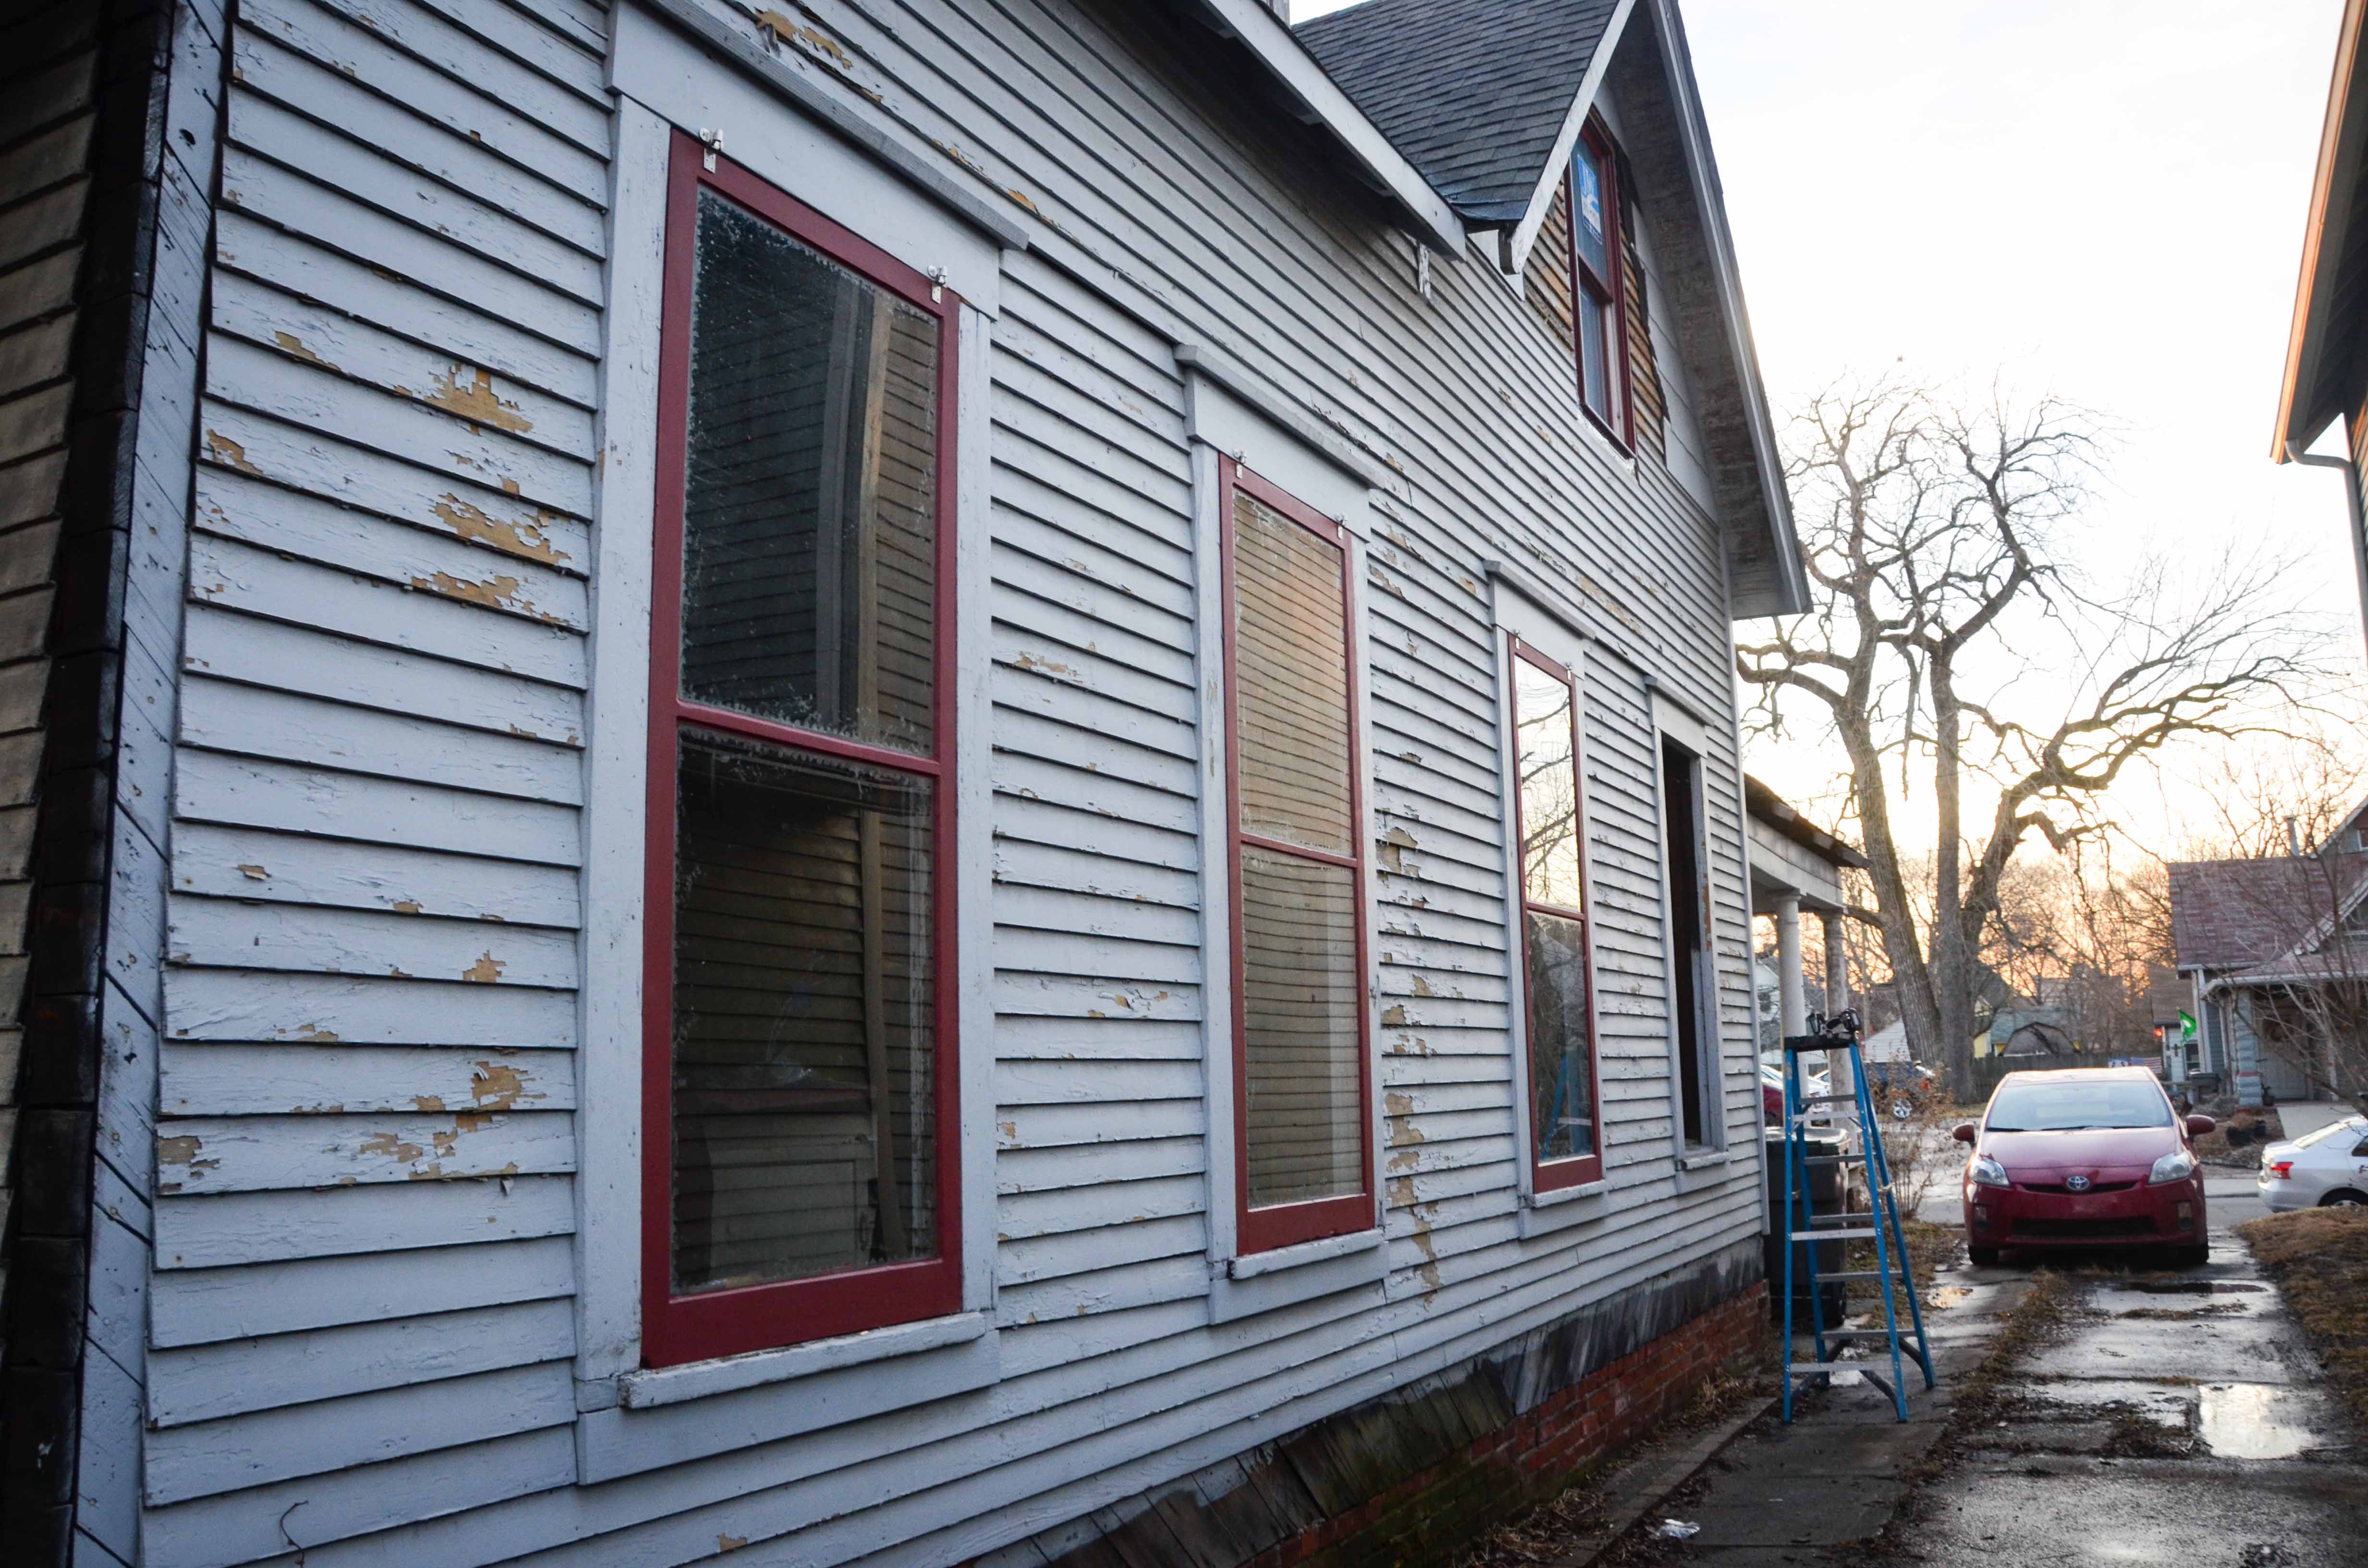
We come up with a plan for new windows on the 2nd floor and apply for approval through the historic preservation committee. Meanwhile, we remove the ginormous fan from Lucy’s room and the corresponding vent from the front of the house.
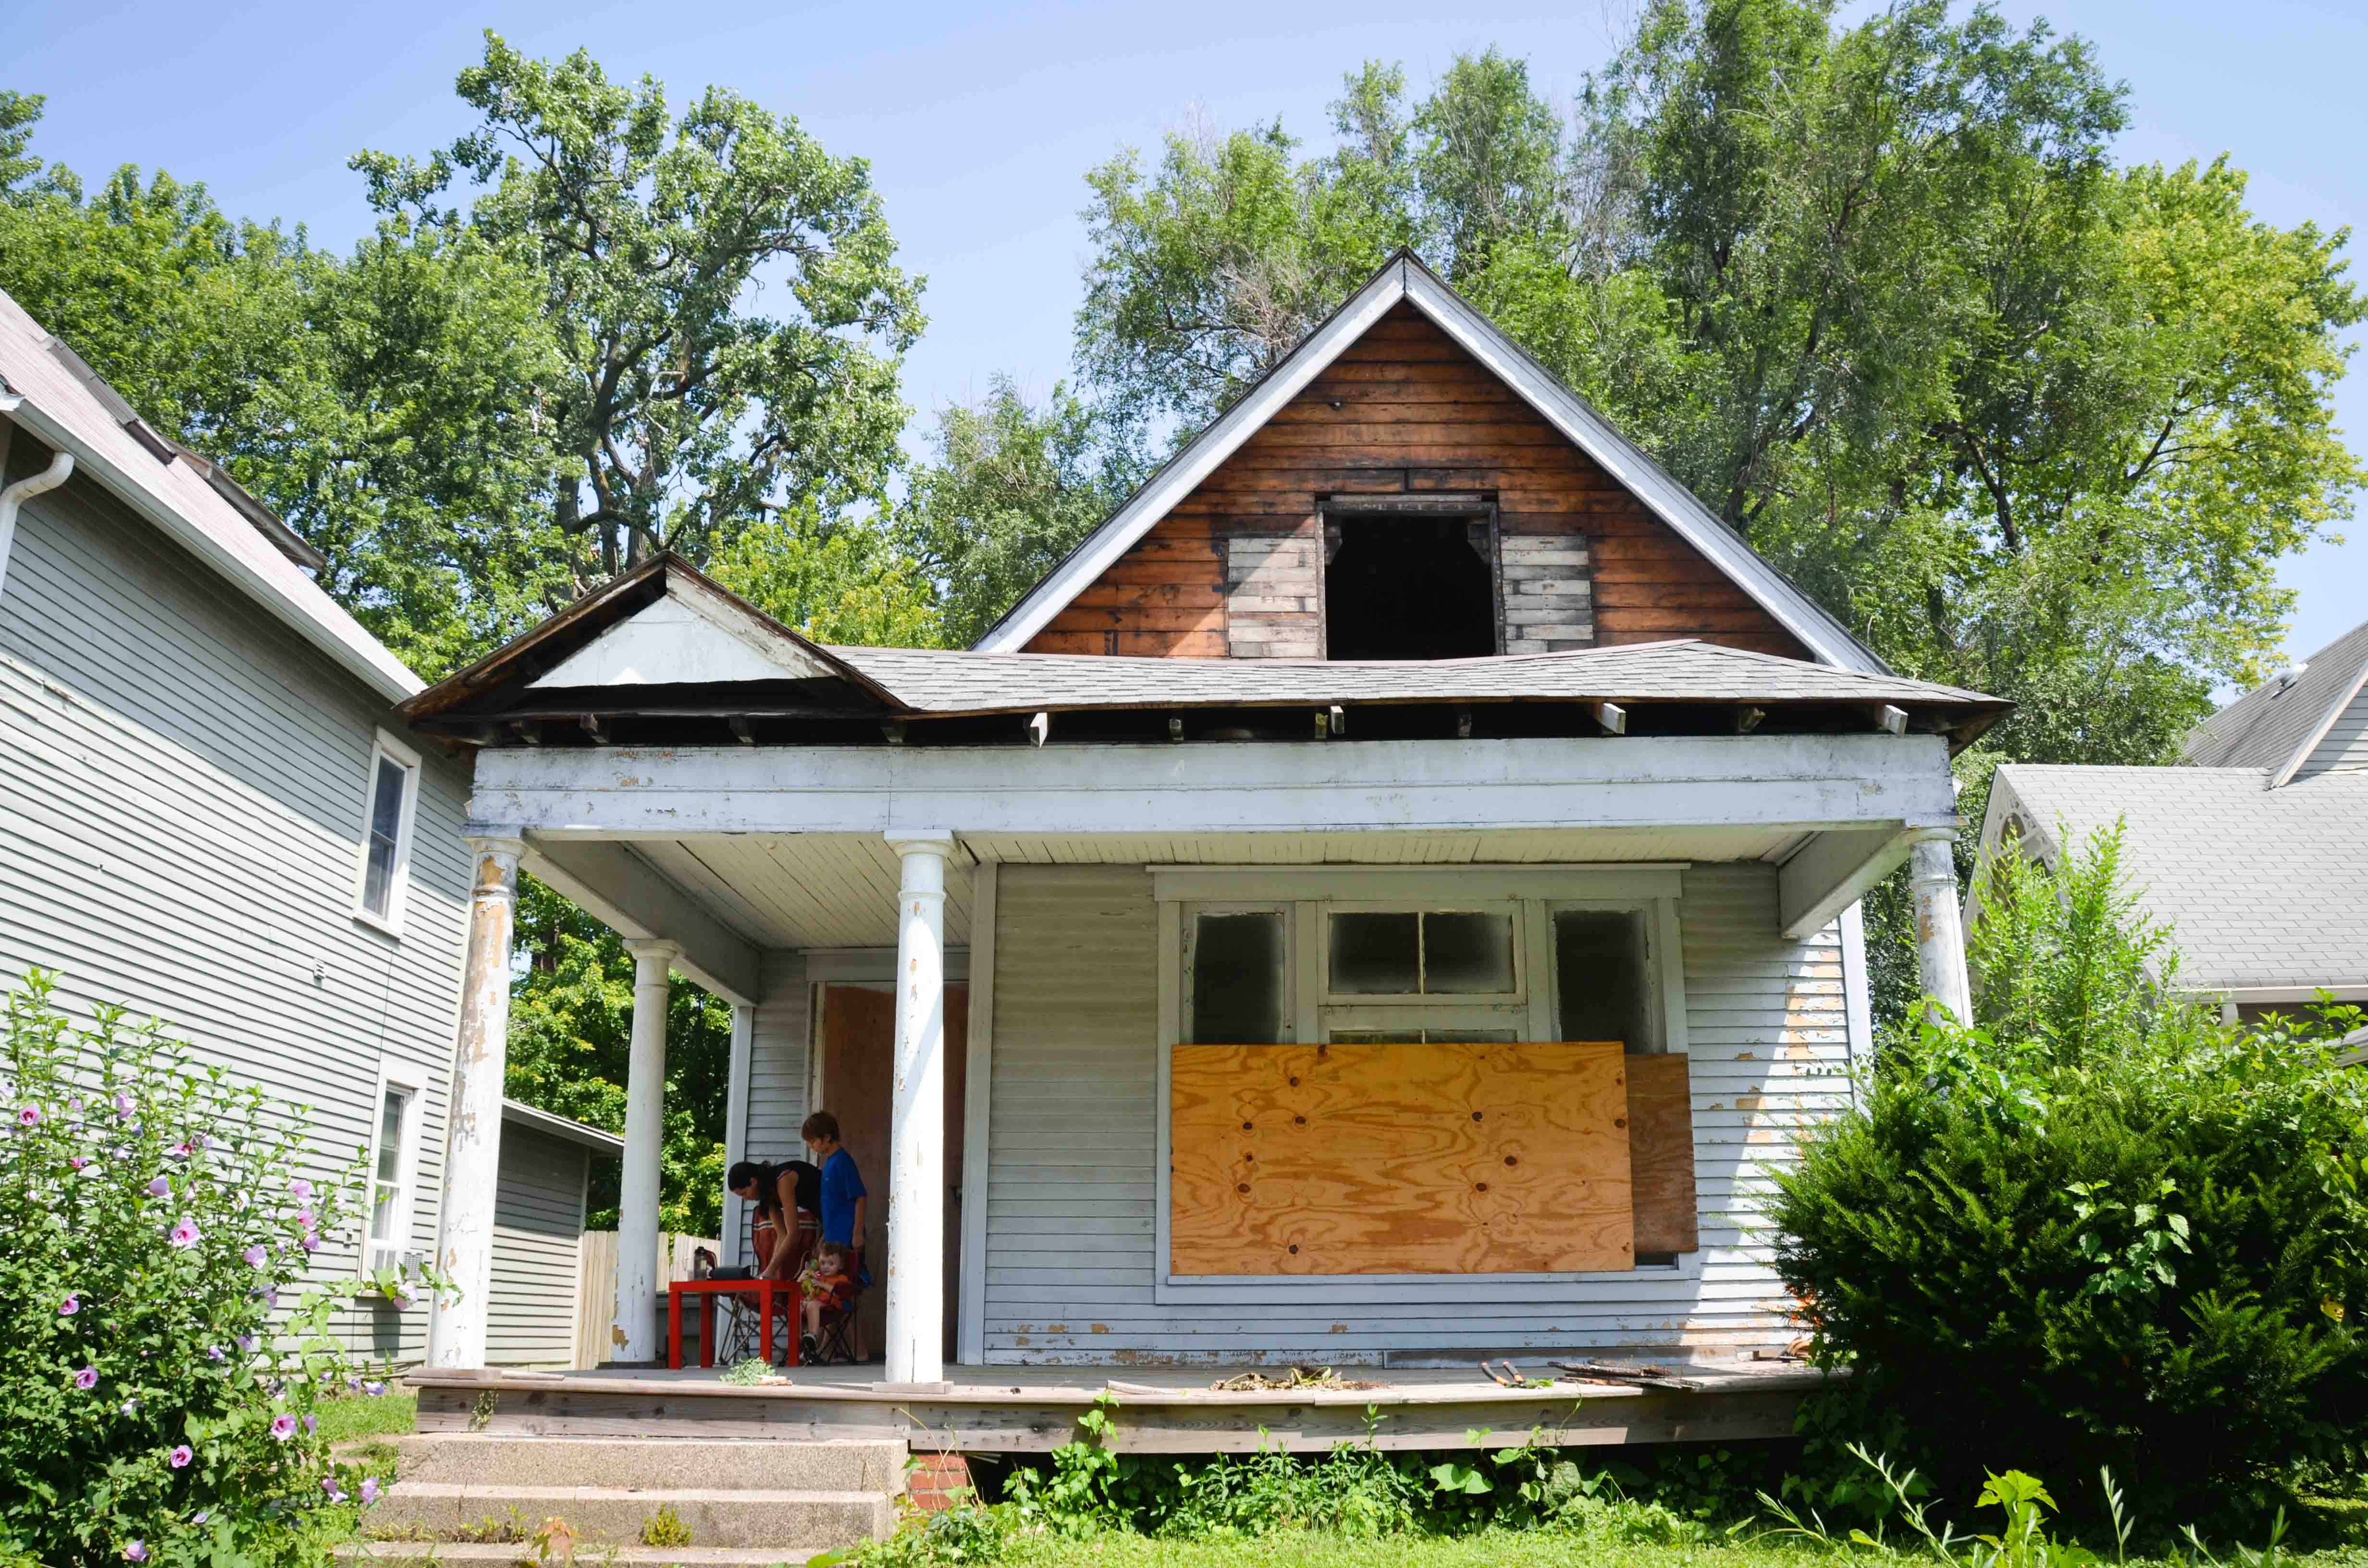
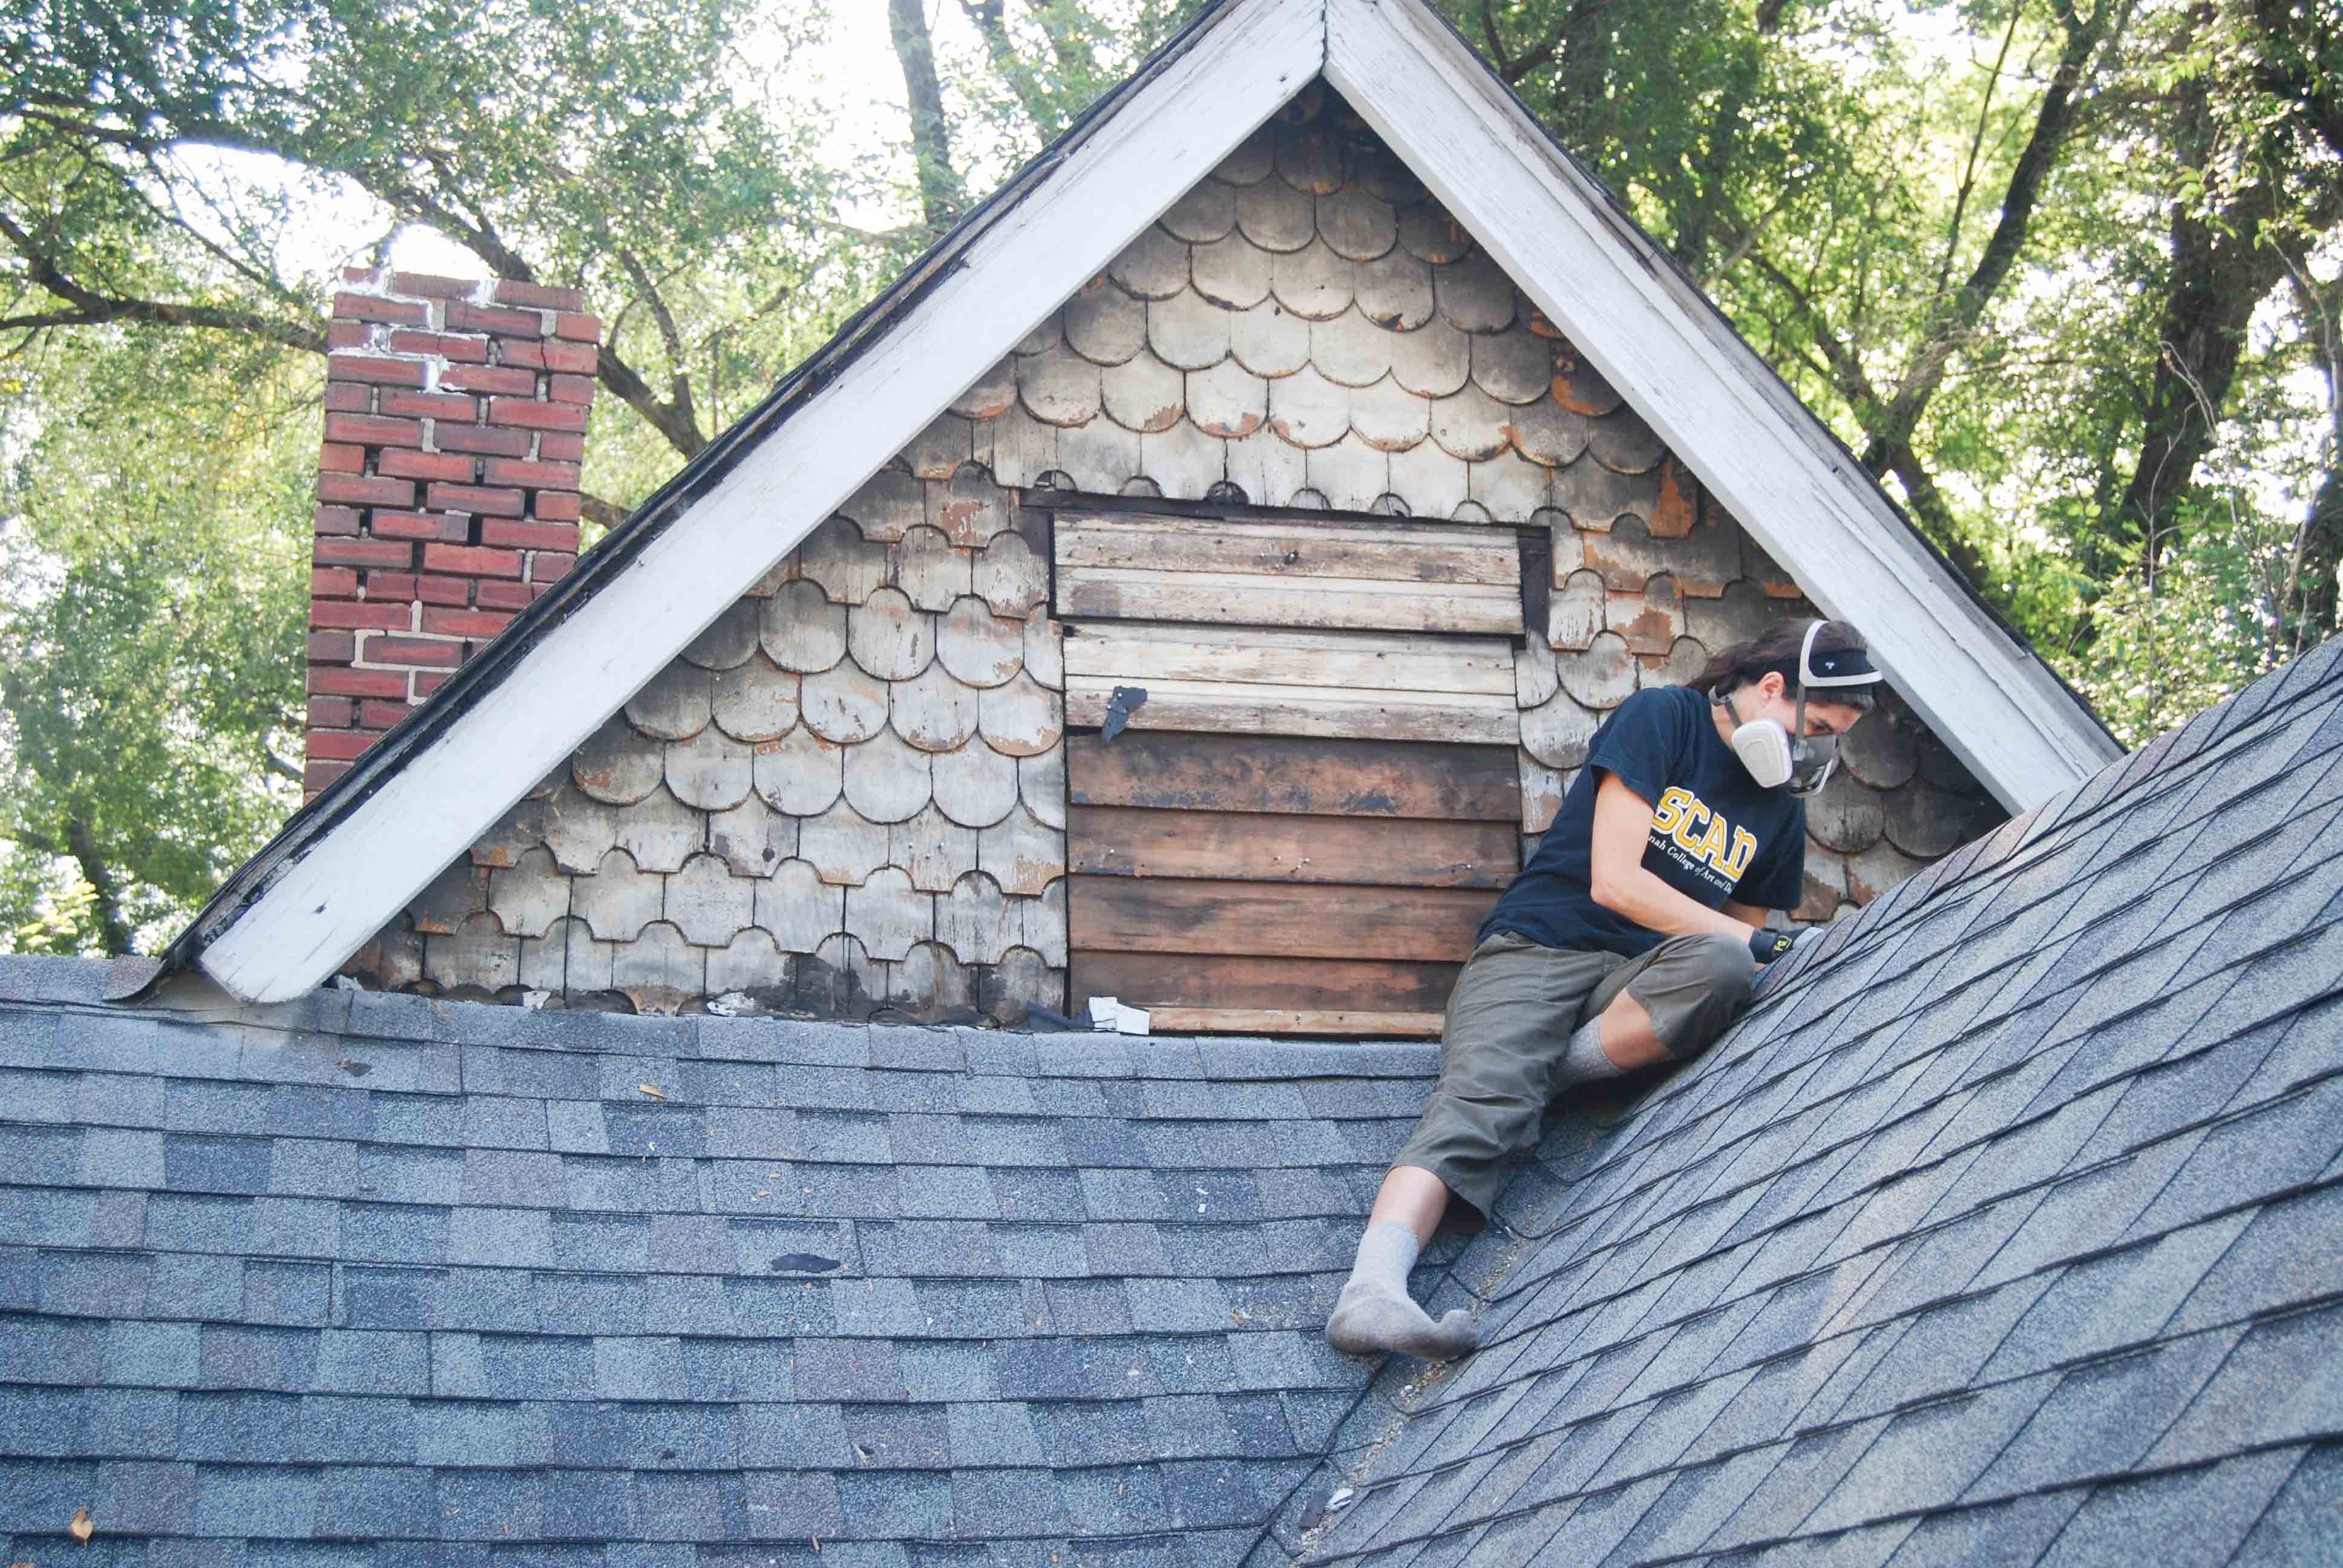
The siding is also removed from the top and side gables to prepare for the new (larger) windows.
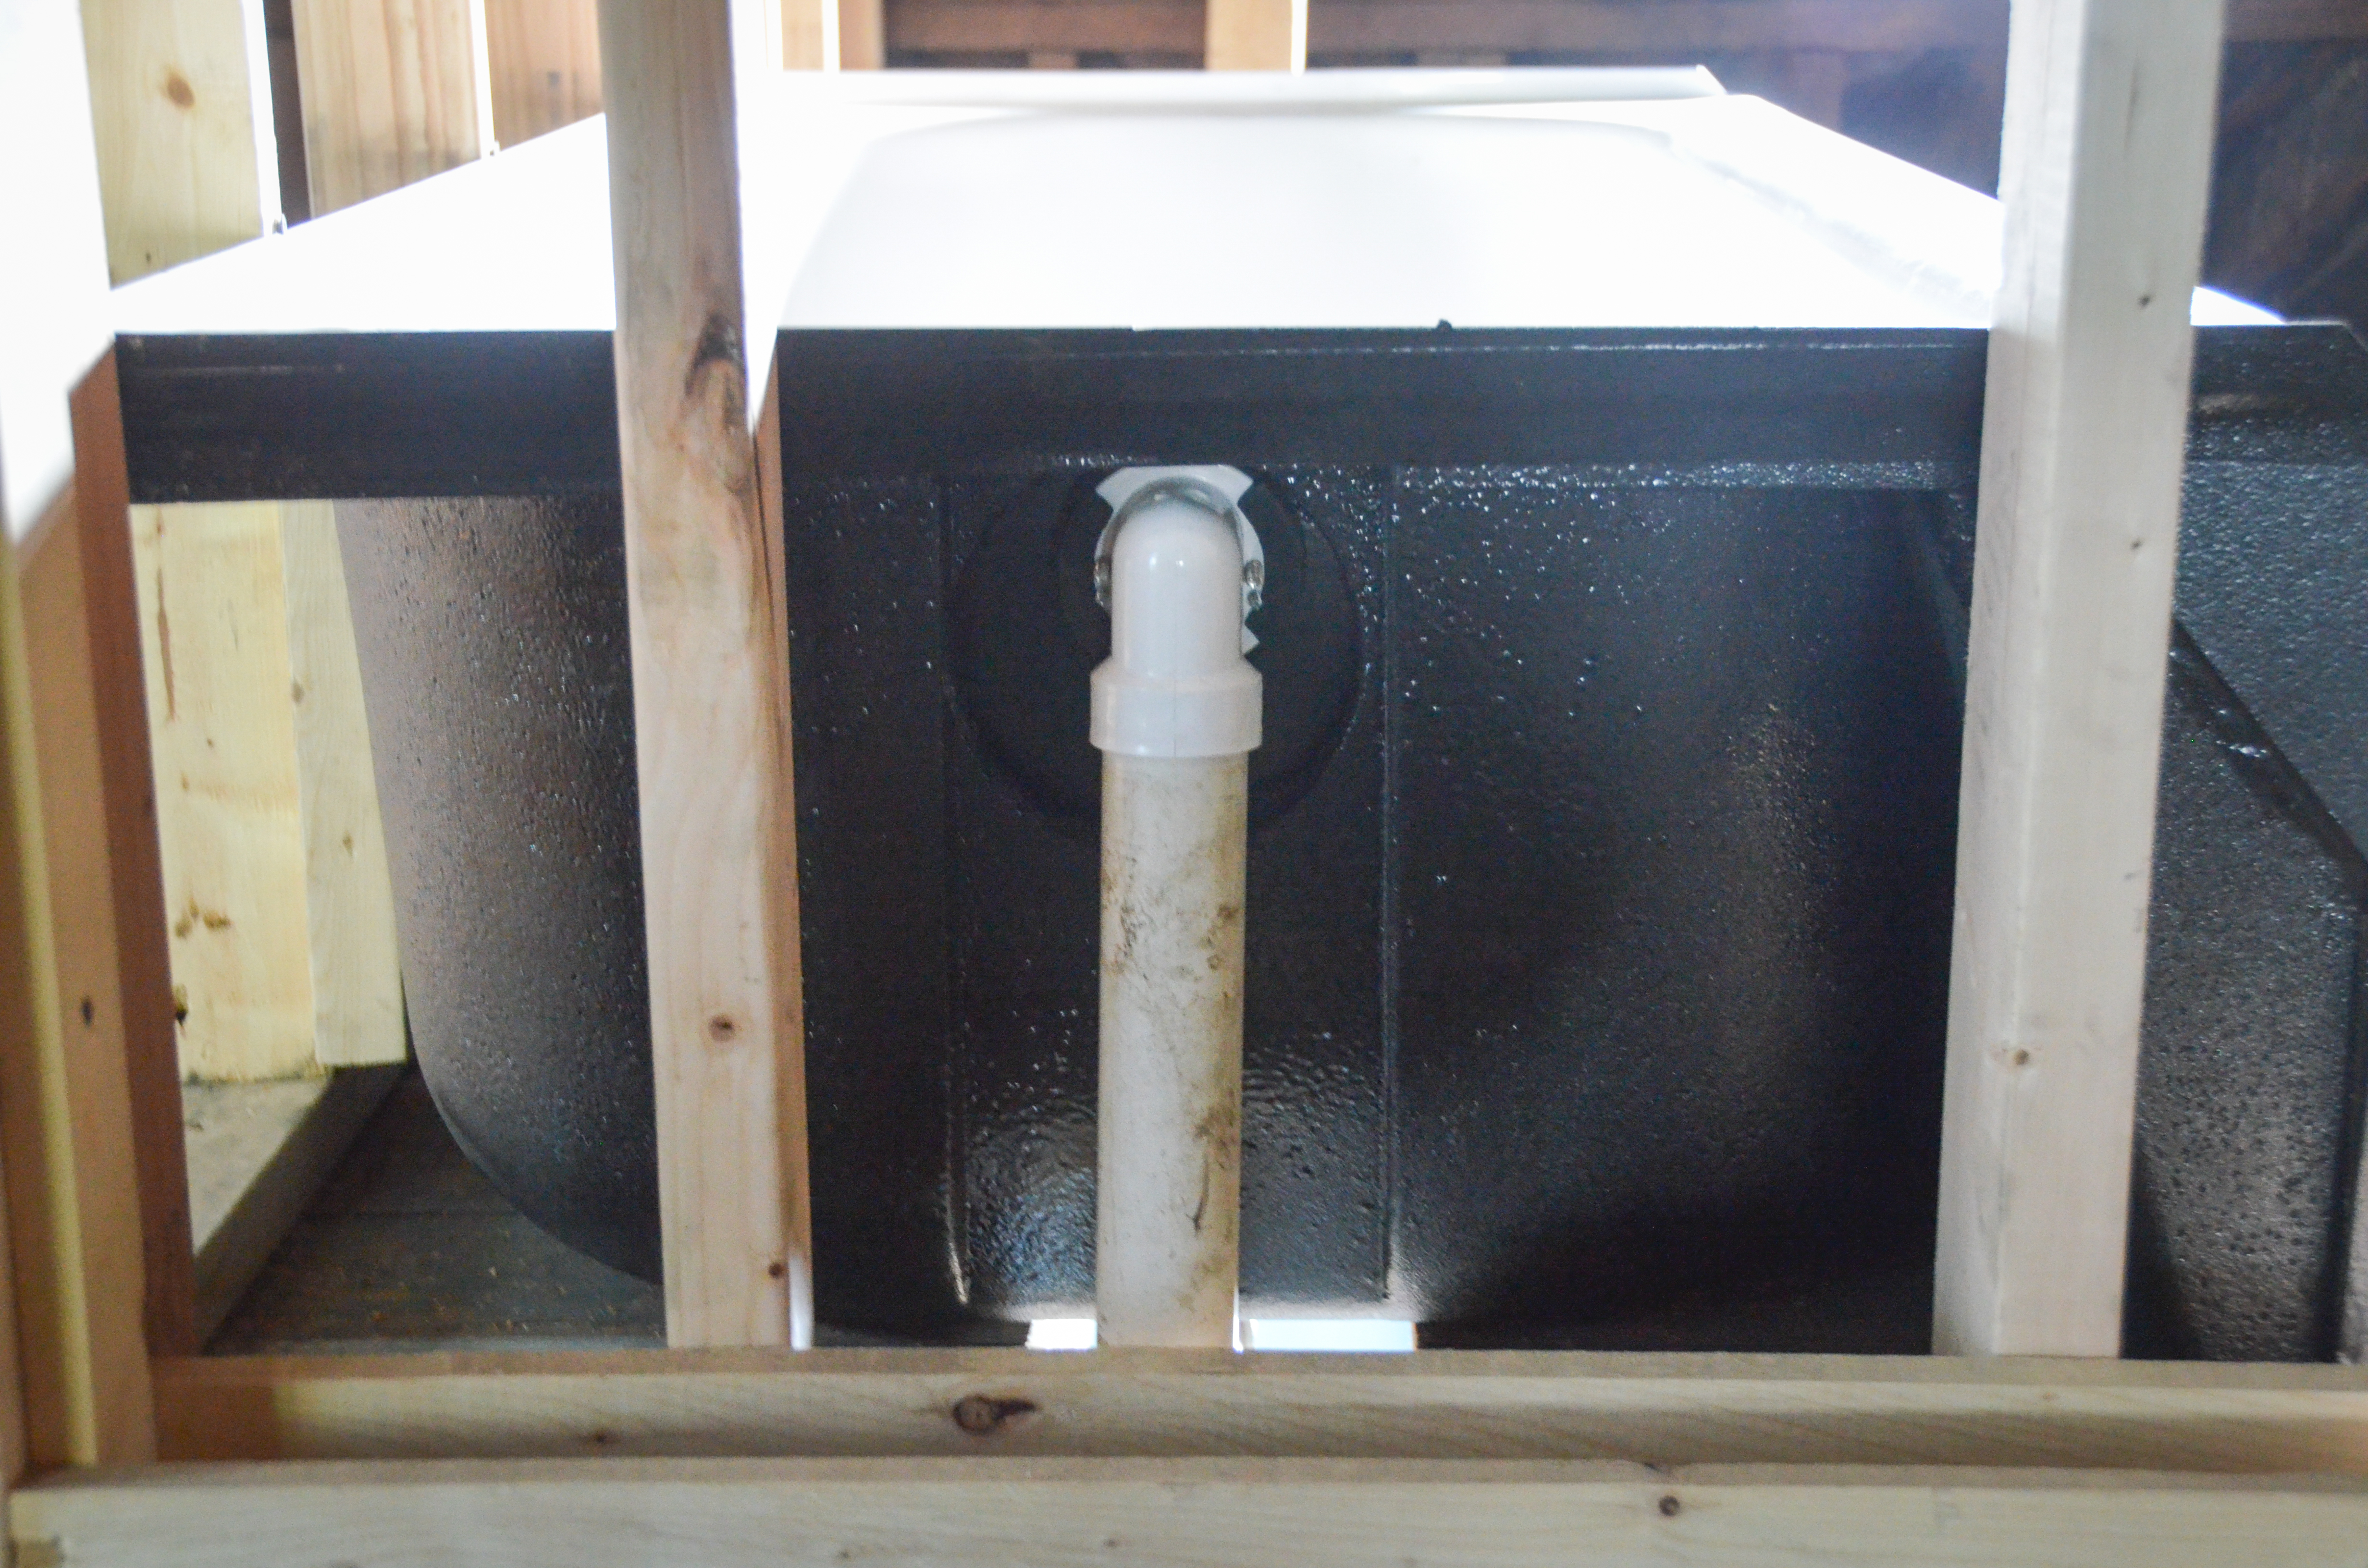
HVAC installation begins. We decide on 2 furnace/AC systems, one for each floor.

The window restoration continues, but slows down dramatically as Joe works to match a couple new wood sashes to the old wood.

The plumbing is finished and we now have water!

Joe tackles the easiest demo ever – removing the living room closets that were added in the past few decades.

September, 2014
Work slows down considerably as Joe’s job enters the busiest part of the year. We anxiously await the arrival of the new windows. Meanwhile, the only progress takes place in the basement of our current house as Joe continues to rehab the old windows.
October, 2014
We are lucky to talk our friend (and awesome carpenter) into tackling the stair project.

The first batch of windows that were removed in the summer are finally complete. The next batch is removed and work continues in the basement of our current house. Once those windows are removed, the old storm windows are installed in their place. A couple new replacement storm windows are ordered and work begins on restoring the storm windows that had broken glass.

November, 2014
We frantically prepare our house for a “polar plunge” that will bring temps close to 0(F). We board up any open windows and install a temporary ceiling in the vestibule.
December, 2014
Joe’s busy season finally ends and we take advantage of a Christmas break to ramp up the progress on the house. Six new windows arrive and are installed on the 2nd floor.

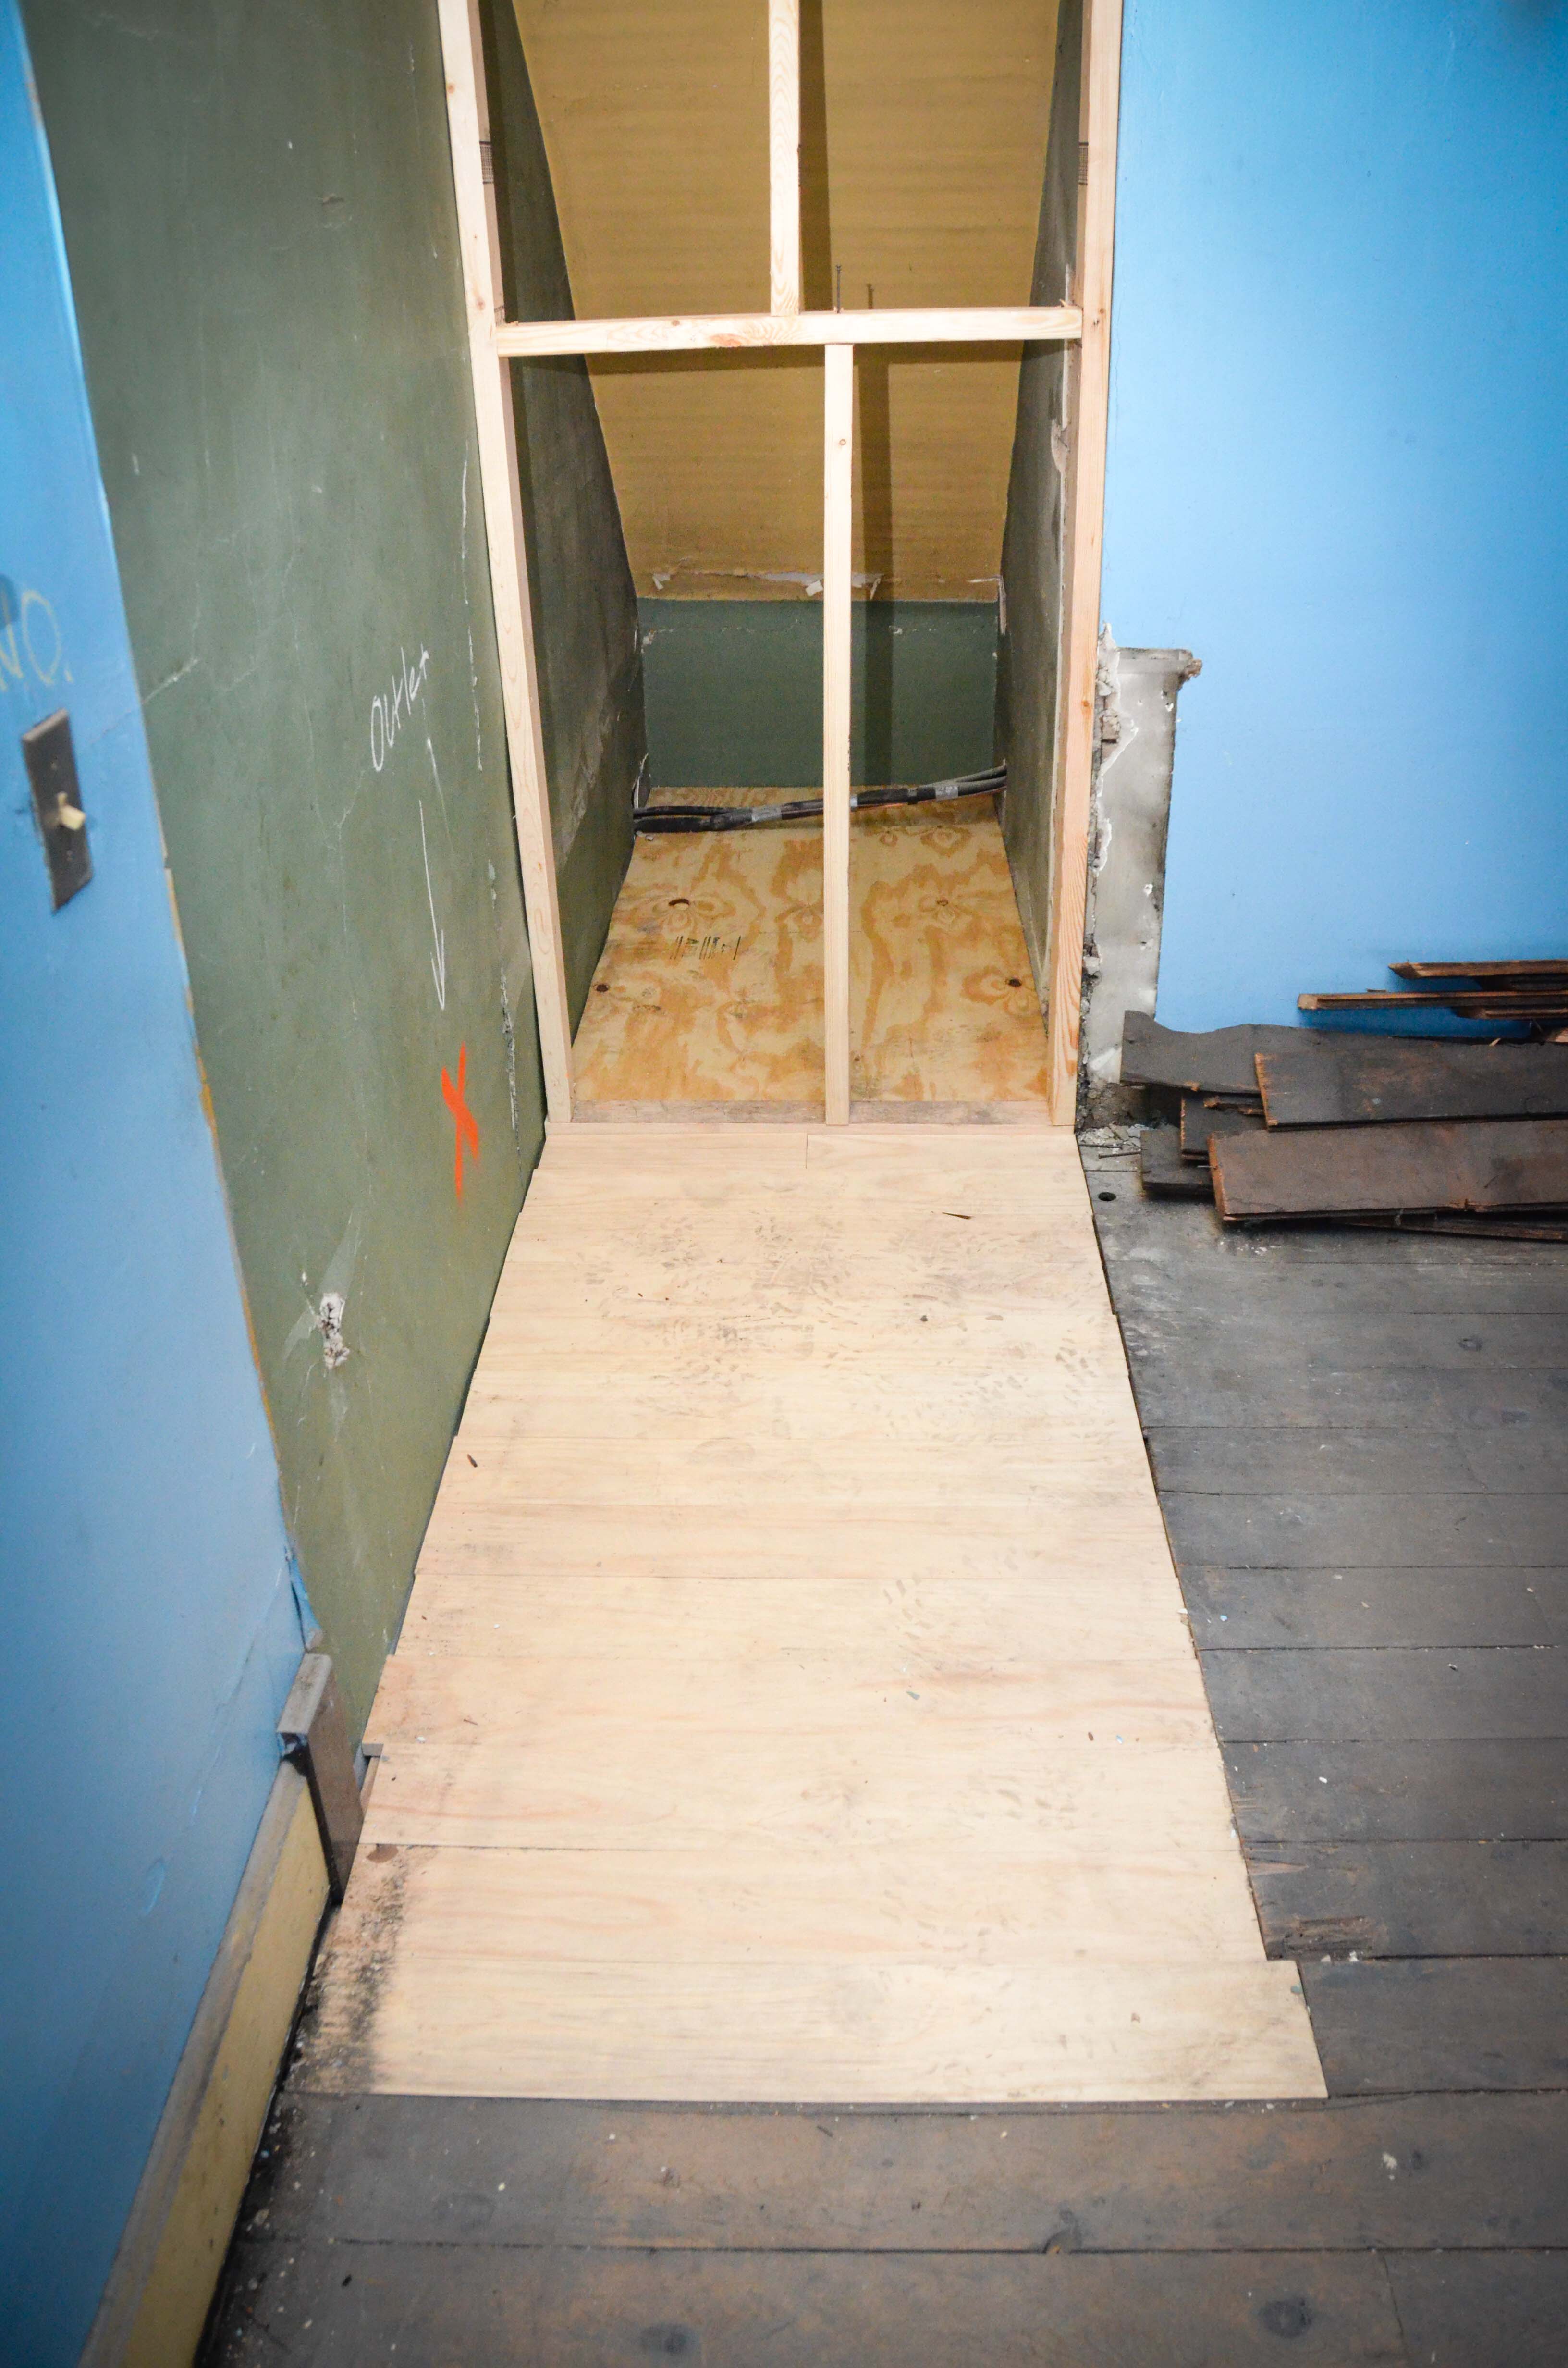
Most of the old stairs are removed, but we decide to keep the bottom few steps and include them in the downstairs bathroom closet.
Fed up with contractors, we (meaning Amy) decide to do the electrical work ourselves.

The landing at the top of the basement stairs is raised to provide a new, seamless entrance to the kitchen.

The bathroom closet is framed.
The master bedroom floor is filled-in above the old stairs.
Many odd framing jobs are finished up, including work in the upstairs bathroom and a new pocket door for Aiden’s room.

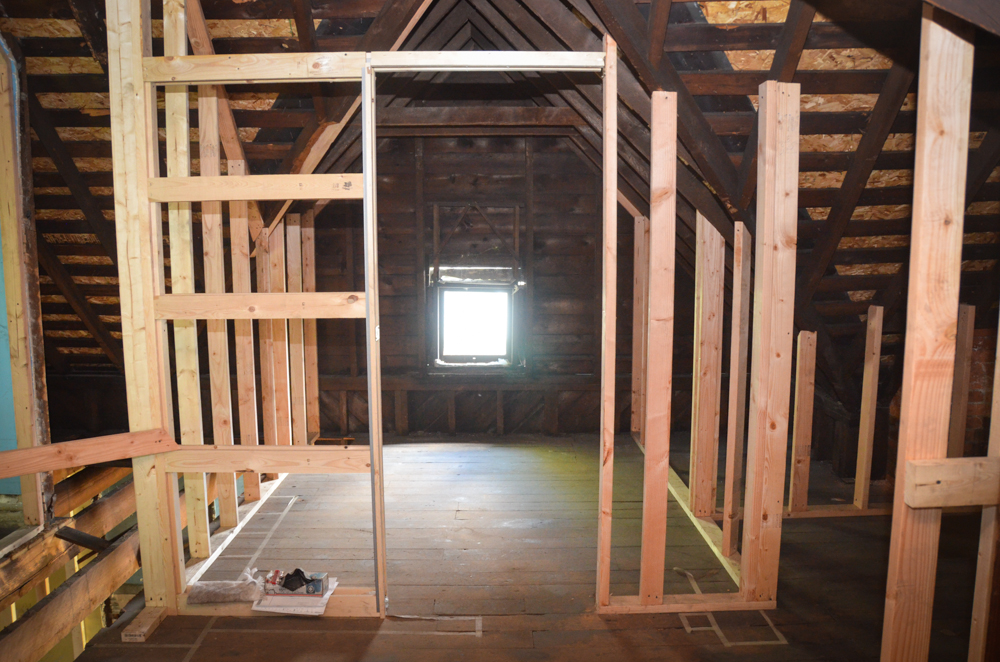
The loft space is cleaned out…

…and eventually finished with new sister joists, floor, and knee-walls.

New basement stairs are constructed.

The first batch of windows that were started way back in June are painted and officially done.

January, 2015
Sister joists are added to Lucy’s floor to help alleviate some of the bounce.

The holes in the kitchen floor are repaired using existing flooring from elsewhere in the kitchen.

Electrical work continues…

February, 2015
We take advantage of an unseasonably warm weekend to remove the next batch of windows and install the newly-restored storm windows.
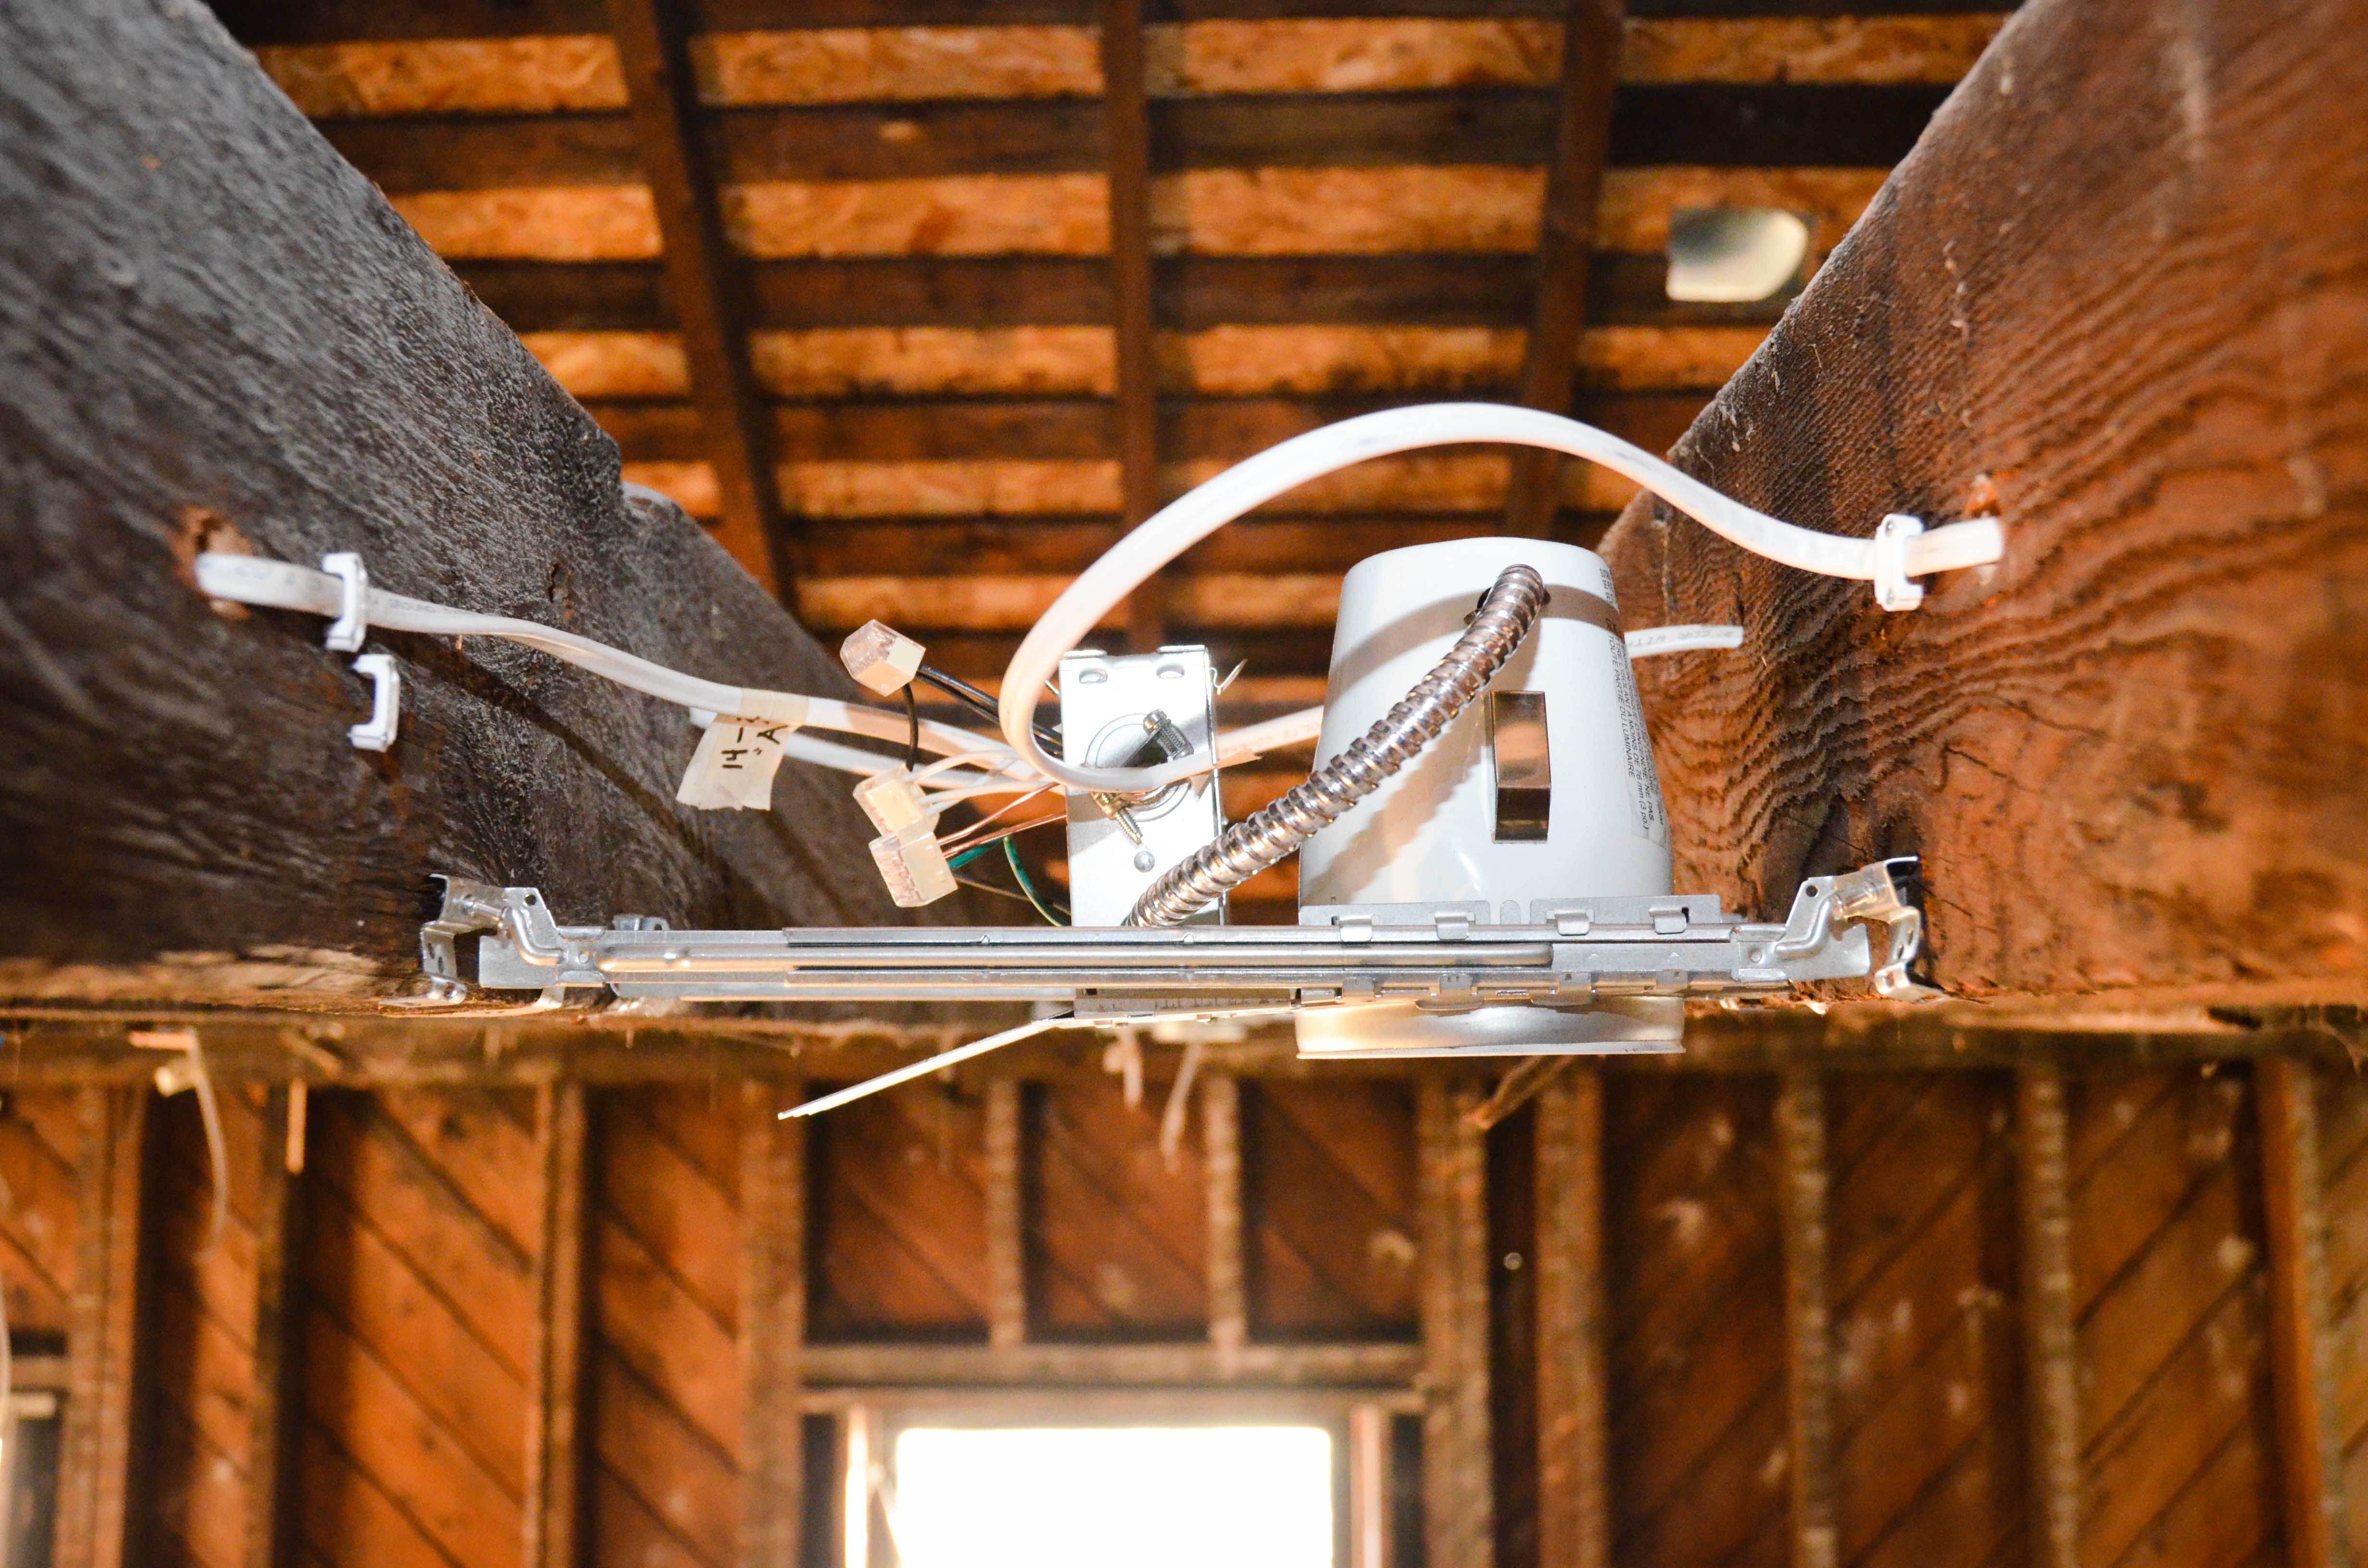
Recessed lights are installed.
With the help of an electrician, all of Amy’s circuits are connected to the service panel.

We have light!

Porch lights and motion-detection security lights are installed.

March, 2015
Even more recessed lights are installed and many details are wrapped up to prepare for insulation.


We then spend a frantic weekend trying to finalize every unfinished project because it is almost time for drywall.

Finally, after a late start, the drywall is hung. Considering all the tricky angles and oddities of an old house, we are pretty pleased with the result.


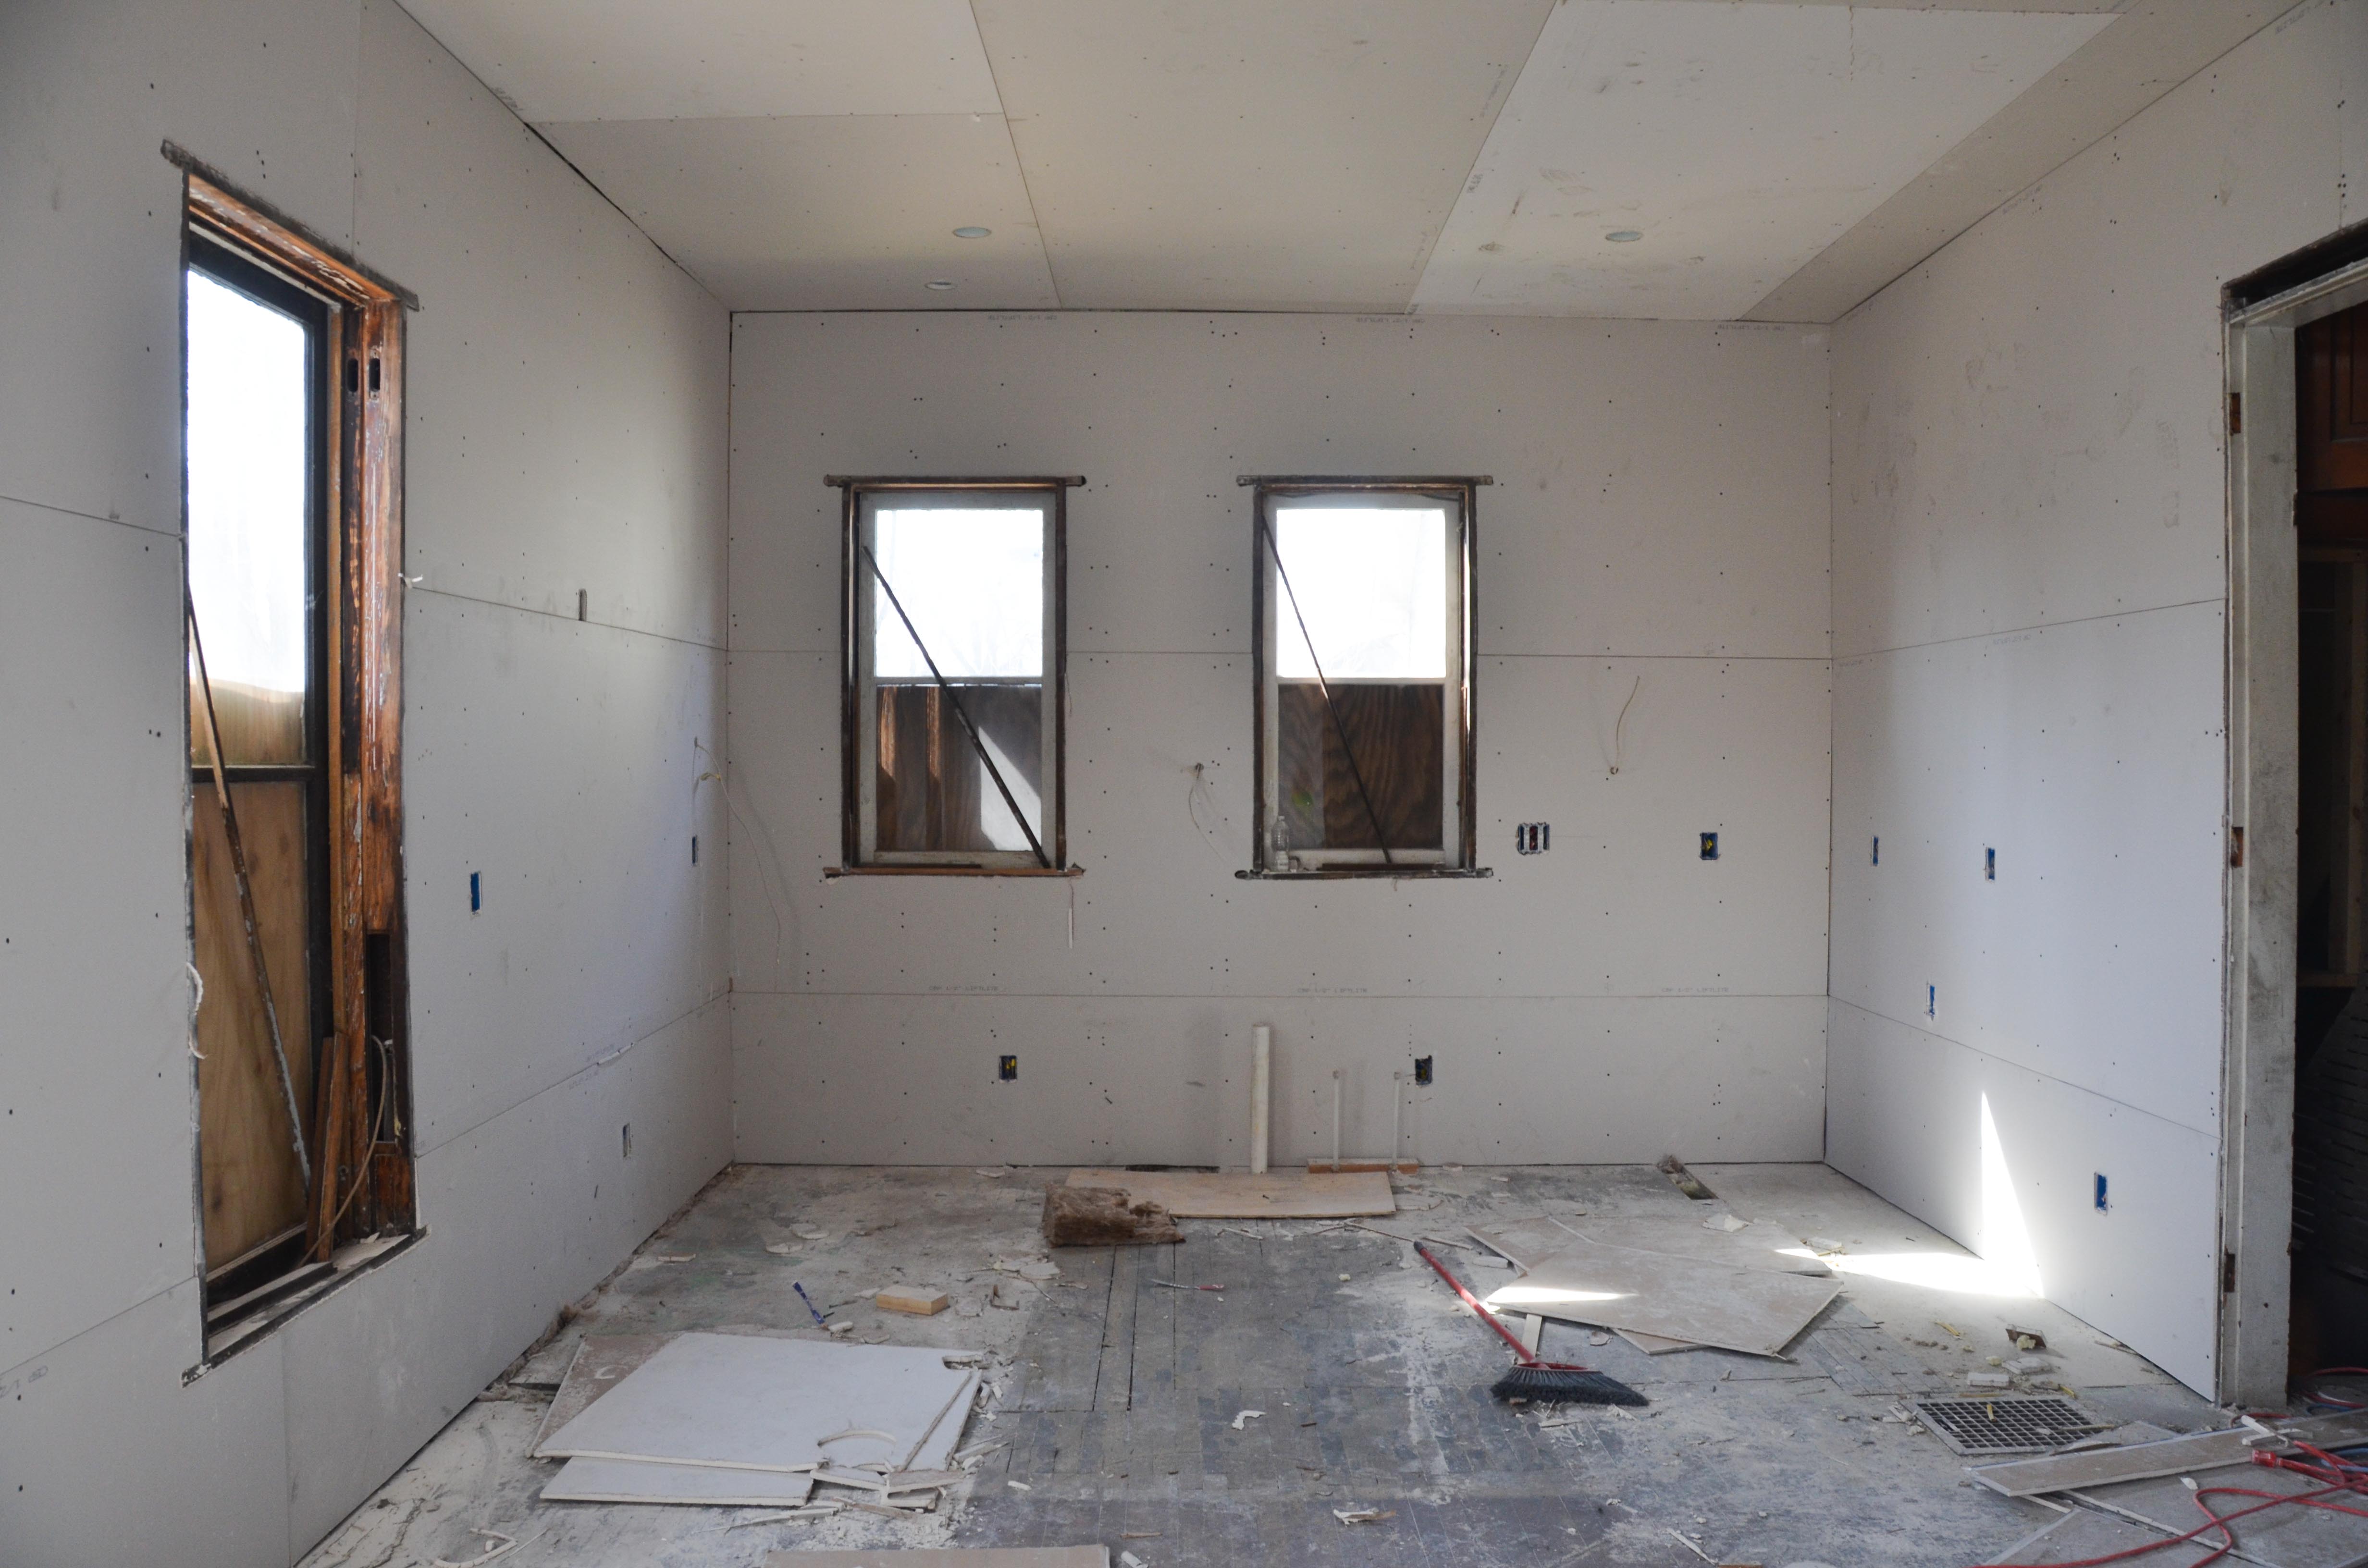
The drywall taping and mudding is happening right now and will hopefully be complete by the middle of next week. Still a long way to go to be done, but we are at least close to having a habitable house! A lot has changed in the past year. A year ago we thought we would keep the exact layout of the house and just have 2 of our 3 bedrooms downstairs. The scope of our project was small and our goal was to be moved in by the Fall (of 2014!). After pouring over different floor plans and spending more time in the house, we decided to expand the project to get all bedrooms and a bathroom upstairs. Our new goal for move-in was spring or summer (2015). Spring might have been possible, but then we decided to do the electrical work ourselves and take our time to try to enjoy the overall process. Rushing causes stress… and that’s no fun.
Our current goal is to move in mid-summer. We won’t actually be done, but it will be close enough. Our most pressing to-do items: The walls (plaster repair, wallpaper removal, sanding, scraping, etc.), refinish the floors, add trim (add new to upstairs and return the old from downstairs), finish the stairs, prime and paint everything, re-install old windows (after adding weather stripping and counter weights), repair the front and back doors, and completely design and assemble a kitchen. Oh… and get one of the two bathrooms functioning. Seems like a lot, but we will just take one job at a time. The more experience we gain, the less we fear the unknown or the size of the job. For now, the exterior of the house is still off in the distance. It is possible that we hold off on that until next spring. Obviously we would love to not have the ugliest house on the block anymore, but it doesn’t make much sense to spend time and money on something that doesn’t effect how soon we can actually move in. We’ll see. I guess it depends on money and weather.
Thank you for supporting us and sharing the experience by taking the time to read our blog. We recently created new “pages” on the blog for many of the rooms in our house. You can find them underneath the “rooms” heading beneath the main banner photo. Each one of these pages is dedicated to a portion of the house and shows a more condensed version of our progress in each individual space. Check them out!

Yay! Happy One Year!!!! Congrats and keep rocking it! It’s going to be amazing.
LikeLike
So exciting. You have done so much in a year. We are coming up on our one year and as we are living in it and don’t have the finances yet we haven’t done much aside from demo work.
LikeLike