Week 41 – Joe
The original floors of our fixer upper still exist and are in surprisingly good condition on the 1st level of the house. We are planning on sanding and finishing all the hardwood floors in the house… which is ALL the flooring in the house. These 100 year old 5″ pinewood floors have a ton of character. We are certainly NOT experts on flooring of late Victorian houses, but we are guessing that the floors on the 1st level were probably intended to be covered with wall to wall carpet. Not the plush, thick carpets we have today… probably a thin carpet that sat directly on top of the hardwood. At some point in our house’s history someone added a 2′ linoleum border around the edges of all the rooms downstairs (except kitchen). They probably covered the middle portion of each floor with a rug. The linoleum comes off with a wide range of effort. Some of it will need to be heated up with steam and scraped off, some of it just pulls right up.

The kitchen was obviously never carpeted and has much narrower planks. I’m guess this is a much harder wood than the pine in the rest of the house. Another oddity of our flooring is that on the outer portions of the floors it appears that the wood plank is only 2 1/2 inches, but really it is the full 5″ board with a line embedded in the wood to make it appear as if it were a narrower plank. Once again, maybe the majority of the floor was originally covered with a rug, leaving only the outside 2 feet visible. Were the 5″ planks cheaper and not as desirable? Were they trying to create the illusion of a fancier floor by putting a groove halfway through the plank? Any floor specialists out there???
The floors will be one of the very last things we finish before moving in (after insulation and drywall are complete). There is a lot of hardwood, so it will take a long time to refinish! The upstairs floors had a few areas that were in need of repair or replacement. The master bedroom floor was under several layers of laminate, so it is great shape! Lucy’s room was also very well preserved. Aiden’s room just had a couple boards that needed repair. Most of the damaged flooring was in the central area of the 2nd floor. We had this replaced with new pine. We will have to experiment with different techniques to age the wood and also get a uniform color with the old wood.

Here is Aiden’s room…
As far as repairs go, that’s it! There were a few spots in the the house that needed new floors (meaning there weren’t floors there to begin with). In the master bedroom we needed to fill in the area where the old stair case used to be.
We have used the new pine to fill in the area in front of the wall and then just installed a thick piece of plywood behind the wall that will be used to get to the furnace room access panel.
Also on the 2nd floor… Once we got all the junk out of Lucy’s room (remember that HUGE fan?) we noticed that the floor had a lot of bounce. We finally decided to have our carpenter install sister joists to stiffen up the floor.

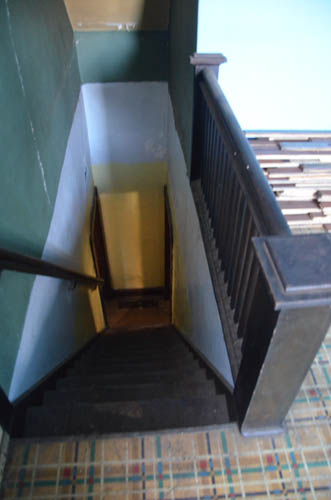
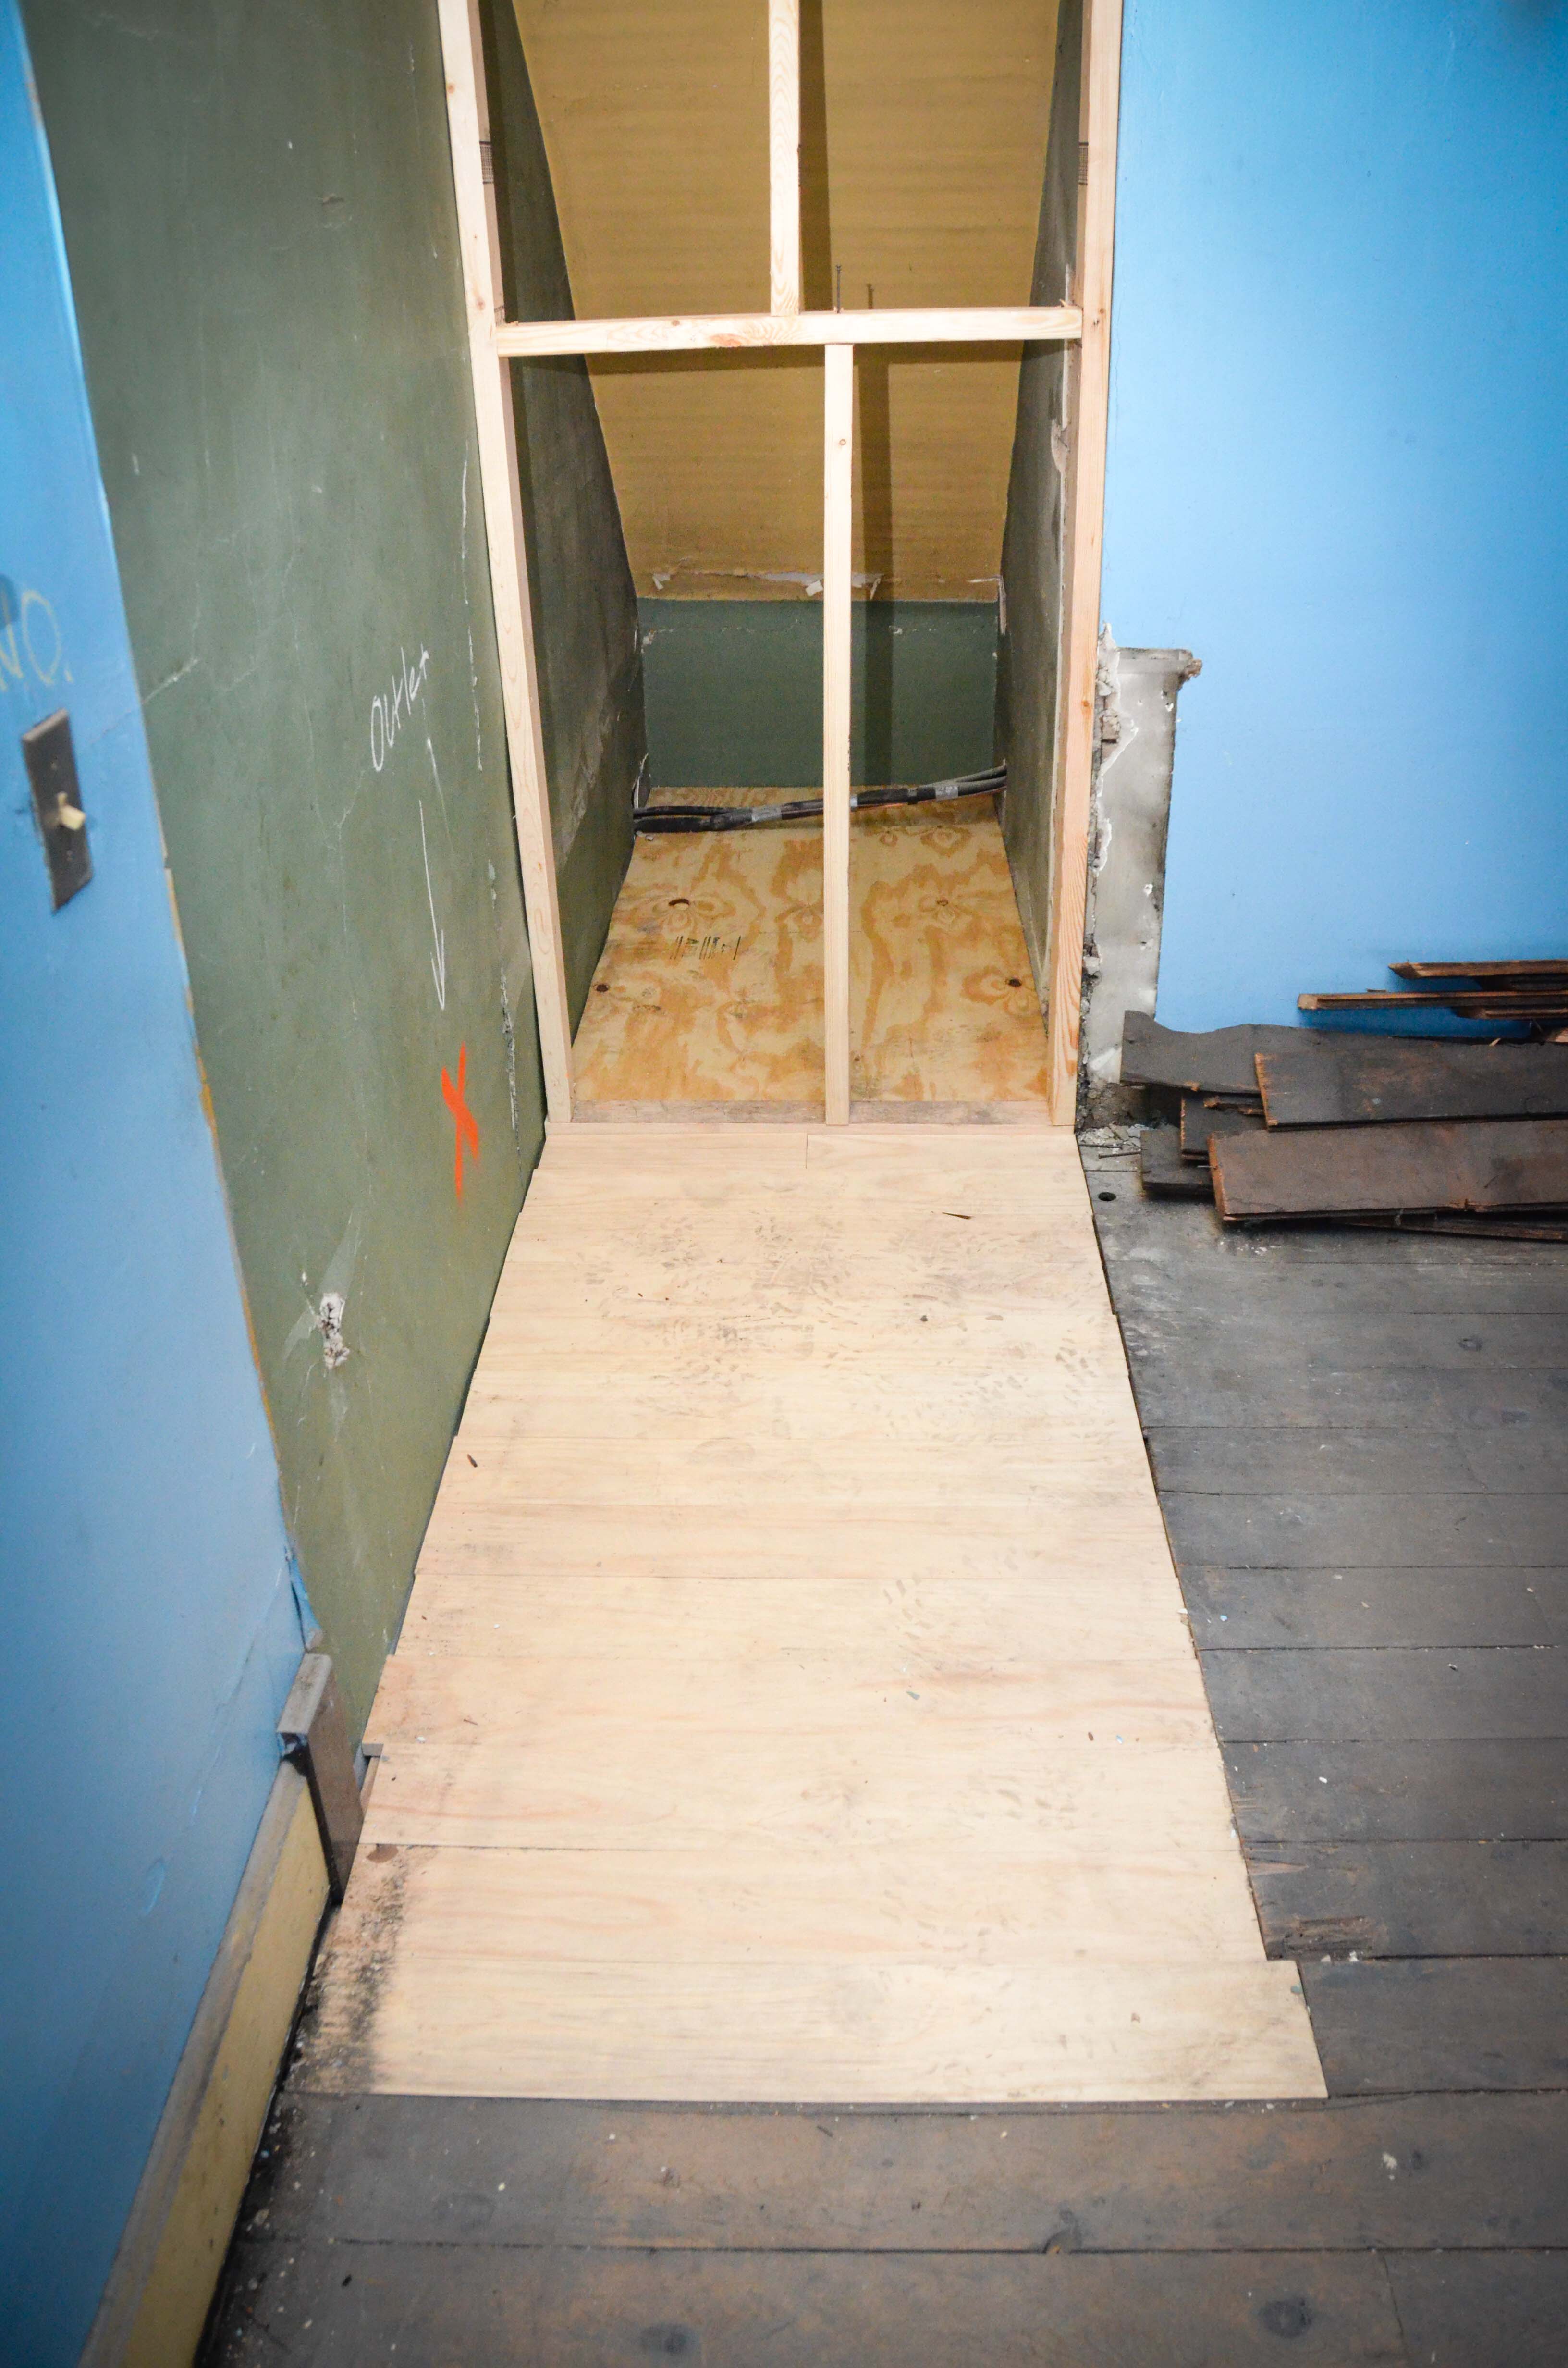
On the first floor it was a little more important to try “move” flooring around to the new areas so that the age of the wood matched. We know that we are going to tile the floor in bathroom downstairs. This meant that we could pull up those boards and re-use them at the top of the basement stairs.
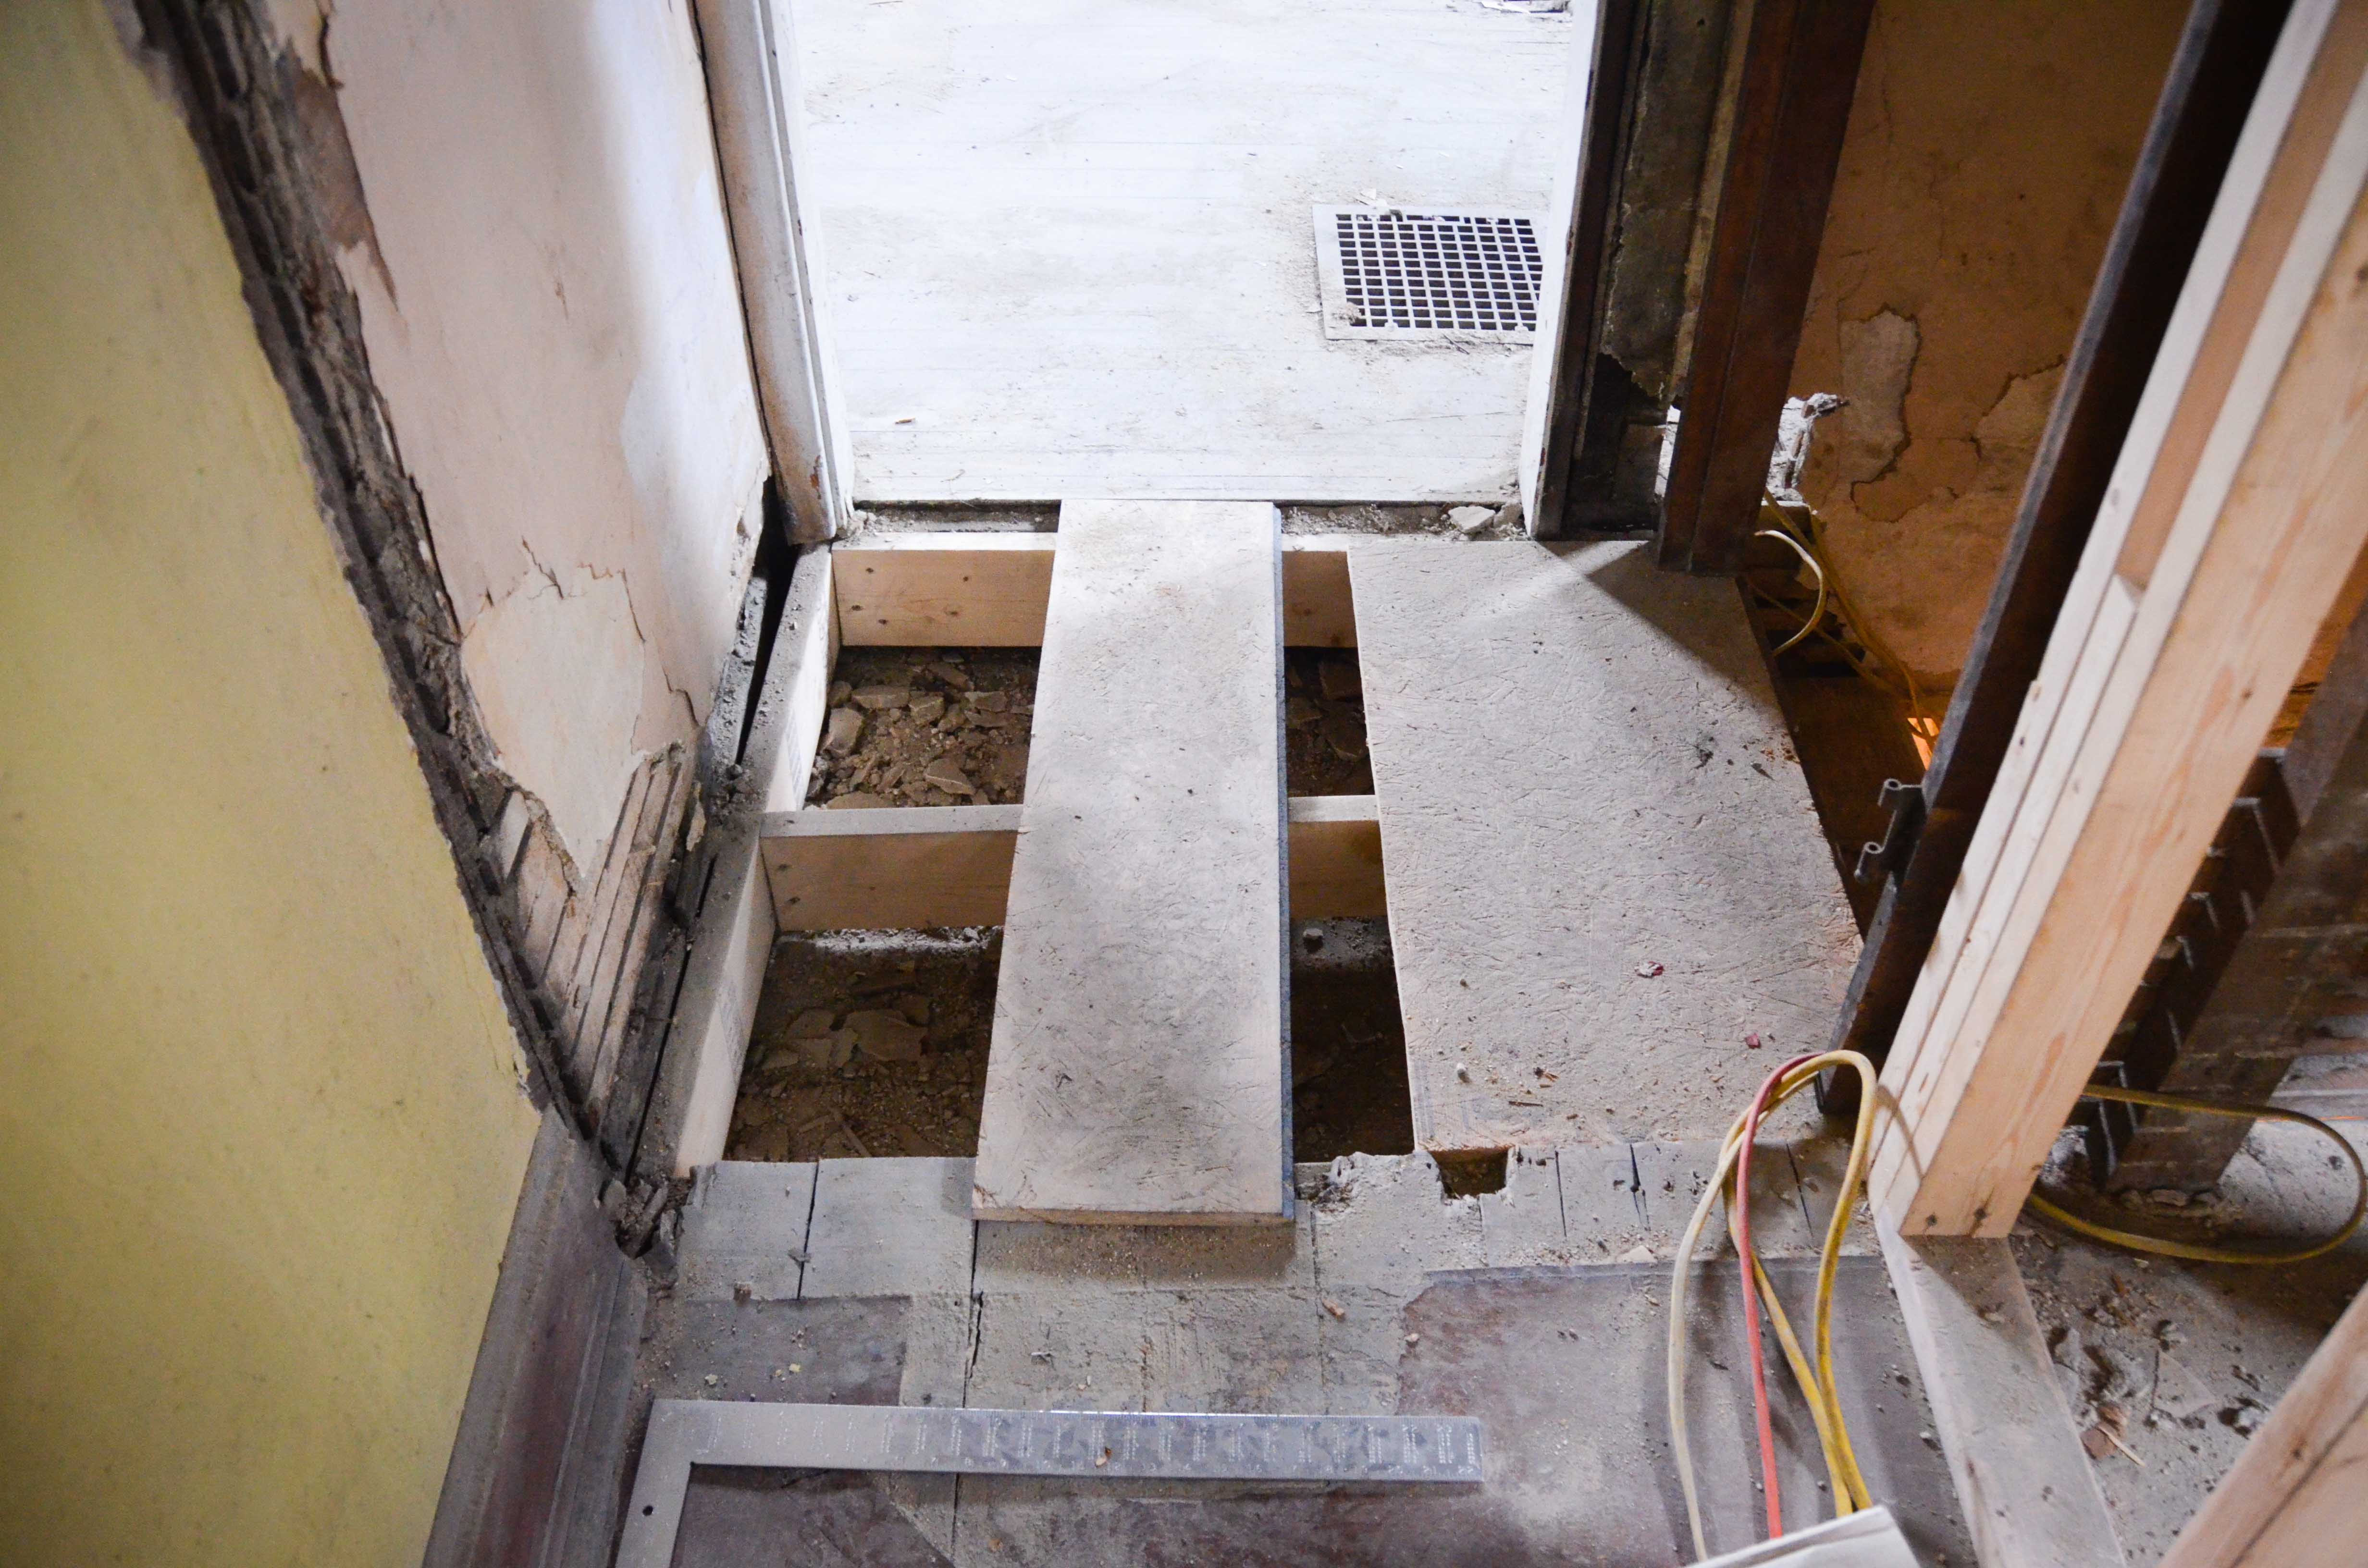
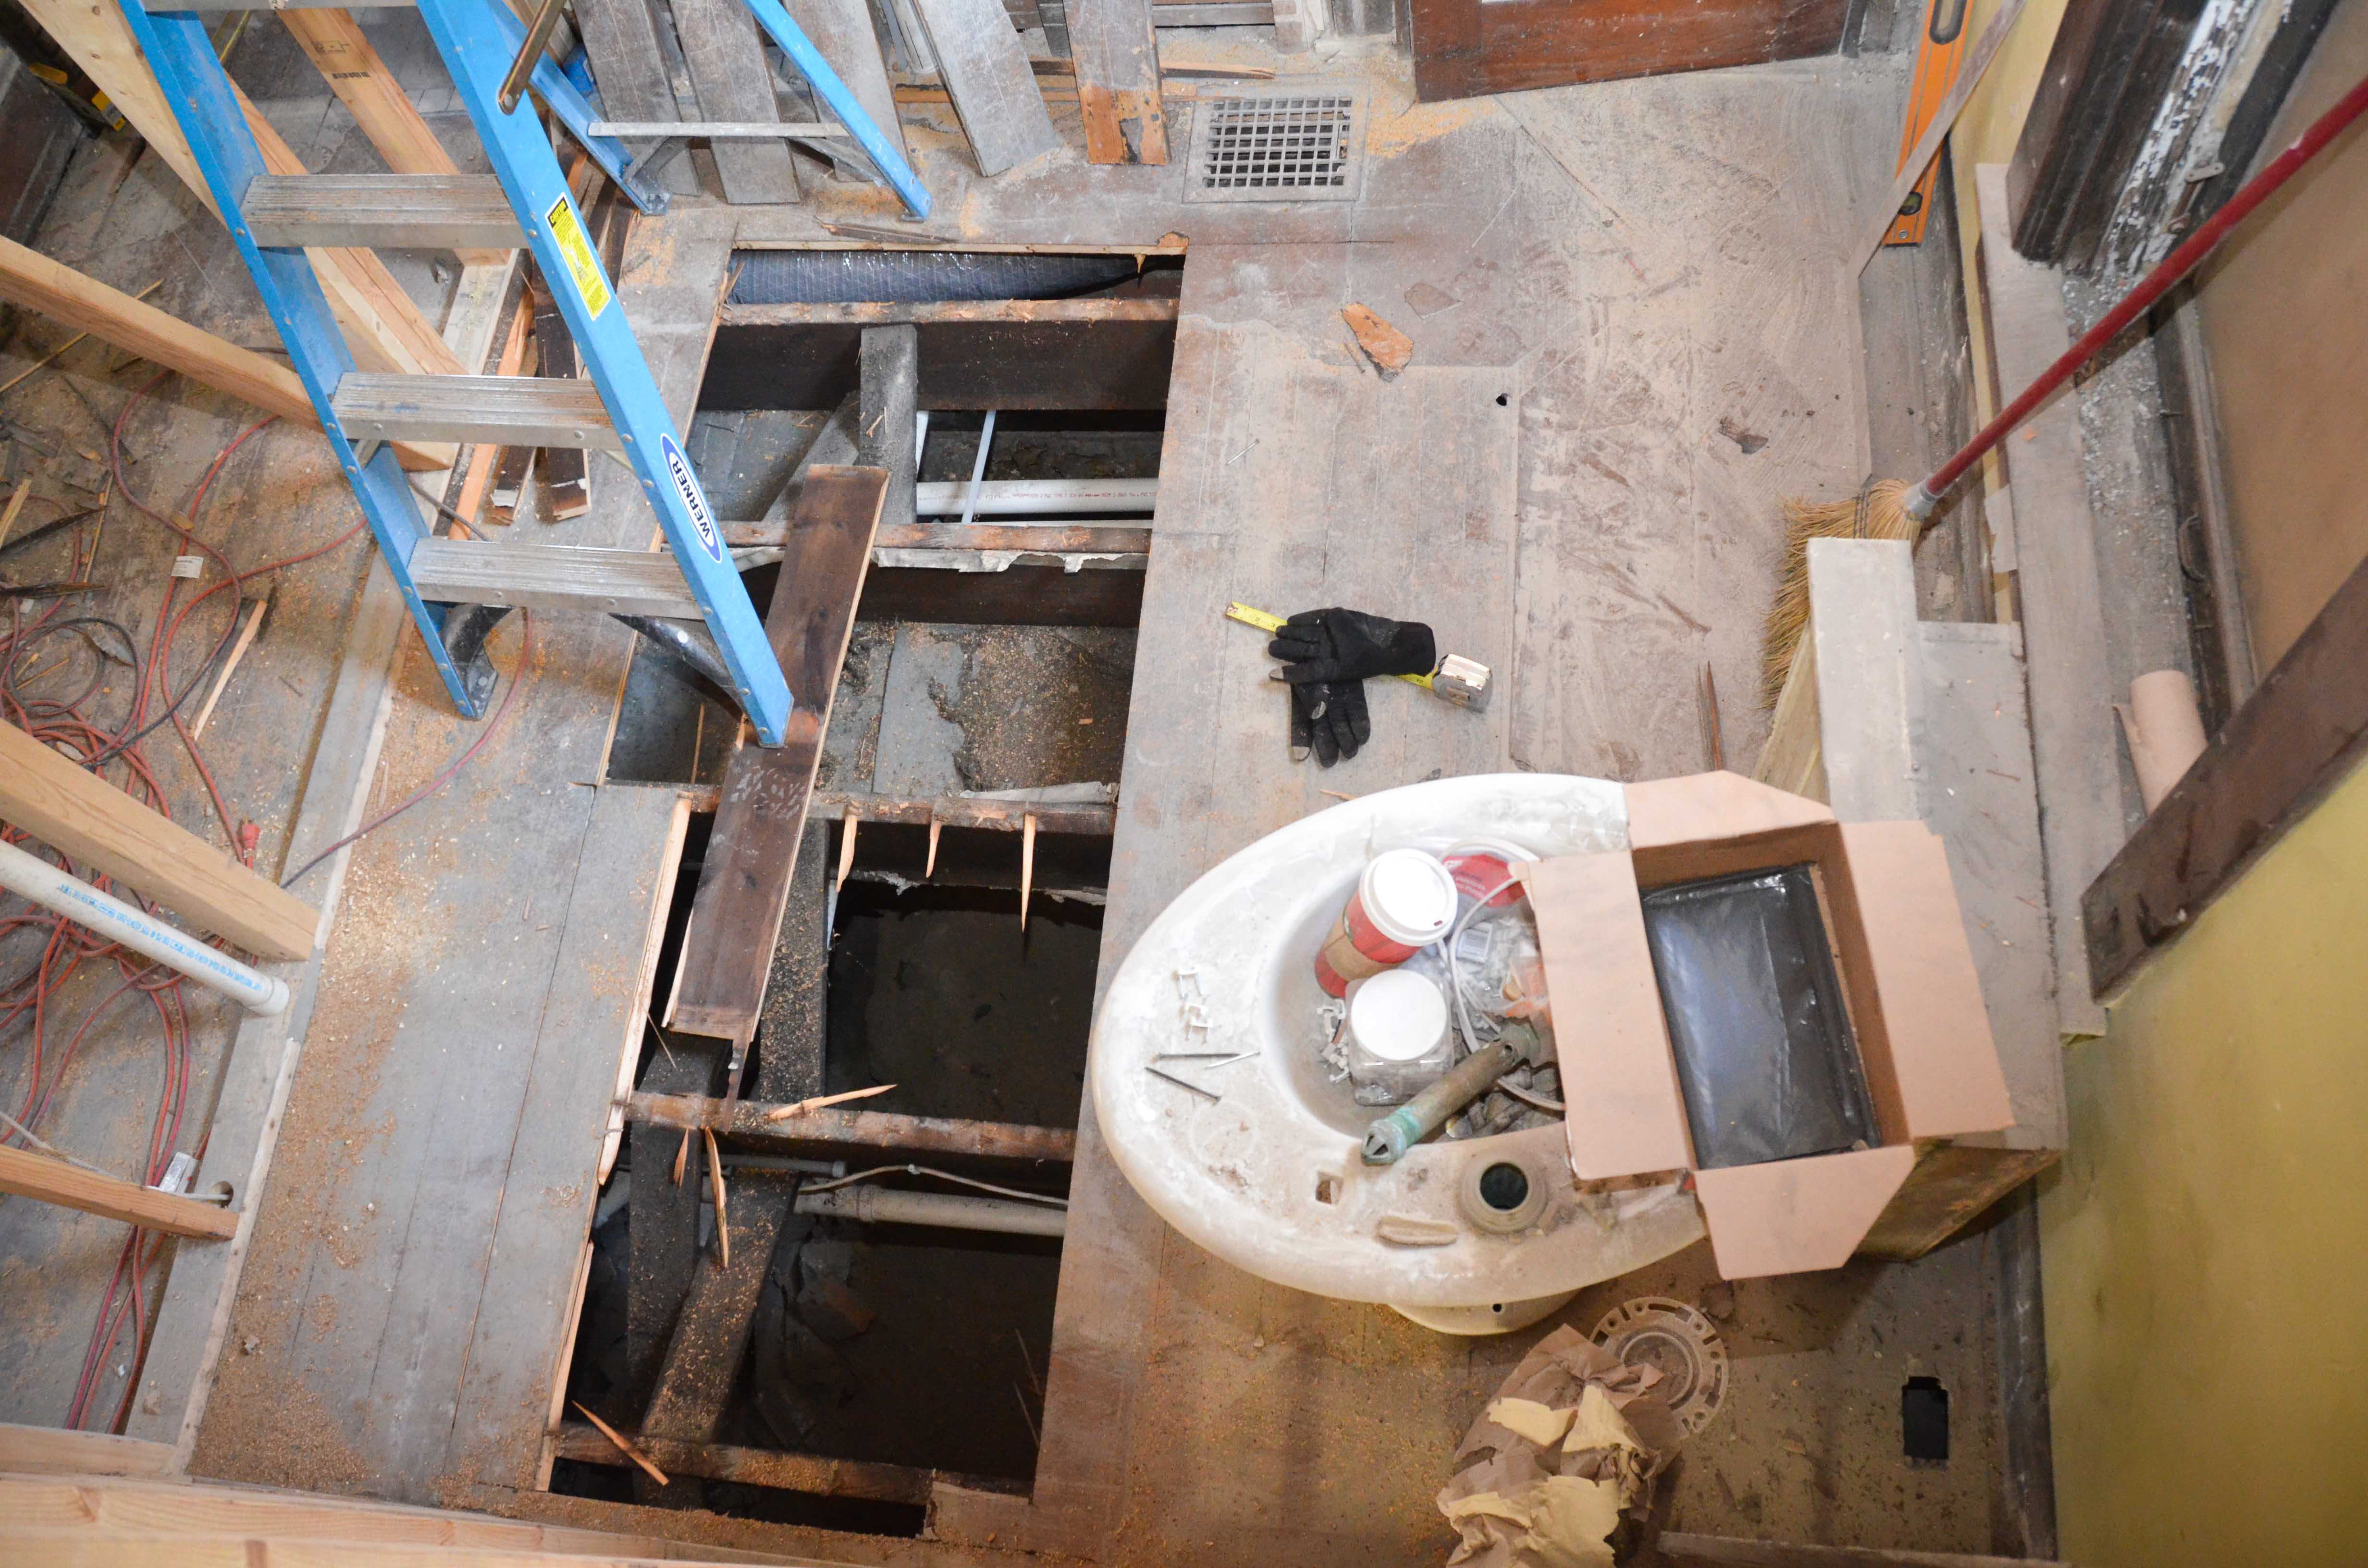
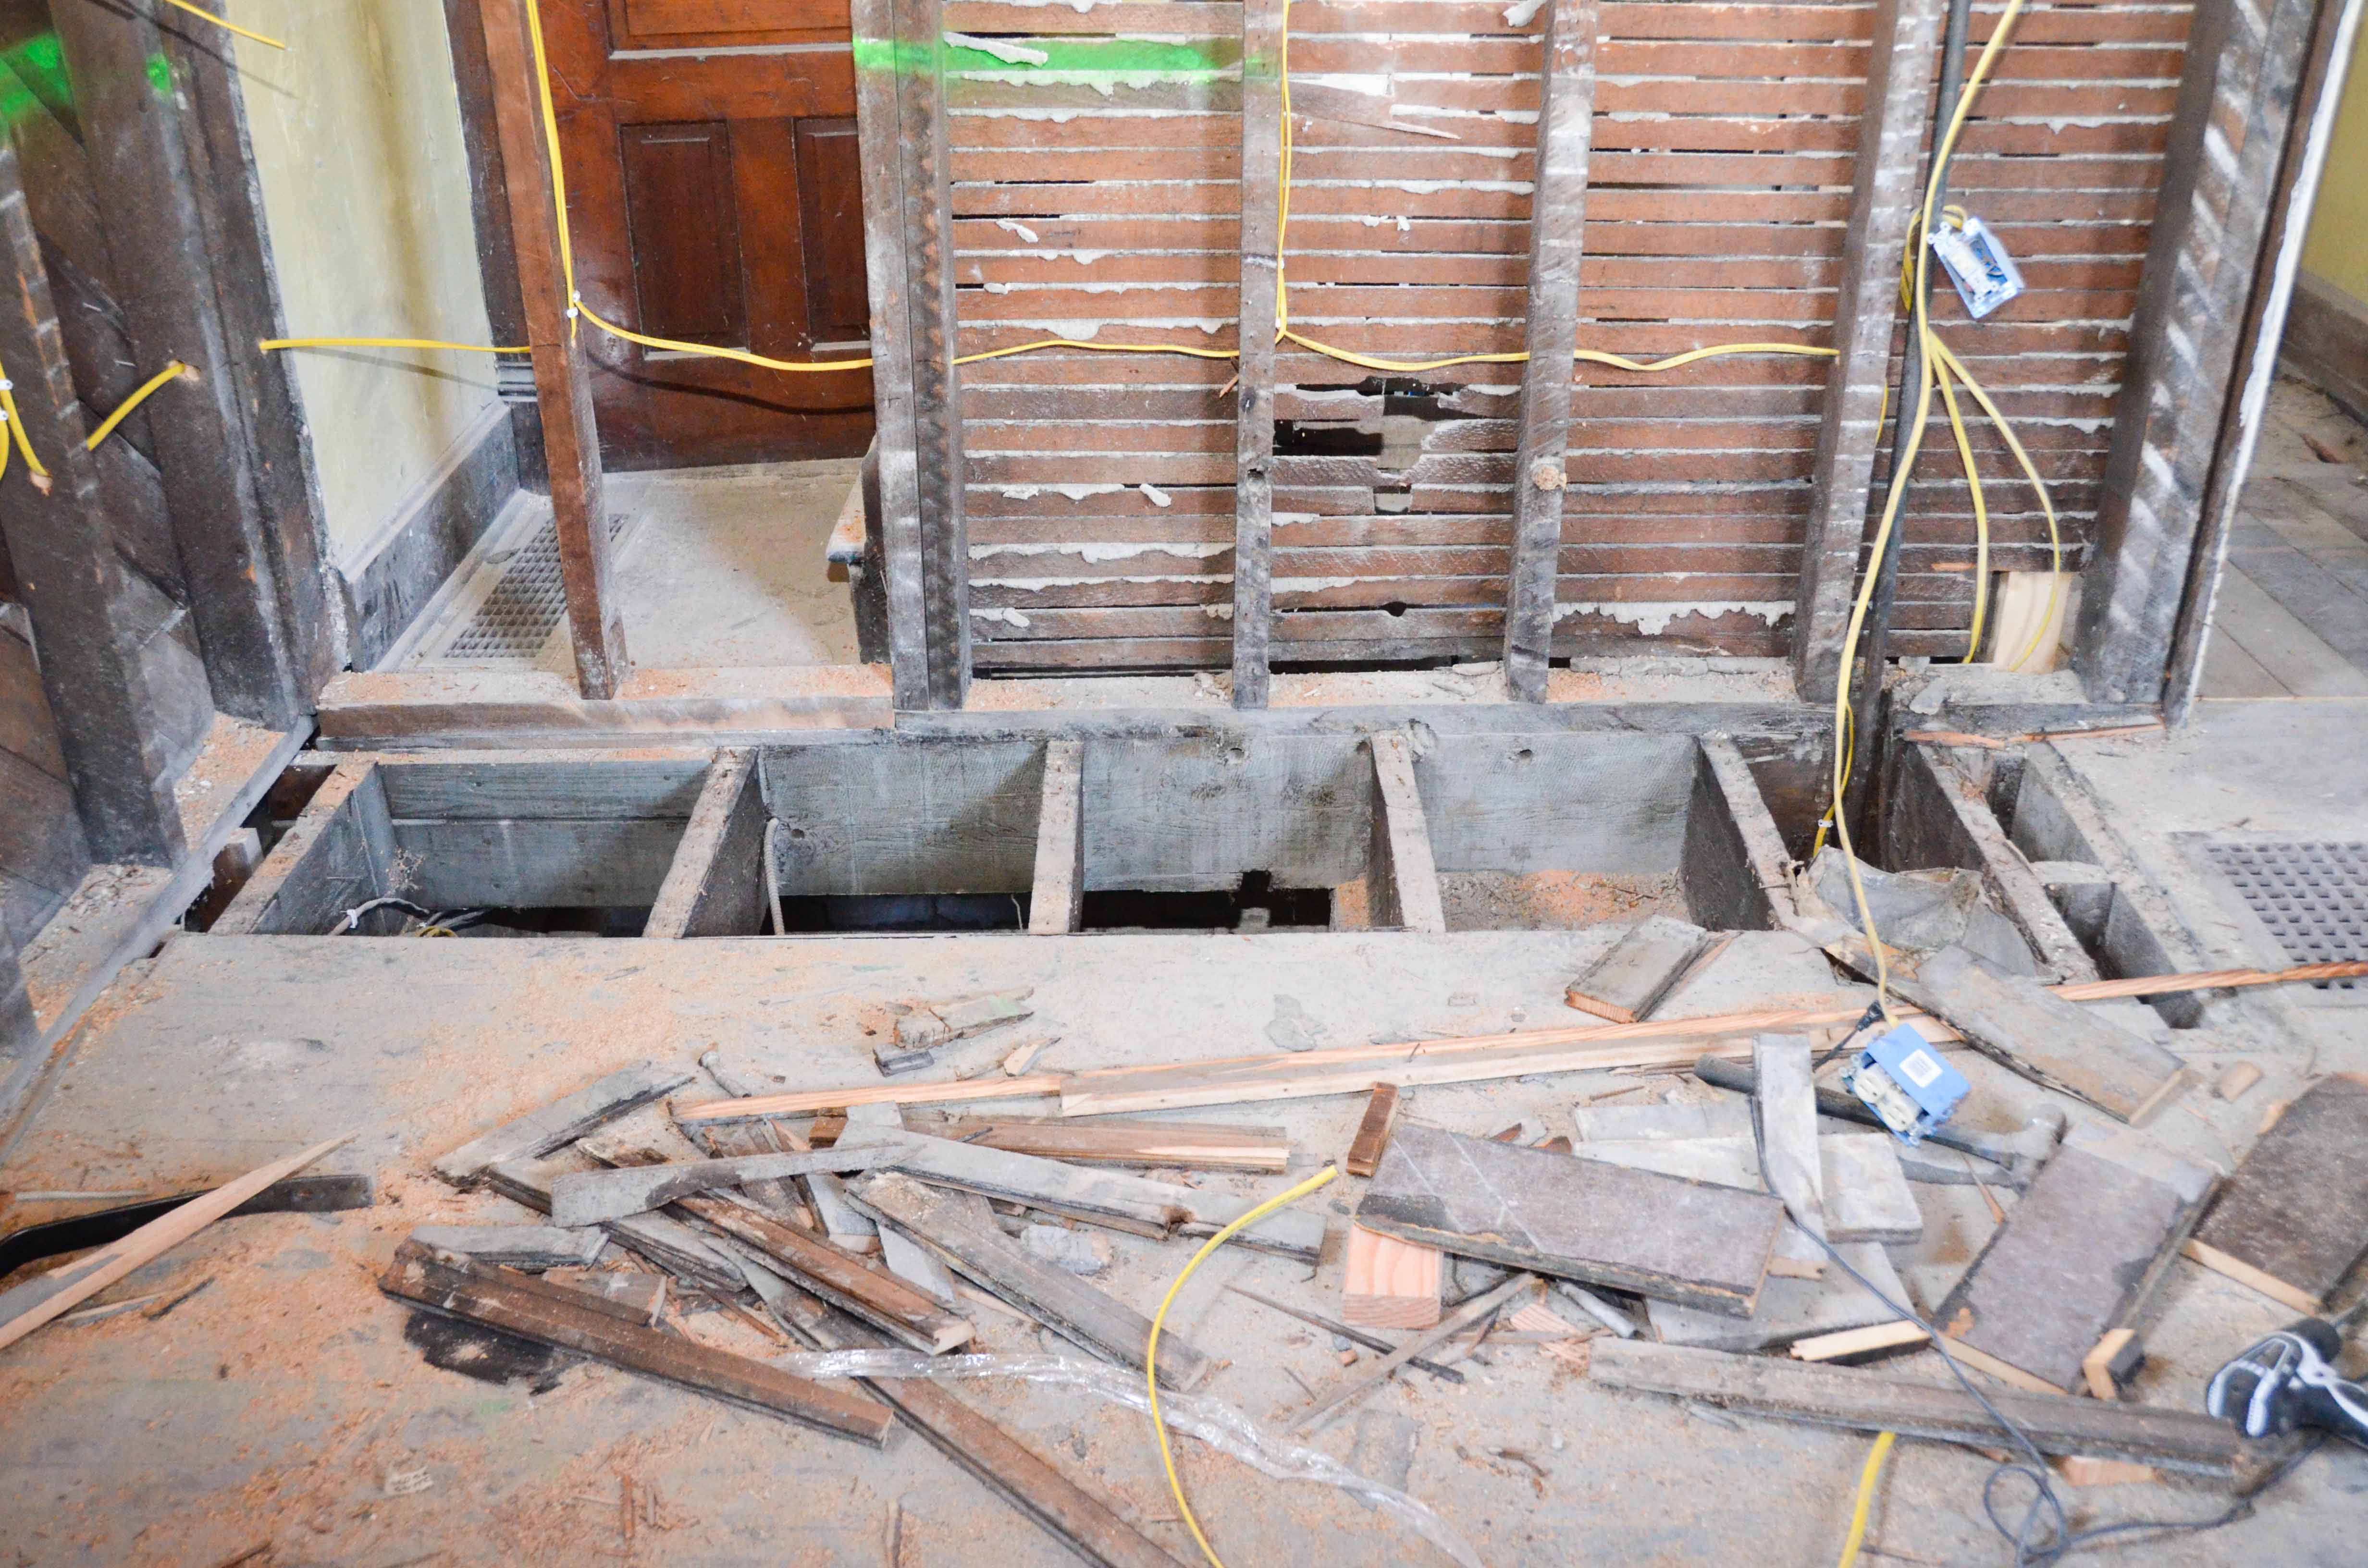
Sometimes I feel like we have to take a step back in one area of the house to move forward in another. Here is what the bathroom looked like after salvaging flooring for the basement stair landing… Yikes!
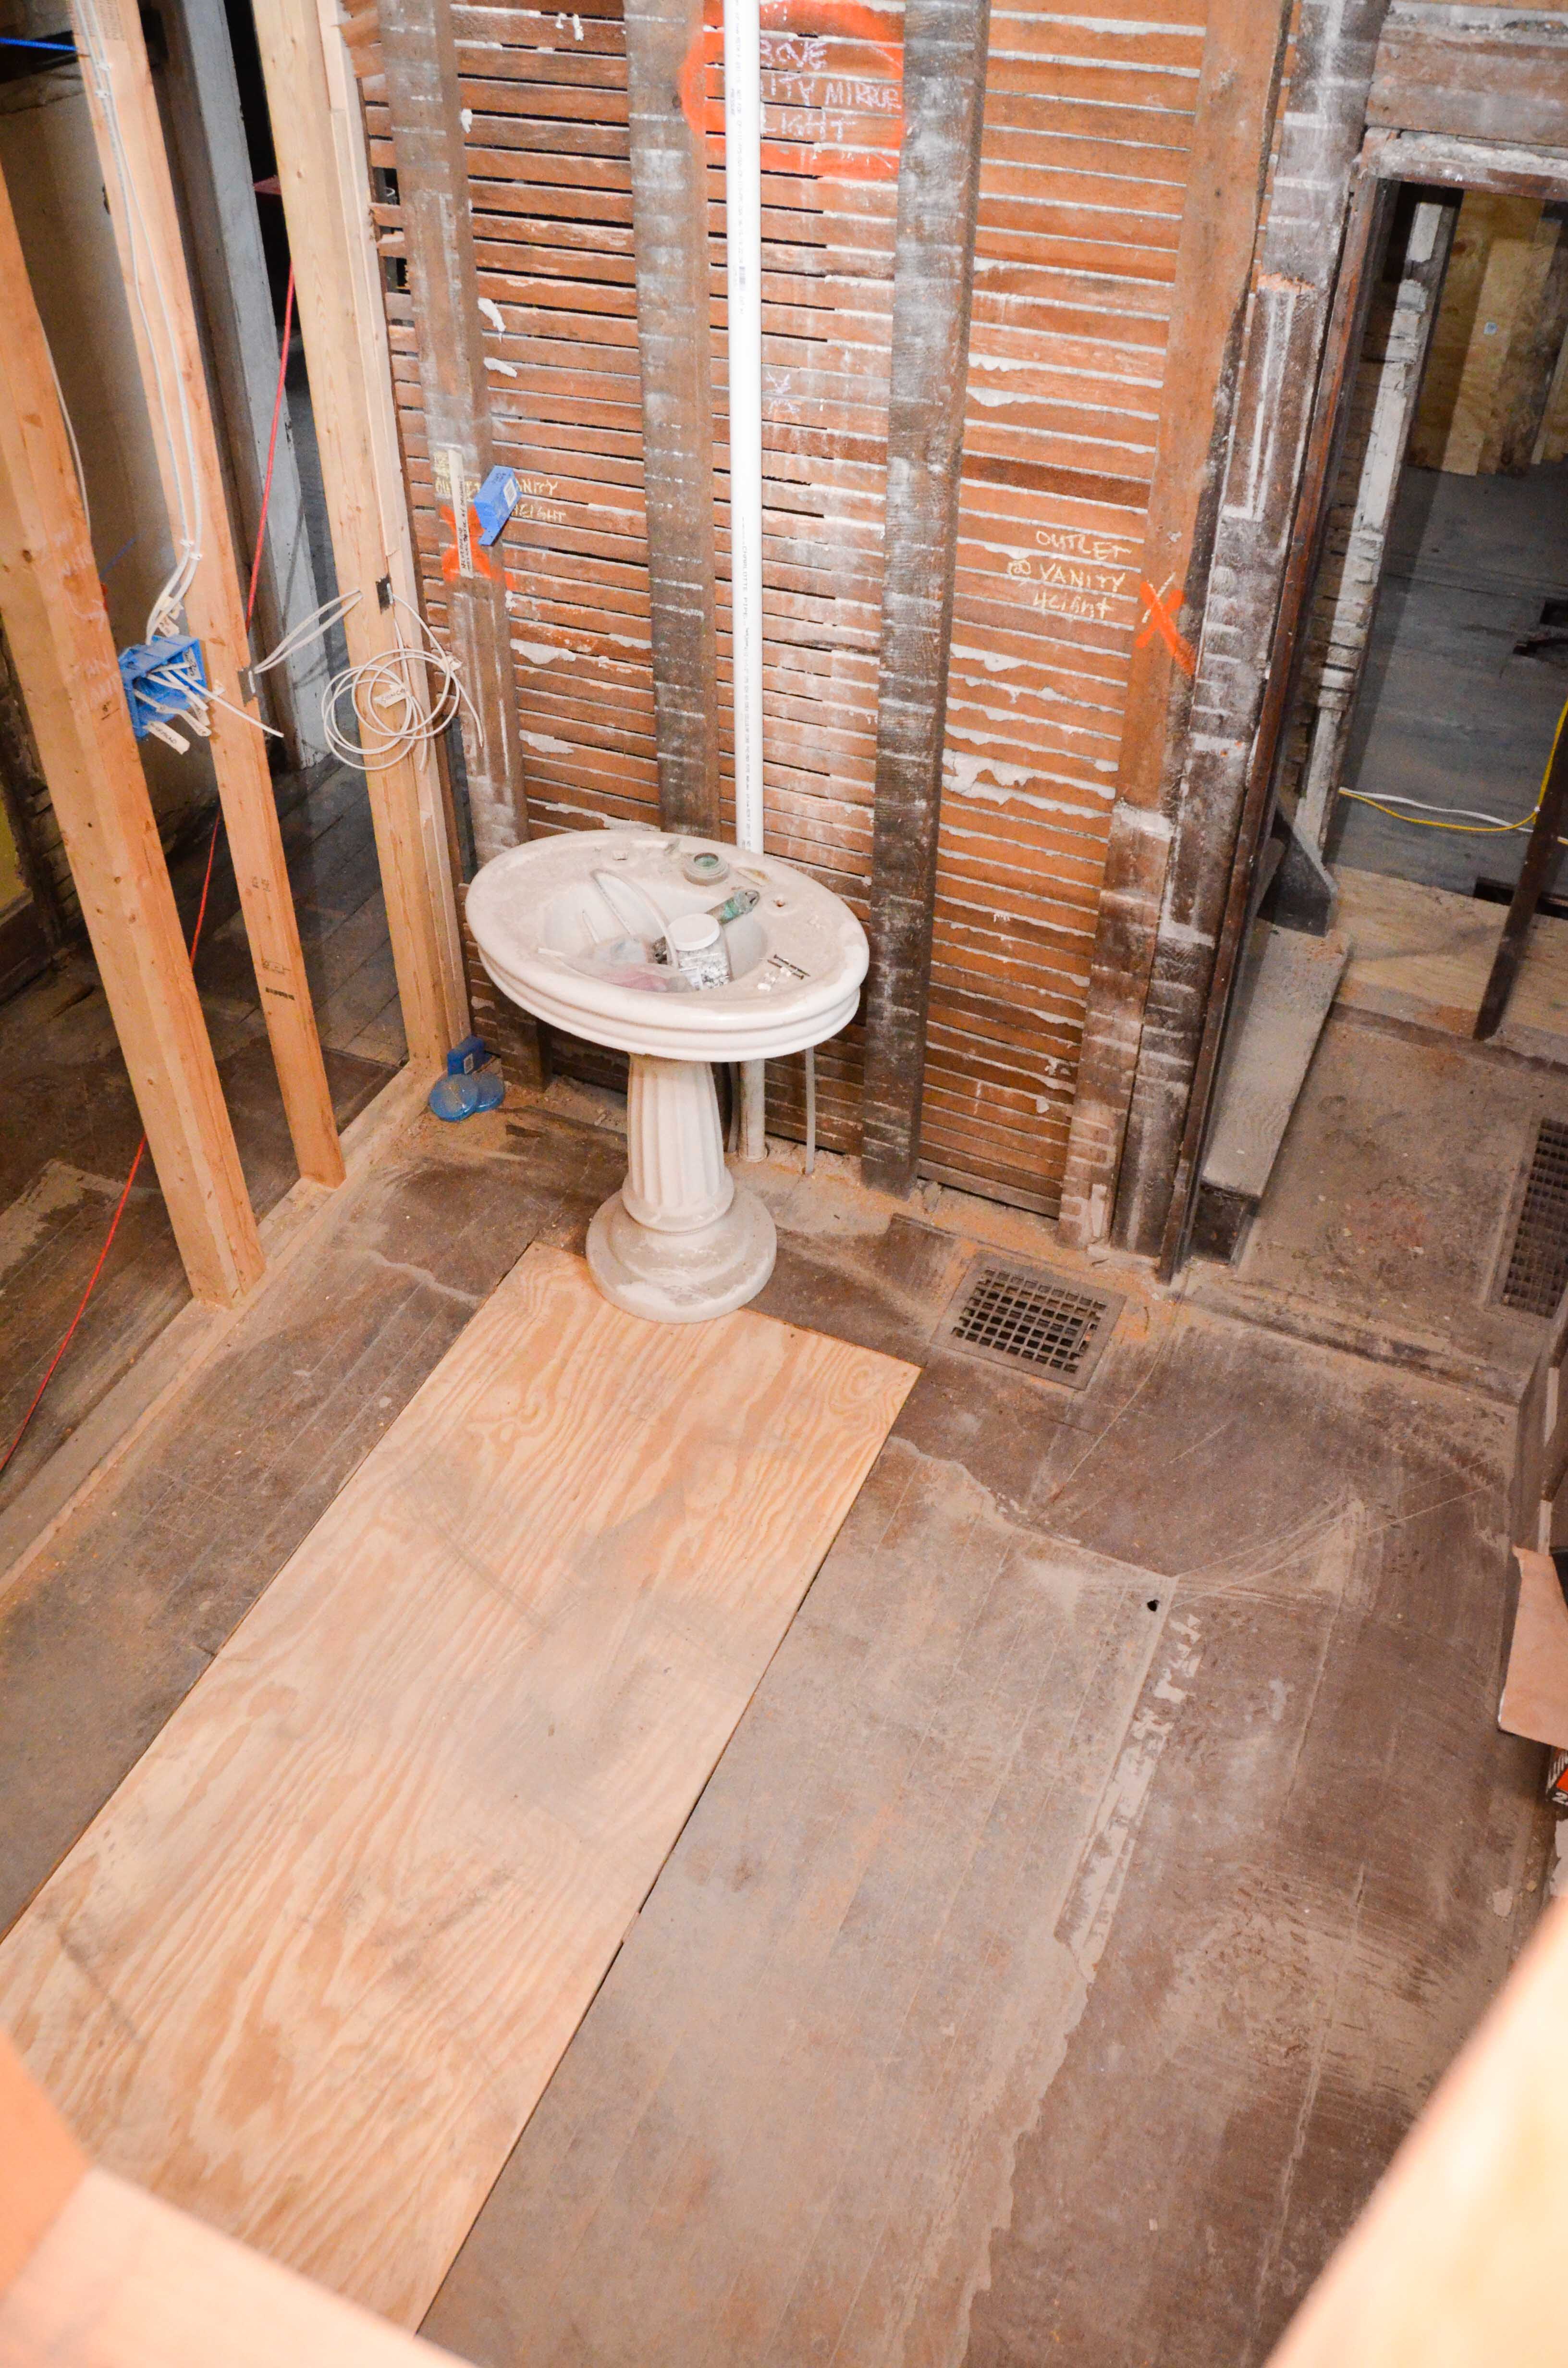
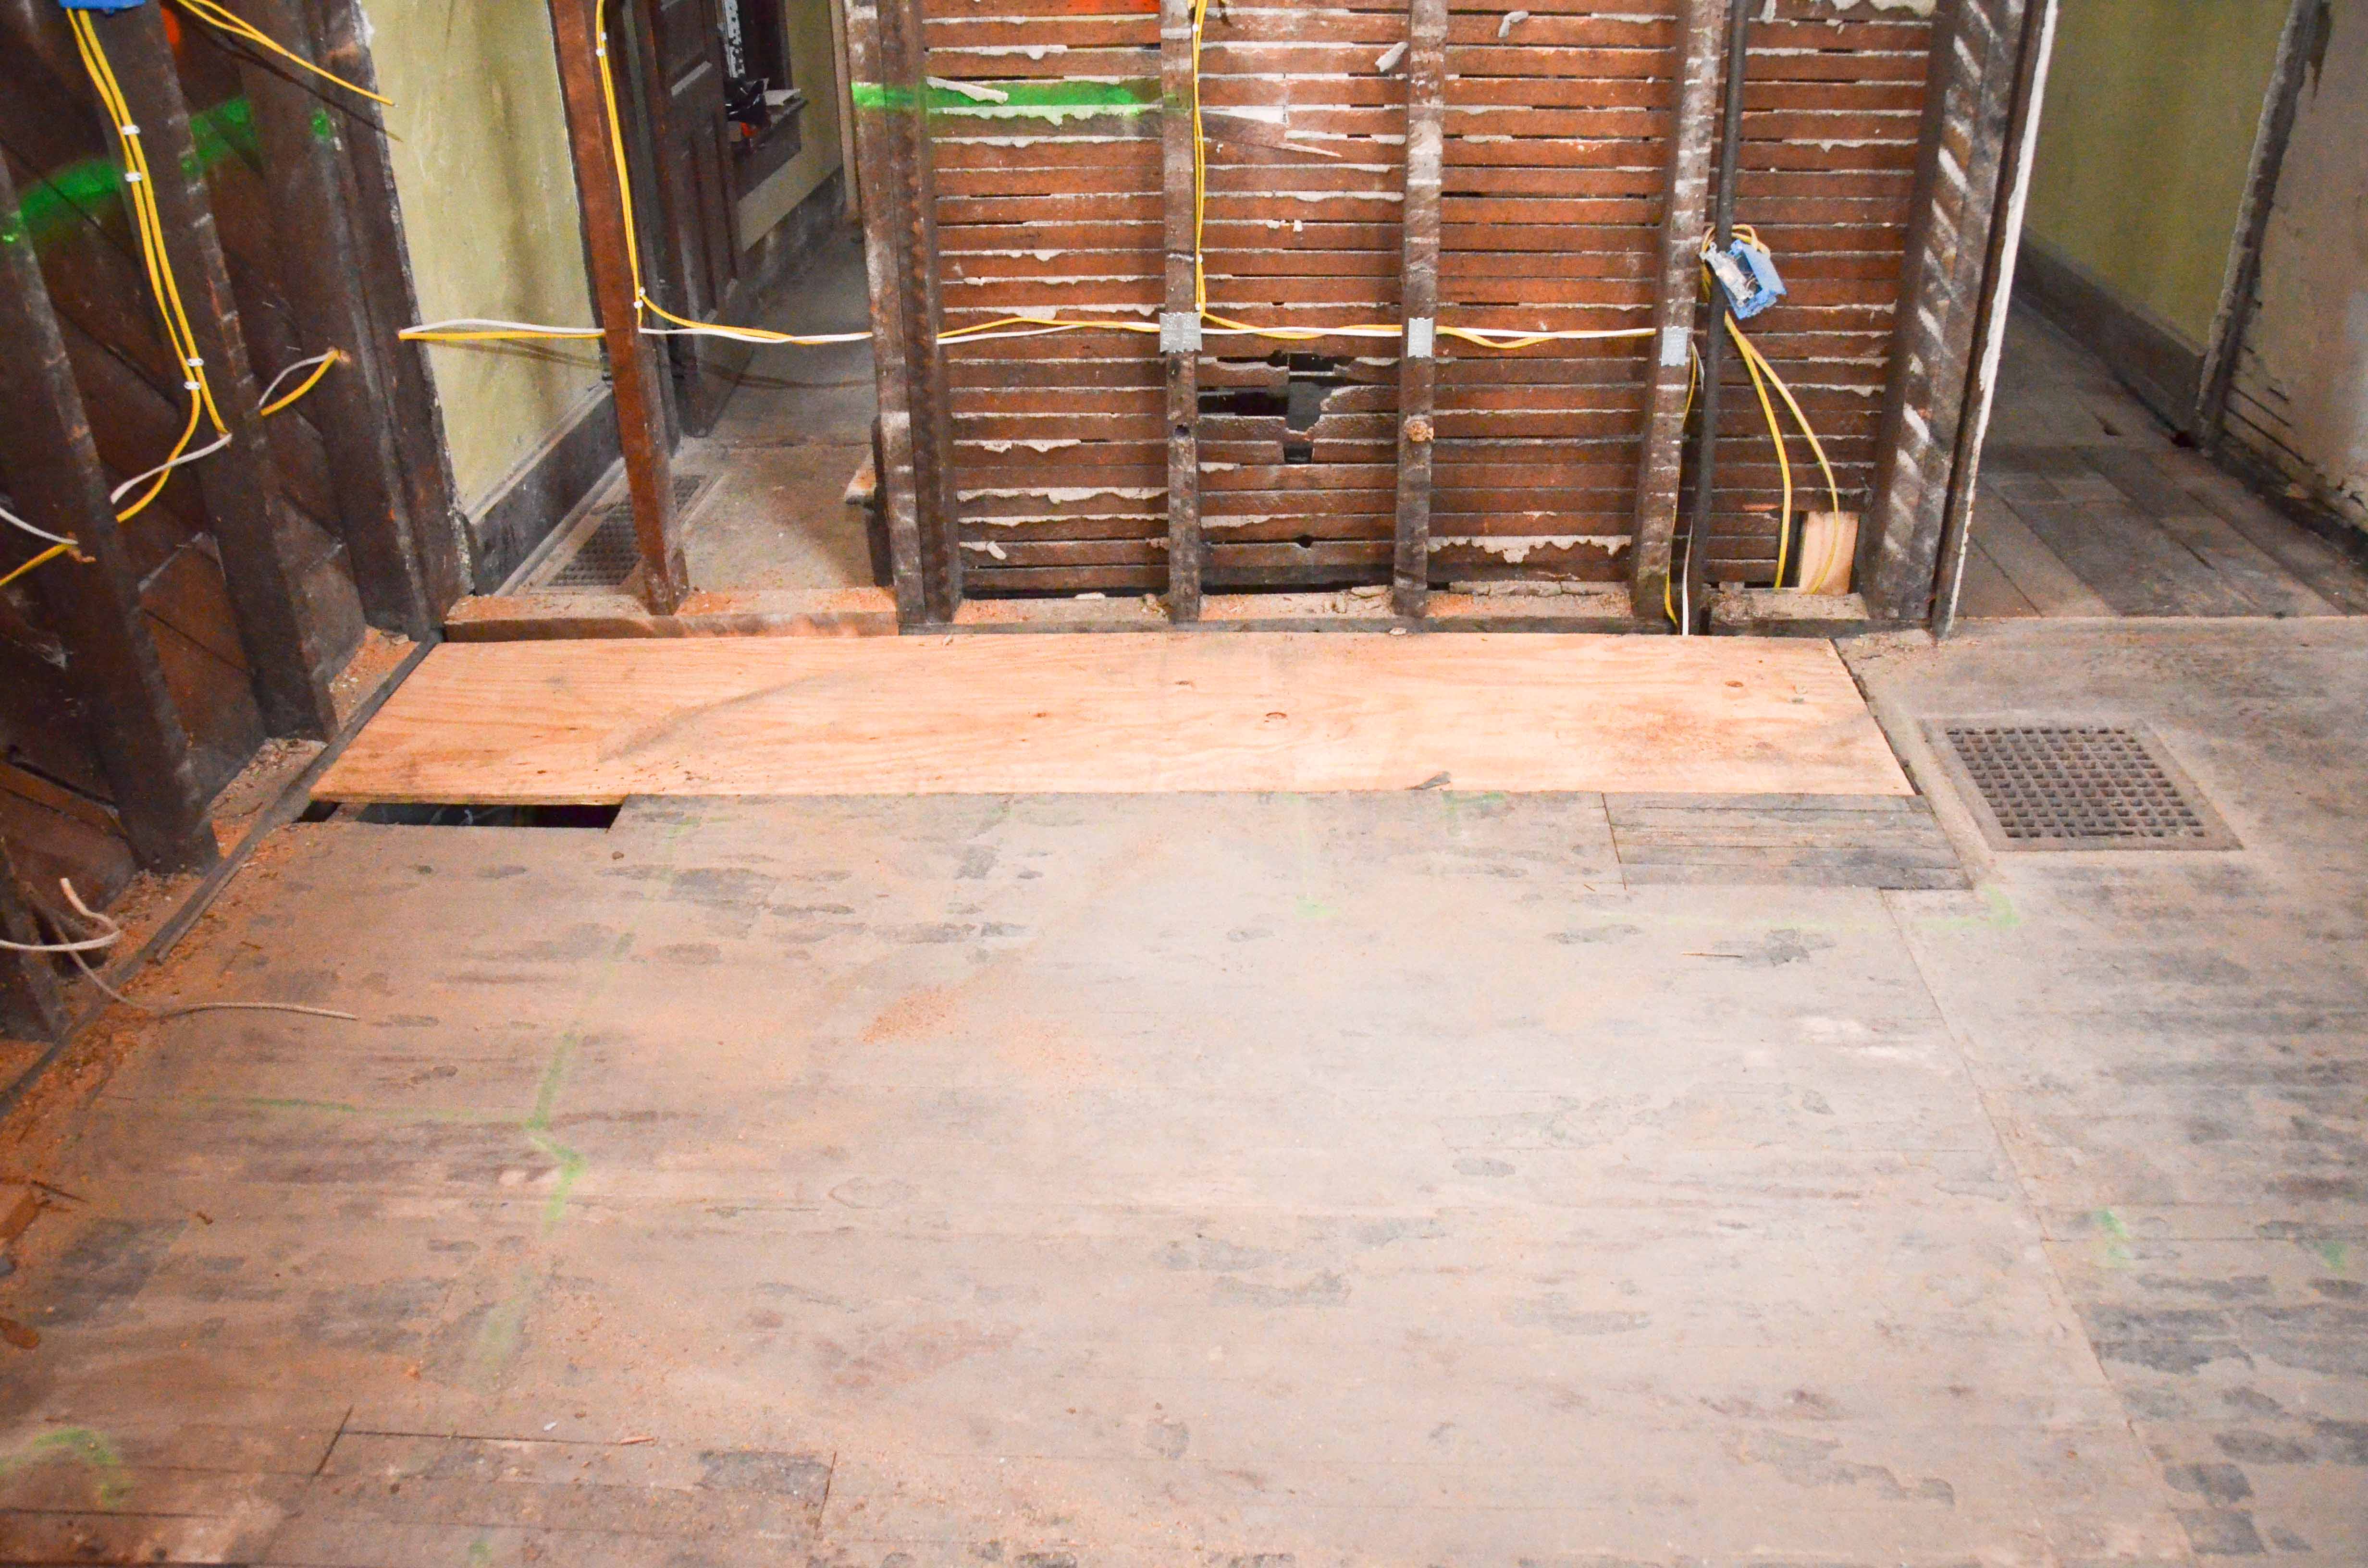
But, look at the final result of the “new floor”…

We just cut 3/4″ plywood to fill in the hole because we will eventually tile the bathroom floor.
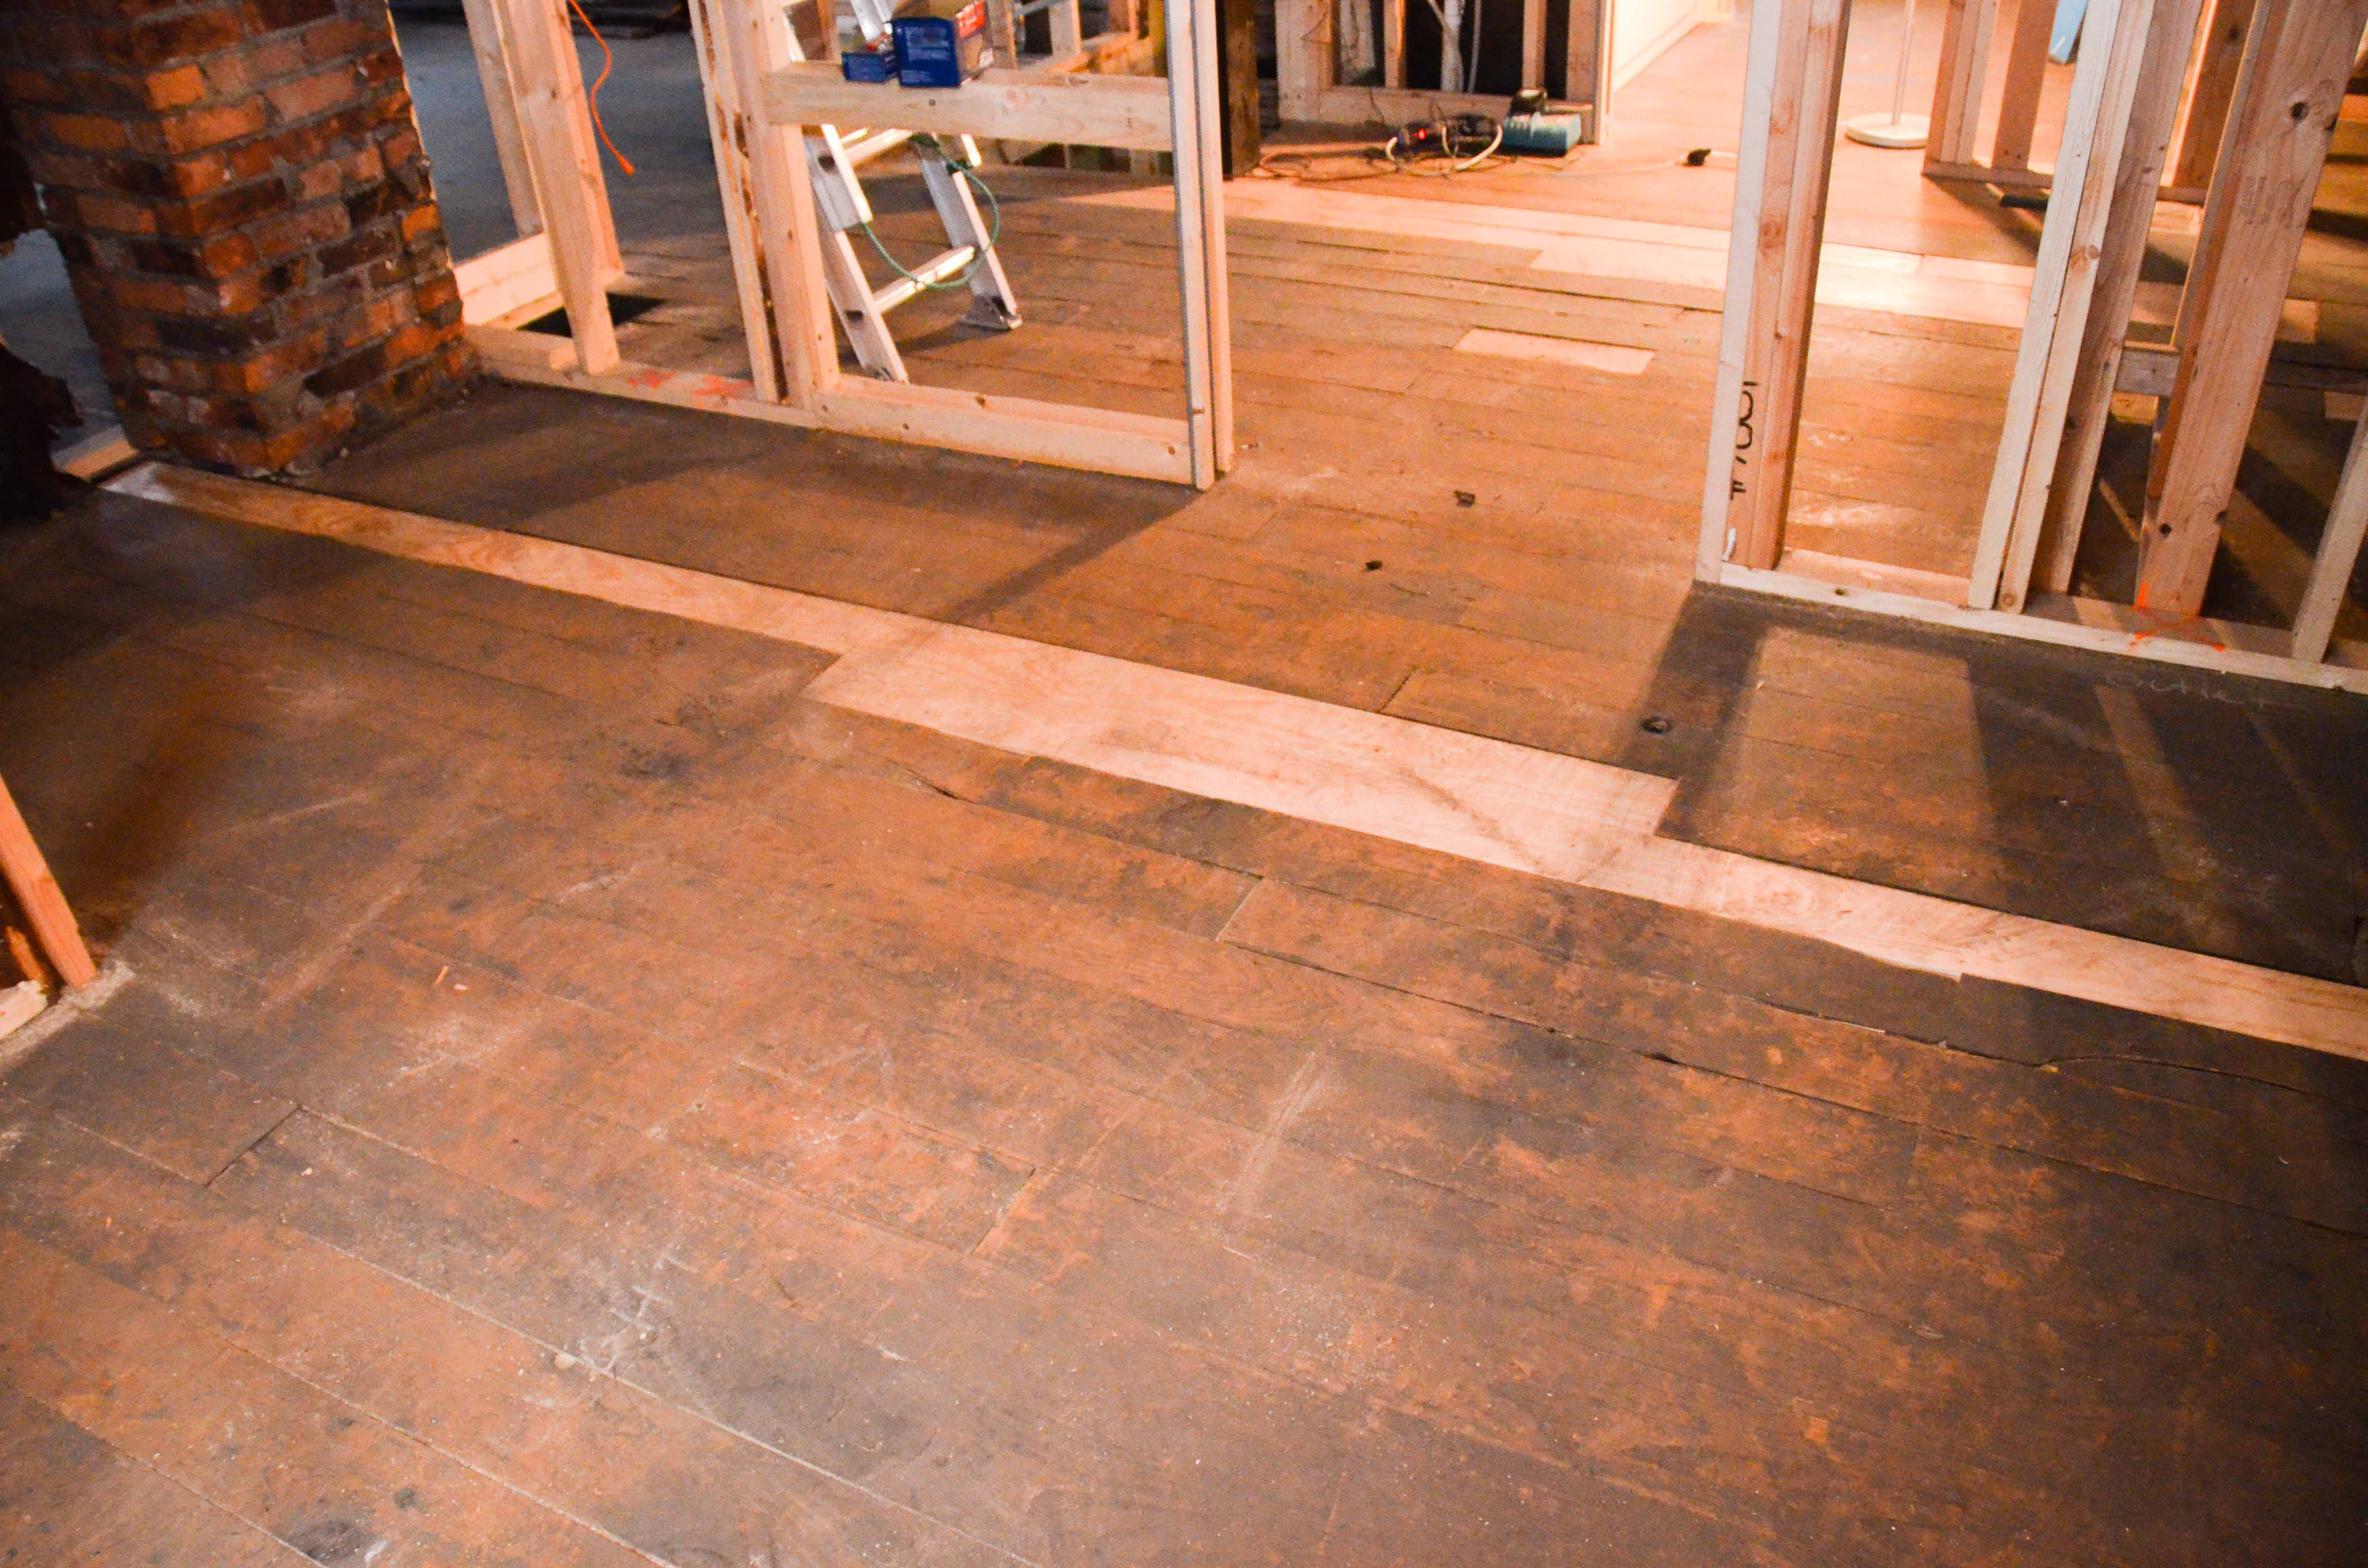
Our kitchen called for more re-use of flooring from other areas. Remember what our kitchen looked liked way back when we first bought it?

The room to the left was a pantry. For some reason the floor boards were slightly wider than in the boards in the kitchen. The door on the far right was the door to the basement steps. There was a step down to a landing… that is the floor that we raised to create a new hallway. The door in the middle was to the bathroom. The floor was the same as the kitchen. When all the walls were torn down, our floors were left with holes and gaps… lots of them.
The areas where the walls once stood looked like this…
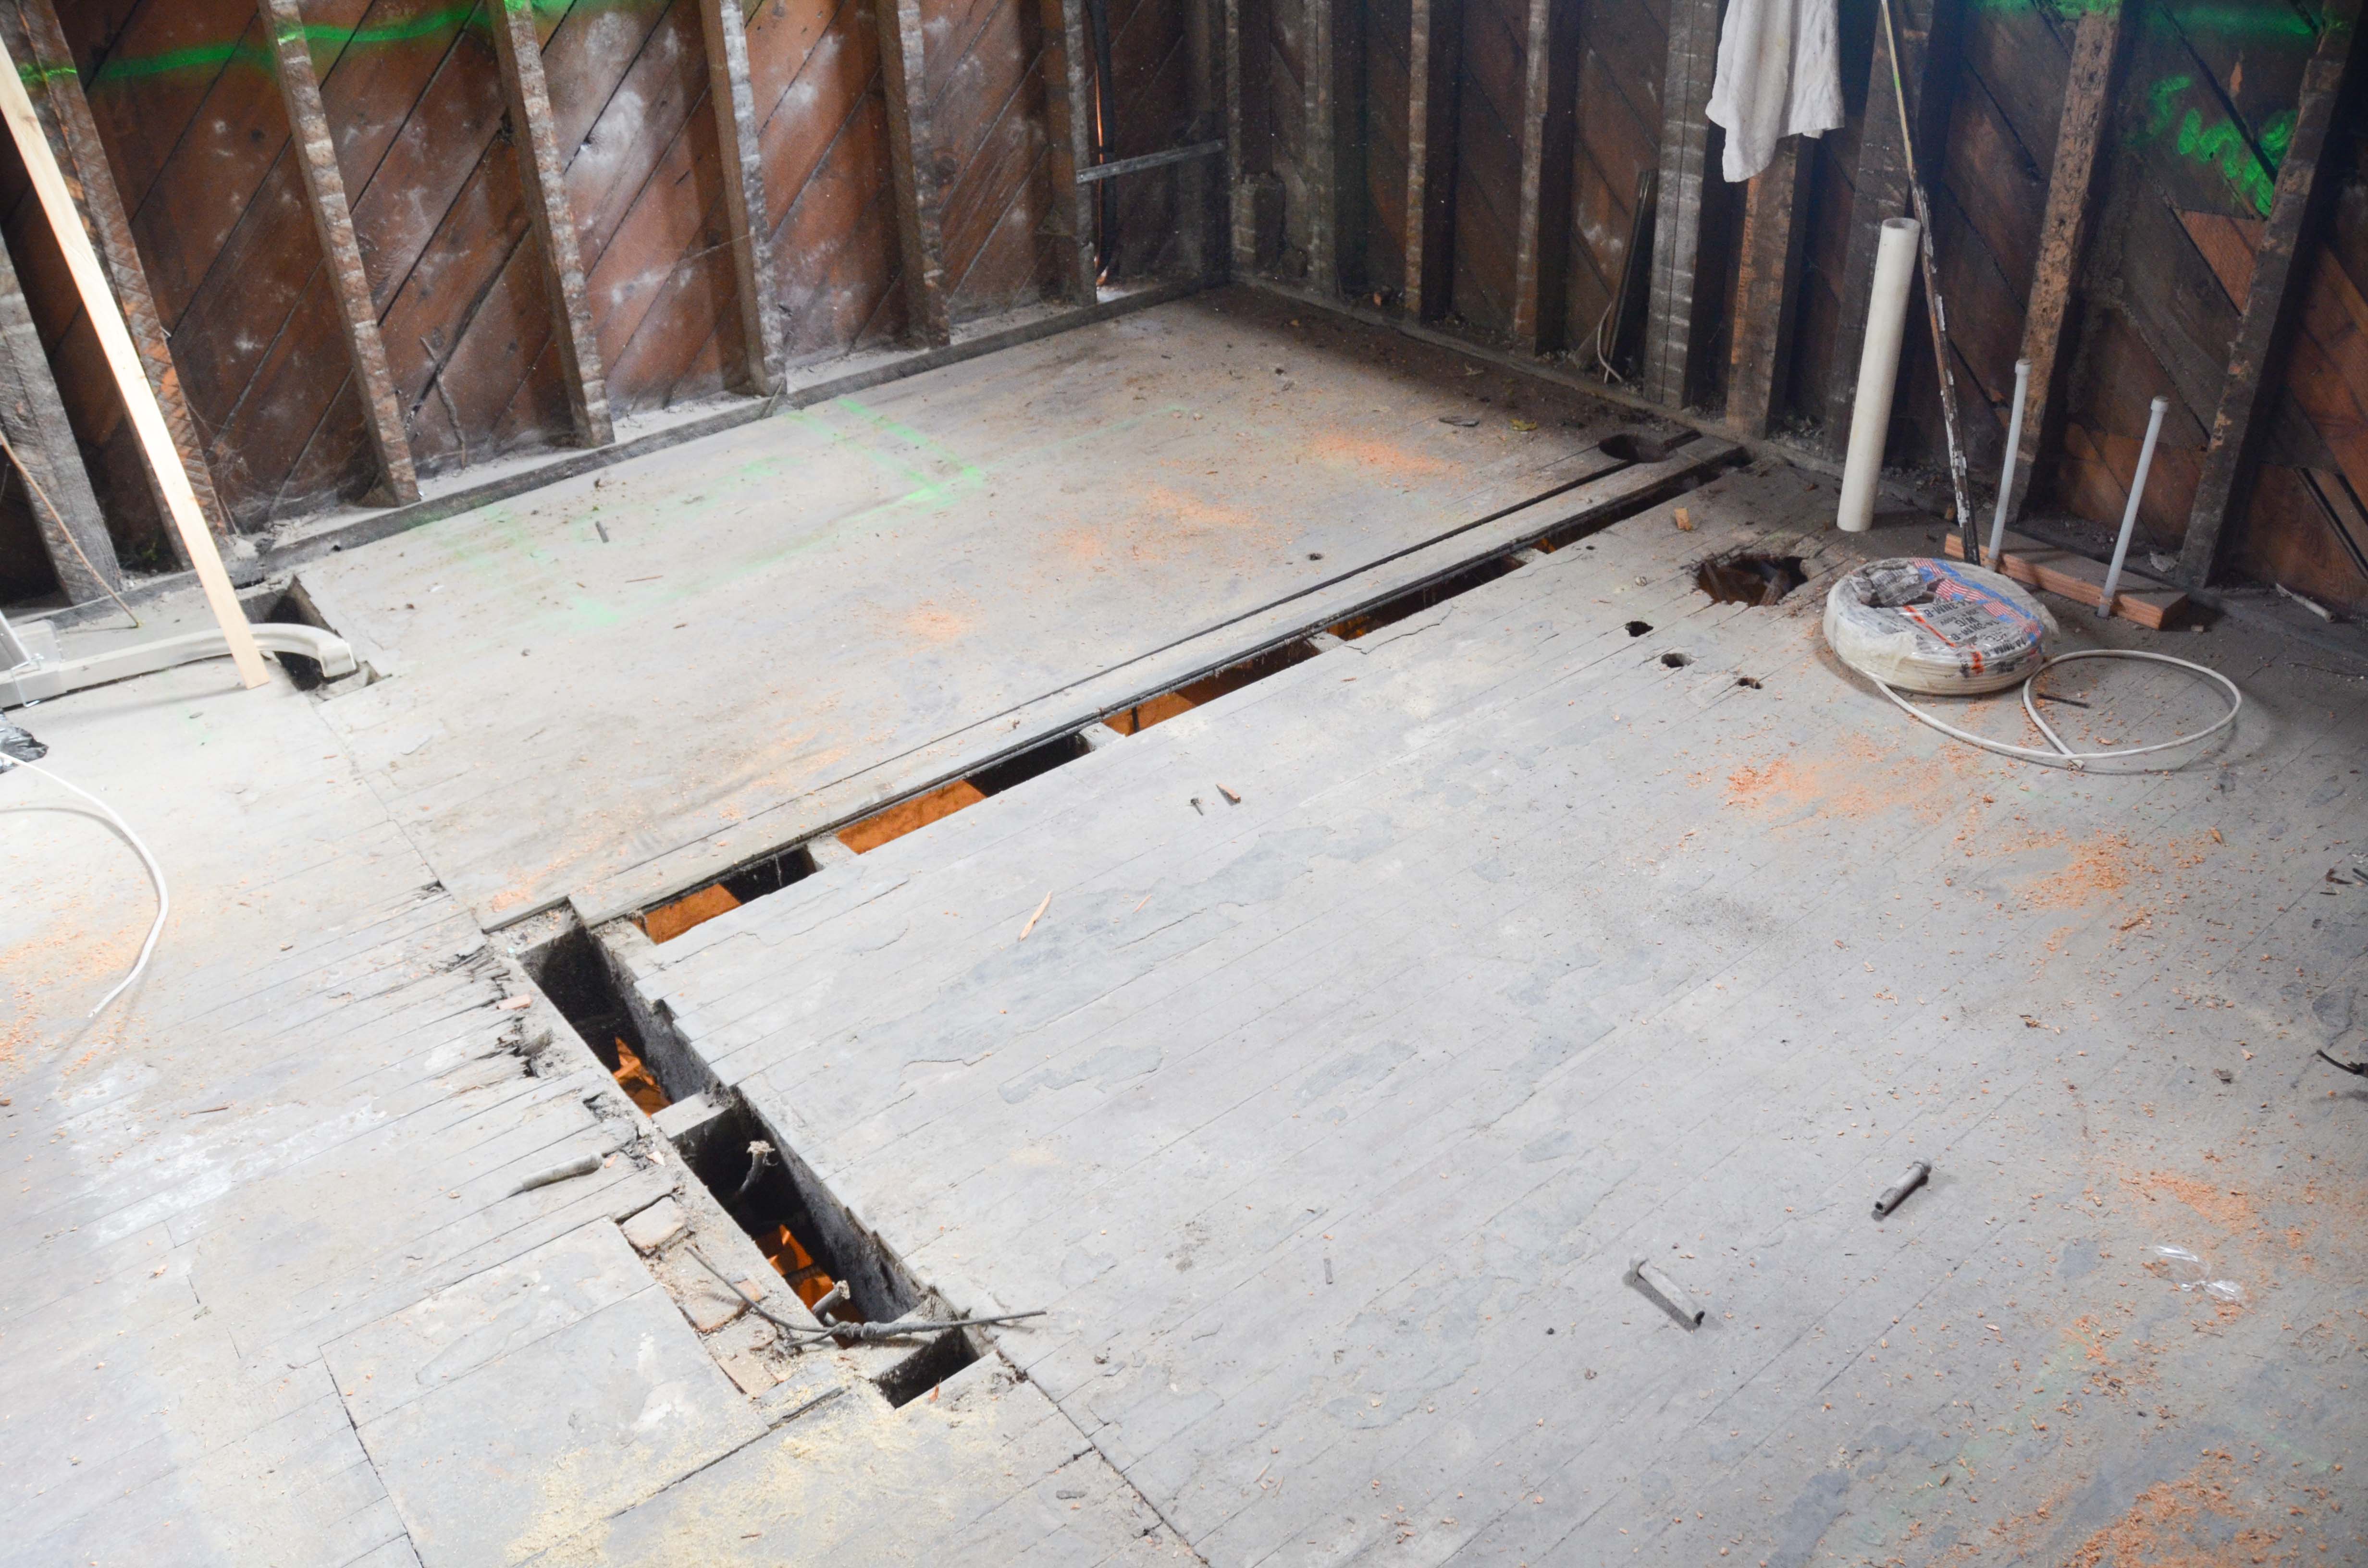
The outer 2′ of the flooring will be underneath cabinets, so we aren’t too worried about those areas. We obviously needed to do something about the middle of the floor. This area was particularly rough…
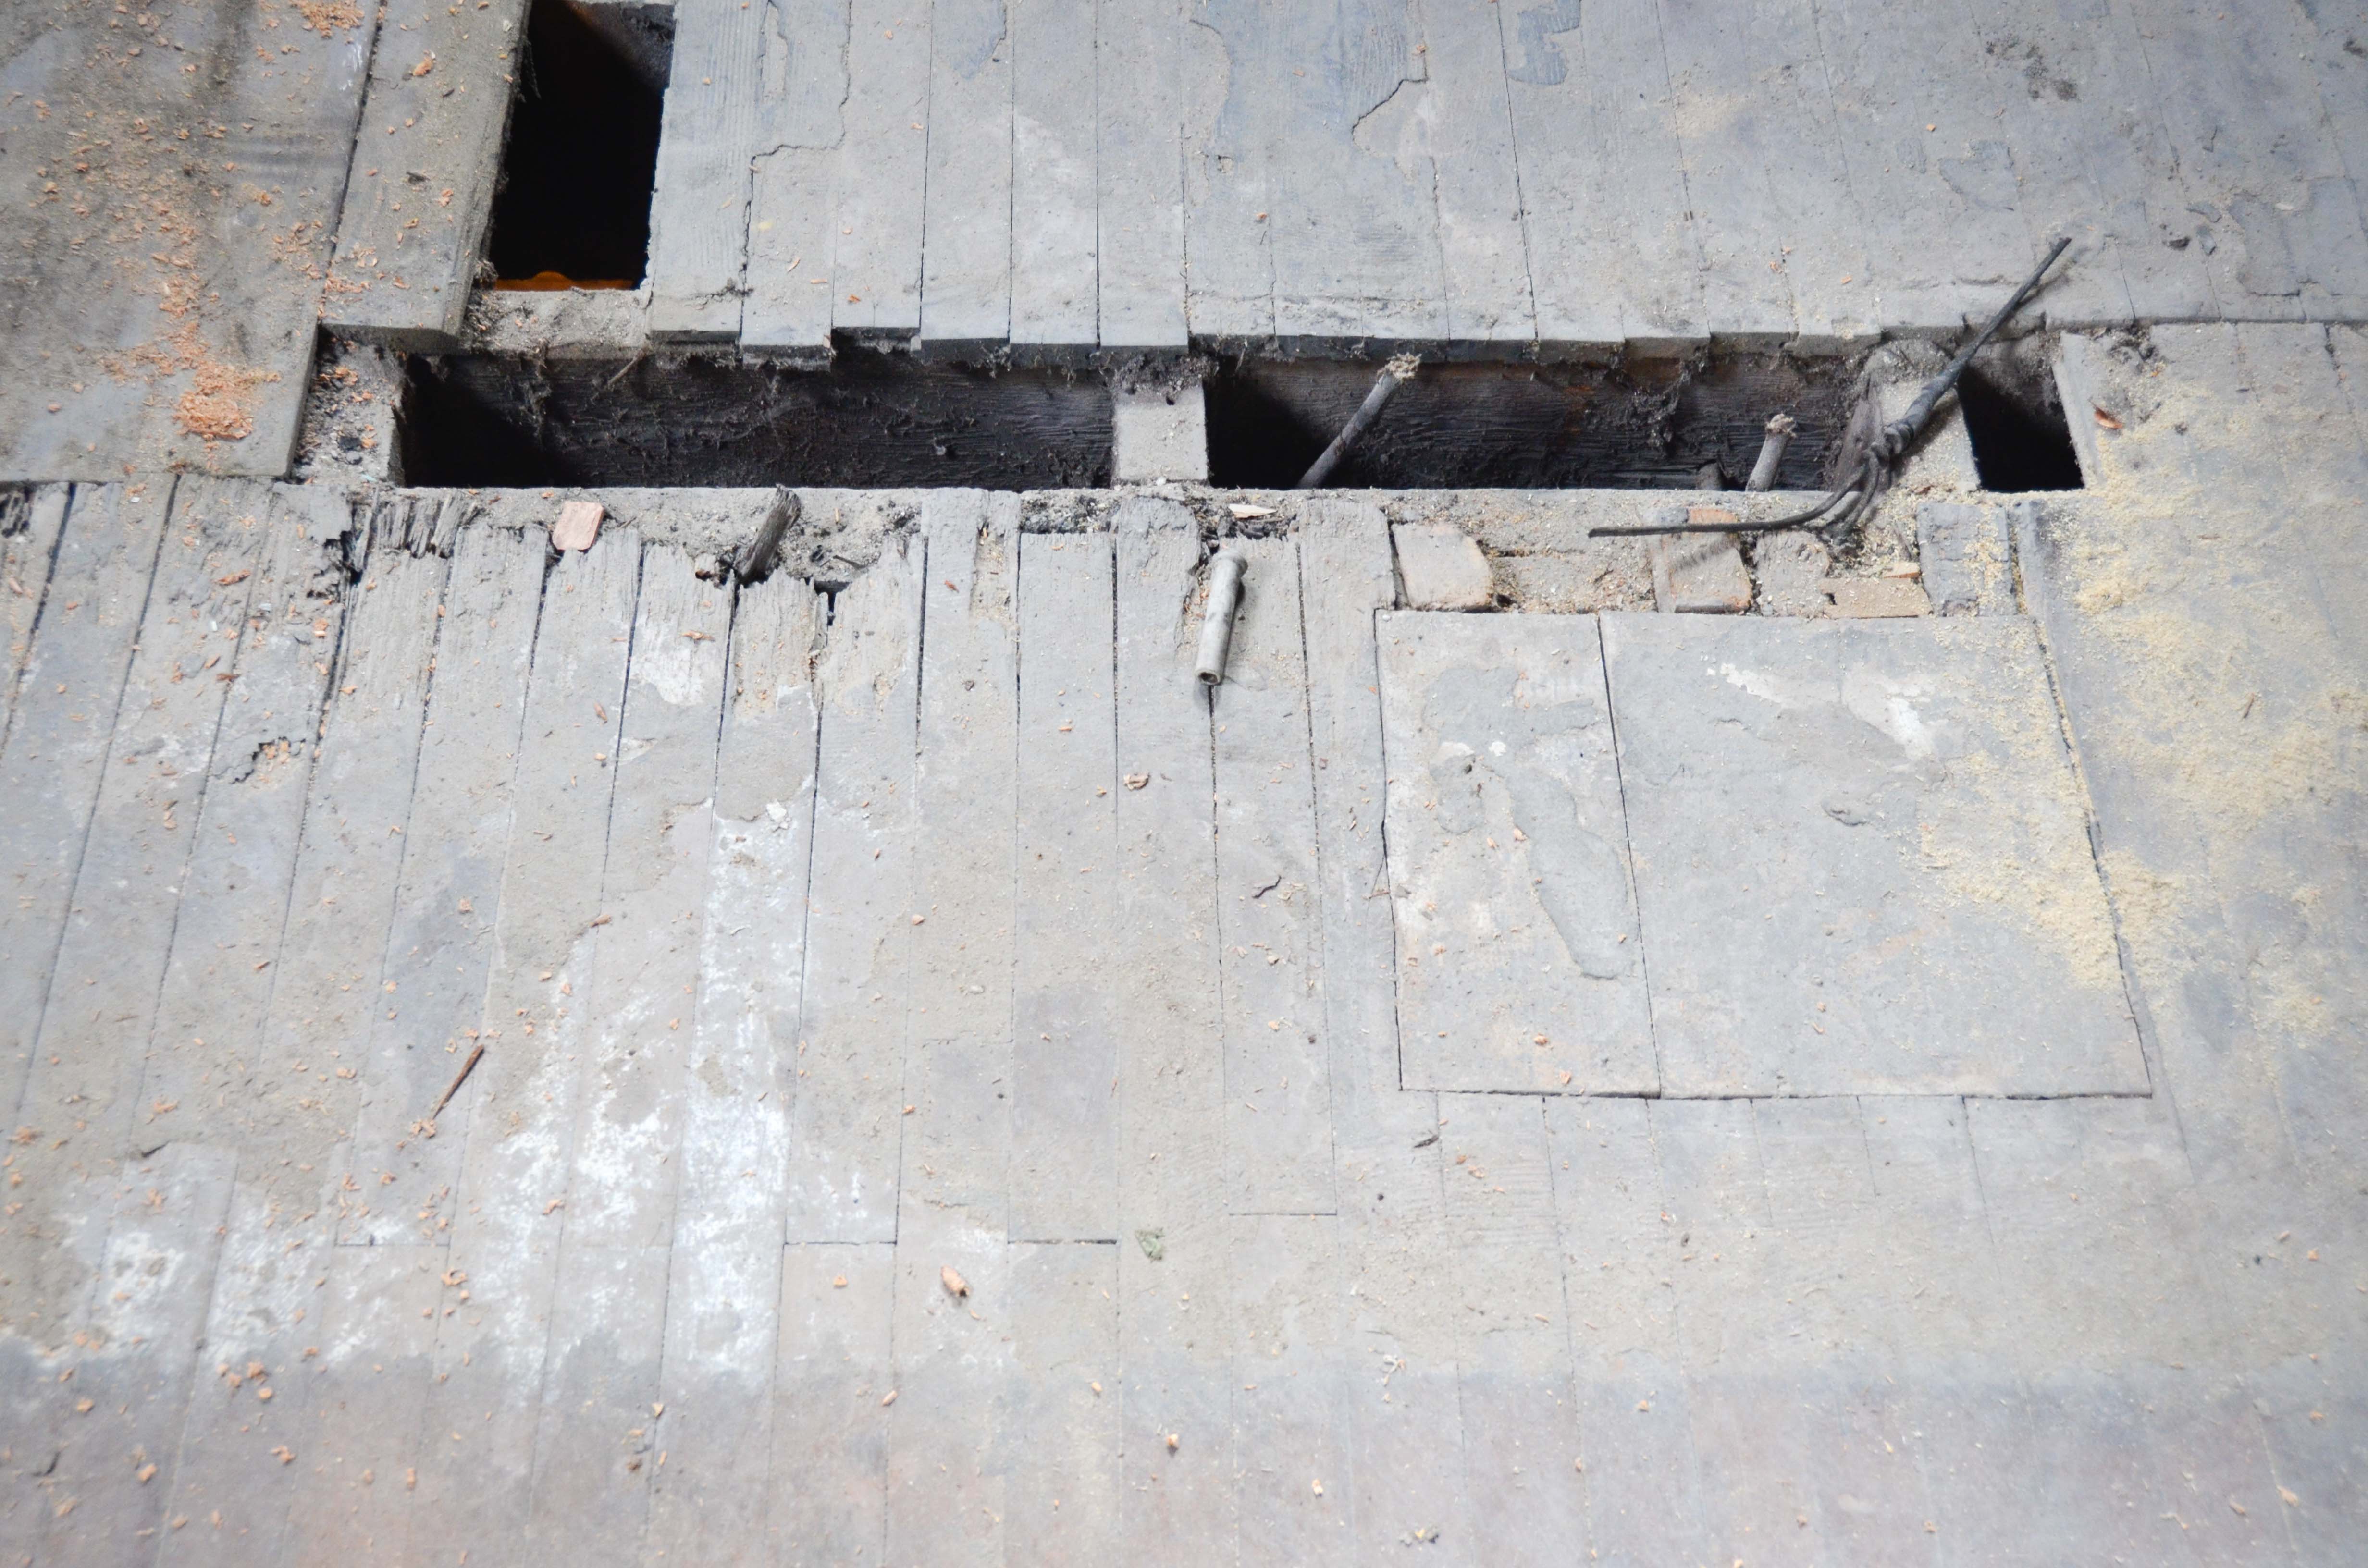
Once again, we took flooring from an area we knew wasn’t going to be seen (under cabinets) and used that fill in the gaps.
That area was fit with plywood…
Here is what the floor looks like now…

Before…
After…

Yes, I know it looks a little hodgepodge. It is very obvious right now where we patched the holes, but that is because the finish on the boards we stole from the old bathroom are different than the kitchen. Once we sand the whole floor it won’t be nearly as noticeable. Yes, you will still be able to tell that the new kitchen space came from combining three rooms, but we kind of like that. It’s like a relic of the past… very similar to our bathroom closet that contain the first few steps of the old stair case. We don’t want perfection, we want history, character, and a story to tell.

Taking flooring out of the bathroom is a good move. I wish I had ripped it all out during the demo phase because after I did framing I noticed that the specs of Hardibacker said that only plywood, not dimensional wood, is a suitable subfloor for it. So now I have so many layers built up in the bathroom that there’ll be a small ramp made of old pine instead of a nice marble threshold.
LikeLike
Thanks for the tip. We might just rip it all out. I hadn’t thought about Hardibacker not working with the existing subfloor.
LikeLike
plus my local salvage yard sells old pine for $7 a square foot! I paid it but thinking about how I didn’t have to made me cringe a bit
LikeLike
Wow!!!!!
A massive job!
We still got floorboards in one of the bedrooms (used to be the old kitchen) that still has old scraps of 1940s newspaper stuck to them. I kind of like it!
It’s all going to look amazing when it’s finished.
LikeLike