Week 38 – Joe
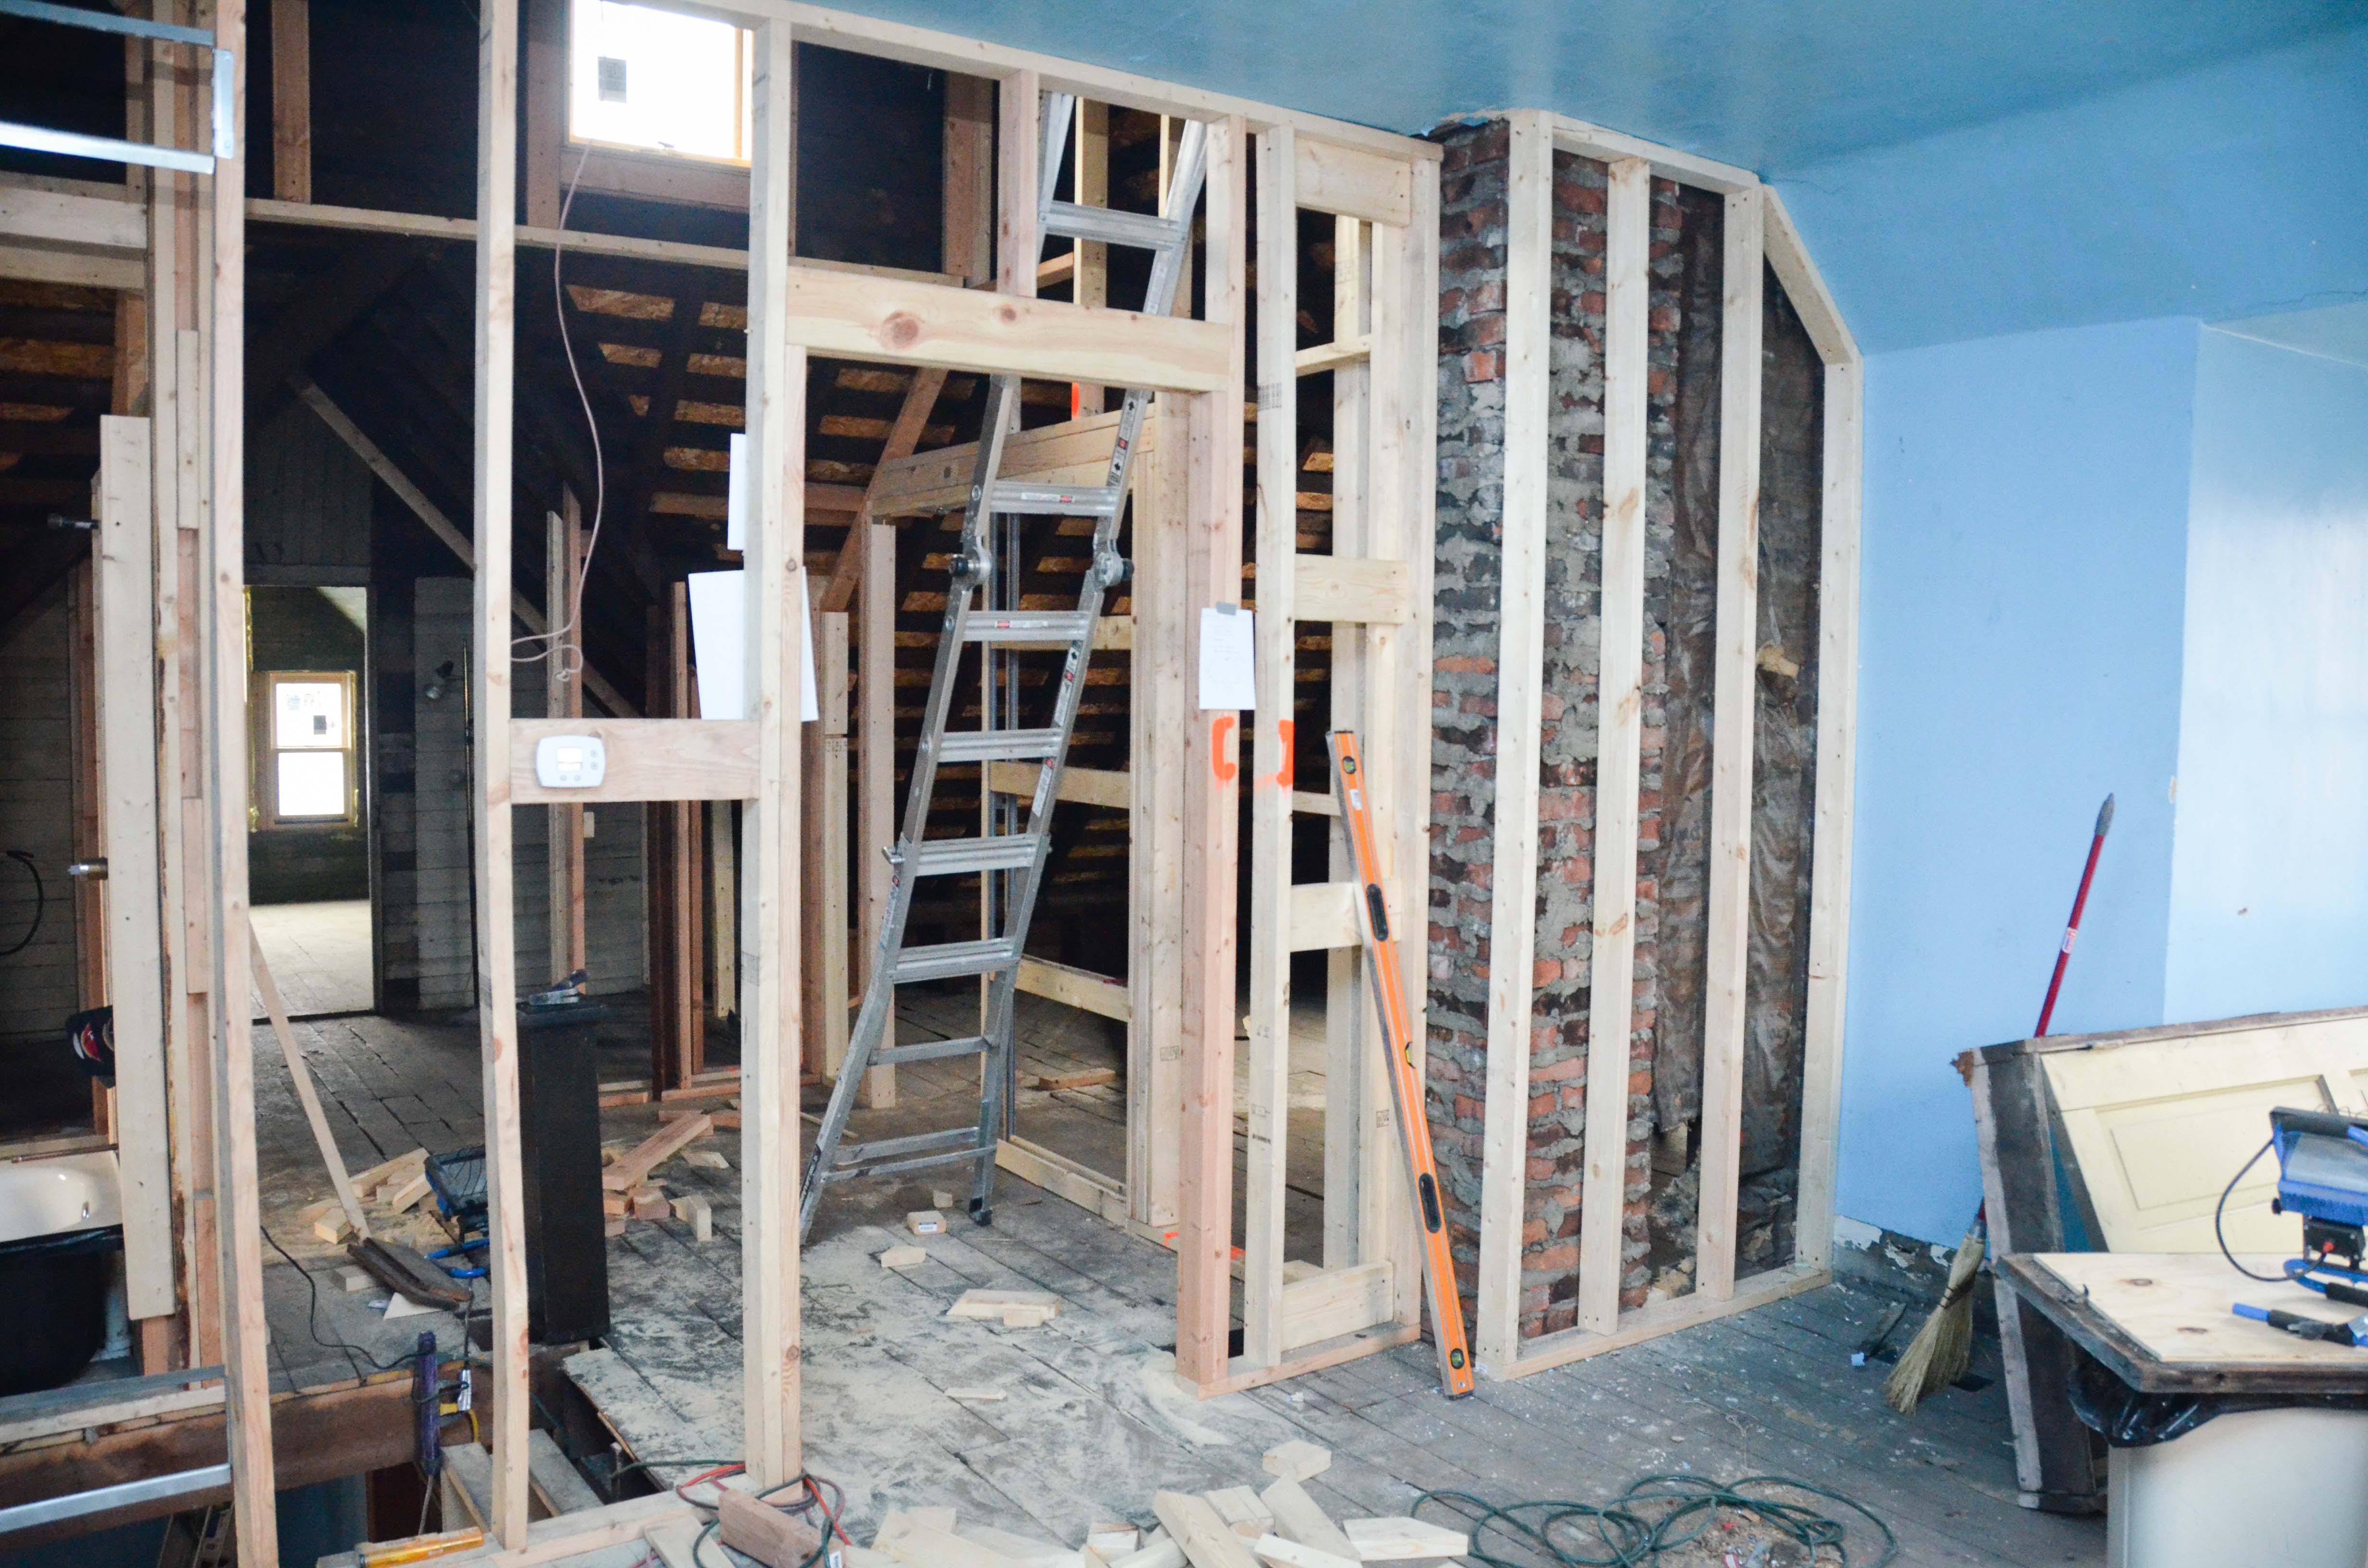
We are now in our 2nd week of Christmas vacation and our 3rd week of having our wonderful carpenter at our disposal. This is the last push to get everything wrapped up before we insulate and drywall. That means finishing all the little details of framing and blocking. Besides the loft, there aren’t any major new areas that have been created. But there are many little items that we can now check off our list. Here we go…

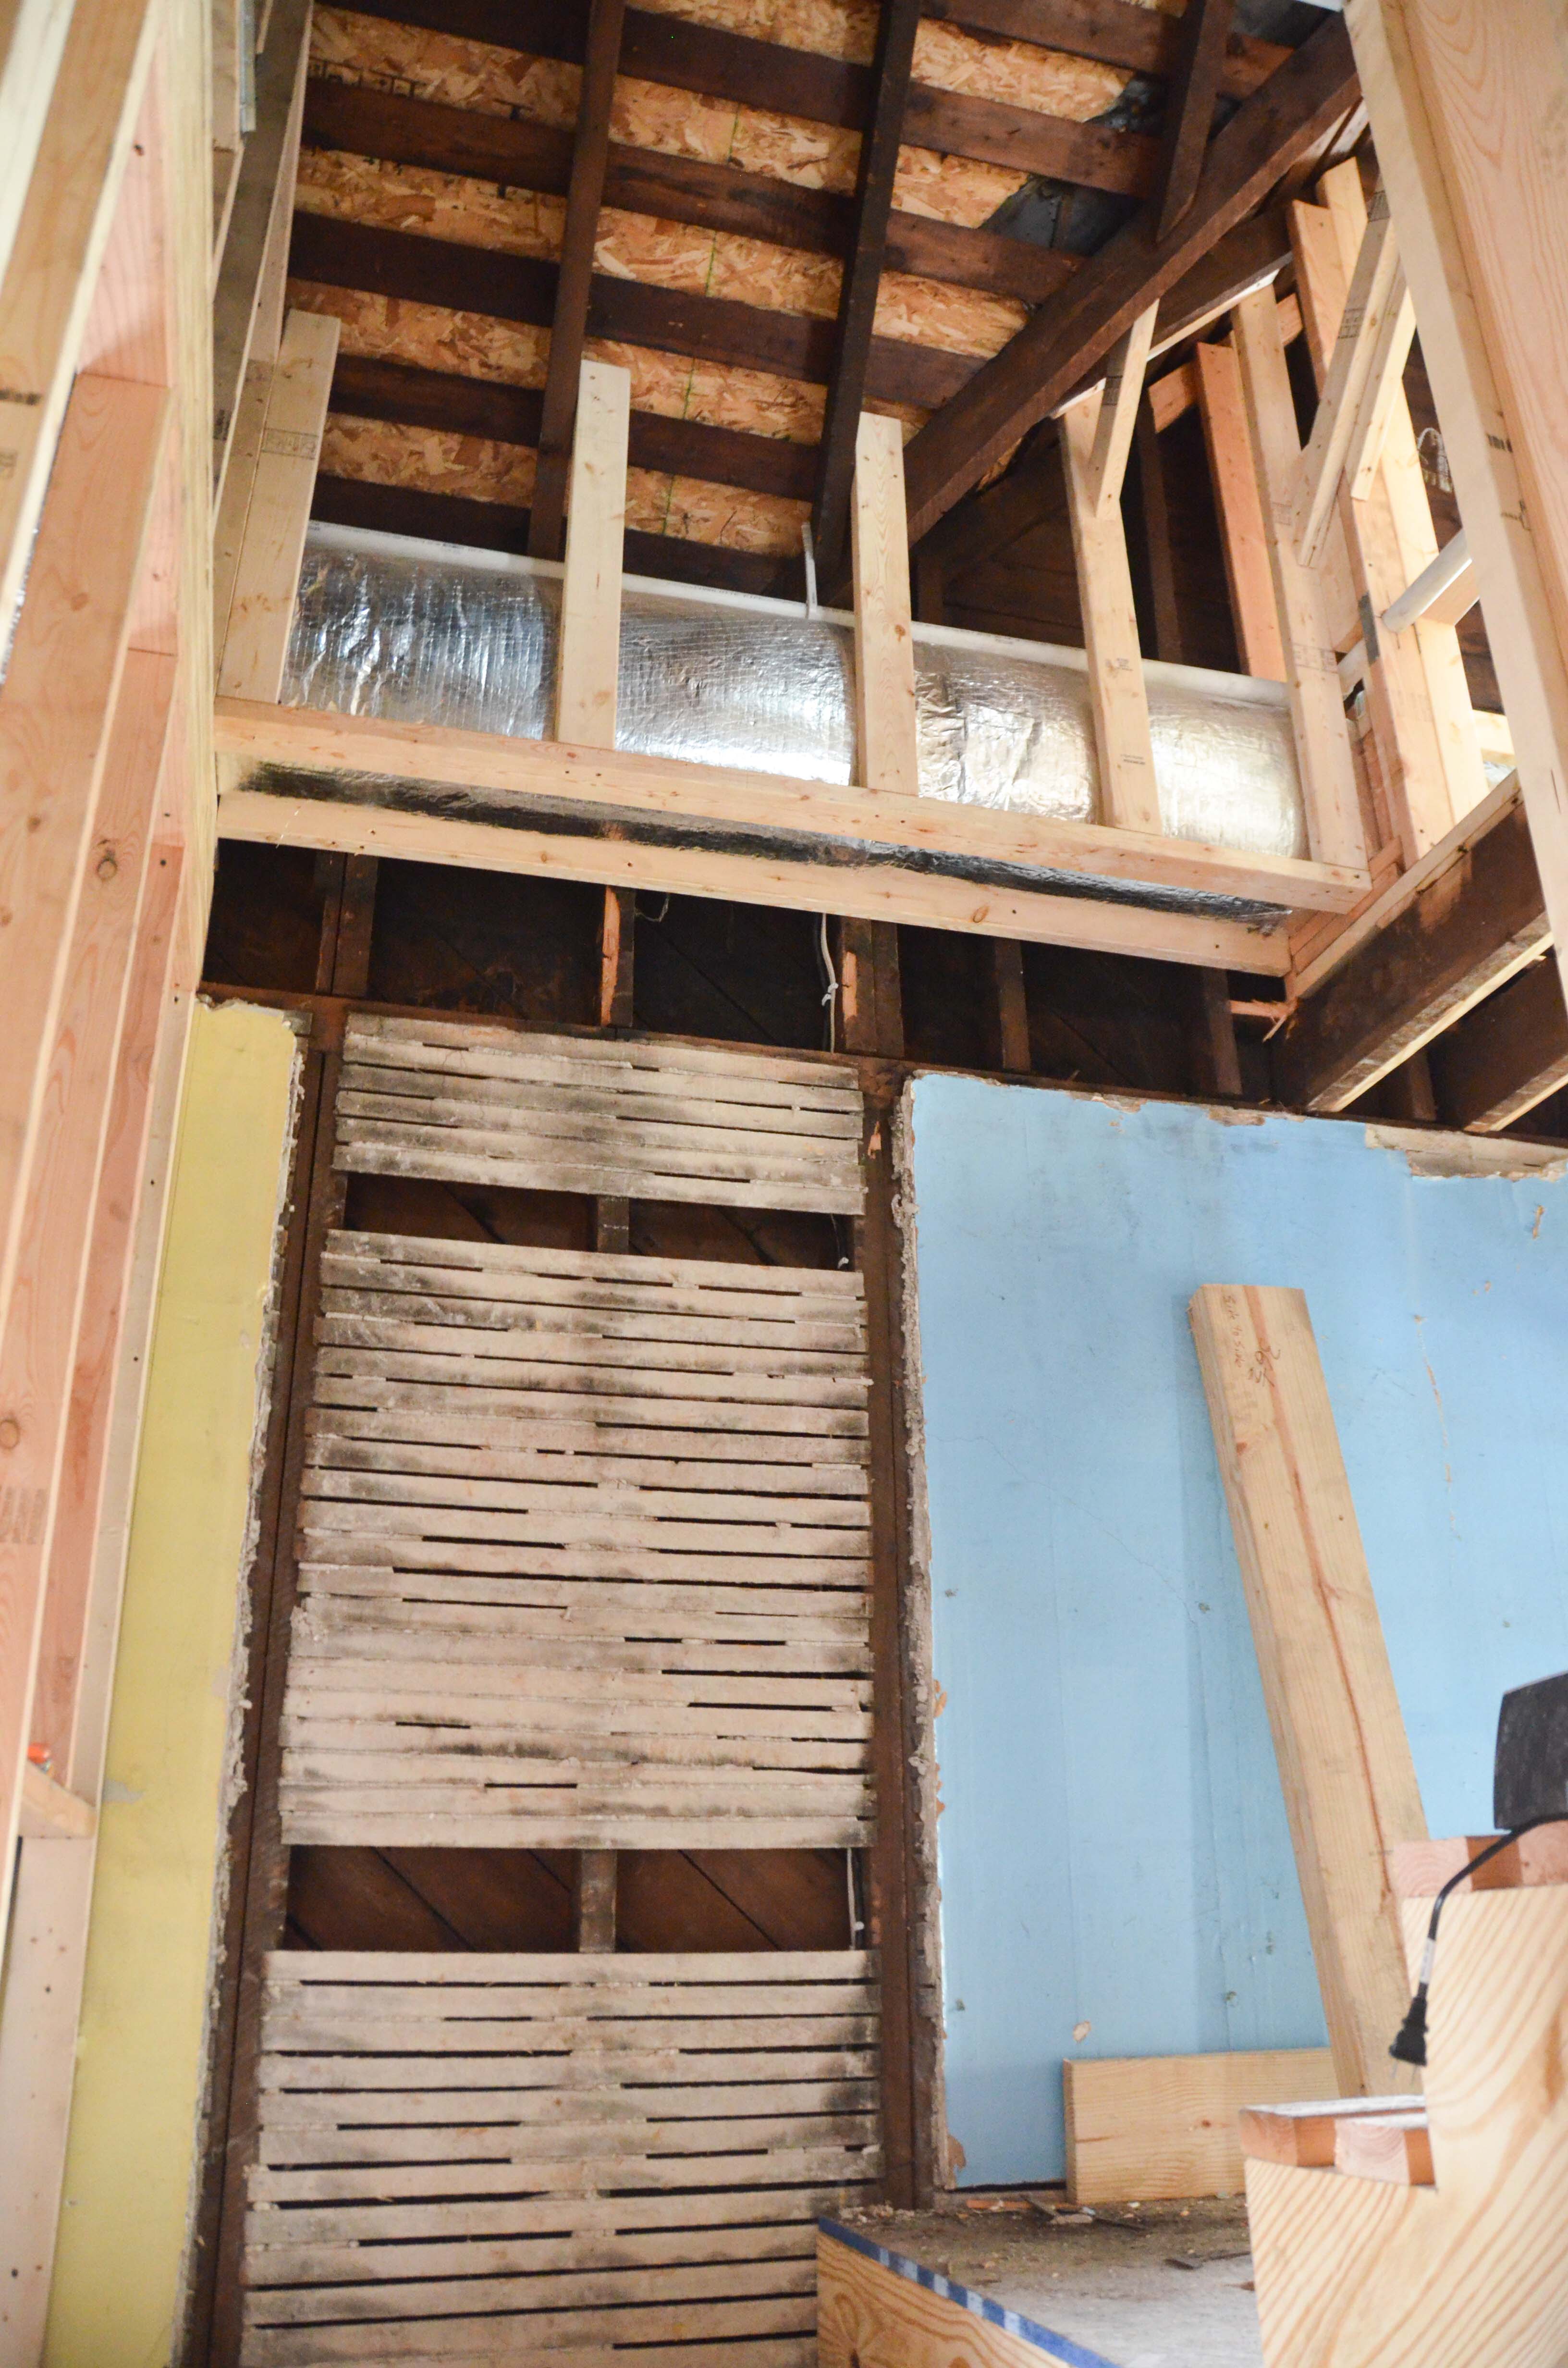
1. The basement stairs have been completed. We mentioned earlier that the new entry into the kitchen is awesome for the flow of the house, but is also meant raising the floor that was once the top landing of the basement steps. That also meant that we needed a new staircase to the basement. We knew the stairs would be steep because we raised the height without allowing for more length. They turned out to be no steeper than the basement steps in our current house (which are also steep). In addition, the removal of the old stairs to the 2nd floor caused expected damage to the plaster so I spent a good chunk of time removing all the plaster on the walls of the basement steps and also on the walls of the new bathroom closet. The lathe will remain and we will just drywall on top of that.
[Edit from Amy: This whole paragraph reminds me of the book, “If you give a mouse a cookie”. See also: one thing leads to another.
At one point half of the old basement stairs were there and the other half were removed, causing you to either jump (not recommended) or climb down the rest of the way on a ladder. At the same time the stairs were in this condition, Joe’s step dad came to check in on things and nearly fell down the stairs in the darkness. “Sorry Jim, we forgot to tell you about that.” The same week Jim put his foot through a loose floorboard on the second floor. “Yea, we try to avoid that one.” It’s turned into quite a construction zone. We need some orange cones or something.]

2. The shelf inside the new storage area above the new basement door is framed in. This door was salvaged from an old closet that we had to remove to build the new stairs to the 2nd floor.

3. The area of the master bedroom that used to be open because of the old stairs was framed out for new flooring. We had to make a decision about the nook that was created in this corner of the room. In the end, we decided that we would not use that floor area because we wanted to have one flat wall. Having this one wall available from end to end will allow us much more flexibility for furniture and bed placement. There will be an access panel to that area behind the wall which will then allow access to another panel that will allow access to the furnace. Got that?
[Edit from Amy: Seriously, WHAT is going on with the paint colors in here?]

3. Also in the master bedroom, the chimney is now framed in. It was originally behind a wall but we had to demo that area when we moved the wall back to allow more space for the new stairs. We were hoping to keep the brick exposed, but this side of the chimney is in awful shape. The side of the chimney in Aiden’s room looks great and will be left exposed.
4. Aiden’s room now has a pocket door. We initially just had a normal door, but the more we thought about it the more we realized a pocket door would allow us to utilize the limited flat-wall space available in that room. Also, it will mirror the pocket door for the bathroom, which is directly across the common area.

5. The bulkhead for the vent has been completed. The location of the upstairs furnace dictated that we run the duct work across the open area above the stair landing. It is high enough and close enough to the wall that it does not cause any issues with head space.
[Edit from Amy: I spy cables in the wall.]
6. That same ductwork runs through the bathroom and has now been framed in. This chase will now become a nice bench that will run wall to wall underneath the window.
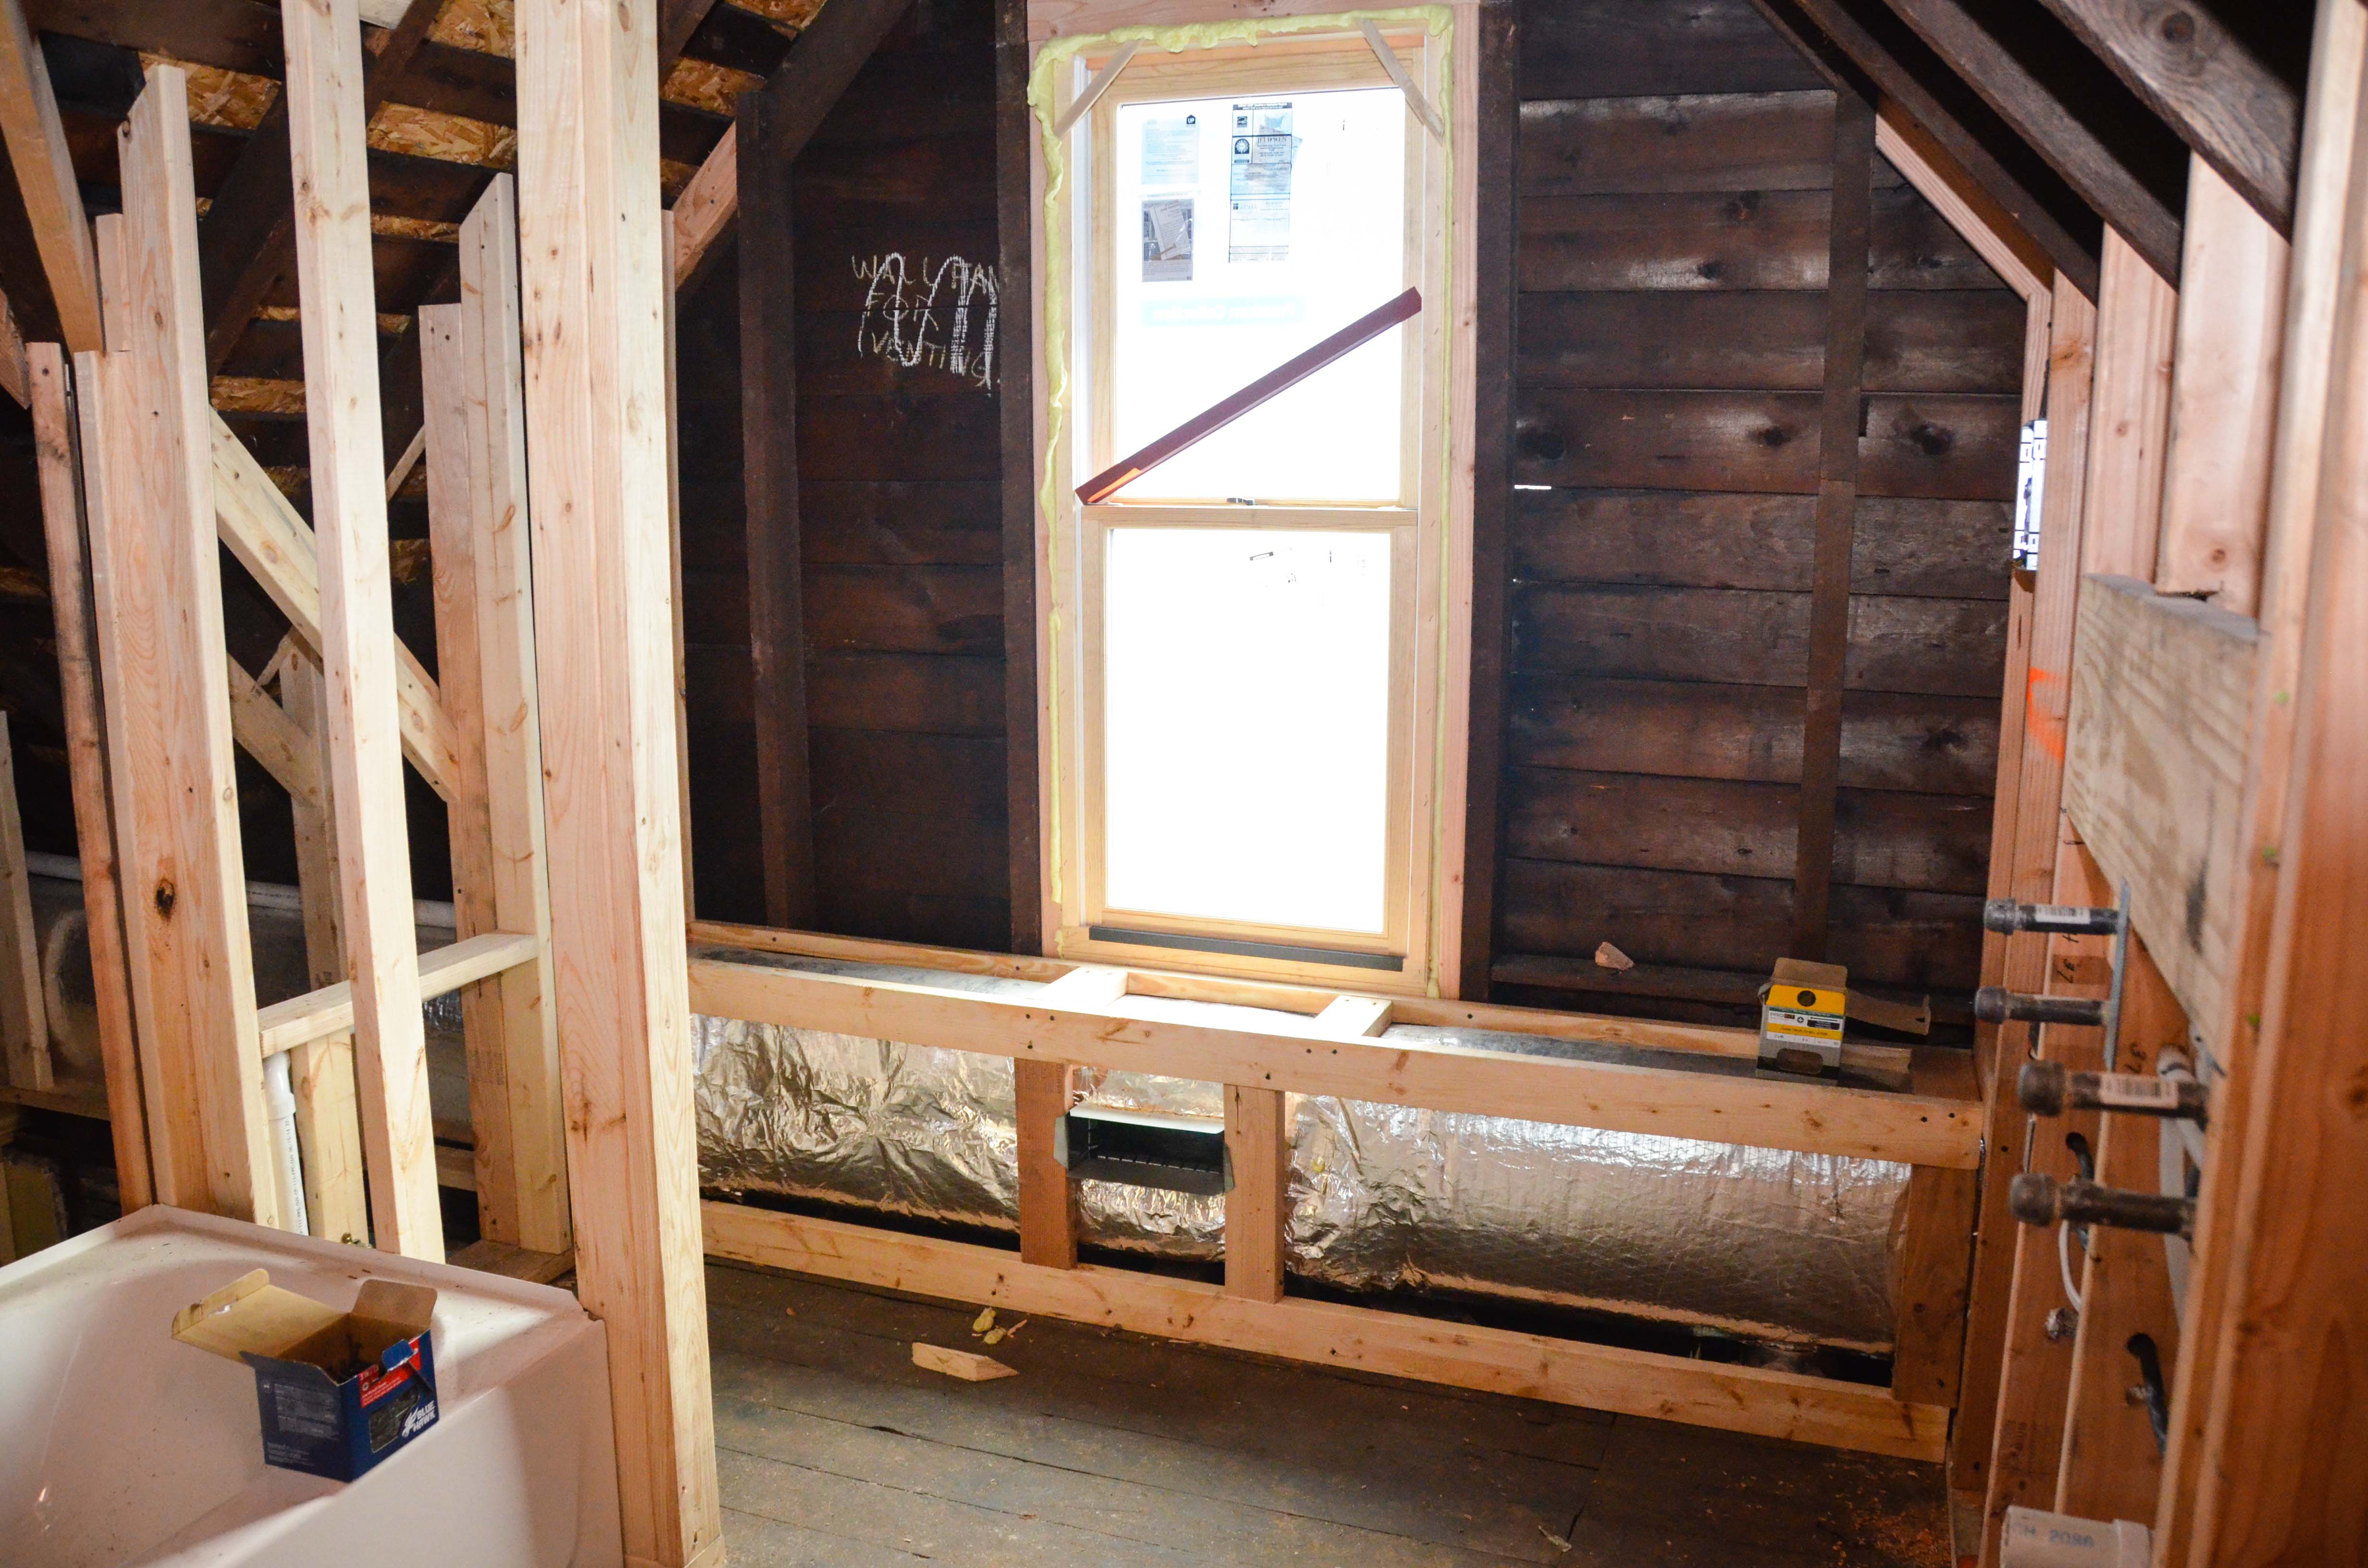
In addition, the wall that separates the bathtub from the toilet is now complete.

We always like having the carpenter around when we are off from work because we can discuss all the little details in person and get things exactly the way we want them. Everything is being custom built for us and anyone that knows us knows that Amy and I are very picky about how things function and look!
While our carpenter has been working, Amy and I have also been busy. It just happens to be on things that aren’t very glamorous or photogenic. I have been knocking down plaster, cleaning it up, and sometimes just moving stuff from one room to another to make more space for current projects. Work on the windows is STILL going. Today I wrapped up painting on the first batch of windows – 12 of them! They are ready for me to install… but before I can do that I need to replace the sash cords and install the weather stripping. That will be an upcoming blog post.
Amy is cruising right along on the electrical. The downstairs playroom, hallway, bathroom, and kitchen have all been roughed in this week.
Several more carpentry items are getting wrapped up this week… more posts coming soon!
