Our extra long Spring break gave us the opportunity to ramp up the renovation pace and finally build the stair case. But the pace has slowed way down once break was over and we were officially “back to school.” The reality of guiding two kids through their e-learning homework as well as figuring out how to do our jobs online at home finally hit us. Getting large chunks of uninterrupted time to get anything done just isn’t going to happen very often (as I’m sure many other parents have already figured out).
On top of having LESS time to work on the house, we have also been experiencing a bit of something I am calling project paralysis. This is what happens when you have so many things you want to do and also need to do, that you can’t decide what to do. We are torn between dedicating our time to finishing the inside of the house (because we are down to our LAST space) or working on the landscaping (because it is SPRING) or finishing up the last details on the exterior of the house (so that we can PAINT).
Of course, this whole COVID-19 thing is making it more difficult because we don’t want to be irresponsible by going to the hardware store to get supplies. So, for now anyway, we decided to prioritize the inside of the house since we already have the supplies we need and we are anxious to put the house back together.
Unfortunately, the reveal of the playroom will have to wait until it’s actually done, so now seems like a good time to backup and show some of the work that recently happened on the exterior of our house. Several months ago we did a blog post about the beginning of the exterior renovation. For some reason, I did not include pictures of the actual progress. Maybe because we were just so excited that it was happening! If you haven’t read that post yet, go back and check it out now.
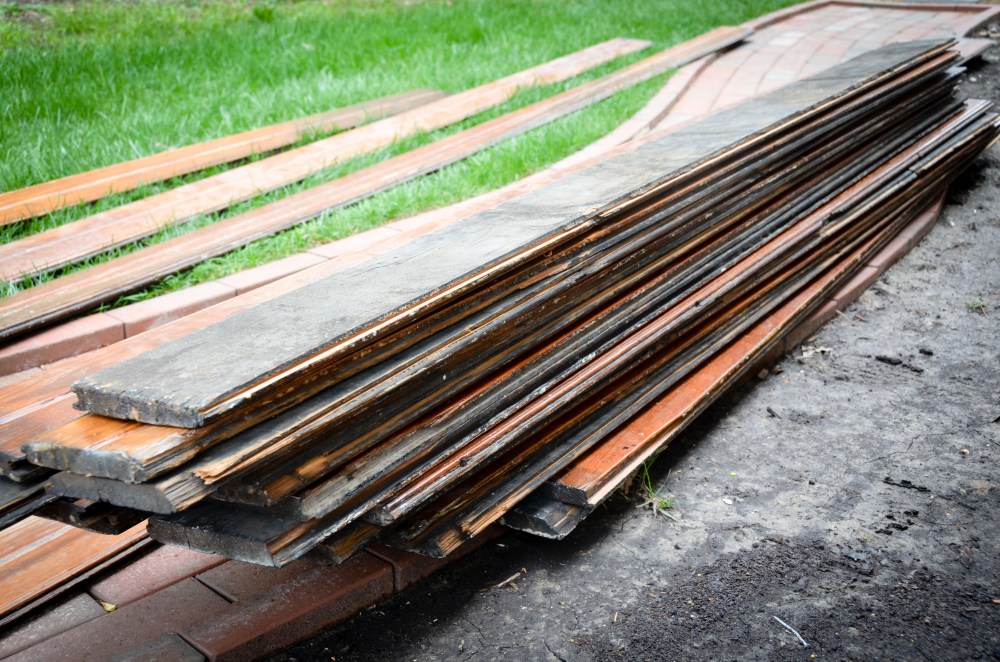
Before rehab work on the porch began, the old beadboard ceiling was removed. We wanted to see if we could still salvage these by removing them, stripping the paint off, then sanding and refinishing.

Here is what the ceiling boards looked like after the initial removal of the paint with a paint stripper.
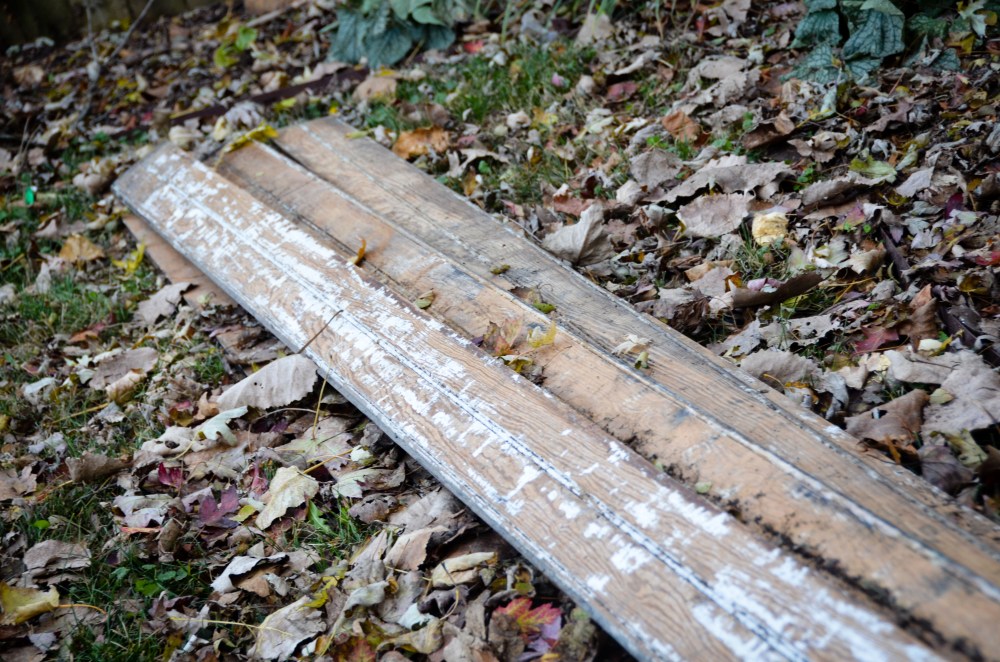
Not too bad, right? But the hard part came next – getting every speck of paint off (especially in all those little grooves) and then sanding each of them three times. Oh – and then finishing them with several coats of exterior poly. Also, did we mention that there were 42 of these, many of which were 16 feet long? So yes, it took us a long time. Add this to a long list of projects that are extremely tedious and time consuming. Restoring the old ceiling boards was a big winter project and we chipped away at it throughout the coldest months of the year.
After the ceiling was removed back in the fall, the real work began. As we mentioned in a previous post, we hired a neighbor who owns his own business to do much of the exterior carpentry and structural repairs. It’s always so strange when other people work on the house!
First, the columns were removed and deck was rebuilt.
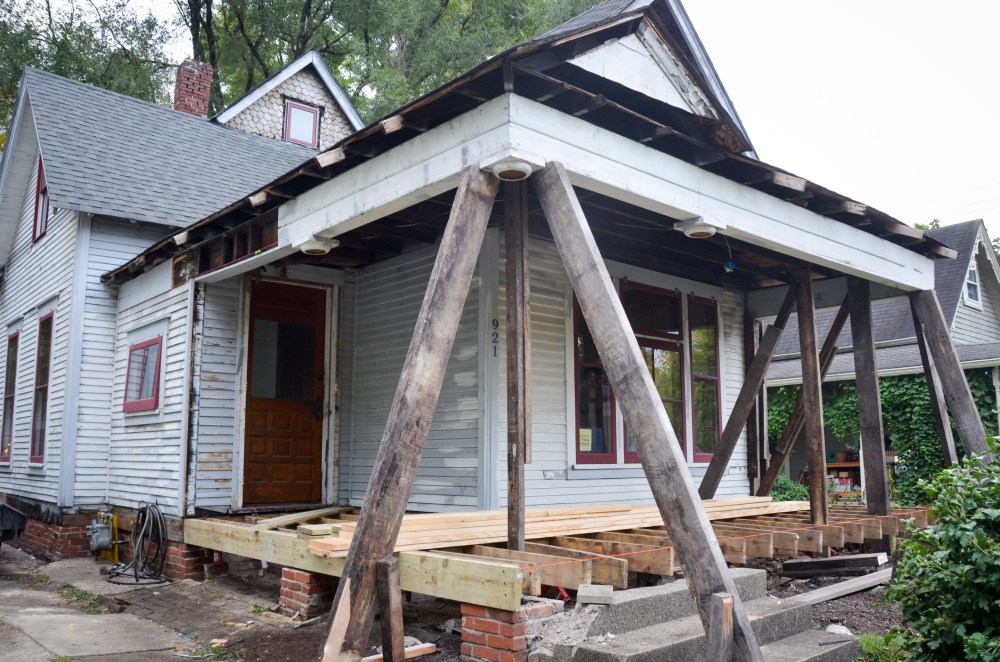

The porch roof was completely rebuilt, using the old structure as a guide.
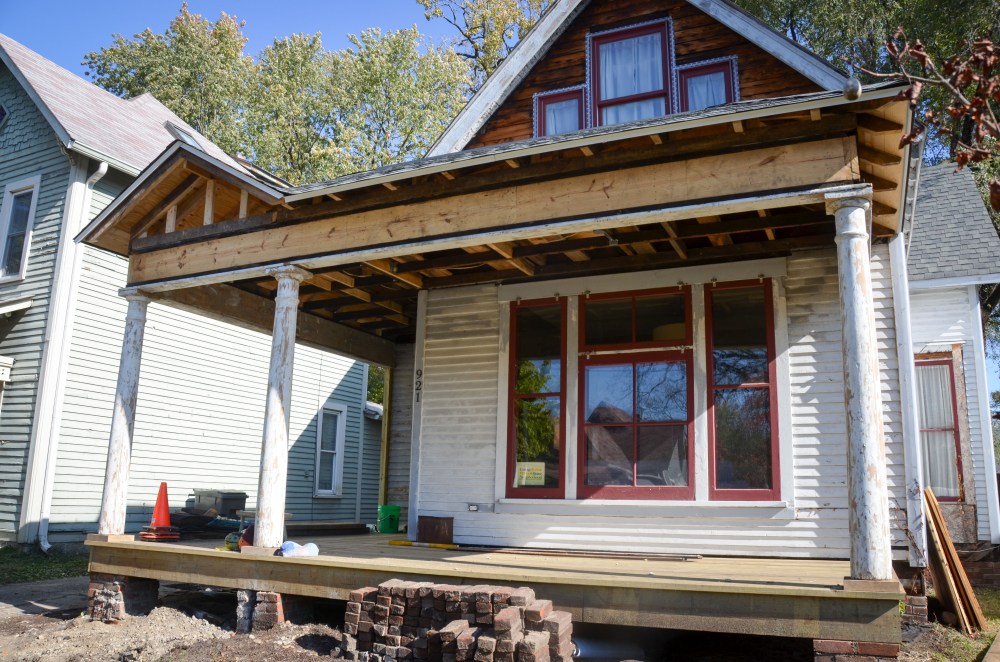
Then railings and new front steps were added.

Next we finally got to enjoy one of the biggest changes to the exterior of our house, new shake siding on the front gables as well as trim for the windows we added in the front gable.
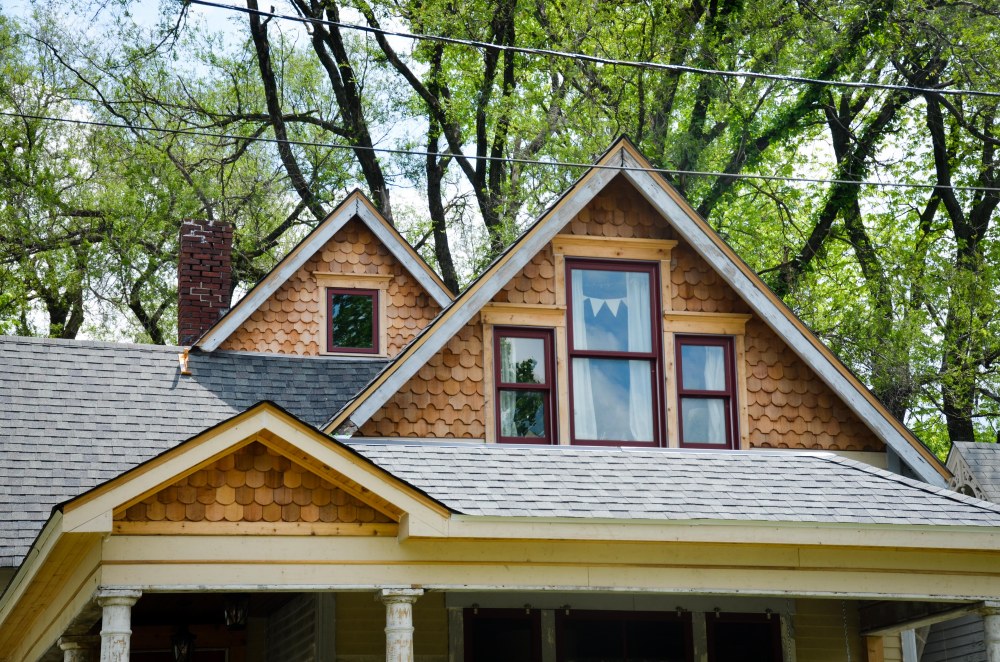
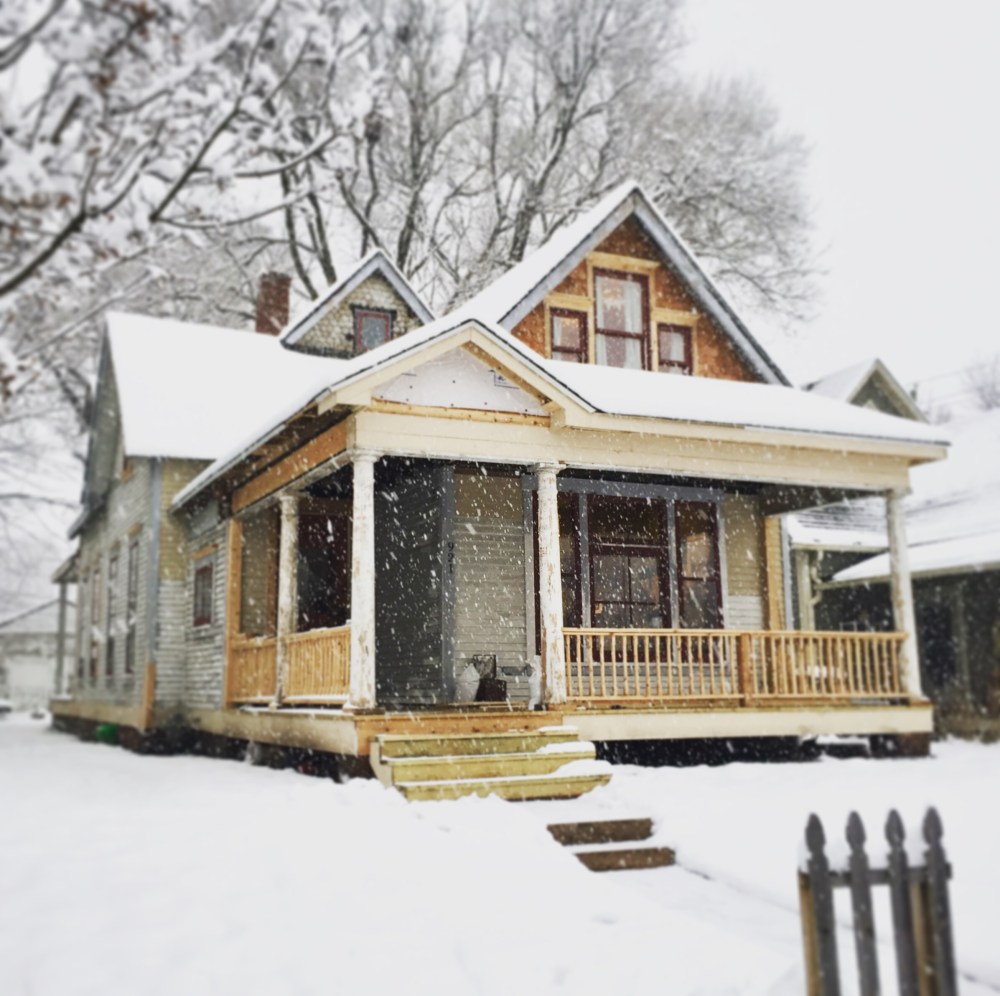
The house remained like this through most of the winter. (Okay – The picture below was actually an early-season snow and the gables weren’t done yet, but I just like the picture and will pretend that this is some time in January.)
Amy and I had been working throughout the winter on the beadboard ceiling. Once the weather warmed up, Amy and I could begin the process of reinstalling the ceiling. This was not as easy as you might think. The beadboard was all tongue and groove, which means that each board has a groove on one side and a slot on the other side. Each board is meant to be interlocked with the ones next to it. Our boards are old, which means the tongues and grooves are not perfect anymore and interlocking them tightly is now pretty difficult to achieve. Also, many of them are warped and not entirely straight as they once were.
The first boards we installed were in front of the main entrance and approximately 16 feet long, which made the odds of them locking together very slim.


This was difficult and frustrating. We did eventually figure out an easier way to make this work, but I won’t bore you with the details.
We also had to back up and do a little adjusting with the placement of the electrical boxes in the ceiling, but that worked out relatively easily. We were even able to add one more box for an additional light fixture closer to the front door.
Lucy got one more look above the ceiling before we moved on.

The pace picked up when we got done with the 16′ boards and moved on to the 8′ boards. We got the idea to make the groove a little wider by running one edge of the boards over the table saw. We were hoping this would help the boards lock together a little easier.
 Now we were able to get into a good groove (get it?) and got the rest of these installed in one day.


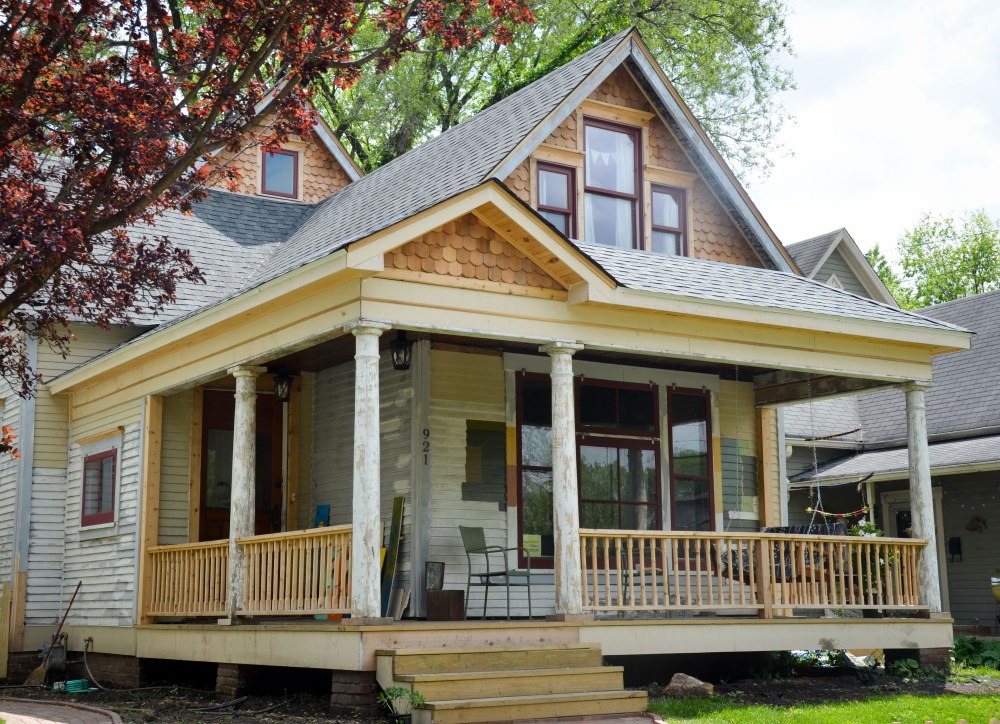
In the picture above you can see a sneak peak of colors we are considering for the exterior of the house!
It’s not perfect. I mean, it was pretty impossible to get every single board to be locked tightly together, but the overall impression is still so great. The warmth and character of the old wood completely transforms the feel of the front porch.


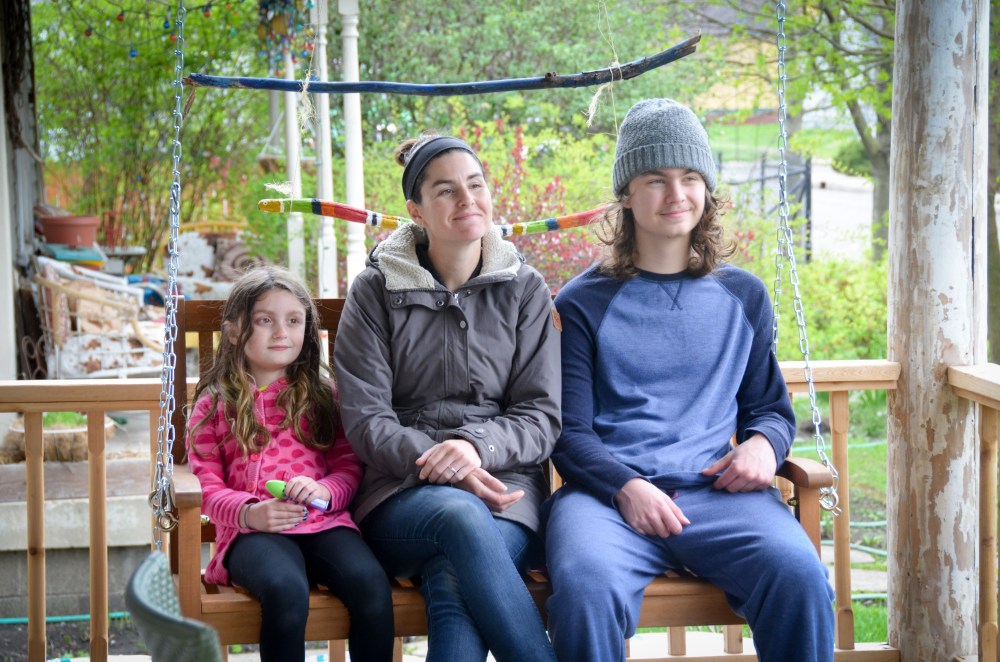
But really, the best part of finishing the ceiling was that we could finally install a porch swing!!! We had a porch swing at our old house and used it all the time. And now, during a time when we are all confined to our homes, our huge porch has been such a luxury. On fair weather days it has made all the difference to be able to sit there and work or just swing and chat with neighbors as they walk by on the sidewalk.
Look, the swing even got Aiden to come out of the house!
Here was the house when we bought it. As a side note – isn’t this the BEST “before” picture? I mean, does it get much more bleak? I love it!

How it has remained for most of the past five years…
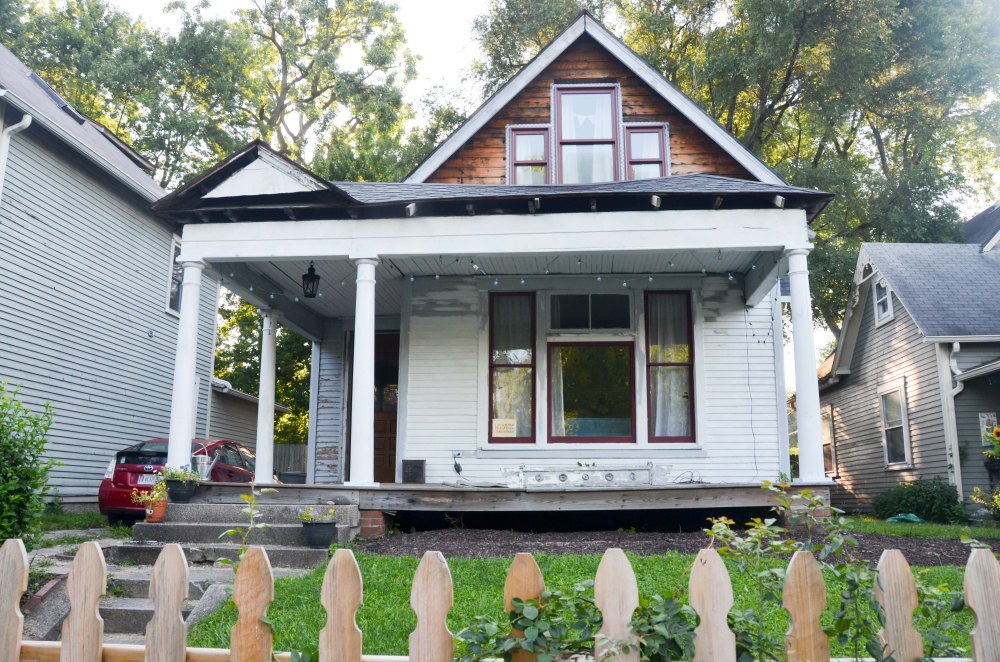
and where we are now.
As I am completing this post, we are wrapping up work on the playroom. Even though we have a lot to do, the pressure is off because our neighborhood home tour has been cancelled due to the pandemic. We had set that date as our goal to be completely done because we always work better when there is a hard deadline. But in this period of quarantine, the idea of time just seems a little more vague, doesn’t it?
Much more to come!

JOE & AMY…I Love your front porch and the color of stain used on the porch ceiling looks so warm and I want to come and sit and swing on your wonderful front porch. Amy and Joe you two are such a great team working together and I might add you’ve done an amazing job on your families home. ♥️💙💗💙 Love, Hugs and Joy, Your Aunt Janet
LikeLike
Porch looks really good, guy’s.
LikeLike
You did a great job on that ceiling. It’s gorgeous! We had a stained beadboard porch ceiling when I was a kid. Loved it then. Love yours now.
LikeLiked by 1 person
I am not a computer person but on “This Old House” a designer has a program that takes a drawing of the exterior and clicks on colors showing how the house would look with certain colors schemes. Does your architect know of any programs that you could use if needed?
LikeLike