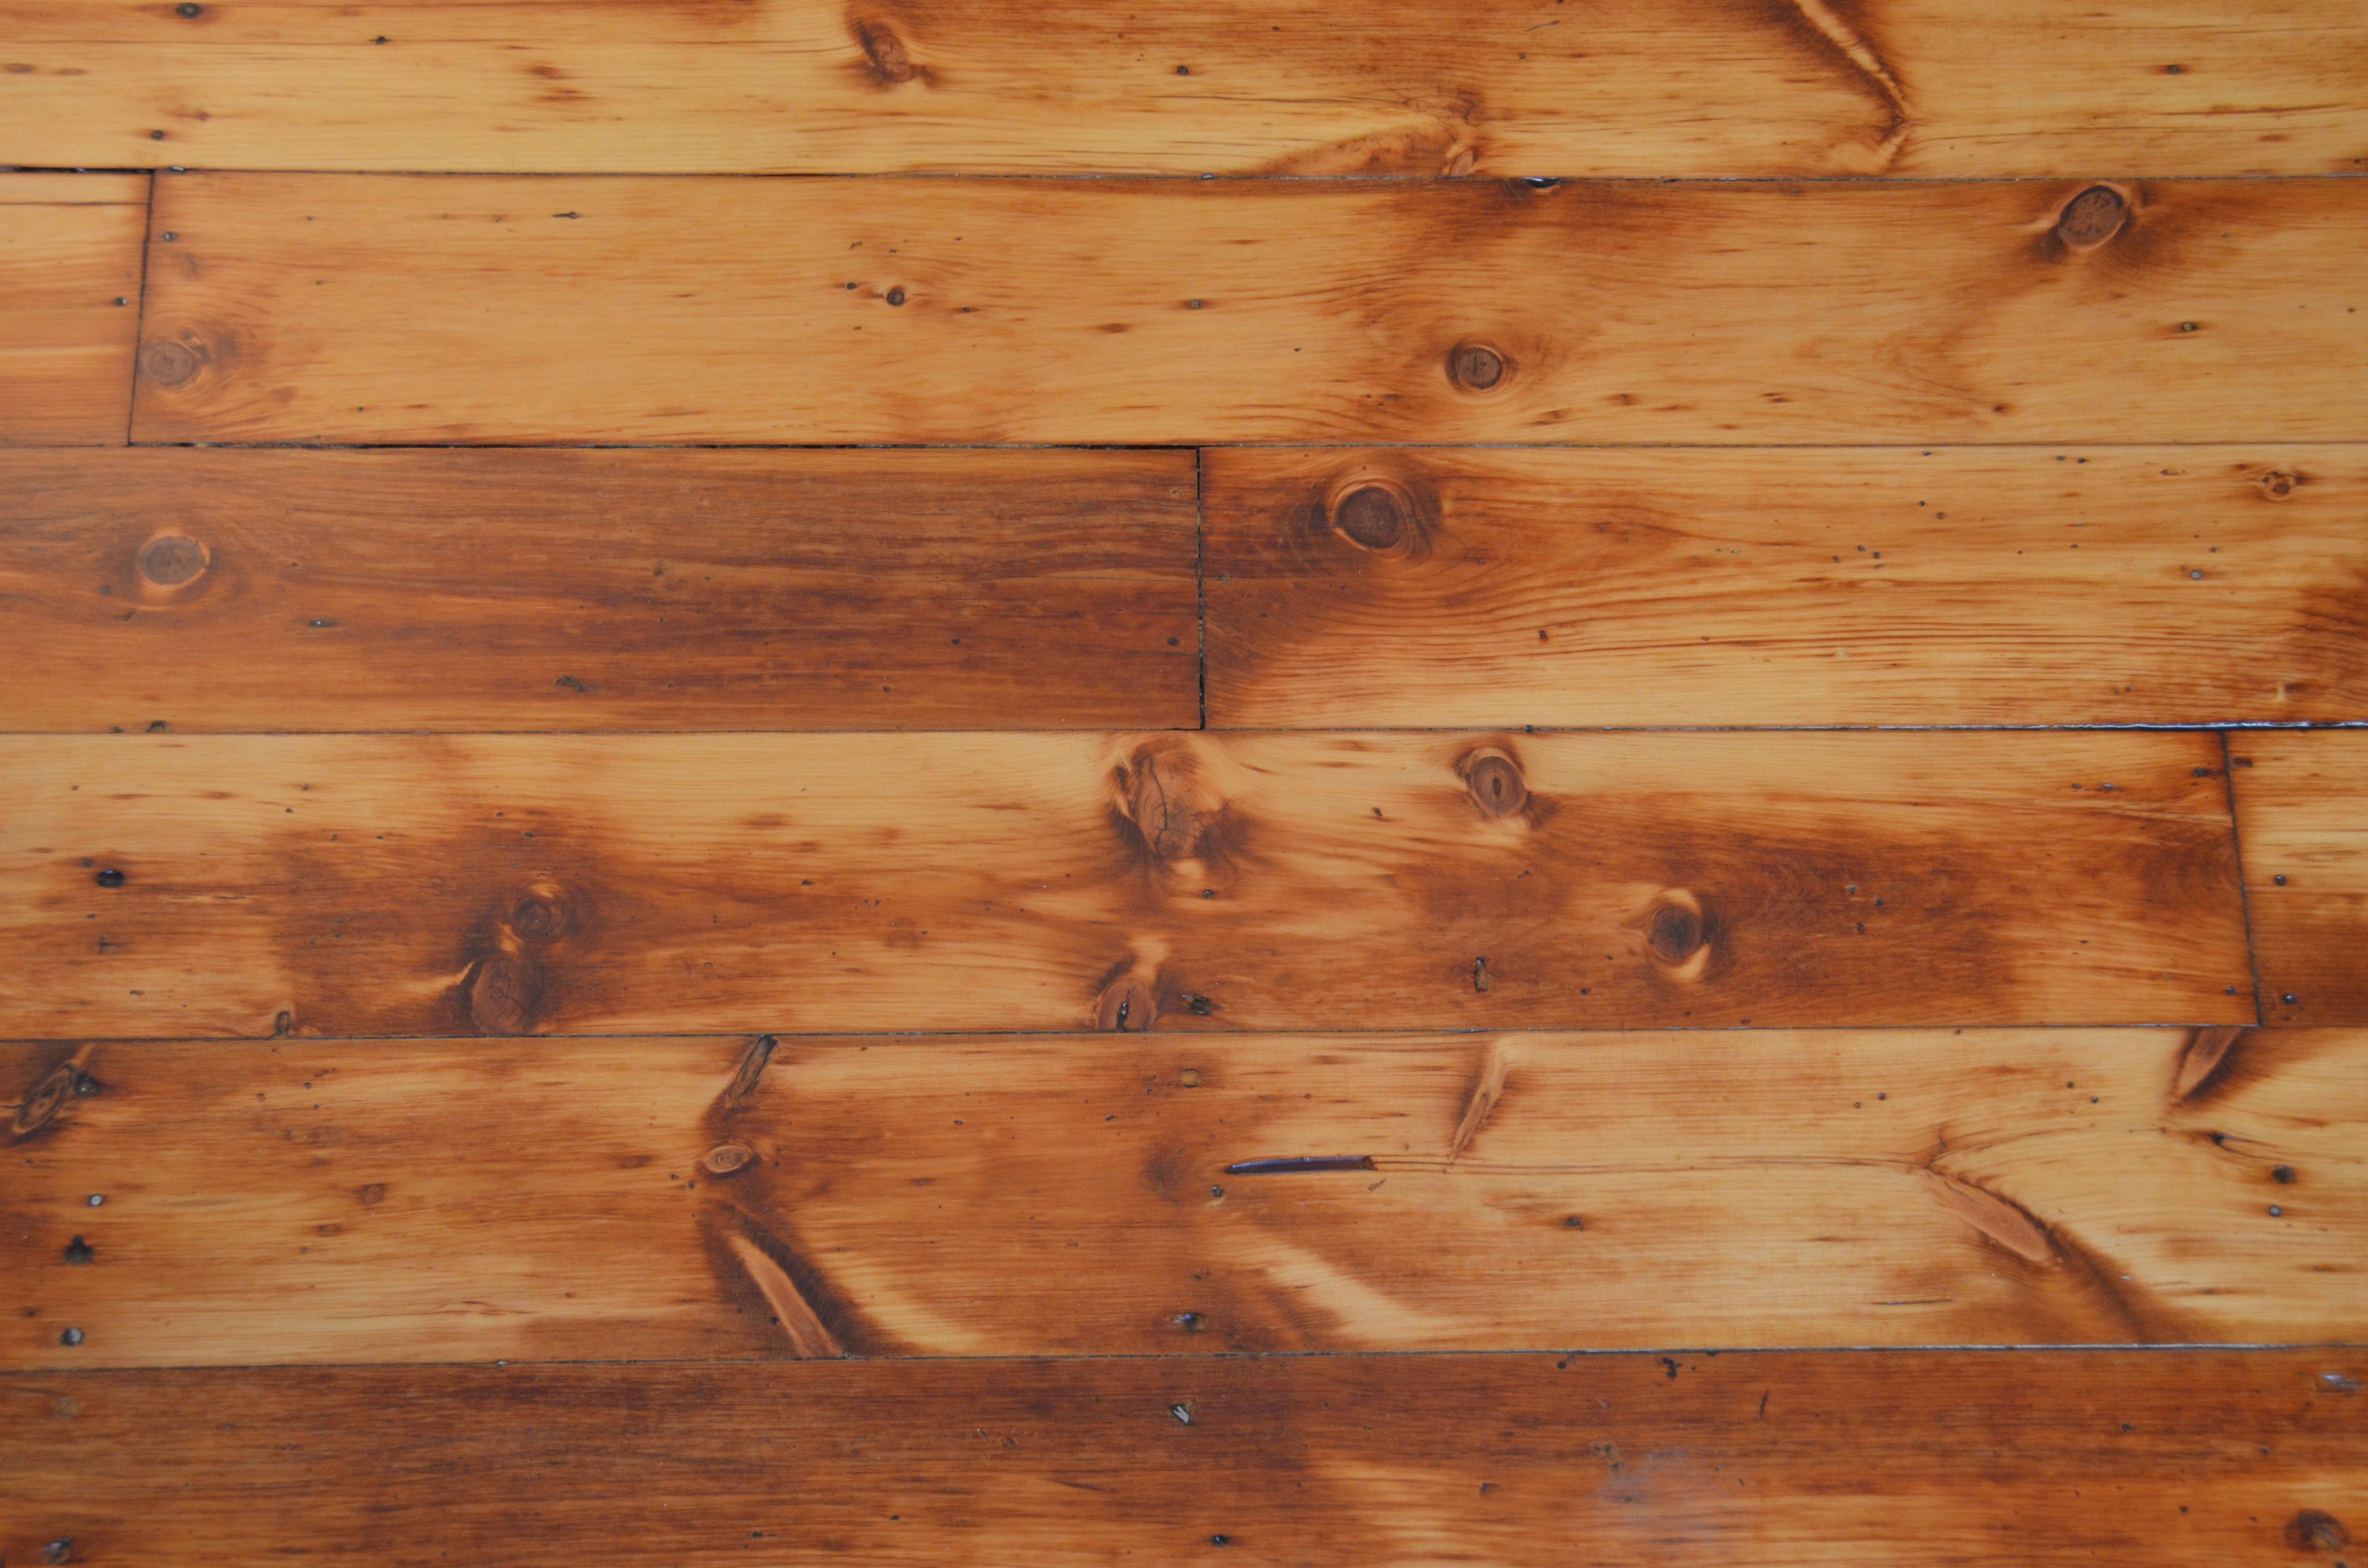
The floors are done. Finally.
I started sanding the floors three weeks ago today and thought I would be able to finish in one week. We did actually finish almost all the sanding in one week, but applying the three coats of polyurethane and sanding between took some time – especially because I am now back to work at my real job. Before I reveal the “after” pictures, here is the grand summary…
We sanded and refinished every room of the house, except the two bathrooms and the vestibule. This is a total of around 2000 square feet. The process went something like this: We sanded with 16 grit, then the edger with 16 grit, then vacuum, then repeated that same sequence with 20 grit, then 36, then 60, then 80. That was followed with an orbital sander with an 80 grit, then vacuum, then again with a 120 grit screen. After vacuuming very thoroughly again, we wiped all floors with a rag and mineral spirits. We then applied satin polyurethane, let it dry 24 hours, then pole sanded and wiped down with microfiber cloth. The second coat of polyurethane was allowed to dry for 72 hours, then pole sanded again and wiped down again. The third coat of polyurethane has now dried enough for light foot traffic . All total – the floors were sanded 7 times, vacuumed 8 times, pole sanded 2 times, wiped down by hand 3 times, and covered with poly 3 times. That’s a total of 23 passes over all 2000 square feet. That is 46,000 square feet – just shy of a entire football field or ten basketball courts.
[Edit from Amy: And that doesn’t count the hours spent on hands and knees prepping the floors for this job. I.E. mastic tar removal, counter sinking every nail head and removing every old carpet staple. We also did a ton of sweeping before any sanding to get every stray plaster crumb and dog hair out- which is, in all honesty, quite impossible. ]
The total cost of the project was around $1700. This included one week of rental fees for the drum sander and edger, two day rental for the orbital sander, approximately 170 sheets of sandpaper, and TWENTY gallons of polyurethane. The actual rental fees were the cheapest part of the project. The sand paper was probably twice as expensive as the rental. The polyurethane was about twice as expensive as the sand paper. I noticed that I went through a lot of poly on the 2nd floor because of all the large cracks and holes.
I do wish we had a professional estimate on how much the floors would have cost. I’d also be curious to know the process they would have used to tackle the rough condition of our floors. It seems the average estimate is $3 per square foot (we did it for 85 cents), but I wouldn’t have been surprised if it had been as high as $8000. A new hardwood floor would have easily been twice that amount.
I am sure a professional would have done a better job and done it quicker. I knew that before I had even started the project. As expected, there are small areas or imperfections that only Amy and I will really notice. [Edit from Amy: Only you will notice them.] You really have to be consciously looking for mistakes to see them and those will soon be covered with furniture, rugs, toddler toys, and dog hair. [Edit from Amy: Except for that part in Lucy’s room where she spit out her banana and now it is forever preserved and encrusted in our floor like the mosquito in Jurassic Park.] In the end, I’m still glad we did it ourselves. The sanding itself was not terribly difficult, despite the warnings from everyone and their mother about the dangers of using a drum sander. The house didn’t burn down, the sander didn’t sand it’s way completely through the floor, and our floors have not been ruined.
Surprisingly, the application of the polyurethane was the hardest part. The first sealant coat was easy and immediately gratifying, but the 2nd and 3rd coats were stressful and difficult because it was so hard to see if there were puddles I had missed or inadvertent drips that escaped my watchful eye. Of course, me being the way I am, I’m bummed about every little area I think I could have done better. I still am not sure if I applied my coats too thickly and I also 2nd guess my choice to do a satin finish. Everything I read indicated to use satin because it will not show imperfections, future scratches, or general wear and tear as much as a gloss finish. But I wonder how the floors would look with just a little more gloss. The kitchen floor didn’t turn out as nice as the rest of the house, but I am optimistic that it will look better once the rough areas are covered with cabinets, appliances, and a kitchen table.
Anyway, on to the part you actually care about – the before and after pictures.
Lucy’s room…
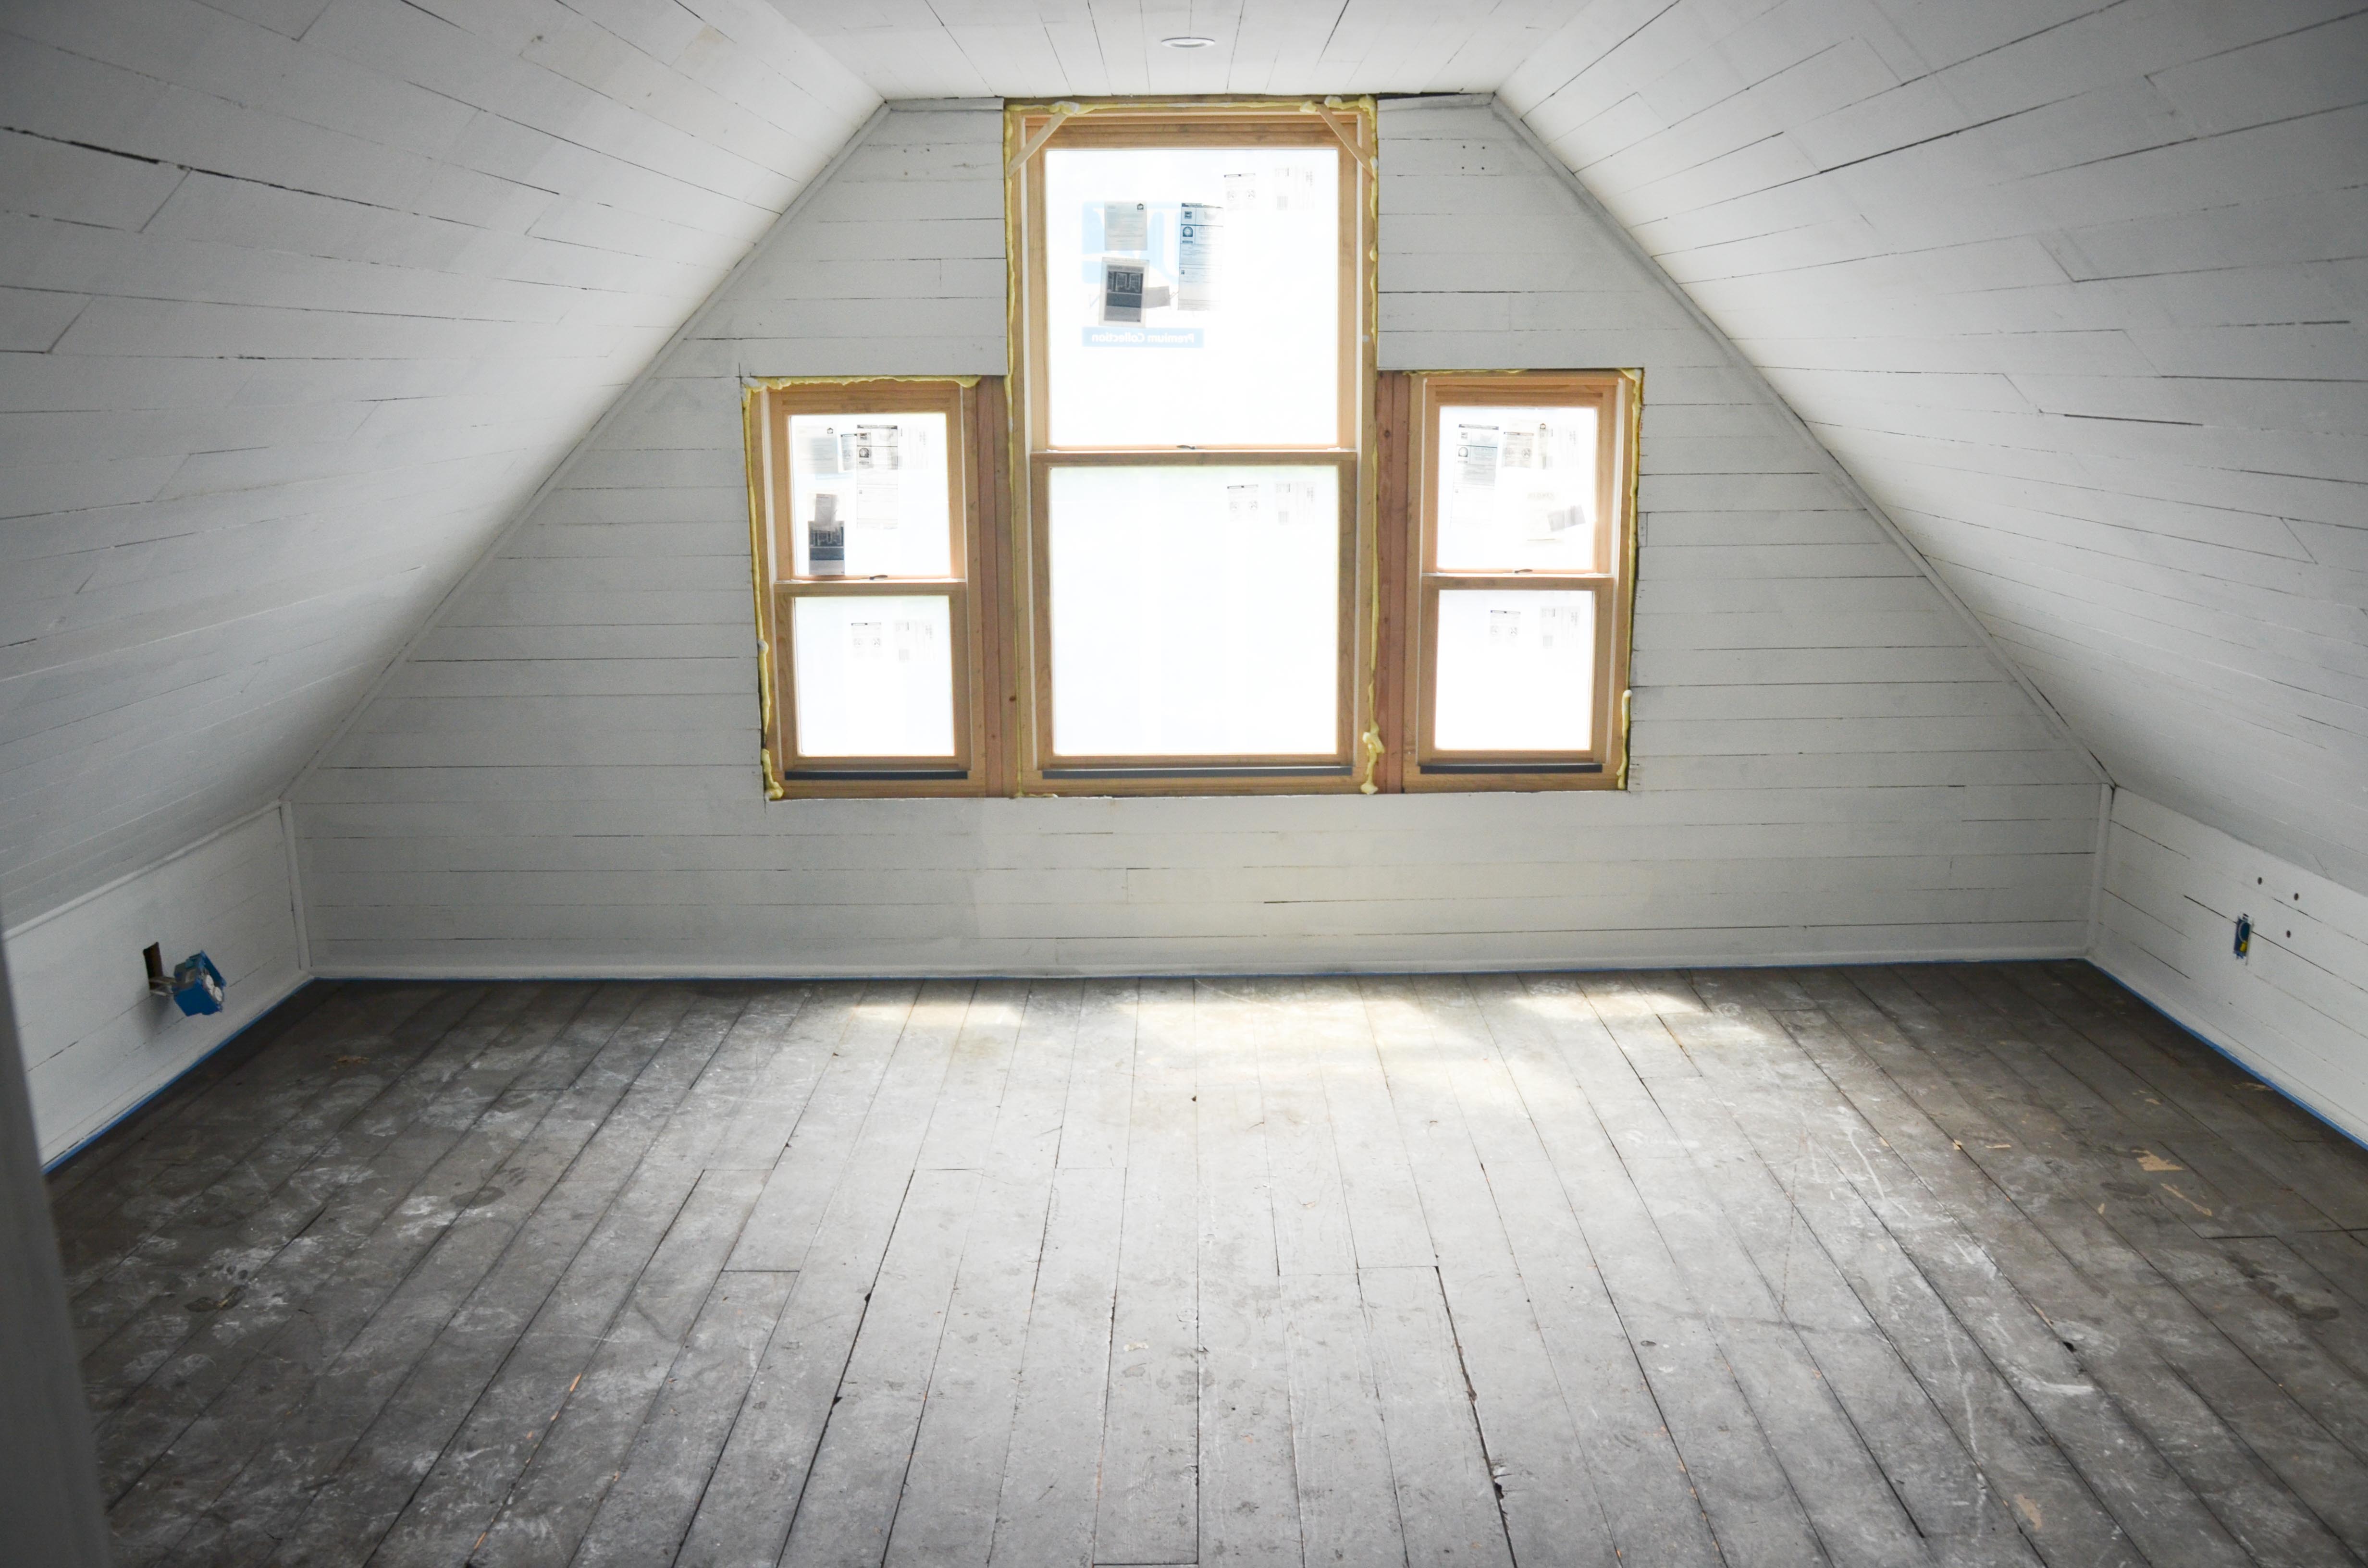

[Edit from Amy: We will eventually install window trim and baseboards]
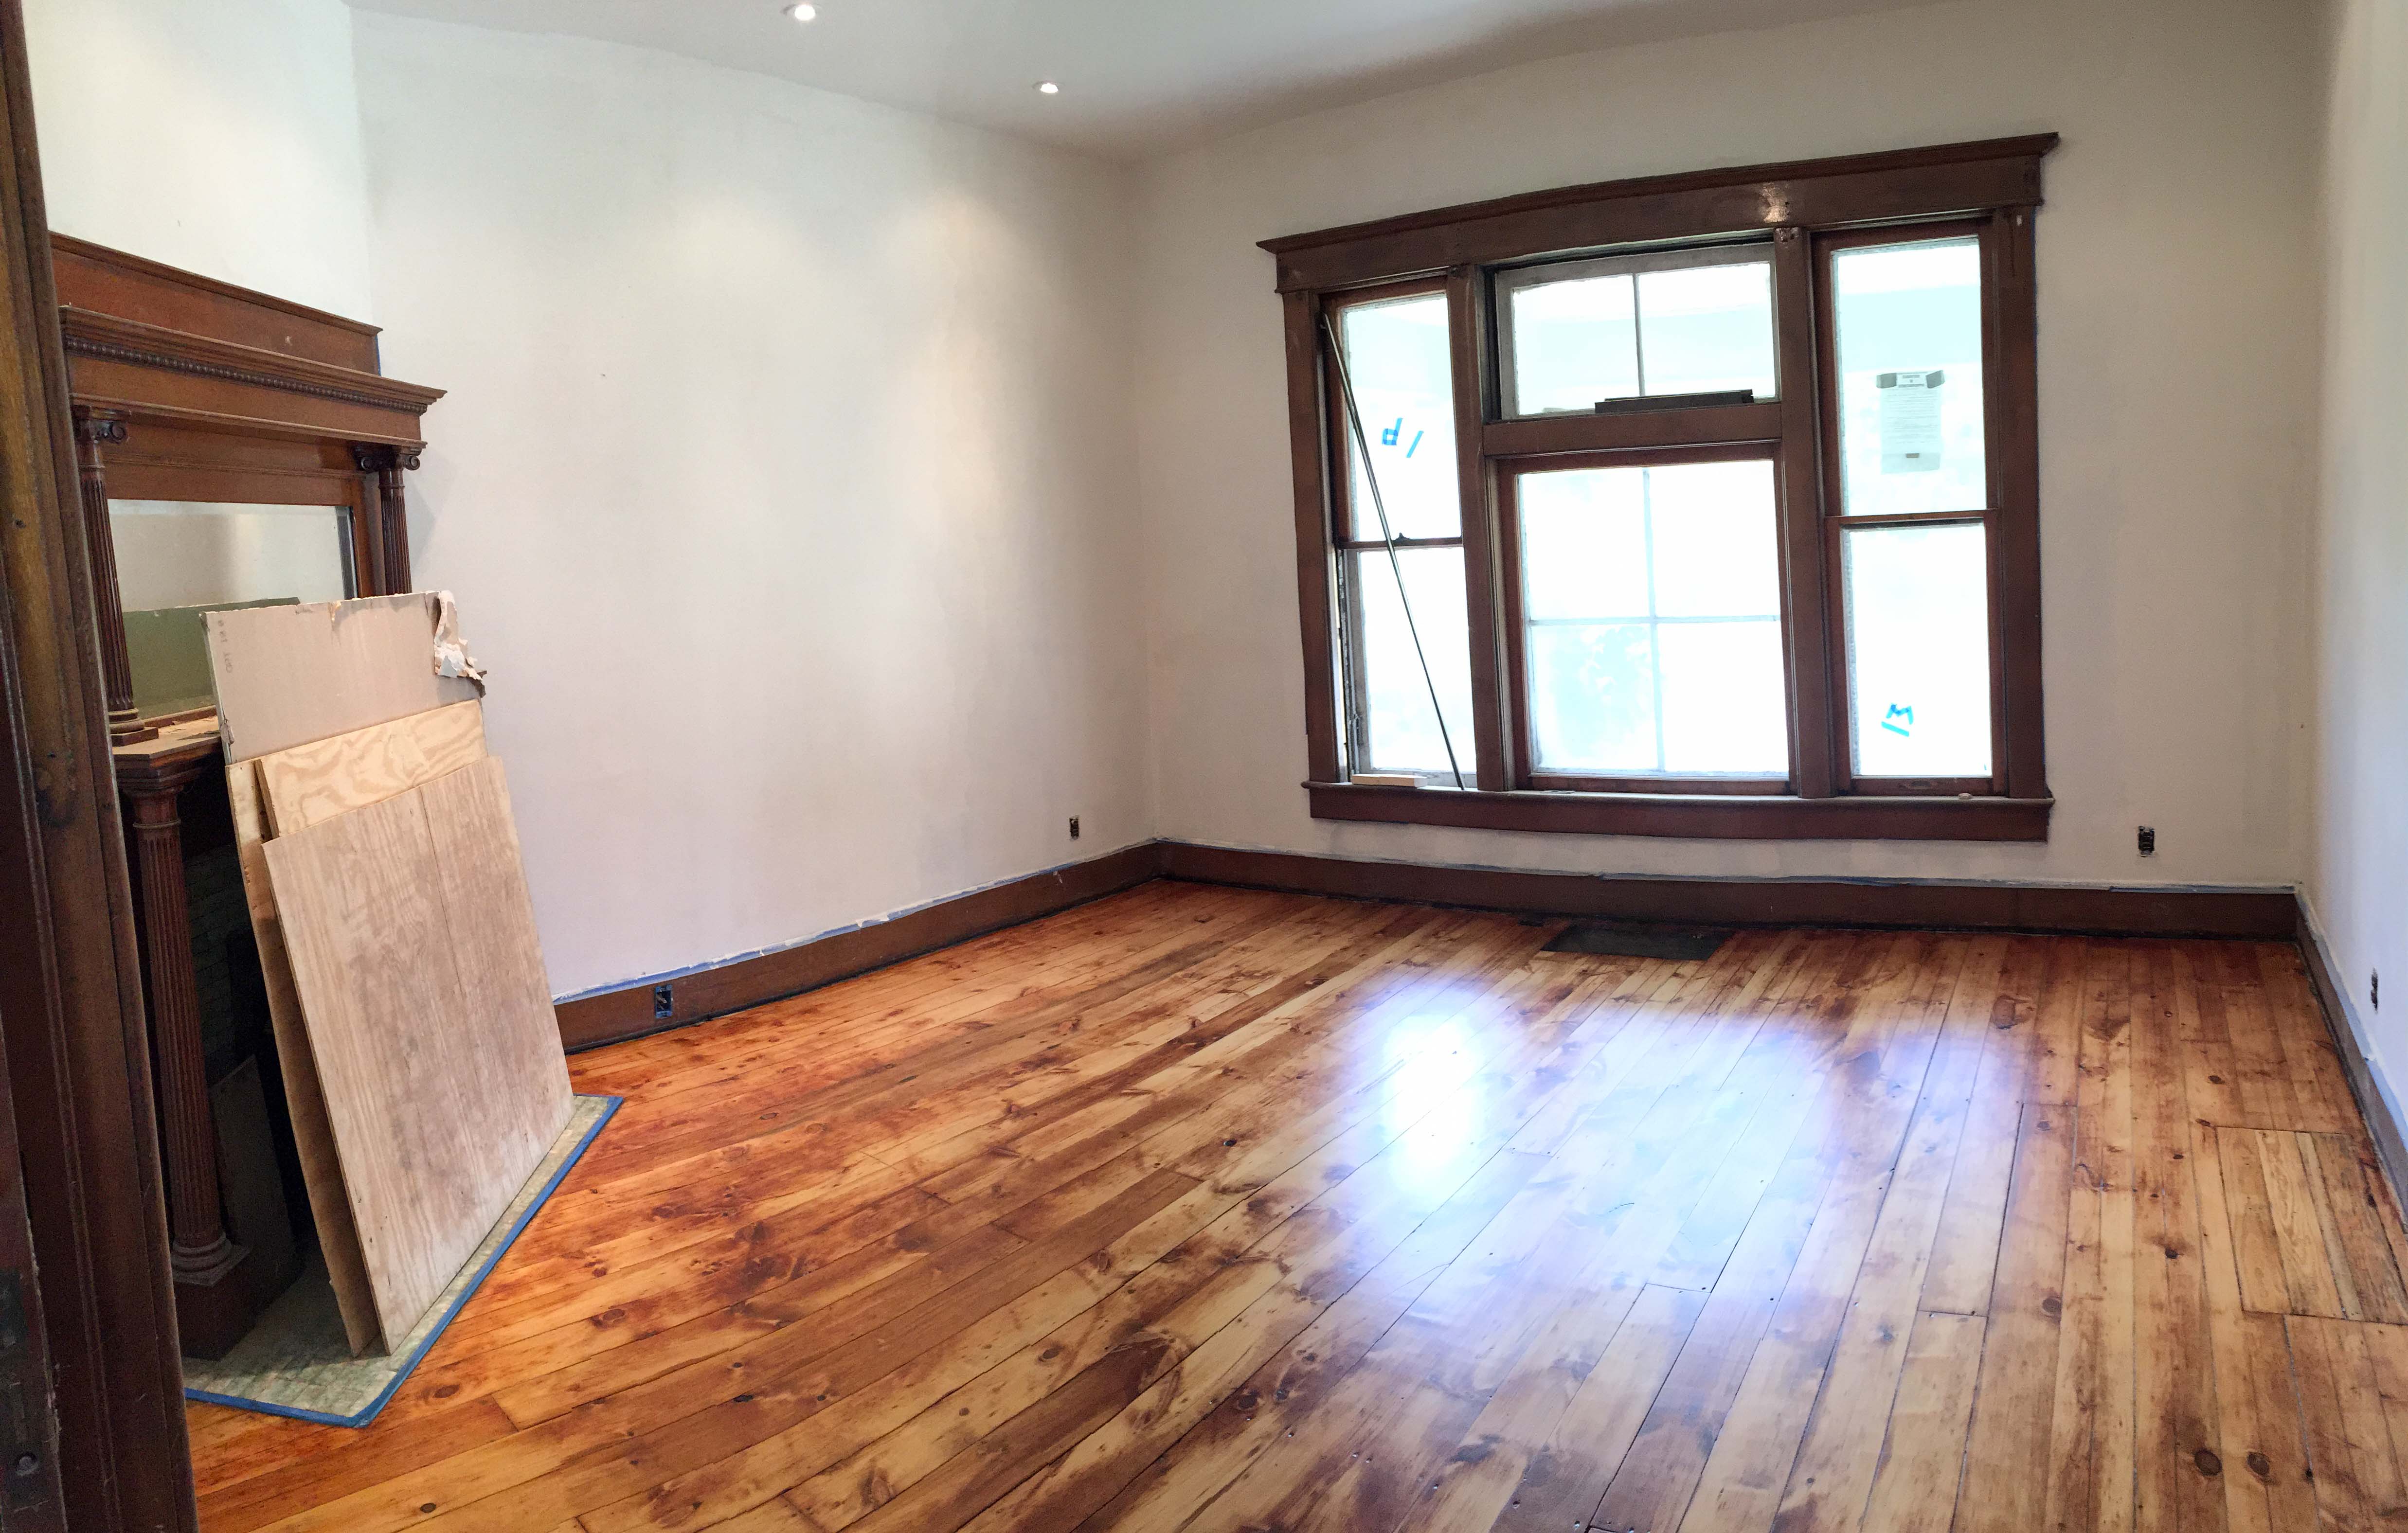
The master bedroom…

[Edit from Amy: Remember these were covered with plaid laminate. PLAID.]

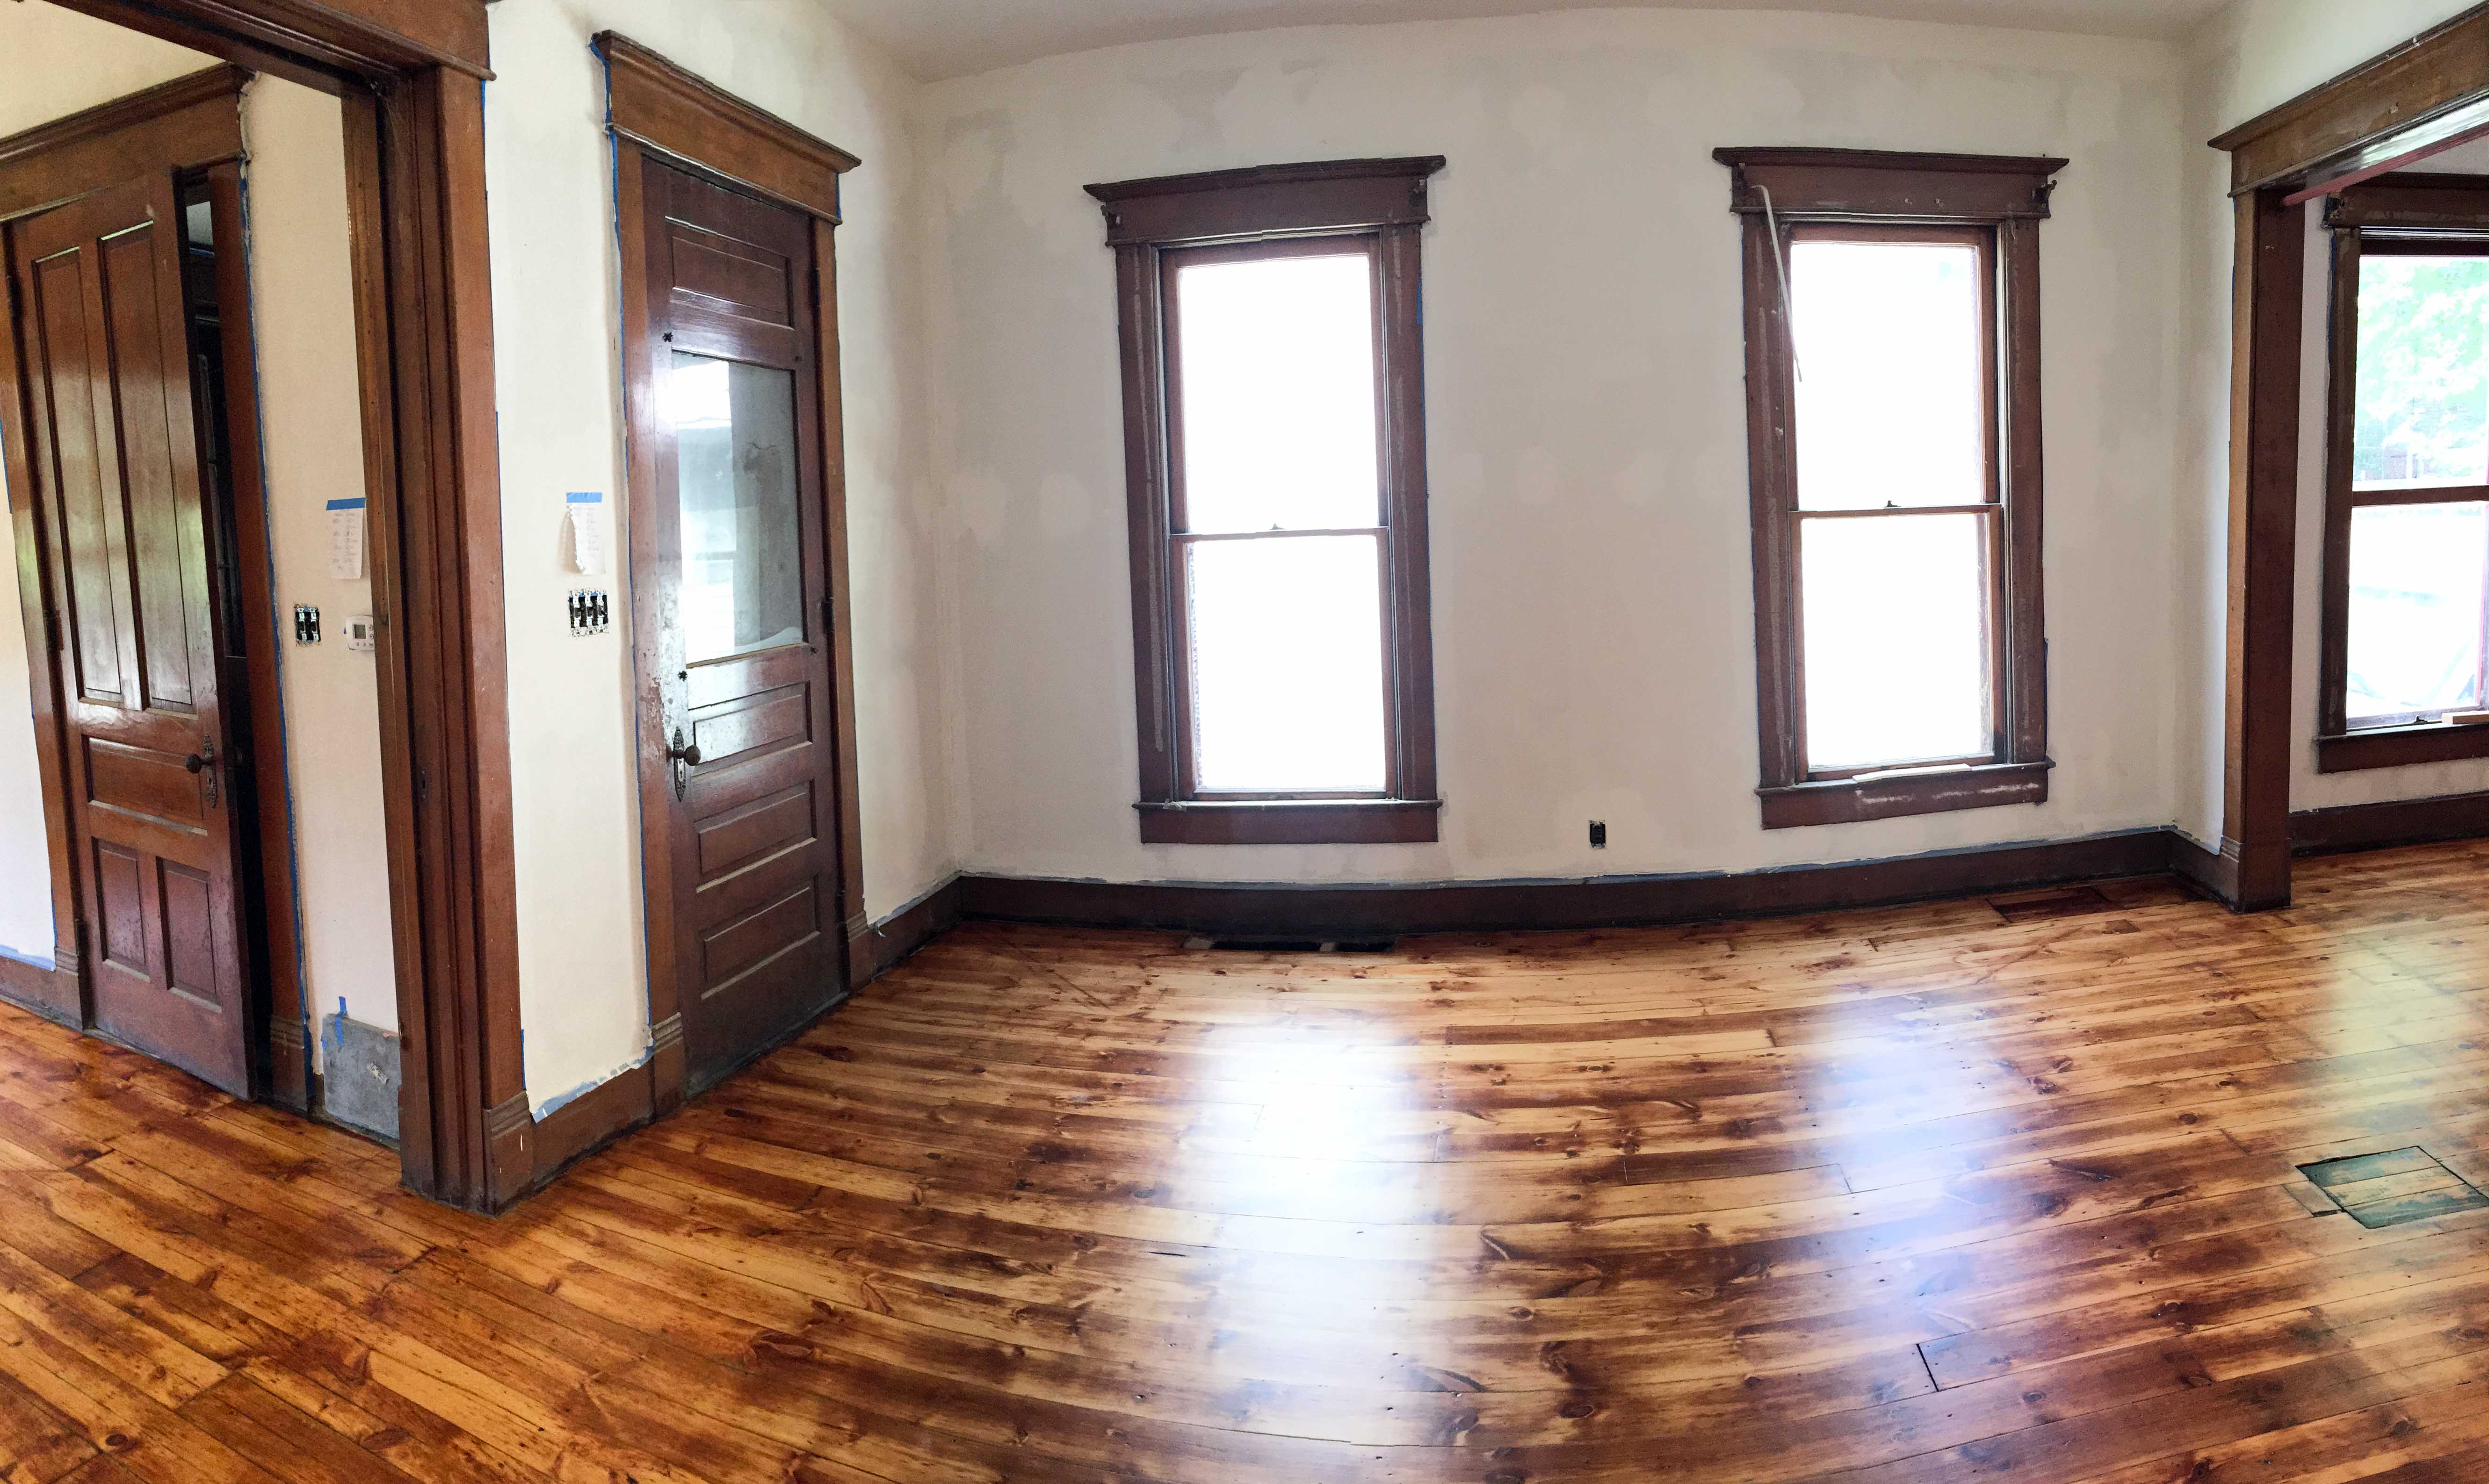
The parlor…

The playroom…

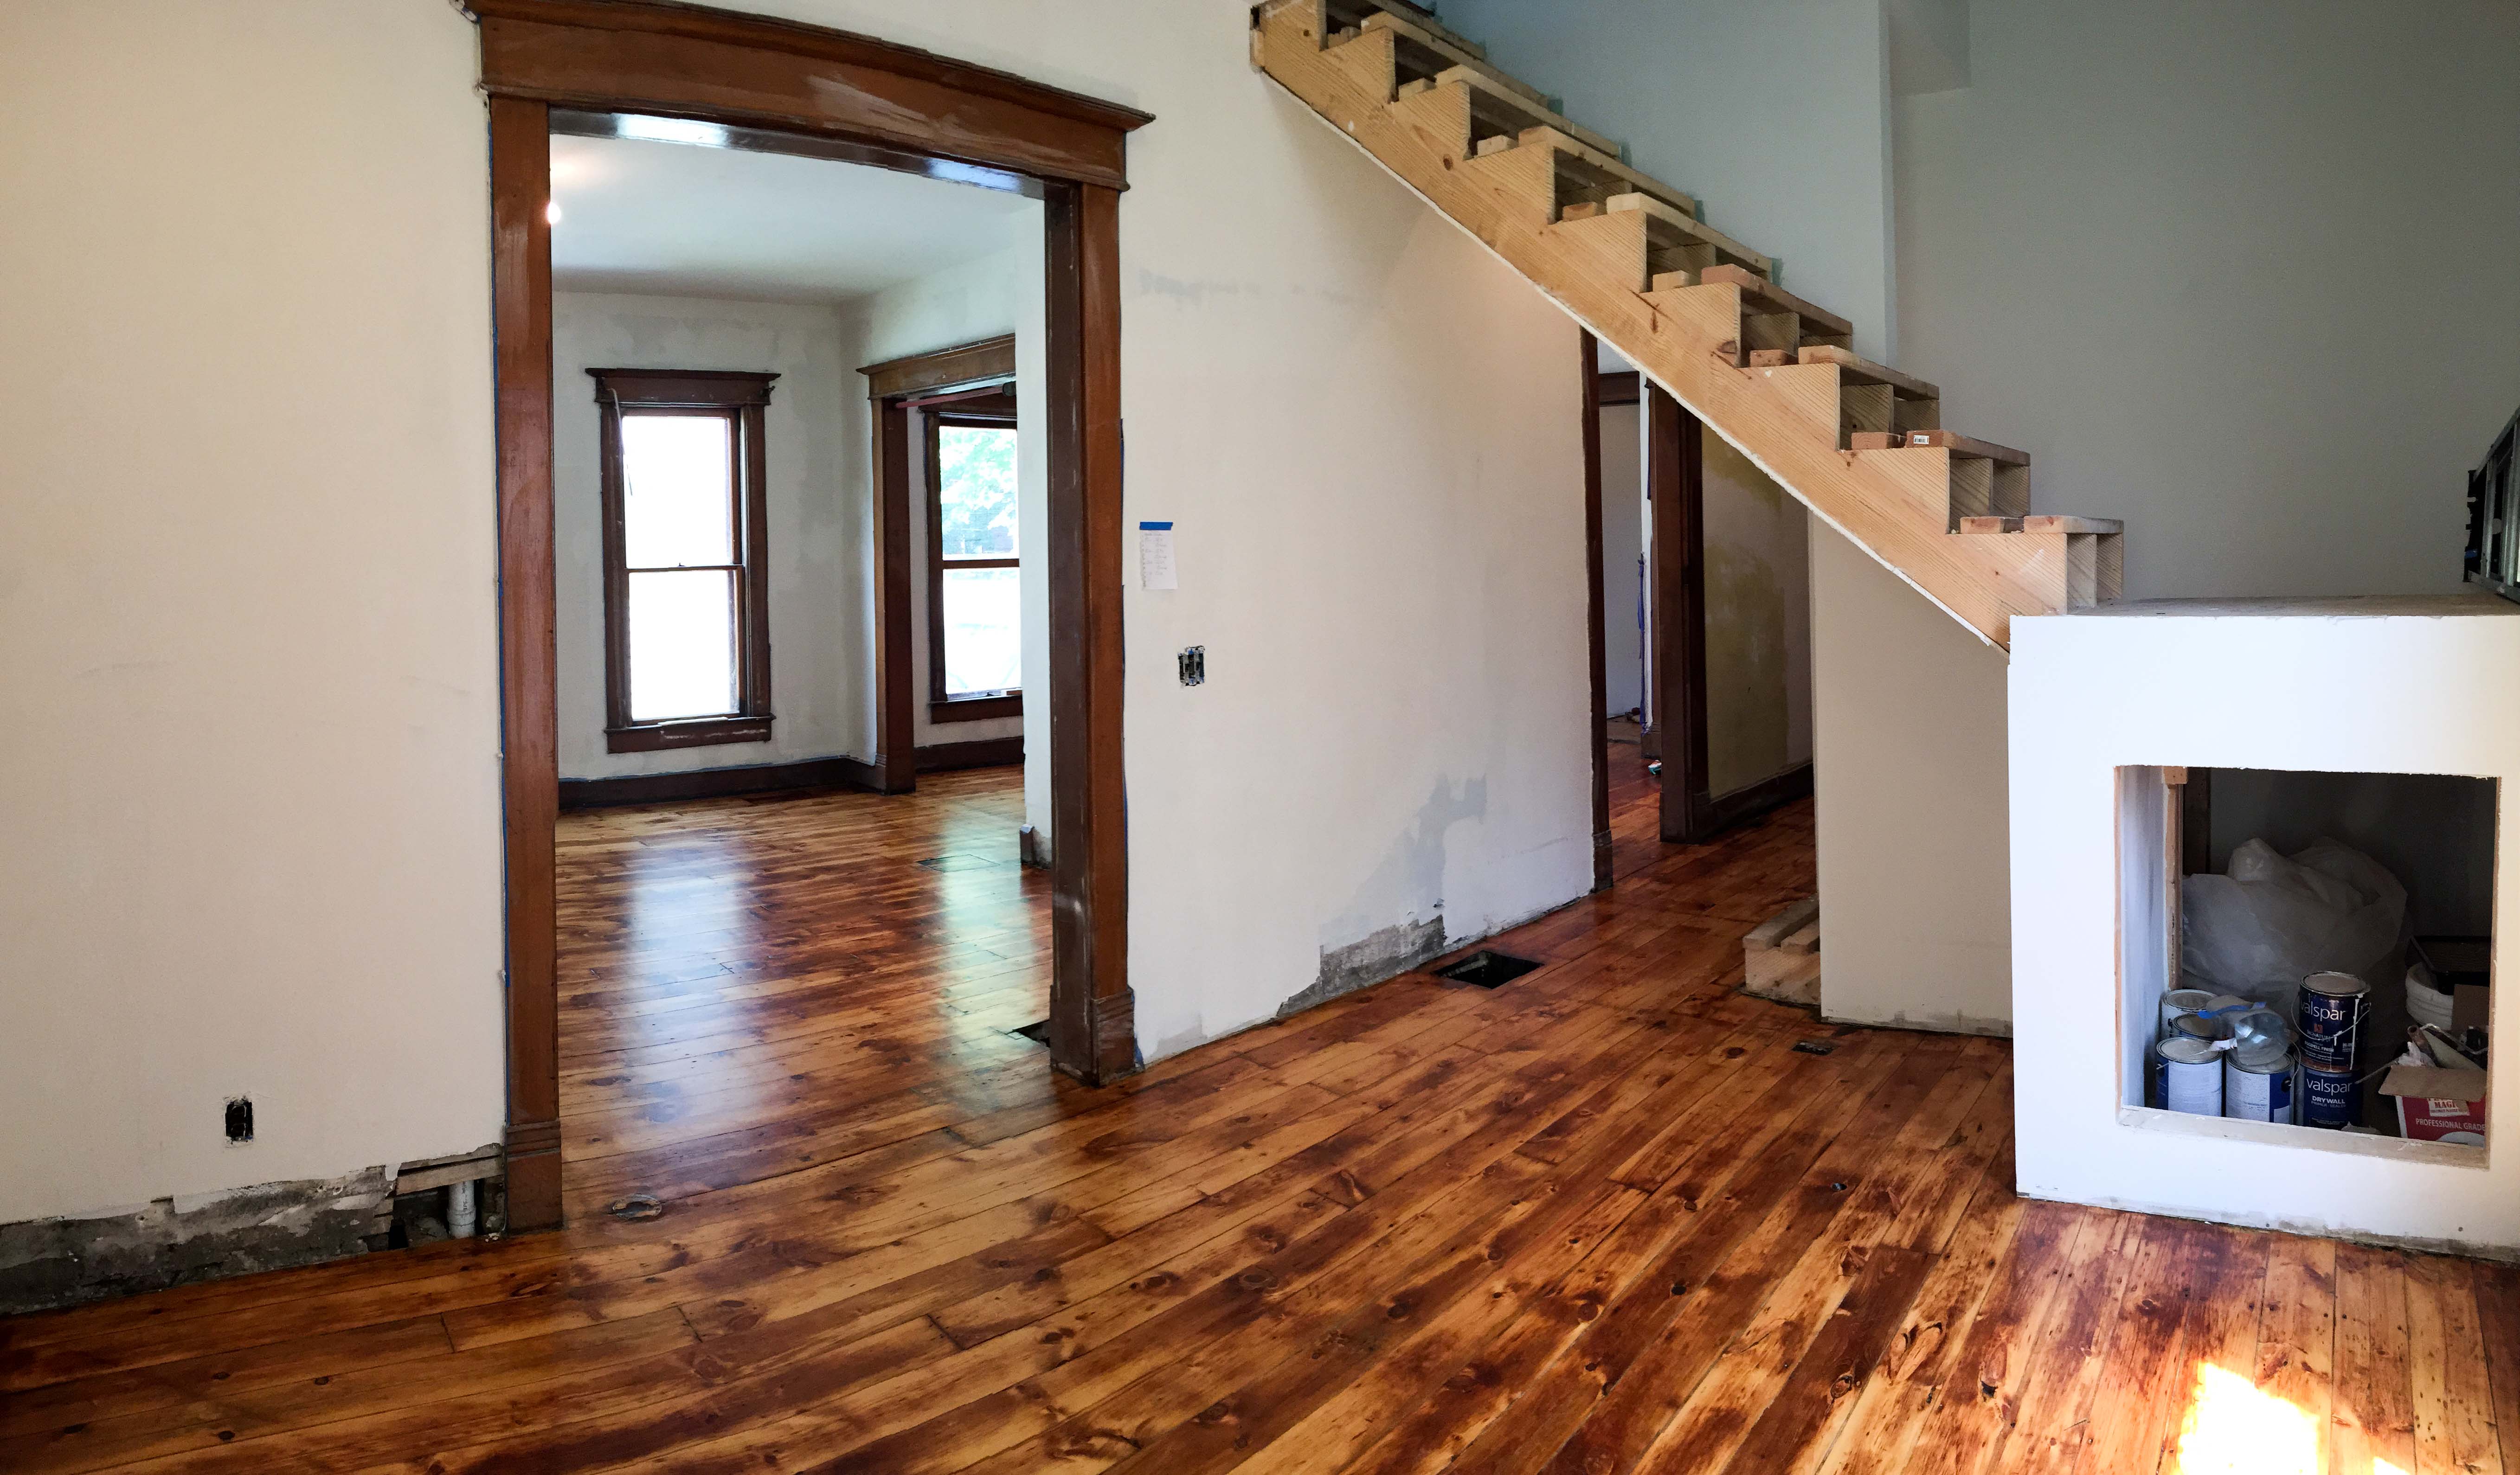
The living room…


Another view of the living room…

Refinishing the floors was the last remaining BIG job before moving in. We still have a lot to do in a short period of time (like assemble two bathrooms and a somewhat functioning kitchen), but the good news that we were able to talk the buyers of our current house into giving us two more additional weeks. That means we now have one month. It’s a certainly a more realistic time frame for us to finish necessary projects, pack our current house, and move.
[Edit from Amy: It’s happened. The rehab house is now officially cleaner than our actual house. The boxes…the dog hair…the toddler toys….the mayhem.]

OMG your home has become a home….it is beautiful. I love love love the floors and what a great difference it makes. I think the use of Satin finish on the floors is amazingly beautiful. Congrats to you Joe and without saying Amy. Your almost there kiddos….your almost there. Love and Hugs …Aunt Janet
LikeLike
The floors came out great. You guys did an amazing job.
I recently found your blog and have really enjoyed reading all about your experience renovating your house. I’m excited to continue reading about it.
LikeLiked by 1 person
They look absolutely incredible!! 🙂 x
LikeLiked by 1 person
Thank you 😊
LikeLike
Hi there! What kind of polyurethane did you use? We also have pine floors and I love the way yours look!
LikeLike
Thanks! We used Minwax with a clear satin finish.
LikeLike
Writing to you from the future (LOL)… as I catch up on your progress. I love reading other people’s house blogs as I stumble through my much younger but still kind of a mess 1940 home. Your floors look so amazing! so much hard work pays off!
LikeLiked by 1 person