Day 2
A long time ago when I was researching everything about refinishing floors I found something online that calculated how long it would take to do the project. Turns out that 2000 sq. ft. is supposed to take 105 hours. I remember thinking, “Whoah! That’s a lot. How could it possibly take that long?” Well, now I think they underestimated, because that number obviously doesn’t apply to a 100 year-old floor that may never have been finished since it was first installed. My original naive guess was that we would have the floors sanded in 2 days. Silly me. I should certainly know by now to double any expectations of time.
At the end of day 1 Amy and I were feeling good about the progress on the 2nd floor. We had the bugs worked out and had developed an efficient work flow. On day 2 we were fortunate enough to have our friend invite Lucy over for a day-long play date with her two little girls (Thanks, Anna!) so that Amy and I could work together on the floors. The morning went great! Sanding with the higher grit was easier on the drum sander and the edger and by early afternoon the upstairs was DONE.
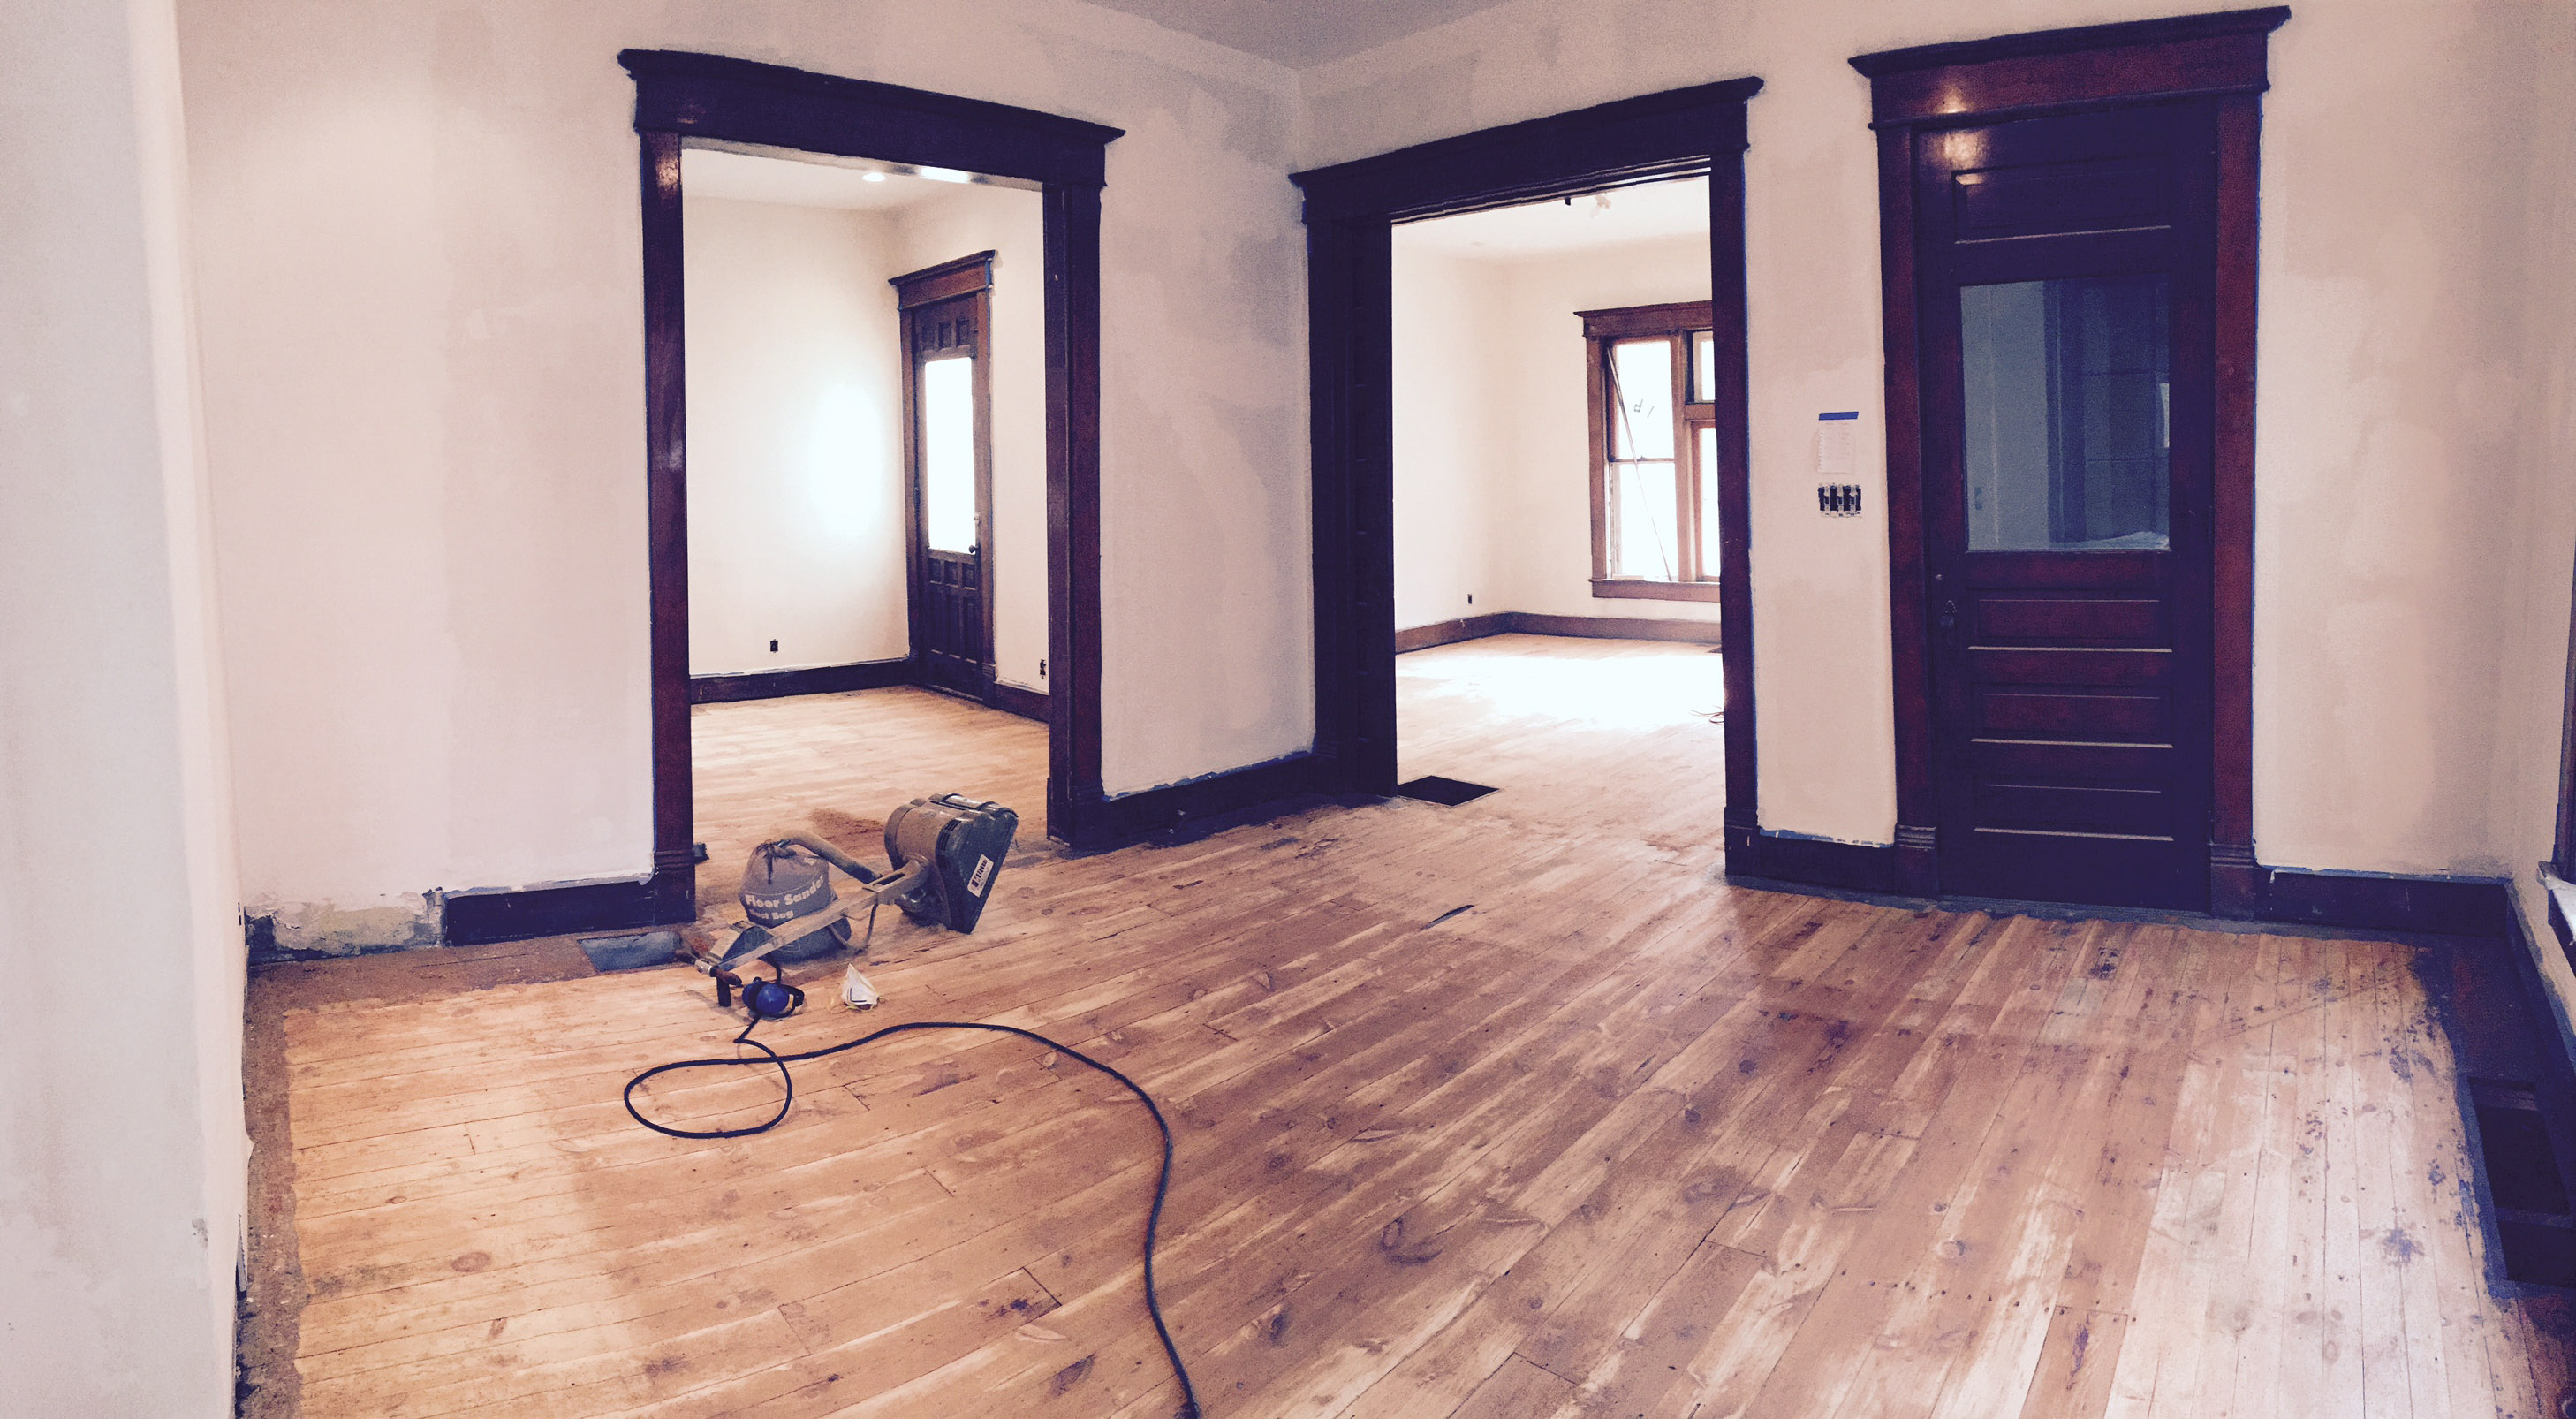
After having a quick lunch, the rest of the afternoon was not so bright and cheerful. We both thought that the floors downstairs would be the same, if not easier, to sand. The boards are more even and are generally in better shape than the ones we just finished (How quickly we forgot about paint and the laminate we removed). I started in the parlor with a 20 grit and noticed immediately that I was going to need to slow down. It was taking forever for the 20 to cut through, but when it was done I thought it looked decent enough for a first pass.

Next up, the living room… one of two rooms with painted floors. We did check the paint on the floors for lead (3 times) and they were surprisingly not contaminated. [Edit from Amy: Although I continue to wear my super duper protective mask anyhow. It’s just become a part of my face.] I started sanding the paint with the 20 grit and noticed it wasn’t going very well. I went to go get 16 grit, tried that, and it didn’t do much better.

Then Amy went to the rental place to get the very lowest grit they have (12), but still the paint did not magically disappear. Frustrated, I temporarily abandoned the painted section and returned to the parlor to do another pass with 20 grit. It cleaned up well enough for me to notice something alarming. The areas that were previously underneath laminate were much lighter in color than the area in the center of the floor. I figured this was because the top layer of the floors probably came off with the tar and laminate when Amy scraped it off.

This was not good. How was I going to get the colors to even out? Was I going to have to sand SO much of the floor that we would end up with really lightly colored floors? And what was I going to do about the paint in the living room and dining room?? We went home a little unsure of the best way to proceed. Amy and I were feeling much less enthused about the first floor and stayed up late doing additional research. We were both fine with a floor that looked a little beat up, but we weren’t expecting to have a floor that was so lightly colored or had issues with paint and discoloration. We researched ways to darken pine floors (no good options because staining does not work well on pine) and also even briefly considered how much it would cost to install new hardwood floors downstairs. We had really plummeted to a new low.
Even though it was late, I decided to head back over to the house to take another look. [Edit from Amy: at like 10 pm. Geez.] One thing you can do to get a good feel for what color your wood will be after you apply polyurethane is to wipe on some mineral spirits. I knew from working on the windows that the color of the wood darkens significantly. I think Amy thought our floors would look like this:
[Edit from Amy: Outdoorsy as I may be, I wasn’t really feeling like living in a cabin or hanging moose antlers on the wall at that moment.]
From my experience with rehabbing the windows I knew that our antique pine would be darker than that, but just not sure how much. I wiped mineral spirits in several different places and felt better immediately. The floors would not turn out yellow, and honestly, after looking at the first floor again I was feeling pretty encouraged about how they might turn out. Amy also felt better when I showed her the pictures. [Edit from Amy: Actually, I had fallen asleep on the couch and when he woke me up to show me the pictures I was delirious and confused.]
Day 3
Knowing that the progress was going to be really slow, I went to the house without Amy to figure out some of the issues on the first floor. [Edit from Amy: Joe has to get the middle of all the floors ready then I go in afterwards to sand the edges.] I started in the playroom, but this time decided to go more aggressive and use a 16 grit. I was hoping this would eliminate some of the color discrepancy in the flooring. It worked better than the 20 at cleaning up the floor, but still, a big color difference where the laminate used to be.
This is where I start to unravel a little bit. I went back to the parlor and went over the floor with a 20 again, but this time really focused on the darker areas of the floor. It didn’t work. I was bummed because: #1 – We would prefer to have darker floors downstairs, but I’m going to have to try to get them lighter to mach the perimeter of the floor. And #2 – because this is taking forever and now I’m not even sure it’s going to look good when I’m done.
By this point it’s almost 2:00, I haven’t eaten lunch yet, and I’ve been sanding for 6 hours already. We all know this is when stupid mistakes happen. In an effort to move quickly I somehow didn’t screw in one of the three screws on the drum. When I started up the sander set it down on the floor I heard an unfamiliar sound. I quickly pulled up the sander and noticed what had happened.

Done. I’m over it. Time for a lunch break.
After a quick lunch (dropped off by my lovely wife), I decided to move up to the 36 grit. This seemed to improve the situation a little and made the color discrepancy just a little less obvious. Still frustrated, I decide to take out my aggression on the living room. I went right for the big guns – the 12 grit.
My new plan was this – I would just start at the very bottom and progress through the whole range without doing any double passes (12, 16, 20, 36, 60, 80). My reasoning was that each grit has a certain job and that I was probably just wasting time by going over and over a floor with the same grit.
Slowly and painfully I did passes with the 12,16, and 20 grit in the living room and also in the dining room. The paint was starting to come up, but a lot of it remained and I also still had the difference in coloration between the perimeter and the center of the floor. By the this time I had been working for about 13 hours and my hands were raw…

BUT – With all this time spent just walking slowly and thinking (LOTS of time to think), I managed to calm myself down and remember that these are just floors. It’s not that big of a deal. [Edit from Amy: Took you long enough.] When we add furniture and everything is finished, the floors will look just fine. Also, maybe the color discrepancies are just one more thing that will remind us of this house’s past. It’s a part of the story of the house that can’t be erased. My spirits are also raised a little by stepping back to appreciate how much better the house looks already.
[Edit from Amy: Most importantly, we need to remember why we are doing this in the first place. This is where writing down your goals can help center and make easier the tough decisions you need to make. We’re not doing this to have some high end fancy house to show off to our friends. We have a financial goal, and better (more memorable and experiential ) things we want to spend our money on than some $8,000-$20,000 floors. So, with that perspective we’re going to finish those “free” subfloors that were never really intended to be finished and we’re going to be glad we didn’t deviate from our ultimate goals, break down, and buy expensive floors! If that’s what you thought we were going to do, you’re reading the wrong blog.]
What strikes me is how much warmer (in feel, not temperature) our house feels now- especially at night. We are taking a major step in the homeyness department. Everything is going to be okay.
Day 4 [Edit from Amy: Ugh.]
Lucy got to have another play date today (Thanks again, Anna) which meant Amy and I could work together on the floors. My hands were still raw from the previous three days, so this time I came prepared.

I started by attacking the living room and dining room with a 36 grit. By the time I was done the paint was nearly removed now and the color discrepancies were becoming much more tolerable. Good news.
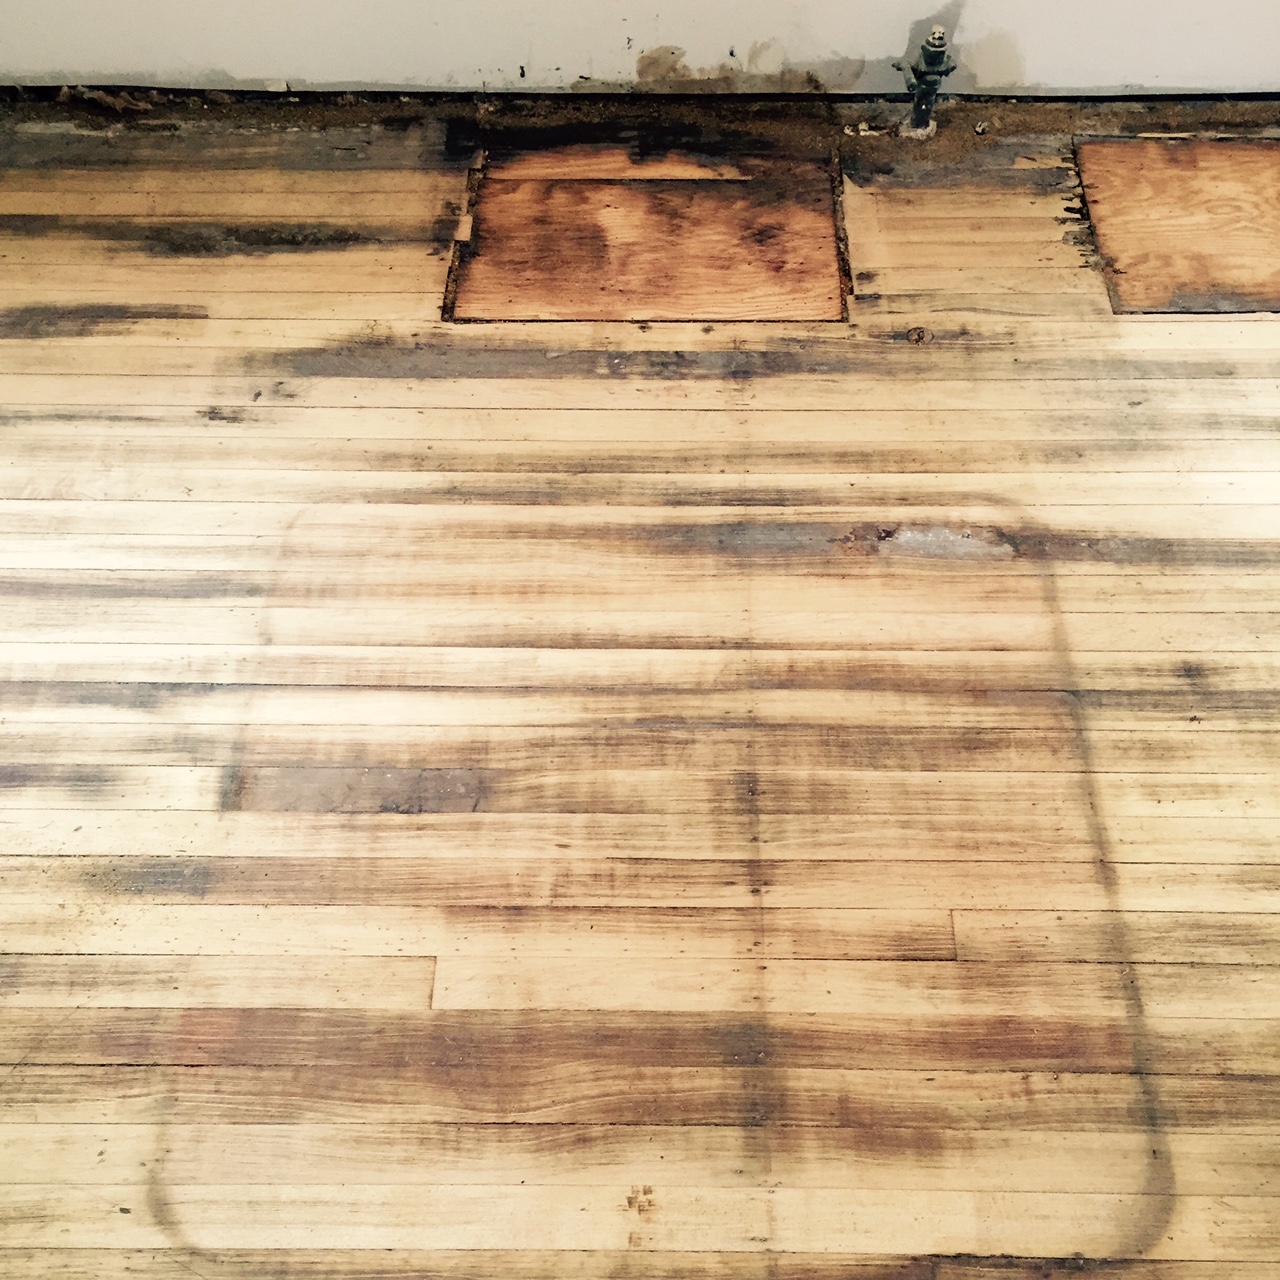
Time to turn my attention to the final room – the kitchen. The kitchen’s floors are different from the rest of the house. Remember, our kitchen used to also contain the bathroom and pantry which were both demolished to create a more practical kitchen size. The bathroom and kitchen would have been the only places in the house where you would see the entire floor (who carpets a kitchen?) so the builders installed a more durable hardwood. I actually don’t know what type of wood it is, but I’m know it’s not pine. My guess is oak, but I’s just because it seems most hardwood floors are oak.
I thought the kitchen would be the easiest floor to sand. It was in the best shape, the boards were level, and looked relatively clean compared to the rest of the house. Wrong. It now looks like the floor was actually stained at some point and this stain is proving very difficult to remove.

One interesting discovery – there is a pronounced outline on the floor of what I assume was the placement of an old oven. It is located right in front of a hole that was patched and then also near the old gas line. It would be interesting to know how that kitchen was originally set up.
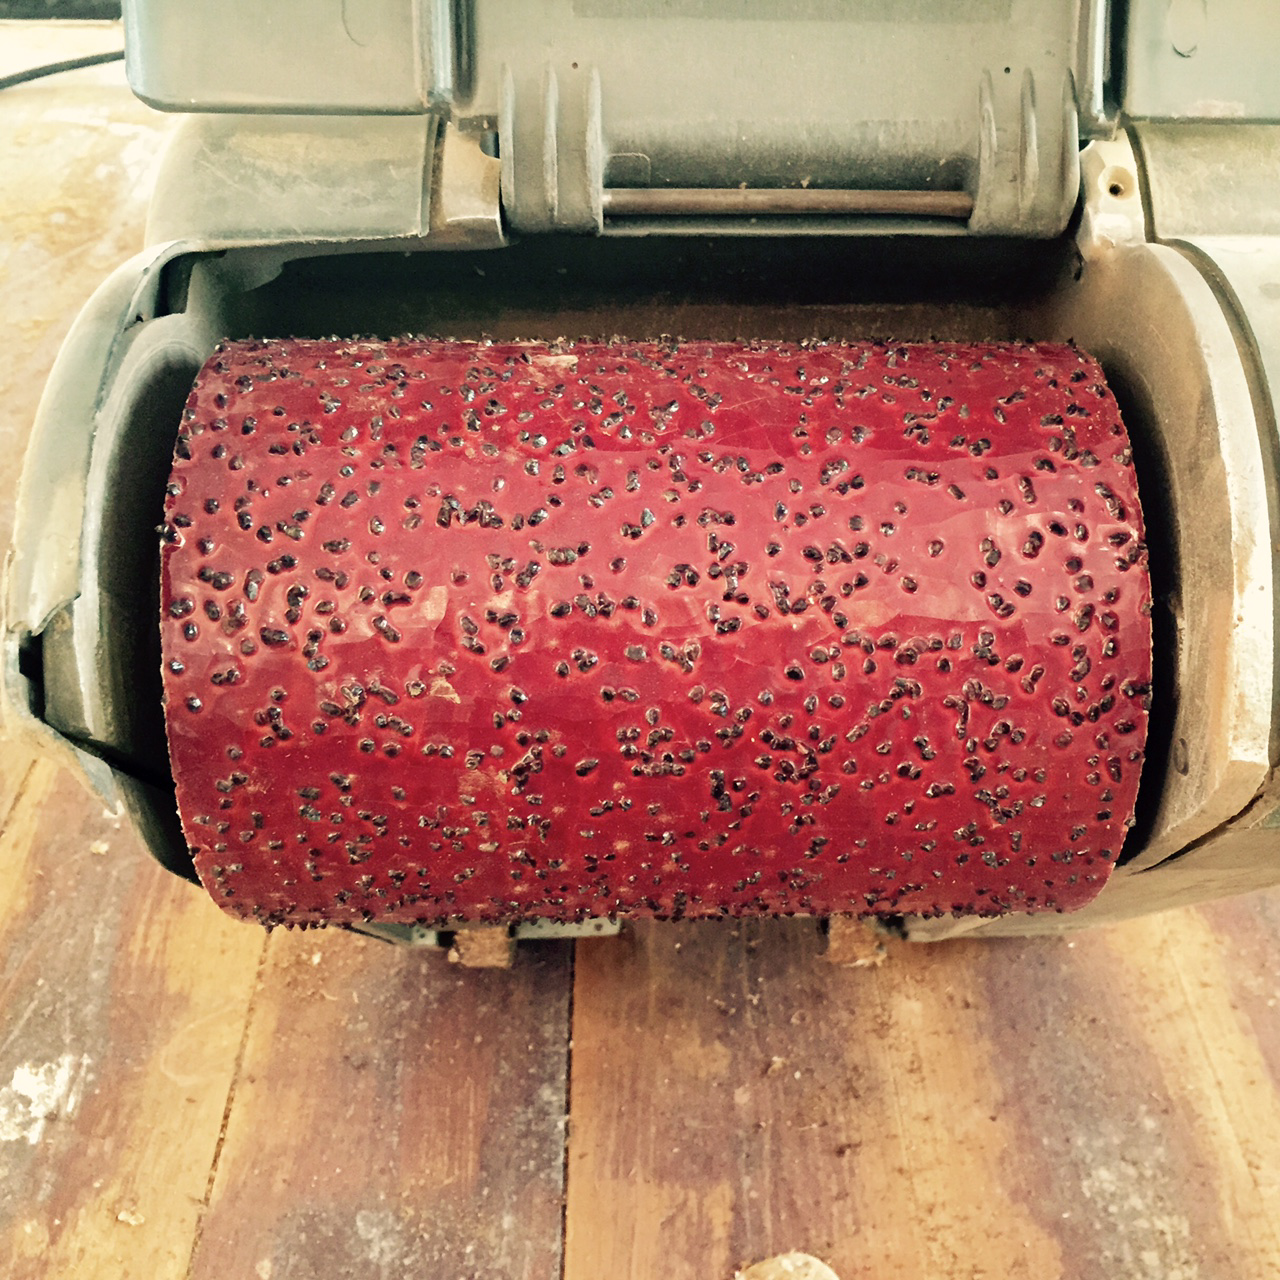
Meanwhile, Amy’s job as the edger is starting to take a toll on her body. You can see from this picture why that would be the case:

[Edit from Amy: Literally everything hurts. I feel like I’m going through some crazy intense work out program. I walk like a stick man. Doing the edger is a lot like a vertical full body crunch, like a walking wall sit with added arm strength training if you will. ]
Our sanding jobs are very different. Amy’s job involves shorter bursts of intense, full-body workout. Mine is like a very slow, VERY long marathon. Being a good husband, I did try to empathize with my wife by telling her that my toes hurt. [Edit from Amy: your toes?] Specifically my middle toe on both feet. [Edit from Amy: That’s really too bad.] I explained that this must be because I am walking so slow that my toes are having to work overtime to balance my stride. She did not seem interested… or sympathetic.
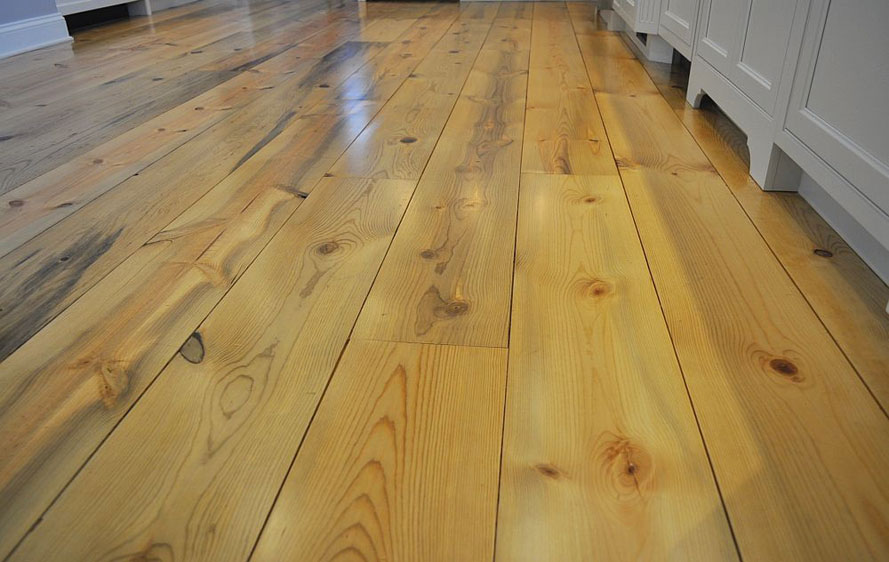
After a pass with the 16 and 20 in the kitchen it was time to begin the finishing grits in the parlor and playroom. The 60 grit made a huge difference in the look of the floors. The color differences really started to blend away and texture and grain of the wood really started to pop. We are both feeling much better about how the floors will turn out. The paint and color discrepancies are now almost non-issues.
We did discover that as the floors get cleaner and more finished it is becoming more important to avoid dirt.. It turns out the the edger has been kicking out dirt and debris from underneath the baseboards and then Amy’s shoes have been digging that dirt into the wood around the edges of the room. It’s difficult to notice until the floors are clean. Time to start wearing socks.
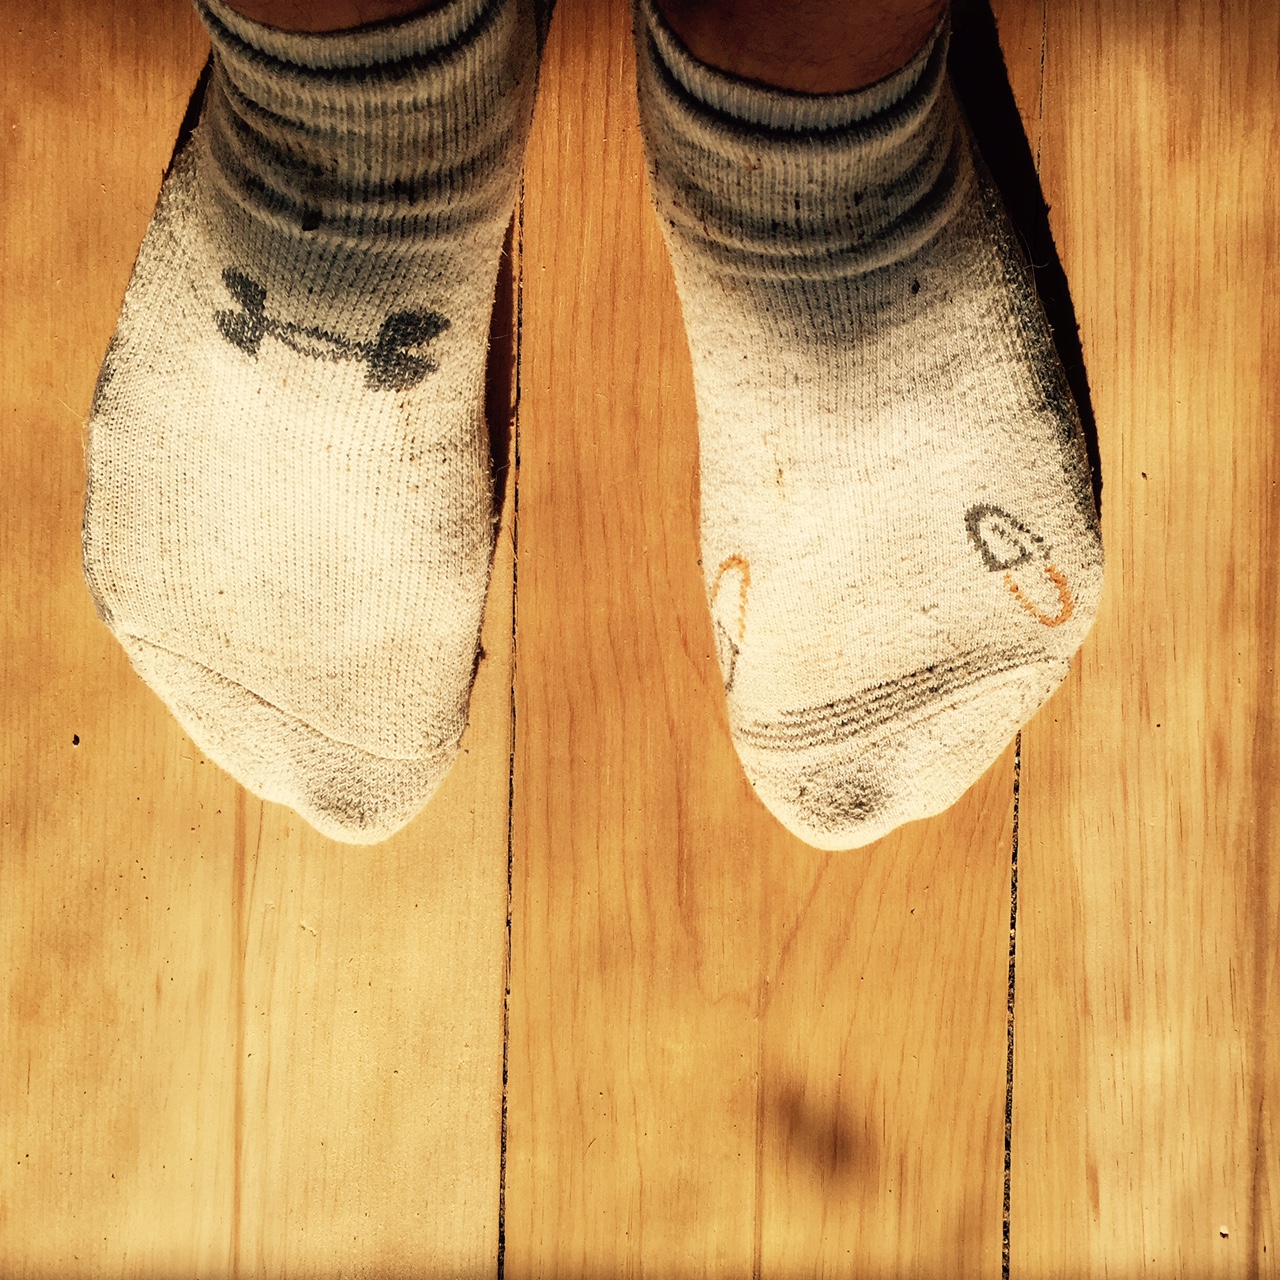
#1 I know… My socks don’t match. I gave up matching my socks when working at the house a long time ago.
#2 It felt REALLY strange and nice to be able to walk around in this house with my socks for the first time. [Edit from Amy: Something that would have been unimaginable just a mere week ago.]
We hope to wrap up the sanding on Day 5, then move on to the buffing and final prep work this weekend
Oh, and we have FOUR WEEKS to move out of our house.
Yikes!

Oh Amy and Joe I ache just looking at Joe’s hand and his poor middle toes. LoL. Amy you might start walking in that bent over position ..oh no that looks painful. You two are troopers for sure, and the end result will be amazing. Hugs and love….KEEP ON KEEPING ON. PERSEVERANCE!! BE THE TURTLE, BE THE TURTLE. LOL
LikeLike
My parents pulled up the carpets in their house (before they legally owned it!) and found floors that were in such pristine condition that they had them cleaned and waxed, not refinished. 20 years later the rectangles from the original owners’ rugs are still there, as is the ring from some potted plant by the porch door in the living room. It’s all fine. Don’t worry about having a little too much history. It’s better than too little. I looked at a house with brand new pre-finished floors and thought about buying the house, and there was a little voice in the back of my head complaining about the one thing in the place that was in good condition.
LikeLiked by 1 person
Thanks. I keep telling myself the same thing. I’m sure we will love it in the end. I’m just getting neurotic about it now.
LikeLike
It’s a struggle! I went through it a lot – am I getting too heavy handed with the restoration? Am I not doing enough? And then telling the Irish carpenter to leave things flawed.
LikeLike
This vocabulary is extremely cool!
LikeLike