Week 12 – Joe
We are still in a holding pattern on the final floor plans as we work out a few more details. We are also still trying to lock down a sub contractor for the framing. The last guy that came and looked at the house seemed excited about the project and eager to be a part of it, but he never returned my calls and it has been a couple weeks since we talked at the house. I understand this is the busy season for contractors and that a project like ours is going to be very low on their priority list, but still… just tell me you don’t want to do it so I can find someone else. In my short experience it seems that someone would be in VERY high demand as a contractor if they were just timely, professional, and actually communicated. We do have another option for a framer and I am meeting with him on Friday.
In the meantime I have gotten started on a part of the renovation that will become a long term (and seemingly never-ending) project. Window restoration is one of many rehab items that Amy and I felt comfortable doing ourselves. From all of my research it just seems to be labor intensive, but not terribly difficult. Some of you might wonder why bother rehabbing old windows when we could just get bright and shiny new energy efficient windows. First of all, old windows can be pretty efficient if you do the necessary upkeep and also use storm windows. The cost savings in heating/cooling for new windows compared to old windows can take longer to materialize than the actual life of the new windows… so you really aren’t saving any money. Environmentally, rehabbing is much greener and more sustainable and these old windows will last much longer. As this article in the NY Times mentions, more and more people have caught on that rehabbing old windows is the better way to go.
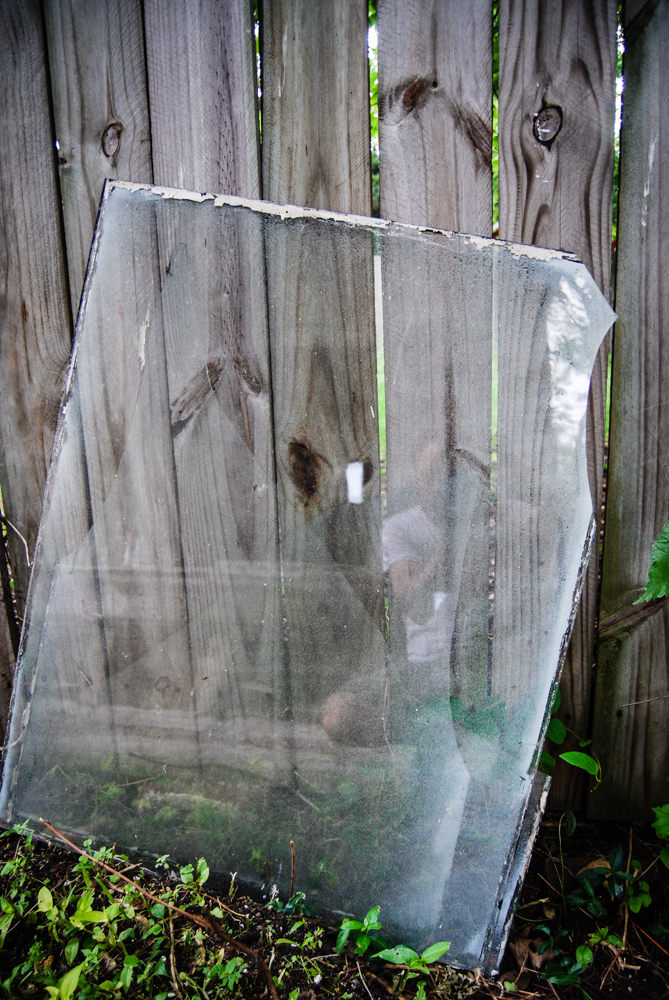
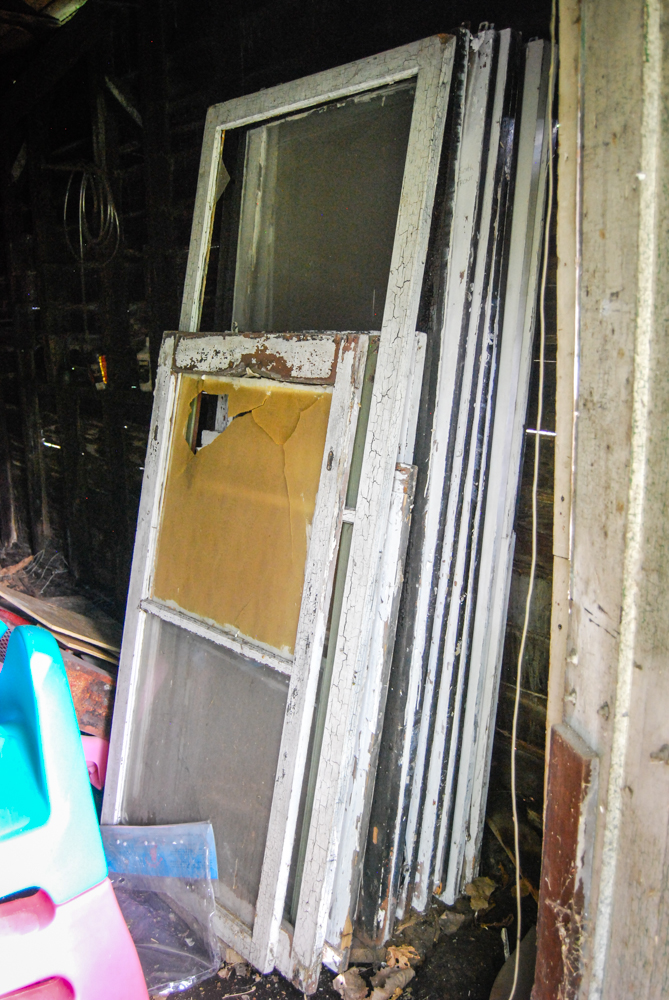
I mentioned in a previous post that the windows are in fundamentally good condition… fully functional, original hardware intact, and generally free of rot. There are 14 in the house and all but 2 still have the original glass. When we gutted the kitchen we also removed all the trim around the windows. This means it is a good time to get started on those windows so that they are ready to go when (probably a long time from now) we are ready to put the trim back on.
The bottom sashes were easy to get out because they were held in place by a part of the trim piece I had already removed when dismantling all the trim. The most difficult part was getting the upper sash out. There is a piece of wood called the parting bead that vertically separates the two sashes. It is often covered in paint.

Originally this piece of wood would easily come out and allow for maintenance of the weights and rope. Obviously many years of paint now prevents the parting bead from coming out without a really good fight. Most of the research I did indicated that the parting bead was easily replicated and very difficult to get out in one piece. I messed with it for a while and then agreed… I would happily sacrifice this one small piece of wood.
The first sash was on the bottom (easier) and came out with little difficulty. This was one of the two that had missing glass. I did some initial picking around… testing how easy the paint would be to scrape. I went ahead and painted on the environmentally friendly and non-death causing paint stripper.

I moved on to the next bottom sash. That was when I experienced my first soul crushing moment as a rehabber. As I was removing the rope from the side of the sash I let go of the rope before allowing the weight to fully get to the bottom. After letting go, the weight came crashing down, snapped the rope, and bounced out of the wall and right into my 100 year-old window glass… smashing it to pieces. It was a stupid mistake and I was extremely upset with my carelessness.
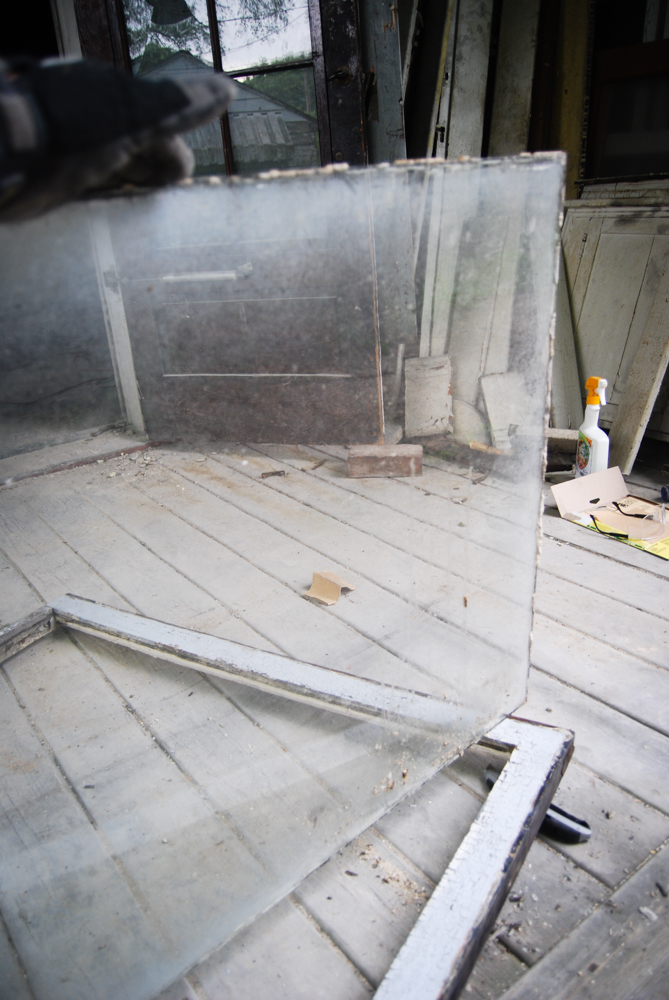
It gets worse. After applying paint stripper to the 2nd sash I decided I would tackle that parting bead and get out the top sash. Mission accomplished. I was extra careful this time as I was lowering that sash and removing the rope from the window. I got the window to my work station and began the process of scraping and picking away the old glazing putty.


I was cruising along pretty well and everything seemed to be going just fine until I got a little overly ambitious with a stubborn area. Crack! The glass shattered. I was now 0 for 2. Not a good start. You might wonder why I was so bummed about breaking this glass. If you have never seen old glass (or just never noticed), it has a particular look. It is wavy and plays with the light in a distinct way. I hate to lose those panes of glass – especially because they were from prominent windows in the kitchen.
My 3rd attempt at removing the glass was successful… as was every attempt afterwards!
After removing each glass pane I scraped off any loose paint, applied paint stripper, waited about 8 hours, then scrapped again.
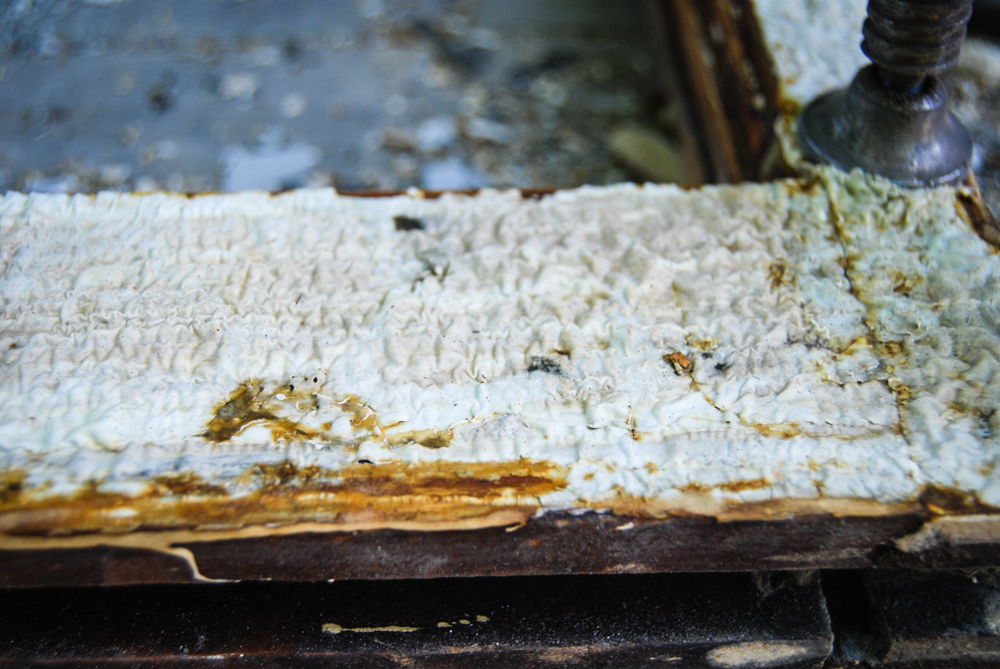
The next step was to repair any loose joints with an epoxy, then sand with a medium grit sandpaper.

Once the frame was all cleaned up I put on a coat of primer.

While we are restoring the windows we are also taking the opportunity to clean and refurbish all the window hardware – including locking mechanisms, pulleys, and ropes.
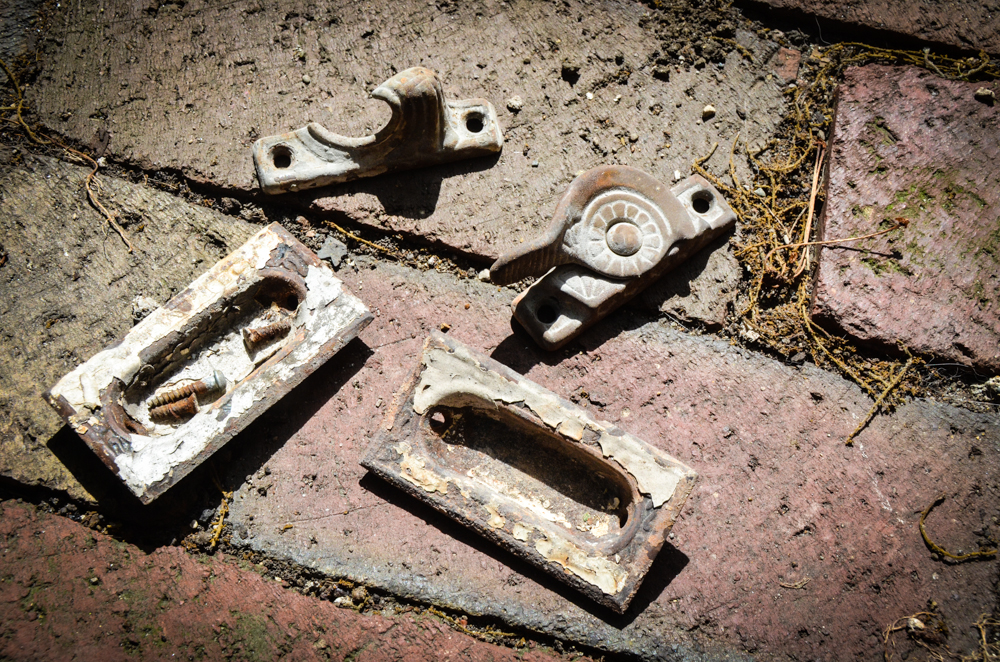
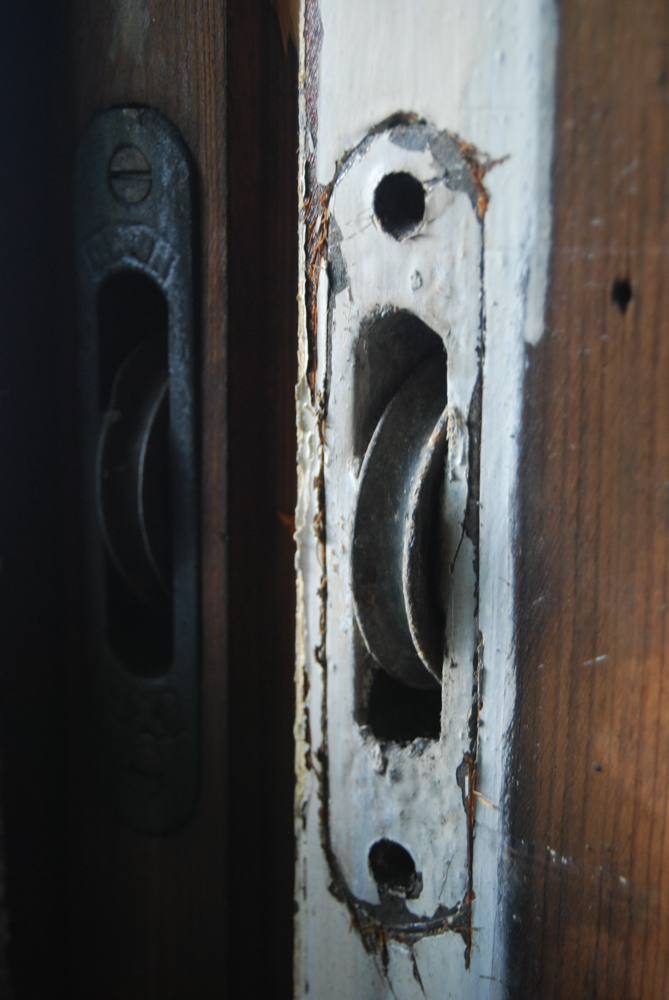
The hardware is as simple as an overnight soak in a crockpot with soap. The paint slips right off and the remaining residue can be cleaned with a brush.
We have a long way to go with the windows… 10 more to repair and reglaze. Those remaining 10 are not painted on the inside (still just wood) so at least I won’t have as much paint stripping to do. I probably won’t do those until much later in our renovation. The only reason I am doing the kitchen now is because I already had all the trim pulled off. At some point I DO have to strip, repair and reglaze all 14 storm windows.
The storm windows are all original to the house and many of them still have the original glass. This is pretty far down on the priority list.
The next step is to finish sanding and priming, then reglaze the windows. For now, we’ll keep chipping away at the hardware and try not to break any more glass.
Follow our story and read the next post: More demo, more treasure
Read the previous post: The demolition continues…

Hey Joe so sorry to hear that a couple of panes of glass got broken during the refurbishing of your windows. WOW what a process ! I was telling Rick about the over 100 year old glass and he said he saw some OLD OLD OLD glass in Germany and it does have a distinctive look to it with the light that shines thru it…..a very distinct look Rick said. Were both sorry that a couple of pains got broken. I hate the Broken Glass Graveyard. LOL Joe & Amy Keep on chipping away with the process it takes for those 14 windows….one room at a time . Hugs and Love, Aunt Janet XOXoxoxo
LikeLike
I as reading this and it reminded me of a post a friend of mine made about her old windows.
http://lizosullivanaia.wordpress.com/2011/08/14/old-windows-leed®-and-historic-character/
LikeLike