Week 52 (Joe)
Amy and I spent last weekend and Monday frantically preparing for the drywall crew so that they could begin on Tuesday. The big day finally arrived and we drove home after work like a couple of kids on Christmas morning. Except… there was nothing under the tree. Sadly, no drywall. The drywall had been delivered that day, but it all sat on the floor in the middle of each room. Amy was bummed, I was not surprised. Wednesday we drove home sure that half of the house would be done by now. Nope. Nothing. Thursday, same story, except this time I got a call from the owner of the drywall company saying that he has a couple of guys at the house and they don’t have the right bit to unboard the door and can’t get in. I let him know where we keep our screw driver and we at least felt a little better knowing that someone was there and that they would at least get something done. But, they didn’t. Not a good start… Amy is mad and my initial dread of dealing with another contractor is validated. Finally, on Friday some of the drywall was up. It was really wonderful to see drywall for the first time. The crew continued work on Saturday, but it looks like they just put in a few hours.
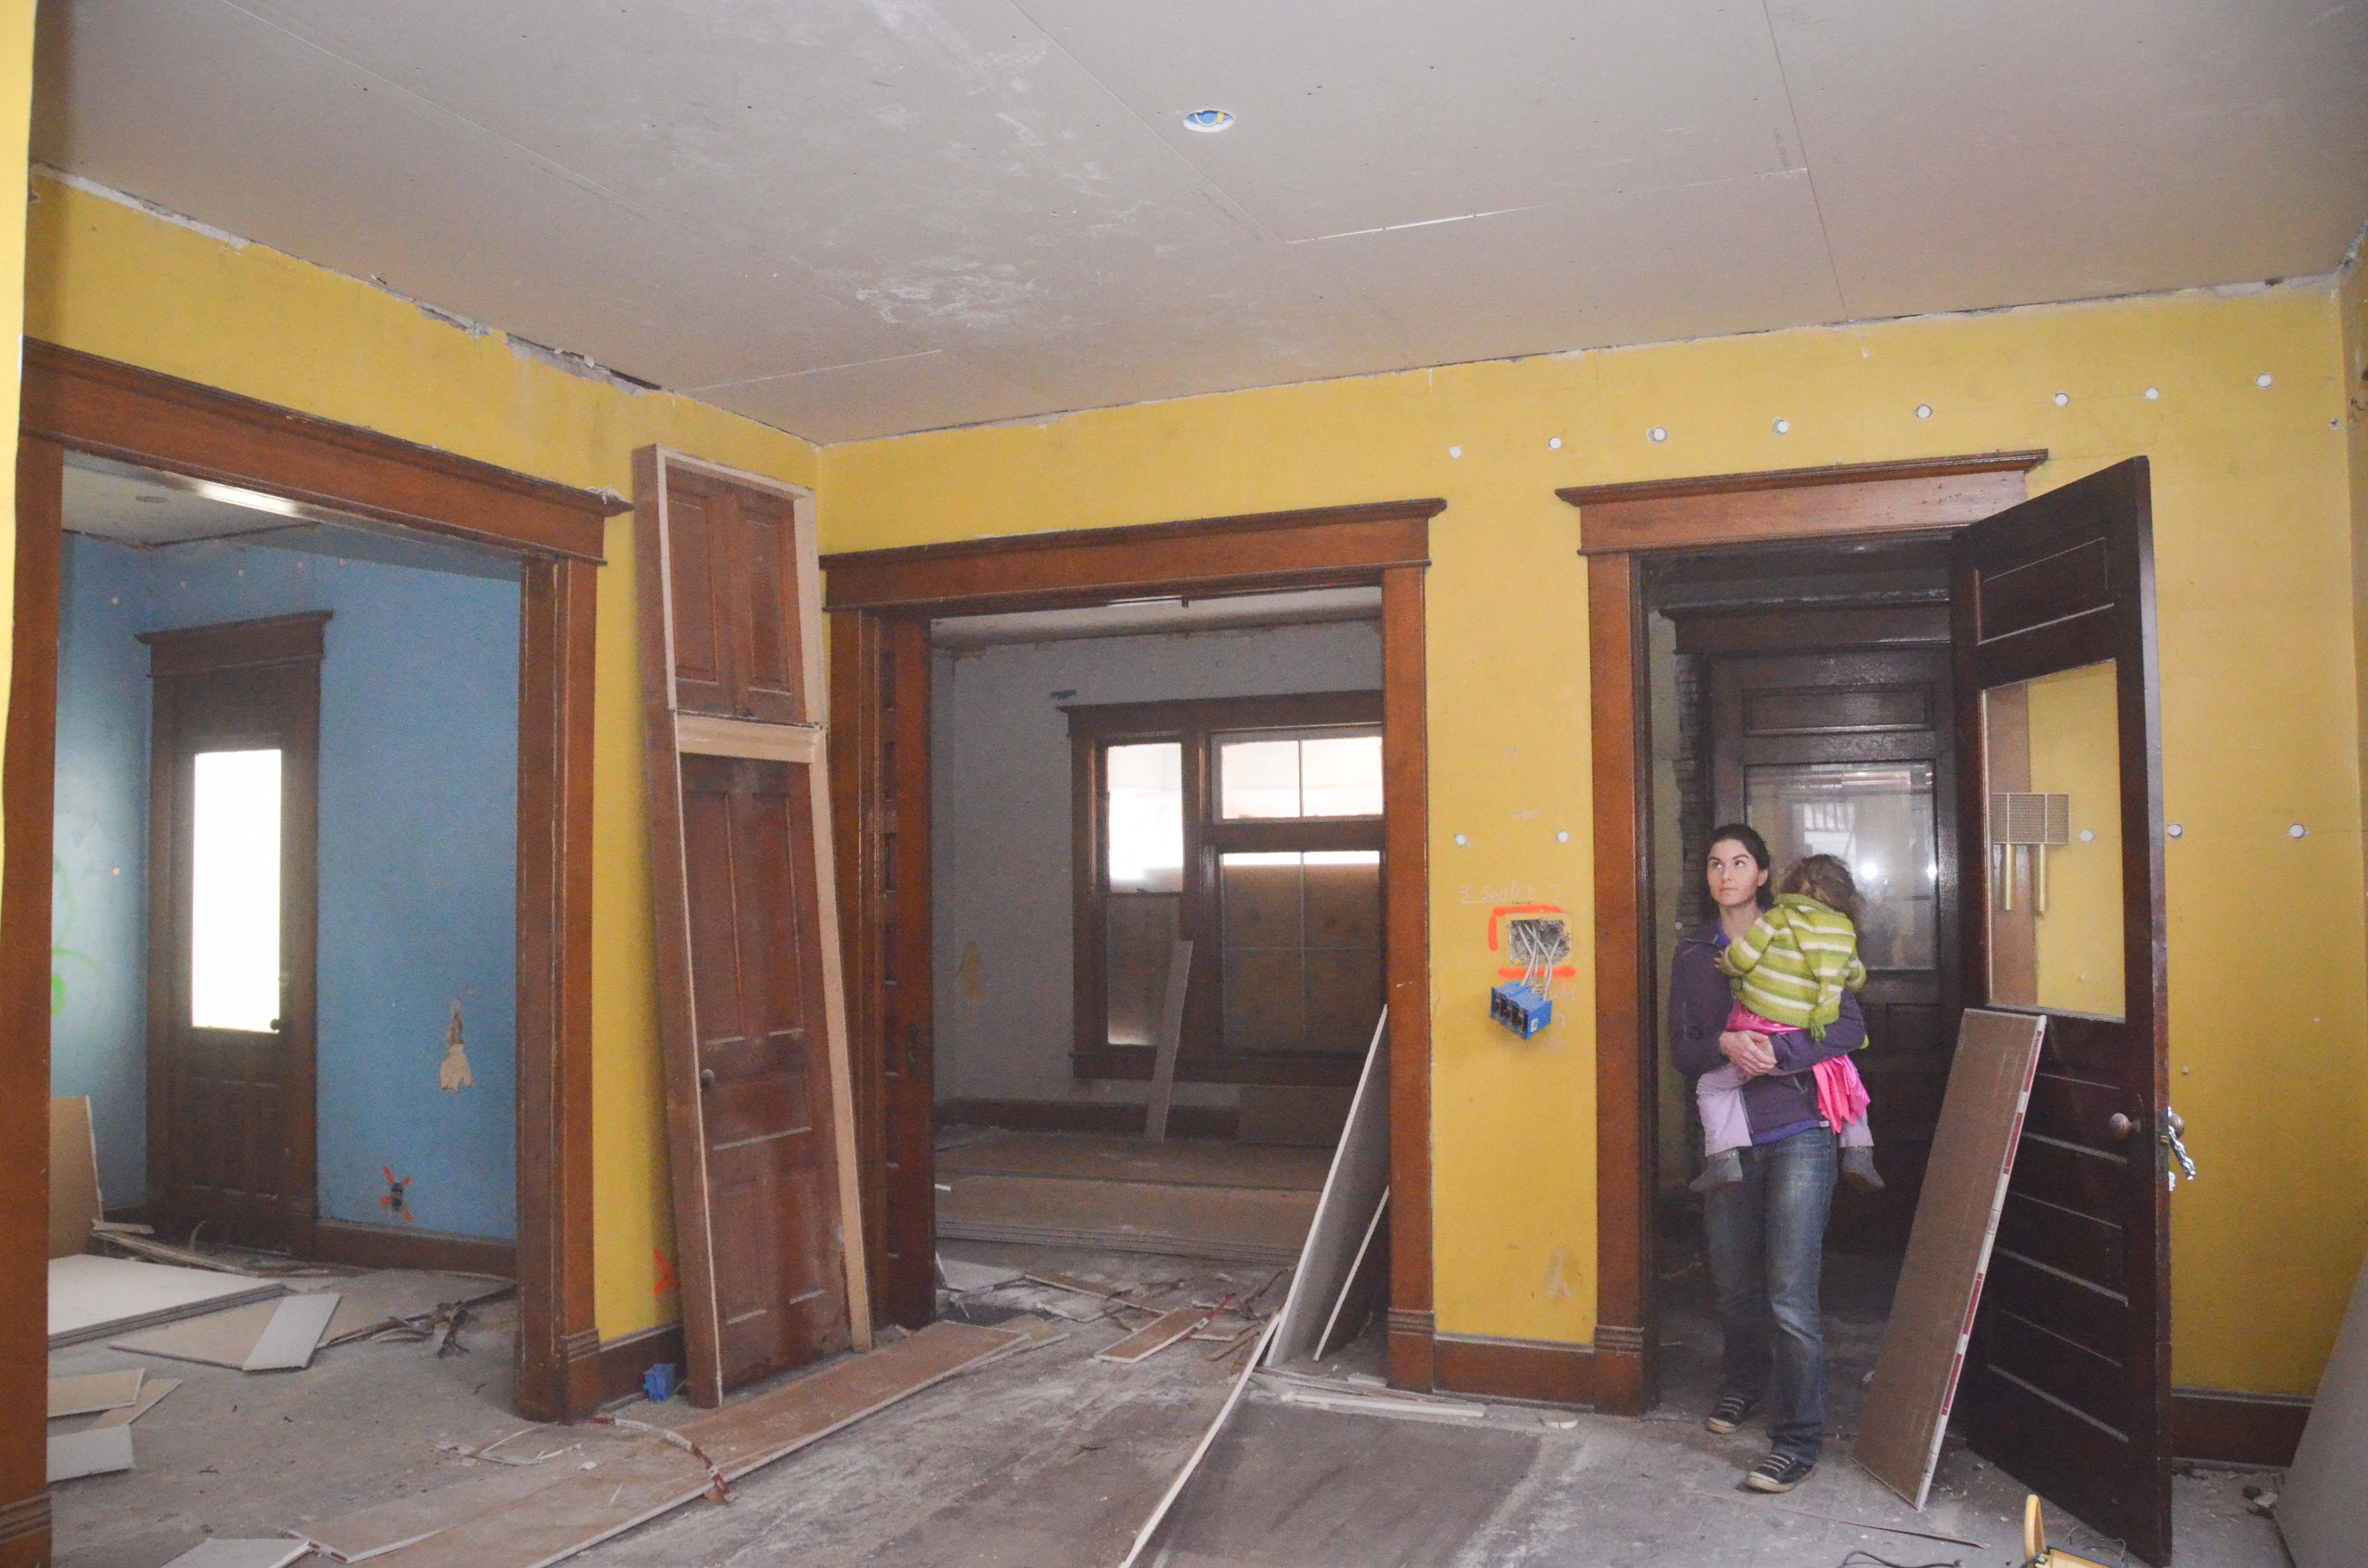
The drywall still needs to be taped and mudded, but here is a belated and exciting sneak peak at the initial progress…
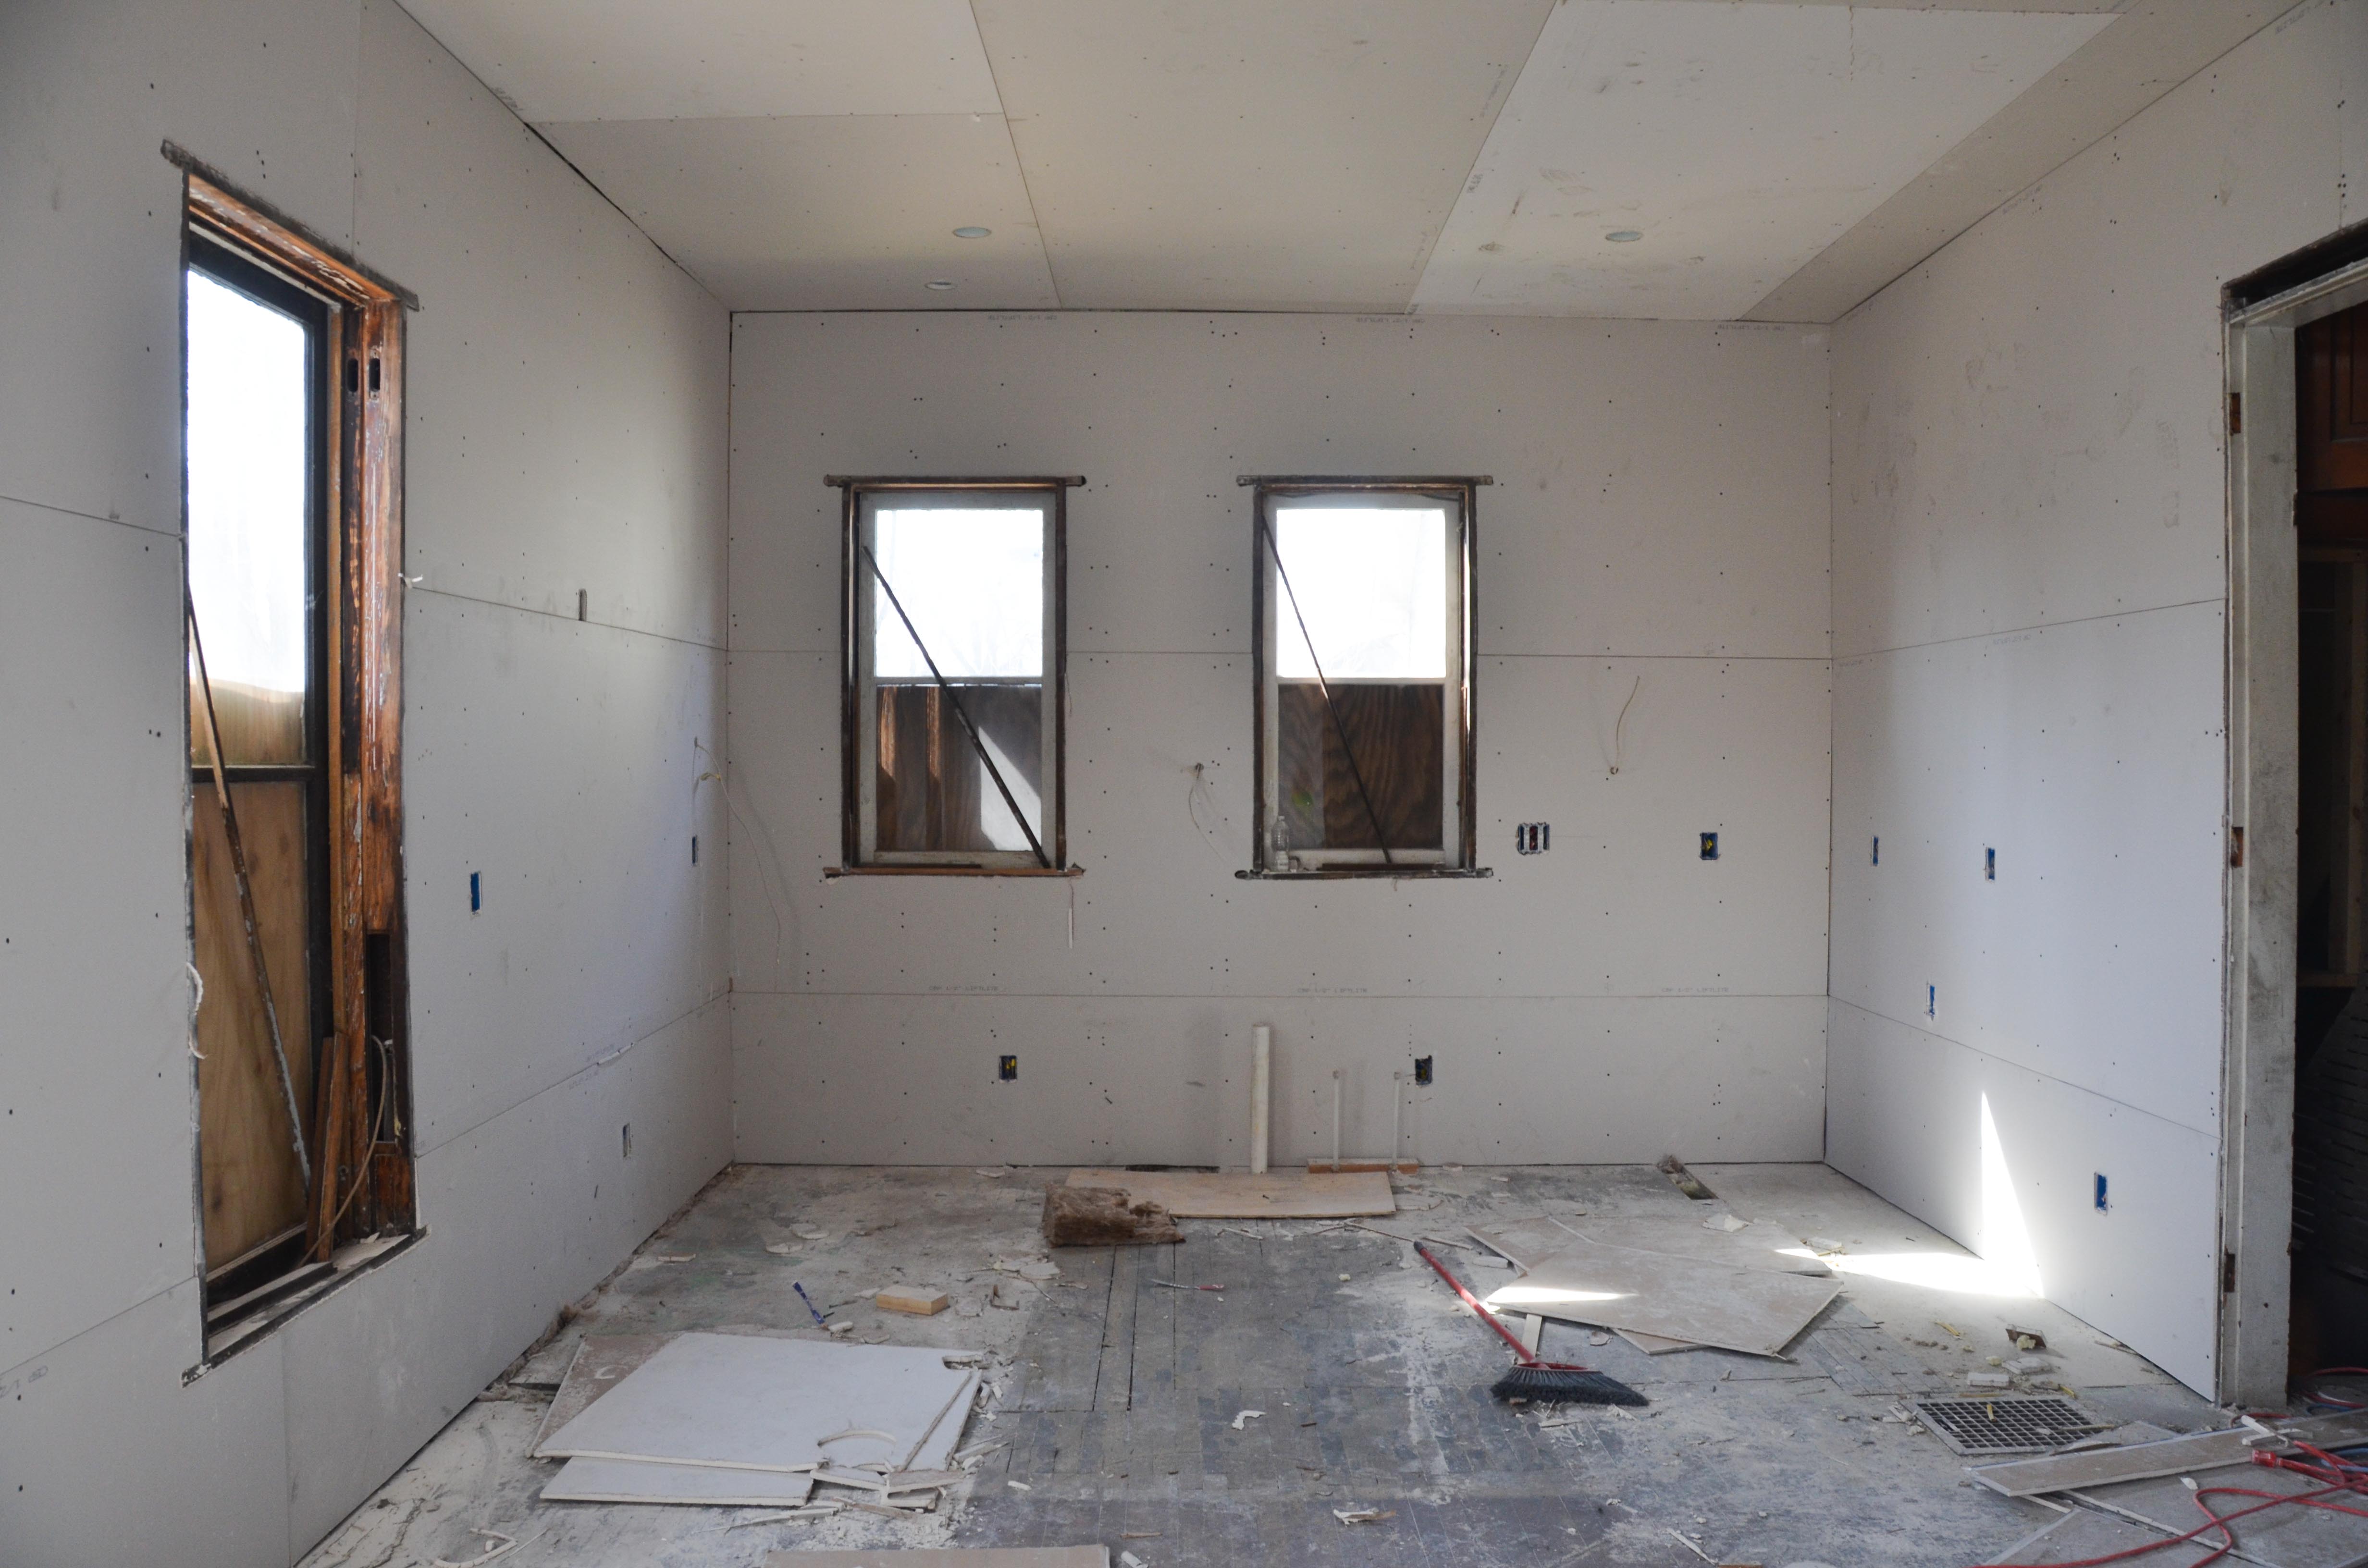
I know the kitchen doesn’t seem that exciting, but it is to us because we were used to seeing it as 3 separate rooms. It is strange not to see evidence of where the old walls used to be. Also, the entrance to the old staircase is now gone.
We were encouraged to see all the ceilings up on the first floor.

We were most curious to see the 2nd floor. Aiden’s room was completely done.

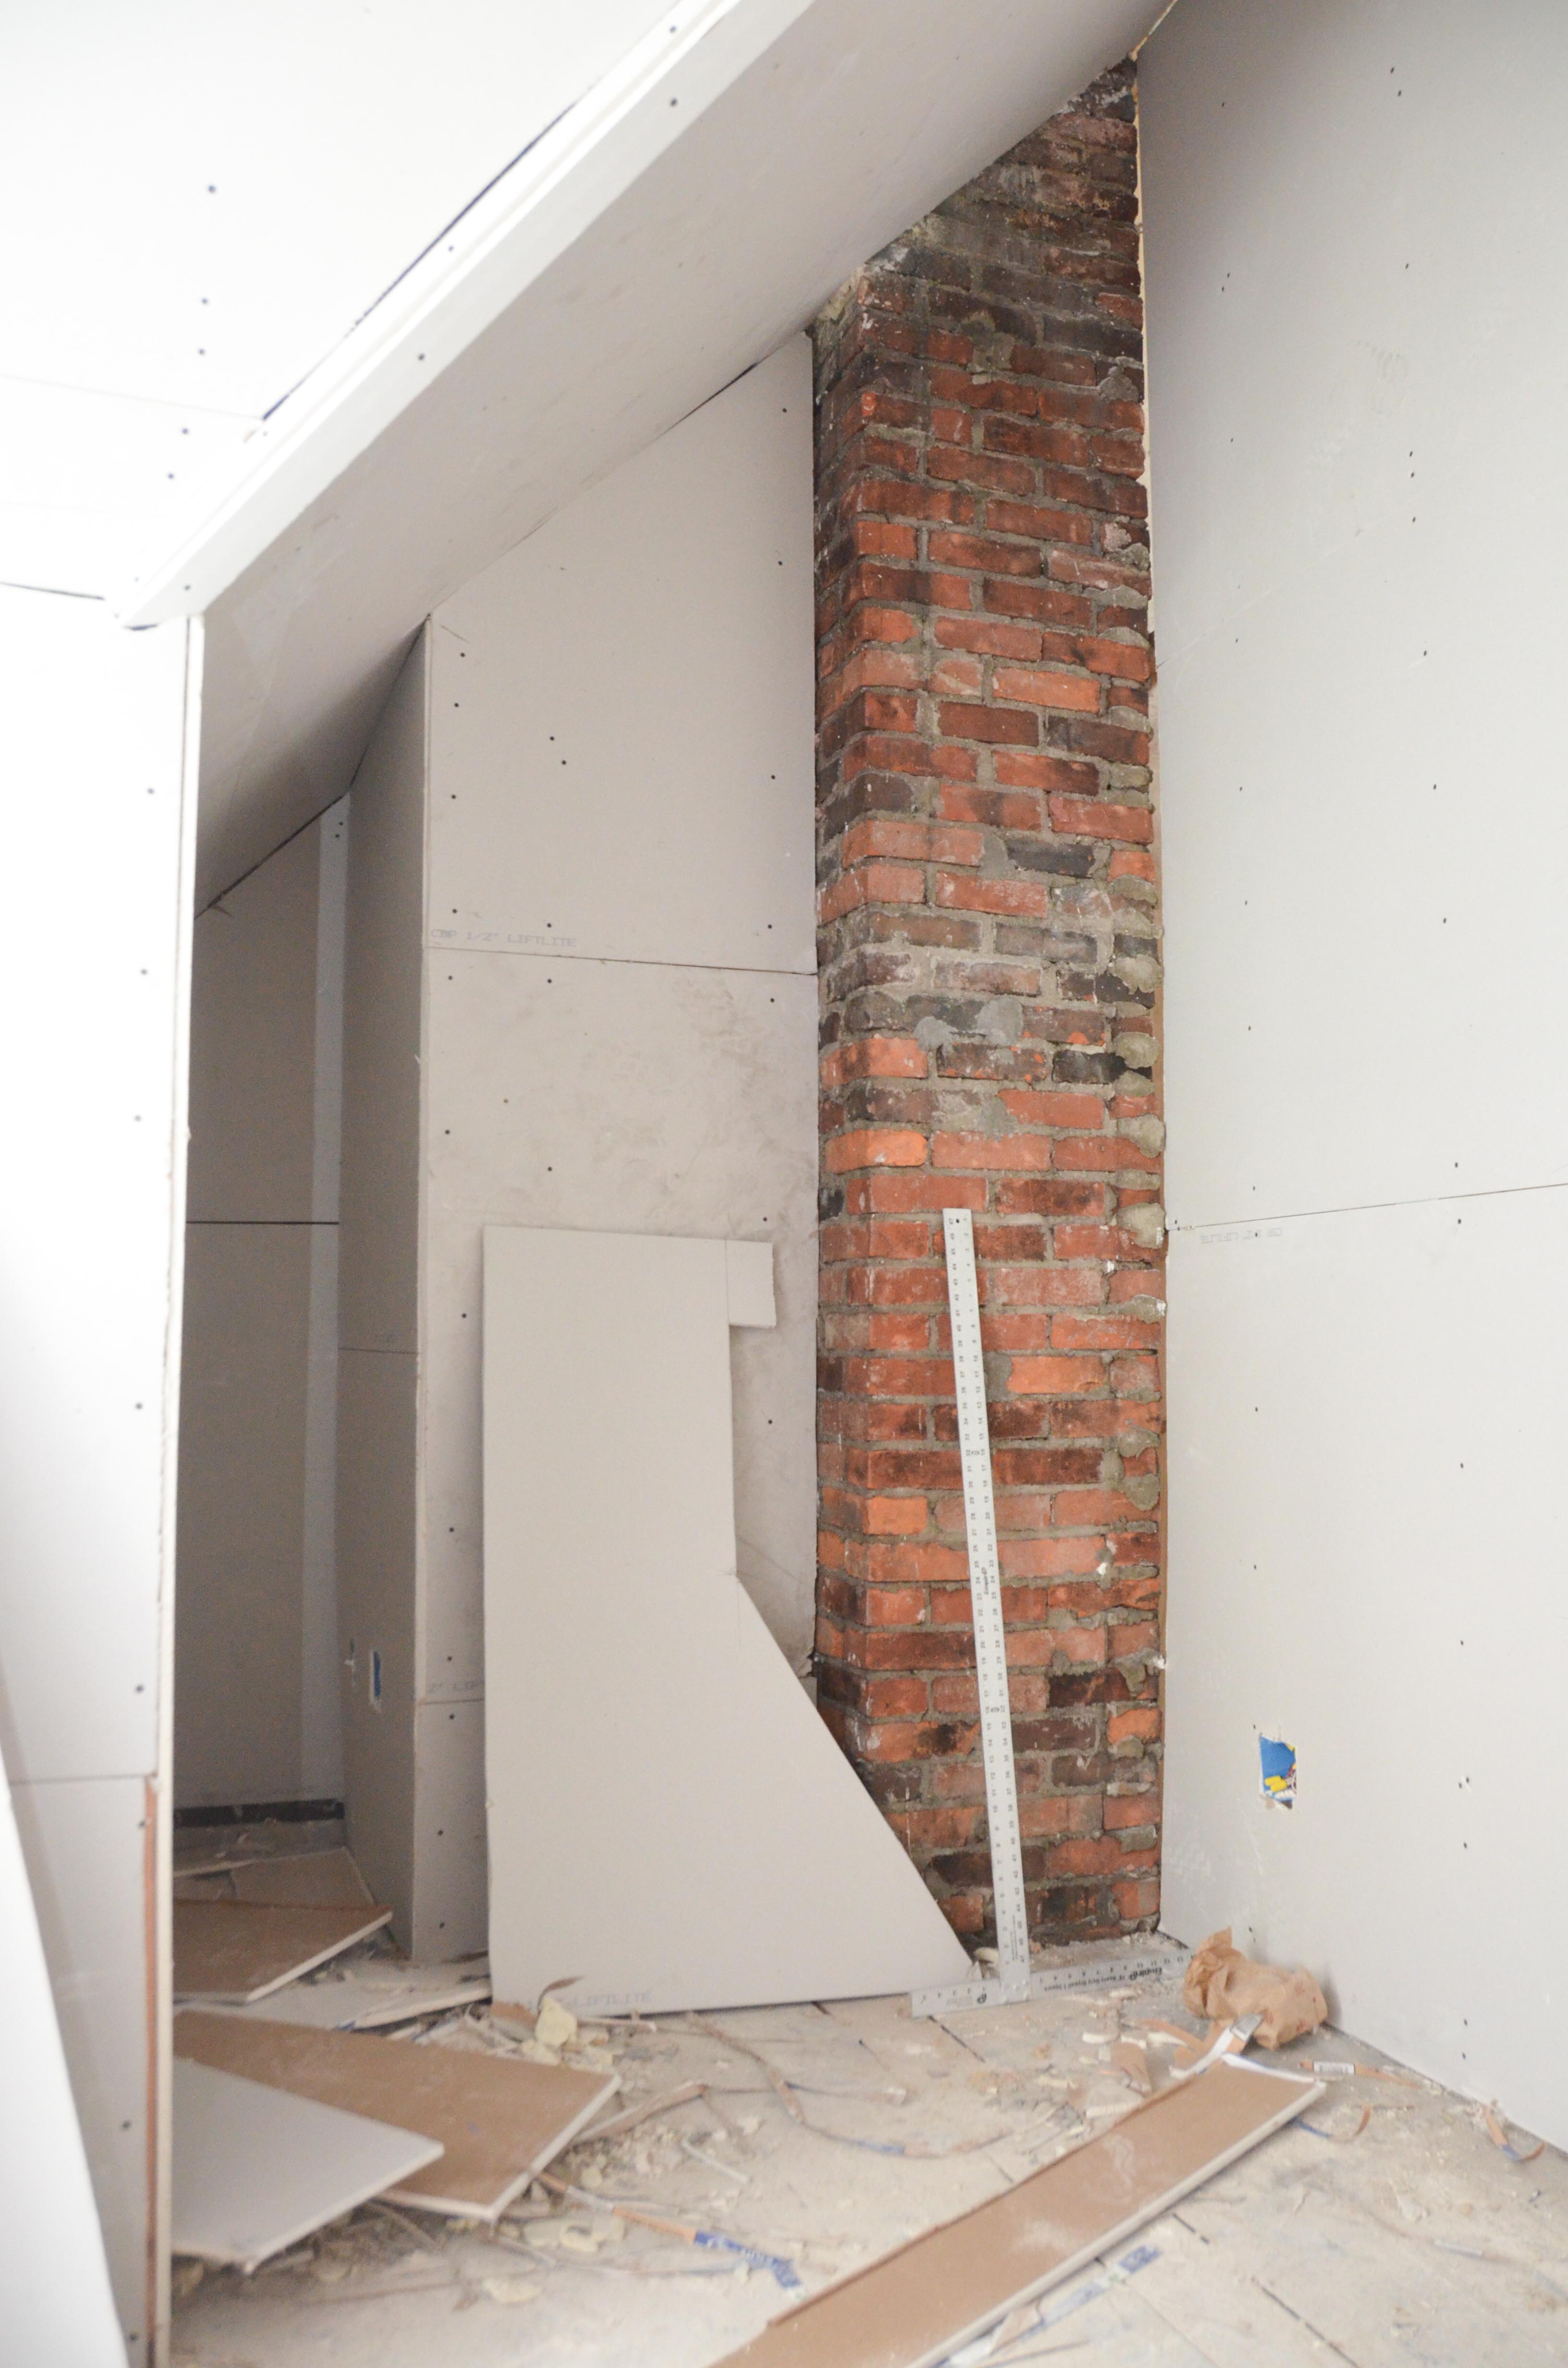
The room feels a little smaller to me, but that is probably because of the wall (on the right in the above photo). I still think that having that wall there works well because it gives us a flat space for a desk, shelves, or whatever. Plus, there was a support post that had to be incorporated into the room somehow. I think the sleeping nook (in the shadows on the left in the picture below) is one of our better ideas. It gives Aiden a really nice, cozy area that is separated from the rest of his room. In fact, he is strongly insisting we wall-off his whole bed area so that it has it’s own door. Not going to happen. The exposed brick is going to look awesome!
One surprise that I’m not sure how I feel about is the drywalling over of the angled beams. Originally we asked to have these beams exposed, and even left notes as reminders to leave them exposed, but they were sadly walled over by the crew. You can see in the left corner of the above photo a beam that has been covered with drywall. I was thinking that exposed beams would be another unique touch, but Amy thinks she likes it better without the beam exposed. Any opinions out there?
The view that really brings out all the odd angles in Aiden’s room is from his bed. As someone already point out to me, it looks like something you would see in a museum of modern art. With all the grey and screws everywhere right now, it makes me feel like I’m on a navy ship or submarine.

They also finished the area outside of Lucy’s doorway.

I was most nervous about that area. The angle beams make this area a little complicated. Once again, I left notes for them to leave the beams exposed, but they did not. In fact, they really messed this up. As you can see from the photo below, they treated each side differently. On one side they were able to create a corner, with the other side they went up to the beam and then wrapped around it. It looks ridiculous. I’m going to talk to someone tomorrow and figure out what we can do about this. I still wonder if this would look better with the beams exposed, or if we should go for the clean lines.

Amy did not understand why I was more nervous rather than excited about the drywall process beginning. It’s because of instances like the one I just described, as well as these issues…
Amy pre-wired up some of the switches so that we could test that all the lights worked. No one told us to remove the switches, so we just left them on. Now the problem is that a couple of the boxes are really recessed AND they cut around the flaps of the switches that are supposed to sit flush on the drywall.

If we were to put the switch plate on these boxes the tips of the switches would barely stick out. I’ve thought of a couple solutions to this, but does anyone else have ideas on how to fix this? We only have a few of these that have this issue. We aren’t sure what went wrong. We followed the guides on the side of the box and also accounted for the depth of the furring strips.
There were several other issues we had that we have been scrambling to fix before more drywall is put up. A few of the sconces were too recessed or at too much of an angle and there was an issue with the ceiling at the bottom of the stairs because the bottom of the new floor joist didn’t match the bottom of the old ones. That meant that the ceiling sloped upward. I was able to unscrew one end of the drywall and insert a few furring strips to mostly correct it.
Here is another example of the frustration of drywall…

We obviously missed this when the framing was done. I wonder how they were planning on finishing this? Just have a random bump on the corner of the ceiling? I was able to get in there with the sawzall and trim that off. Now I can’t stop looking for other things we might have missed. I had been previously warned, but now I know for sure. Drywall people want to get in and get out. They are not going to stop to fix or adjust anything.
I remain more nervous rather than excited. I’ll be excited when it’s done.

Use these for the electrical boxes! Off the shelf at Lowes. Let me know if you have questions!
http://m.lowes.com/pd/IDEAL-10-Pack-Spacers-Shims/1214625
I’m in the “exposed beam” camp, but it’s really coming together! Isn’t it odd to see things looking like rooms? I LOVE the crazy angles upstairs!
LikeLike