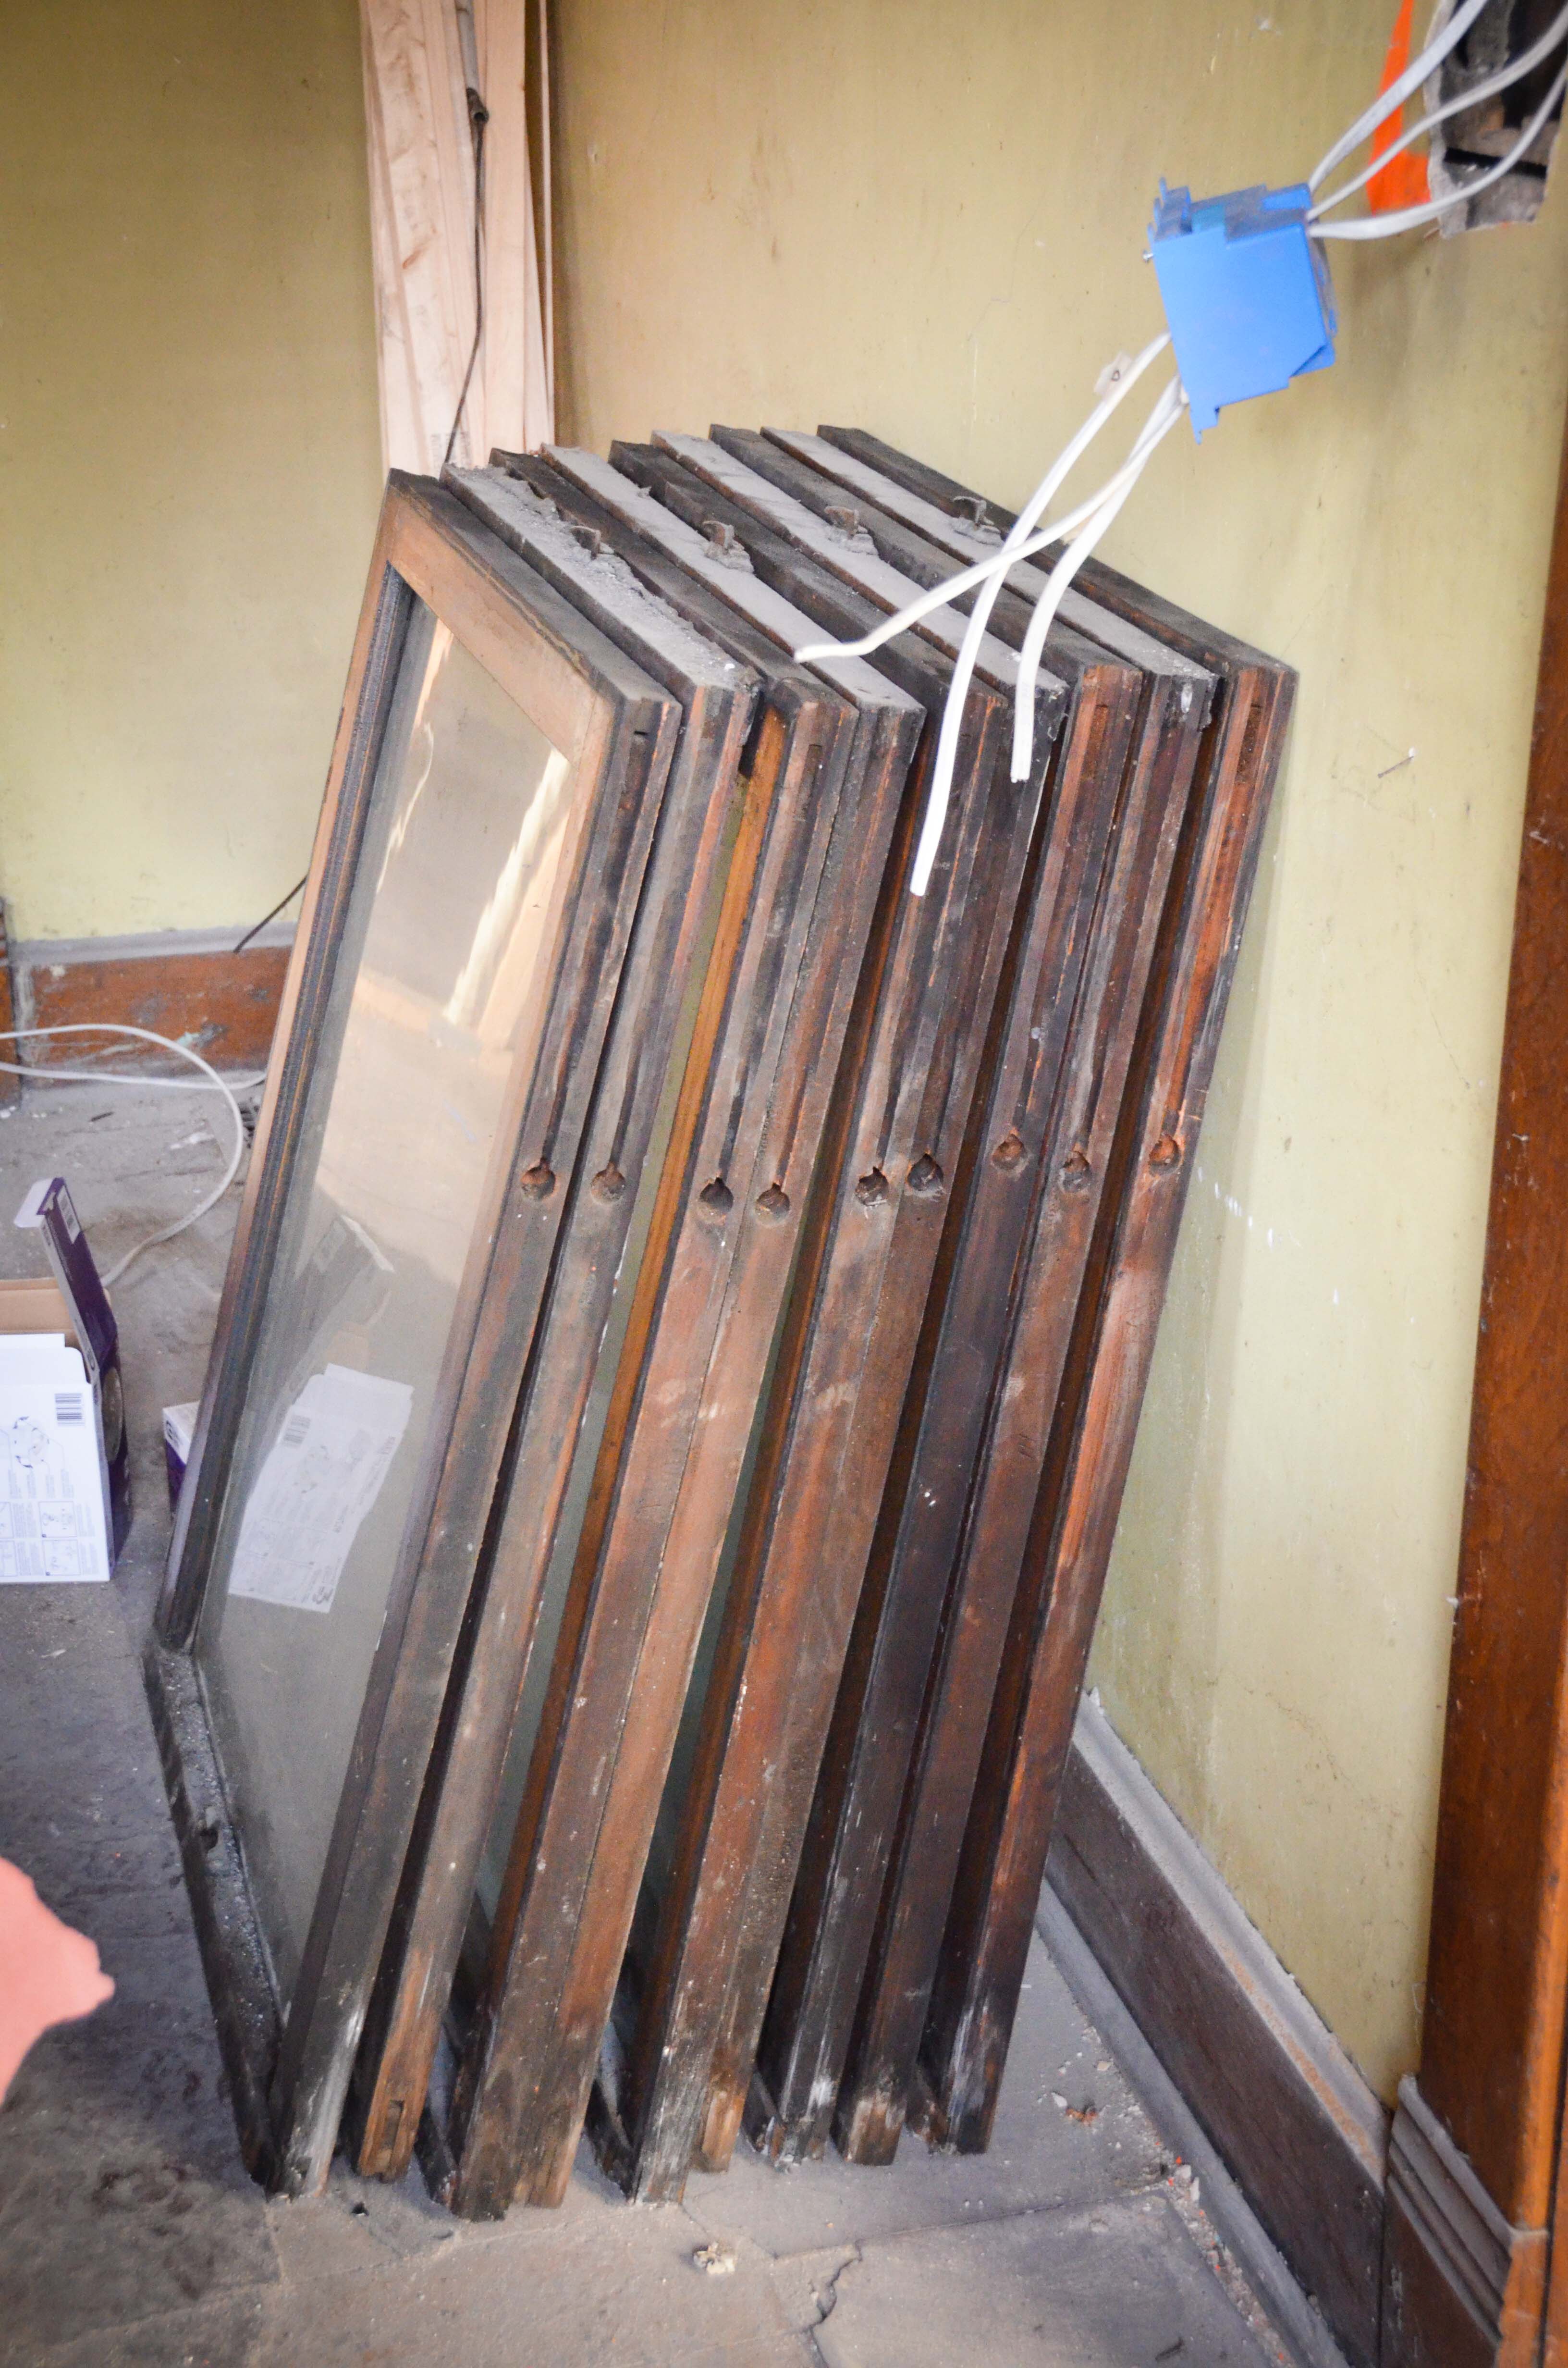
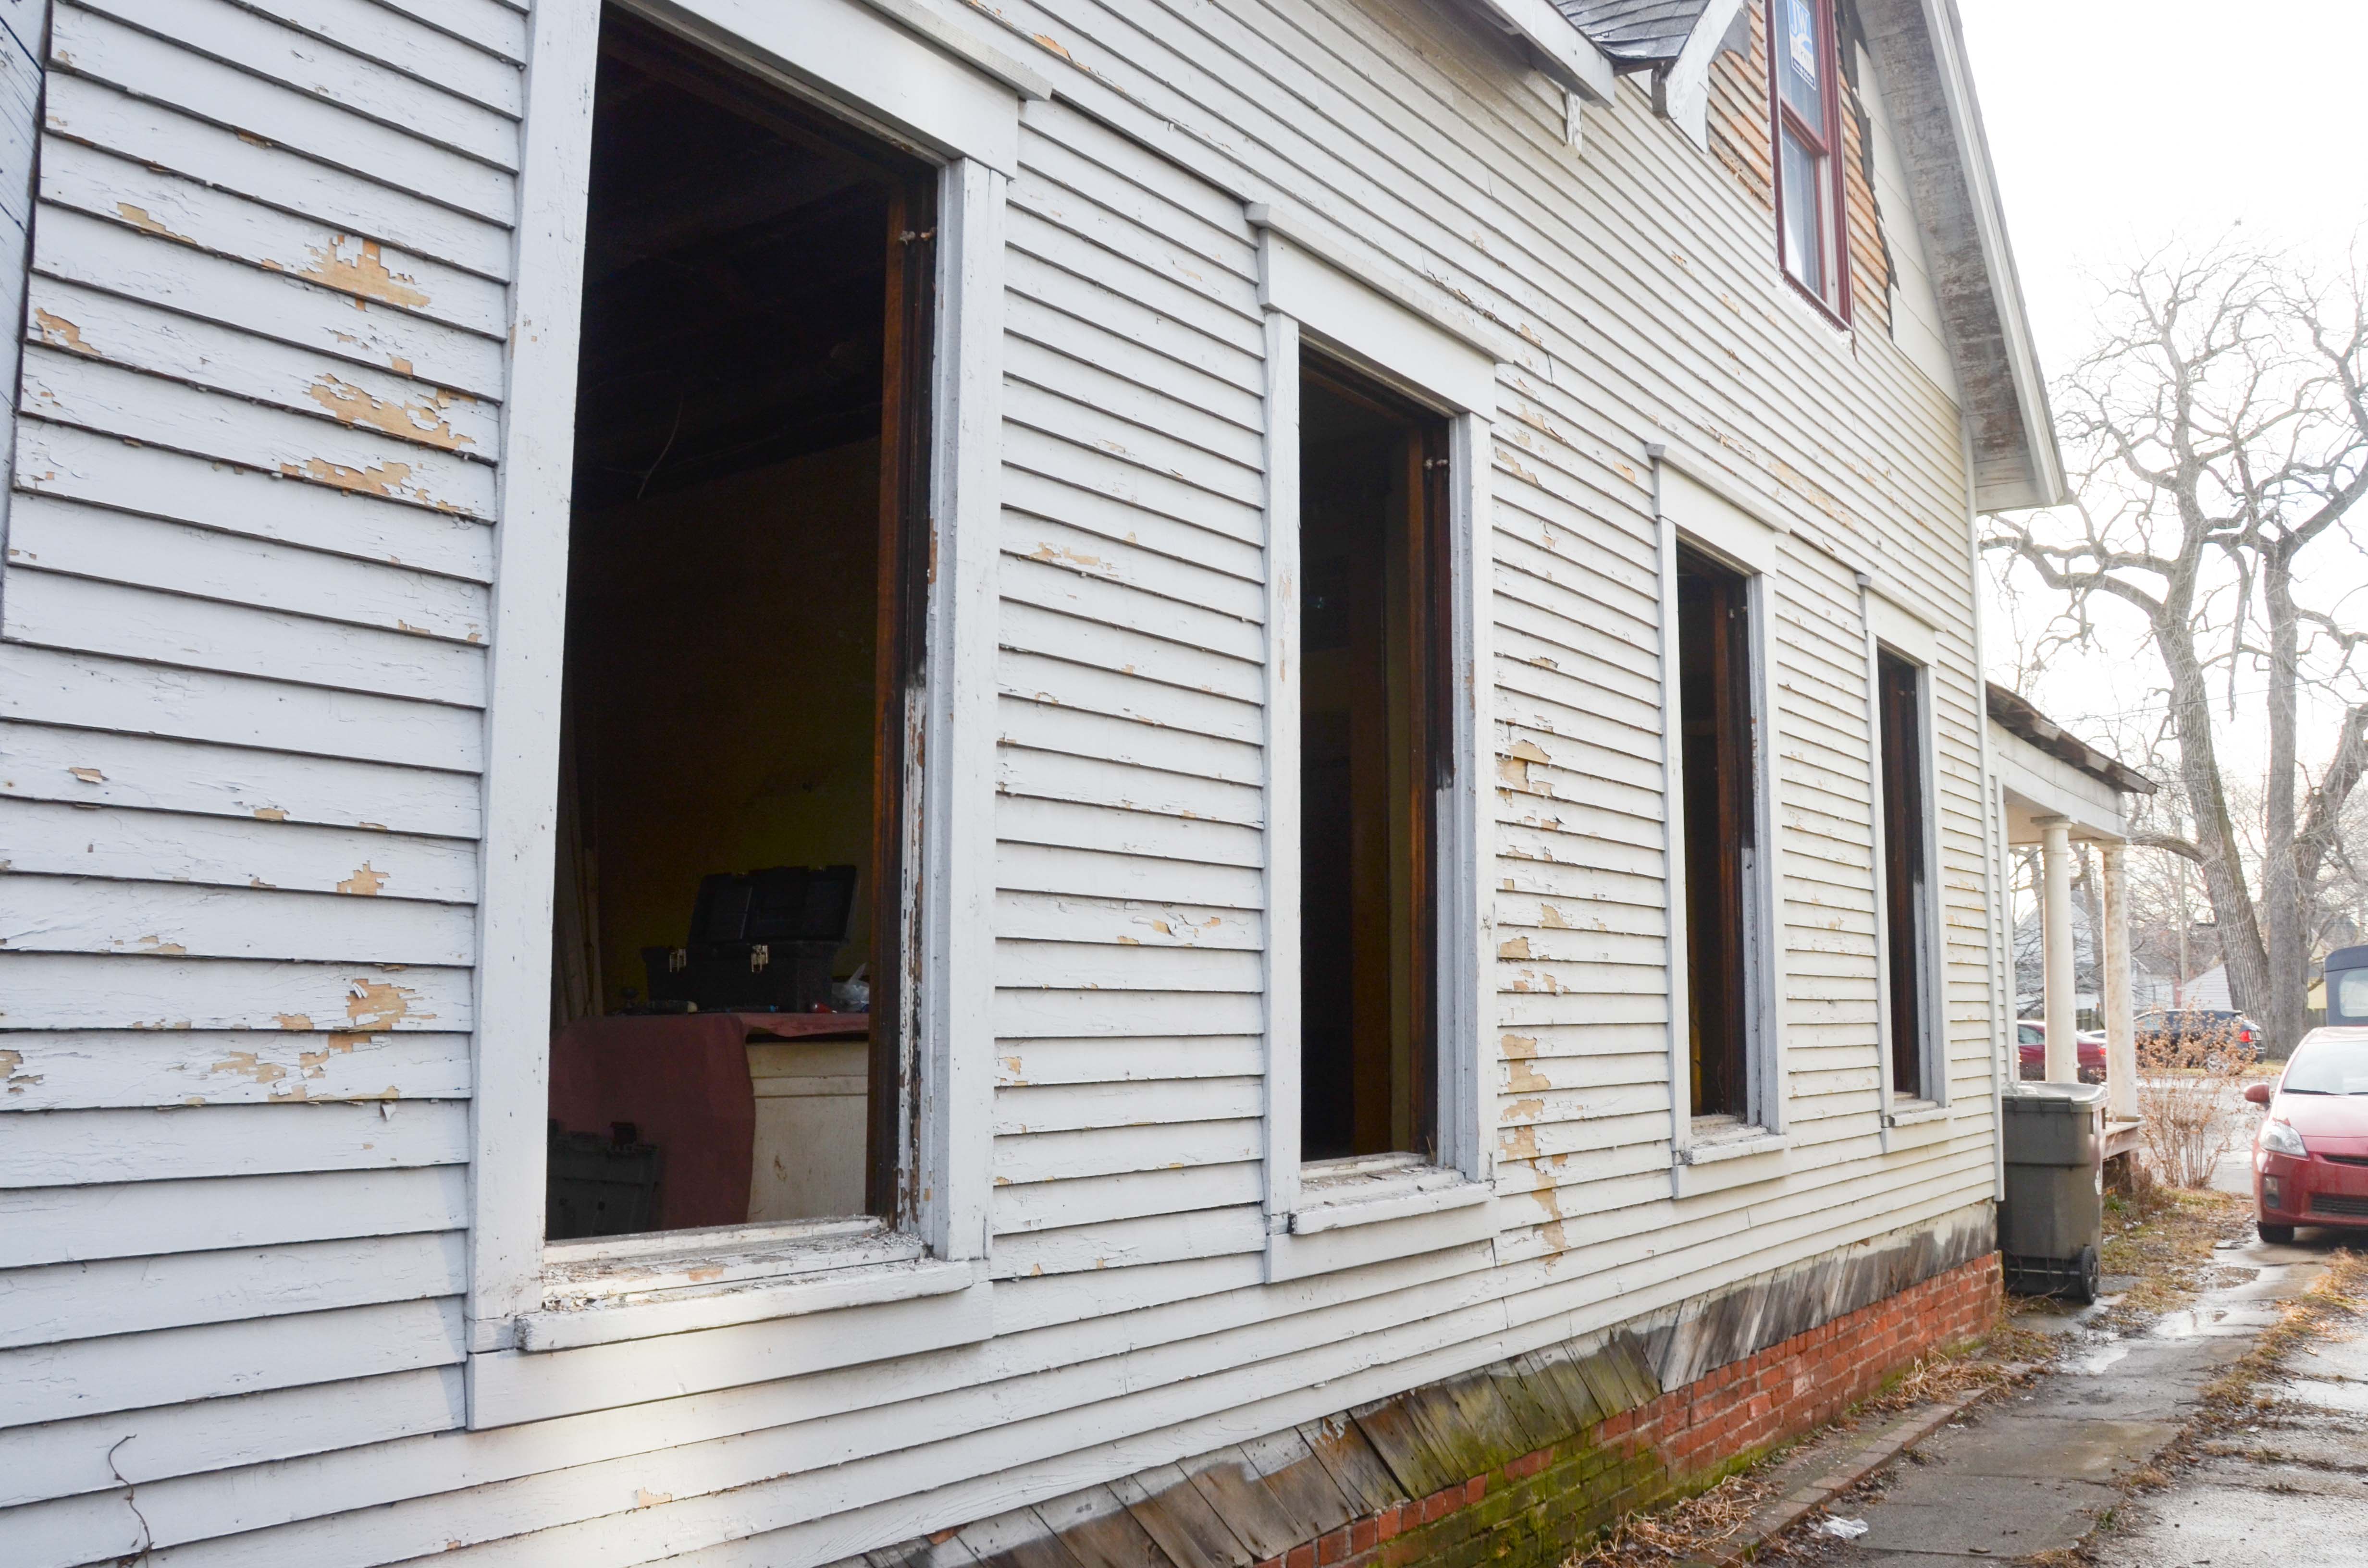
Week 46 – Joe After many weeks of typical winter weather we were blessed this weekend with a day of 50 degrees and sun! My mom took Lucy to the Children’s Museum and Aiden hung out with a friend all day which meant Amy and I could both work on the house and take advantage of this beautiful weather. Because of the surprising warmth, we made the decision to spend the day on the exterior of the house. My goal was to install the four storm windows that I have already restored, re-glazed, and repainted. Amy’s goal was to run cable for the vestibule and the porch. Joe’s Saturday Project Part 1: Windows Since the window openings will now be somewhat protected by our newly restored storm windows, I could remove all the remaining sashes on the north side of the house. Yes, our main priority right now is to finish the electrical so that we can insulate and drywall, but the window project needs to keep moving along in the background. The unseasonably warm weather was the perfect opportunity to hang the restored storm windows. Let’s review where I am on the window project. I have already re-glazed 24 panes of glass and sashes. This next batch of windows that I will be working on consists of the remaining 9 sashes from the north side of the house. That leaves 4 sashes from the master bedroom and 6 from the large front window. Of course, I still need to do the remaining storm windows, but those are a low priority because I can do those anytime after we move in. Here are the windows I am going to be working on now:
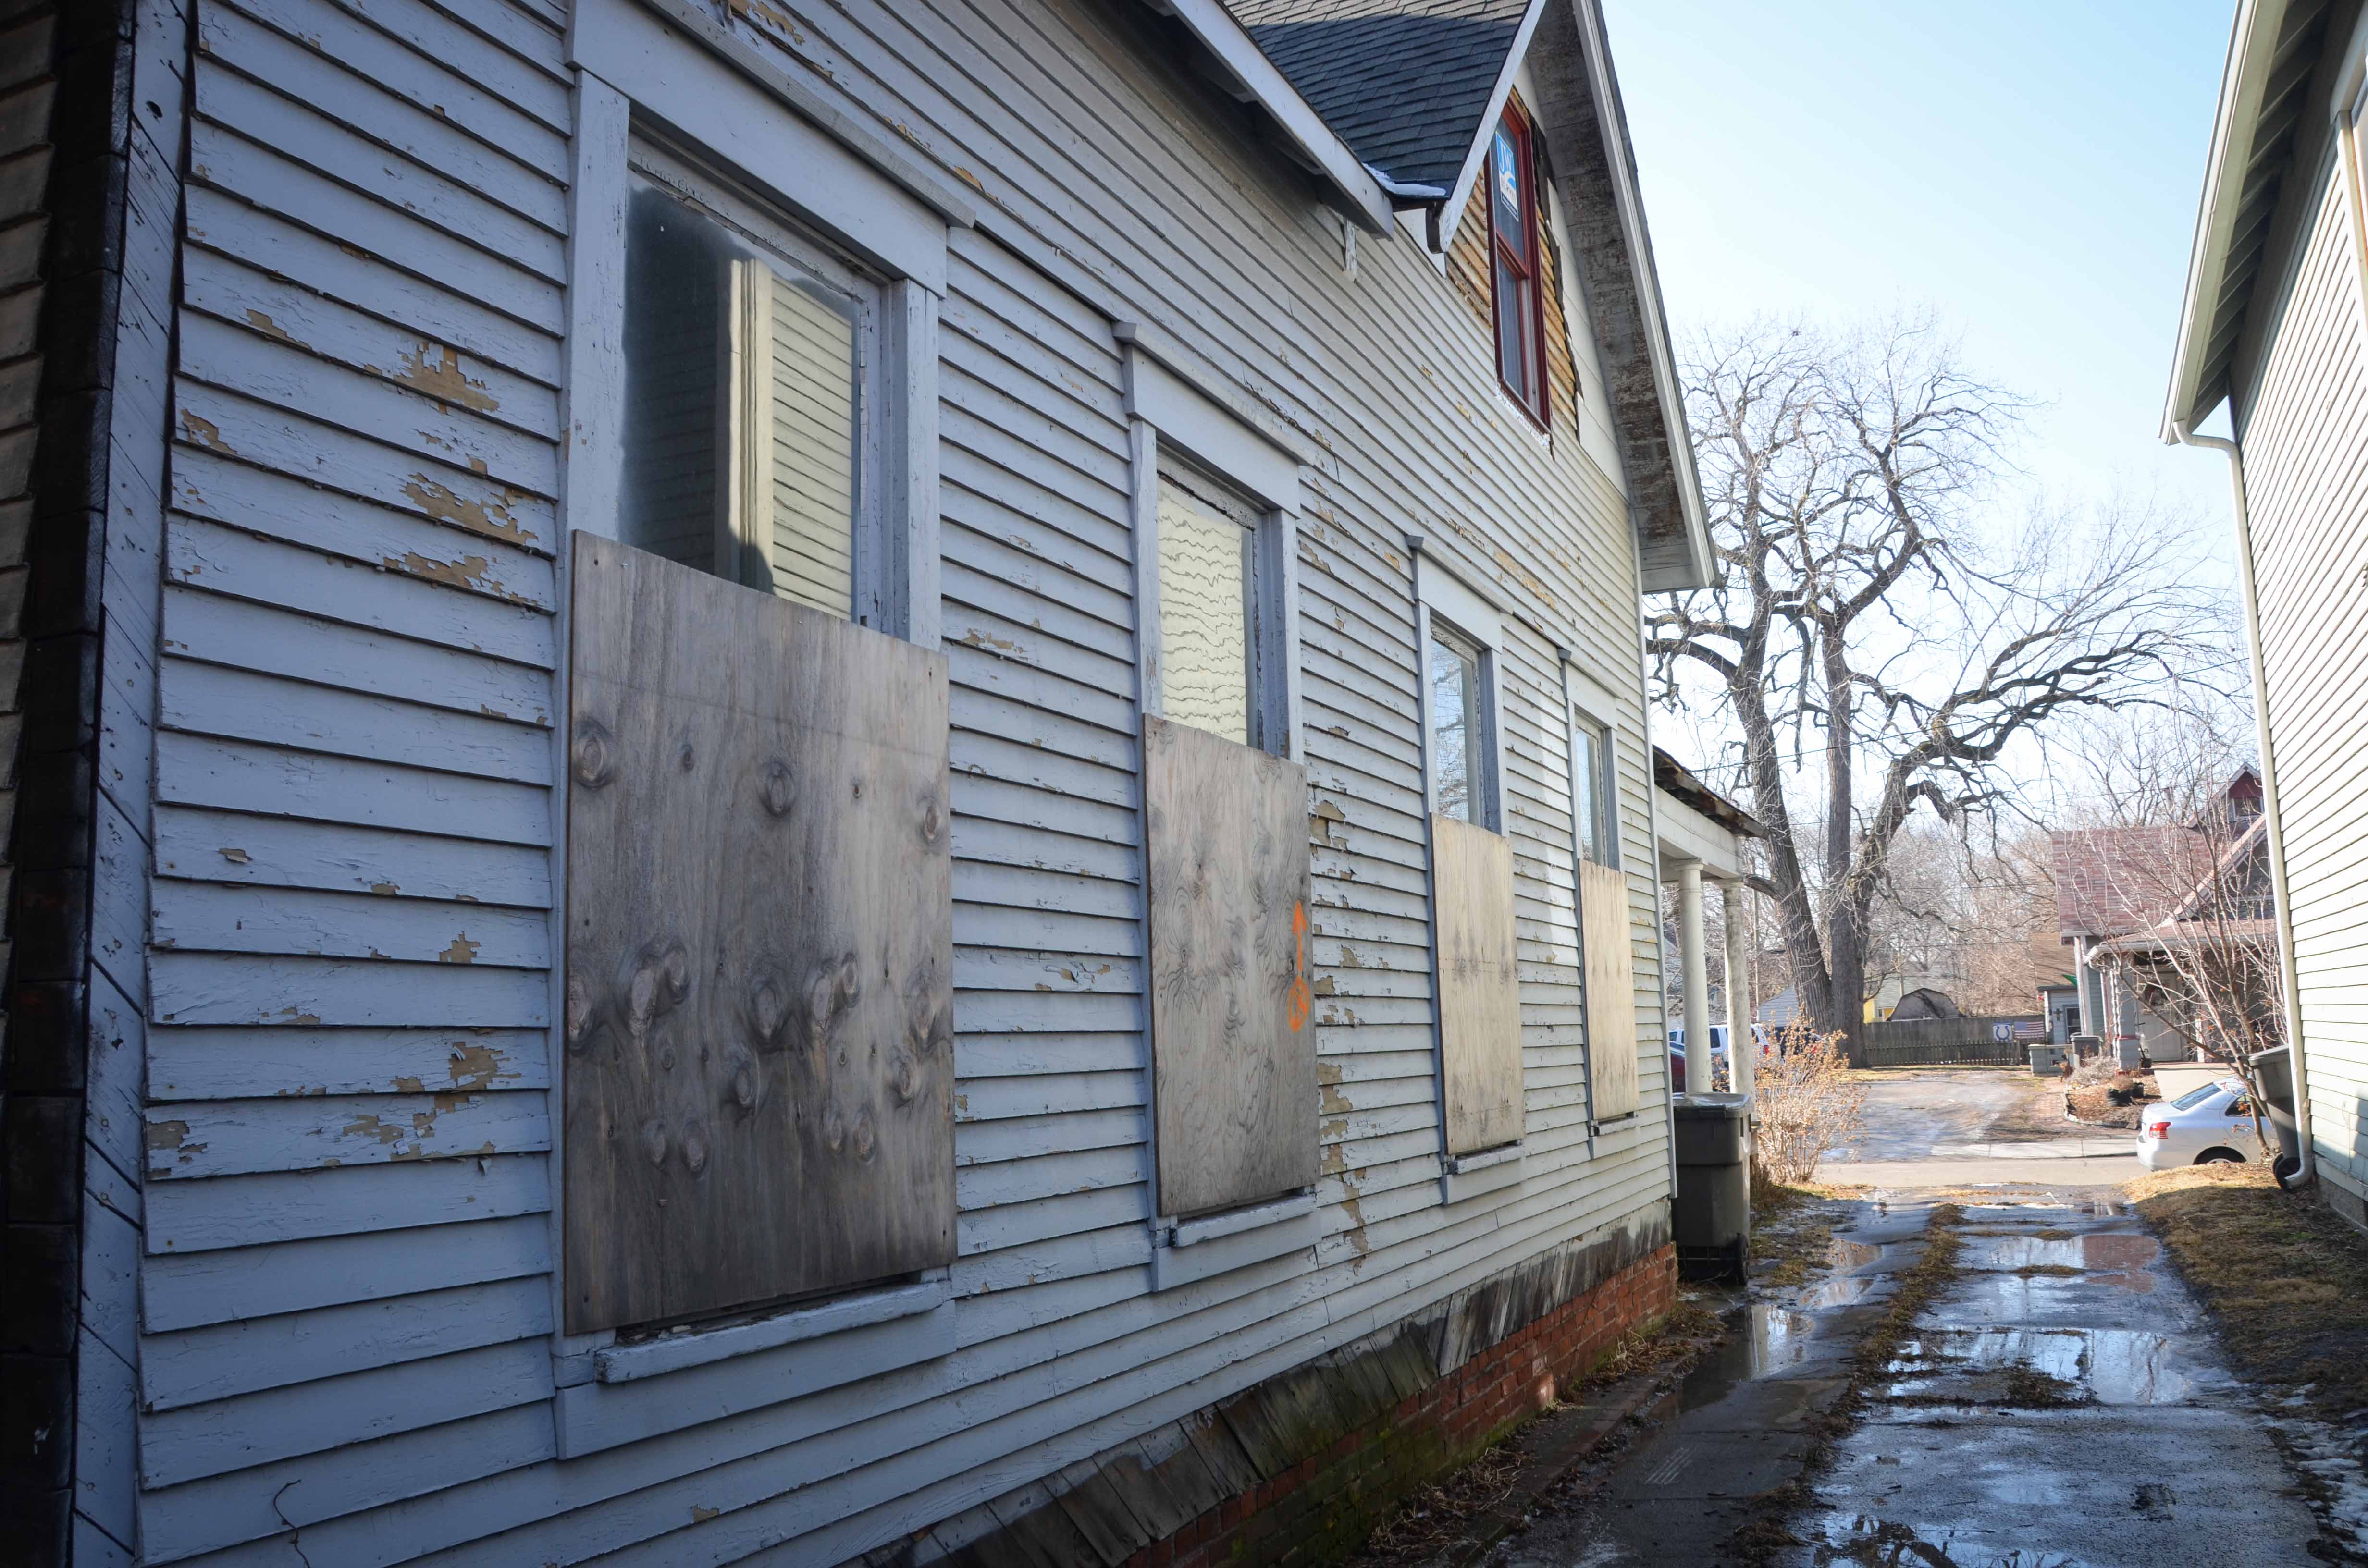
This seems like a small thing to most people, but Amy and I were VERY excited to have a real excuse to remove all the boards on those windows at the same time. [Edit from Amy: Seriously, seeing what those windows look like temporarily un-boarded felt so gratifying and exciting. I couldn’t stop staring. The house felt liberated from imprisonment.]

Honestly, it almost feels the house comes alive when the boards are removed. It’s as if it was suffocating and can now breath. I haven’t really done any step-by-step photos on this blog, but since the windows have been such a big part of the rehab process I’m going to document the removal process. After doing these steps so many times I’ve gained some solid experience (relatively speaking) at removing these old windows. In theory, it’s pretty simple. In reality, paint, rot, and stubborn nails can make the job a little unpredictable. The first thing to do is to remove the lower sash. In order to do that you have to remove a trim piece that is holding in that sash. I use a scraper to gently pry it loose because it is extra thin and won’t damage the trim.

It is important to take your time and slowly work your way up. Since this piece is unpainted, it generally comes off without too much trouble.

Once that piece is removed from one side the lower sash can simply be pulled out. Easy.

The sash cords attach the sash to the weights. These weights are what allows the window to stay up when you want the window open. They are tied in a knot (and sometimes nailed or screwed) and wedged into the side of the sash. Removing the cords isn’t too difficult, just make sure you use one hand to carefully hold onto the window while using the other hand to slowly return the sash cord to the pulley. I learned that bit of advice the hard way.

This is where it starts to get a little more difficult. The upper sash is usually painted shut and much more difficult to move up and down because most people never move it. I always have to take a blade and score around the outside of the window to break the paint seal.
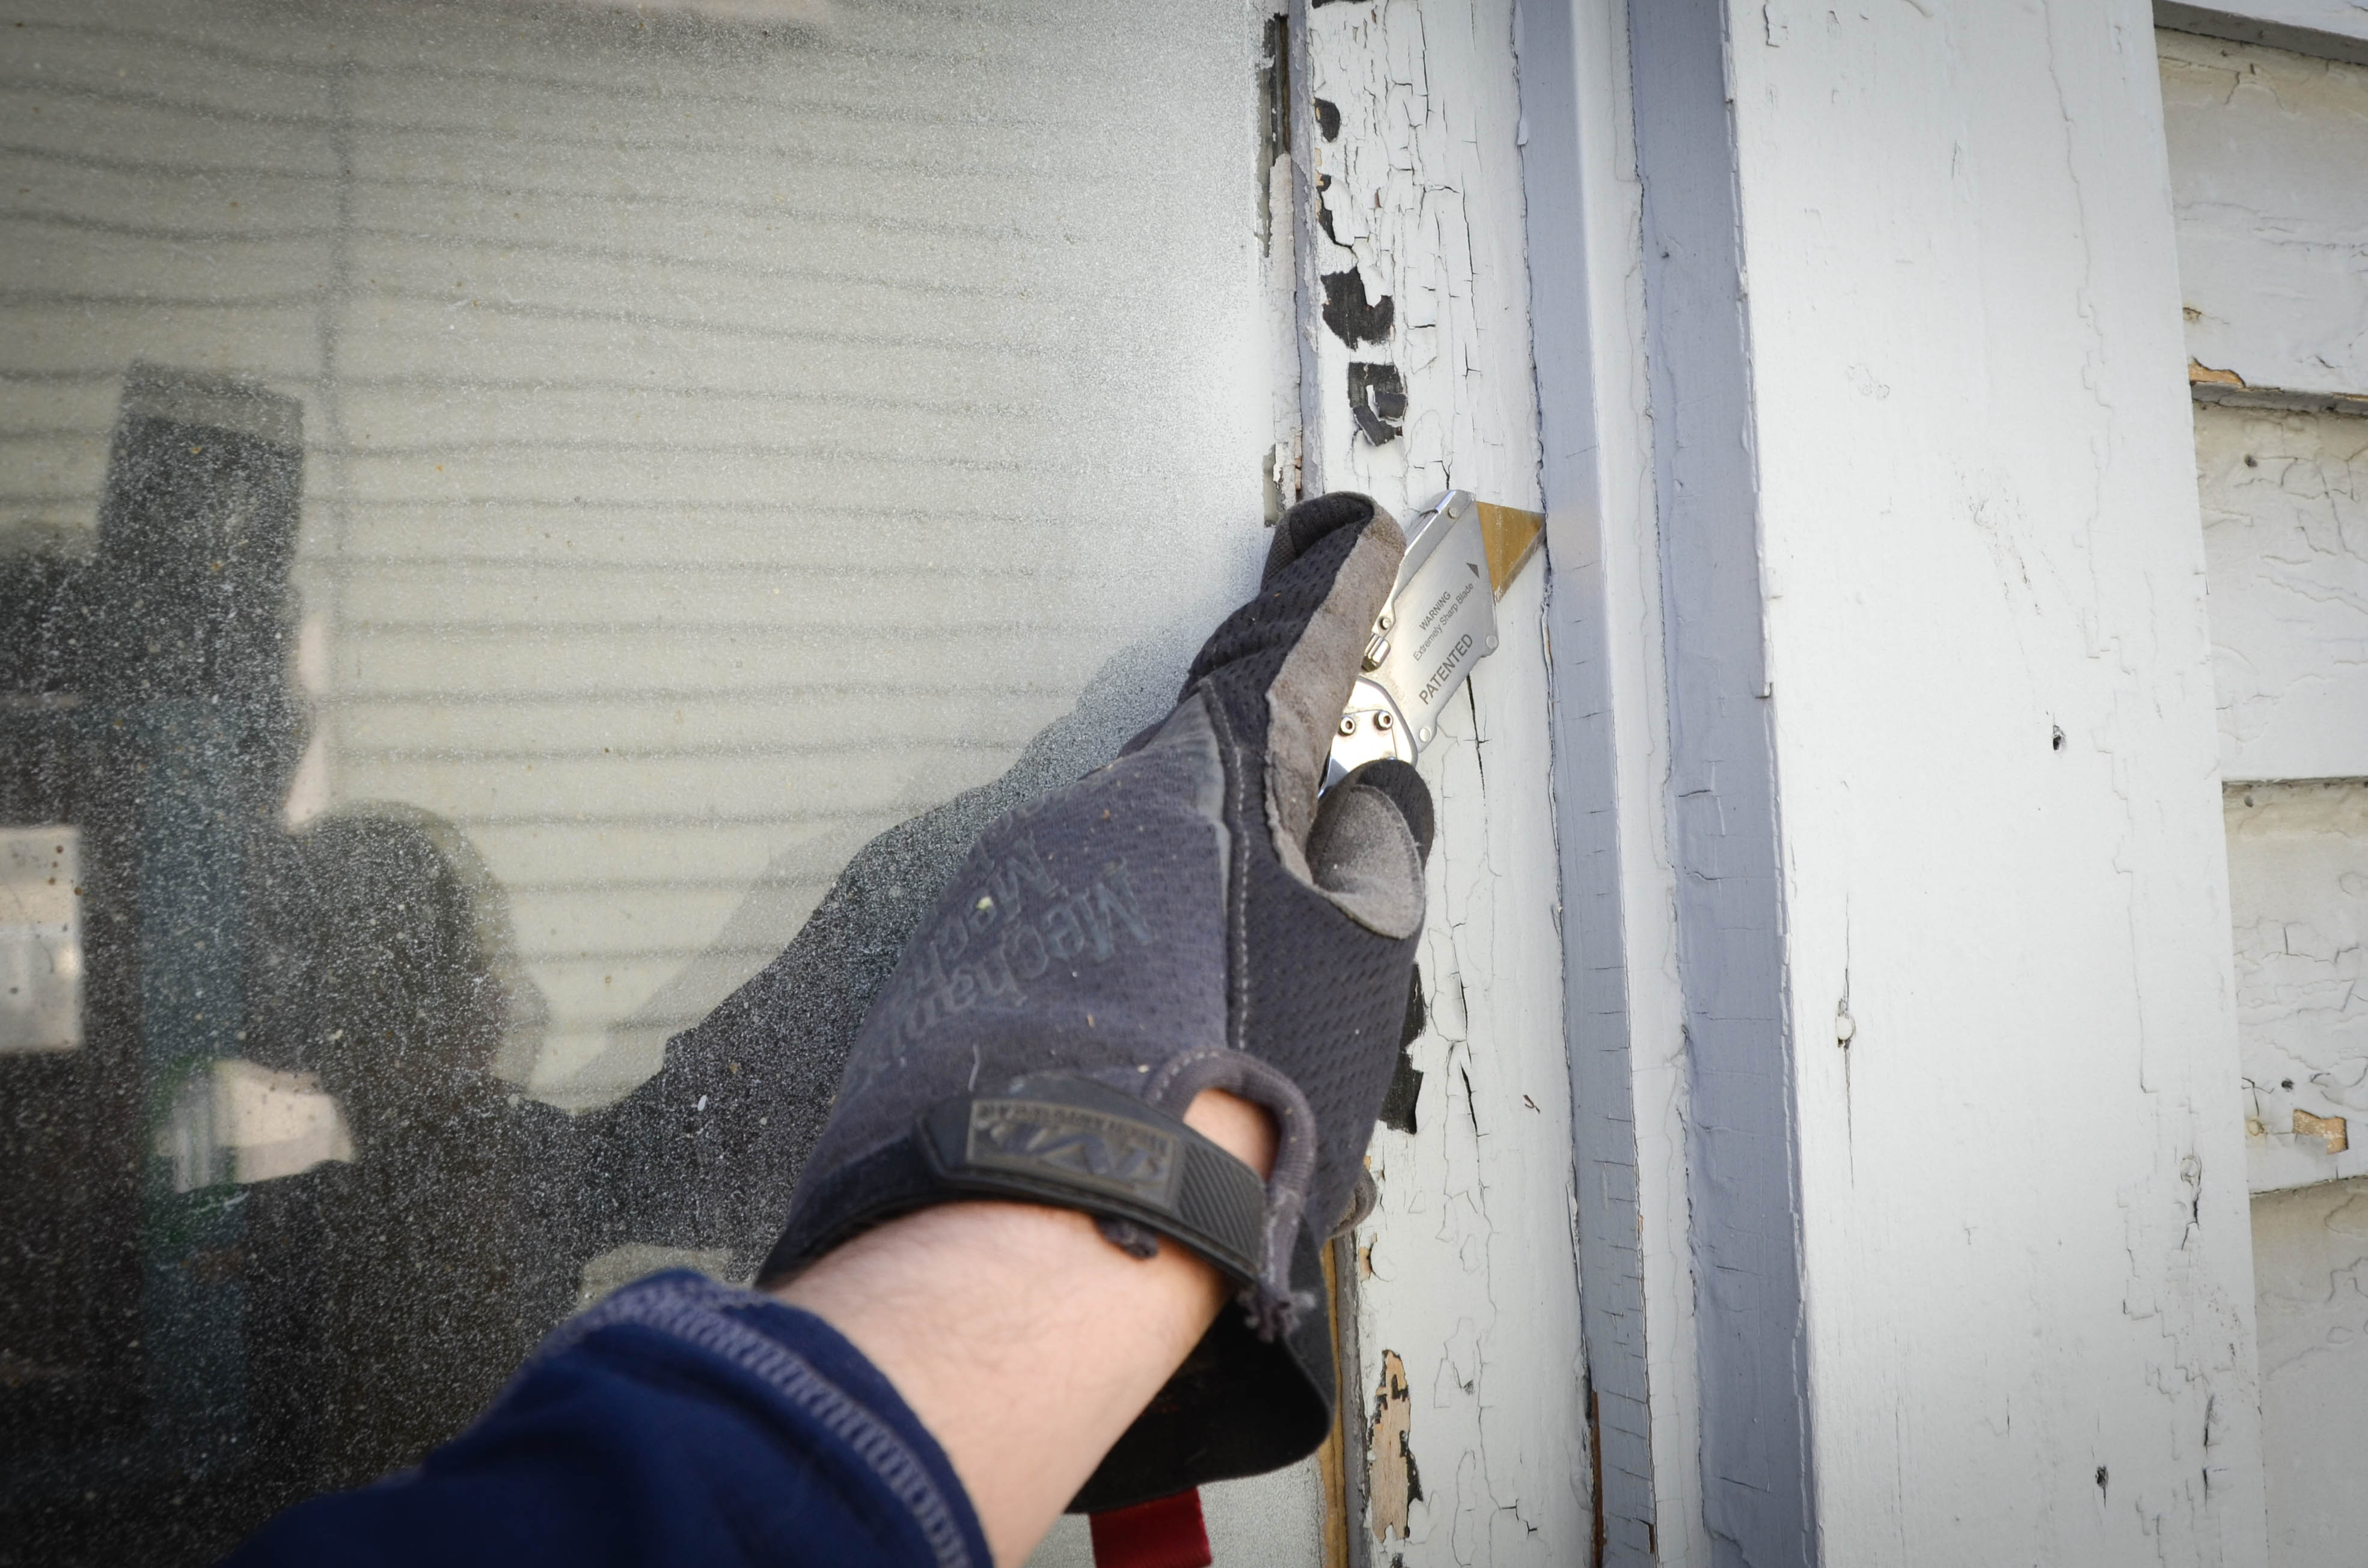
The upper sash is also more difficult to remove because of a thin piece of wood that holds it in place. It is called the parting stop or parting bead. It is also covered with layers of paint that need to be cut so that parting stop can be removed. These are tricky little buggers. I have broken many of these, which isn’t a huge deal because they can easily be replaced. But I would rather not have to worry about matching old wood to new wood anymore than necessary. I start by wedging a screw driver at the bottom of the parting bead and carefully begin prying it out without causing the wood to split.

You can only get halfway up before the upper sash gets in the way. This is the hardest part. It is usually necessary to get the upper sash to go lower in order to nudge the parting stop around the sash and continue prying the whole thing off. The problem is that the upper sash usually does not want to budge. It is also difficult to pull down because if you pull down too hard on the lower horizontal piece it might detach from the rest of the sash. This is because that part of the sash is usually in the worst shape and may have some rotted wood. By some miracle (and lots of prior practice) I was able to remove the parting stops and the upper sashes without any damage.

I have plenty of work ahead of me…
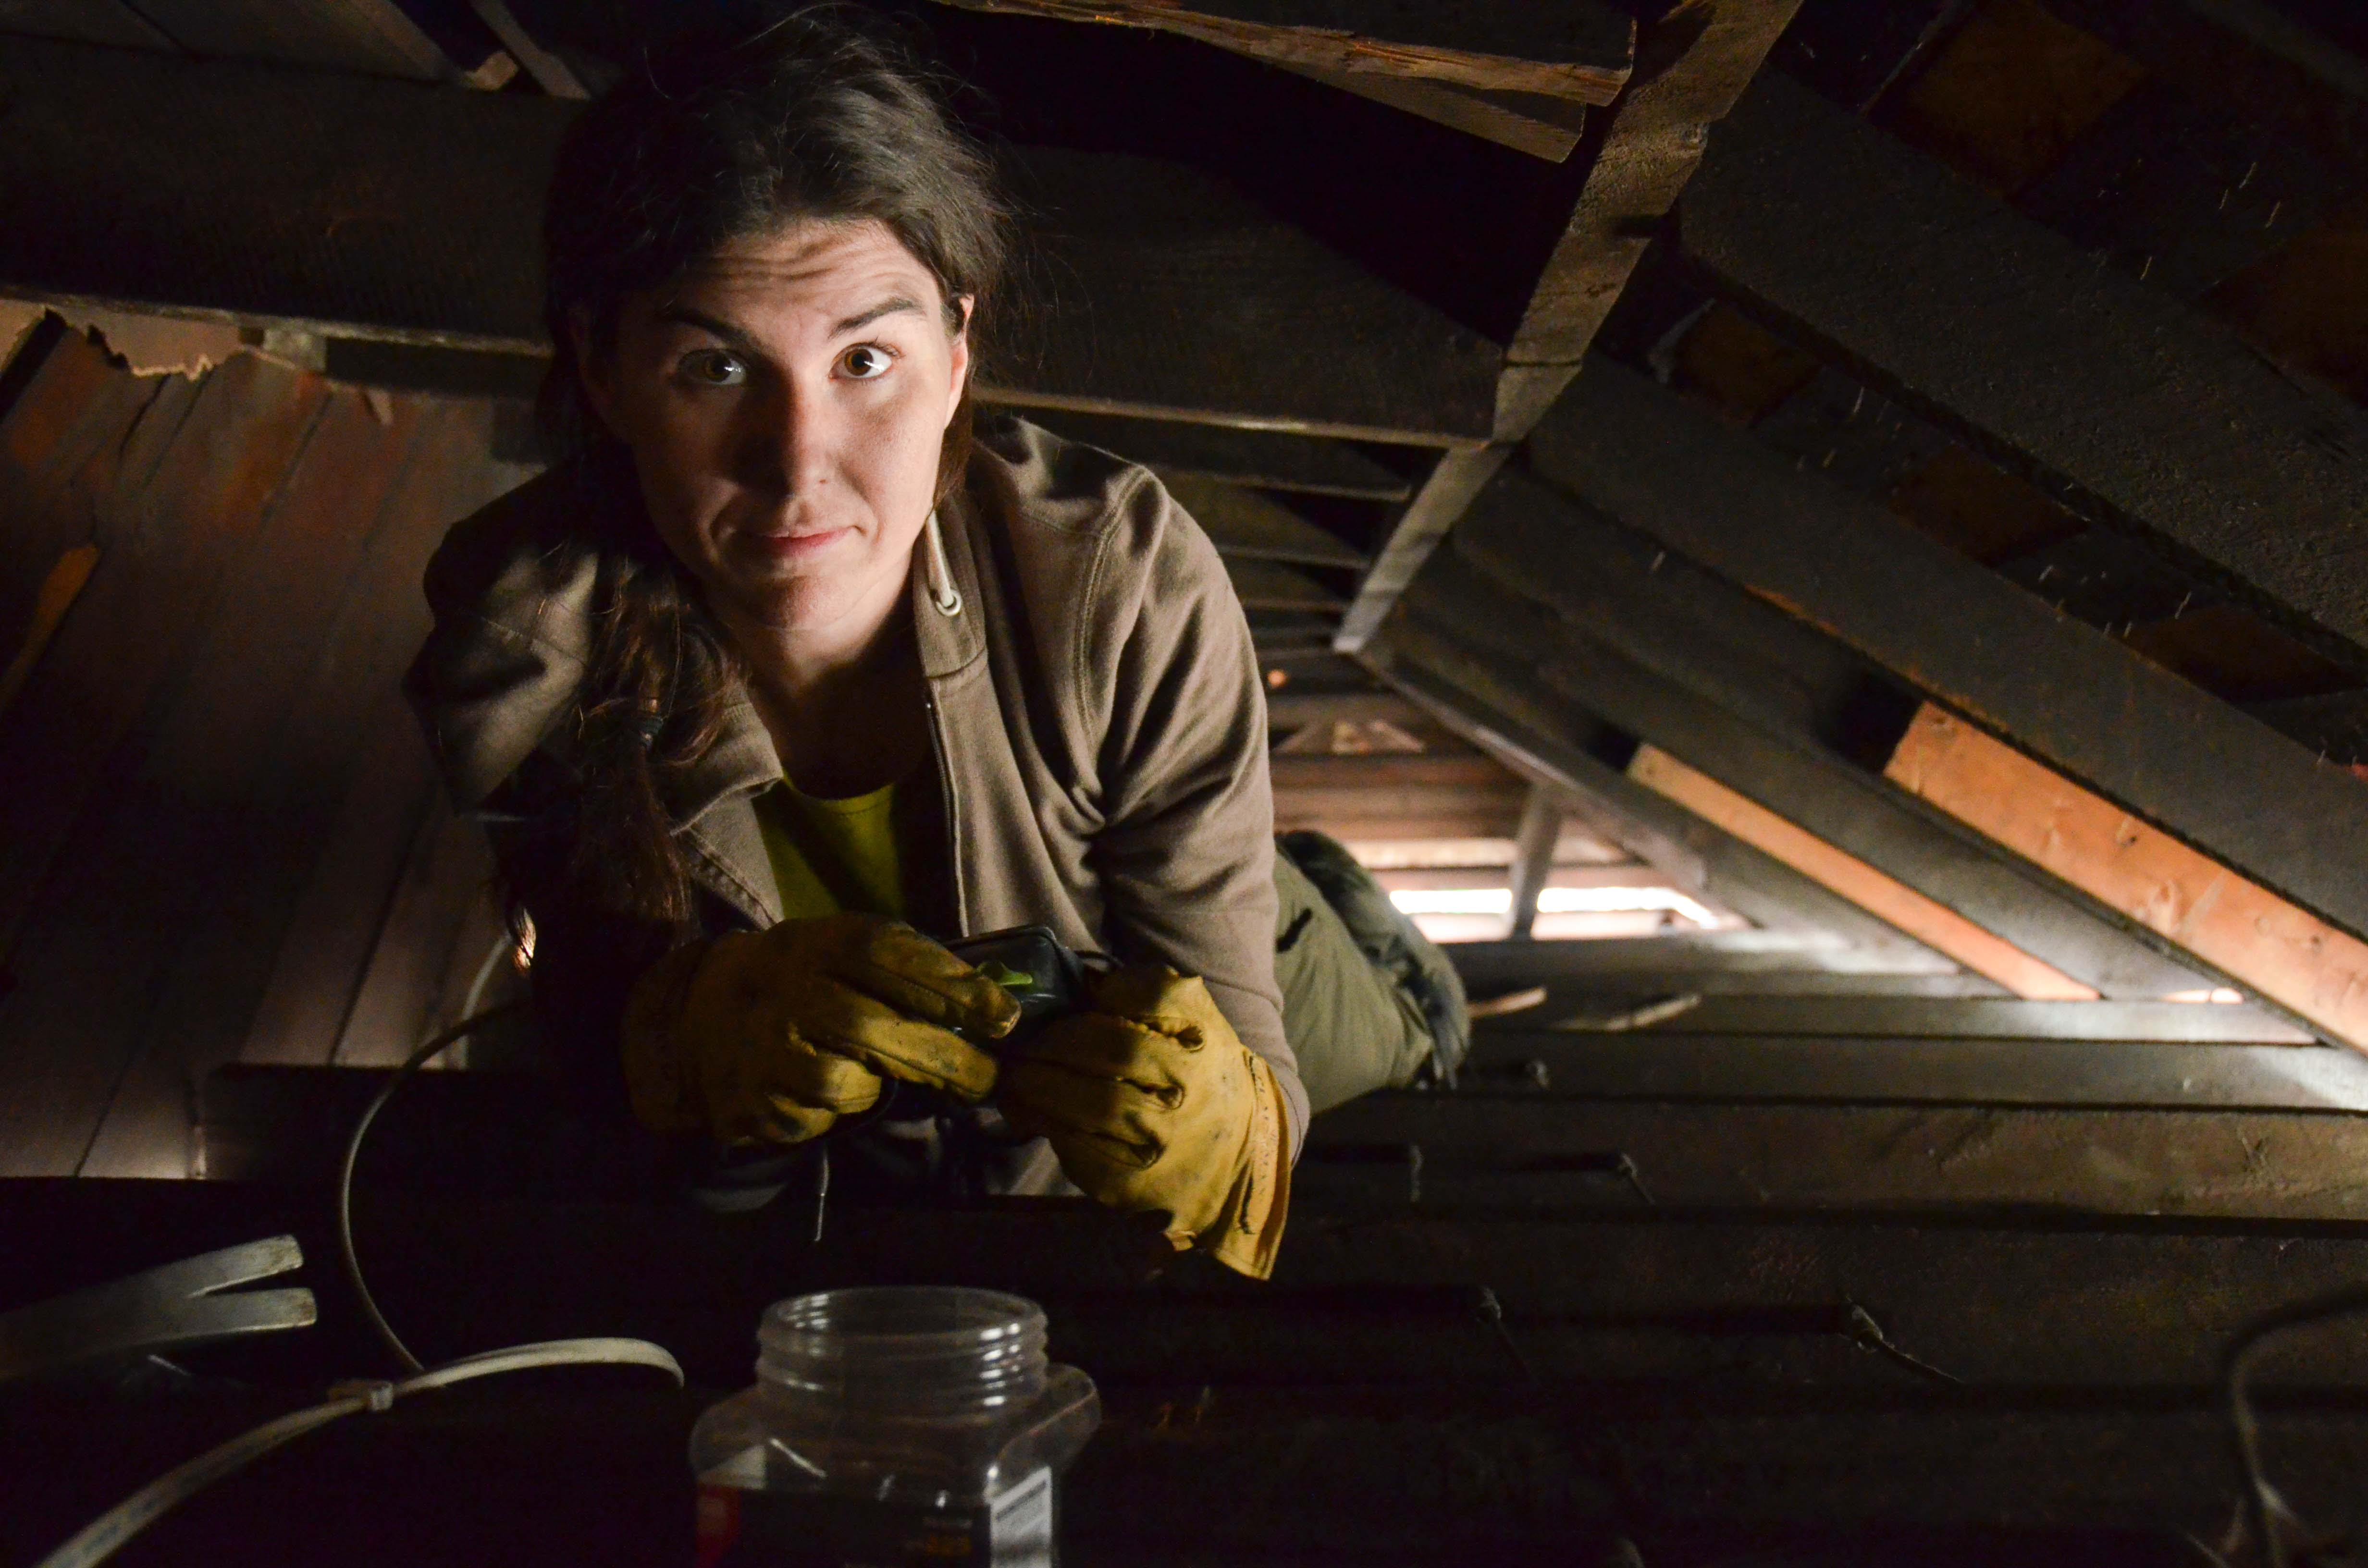
Meanwhile…. Amy’s Saturday Project: Vestibule and Porch Wiring While Joe worked on removing the sashes on our north facing windows I buttoned up some work stapling down some previously laid runs of cable in the crawl space and went spelunking on the dreaded north side of the crawl space where one 1920’s pinstripe mattress apparently went one day to die and rot. Pardon me while I barf in my mouth. I was in search of a wall cavity amidst old and new HVAC work. I found the wall cavity I was searching for and was able to poke some cable up for two more receptacle locations that we nearly gave up on. Problem solved. After declaring that no more crawlspace cable runs will be needed (hooray!) I started work on my main project for the day- running cable for the vestibule switch, overhead light, and three porch lights. I had been waiting for good weather to work in this semi outdoor space. Since the vestibule ceiling (or lack of ceiling really) was open to the elements we screwed plywood to the joists before the November “polar plunge.” This meant that we had to unscrew a section of our makeshift ceiling so that I could hoist myself up there. Here’s a picture of me dragging my body up and over the ceiling joists.


Once up there, I slithered from joist to joist across the porch to run cable from one light to the next. Since the porch roof is sagging I was not entirely certain it would hold me. Luckily, the porch welcomed my body weight and hammering. You might recall that there was once a raccoon living up here, or that there was a soggy dead animal spot in our dining room when we first bought the house. We’ve had our fair share of critters- most likely accessing the house through this open area. The area above the porch has not only been a great access point for animals but has also served as an ideal spot for critters to relieve themselves. Running cable here was quite literally a crappy job. This was an easy straightforward job but pretty uncomfortable. While I was up there I was also able to run cable down into a few adjacent wall cavities that I could not access from the crawl space. That was an added bonus and prevented what seemed like inevitable wall damage.
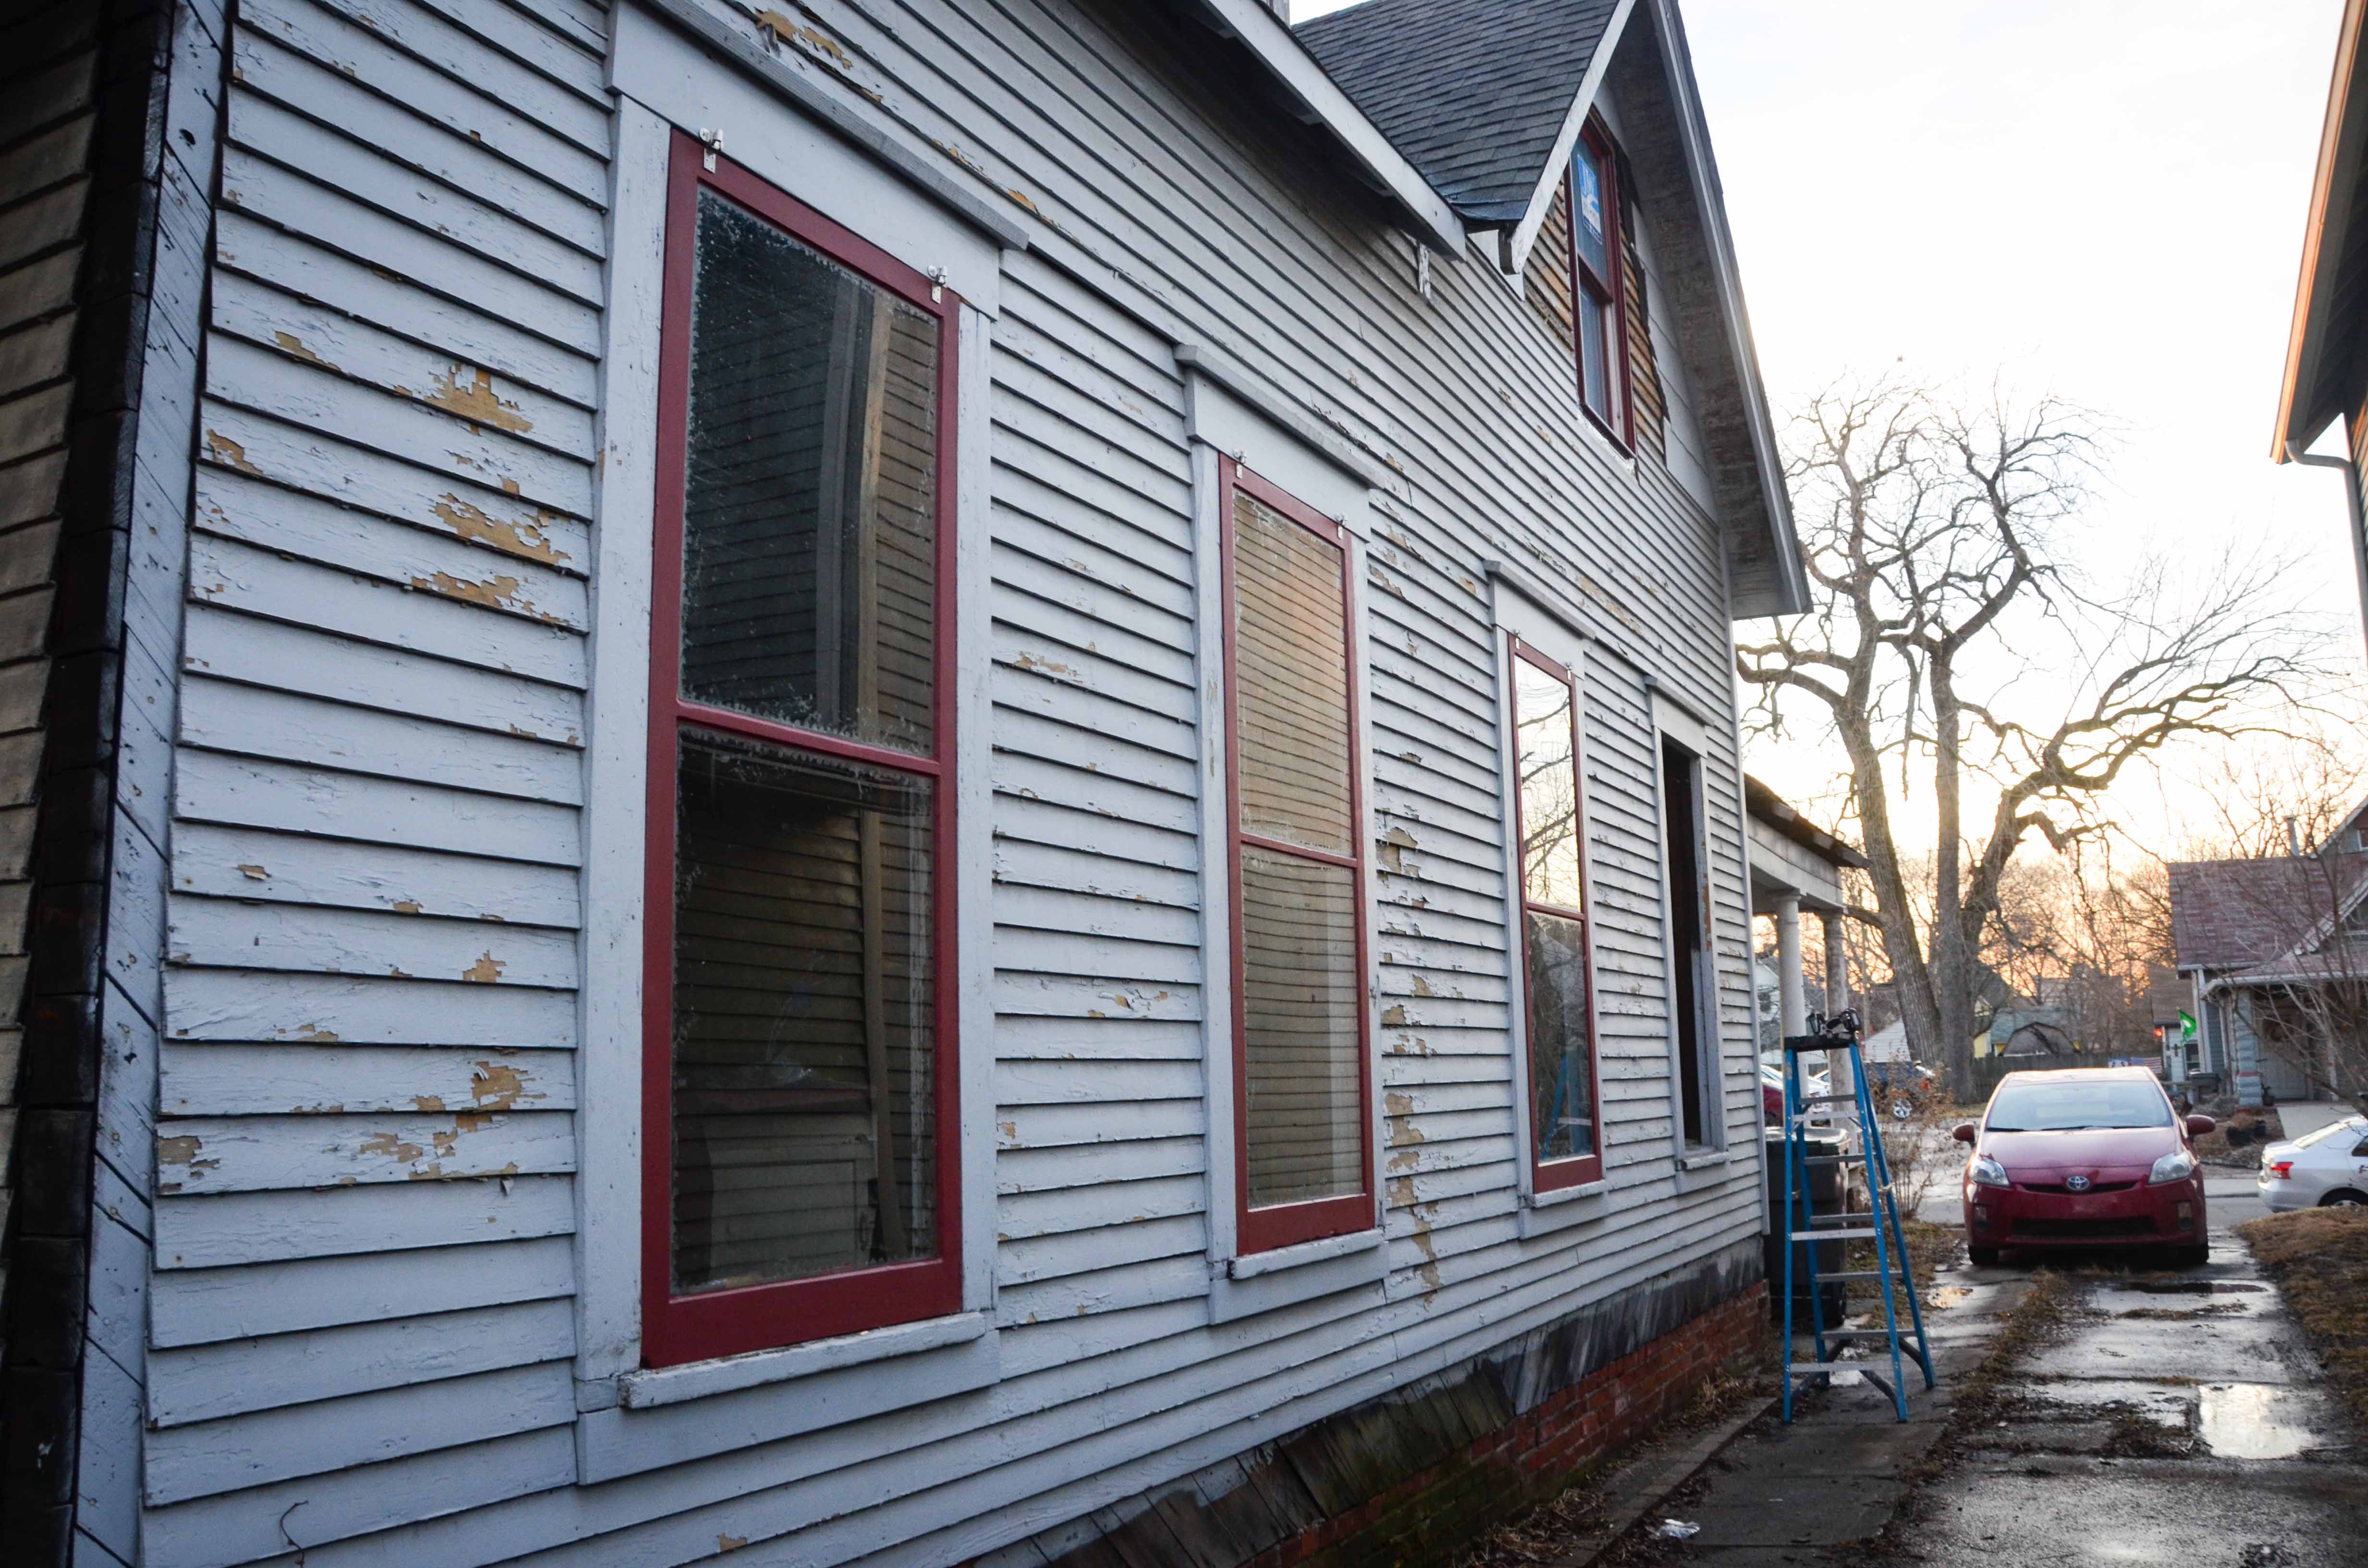
(Thanks Dorothy for my favorite pair of work gloves!) After finishing up this wiring, I became Joe’s assistant for installing the storm windows. Joe’s Saturday Project Part 2: Installing Storm Windows After removing all the sashes to these four windows it was really strange to be able to look into the the house.

If you remember from a previous post, I have already installed storm windows in other locations. Those storm windows still had fully intact glass, so there was no need to repair them at the time. We will restore those later. For these newly restored storms I am installing new hardware. These are simply just a latch and hook system that keeps the storm from falling out.

At some point the previous owner replaced the top horizontal exterior trim for the window casing. Unfortunately, that means that the exterior window dimensions are probably slightly different than when the storm windows were last used. That also means that the storm windows do not always fit. We had one that fit easily, one that just needed a firm nudge with my fist, one that needed a little wood chiseled off the casing, and one that didn’t fit at all. I ended up having to plan off at least 1/4″ of the top of the storm window to get it to fit.

After many weeks of working on small things here and there (electrical), it was great to actually spend time working on something that showed visible and tangible progress. That, and the weather, provided a needed morale boost for this home rehab couple.

Hi Joe,
You guys are doing a fantastic Job. I have really enjoyed your posts. I have also been sending them along to Larry Caldwell who now lives in Daytona Beach FL. He has enjoyed them as well.
Hoping for more good weather. JG.
LikeLike
Thanks, John!
LikeLike