Week 29 – Joe
Amy and I are in the middle of a fall break from work. This means we have been able to make much more progress on the house. A couple weeks ago I finally figured out how to make the new windows match the old windows. The amber shellac that I had previously tried by itself was WAY too yellow. I made a couple trips to different wood working stores and questioned some very knowledgeable (and talkative) workers on how to stain/finish the new windows. Turns out they sell this dye called TransTint that you can add to the shellac. It took a few tries, but I was eventually able to get a good match. Unfortunately, in order to get as much depth as possible I added one too many coats. This resulted in a color that was a little too dark and orange. I sanded everything down and started over. This time I did one coat of the dyed shellac and then two more of the amber shellac. I followed that up with 3 coats of poly.
Here is the final result:

It is impossible to match the grain of the old wood, but at least I got the color pretty close.

The next step was to put a couple coats of primer on the exterior side and then treat the inside with linseed oil. This is necessary to keep the moisture of the glazing putty from getting sucked into the wood and eventually drying out the putty.

Before installing the glass I figured it was best to take the newly constructed sashes over the to the house and install them so that I could line up the locking mechanisms accurately. I’m glad I did this because I discovered the sashes were not exactly the same size as the old ones. I took them back the place that constructed them and they made the correction. Of course this meant that I had to refinish a portion of the sash again, but at least I discovered the problem before I had the glass installed. After the slight modifications the windows fit and everything looks ready to do the glazing.
[Edit from Amy: The pieces of window hardware were originally caked with paint when we first removed them. With layers of careless paint jobs you couldn’t see the beautiful details on the surface. To get the paint off I soaked them in a crock pot overnight with water and blue Dawn dish soap. That worked to loosen the paint. With each piece needing significant effort to remove all traces of paint it was gratifying to see what beauties these are. In the end I stupidly left them on a towel to dry and they rusted.] So I finished cleaning up the old hardware with a little CLR treatment to get rid of most of the rust.

We didn’t want to completely clean them because we actually prefer the darker color. If we kept scrubbing they would have been a shiny coppery color like in the picture above.


After I reglaze the five sashes that have been causing me problems for the past month I will be ready to move on to the storm windows. We are lucky that all the storm windows still exist and are in relatively good condition. This week we got them all out of the shed and matched them up with the corresponding window.

Some of them are missing window panes and a few of them have broken glass. All total I have to replace 8 out of a possible 32 panes. Out of the 19 storm windows there are only 2 that will need to be completely rebuilt and 1 that has one piece that needs to be replaced. I still have a lot of work ahead of me, but if I ever get discouraged about how much time the windows are taking I just pause to remember how much money we are saving by doing it ourselves. I estimate that it would cost somewhere around $15,000 or more to restore our windows if we paid someone to do it.
With that as my motivation, I began by removing the glass from the 3 storms that need to be rebuilt or repaired. I took those to the shop that will create replicas of those windows.

The glazing putty is in really bad shape, which makes it much easier to remove. The hard part with these storm windows is that the glazing points (the small pieces of metal that help keep the glass attached to the wood) are TINY. They are much smaller than the ones that I encountered in the windows I removed this summer and they are proving very difficult to pry out.
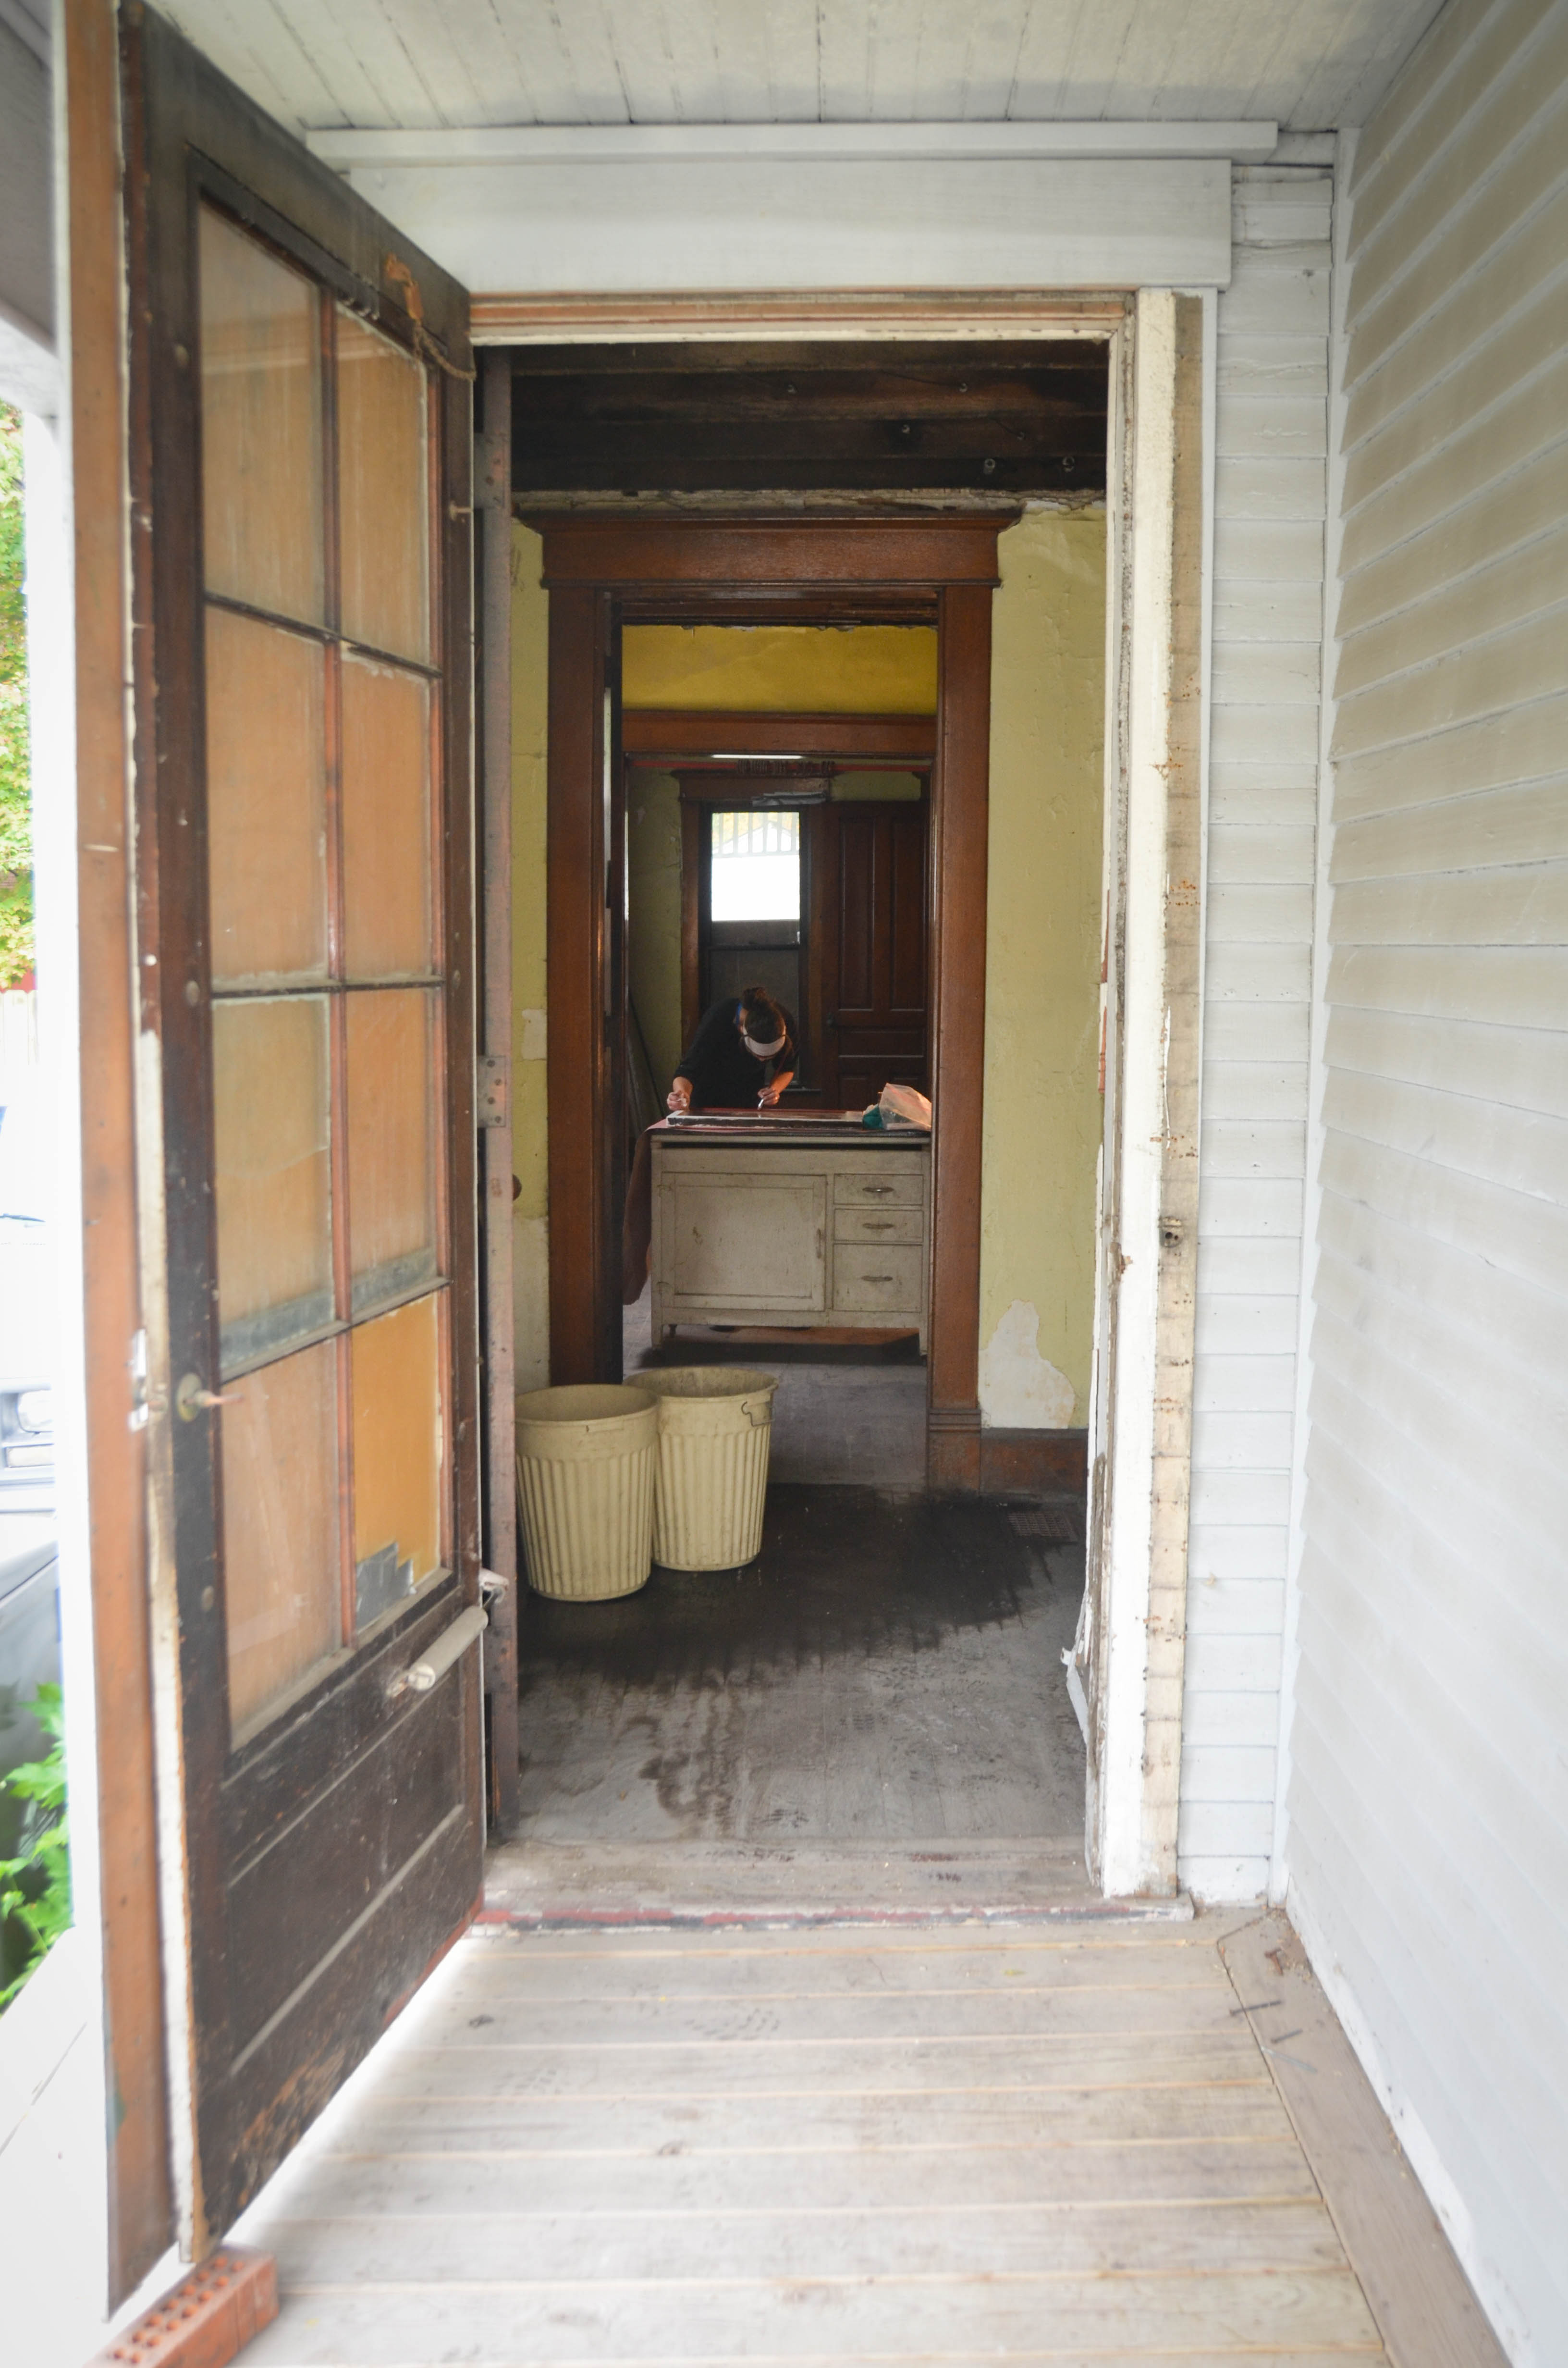
The one other window I needed to remove so that I could add new glass was in the vestibule. I had to remove the plywood on the outside to do this and while we were at it we went ahead and put up the storm window just to see what it would look like. I’m sure that Amy and I are the only ones that are excited about this, but it was truly shocking to see this window from the outside without plywood on it. It’s hard to imagine how different the house will look when none of the windows are covered with plywood.

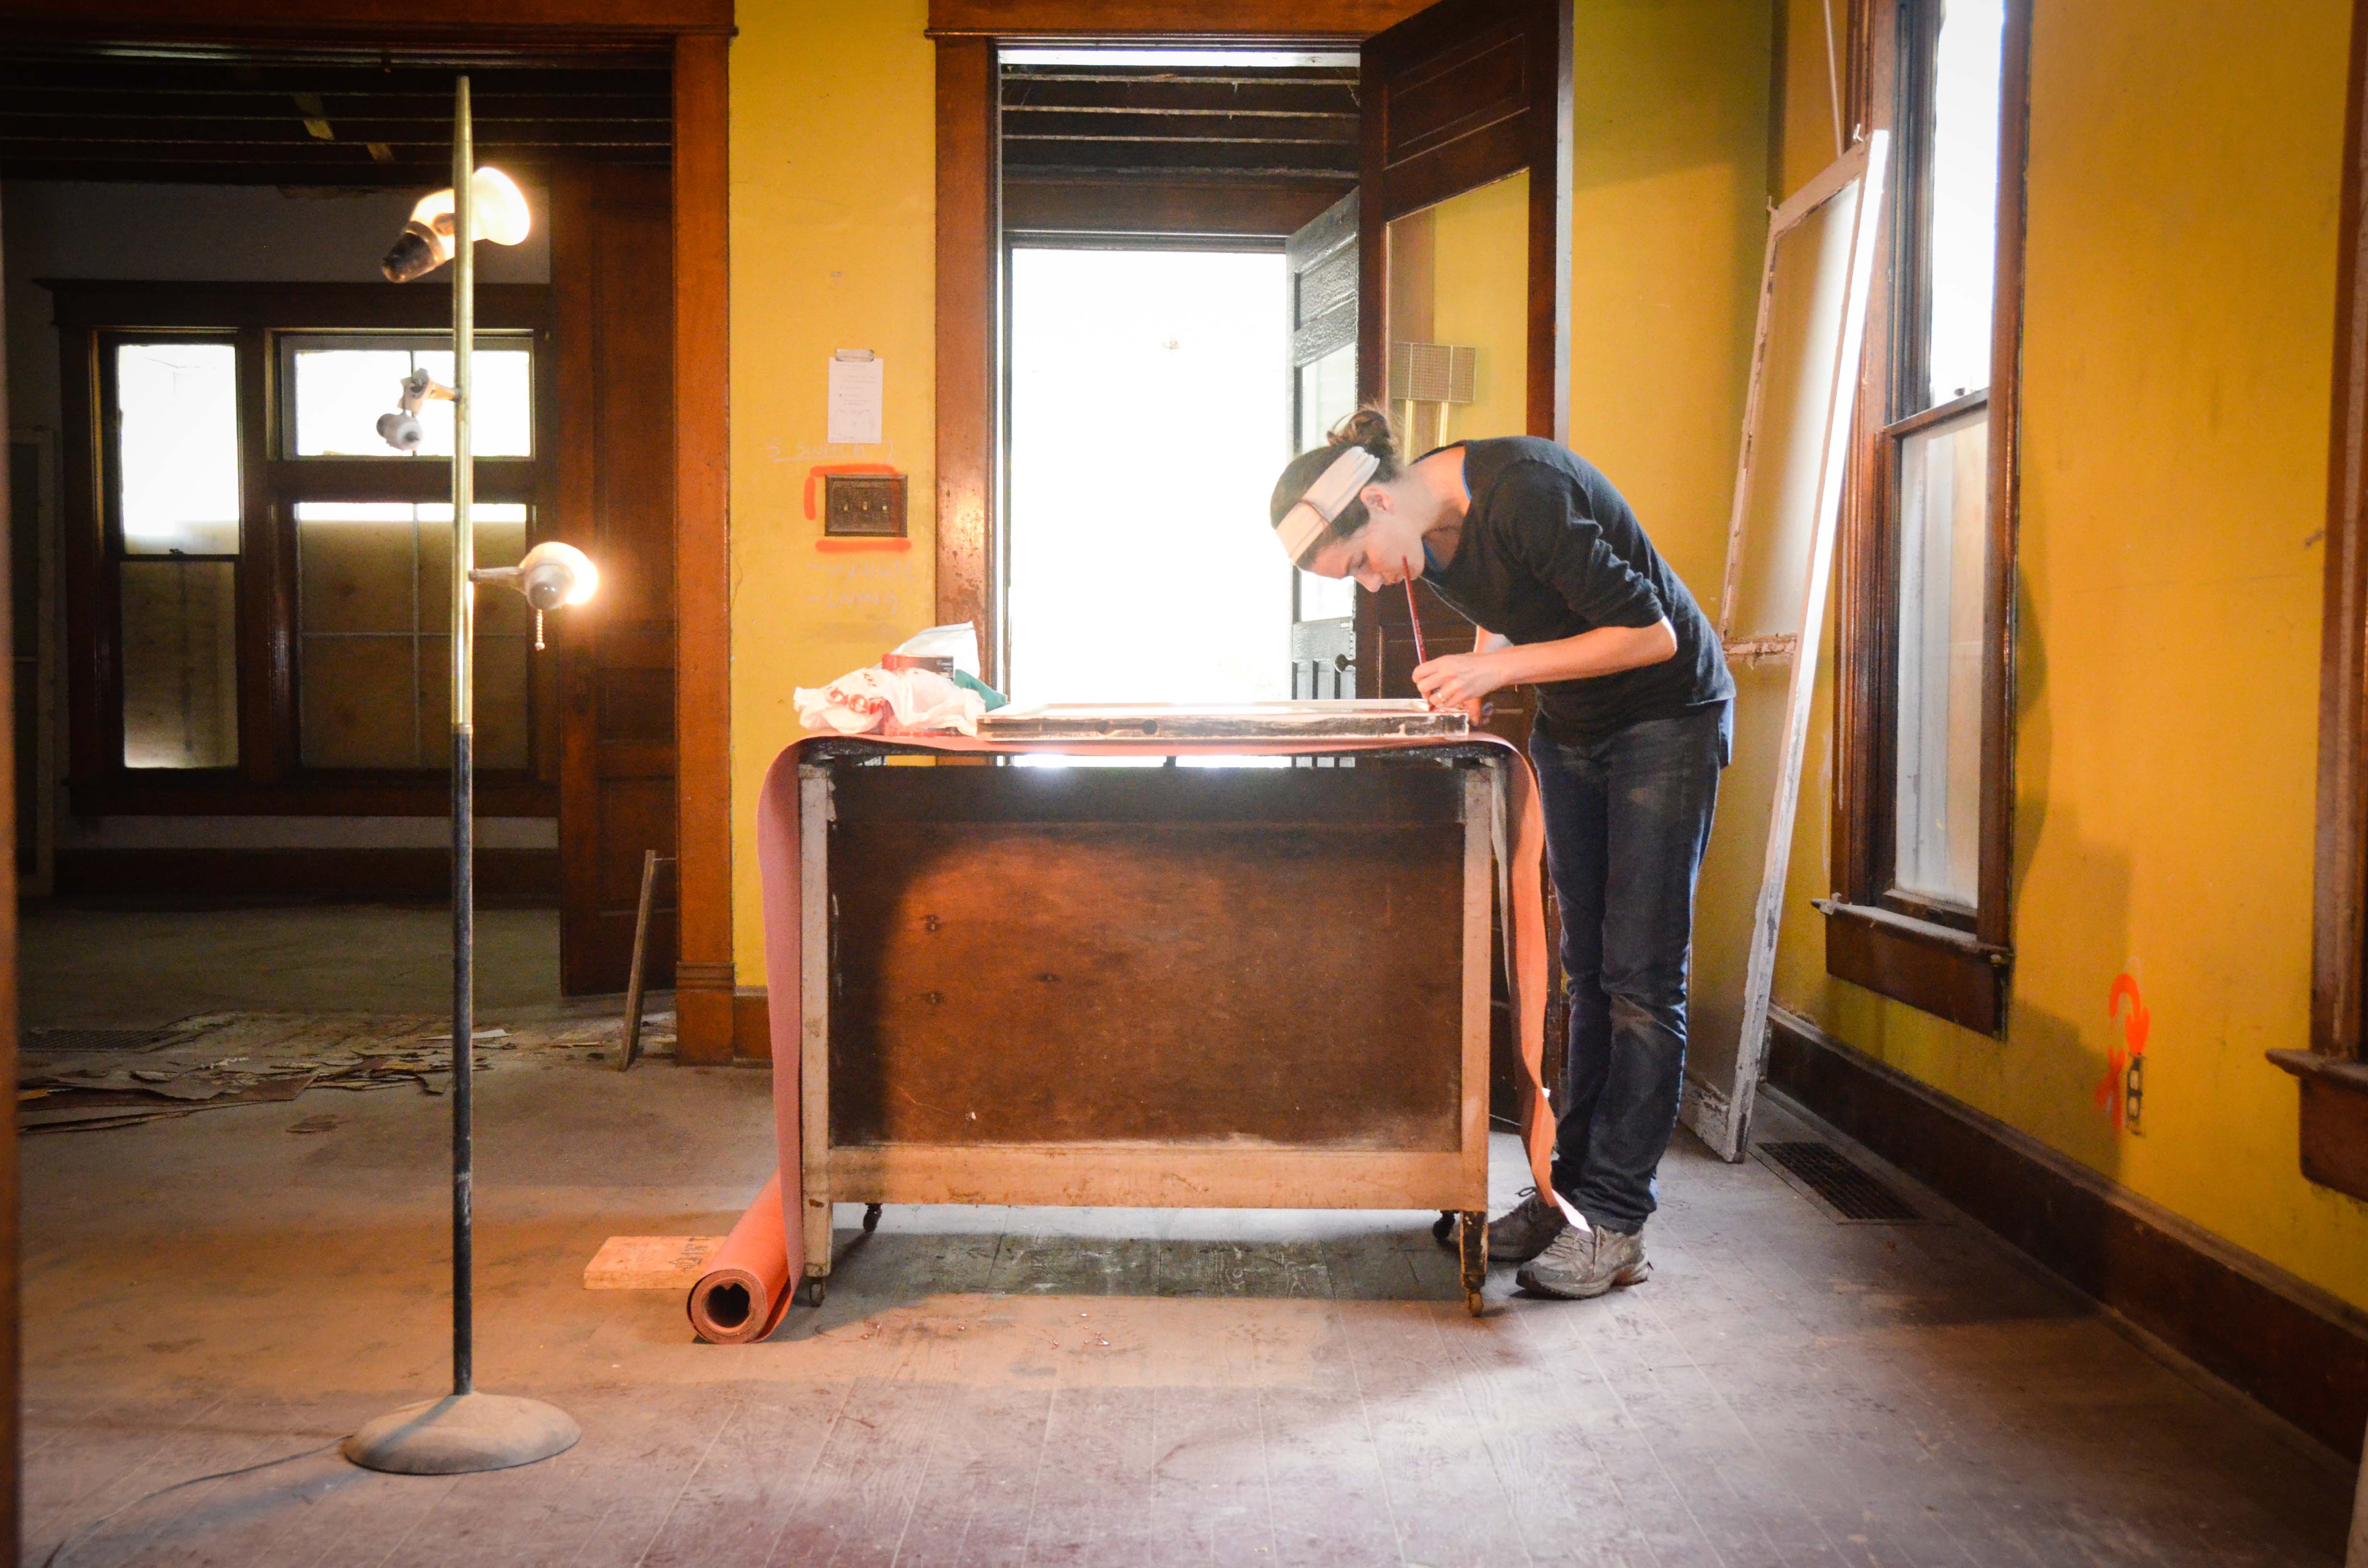
The ten sashes that I reglazed this summer are now ready to be painted and reinstalled. Amy began the process of painting the exterior of these windows.
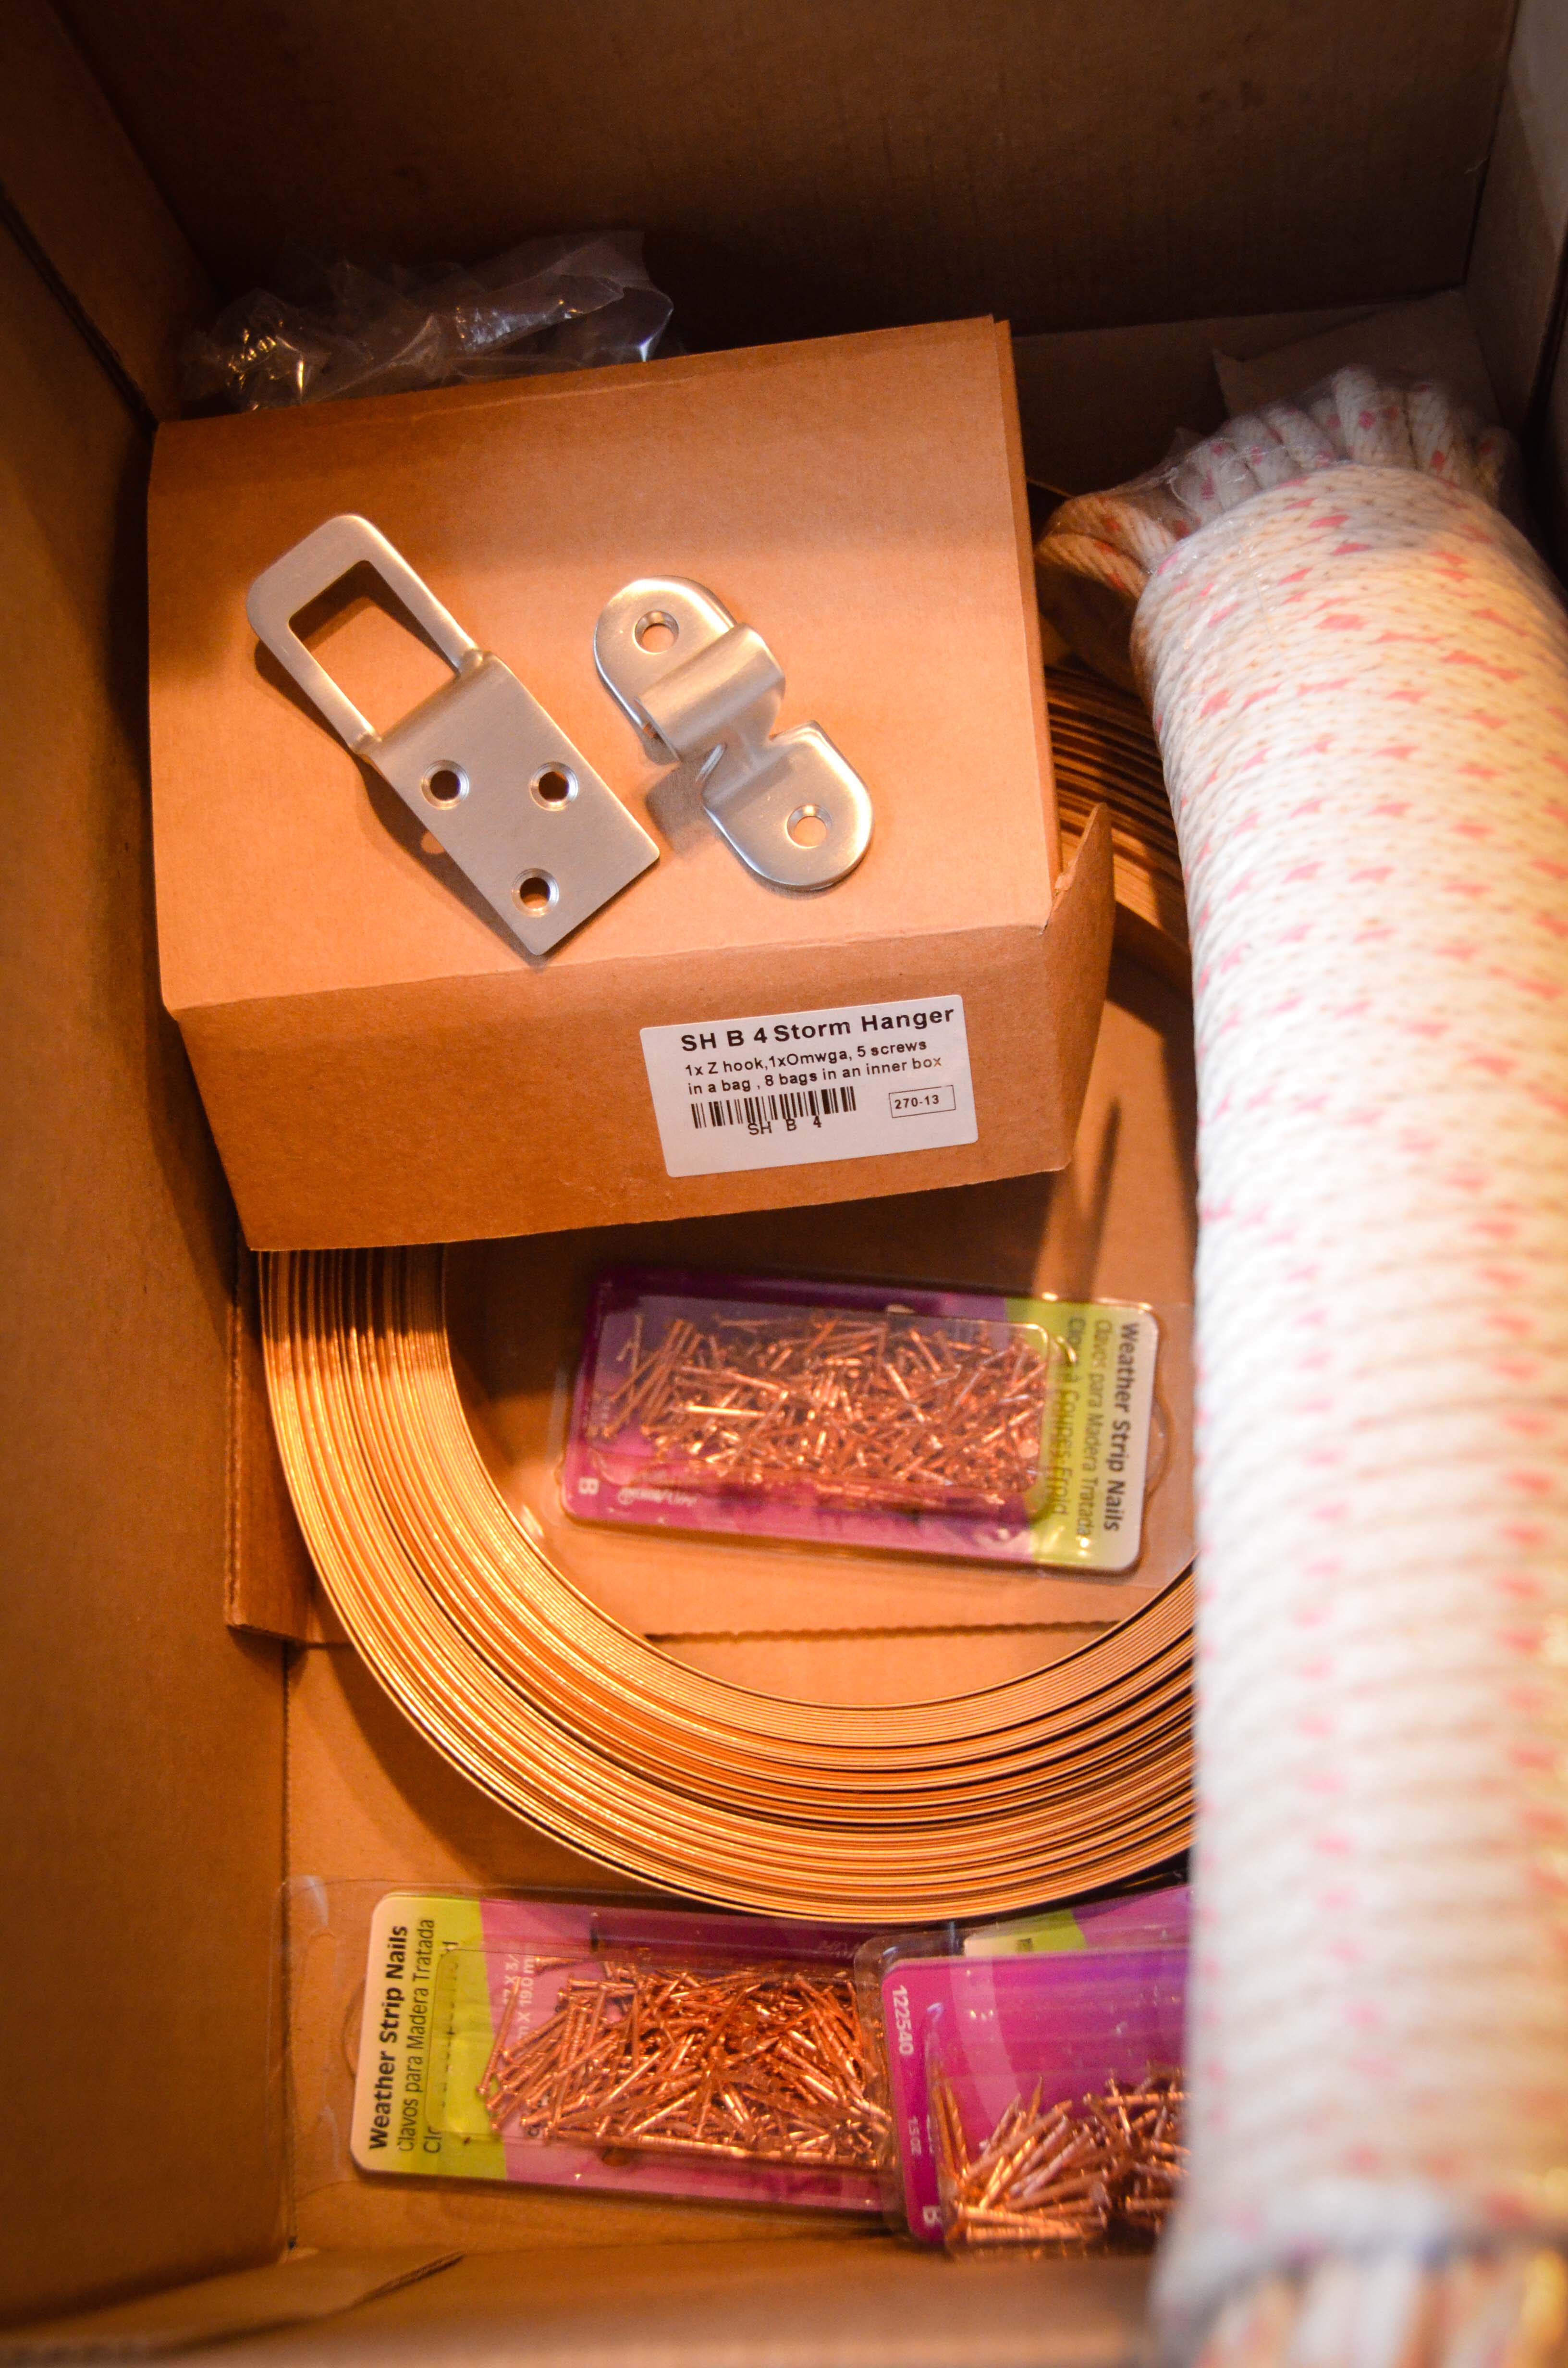
Before installing these windows we still need to replace the sash cords and install spring bronze to help insulate the windows (more on this process later). I tracked down supplies needed to finish the windows, including new hanging hardware for the storm windows. “Lovingly” restoring an old house means that stores like Lowe’s and Home Depot tend to not be as helpful. Most the their employees don’t know much about historic restoration and I continue to get dazed looks when asking for things such as sash cord or storm hangers for old windows.
In addition to continue work on the windows, we finally got a roofer to install the flashing on the plumbing vents and patch up a couple leaky areas.
[Edit from Amy: We had buckets in several rooms catching significant drips. There was quite a bit of water in the downstairs bath and vestibule. Luckily we will be tiling those areas. It was actually very soothing to work in the house alone with the tap tap of water dripping into buckets and pouring rain out the front door. It was as close to homey I think we can get right now.]
Speaking of homey- we discovered a critter taking shelter in the ceiling of the vestibule.
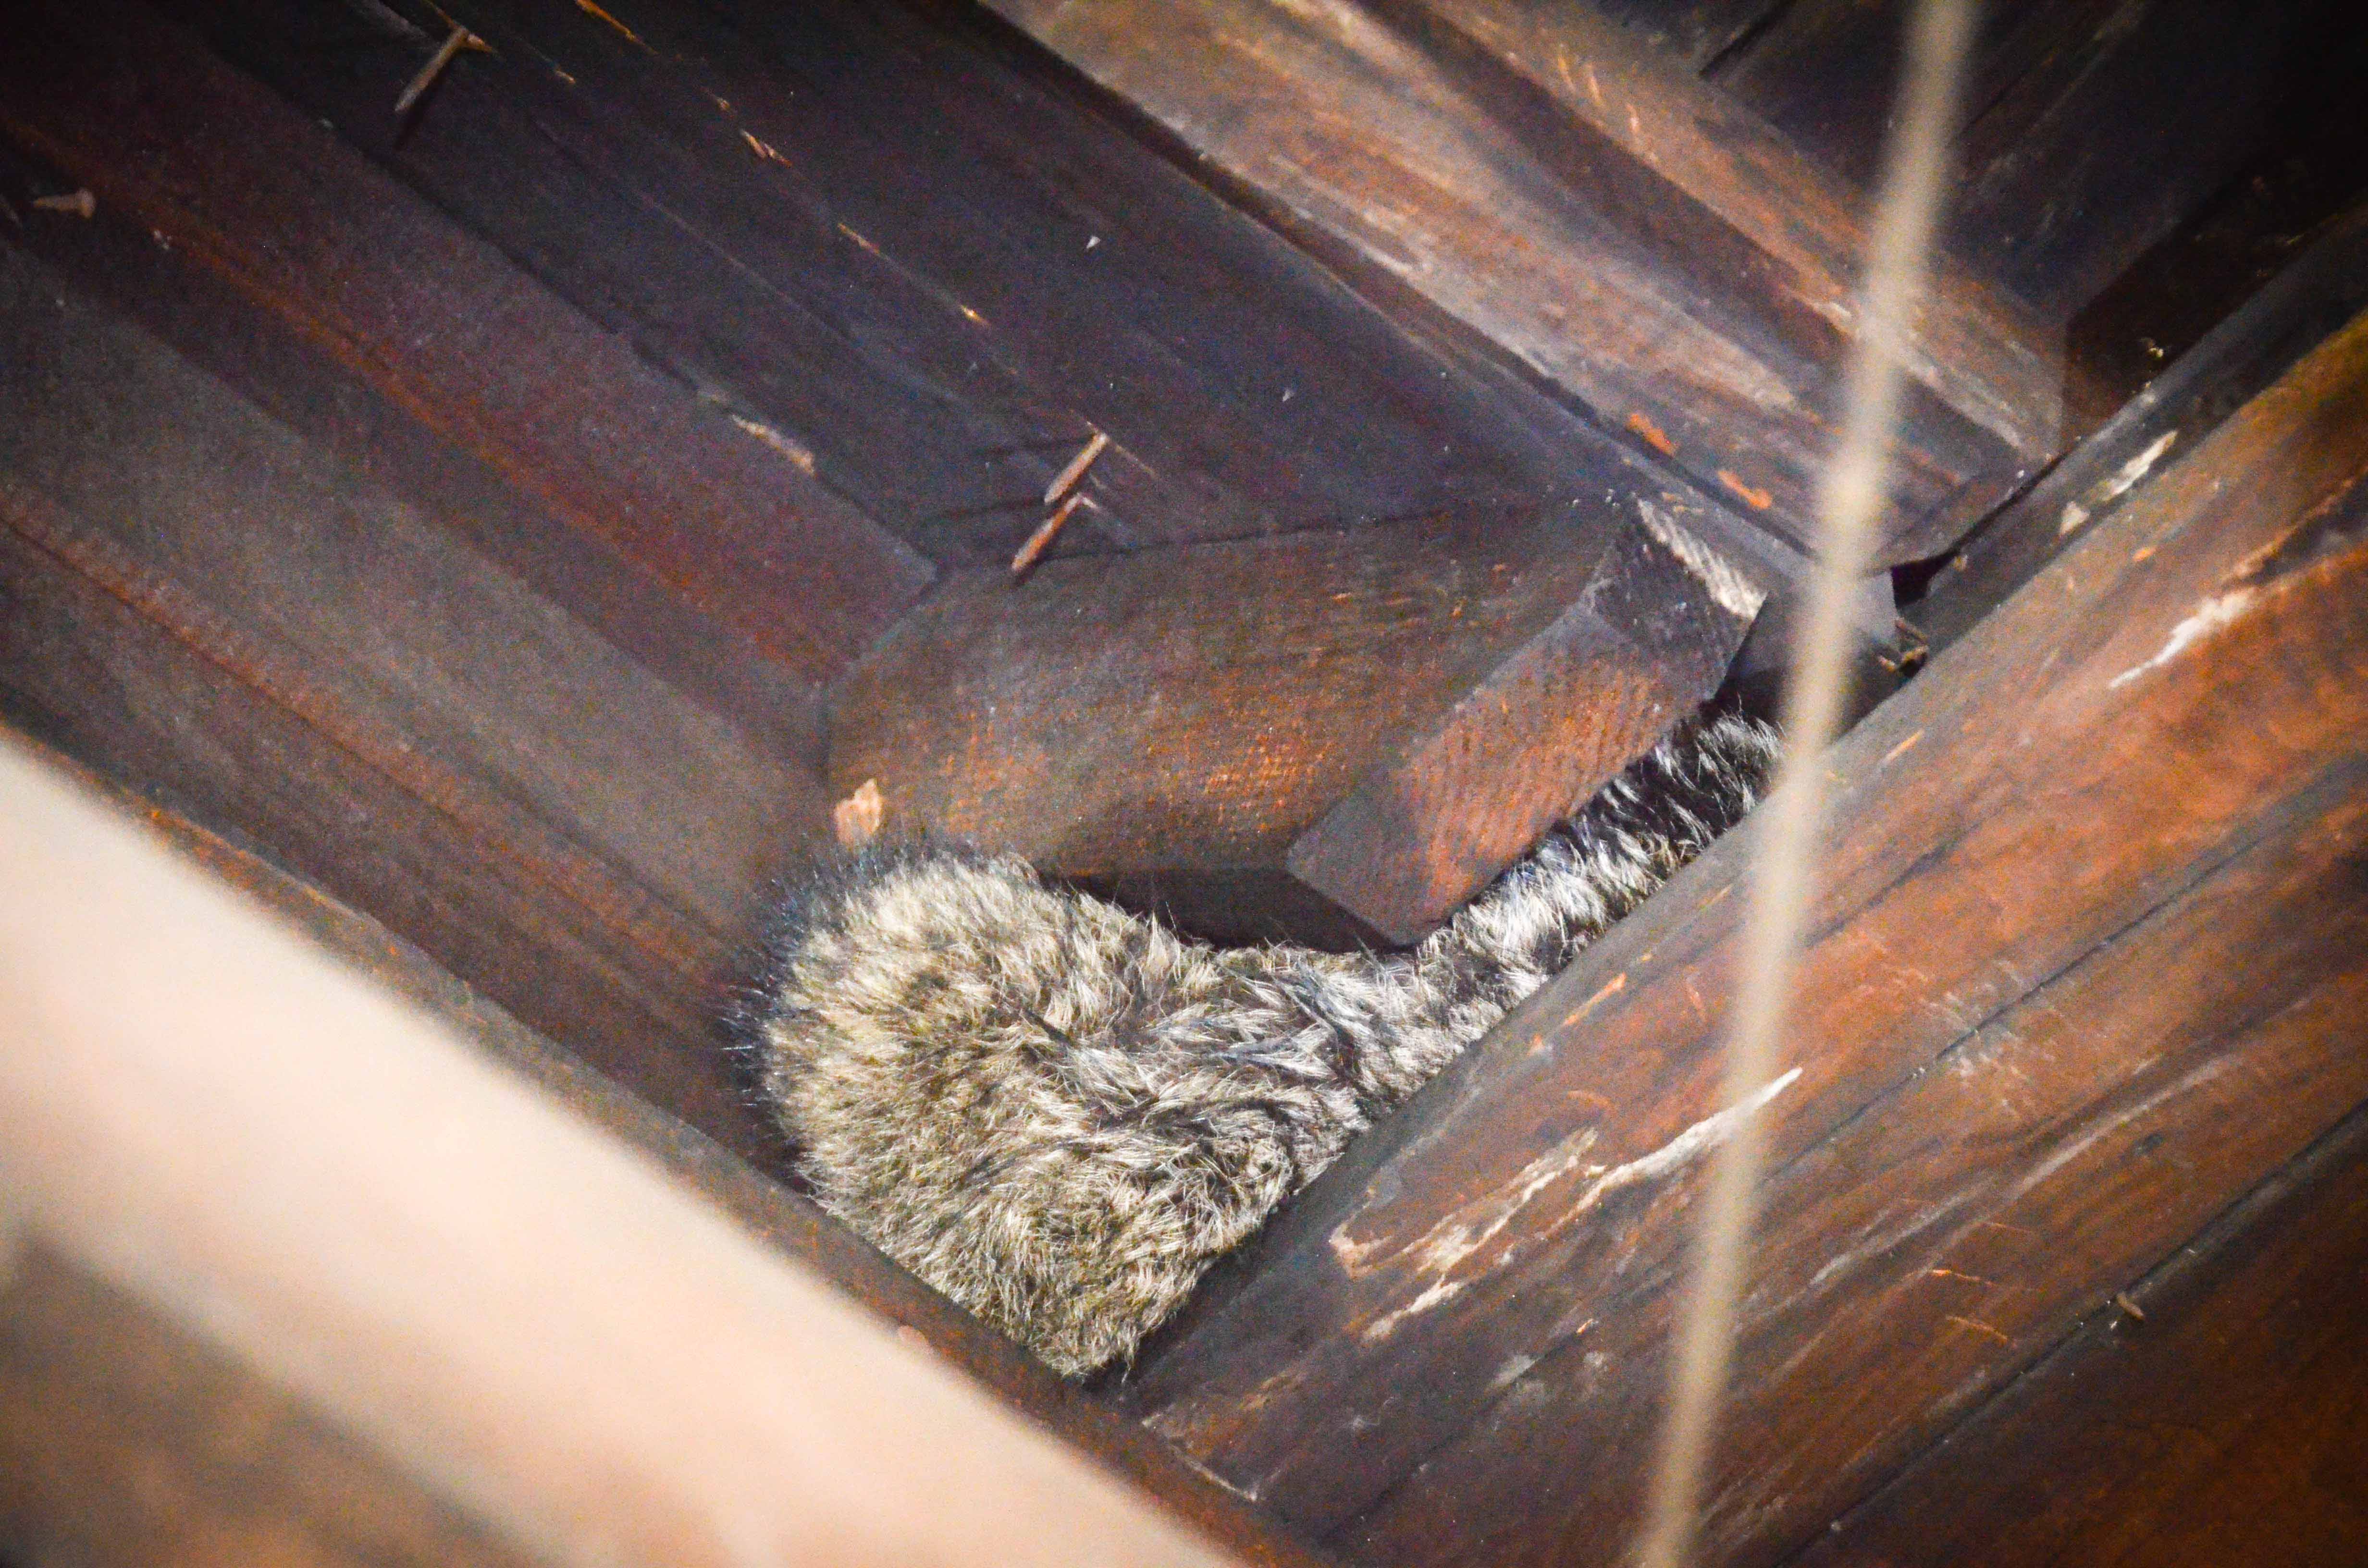
I guess we have to add “get rid of racoon” to our list of things to do.
We also spent one of our days just cleaning up the house to get ready for the next round. As our architect said, “It’s good for the spirit.” [Edit from Amy: Sweeping out the entire house felt a little like sweeping a dirt floor in a hut (why bother?) but it was actually very emotionally gratifying.]
Other recent accomplishments include finally placing the order for the new upstairs windows, lining up an insulation contractor, and selecting exterior paint colors. High on our list of priorities right now is everything related to winterizing the house. That means getting the electrical done so that we can insulate and fire up the new furnaces. It also means getting all missing windows back in and sealing up any openings in the house.
Winter is right around the corner…

Now this is what home renovation is all about! Wishing you all the best of luck in restoring your new / old home.
LikeLike
Wow, kudos on the window restoration! The natural elegance just can’t be matched by even the good-quality replacements (I’ve yet to see any that don’t have some obvious giveaway like brown plastic tracks or clearly modern hardware).
I also restored all the original wood sashes in our home (30-some windows x2). Took me a couple winters when I couldn’t do other exterior work. I was able to repair all the original wood on ours (thanks to Rot Doctor products), but I did do a full strip and re-stain. All our existing trim is original and in great shape, so I made a decent effort at matching with ordinary oil stain, topped with poly. We have dark oak in the “public” parts of the house, and light pine elsewhere, but all the sashes were the same old-growth pine, but they took even thr dark stain pretty well. The color match isn’t perfect, but since the sashes are a small visible area, they blend in well.
Now that I’m duplicating a bunch of pine trim for some remodeling work upstairs, I’m struggling with getting a match with new pine. Doing oak downstairs was easy (Minwax Red Mahogany topped with three coats of Amber shellac matches the old stuff perfectly), but the pine upstairs is tough. I may give the tinted shellac a try.
LikeLike
Yes, the pine was a real struggle! I think I was able to get a pretty decent match with the tinted shellac. I’m pretty critical of my own work, but I don’t even notice the couple sashes that had to be recreated. I am just now nearing completion of the exterior storm windows. I think I might actually be just a little sad when it’s all done. It’s pretty enjoyable work – relatively speaking. Good luck with your ongoing project. Sounds like you are doing some great work!
LikeLike