Week 51 – (Joe)
Last week I met with our insulation guy to walk through the house before they begin work. We decided he could go ahead and start this week on the blow-in insulation for the existing plaster walls while we were waiting for the arrival of our loft window. Then we got the call on Friday that our window had arrived. This sent us into a frenzy this weekend trying to get everything wrapped up so that the insulation could be totally complete by the end of the week. [Edit from Amy: Who knew insulation could be so exciting?!] In the process, I realized two things. 1. We move a little bit faster with an impending deadline looming. 2. Contractors are eager to get going this time of year. My insulation contractor actually called ME to check in! How crazy is that?
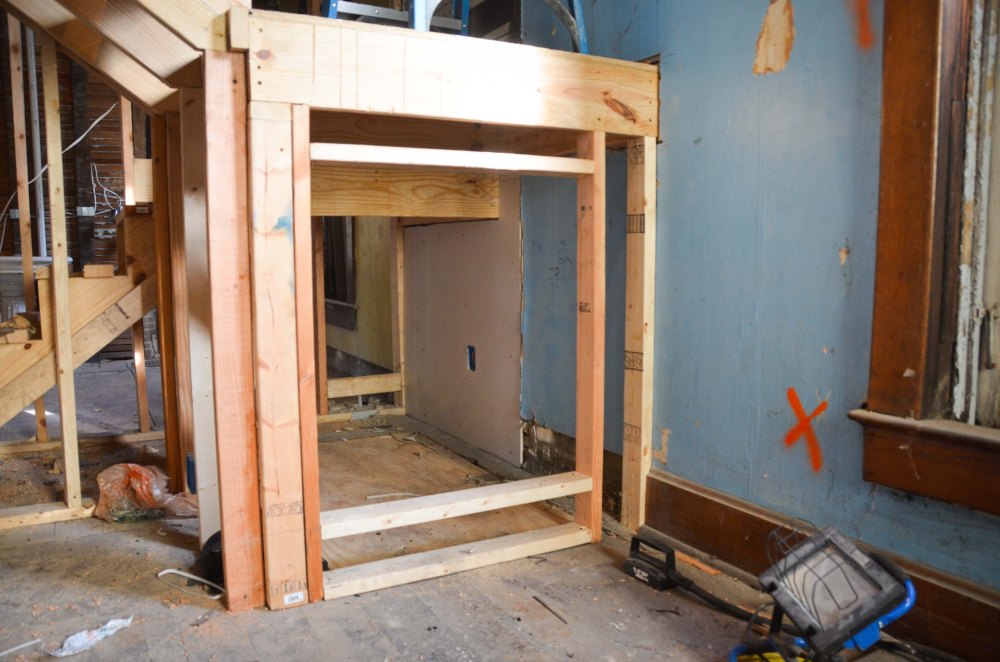
In order to be ready for insulation we needed to get all electrical boxes “made up” on the exterior walls. This didn’t involve too much work, but it did take time because it involved a lot of boxes. In addition we still had to wrap up a few wall sconces that we kept second guessing and even put up a little drywall. I have very little experience with drywall, but I enjoy it…. at least the part where you put it on the wall. Talk about immediate gratification!


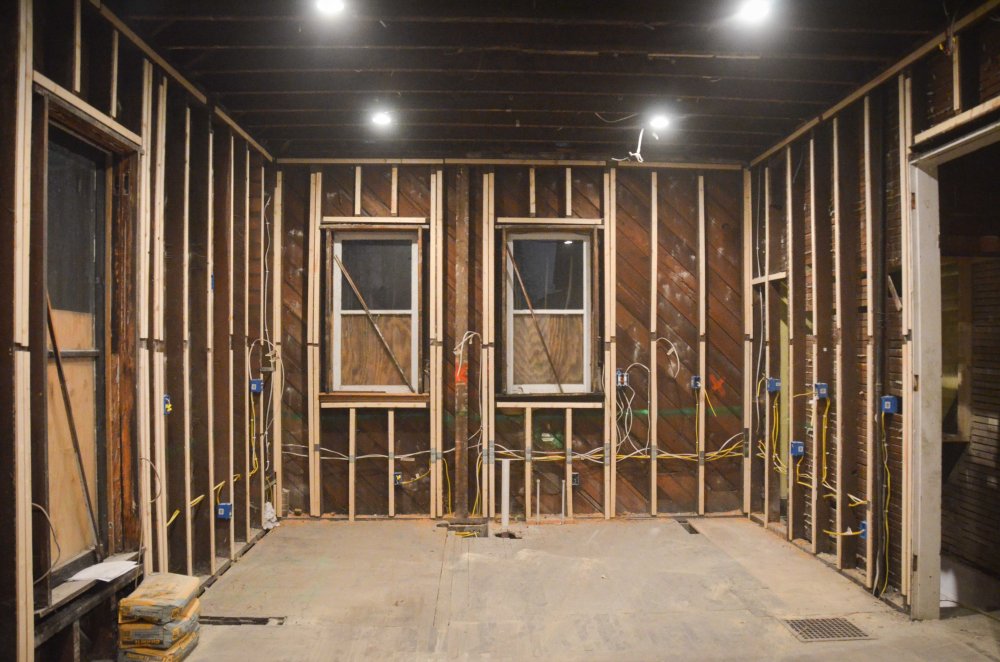
The big task this weekend was preparing the kitchen. The kitchen is the only room on the first floor that had the plaster removed. There are two components to plaster demo. The first part is removing the plaster (duh), the second part is removing the lath from the studs. Those two items add up to a wall depth somewhere around 3/4″ – 1″. Drywall is only 1/2″ or 5/8″. This creates a big problem for all the door and window casing. If we just put drywall on the existing studs there would be a substantial gap between the wall and all the trim. To compensate it is necessary to add depth back to the studs by nailing furring strips that are approximately the same thickness as the lath that was removed. I knew last summer that I was eventually going to have to do this, but now I was faced with only 2 days to get it done!
No one really sells lath anymore, so I had to make it. This meant ripping 2x4s into 3/8″ strips. I used this opportunity as a great excuse to buy a new toy – a table saw. What self-respecting home rehabber doesn’t have a table saw??? It’s probably a little ridiculous that I didn’t already have one. We are on a tight budget and I don’t anticipate doing any “fine” carpentry work anytime soon, so I got the cheapest table saw I could find.
By noon on Saturday I hadn’t even started my project. Remember that blog post we did on home renovation time sucks? This weekend was full of them! For example, here was my Saturday morning: Get the truck, then go to the hardware store, then clean the kitchen of everything, assemble my table saw (I didn’t even put the legs on it – no time for that!), then finally get work done.

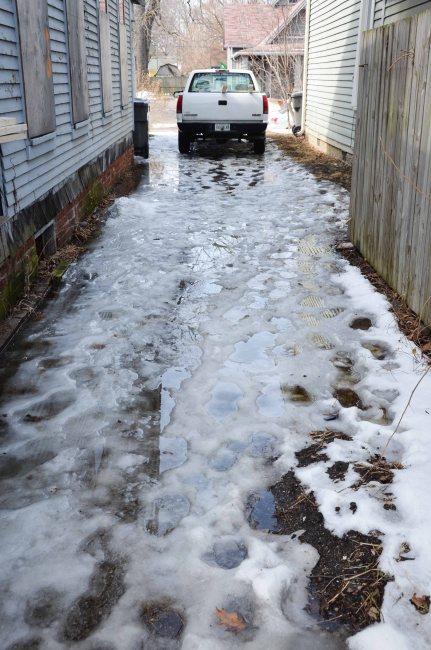
As a side note, the snow and ice are starting to melt and our driveway has turned into a wet and icy accident waiting to happen. Each trip to and from the truck was fraught with peril. I didn’t back the truck up any further because I wasn’t sure I’d be able to get it back out.

Ripping so many furring strips from the 2×4’s was tedious, but a welcome relief from the electrical work we have been doing. I also appreciated the fact that we are now entering a stage in our renovation where the messes we will create are “clean.” Now my face gets covered in brand new sawdust shavings instead of century-old soot, plaster dust, and dirt.

Creating the pile of “new lath” was strangely gratifying…

Nailing all these strips to the studs took much longer than I expected. We had removed many of the old nails last summer, but there were still more that we missed. Also, I had to un-nail all the outlet and switch boxes because they were at the wrong height and were flush with old studs instead of the new furring strip. By the end of the process the kitchen already looked brighter and more inviting. Just think what it will look like with drywall!!!
The other VERY exciting development that happened Monday was the installation of our last remaining new window. The picture below really doesn’t capture how much this one window transforms the feel of the space.

In preparation for this window we had to climb outside and remove some of the old ‘fake siding’ to make room for the window. You can see where the old siding is showing. Eventually we’ll take down the rest. Luckily the weather was very nice. We just had to laugh at how ridiculous the back of our house looks right now. Talk about a hodge-podge of colors and textures…

As I write this blog post our house is being insulated! By the end of the week it will be all sealed up. Just in time for Spring!
One final thought… My over-thinking tendencies have been well documented in this blog, but I can tell you that they move to a whole new level when you realize everything is about to be set in stone by insulation and drywall. There is no changing your mind after this. I think Amy almost punched me several times as I reconsidered once again many past decisions that we already agonized over.
[Edit from Amy: You’re lucky you’re cute.]


At least the insulation will help keep the heat out. Not sure if I missed it but did you lower your attic floor?
LikeLike
Yes, we’re looking forward to retaining some warmth! We did not lower the attic floor. It has pretty high ceilings in most places so we didn’t need to.
LikeLiked by 1 person
I am really impressed with your progress Joe. Had I known you needed to rip 2X4s you could have brought them over to the shop to do them. If you have any need of tools we have at the shop in the future, feel free to give me a call. Cel. 340-8309
LikeLiked by 1 person
Que preciosidad de corona, yo este año también hice un arreglito en mi casa, y me tarda muchisimo que vengan estos dias, cada año me gustan mas. Un beso. Ana.
LikeLike
We are having the same problem with our attic and the amount of money we have been throwing out the window over the years is crazy. After reading about your story, I think I will start looking for insulation contractors here in Lethbridge. Hopefully this winter will be much warmer and less costly! Hope everything turns out well!
LikeLike